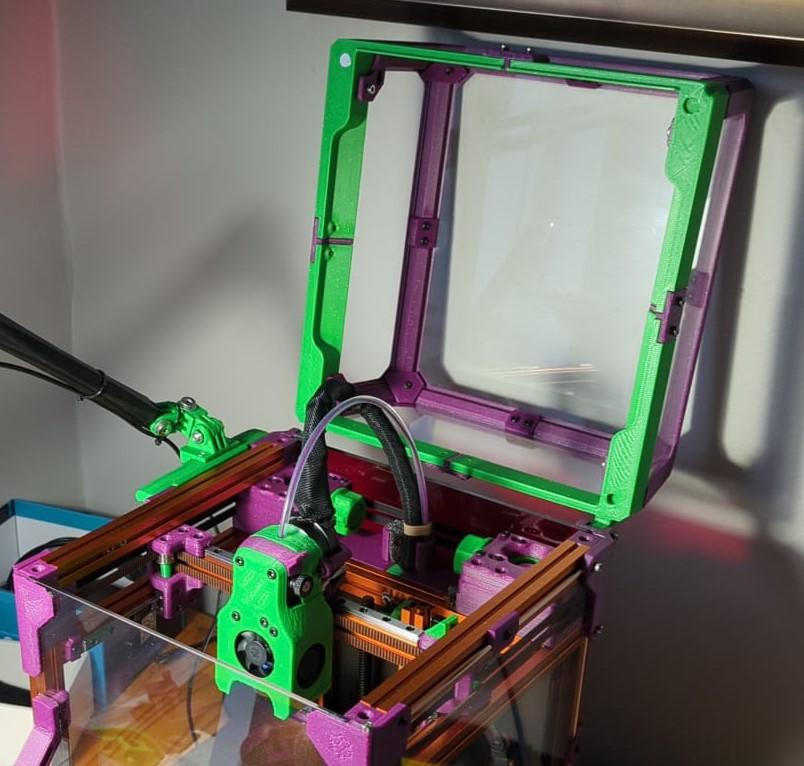
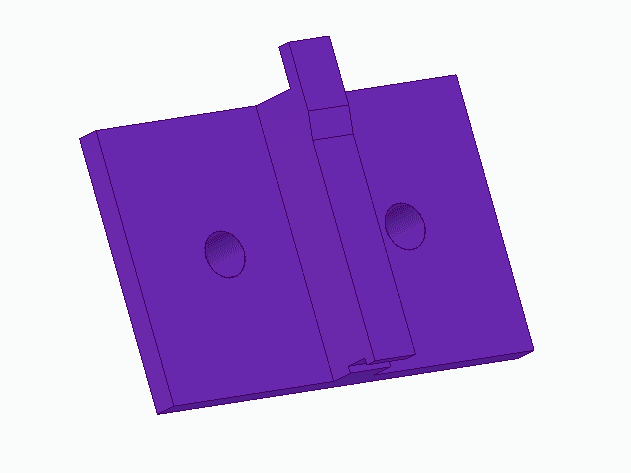
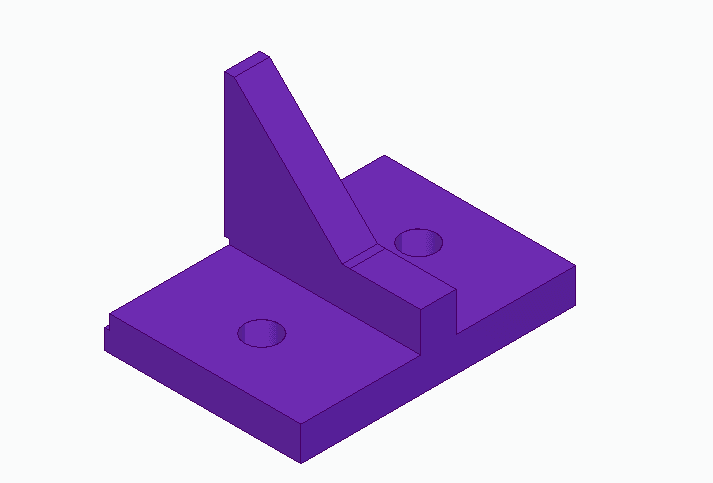
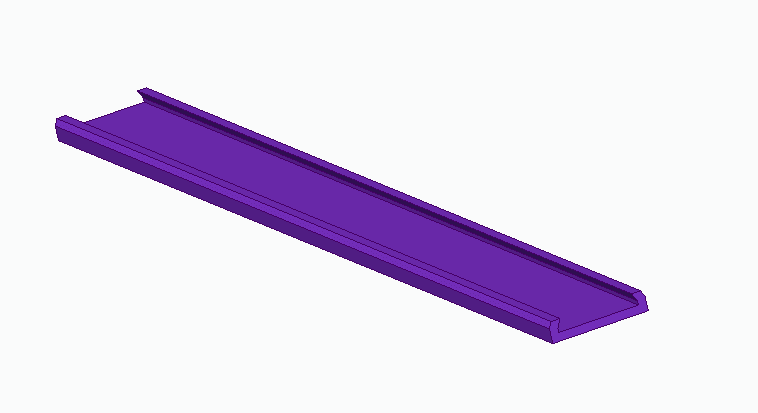
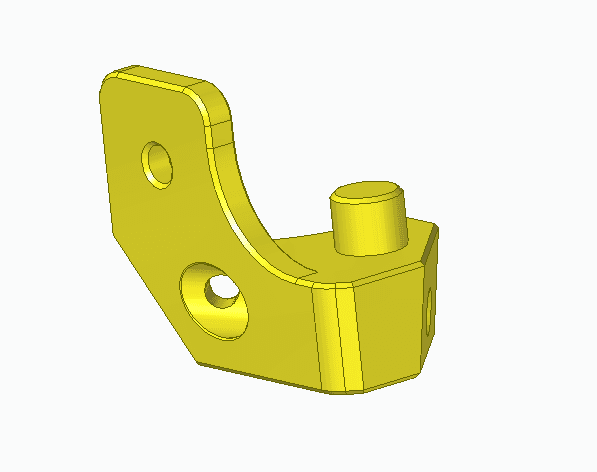
Model originally uploaded to Thingiverse at https://www.thingiverse.com/thing:5321560.
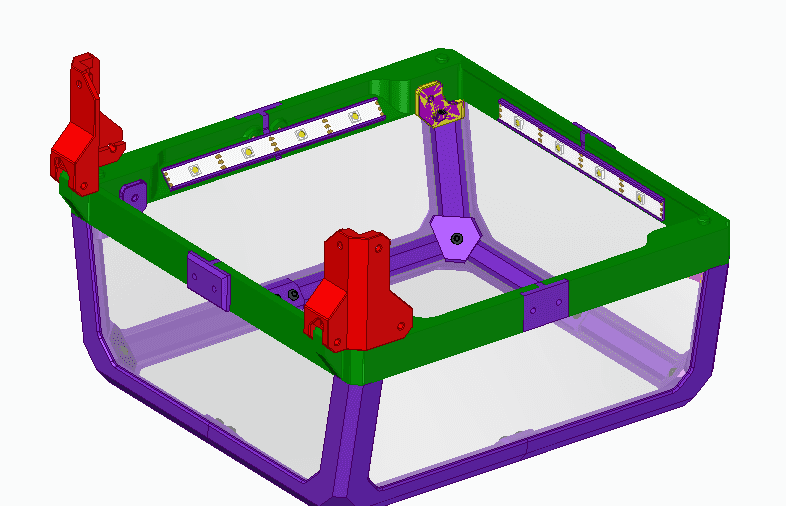
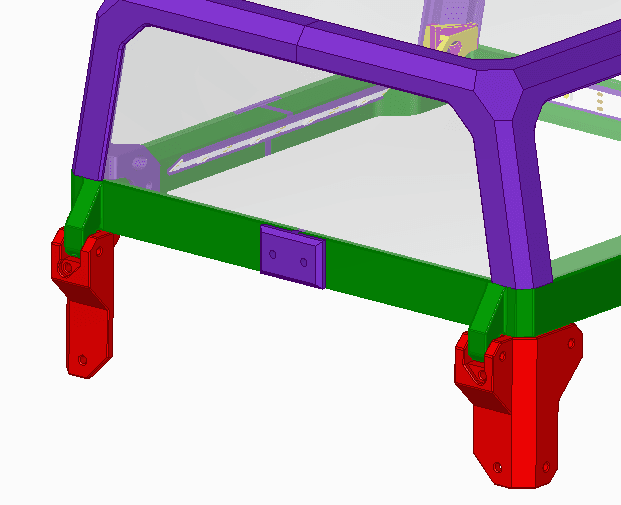
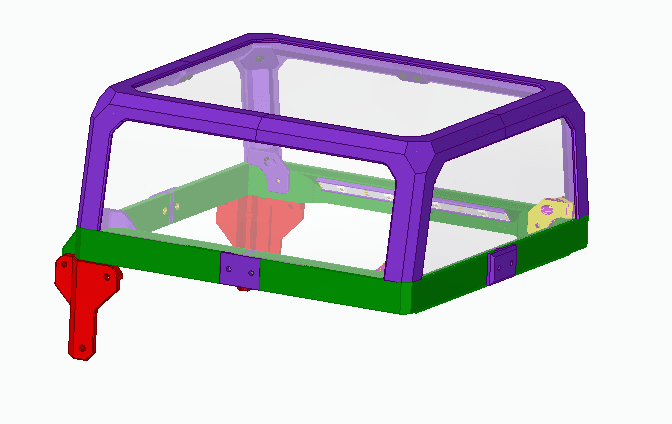
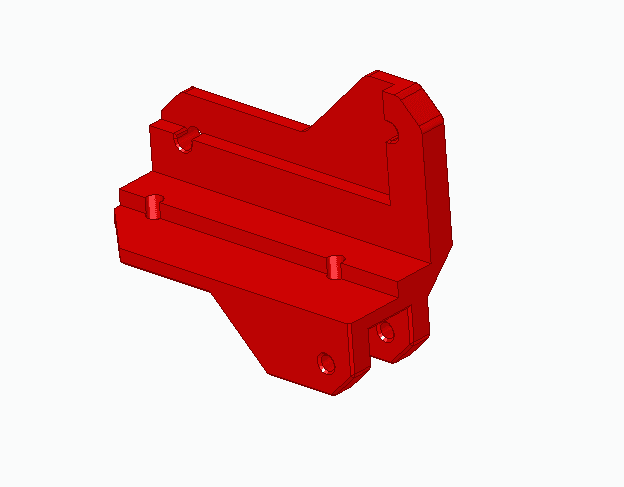
Correction to the HINGES.stl file just posted 2022/03/18 NOTE: This design requires the original Voron V0.1 top-hat.Great work by 93djen, (https://www.prusaprinters.org/prints/109713-voron-v01-tophat-spacer-with-hinges) but I had some fit issues and wanted more from the design.
The main changes are:
- hole placements seemed to be just a bit off for my one piece top-hat, so that was compared to the original Voron V0.1 CAD files-
locating pegs that extend down into the frame (as per the original top-hat)
-
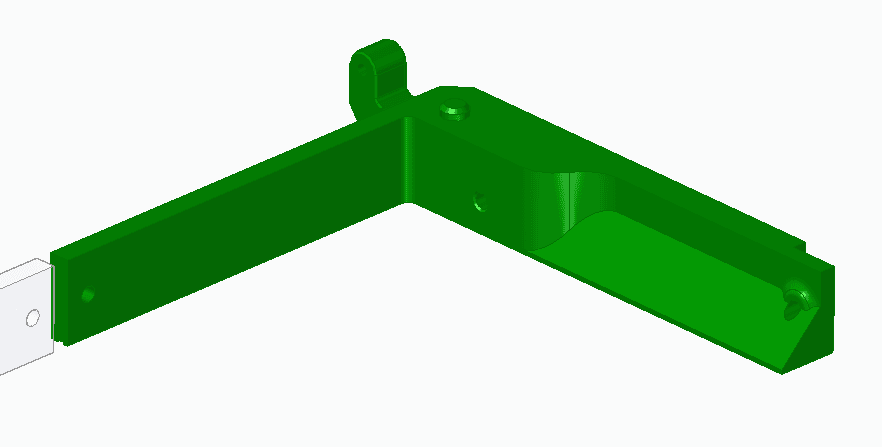
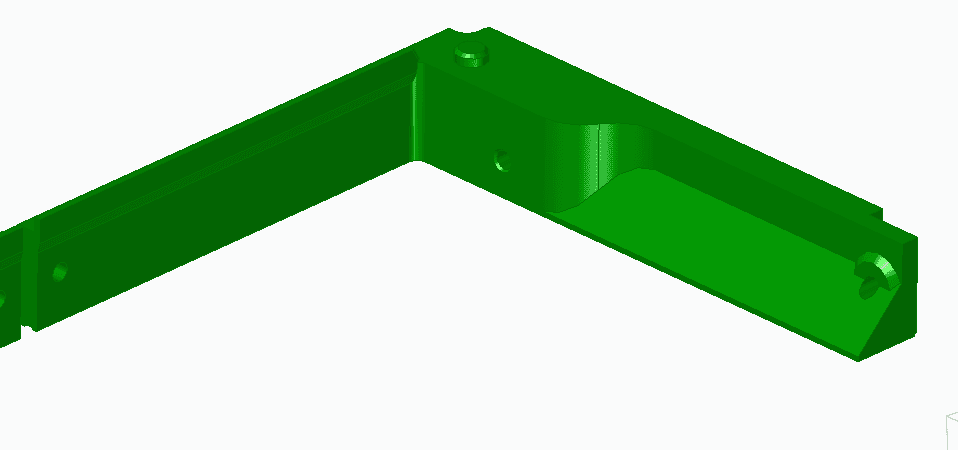
LED ramps on the side that were extended in length to better accommodate 30 LED/m strips
-
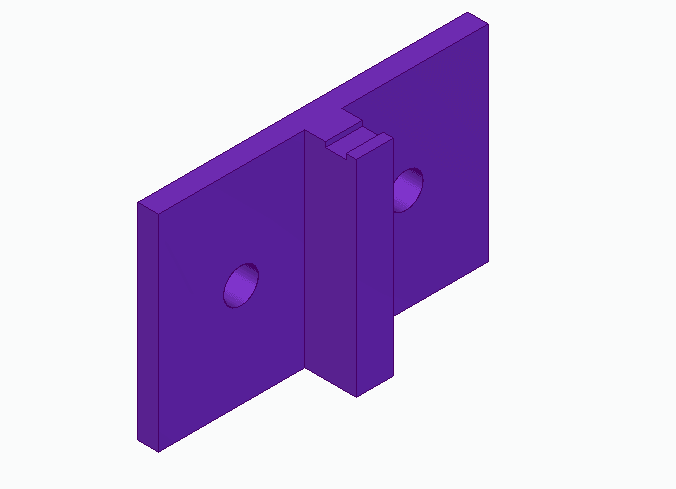
slight move on the hinge pivot point holes as they seemed VERY tight and needed to be filed oval to fully close with the original design
-
redesign of segment joints to better match the lip/contour and provide larger glue surface for acetone welding. (yes, I screwed and glued this baby together!)
-
Added cable tie holes to the original top-hat front corners, for LED power routing.
I just glued the LED carriers to the frame as I trust acetone solvent welding more than cheap adhesive backing at temperatures over 30 C.
STEP files provided for anyone that wants to make changes.
Have fun.
