


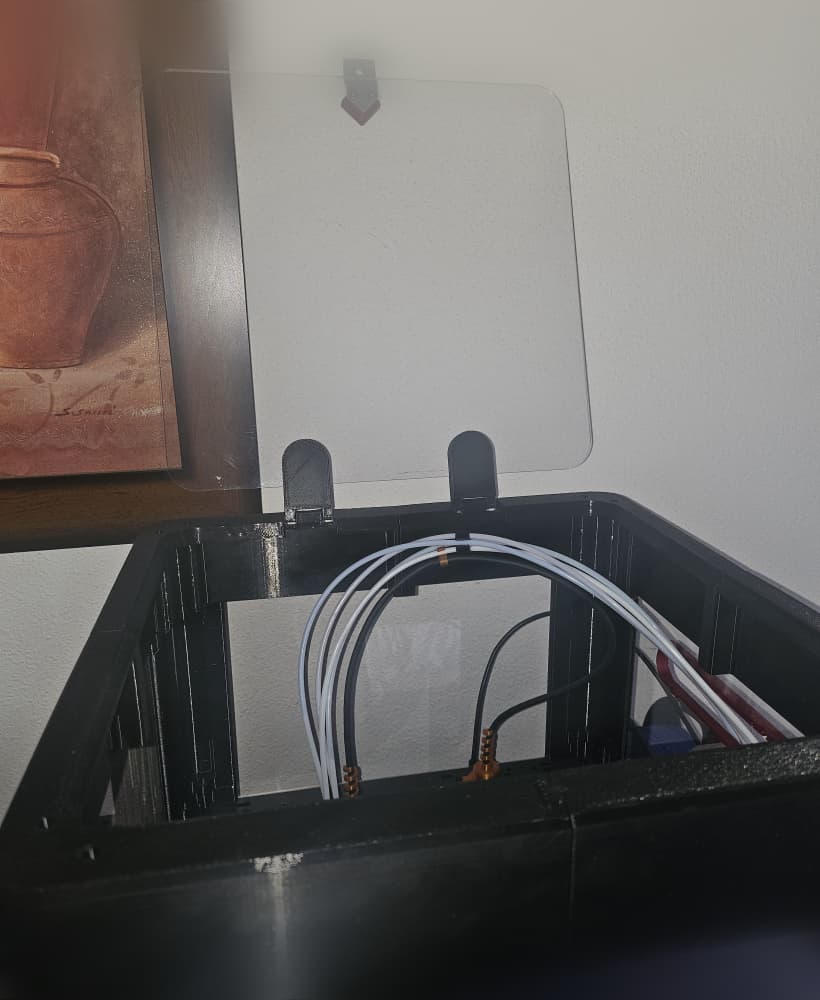
Improved Hinged Voron V0.1 Top-hat with LED holders
Model originally uploaded to Thingiverse at https://www.thingiverse.com/thing:5321560.
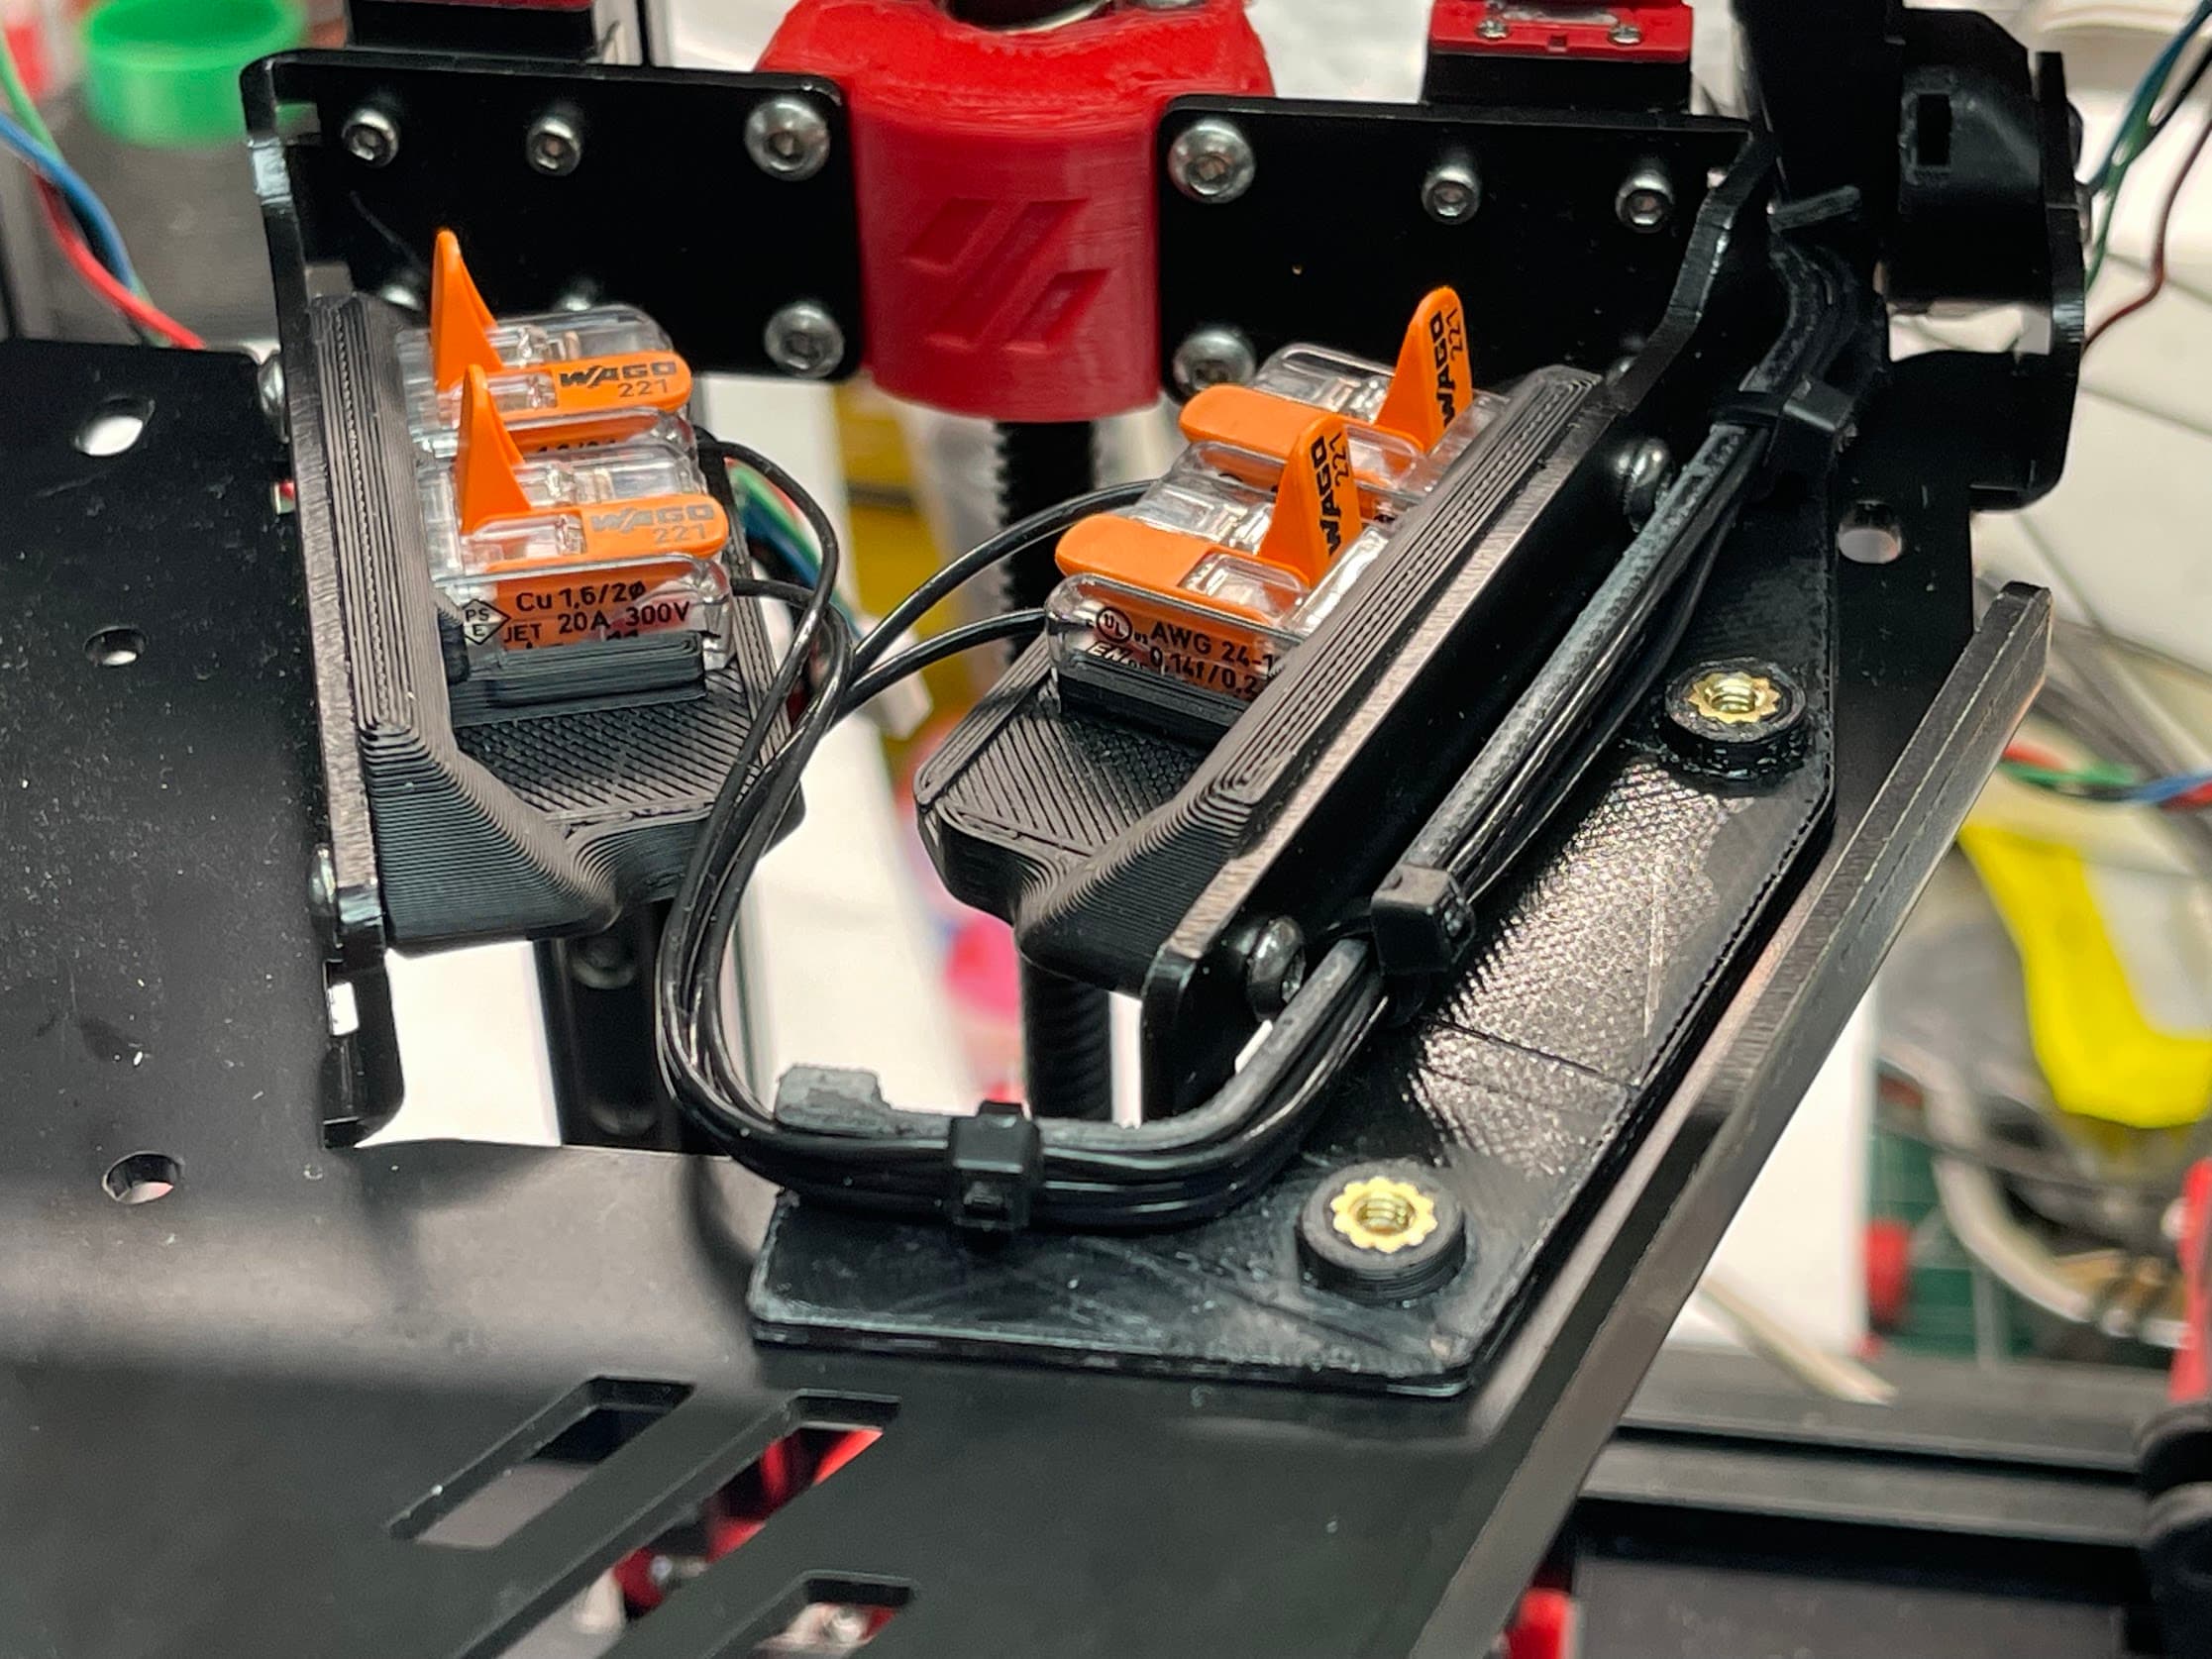
Correction to the HINGES.stl file just posted 2022/03/18 NOTE: This design requires the original Voron V0.1 top-hat.Great work by 93djen, (https://www.prusaprinters.org/prints/109713-voron-v01-tophat-spacer-with-hinges) but I had some fit issues and wanted more from the design.
The main changes are:
- hole placements seemed to be just a bit off for my one piece top-hat, so that was compared to the original Voron V0.1 CAD files-
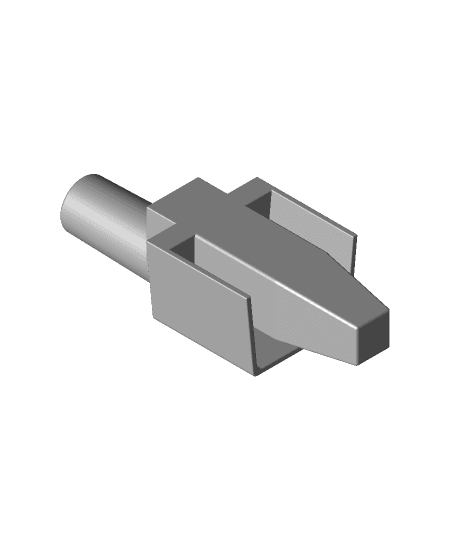
locating pegs that extend down into the frame (as per the original top-hat)
-
LED ramps on the side that were extended in length to better accommodate 30 LED/m strips
-
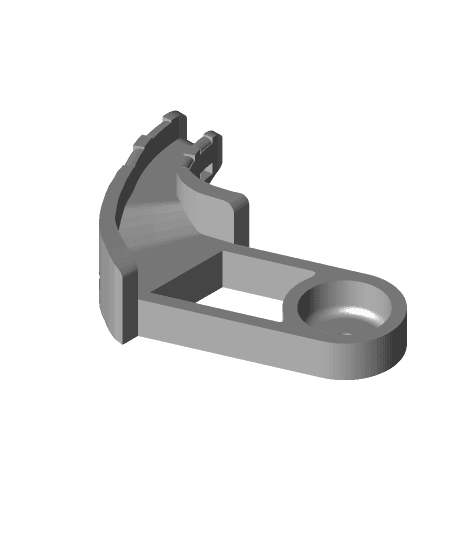
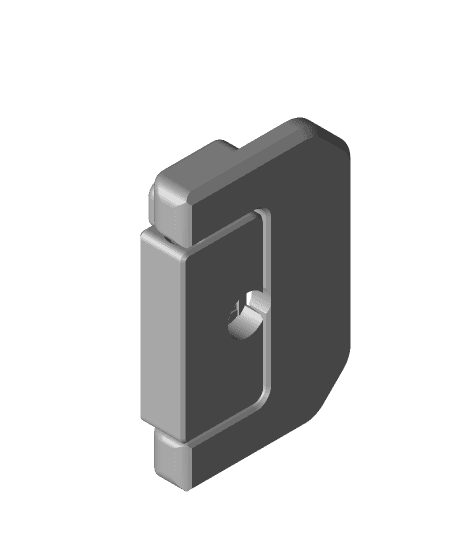
slight move on the hinge pivot point holes as they seemed VERY tight and needed to be filed oval to fully close with the original design
-
redesign of segment joints to better match the lip/contour and provide larger glue surface for acetone welding. (yes, I screwed and glued this baby together!)
-
Added cable tie holes to the original top-hat front corners, for LED power routing.
I just glued the LED carriers to the frame as I trust acetone solvent welding more than cheap adhesive backing at temperatures over 30 C.
STEP files provided for anyone that wants to make changes.
Have fun.
Improved Hinged Voron V0.1 Top-hat with LED holders
Voron V0.1 Flow Rate Test Race Track - 100mm Flowrate Test
BTT Pico Board Mount for Voron V0.1
Kirigami Bed Front - Voron V0 & V0.1 Mod
Flip-top-hinge bottle cap.stl
Cable Channel for Voron v0.1 Kirigami bed
Voron v0.1 v0.2 filler spool holder brace
Snap-in 1515 LED mounting solution Voron V0.1 LDO kit compatible
Audio-technica ath-m30x hinge top replacement
Flashforge AD5X Top Glass Hinges
Mitsubishi colt hat shelf hinge point from 1997
(V2) For BIQU B1 - DIY Enclosure - Remix of Prusa's V2 IKEA Lack Enclosure - with extra doors (opening on 3 sides)
Voron trident dimple hinge

Top Loader Fronted Deck Box /w Hinge
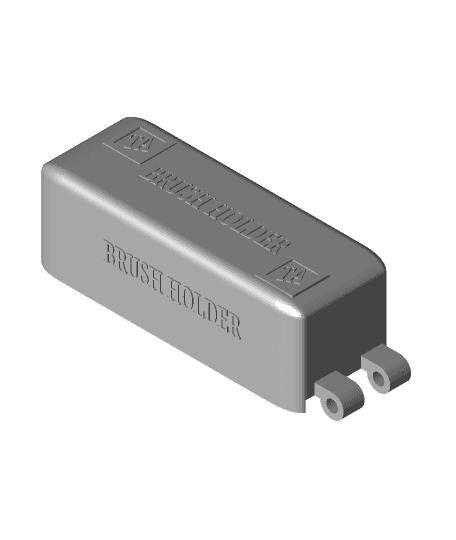
Toothbrush Holder

Christmas Tree Surprise!
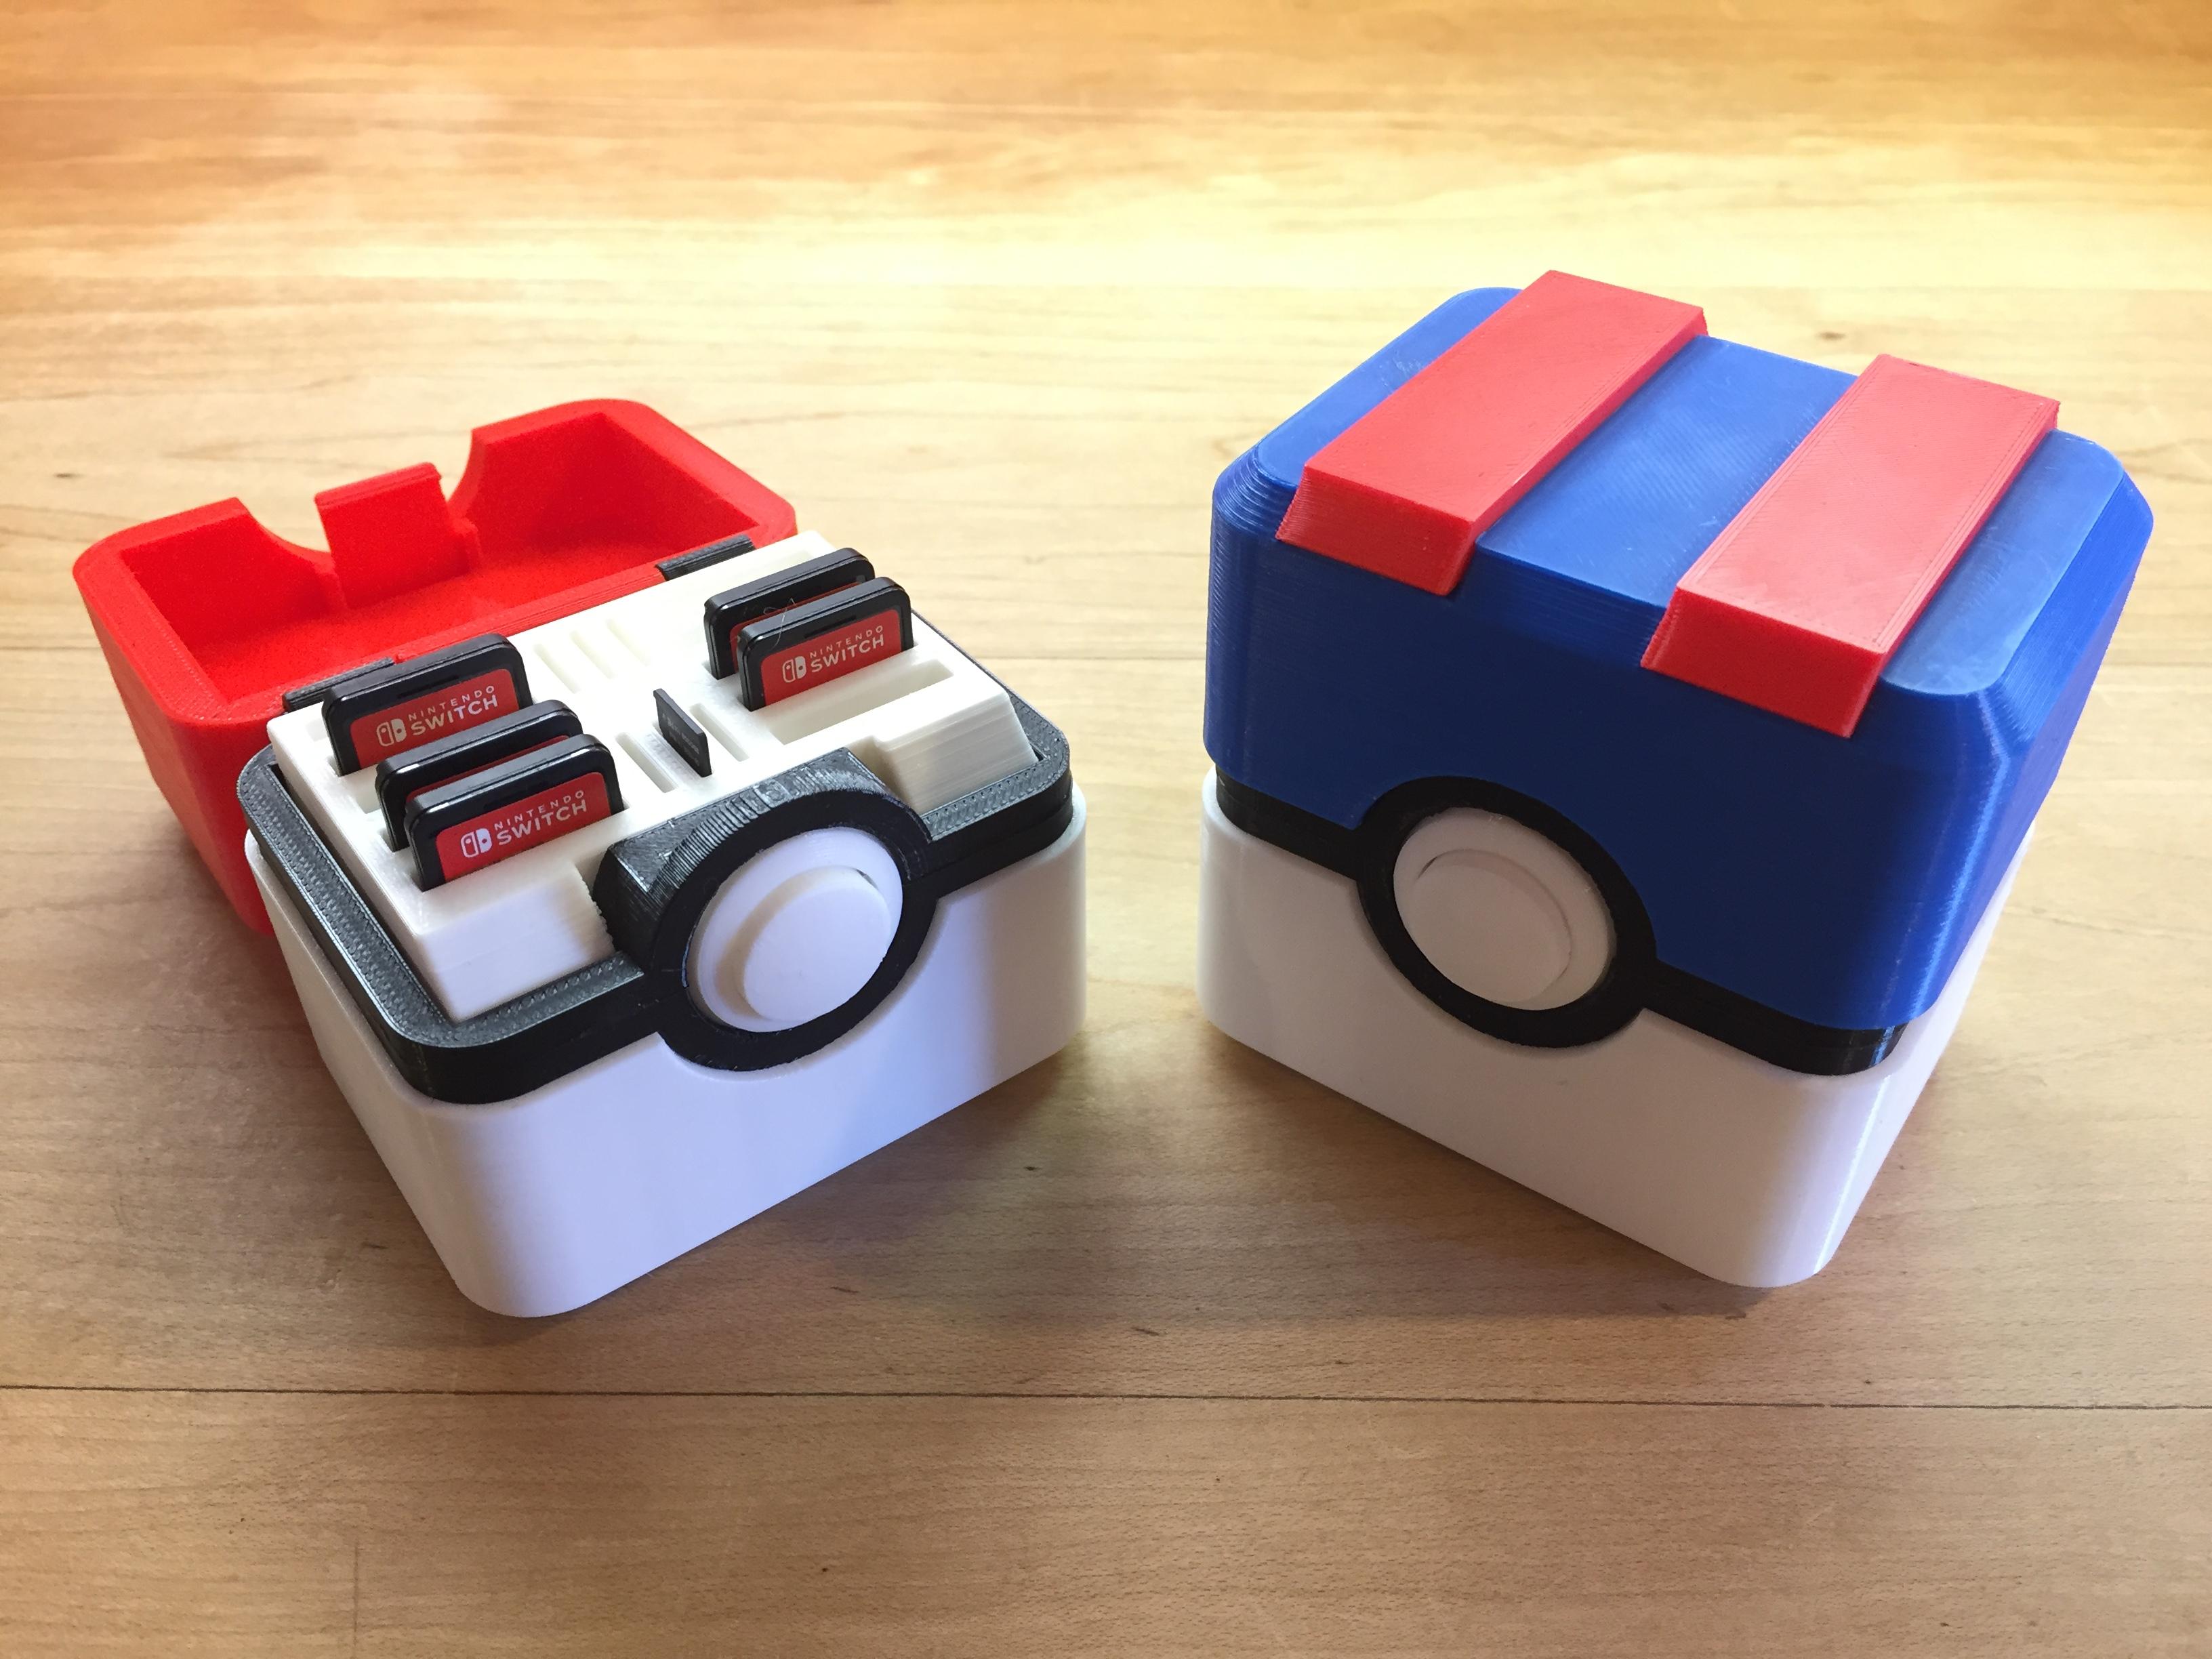
Pokebox Switch DS 3DS Game Case
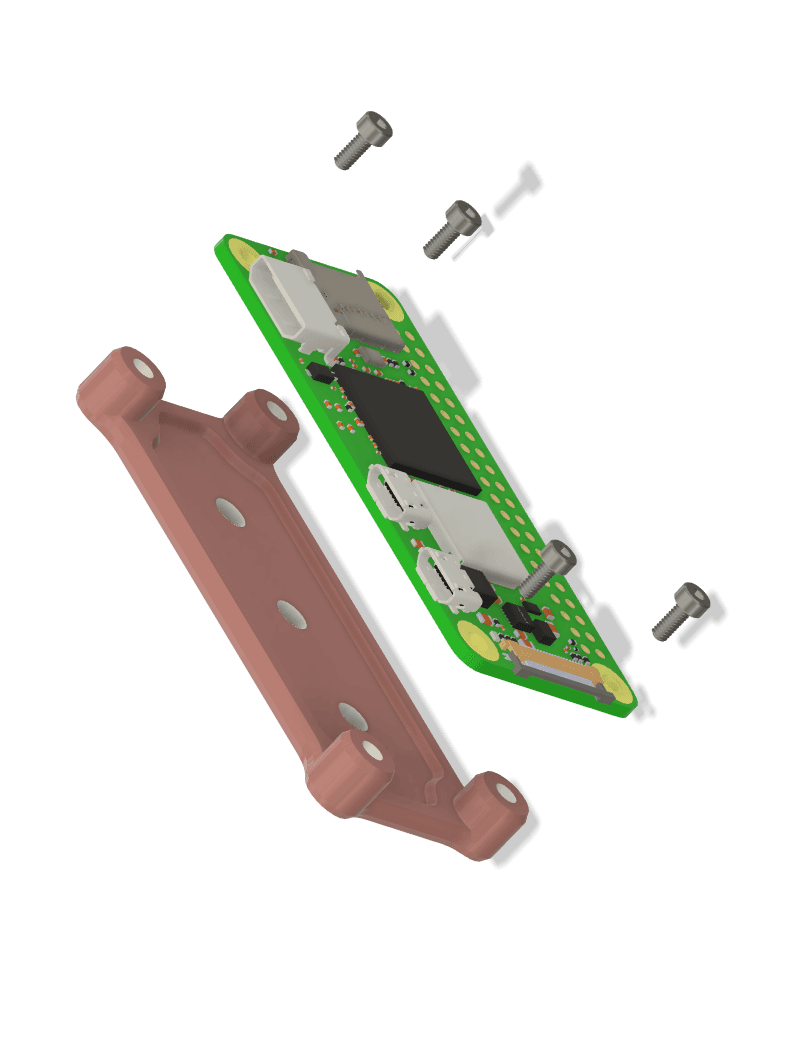
Raspberry Pi Zero Mount - VHB Tape or M3 Screws - Pi Zero 2W

Orso Trash Bin
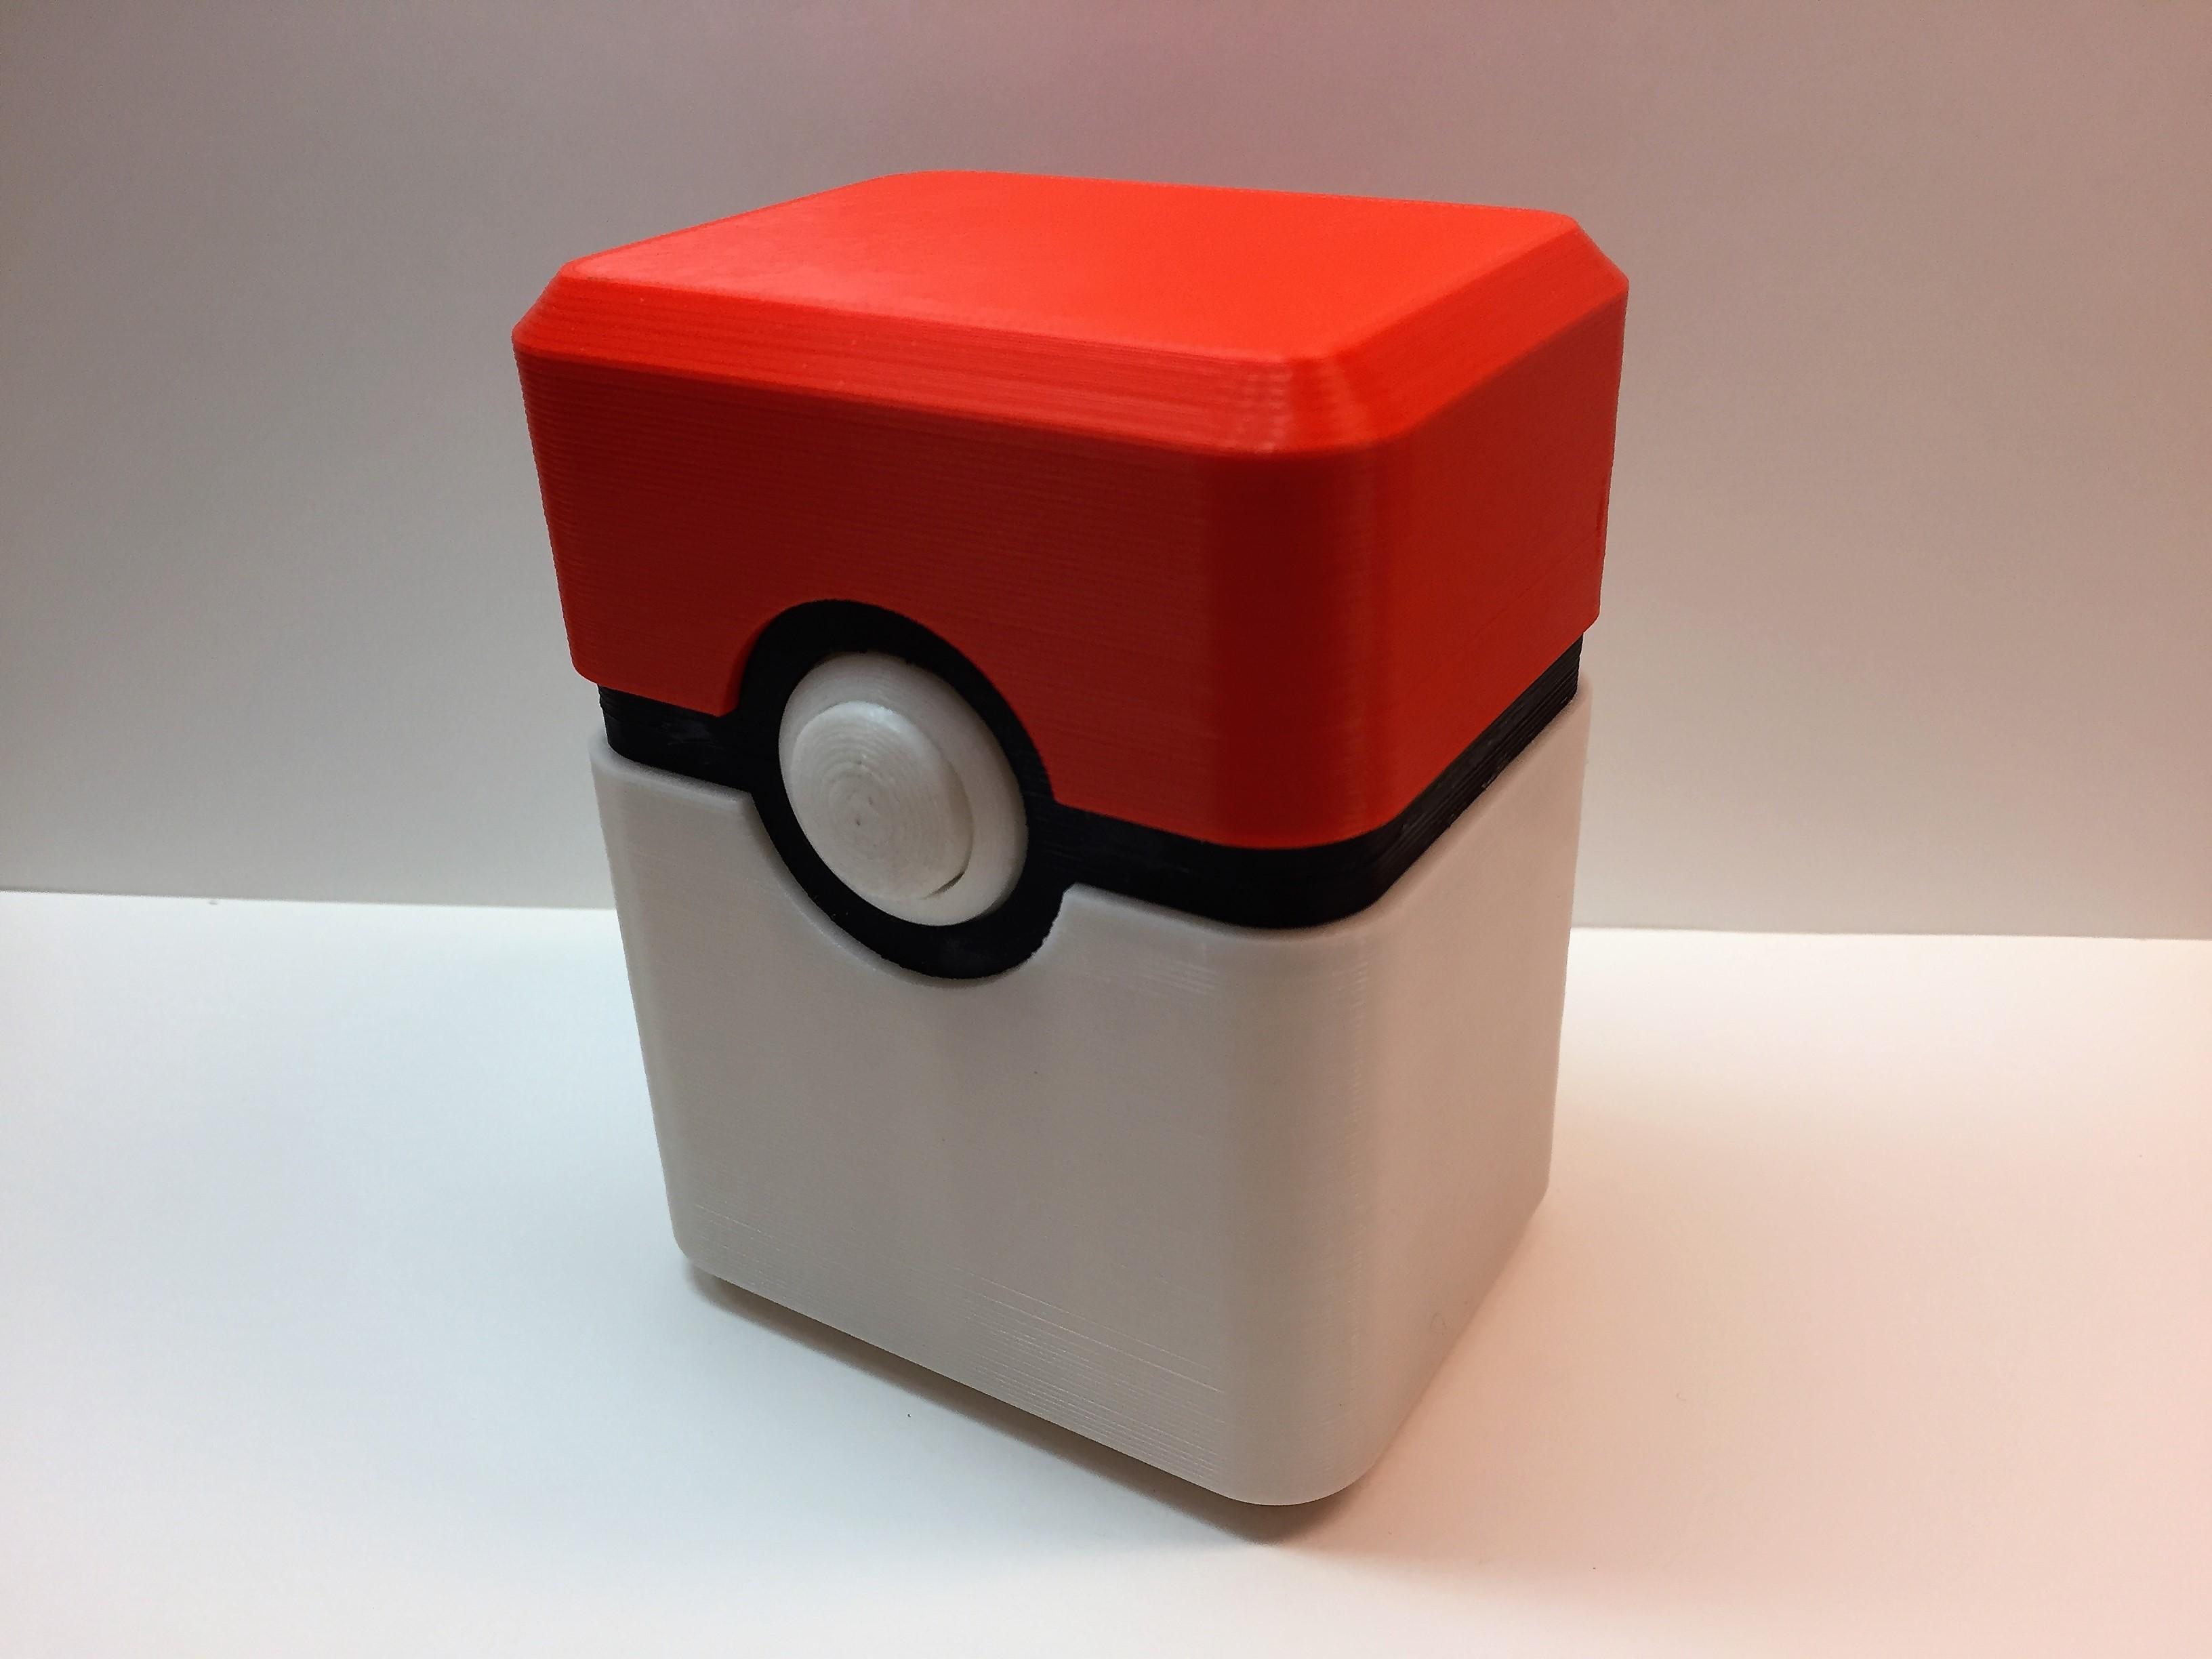
Pokebox Card holder
