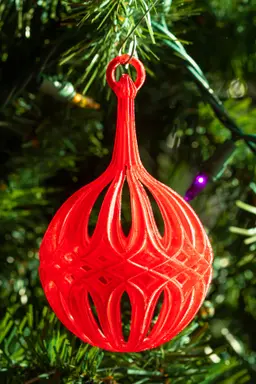

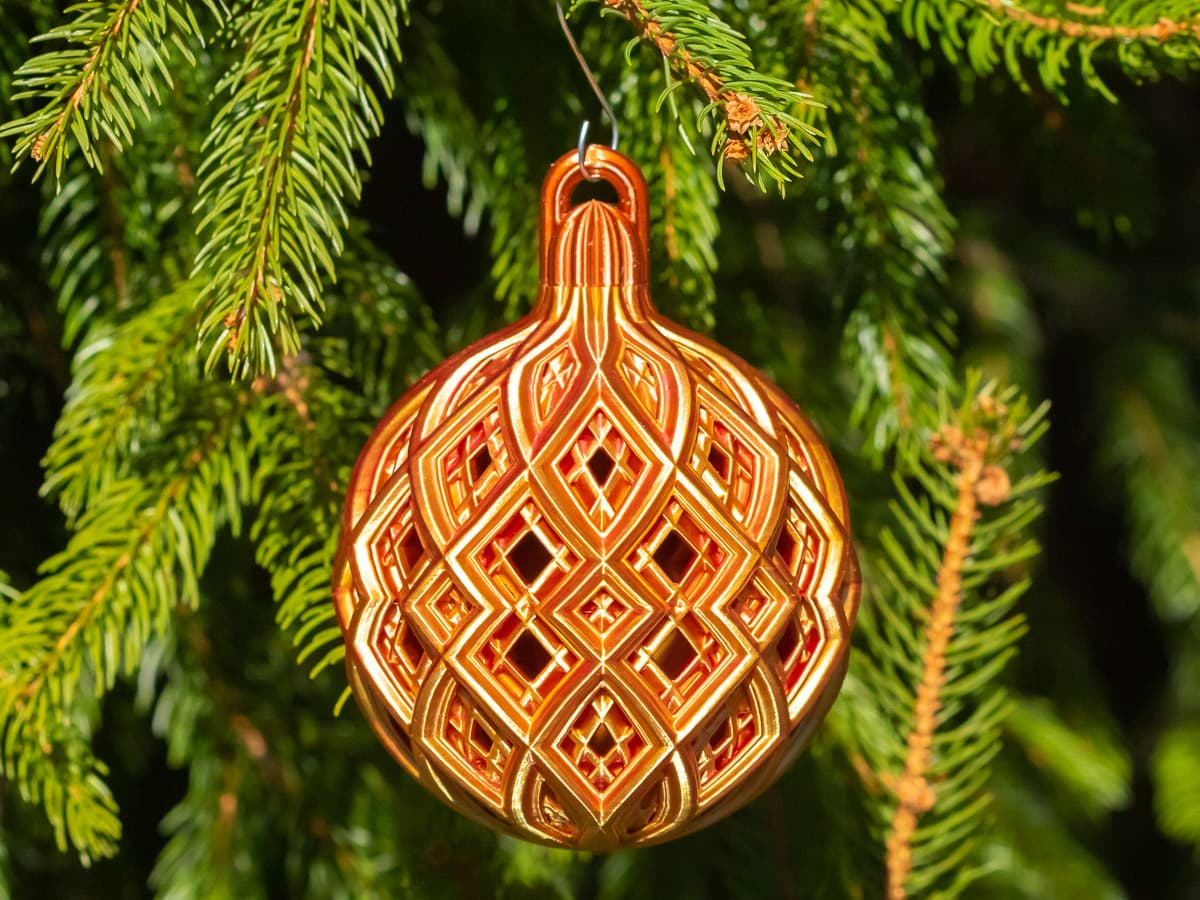
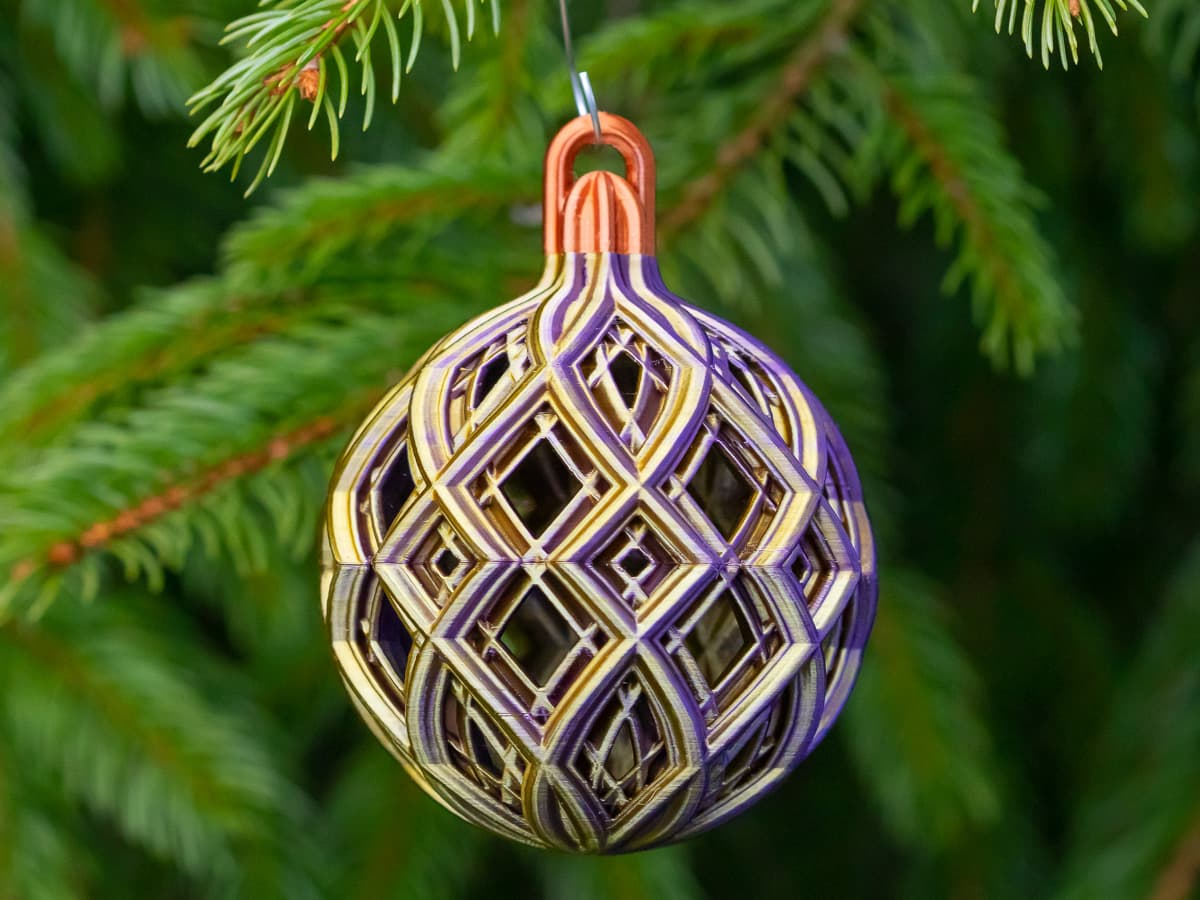
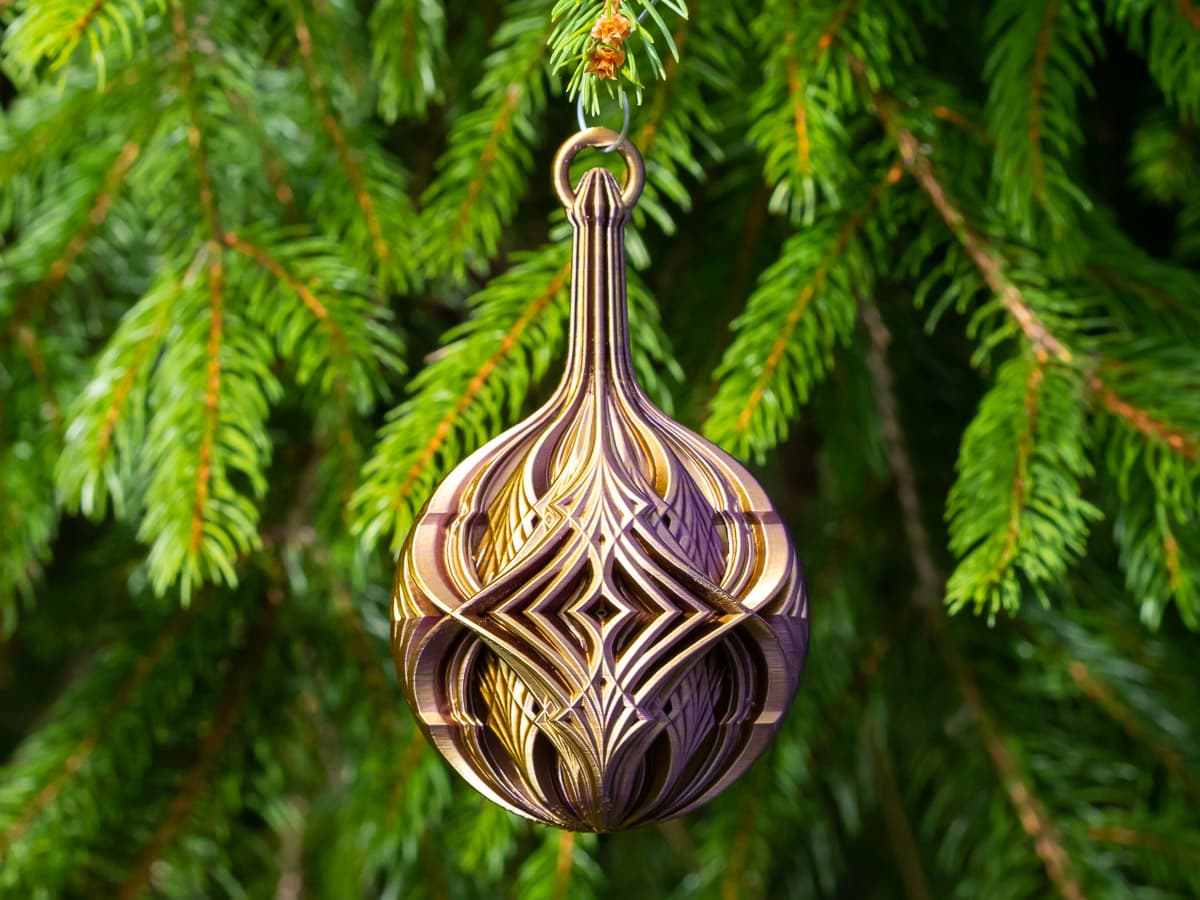
Diamond Christmas Ball Design 2
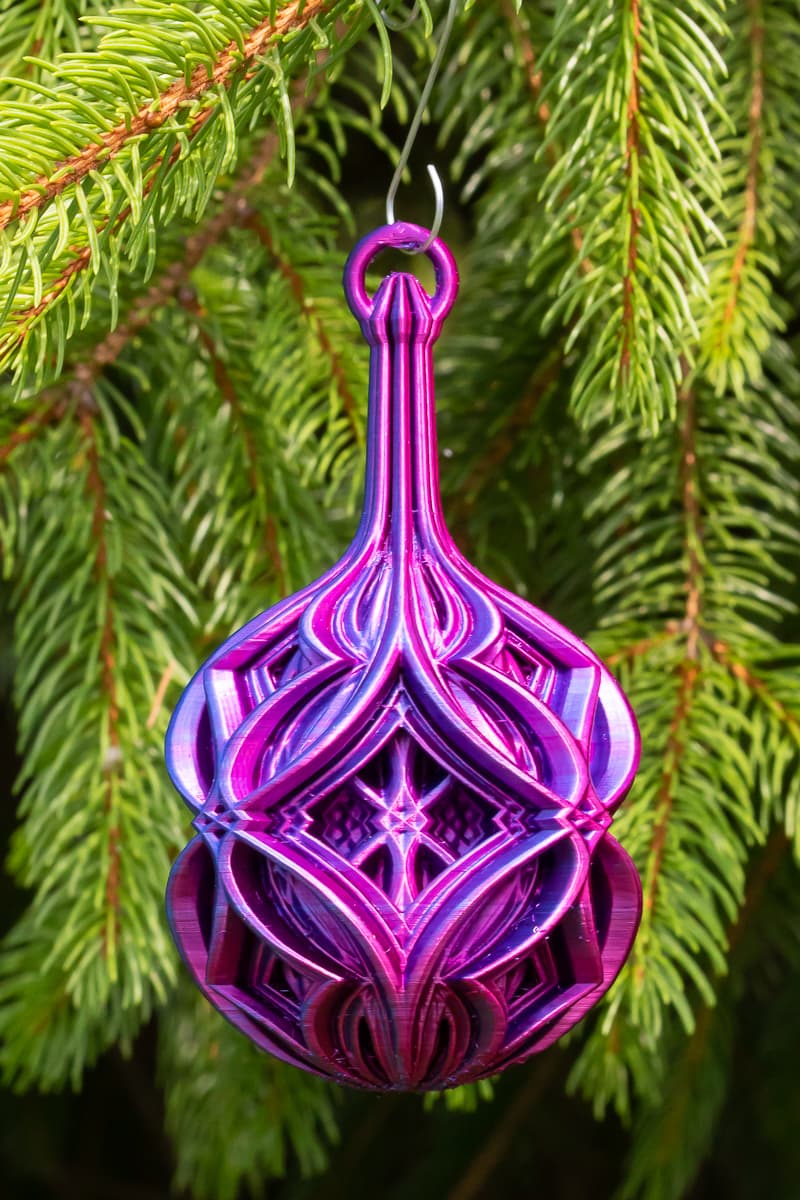
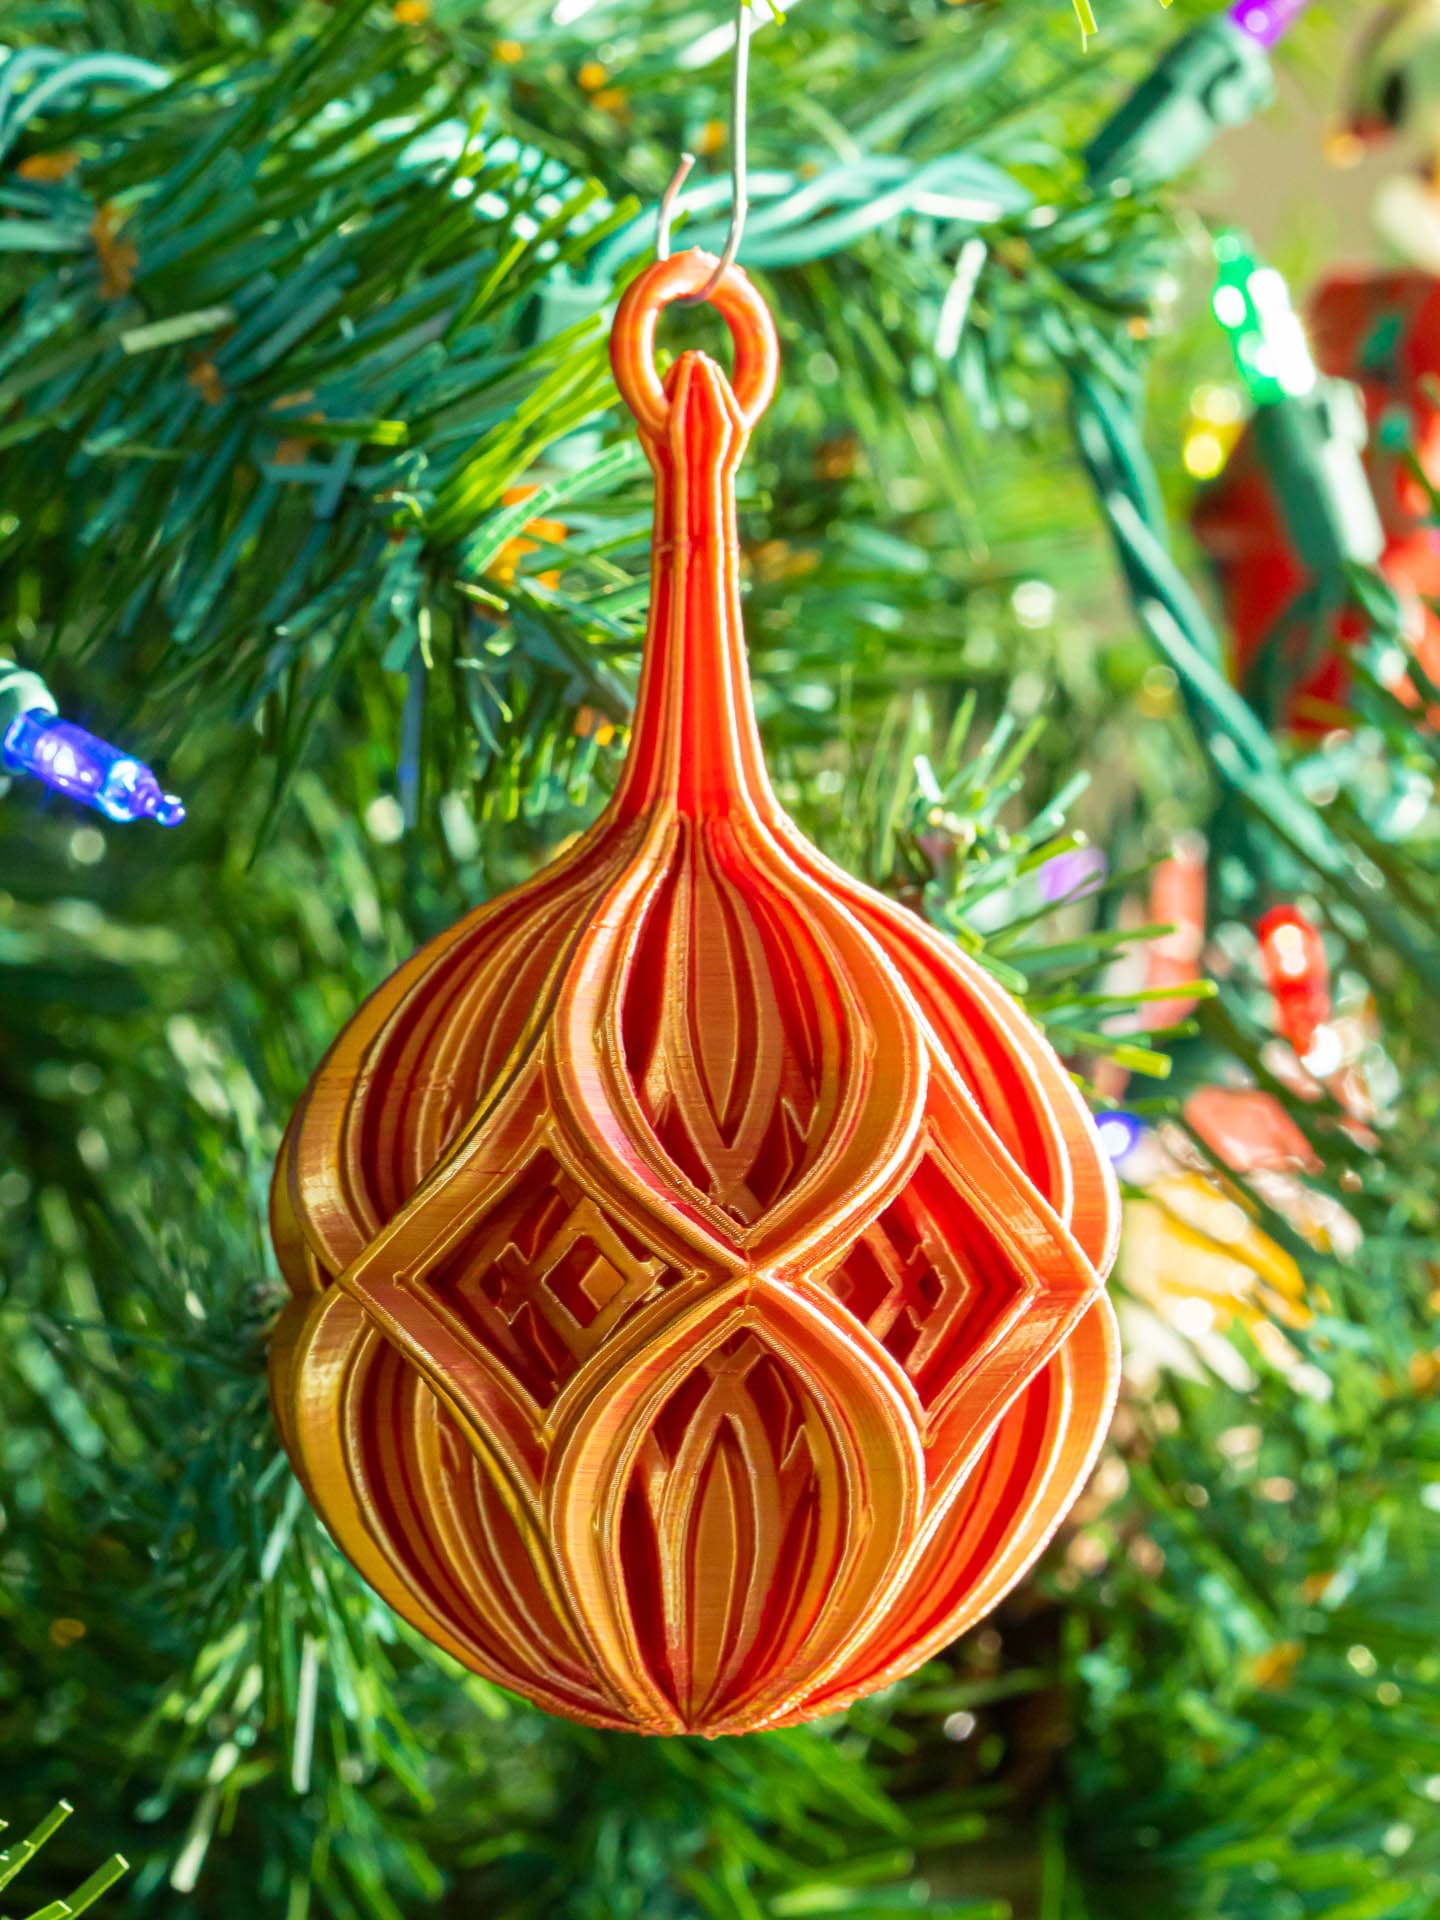
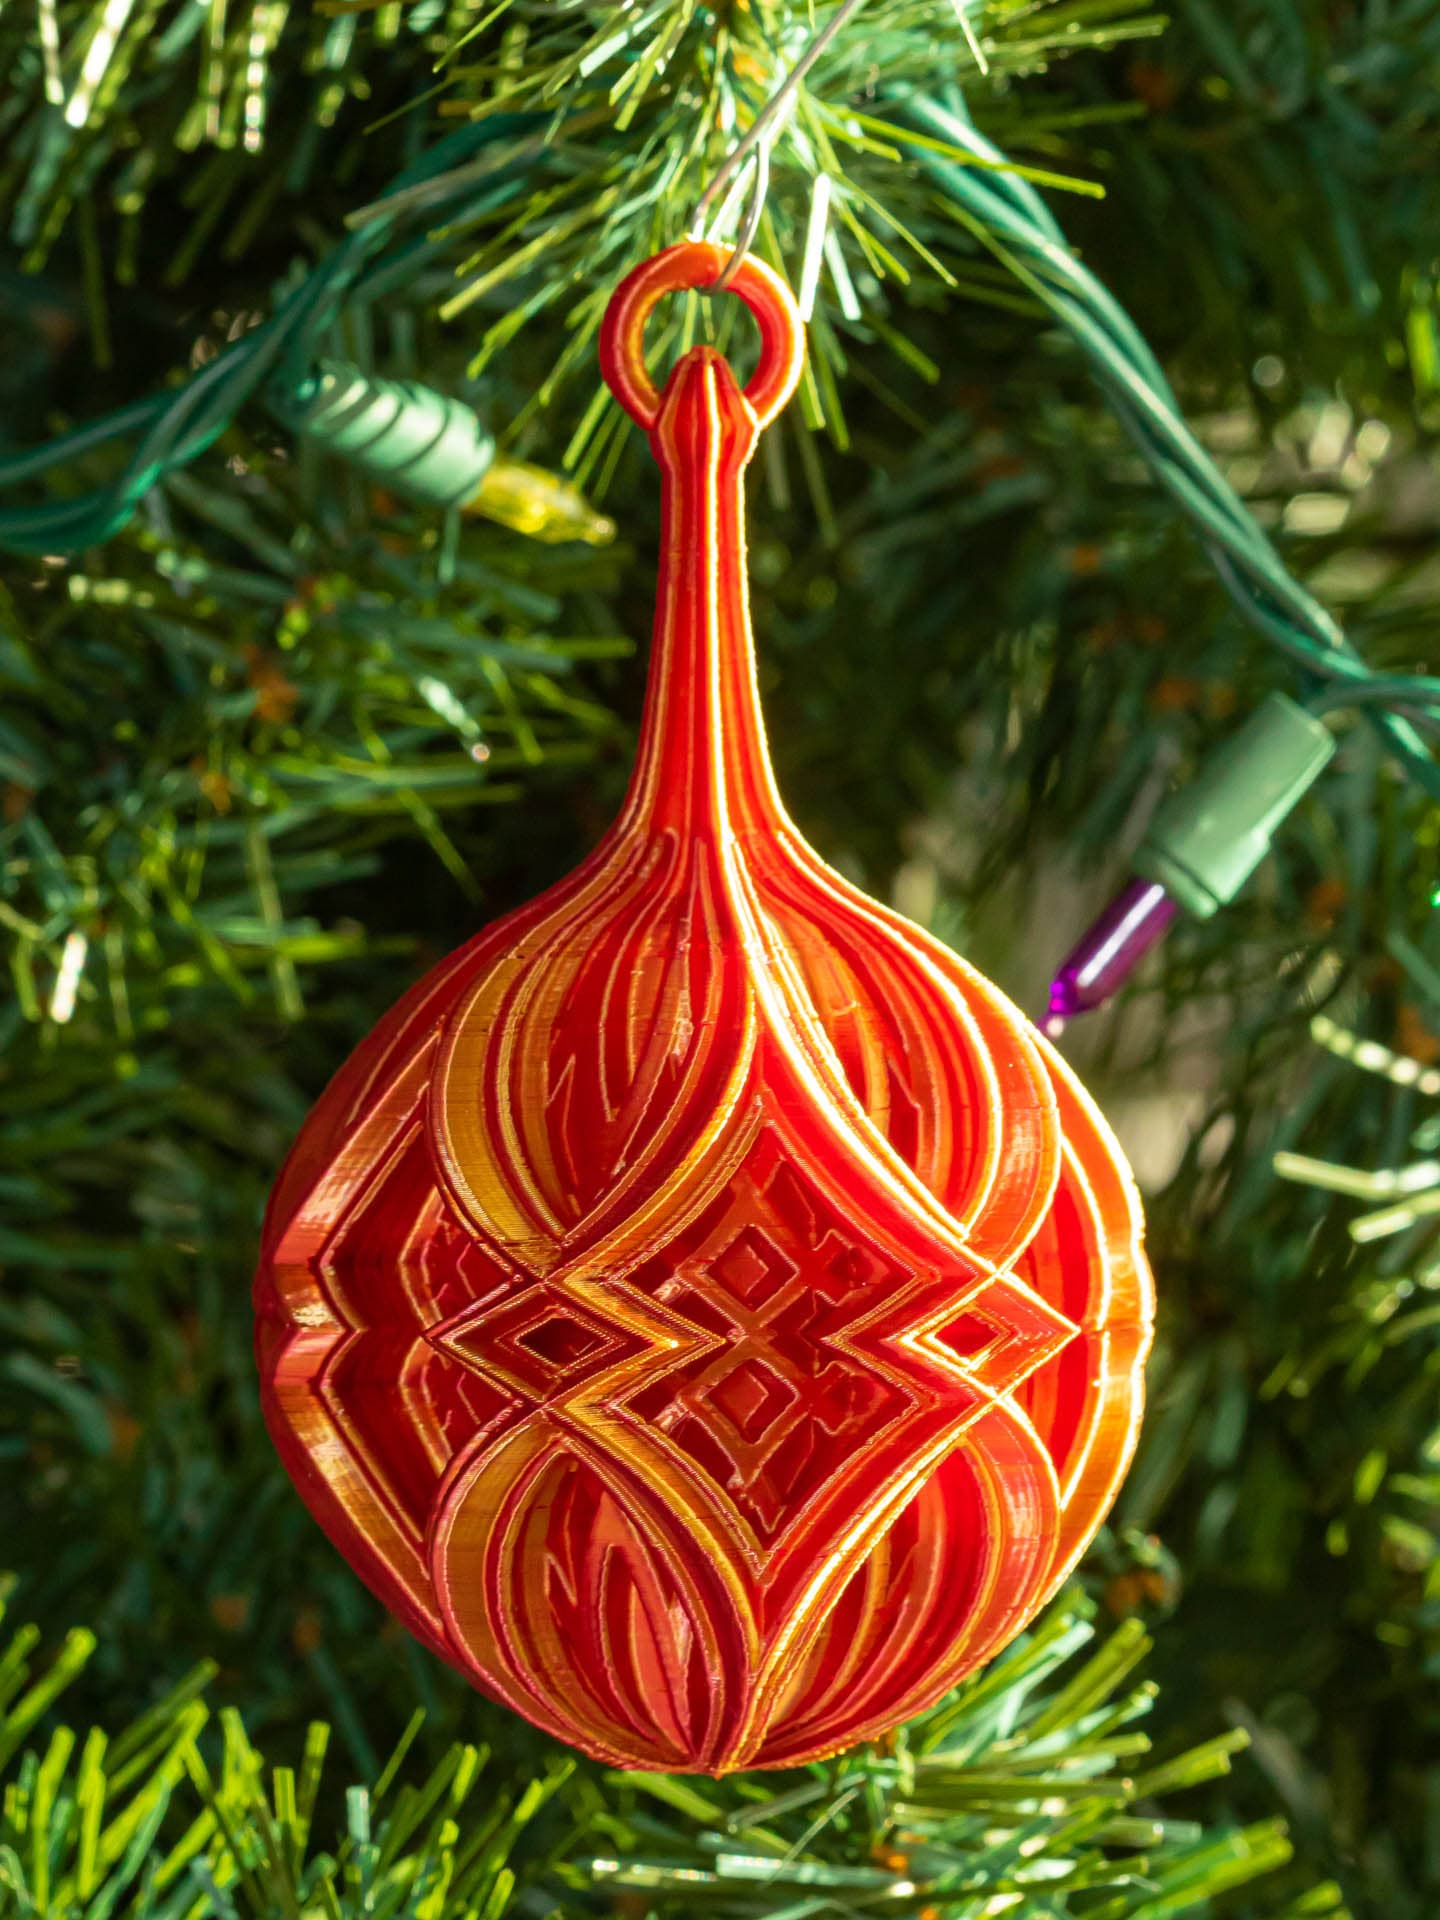
This is a new variation on my Christmas Balls with Integrated Stems. It may be a little challenging to print. The key is to get the speed, temperature and flow right for your particular printer/filament combo so the stem prints cleanly at the narrowest point.
Not for commercial use. Please see license agreement.
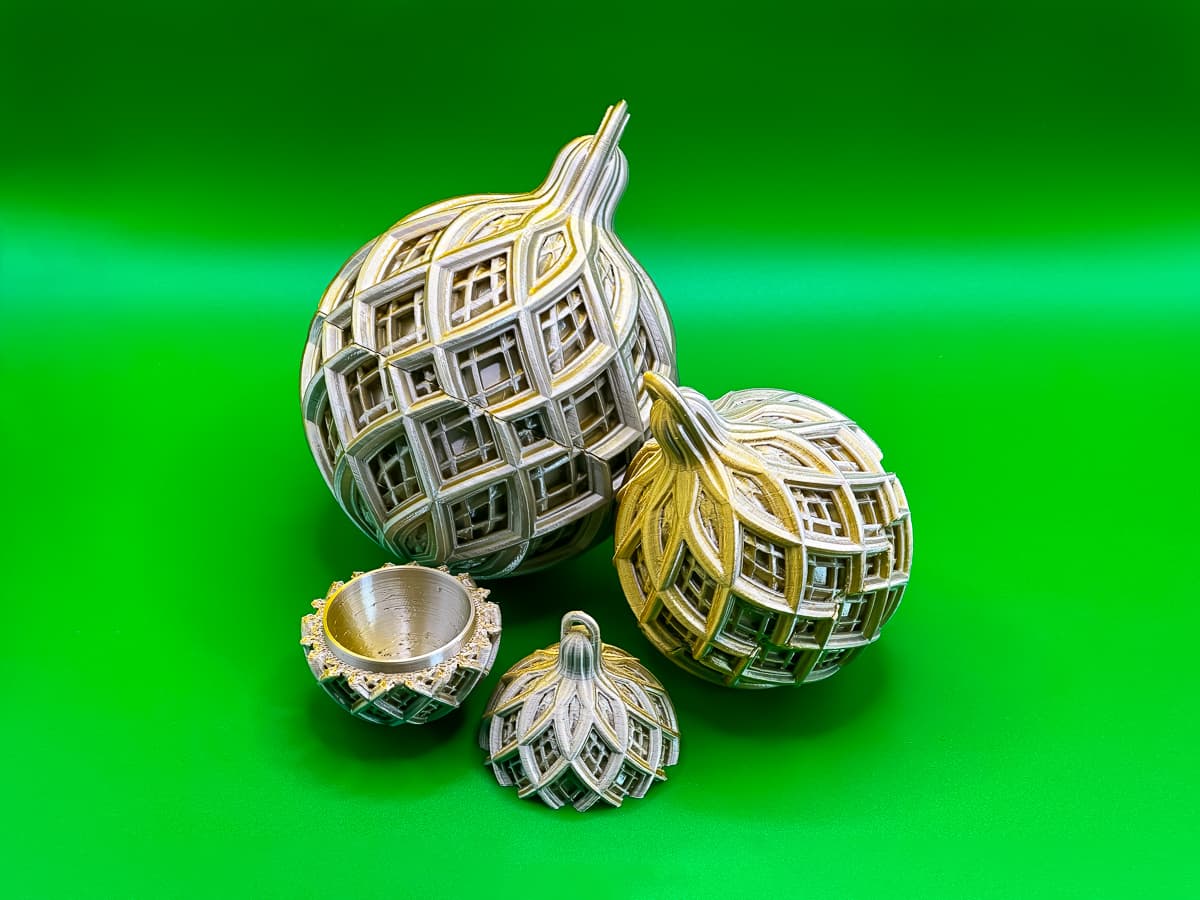
I printed this in Matterhackers Translucent Red. It's a nice balance between translucency and reflectivity. For an opaque filament, I'd use a multi-color PLA (like Matterhackers Quantum) or a medium toned silky PLA (gold, red, just use anything that's not really light or dark). Either type of filament would show off the facets nicely.
RESIZING These should scale up well, but I'm not sure how much smaller you could print them using a consumer FDM printer. Using a resin printer, you could probably print them much smaller.
PRINT TIME About 4 hours.
PRINT SETTINGS The trickiest parts to print is the top of the stems. Using FDM, if you don't temp, speed, flow, and cooling right, the thin parts of the stem will melt as you print. Thinner walls help. If that's not enough, try increasing the layer height. I decreased the print temp from my usual 200 to 190 for this, decreased the flow from 115 to 105, and increased the outer wall speed from 20 to 30 mm/sec. That was enough to go from stem that was molten goo to one that printed perfectly.
Thickness
- Layer thickness: .15 mm
- Wall thickness: 0.4 – 0.8 mm.
I had the best results using Cura setting the default width to 0.4 mm and adding custom settings for the base of the ball that printed it 0.8 mm thick. You can do this by adding a support blocker to the bottom and giving it custom settings of 0.4 mm. Cura adds the two and prints the area within the blocker at 0.8 mm.
Infill This does not need any infill. JUST DON'T DO IT.
Speed
- Outer Wall: 30 mm/sec
- Inner Wall: 30 mm/sec
- Top/Bottom Speed: 30 mm/sec
- Travel Speed: 50 mm/sec
Build Plate Adhesion I really relied on the supports for build plate adhesion. I used a brim, but I set it to 3.2 mm gap from the print so it would touch the supports but not the ornament.
Supports You will probably need supports for both bed adhesion and the overhang on the first few layers. You shouldn't need supports for the loop at the top. Adding them would just increase the chances the supports broke and caused the print to fail.
- Support Structure: Normal
- Support Placement: Touching Buildplate Support Overhang Angle: 45 Degrees
I added a support blocker 75 mm x 75 mm x 110 mm set 15 mm above the build plate so that the supports would only be added to the bottom of the ornament.
Diamond Christmas Ball Design 2

Stacked Diamond Christmas Ball
Christmas Ball - Fine Diamond Lattice
Christmas Ball - Medium Diamond Lattice
Christmas Ball with Intersecting Diamonds

Diamond Christmas Stretch Ornament 2024
Secret Gift Box for Christmas

CHRISTMAS TREE / STRING CHRISTMAS TREE / HOMEDECOR / DESIGNER CHRISTMAS DESIGN

MELTING CHRISTMAS BALL / UNIQUE CHRISTMAS DECOR / HOMEDECOR / DESIGNER
Christmas Ball - Alternating Diamonds
Diamond Christmas Ball
Double Diamond Christmas Ball

Diamond Christmas Bulb 2 (2024)

Kaleidoscope Christmas Ball 2
christmas ball deer 2

MODERN CHRISTMAS TREE / 2 PART DESIGN / NO AMS / MODERN ABSTRACT DECOR / HOMEDECOR / TABLEDECOR

Customizable Highland Cow Christmas Tree Ornament 2 designs

GRUMPY CHRISTMAS CAT / CHRISTMAS TOY / CHRISTMAS MINIATURE / ASSEMBLY - 2 PARTS

ABSTRACT REINDEERS / CHRISTMAS DECOR / HOMDECOR / CHRISTMAS DESIGNER DECOR

GRUMPY CHRISTMAS LION / CHRISTMAS TOY / CHRISTMAS MINIATURE / ASSEMBLY - 2 PARTS