
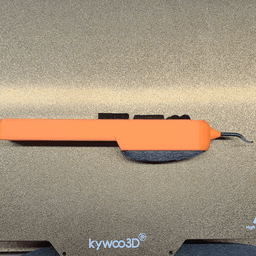


Maker Multitool - The Ultimate 3D Printing Nozzle Brush
Revolutionize Your 3D Printing Workflow with the Maker Multitool: 4 Years in the Making!
As a 3D printing enthusiast, I'm always looking for ways to streamline my workflow and make the process more efficient. That's why I'm so excited about the Maker Multitool. This amazing tool has been four years in the making, and it's specifically designed for imrpvoing 3D printing workflow.
One of the things I love about the Maker Multitool is that it makes the entire 3D printing process so much easier. Instead of having to switch between different tools, I can do most everything I need with just one device.
I think the Maker Multitool is a game-changer for anyone who's serious about 3D printing. It's made my workflow so much smoother and more efficient, and I love that I can take it with me wherever I go. If you're looking for a tool that will help you take your 3D printing to the next level, I highly recommend checking it out.
Parts Used: Felt Pads - https://amzn.to/3Kkv6OX Deburring Bits - https://amzn.to/3zErEdj Cleaning Pins - https://amzn.to/3maFQHW Cleaning Bits - https://amzn.to/413auBI Steel Wool - https://amzn.to/43gHAQo
Printing Tips:
Small layer height. .14 recommended.
3 walls
Supports NOT needed. Orient the print so the square holes are facing the bottom and your printer should easily bridge the small distance.
Choose walls to print inside to outside as there are steep overhangs on the deburring tool.
Maximum cooling
Use horizontal expansion if your deburring bit or the drawer is too tight. On a well calibrated printer this wont be a problem. Make sure your flow and wall width is accurate.
Klipper takes about 3 hours for both, where Marlin will take about 6-7 total.
Print both parts in the same orientation for the best fit.
Minimal infill required.
When it comes to hardware, I rely heavily on Bambu Lab 3D printers. My A1 Mini https://rb.gy/uofj5 is a staple in my office, while my fleet of X1C Carbons https://rb.gy/9r2az ensures rapid and high-quality production. #ComissionsEarned which help support my free model development.
Was this model helpful for you? Consider supporting my work in any of the following ways! Even the free options help the channel!
Consider dropping a tip http://buymeacoffee.com/MakersMashup or consider supporting my ongoing work https://www.patreon.com/makersmashup Purchase anything on amazon after visiting our store page https://amzn.to/429HusI Just click this link first!
No cost option to support my work?
- Subscribe to the YT channel
- Follow me on Thangs.com
- Watch videos on the channel!
- Share any of the videos on social media!
- Share my models with friends and family!
Maker Multitool - The Ultimate 3D Printing Nozzle Brush
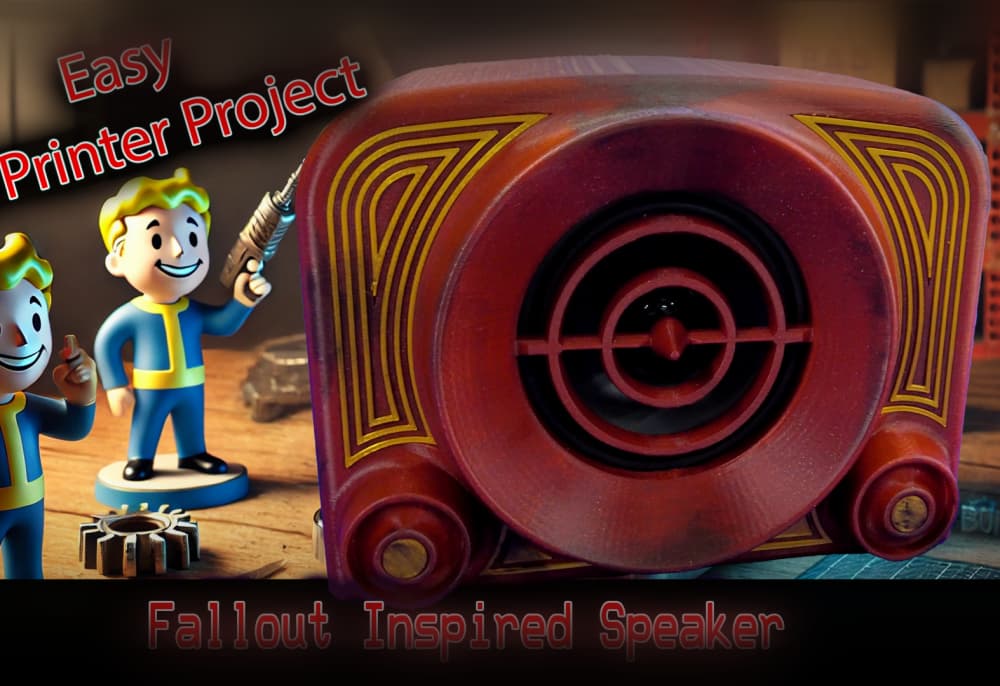
Space Toaster - Fallout Inspired Speaker
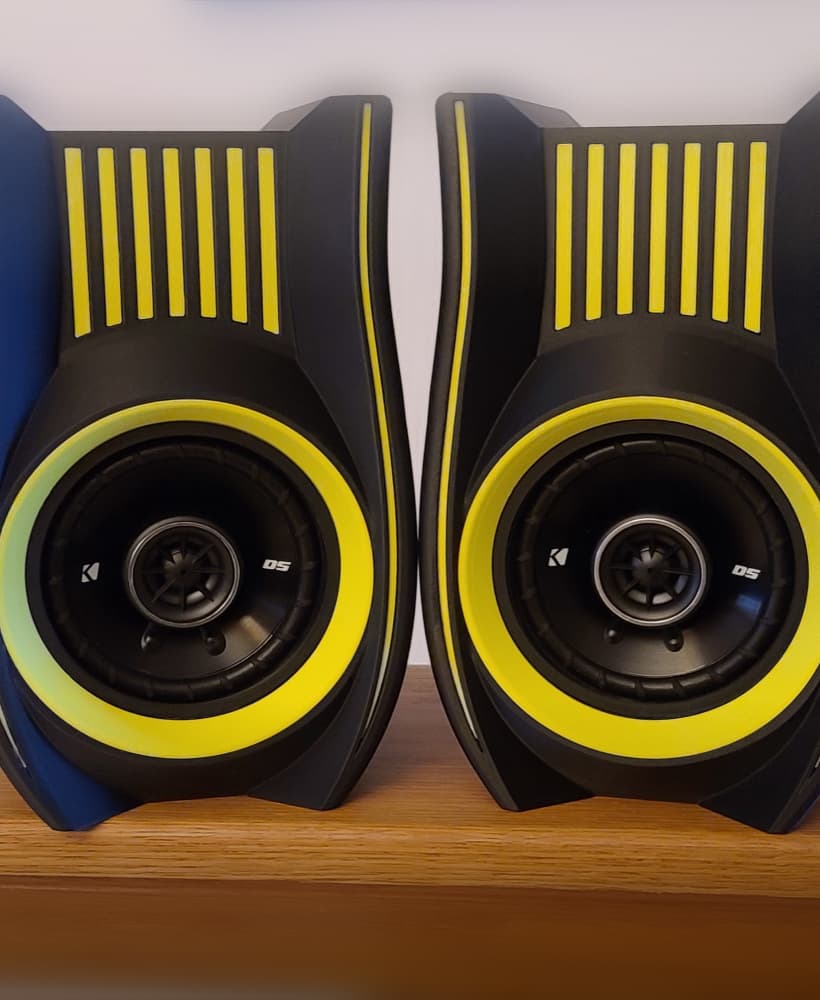
Celestial Thruster Speakers - Bluetooth / PC / Desktop Speakers with Deep Bass
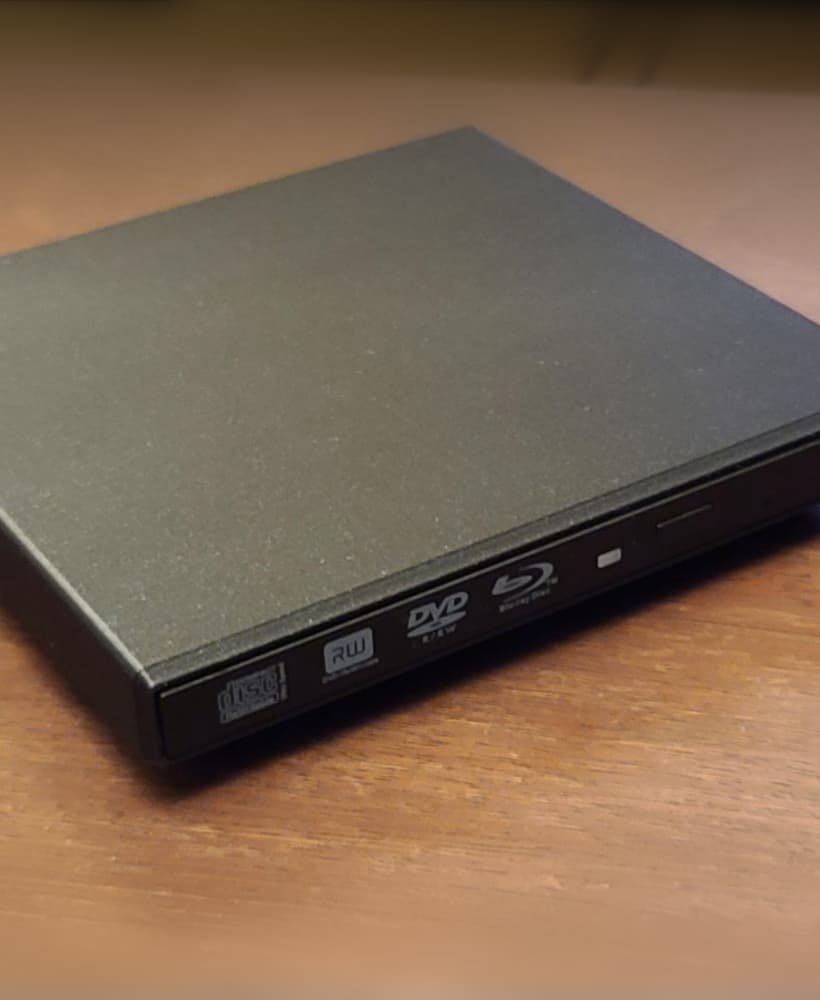
Slimline Optical Disk Drive Enclosure / Slim CD/DVD/Blu-Ray/UHD Enclosure.
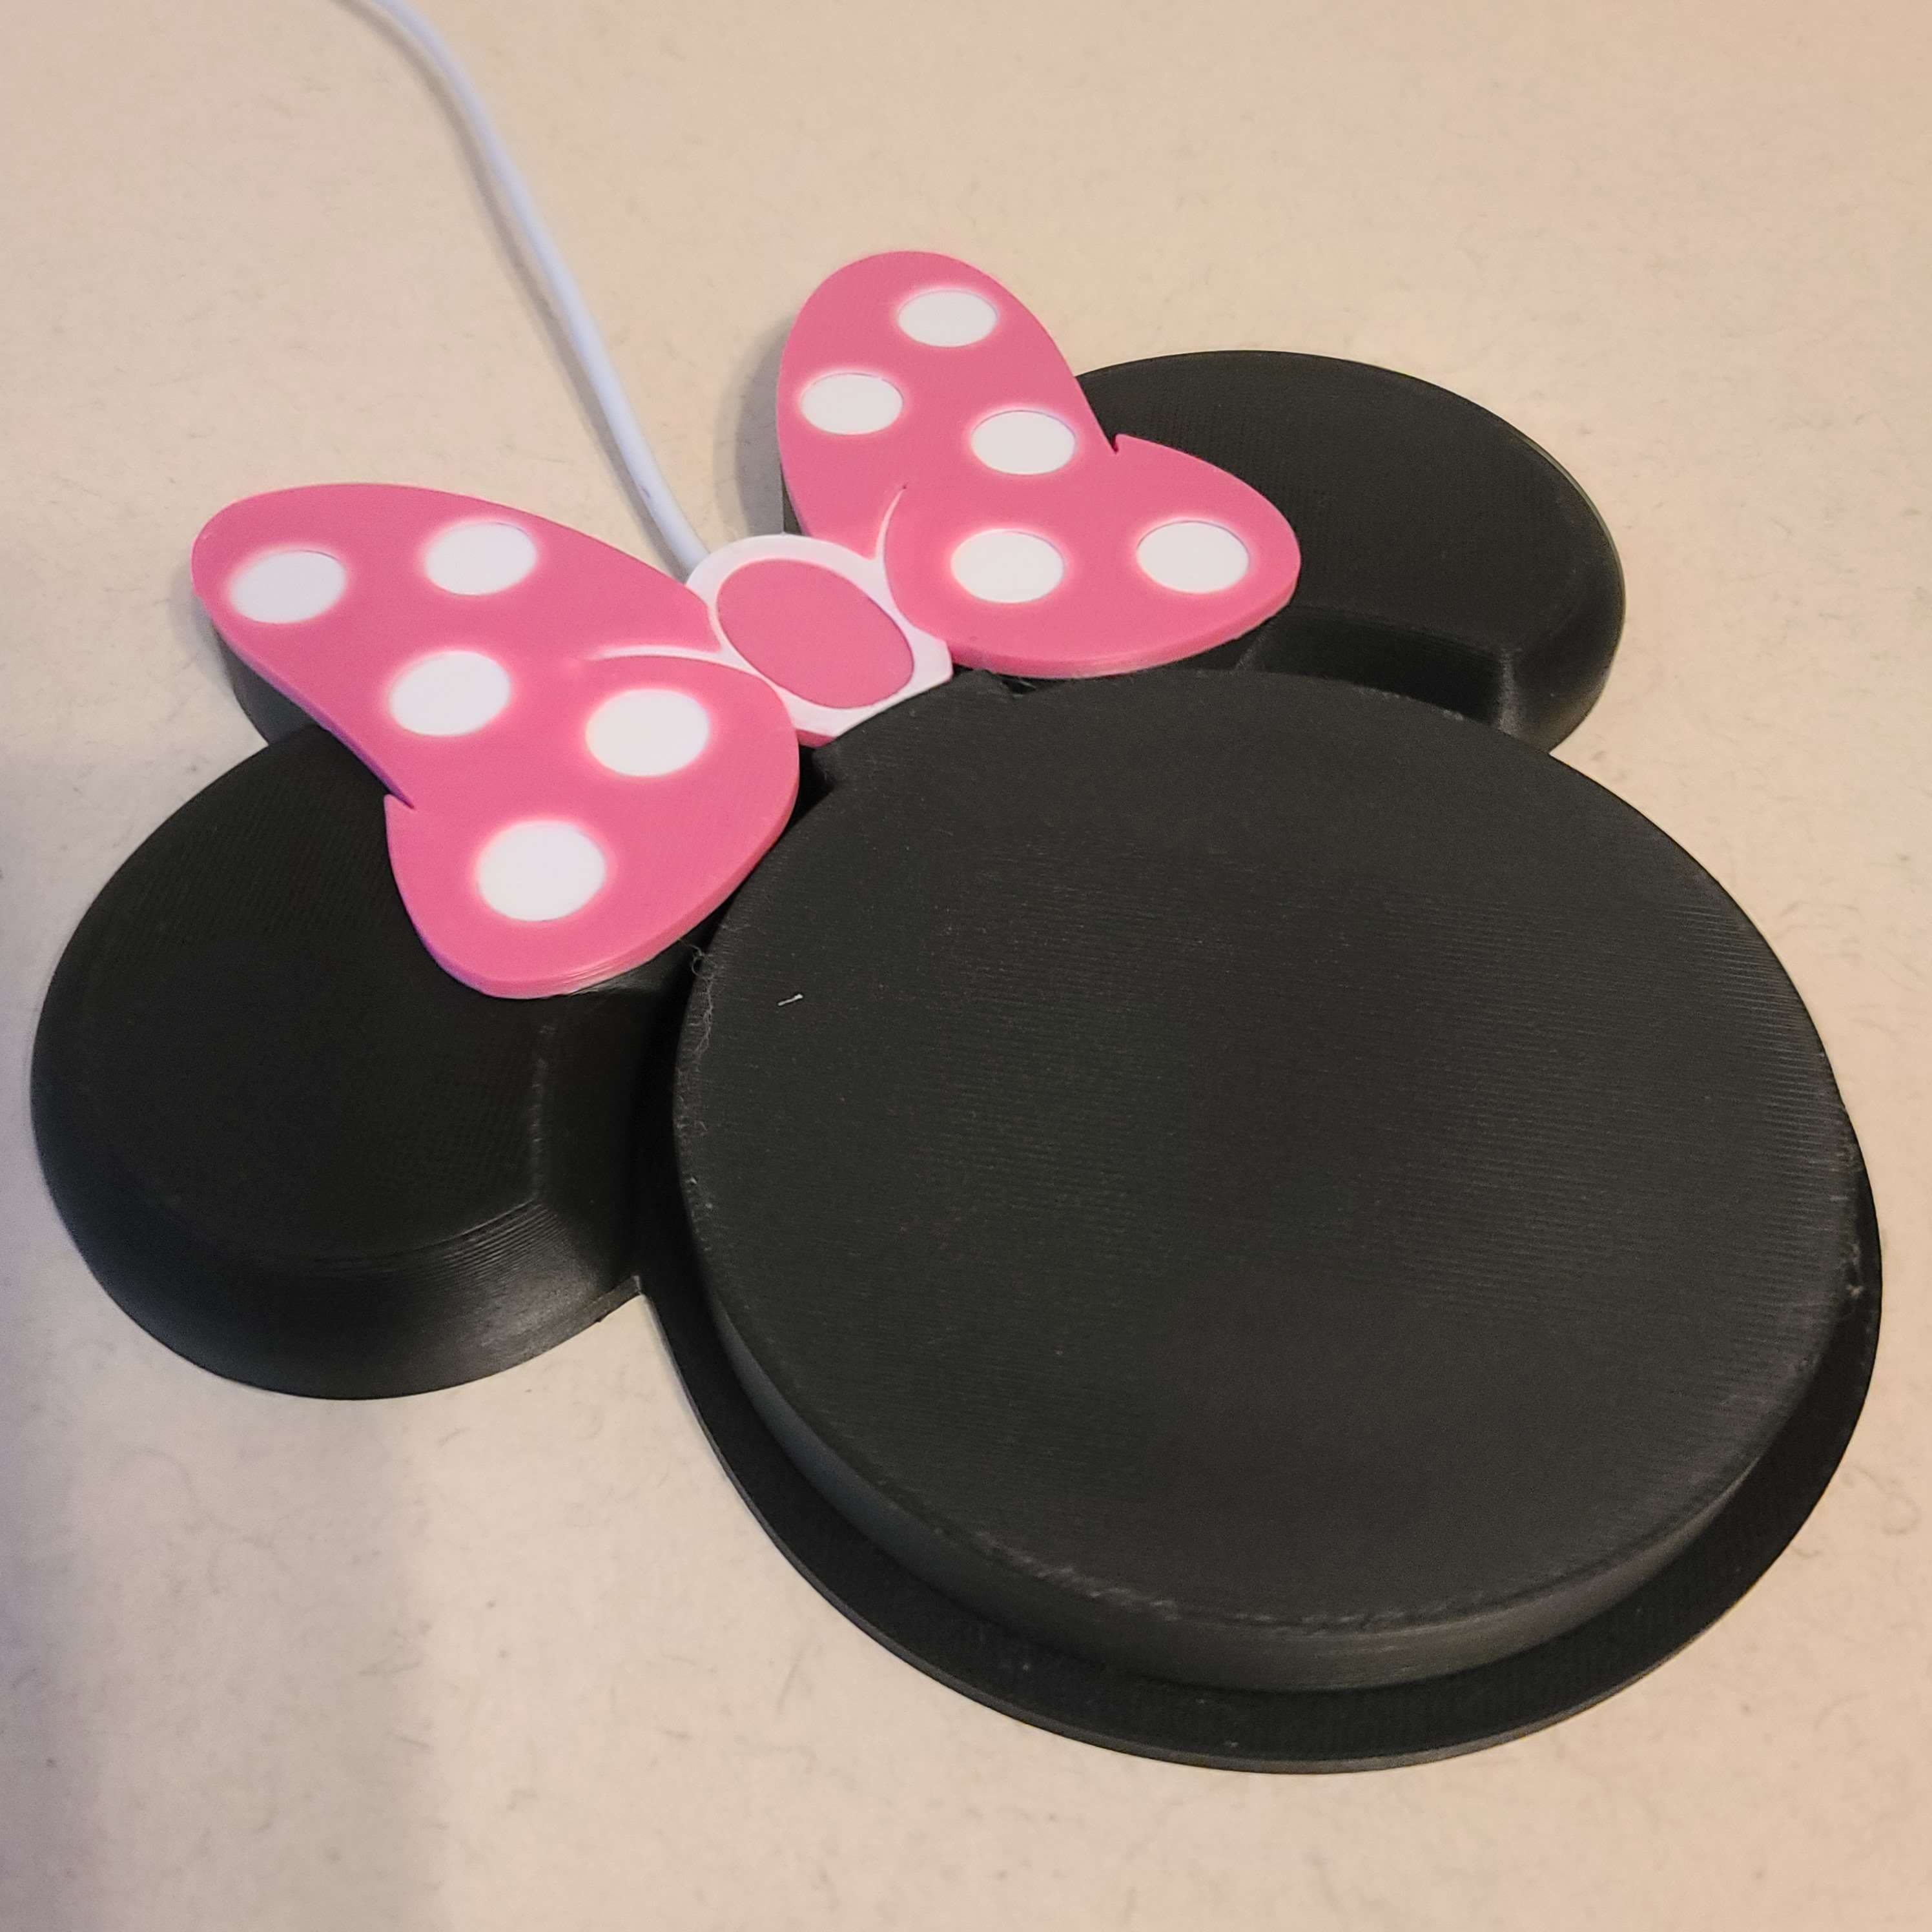
Mrs. Mouse Phone Charger

Fusion Reactor Lamp - Star Wars Inspired
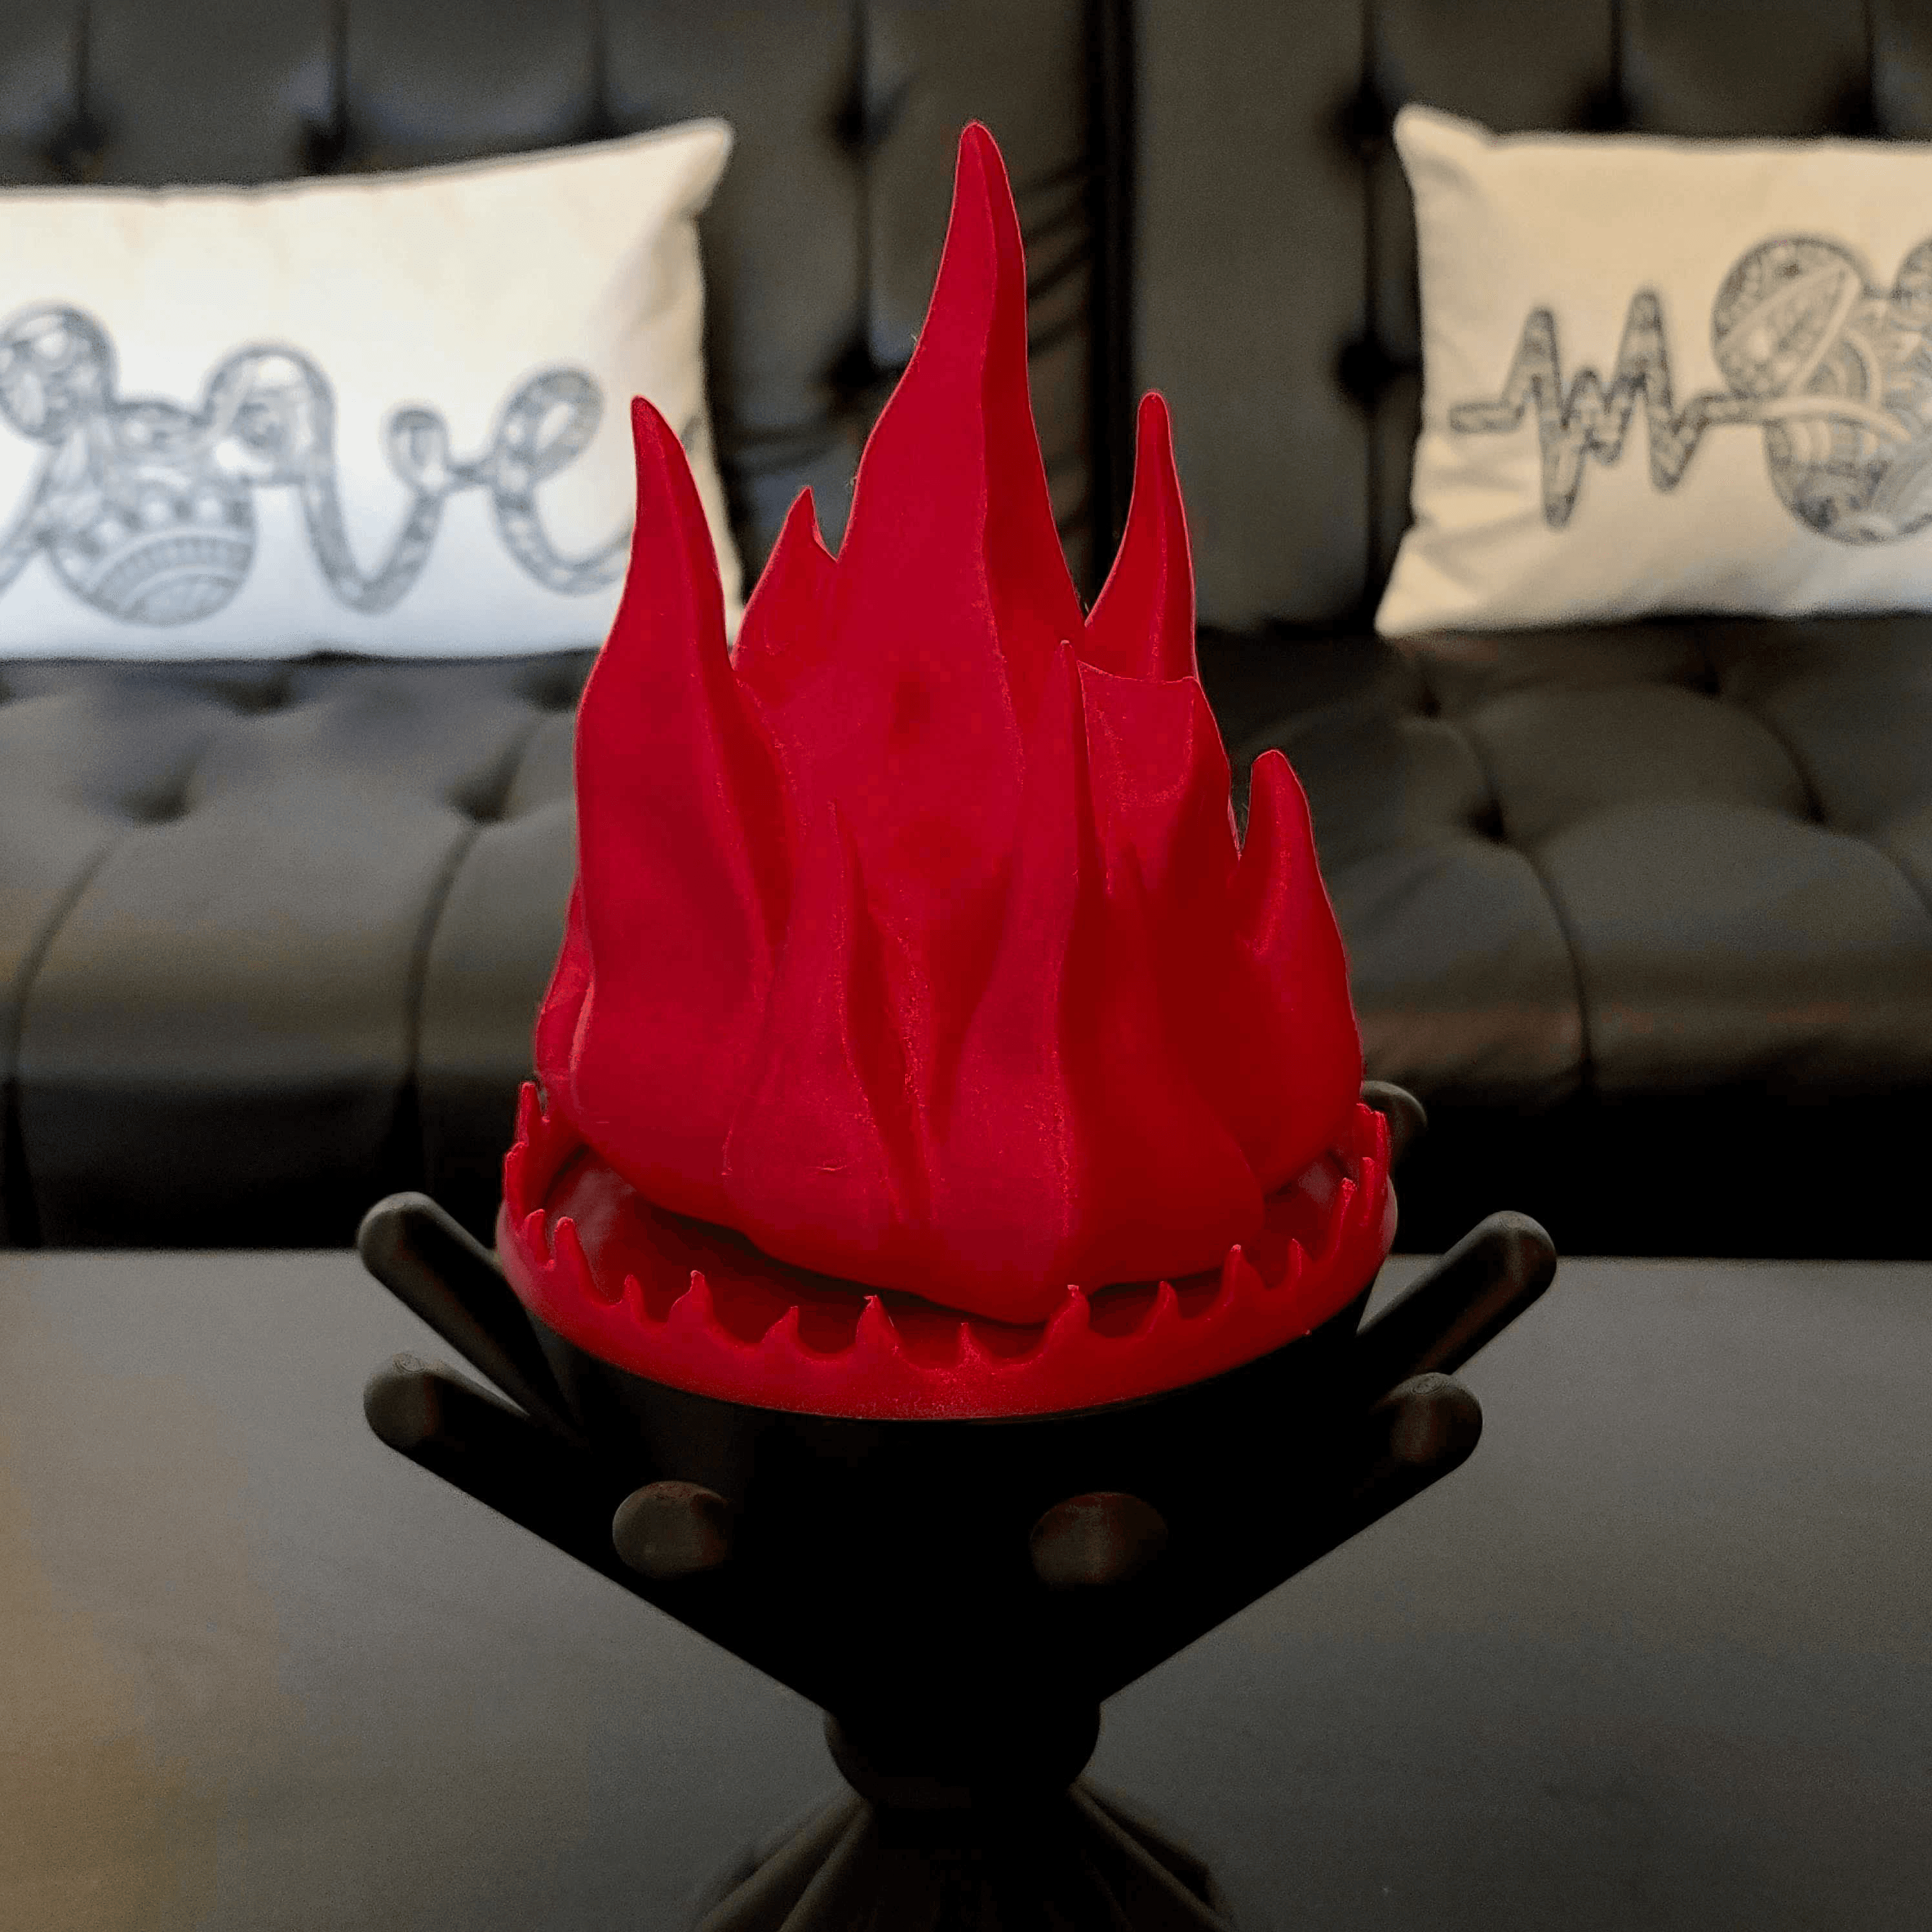
Indoor Campfire
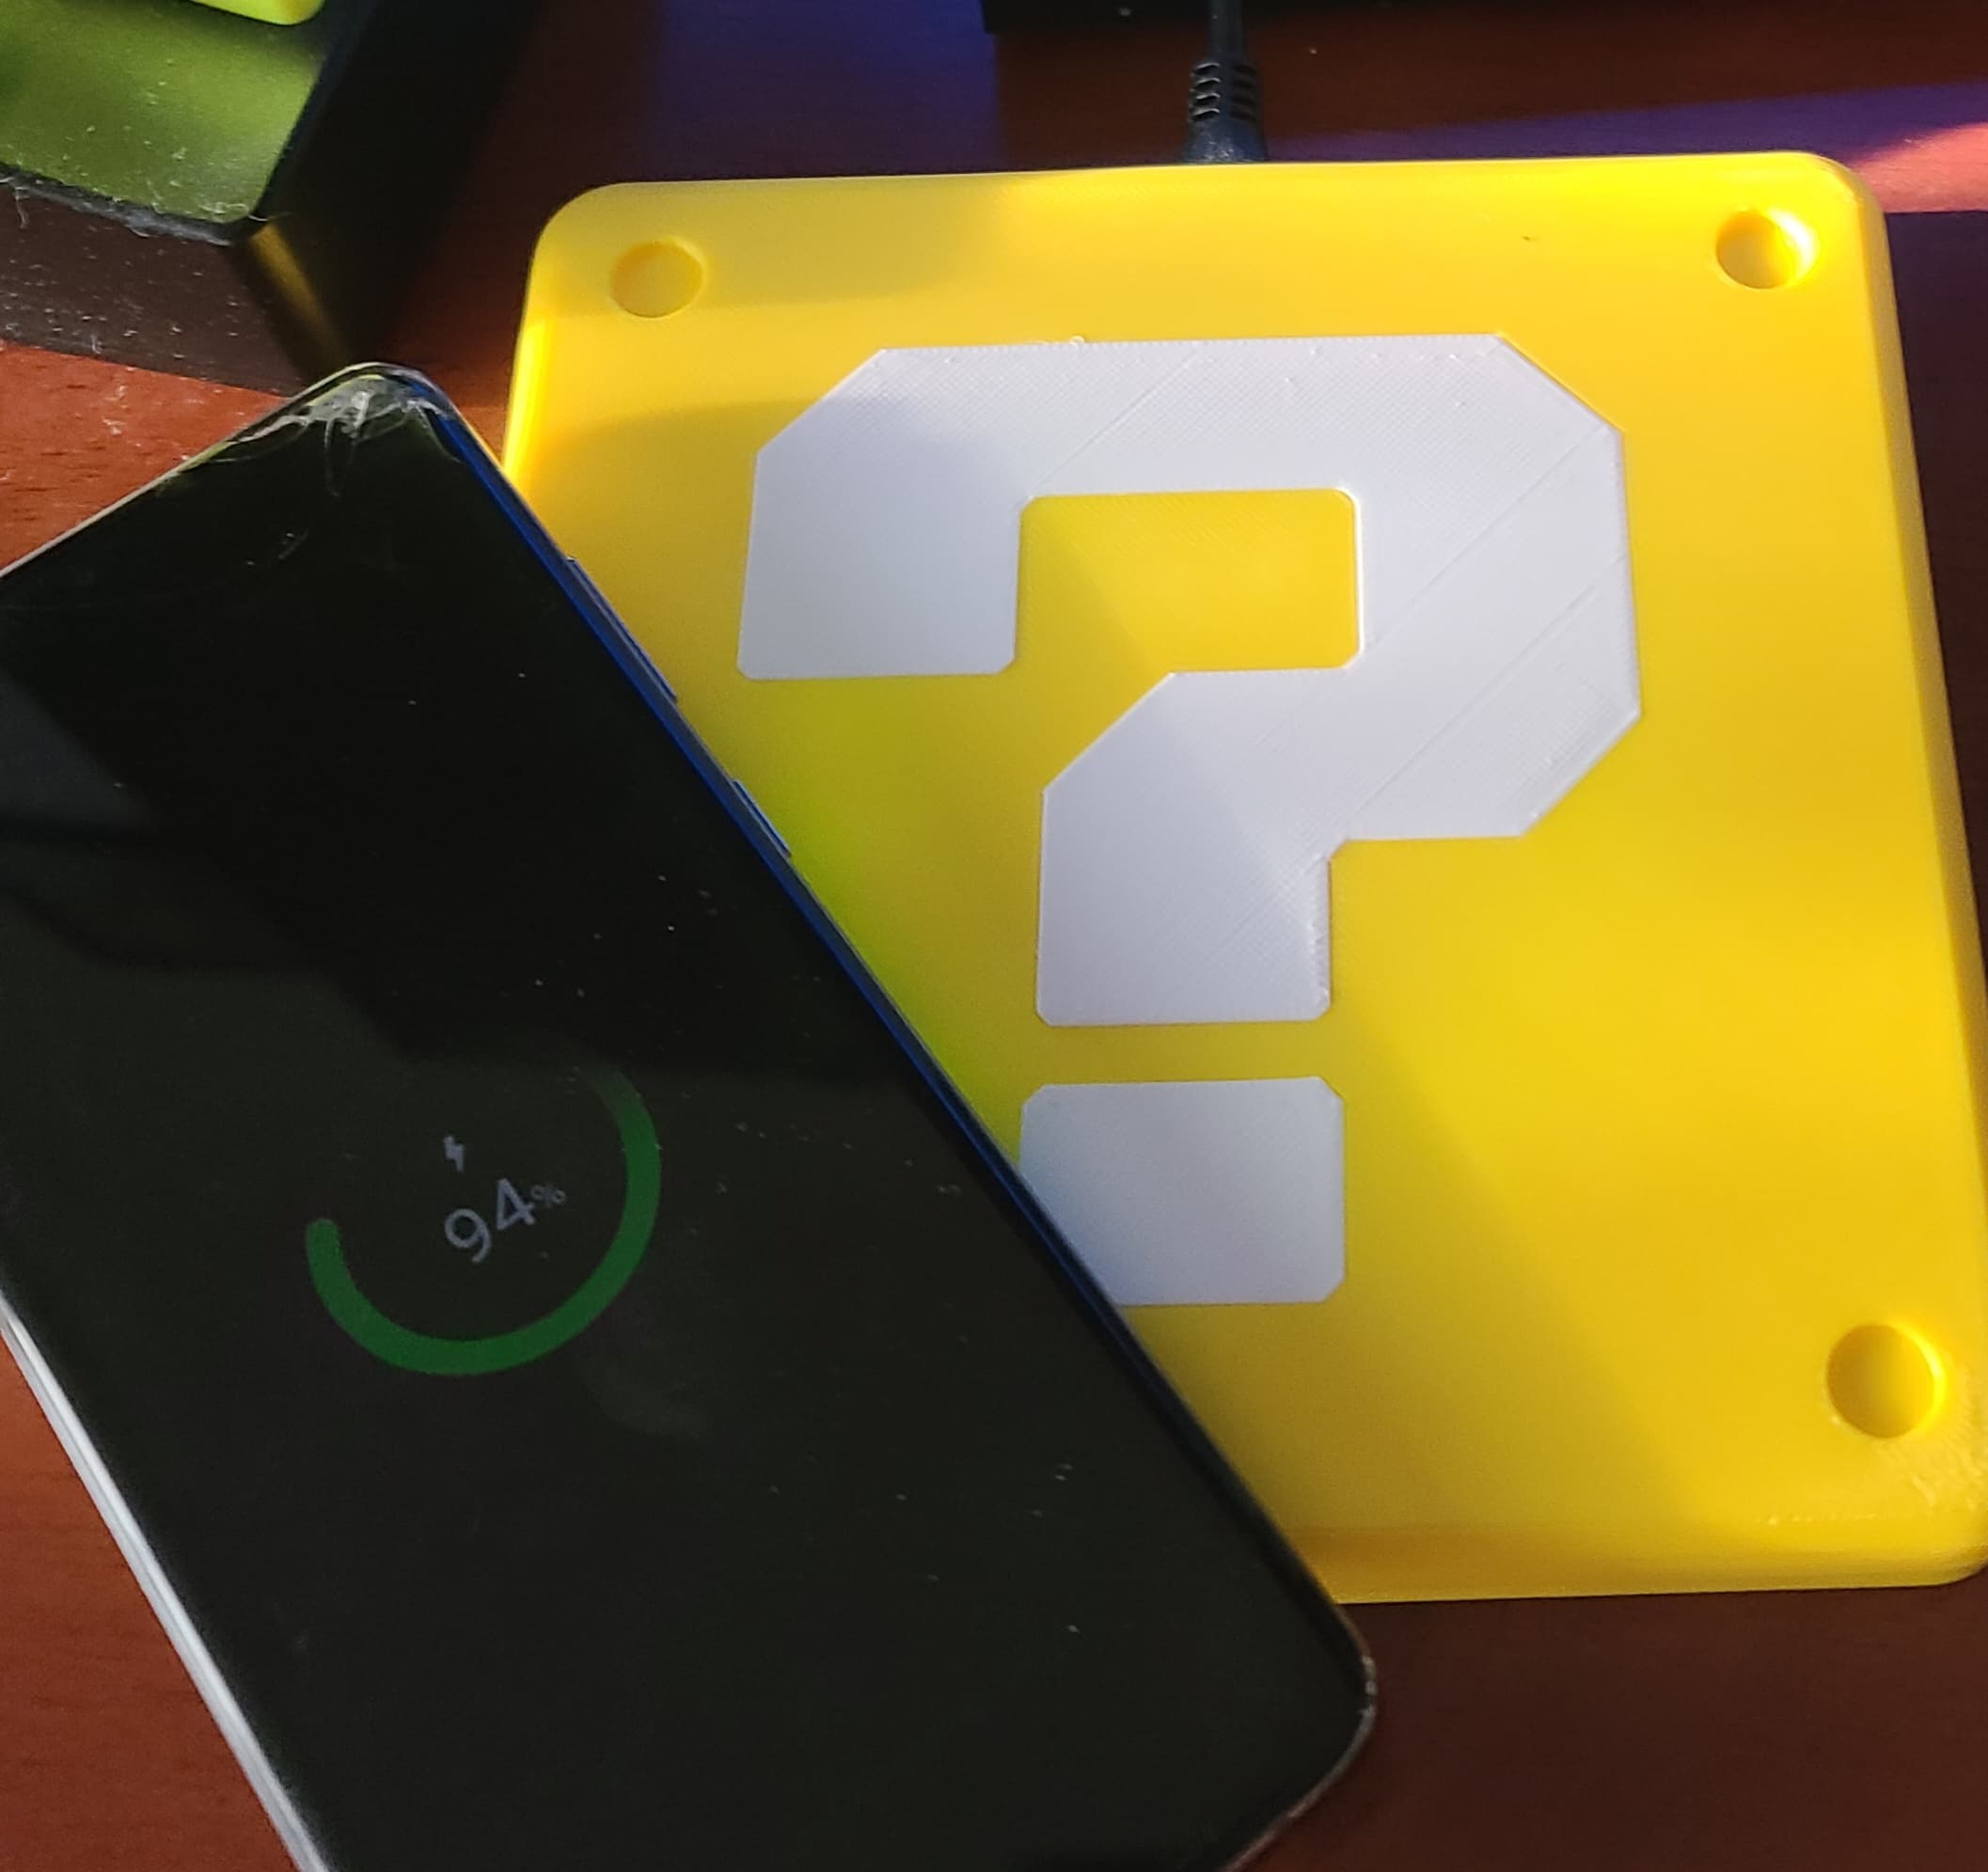
Question Cube Charger - Video Game Inspired
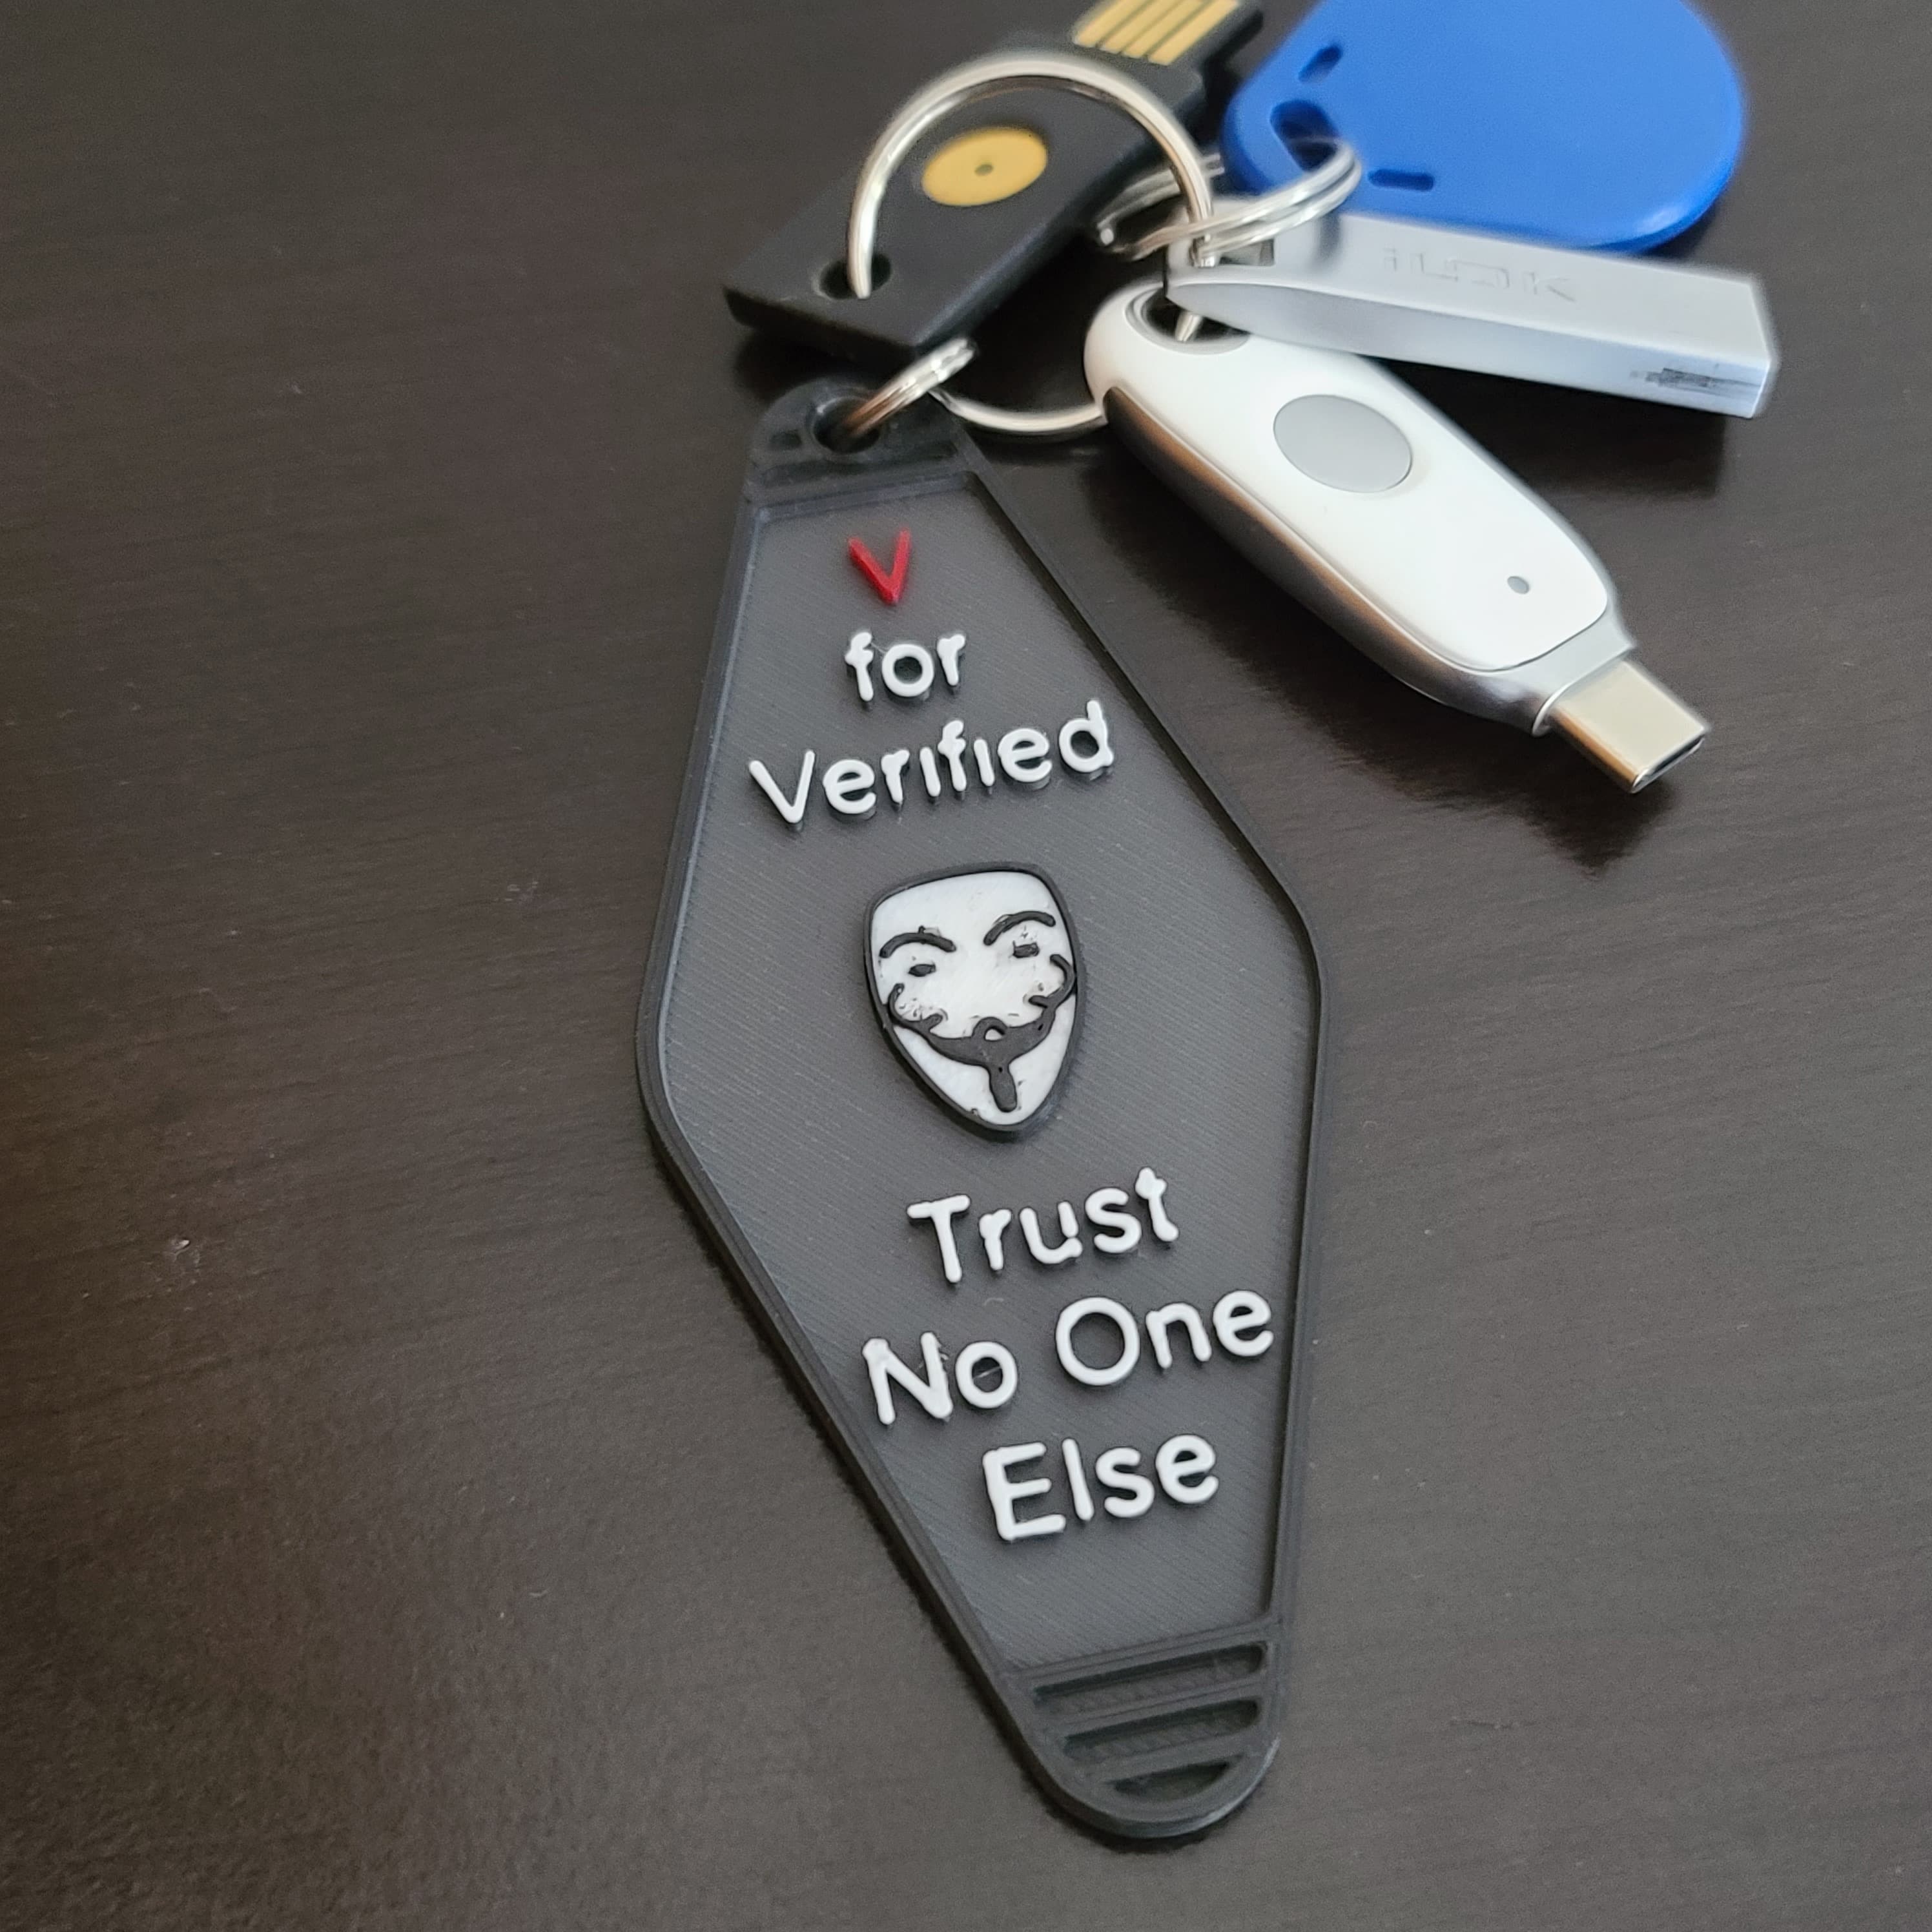
V for Verified Security Key Keyfob
Blank Retro Keyfob for Resellers
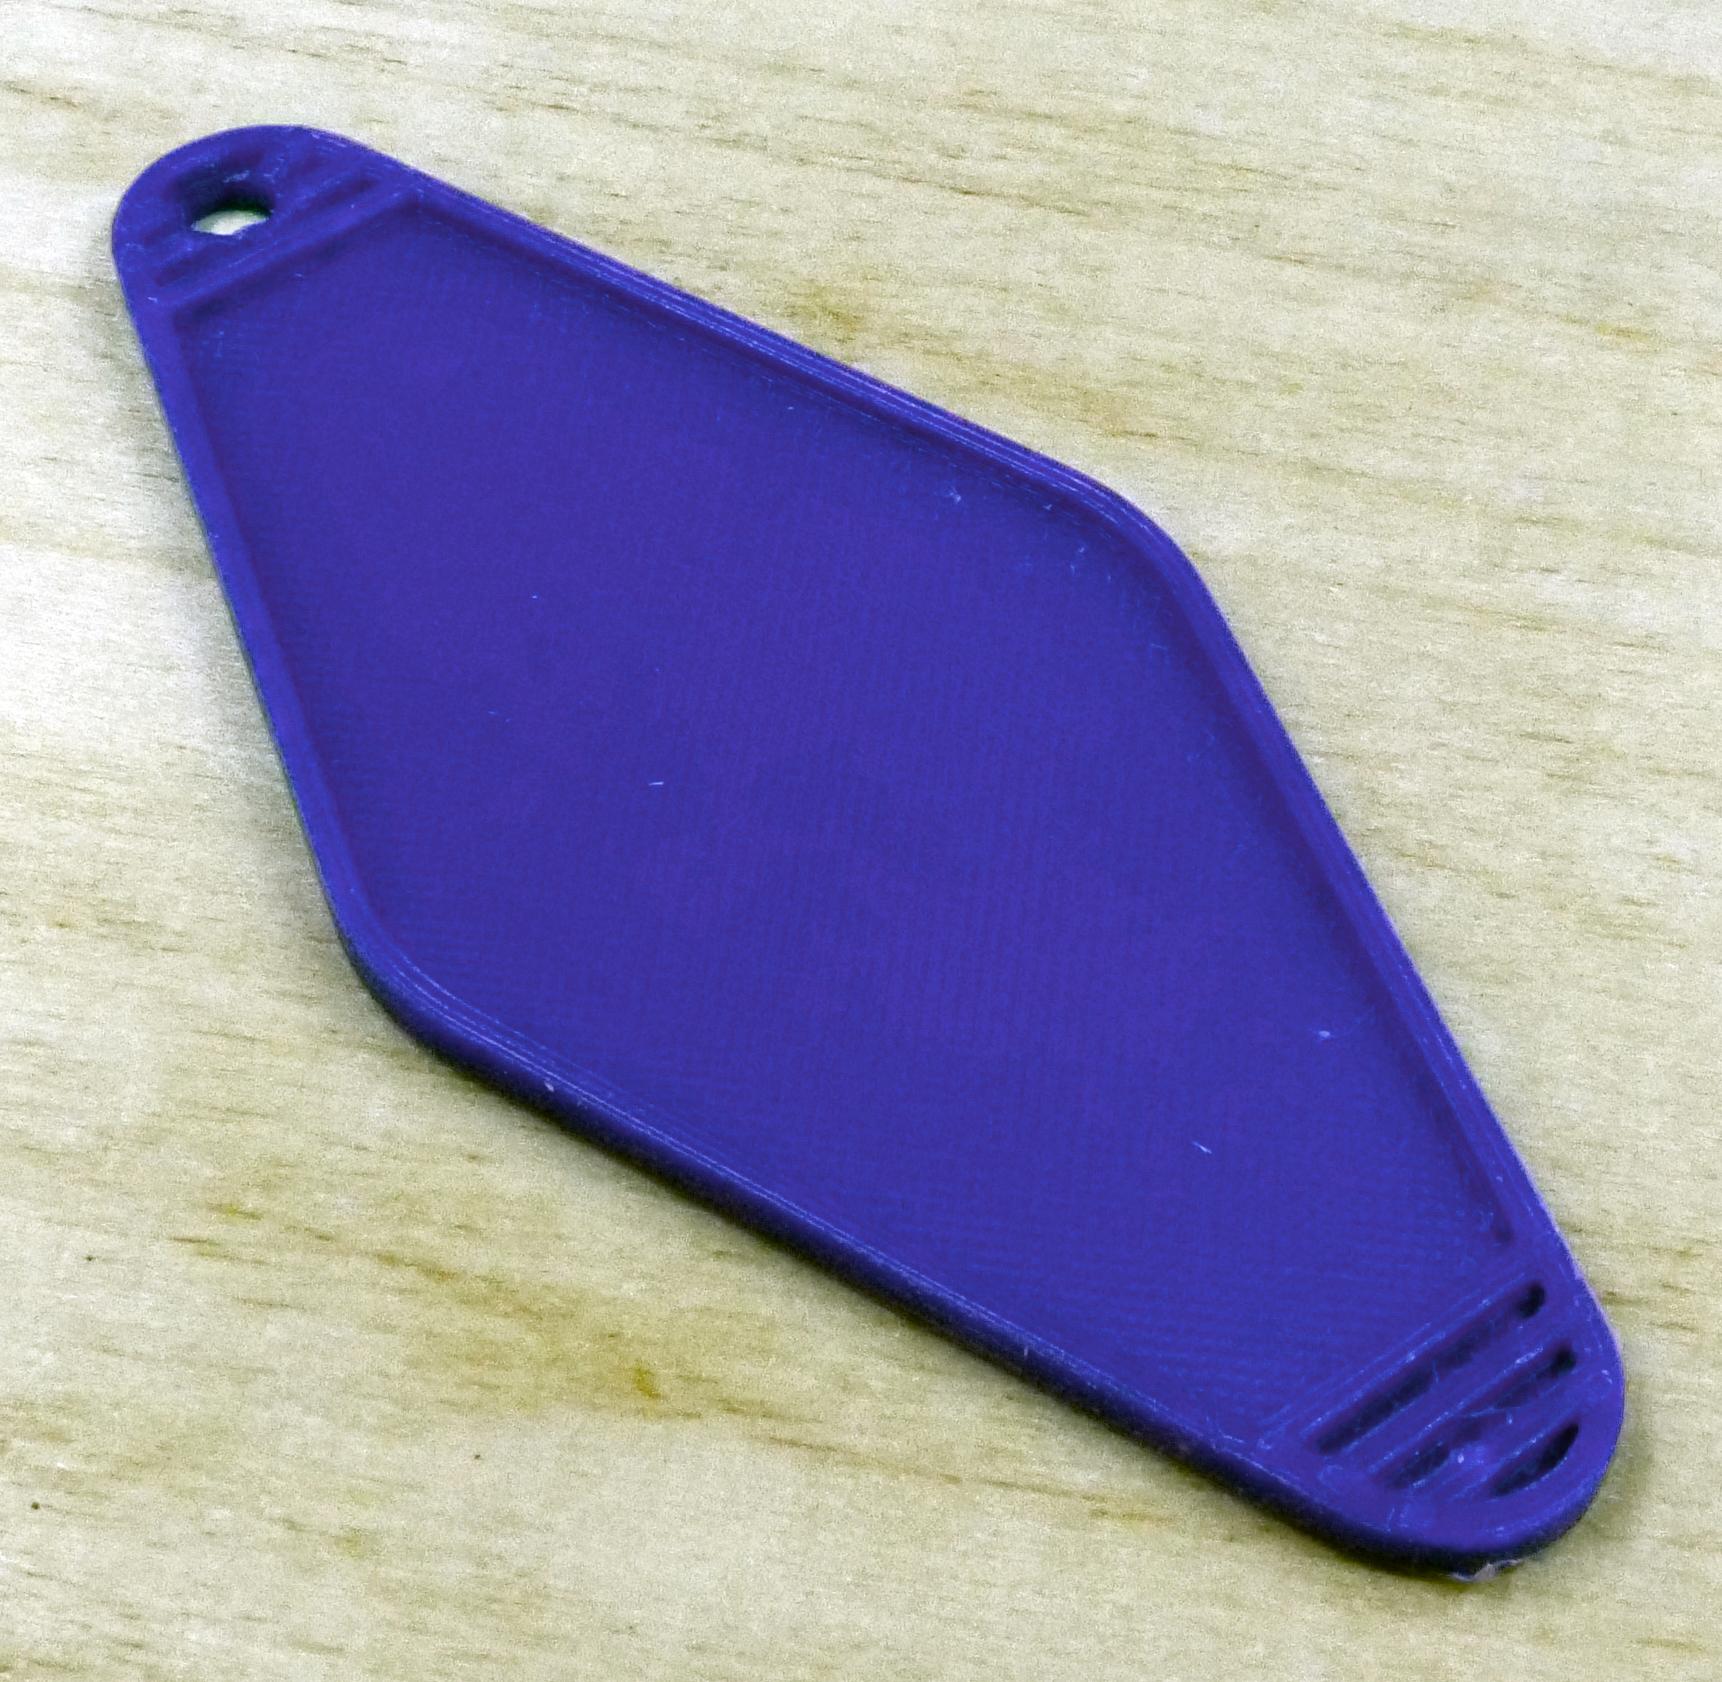
Vault Key Fob - Blank
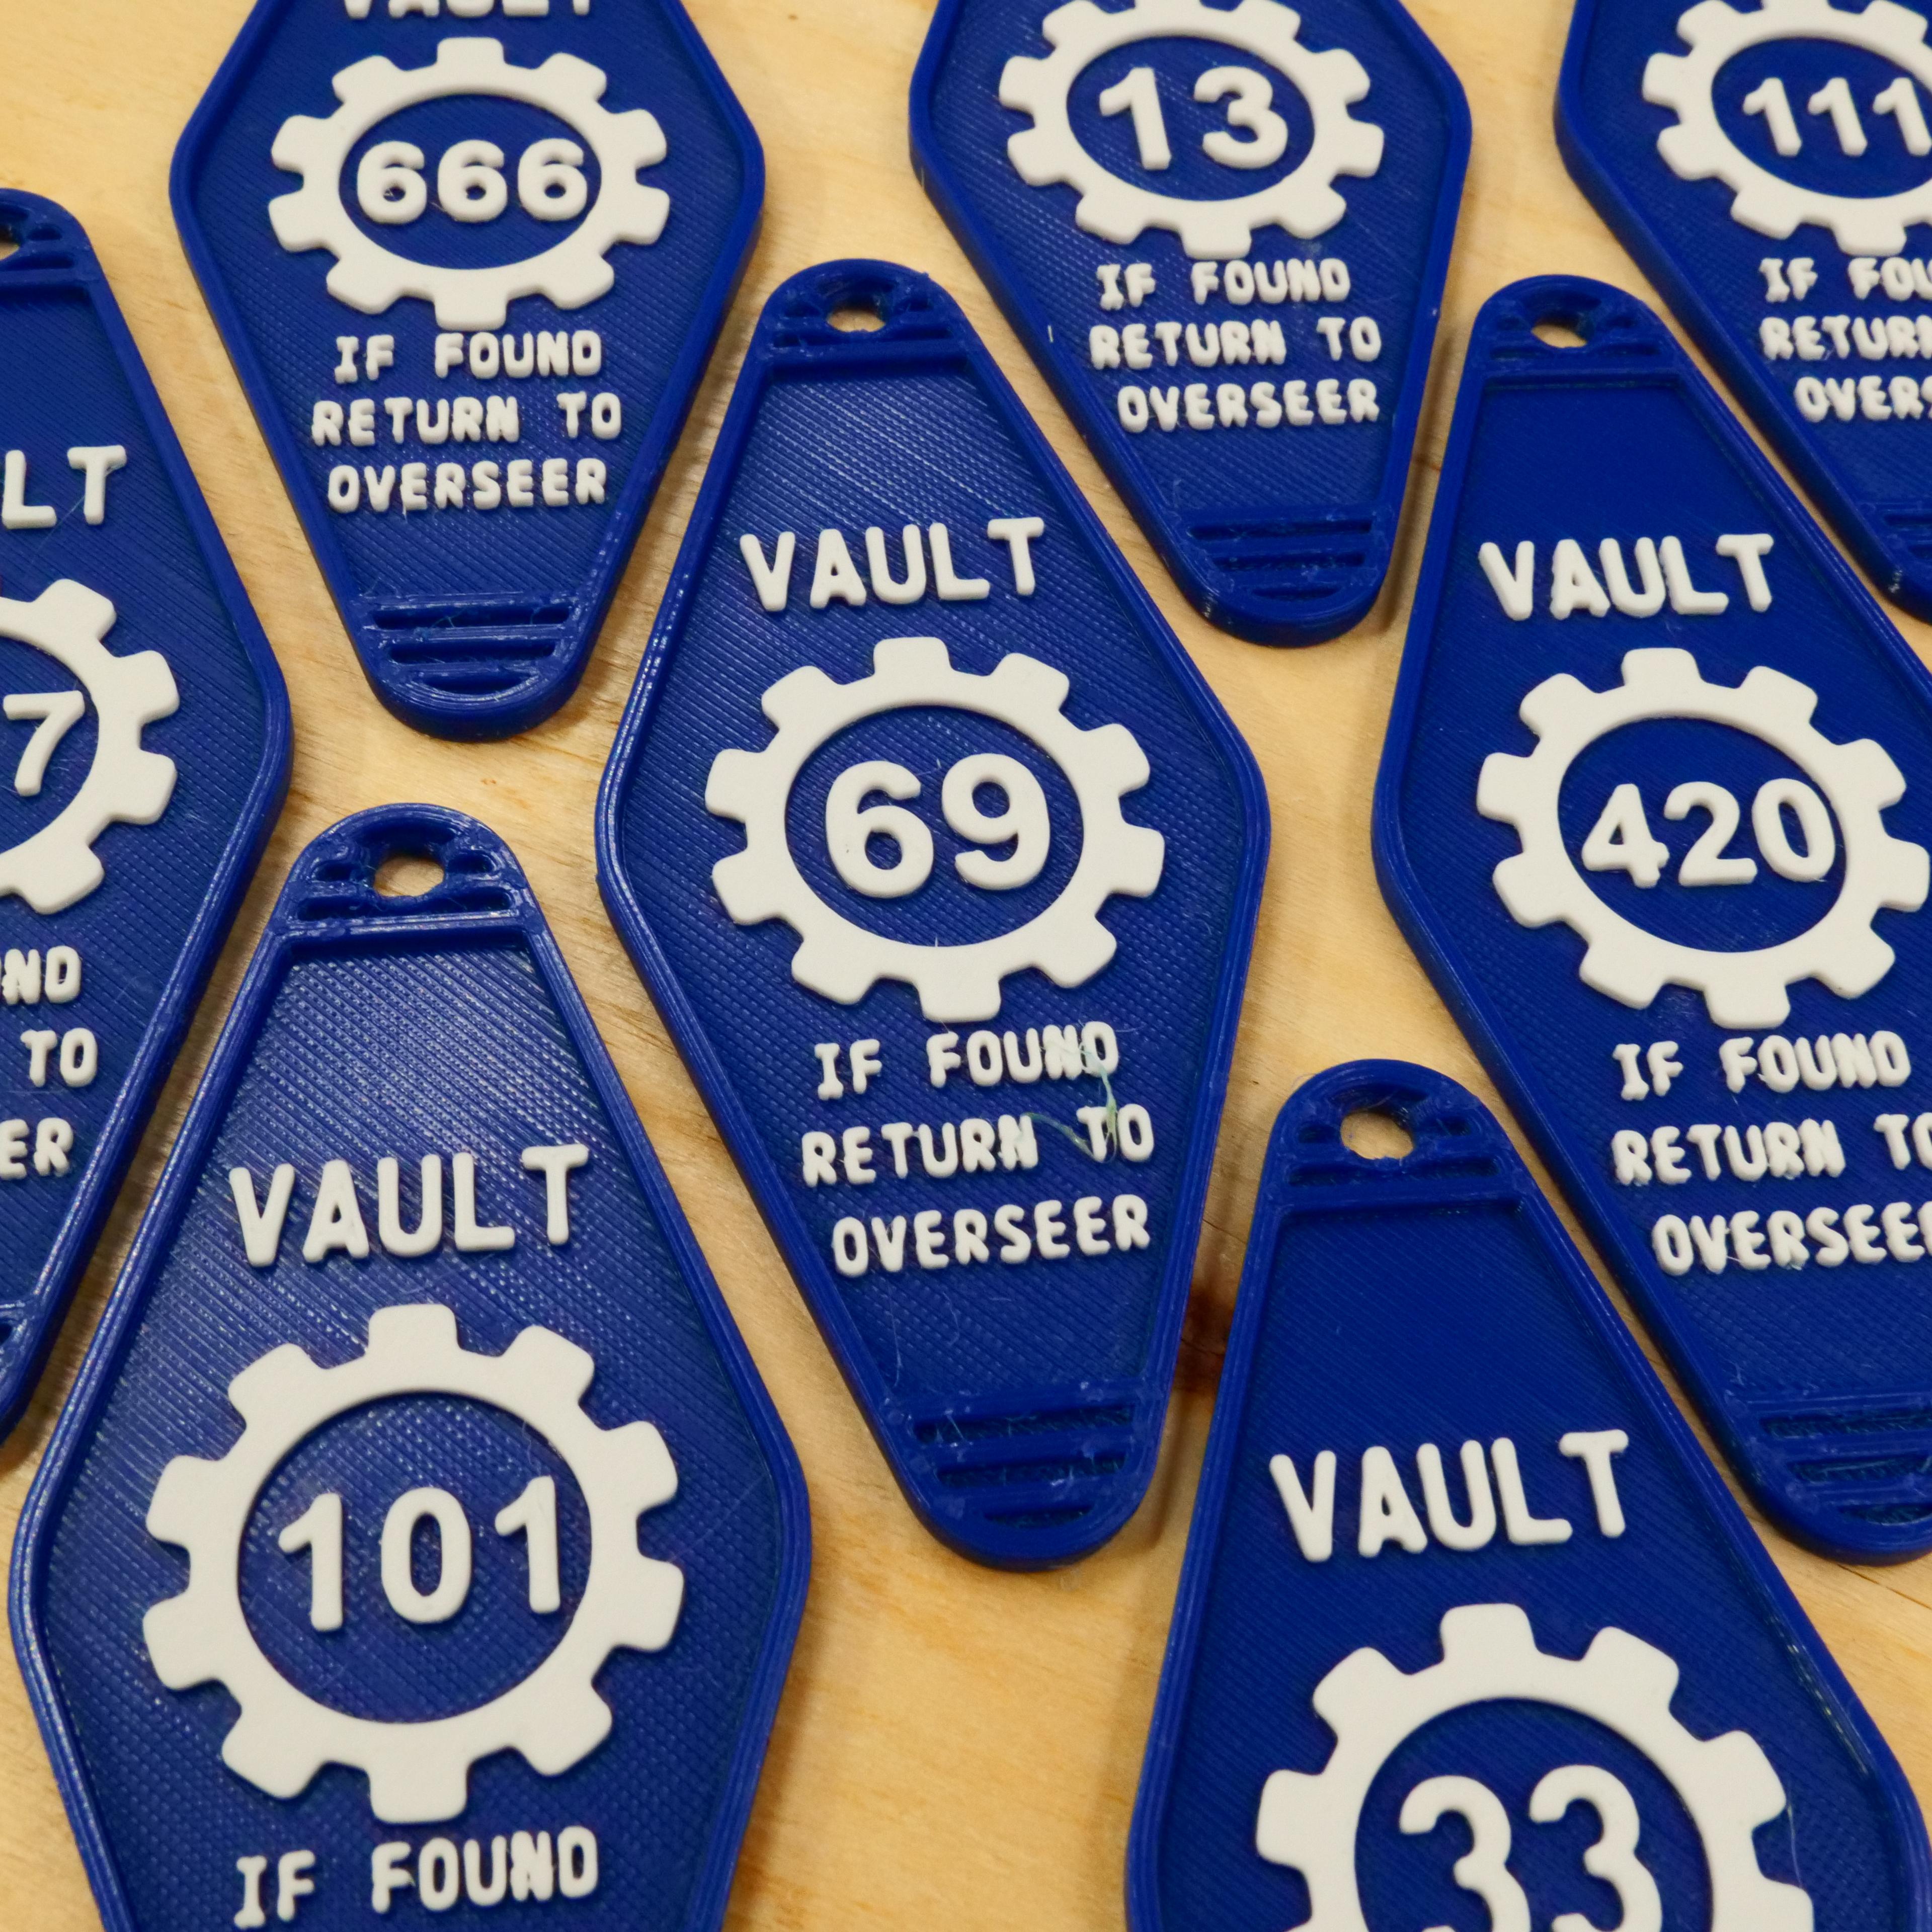
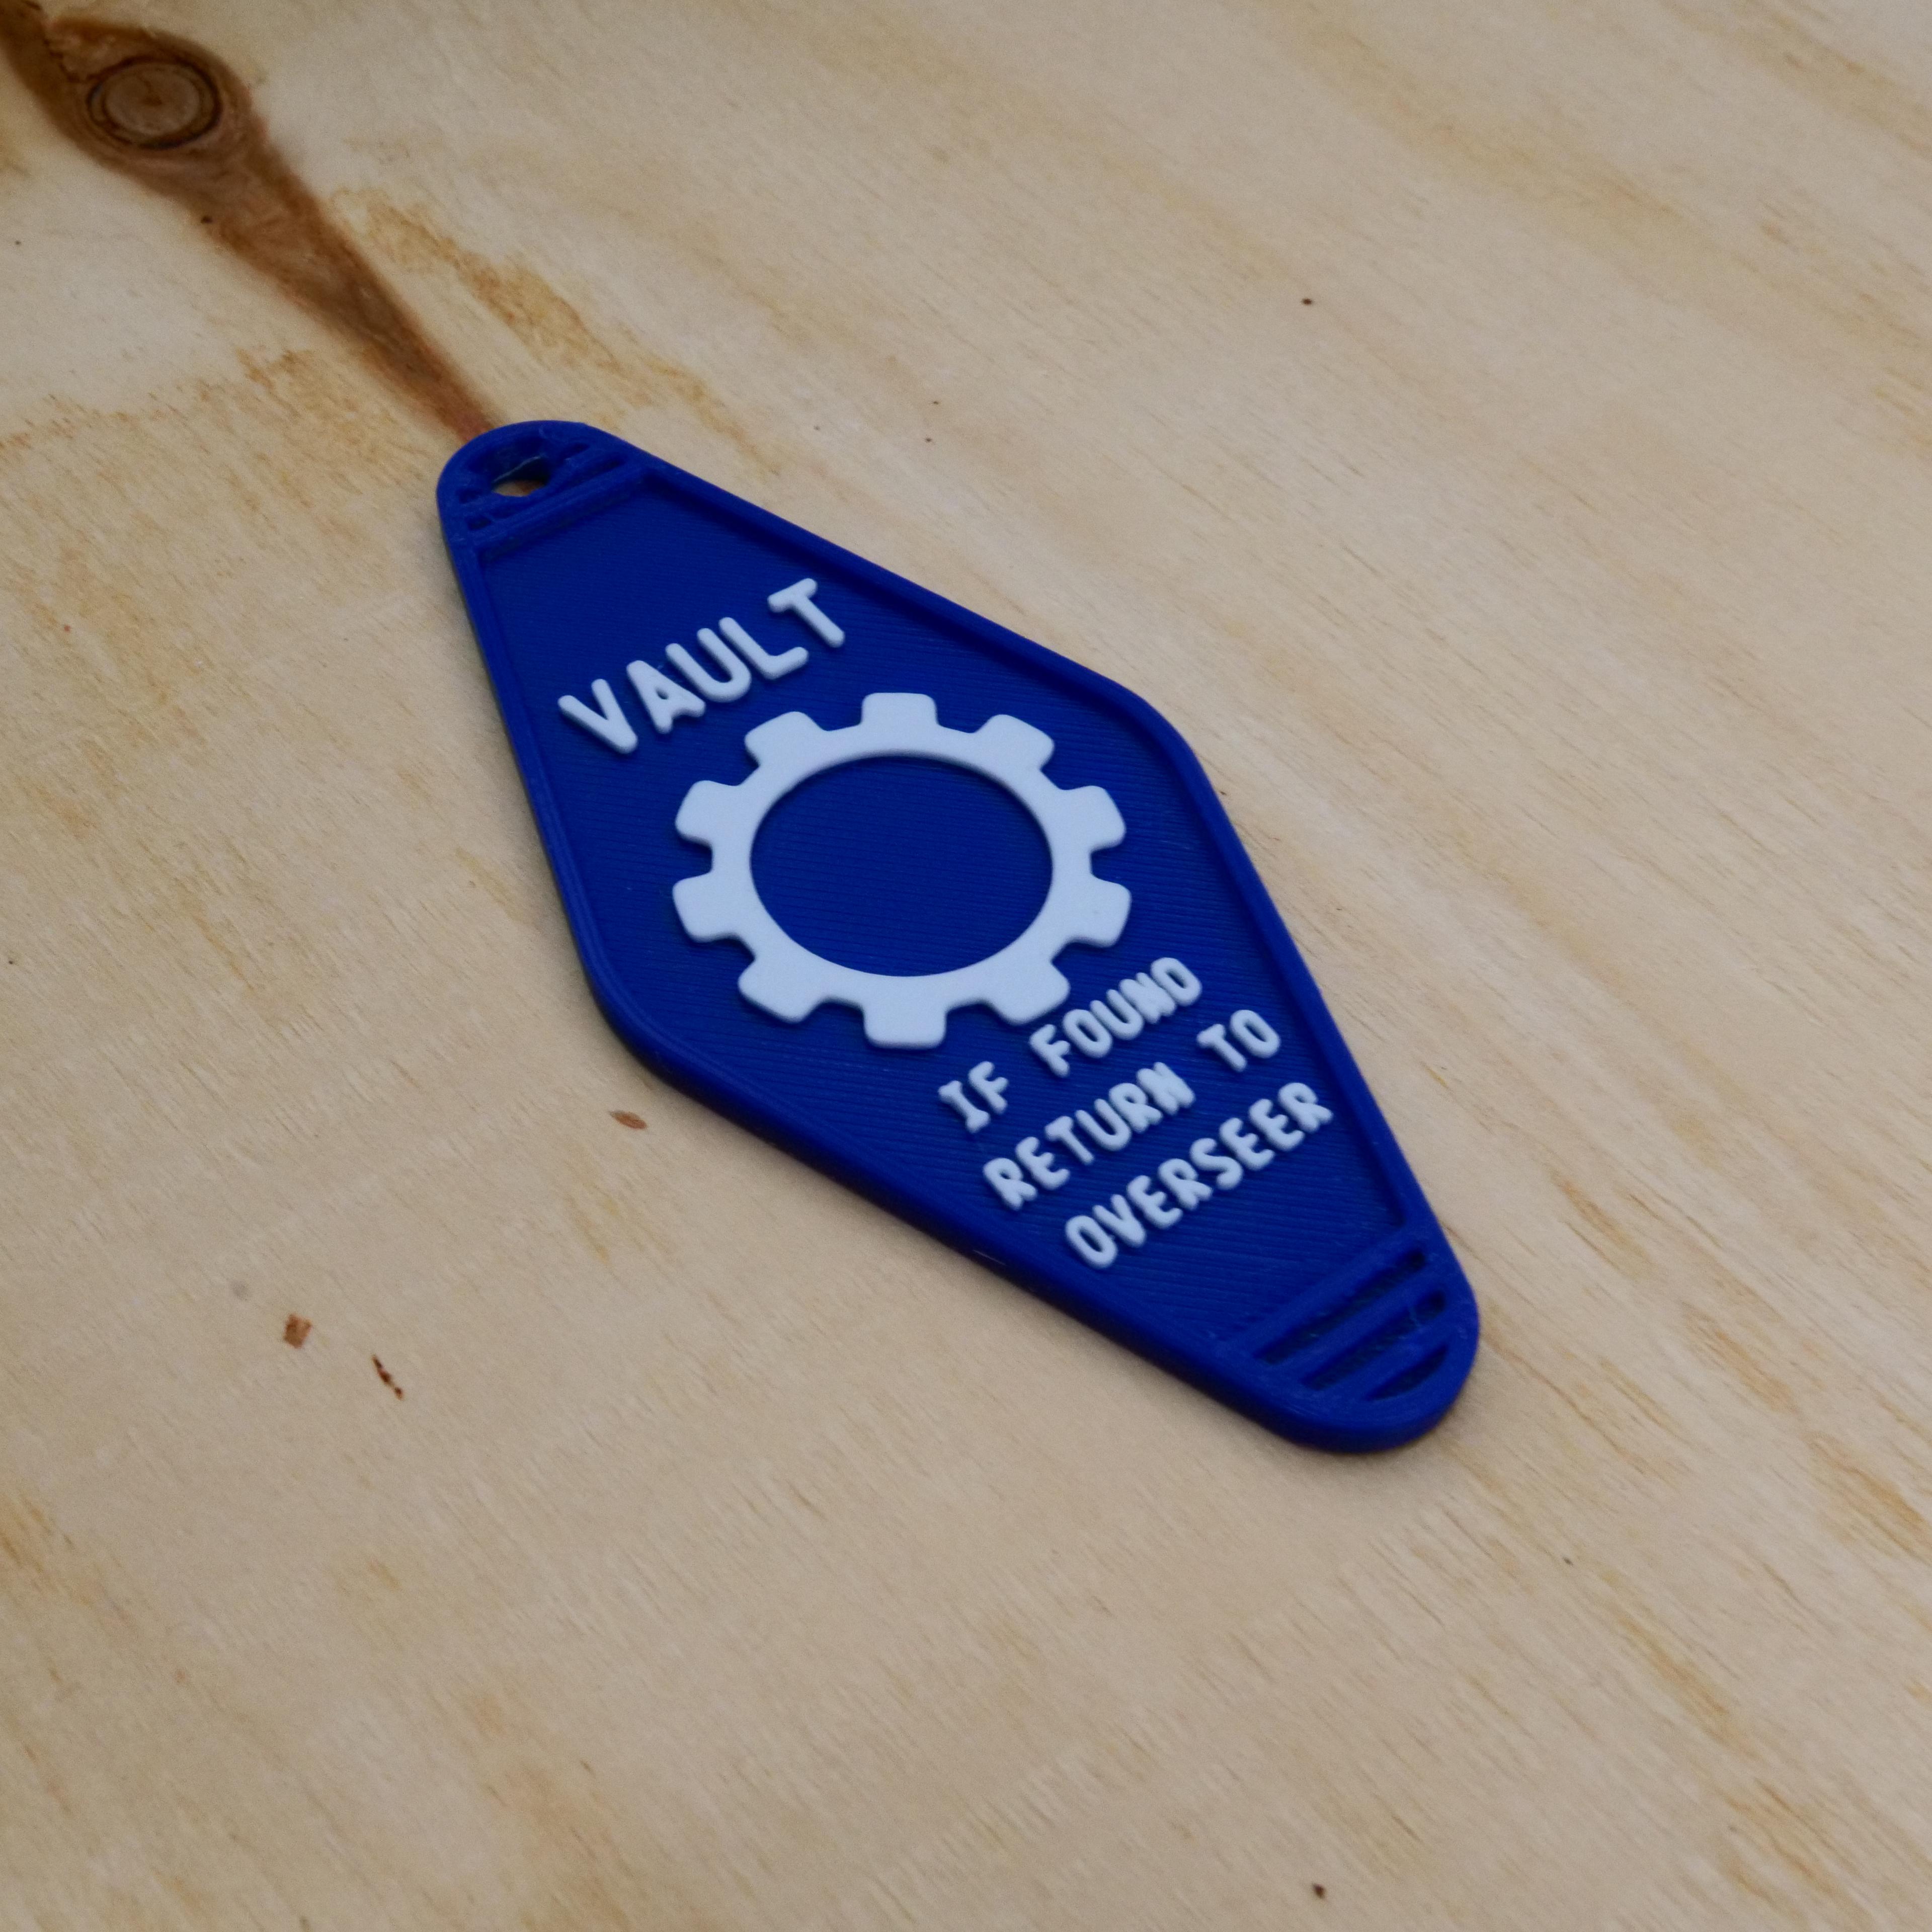
Fallout Inspired Vault Key Fob Assortment - Print in place
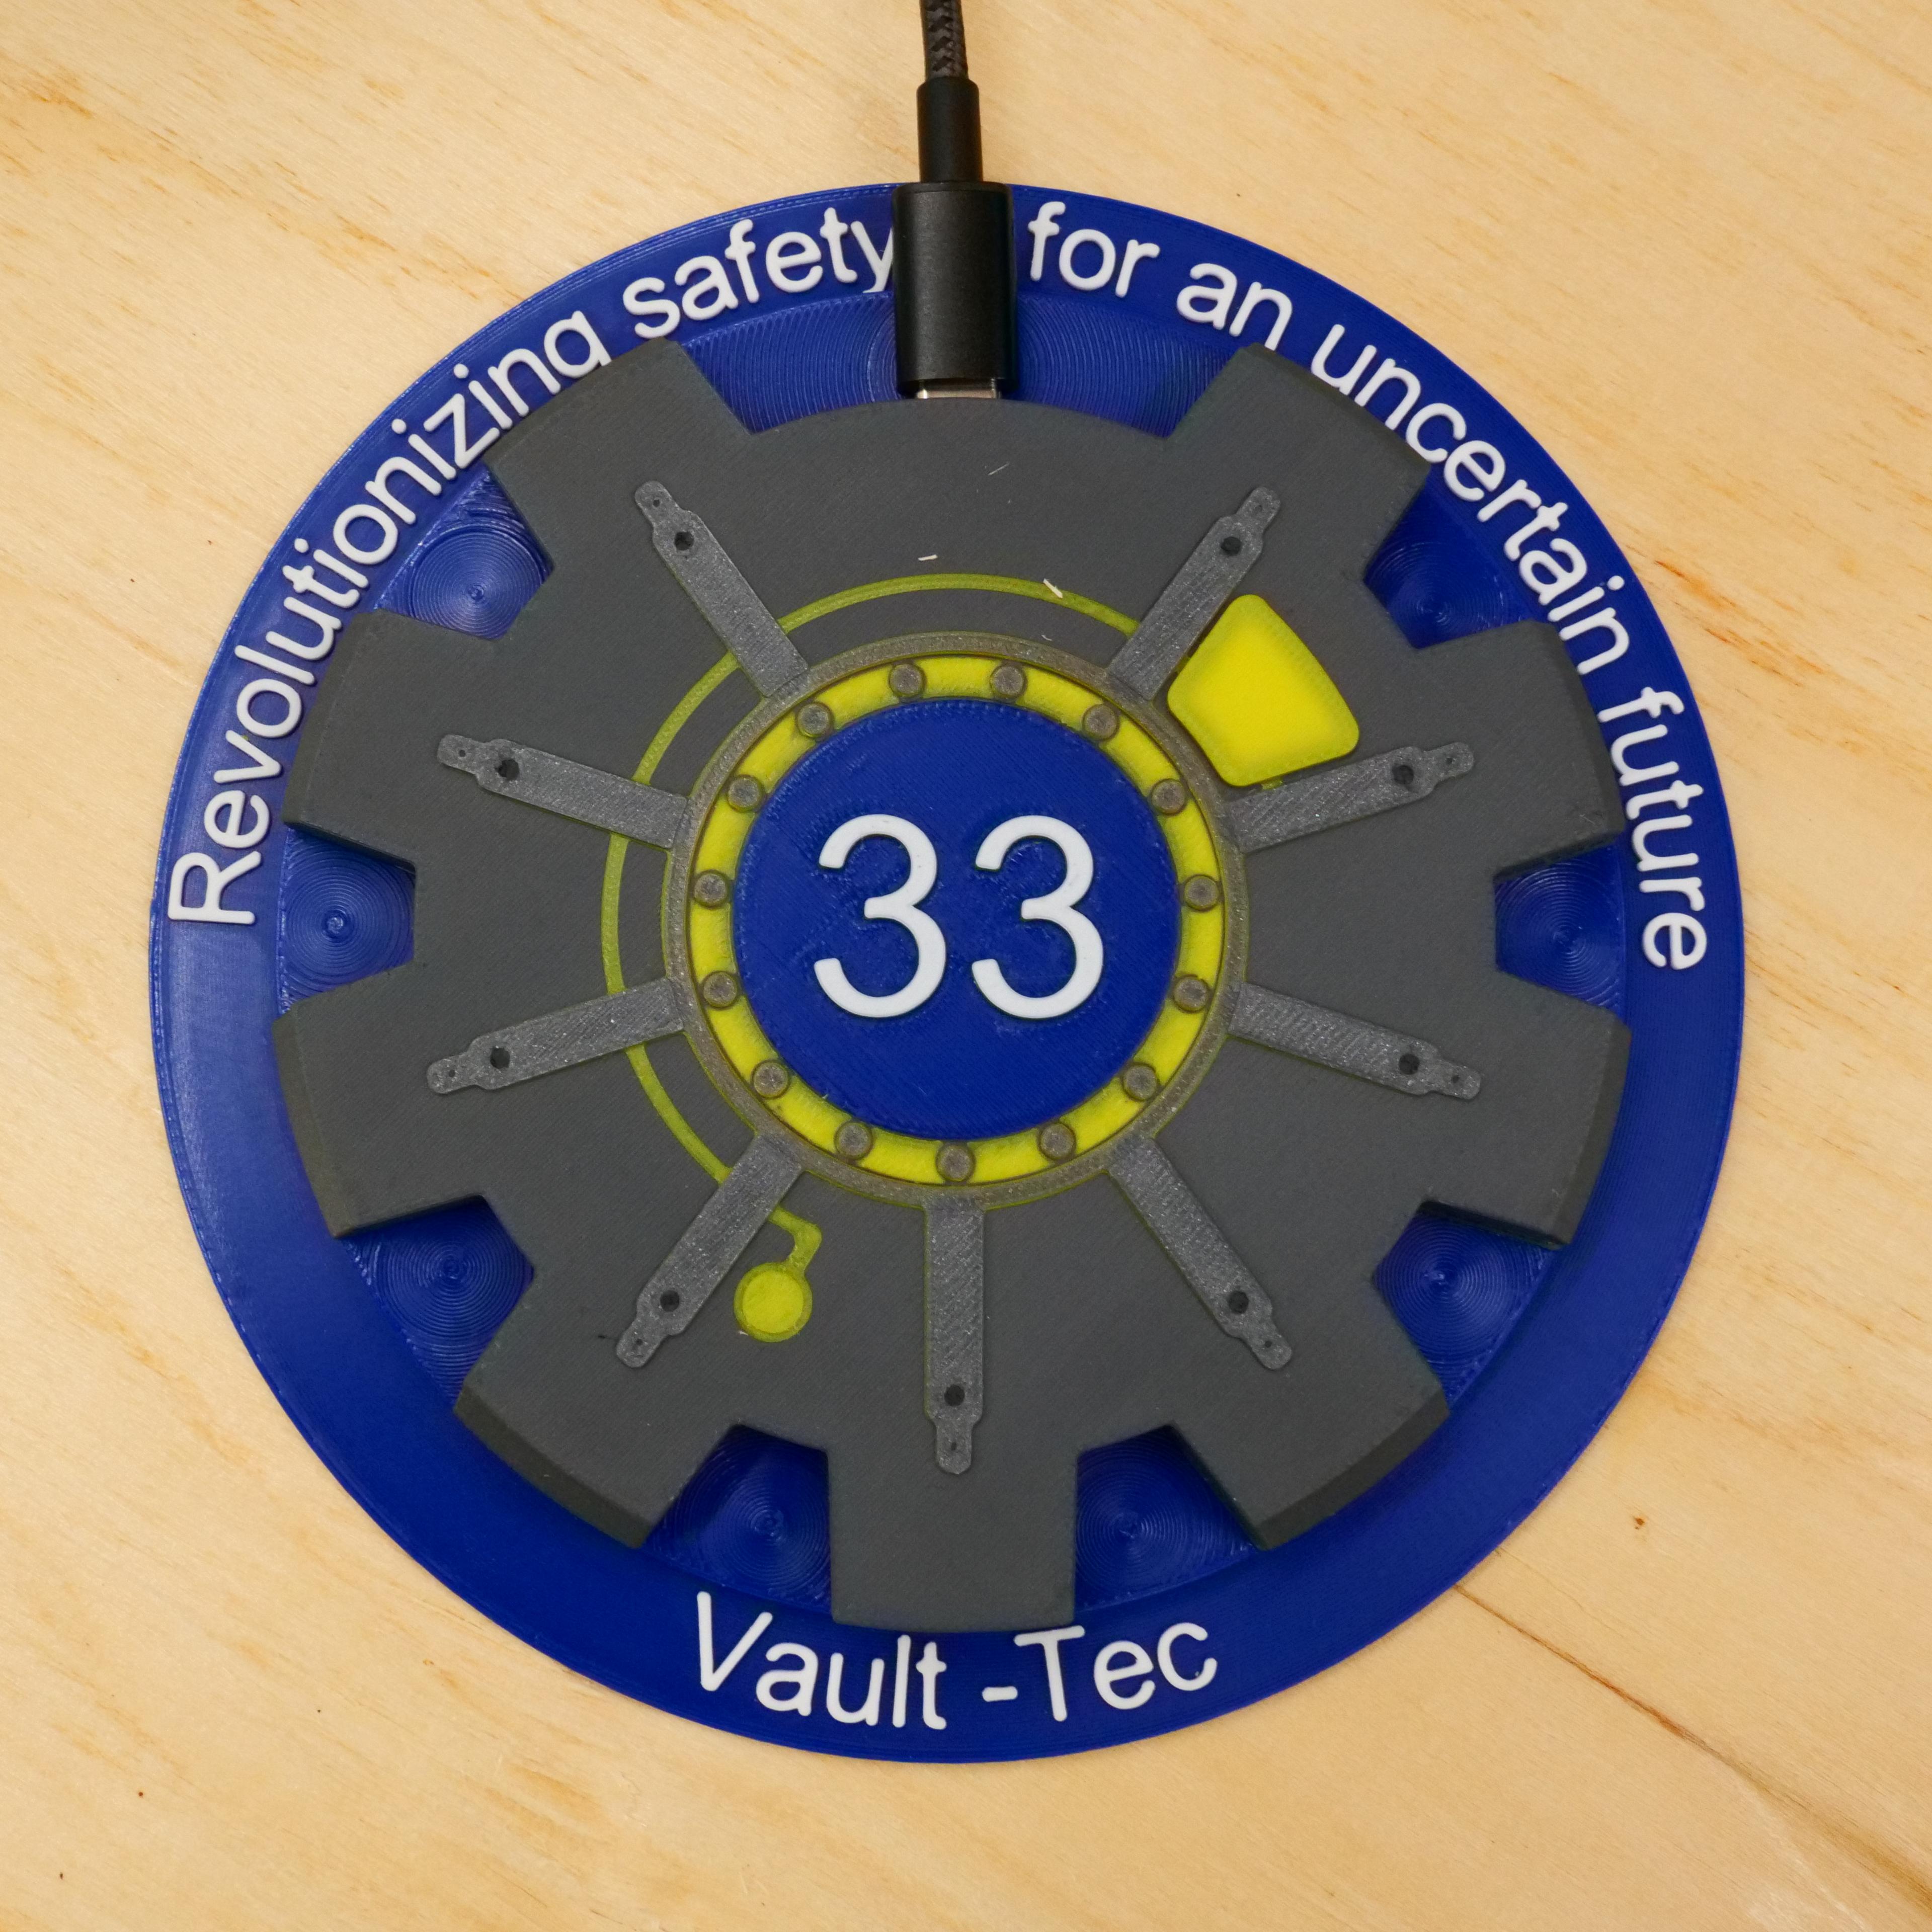
Fallout Vault-tec Door Phone Charger

Sunset Sarsaparilla - Fallout Inspired Clock
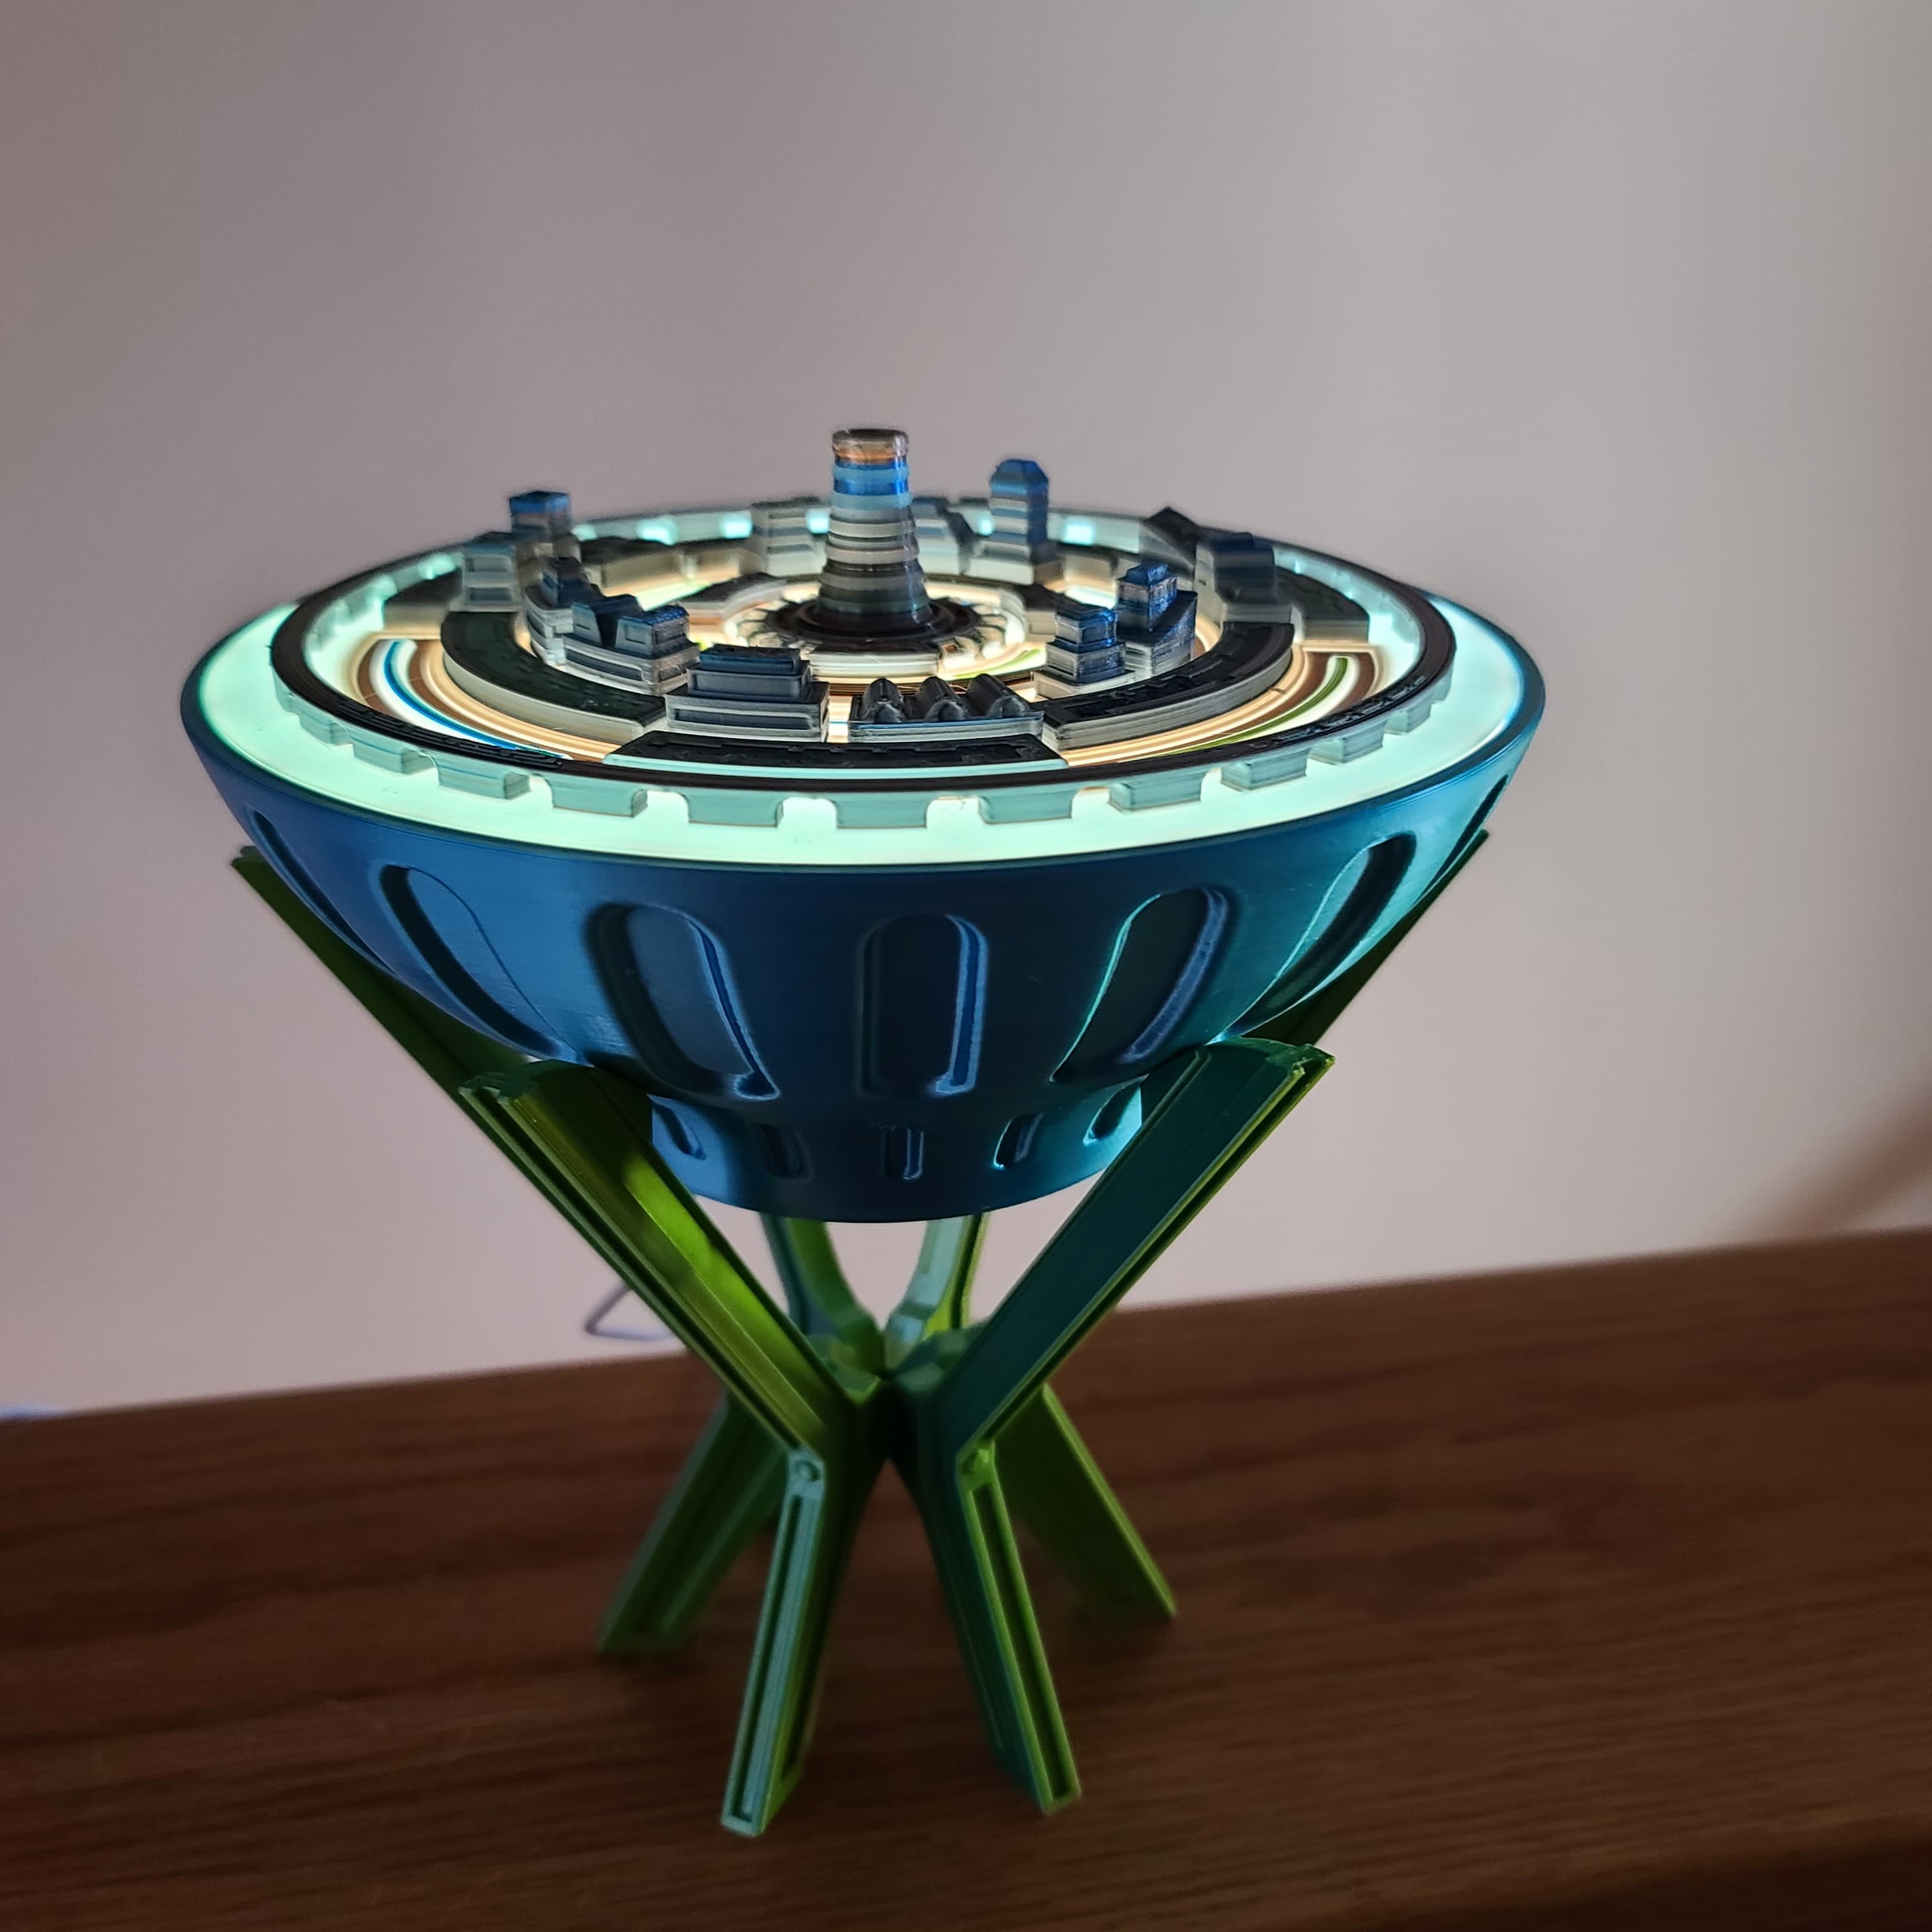
Reactor - Decorative Lighted Bowl
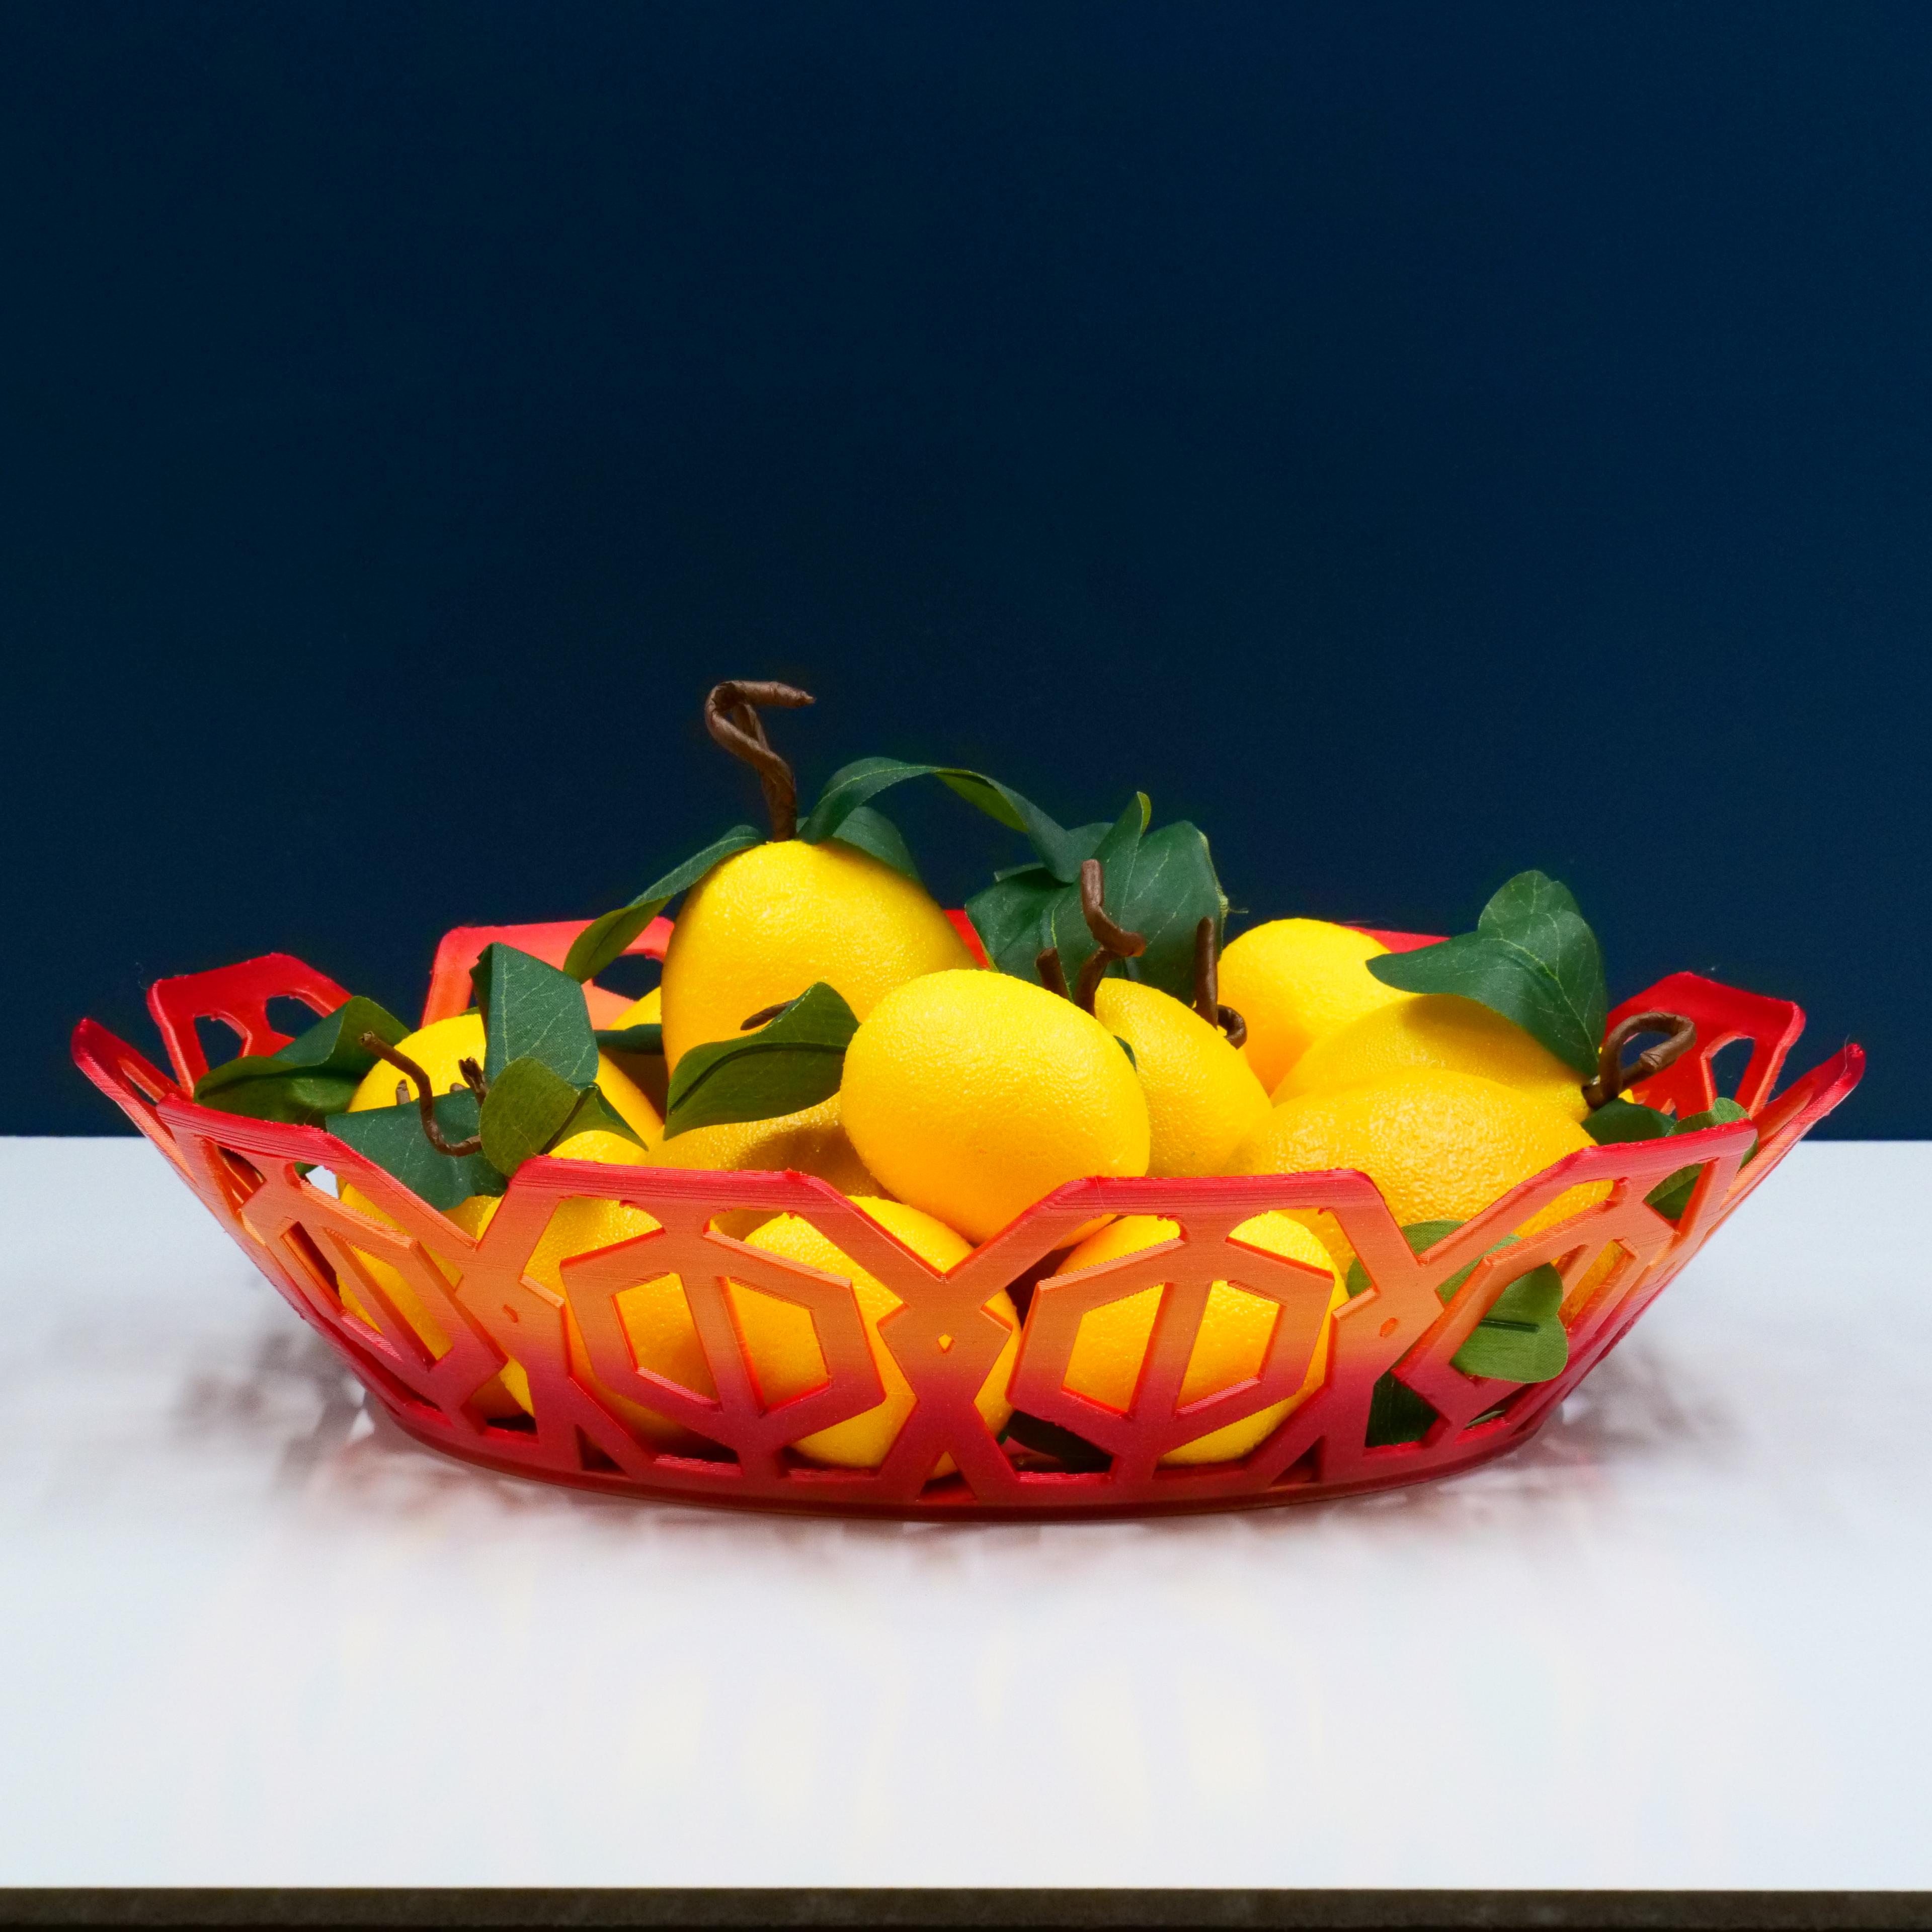
Hexed Fruit Bowl
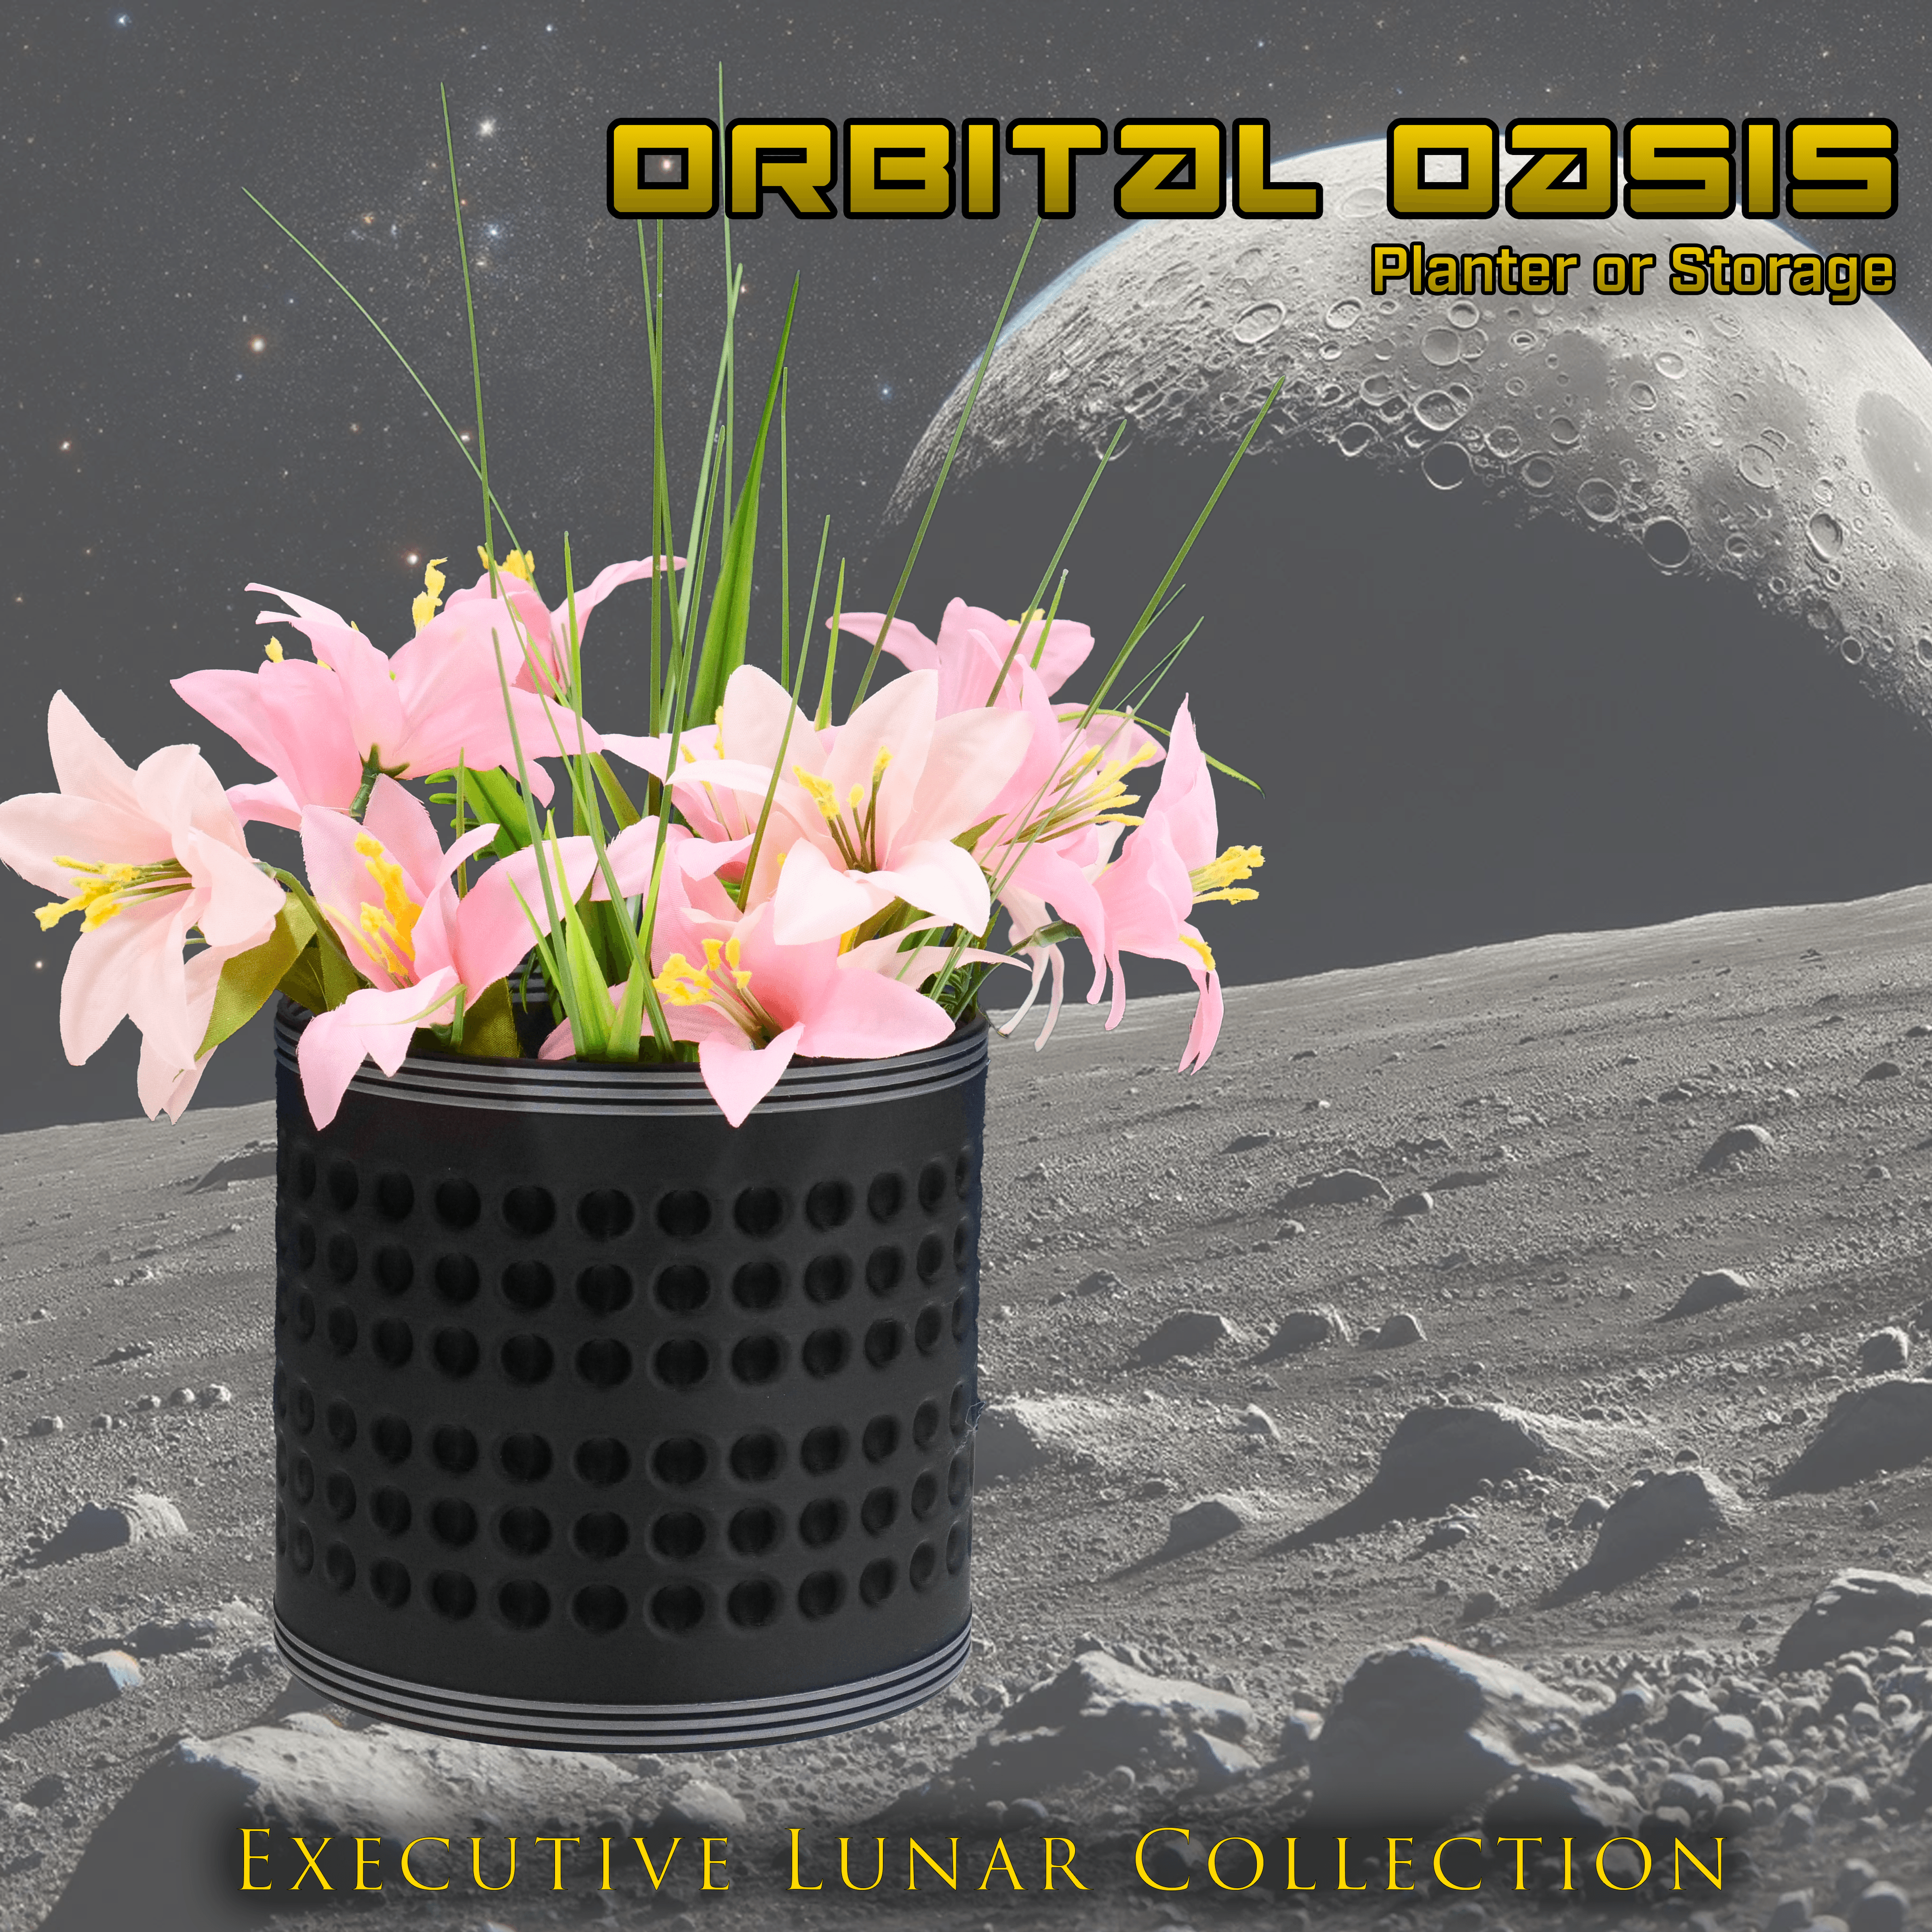
Orbital Oasis Planter - Executive Lunar Collection
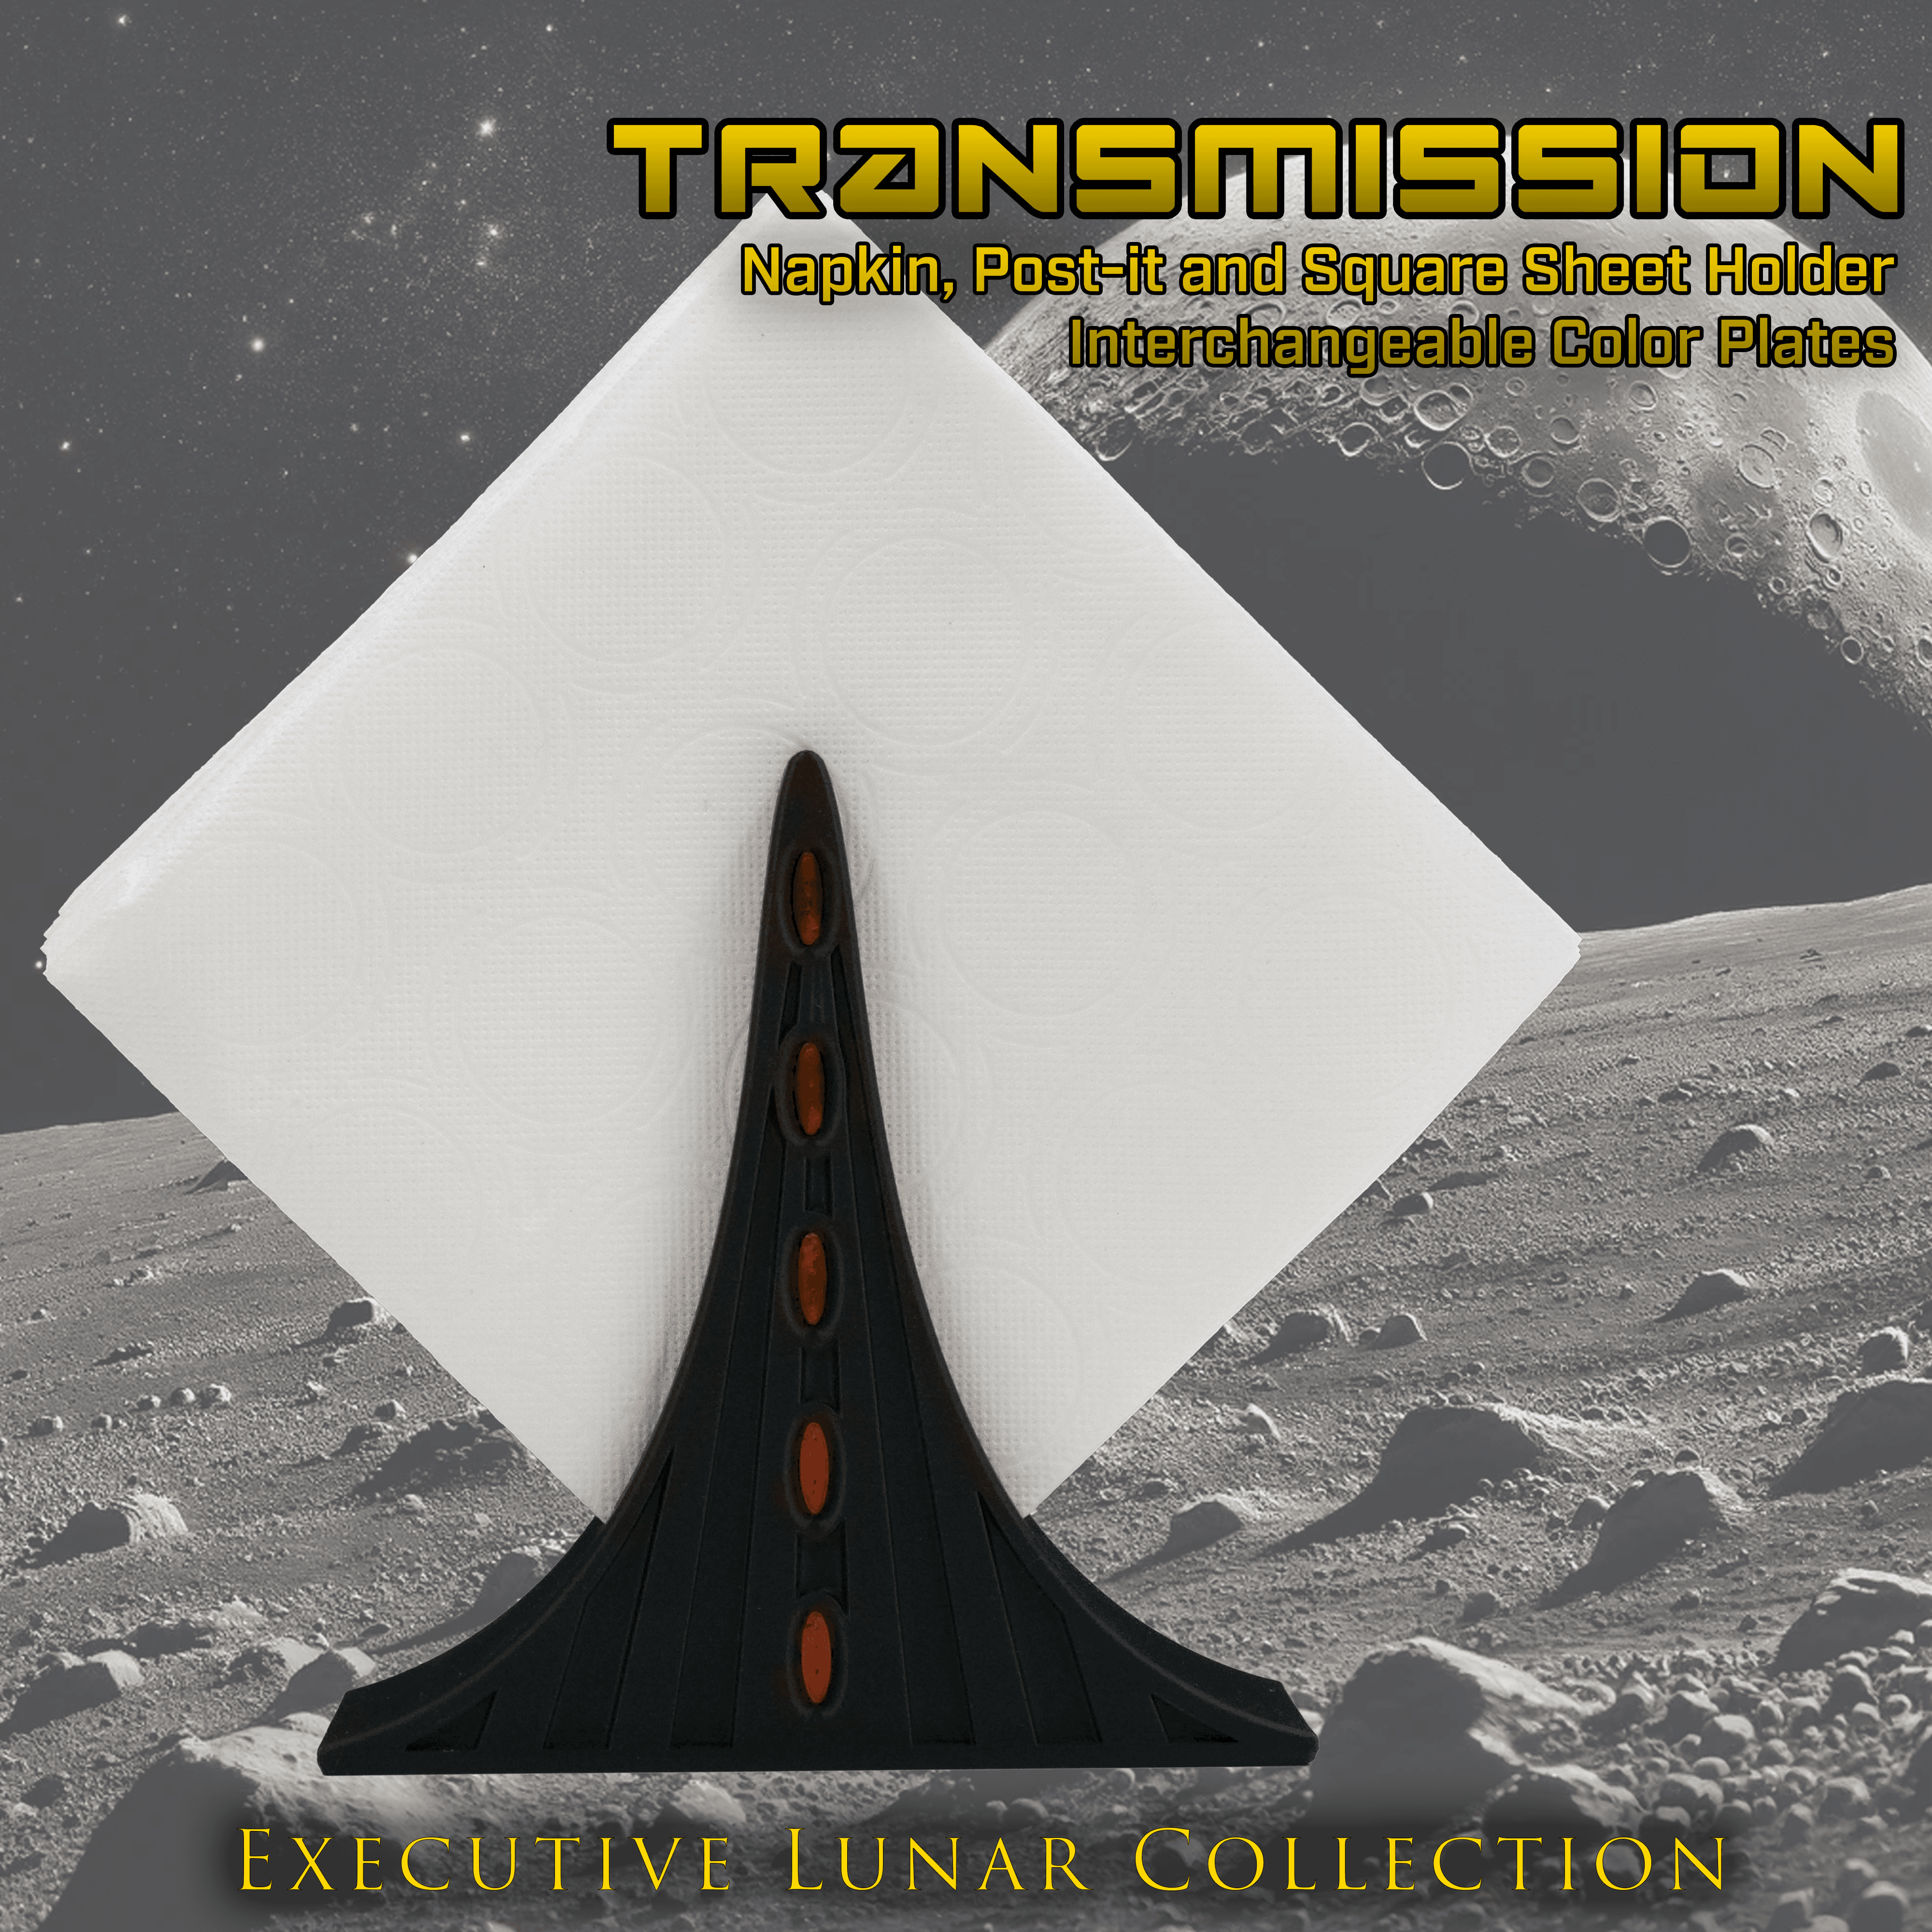
Transmission Napkin Holder - Executive Lunar Collection
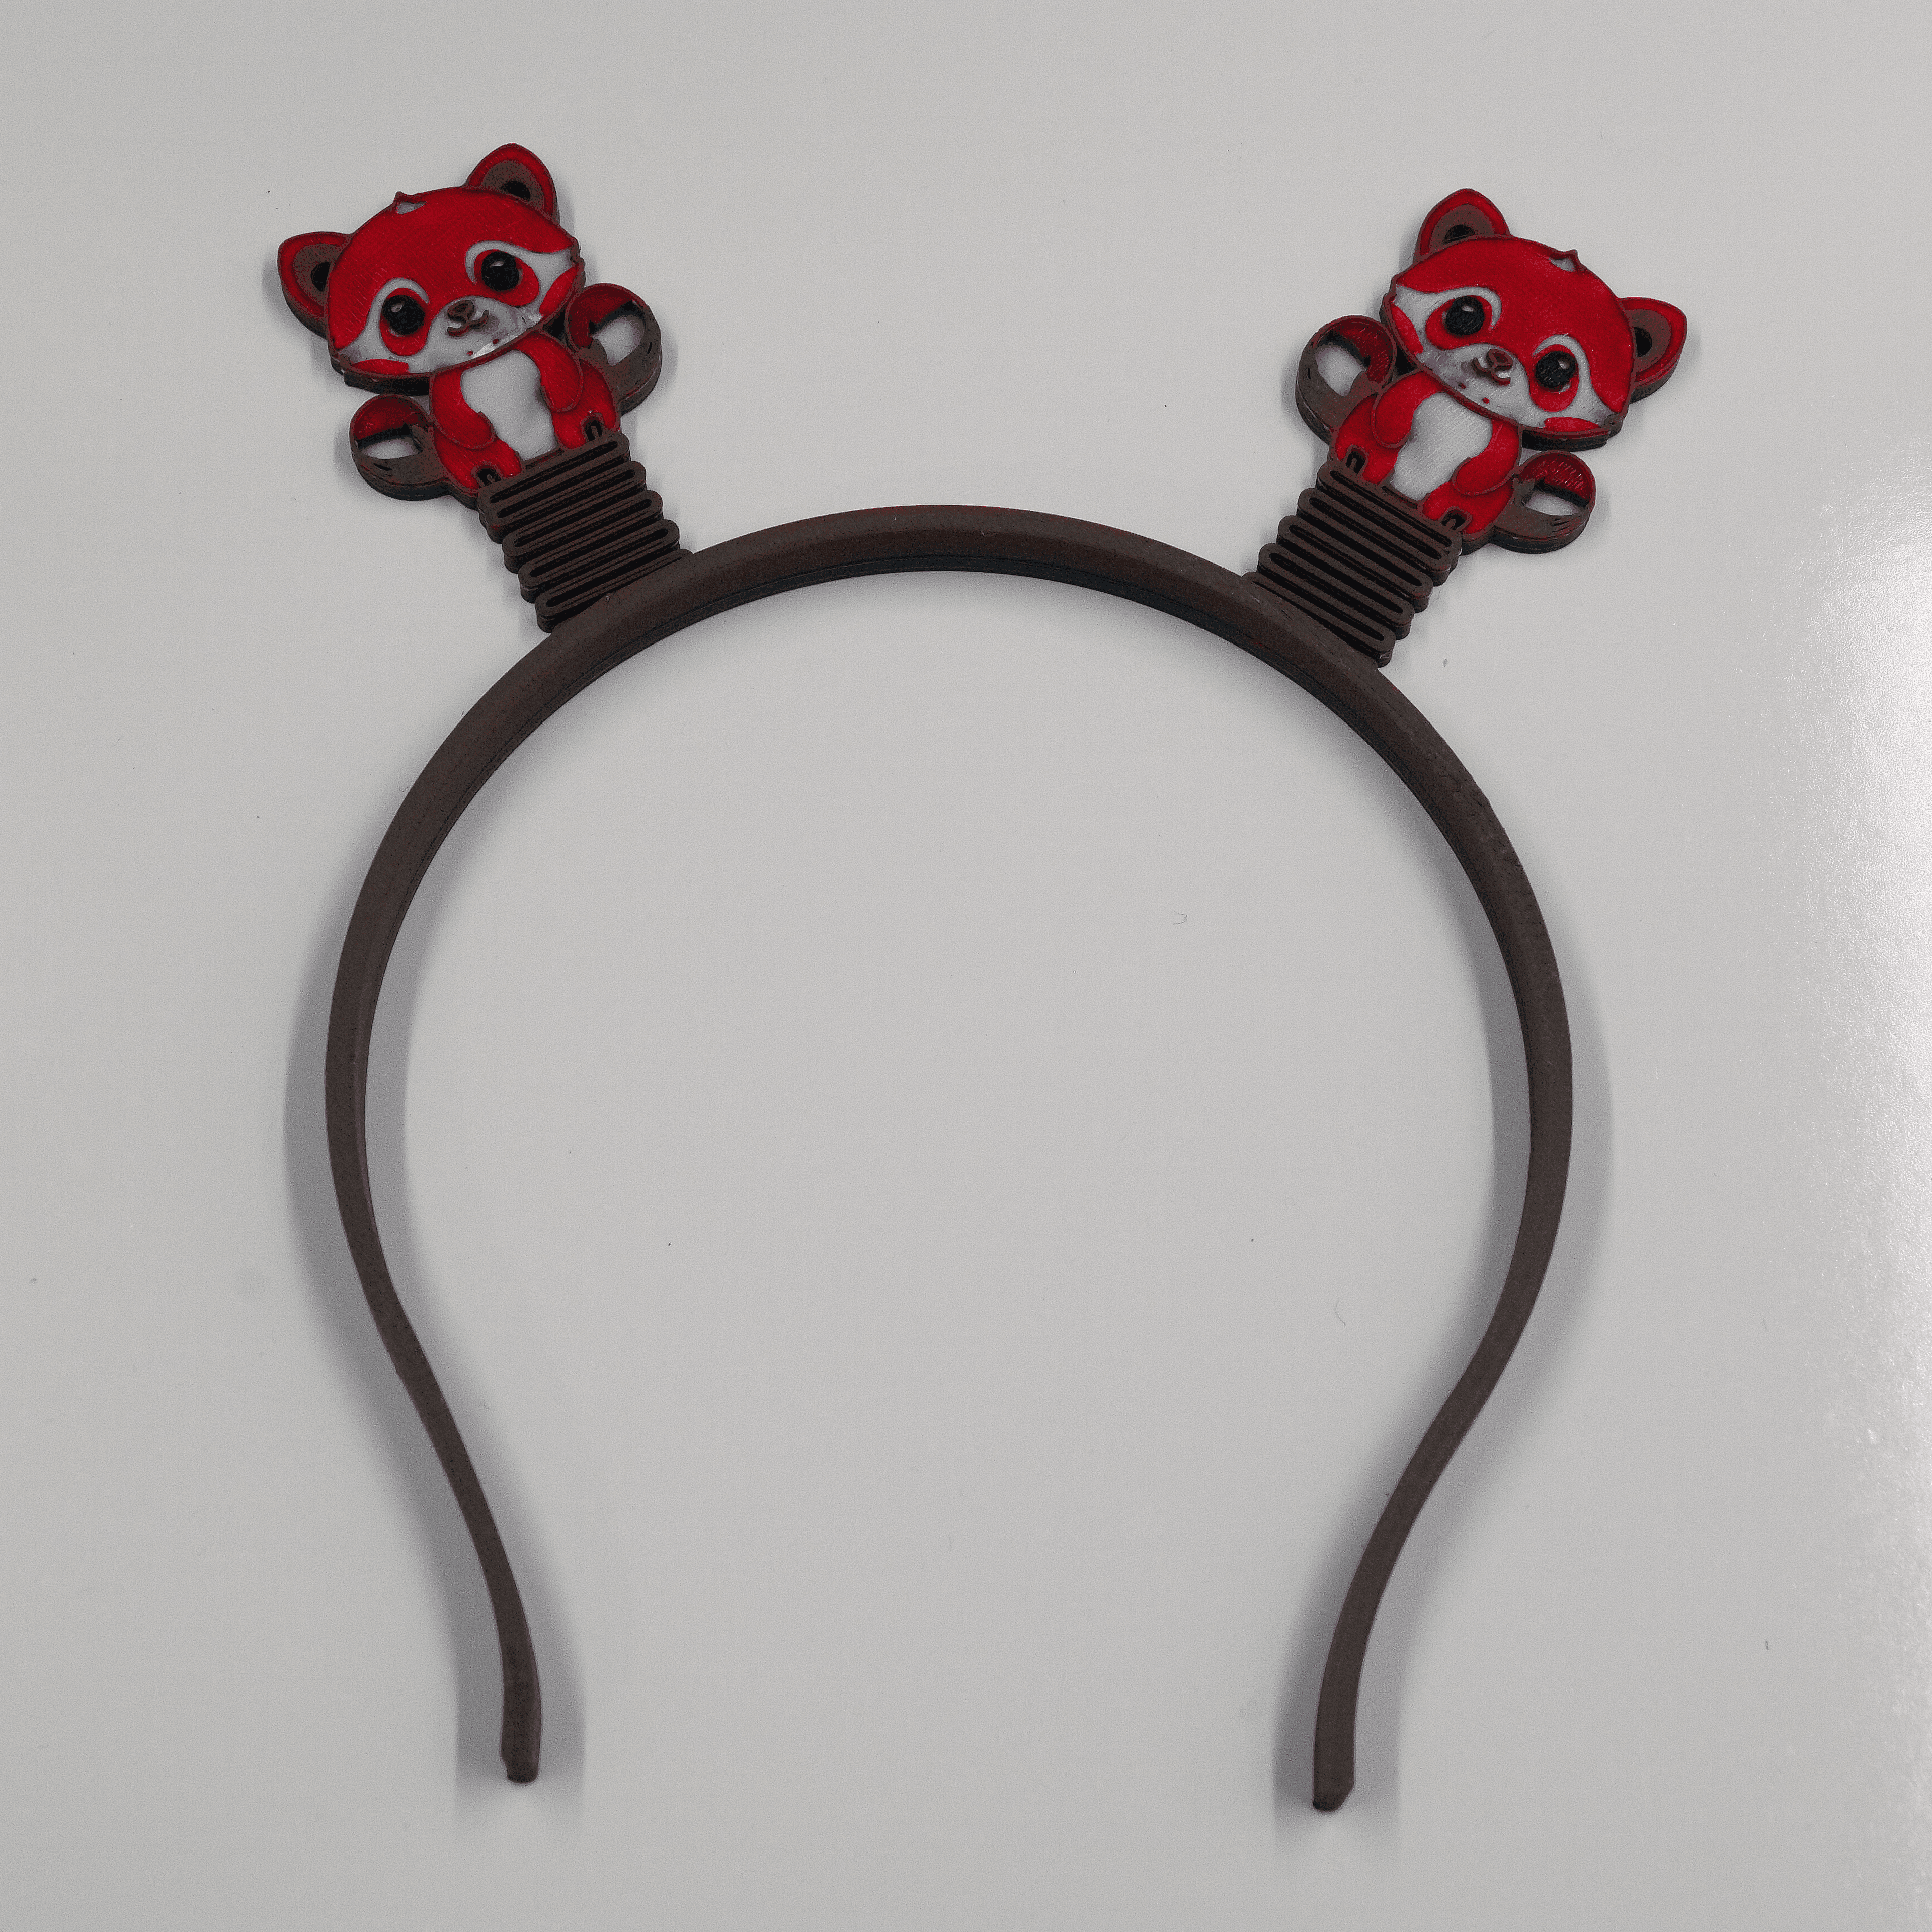
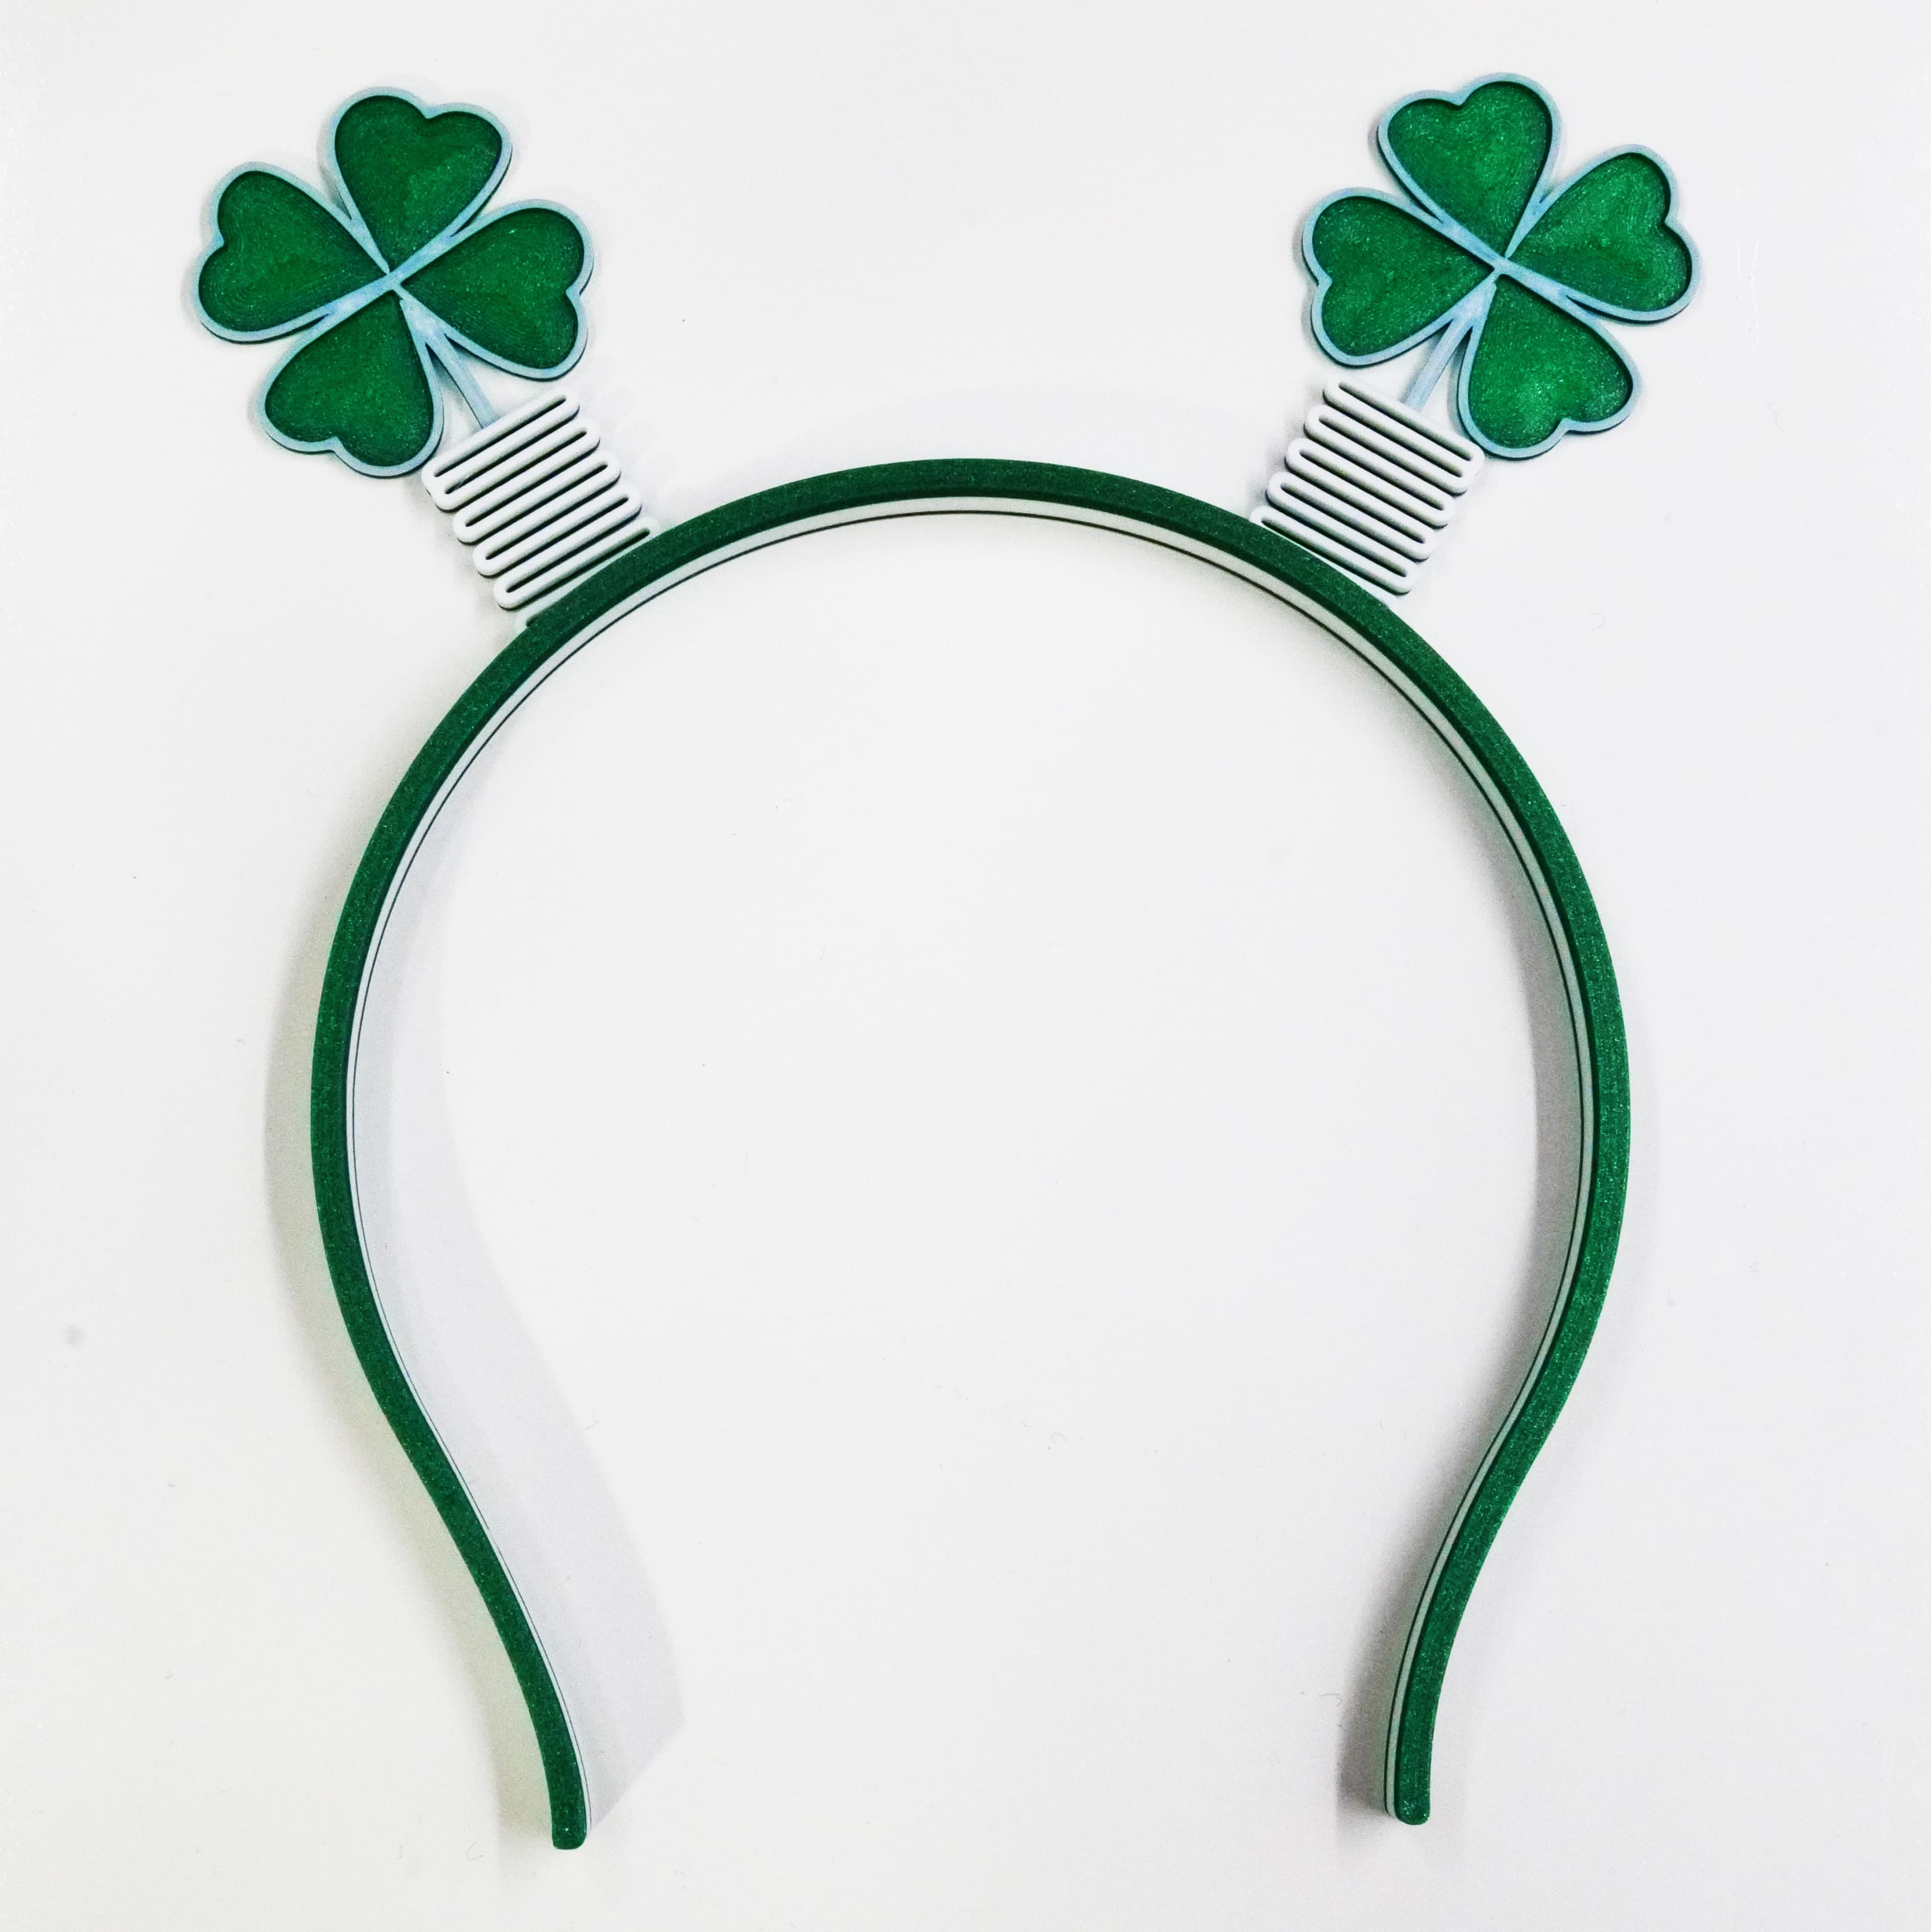
Print In Place Red Panda Head Band Boppers
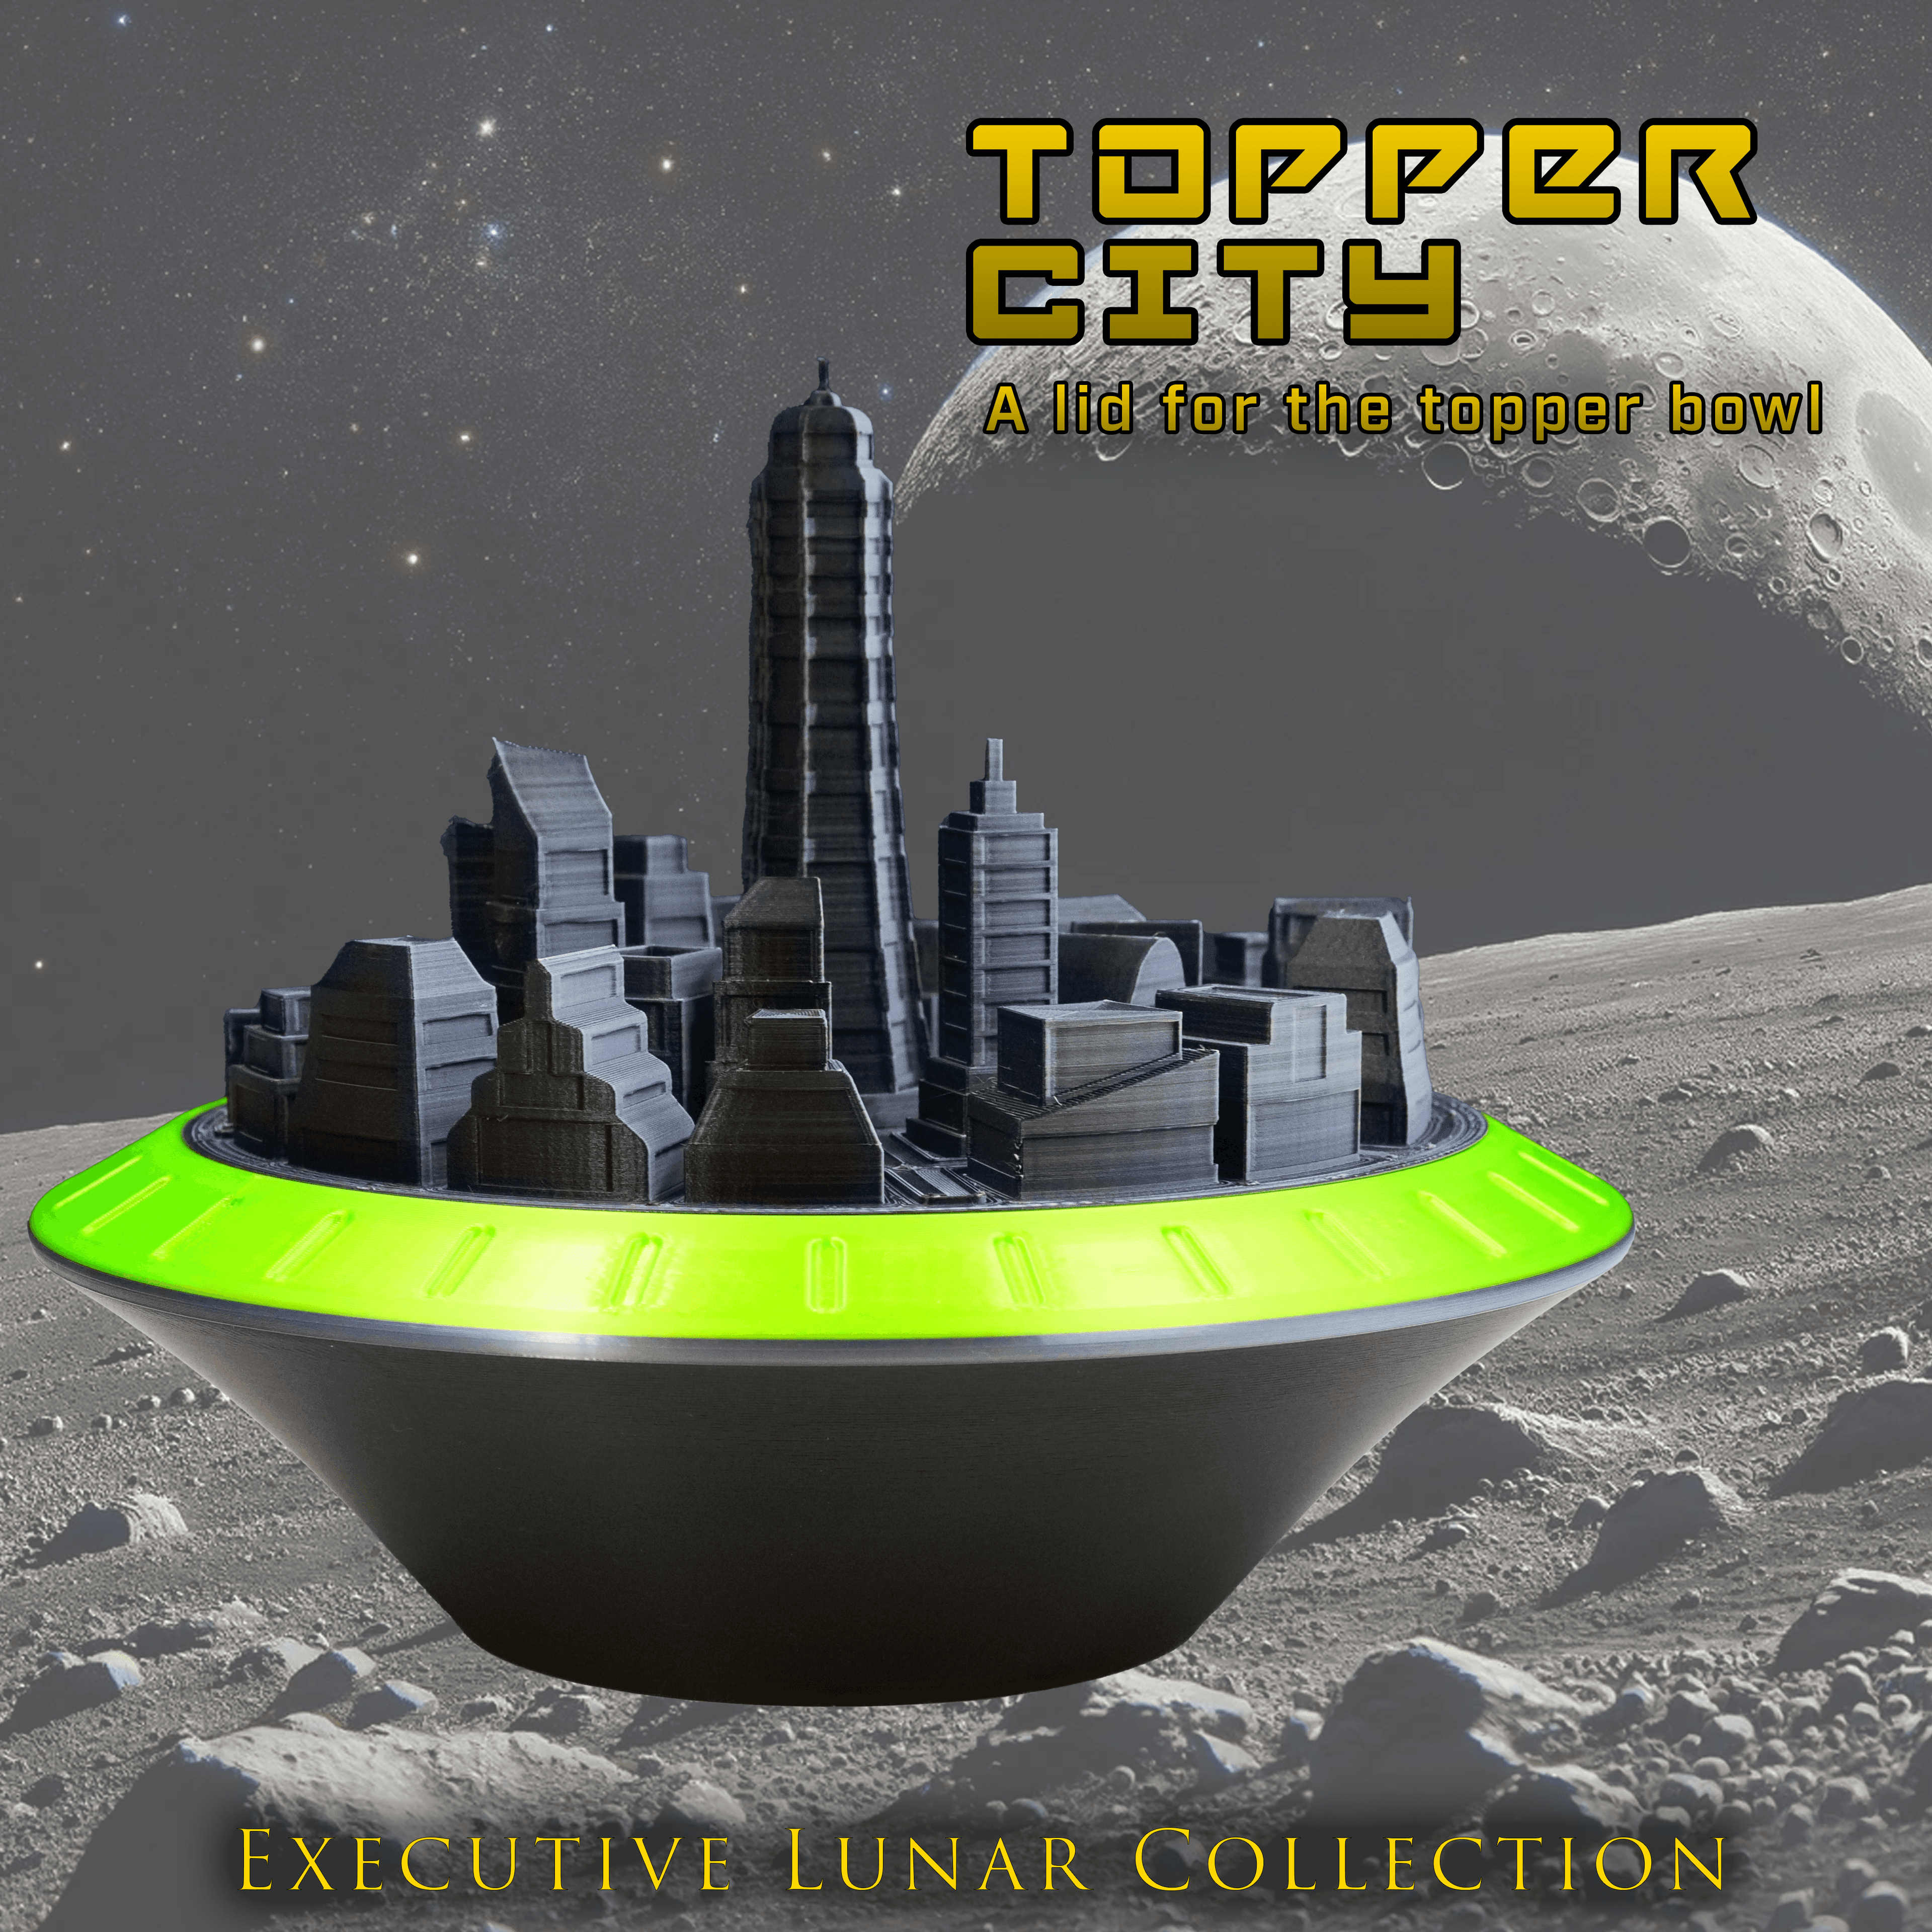
Topper City - a lid for Topper Bowl - Executive Lunar Collection
If this is your personal stuff you are going places Mr.Sir
Yup, I design all this.
Design ***