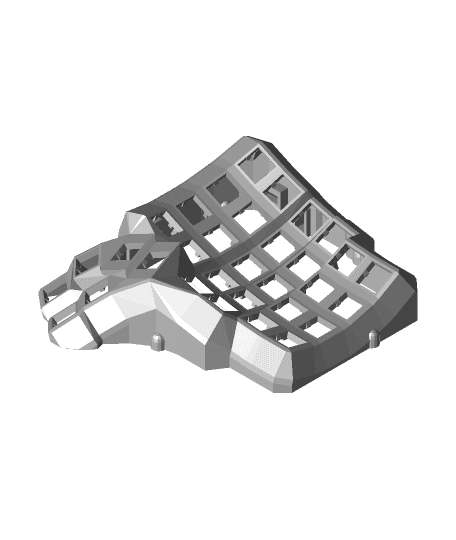


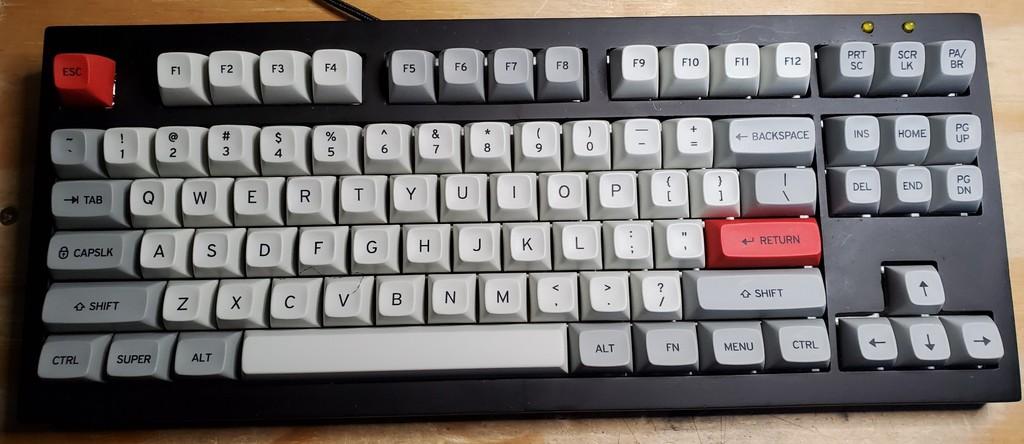
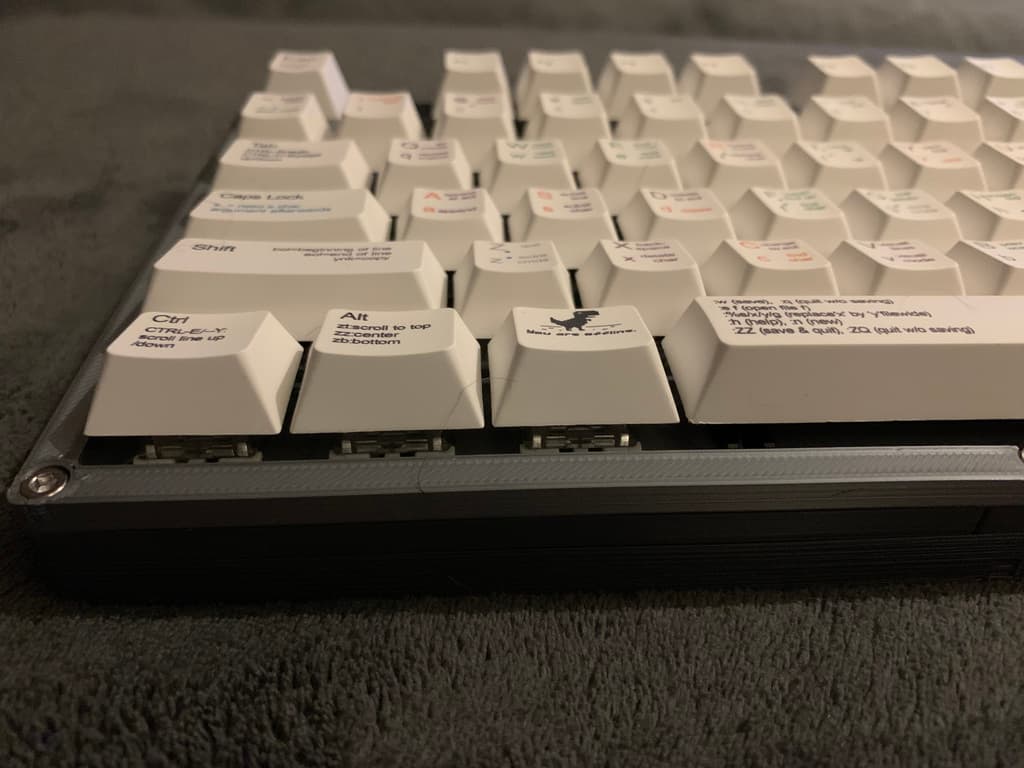
TheFilclone - A Filco Compatible 87 Key Mechanical Keyboard
Model originally uploaded to Thingiverse at https://www.thingiverse.com/thing:4280254.
Since I designed a designed a Filco - compatible keyboard case that emulates the shape of the Drop CTRL, it was logical to also just design one that was similar to the majestouch...so i give you TheFilclone!
My intention again was to glue-up the individual parts; then sand and fill the print and paint it. This is again based on the Phantom PCB (since that's originally a Filco replacement board), but rather than design a custom plate - this uses the many choices of commercially available plates.
This should mean that you can build a keyboard PCB - plate sandwich with the phantom and a corresponding plate, or with many other TKL PCB's and plates out there designed to fit in case layout similar to the Filco Majestouch, or just refresh you existing Filco with something custom.
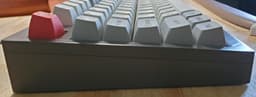
I did put the LEDs in a non standard location, I still don't like the choice to place them in the row gap.
I included all the files as STEP in the archive, so feel free to remix or modify to your heart's content. This also means that if you wanted to try to build a GoN NERD/NERD TKL, H87a, or the Kprepublic XD87 should all be able to fit - possibly with some small custimization to the model.
More to come as I sort this out, but the files themselves are ready to print.
Parts List:
- Phantom PCB (mechanicalkeyboards.com)
- 125 ANSI Aluminum Plate (mechanicalkeyboards.com)
- Teensy 2.0 (available all over the place - amazon.com, pjrc.com)
- 87 switches of your choice 5 .Plate Mount TKL stabilizer kit - i like the sentraq ones on amazon
- 87x IN4148 diodes - you can get 100 pack on Amazon for just a few dollars
- 2x 5mm LEDs and appropriate resistors
- USB B Mini cable (for the teensy - other boards and controllers may have USB b micro, or USB C)
- 8x M4x12mm screws (socket insert cap screws) to attach the top to the bottom. Keycaps
Assembly:
- Print the top and bottom halves along with the small cable cover if you want.
- Trim and file the edges to clean the print - especially the mating faces
- Pin the halves together to form a full top and bottom. The halves are designed to be pinned with 1/8" brass rod - but you can use bamboo skewers as well.
- Test your assembled keyboard for fitment and alignment - some trimming, filing, etc. will most likely be needed to get everything fitted nicely. (if you went with the Phantom - there are several guides on the internet and youtube for assembly)
- Glue up the top halves and bottom halves (I just use gel superglue)
- once its all dry, assemble the top and bottom to test fit again - this time i included M4 threads in the top to help keep the assembly tight, but don't over-torque the threads
- Optional: Sanding and Painting
- with the top and bottom all assembled and screwed together, sand all the faces with 320 grit sandpaper to remove any printing lines and blemishes.
- Use sandable putty / moldable epoxy / automotive body filler to fill any voids (try not to fill the seam between the top and bottom.
- Once dry, sand again with 320 grit, then 600, then 800 - repeat as desired to get the smoothness you want. PLA will clean up surprisingly nice this way.
- once you are ready, separate the parts and paint with a few light coats of spray paint following the product instructions. I used Rustoleum painter's touch. It will adhere to plastic just fine and does not require primer.
- allow everything to dry and reassemble the keyboard including the internal parts
My other stuff (mostly Keyboards) https://www.thingiverse.com/revere521/designs
TheFilclone - A Filco Compatible 87 Key Mechanical Keyboard
TheDroppelganger - A Filco Compatible 87 Key Mechanical Keyboard
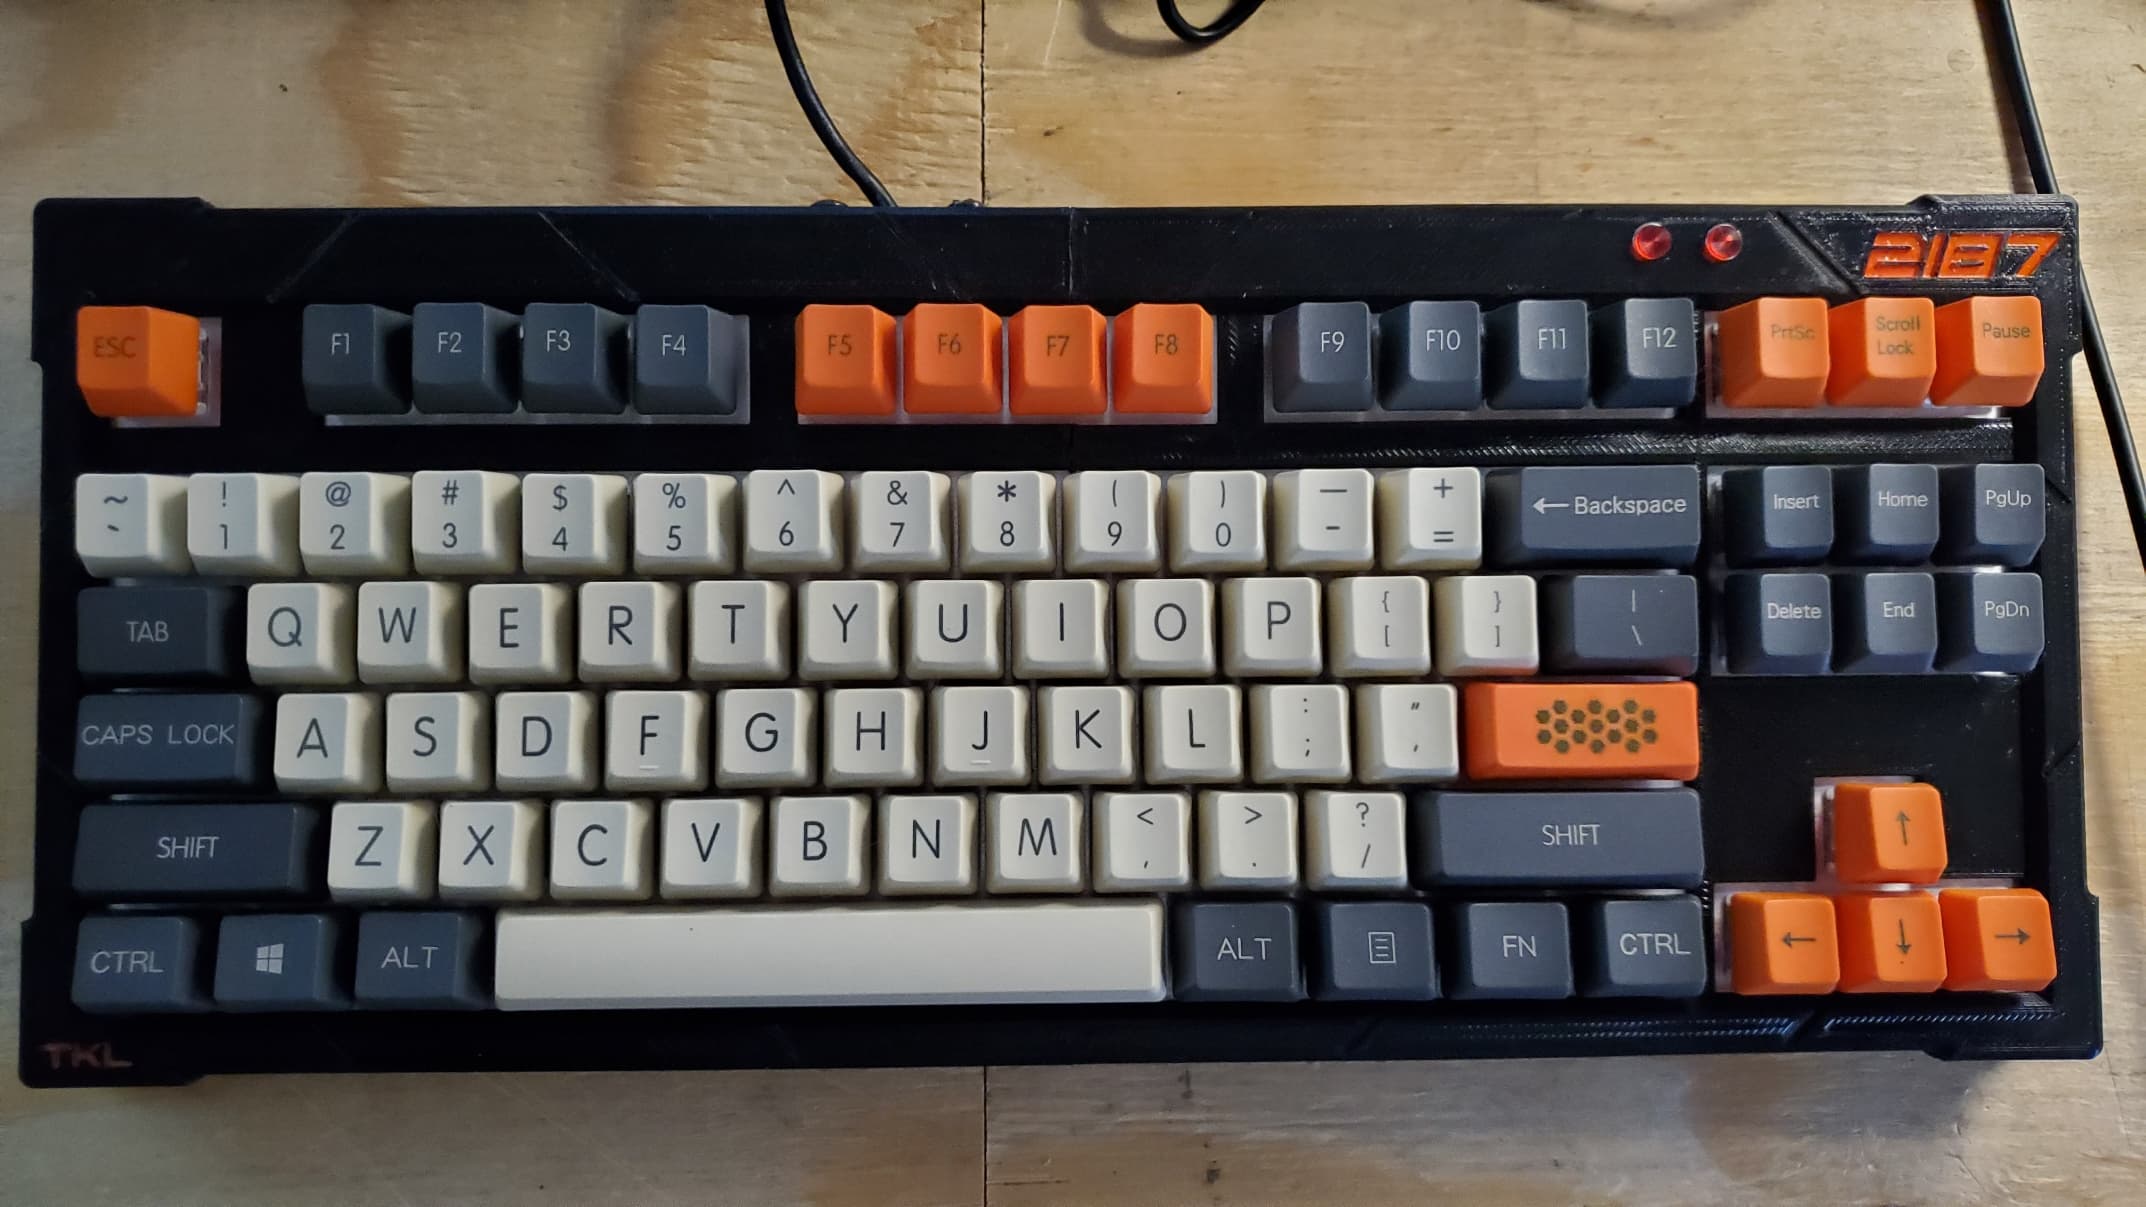
The2187 - A Modular Modern 87 Key Mechanical Keyboard

TheBasic - A Minimalist 87 Key Mechanical Keyboard

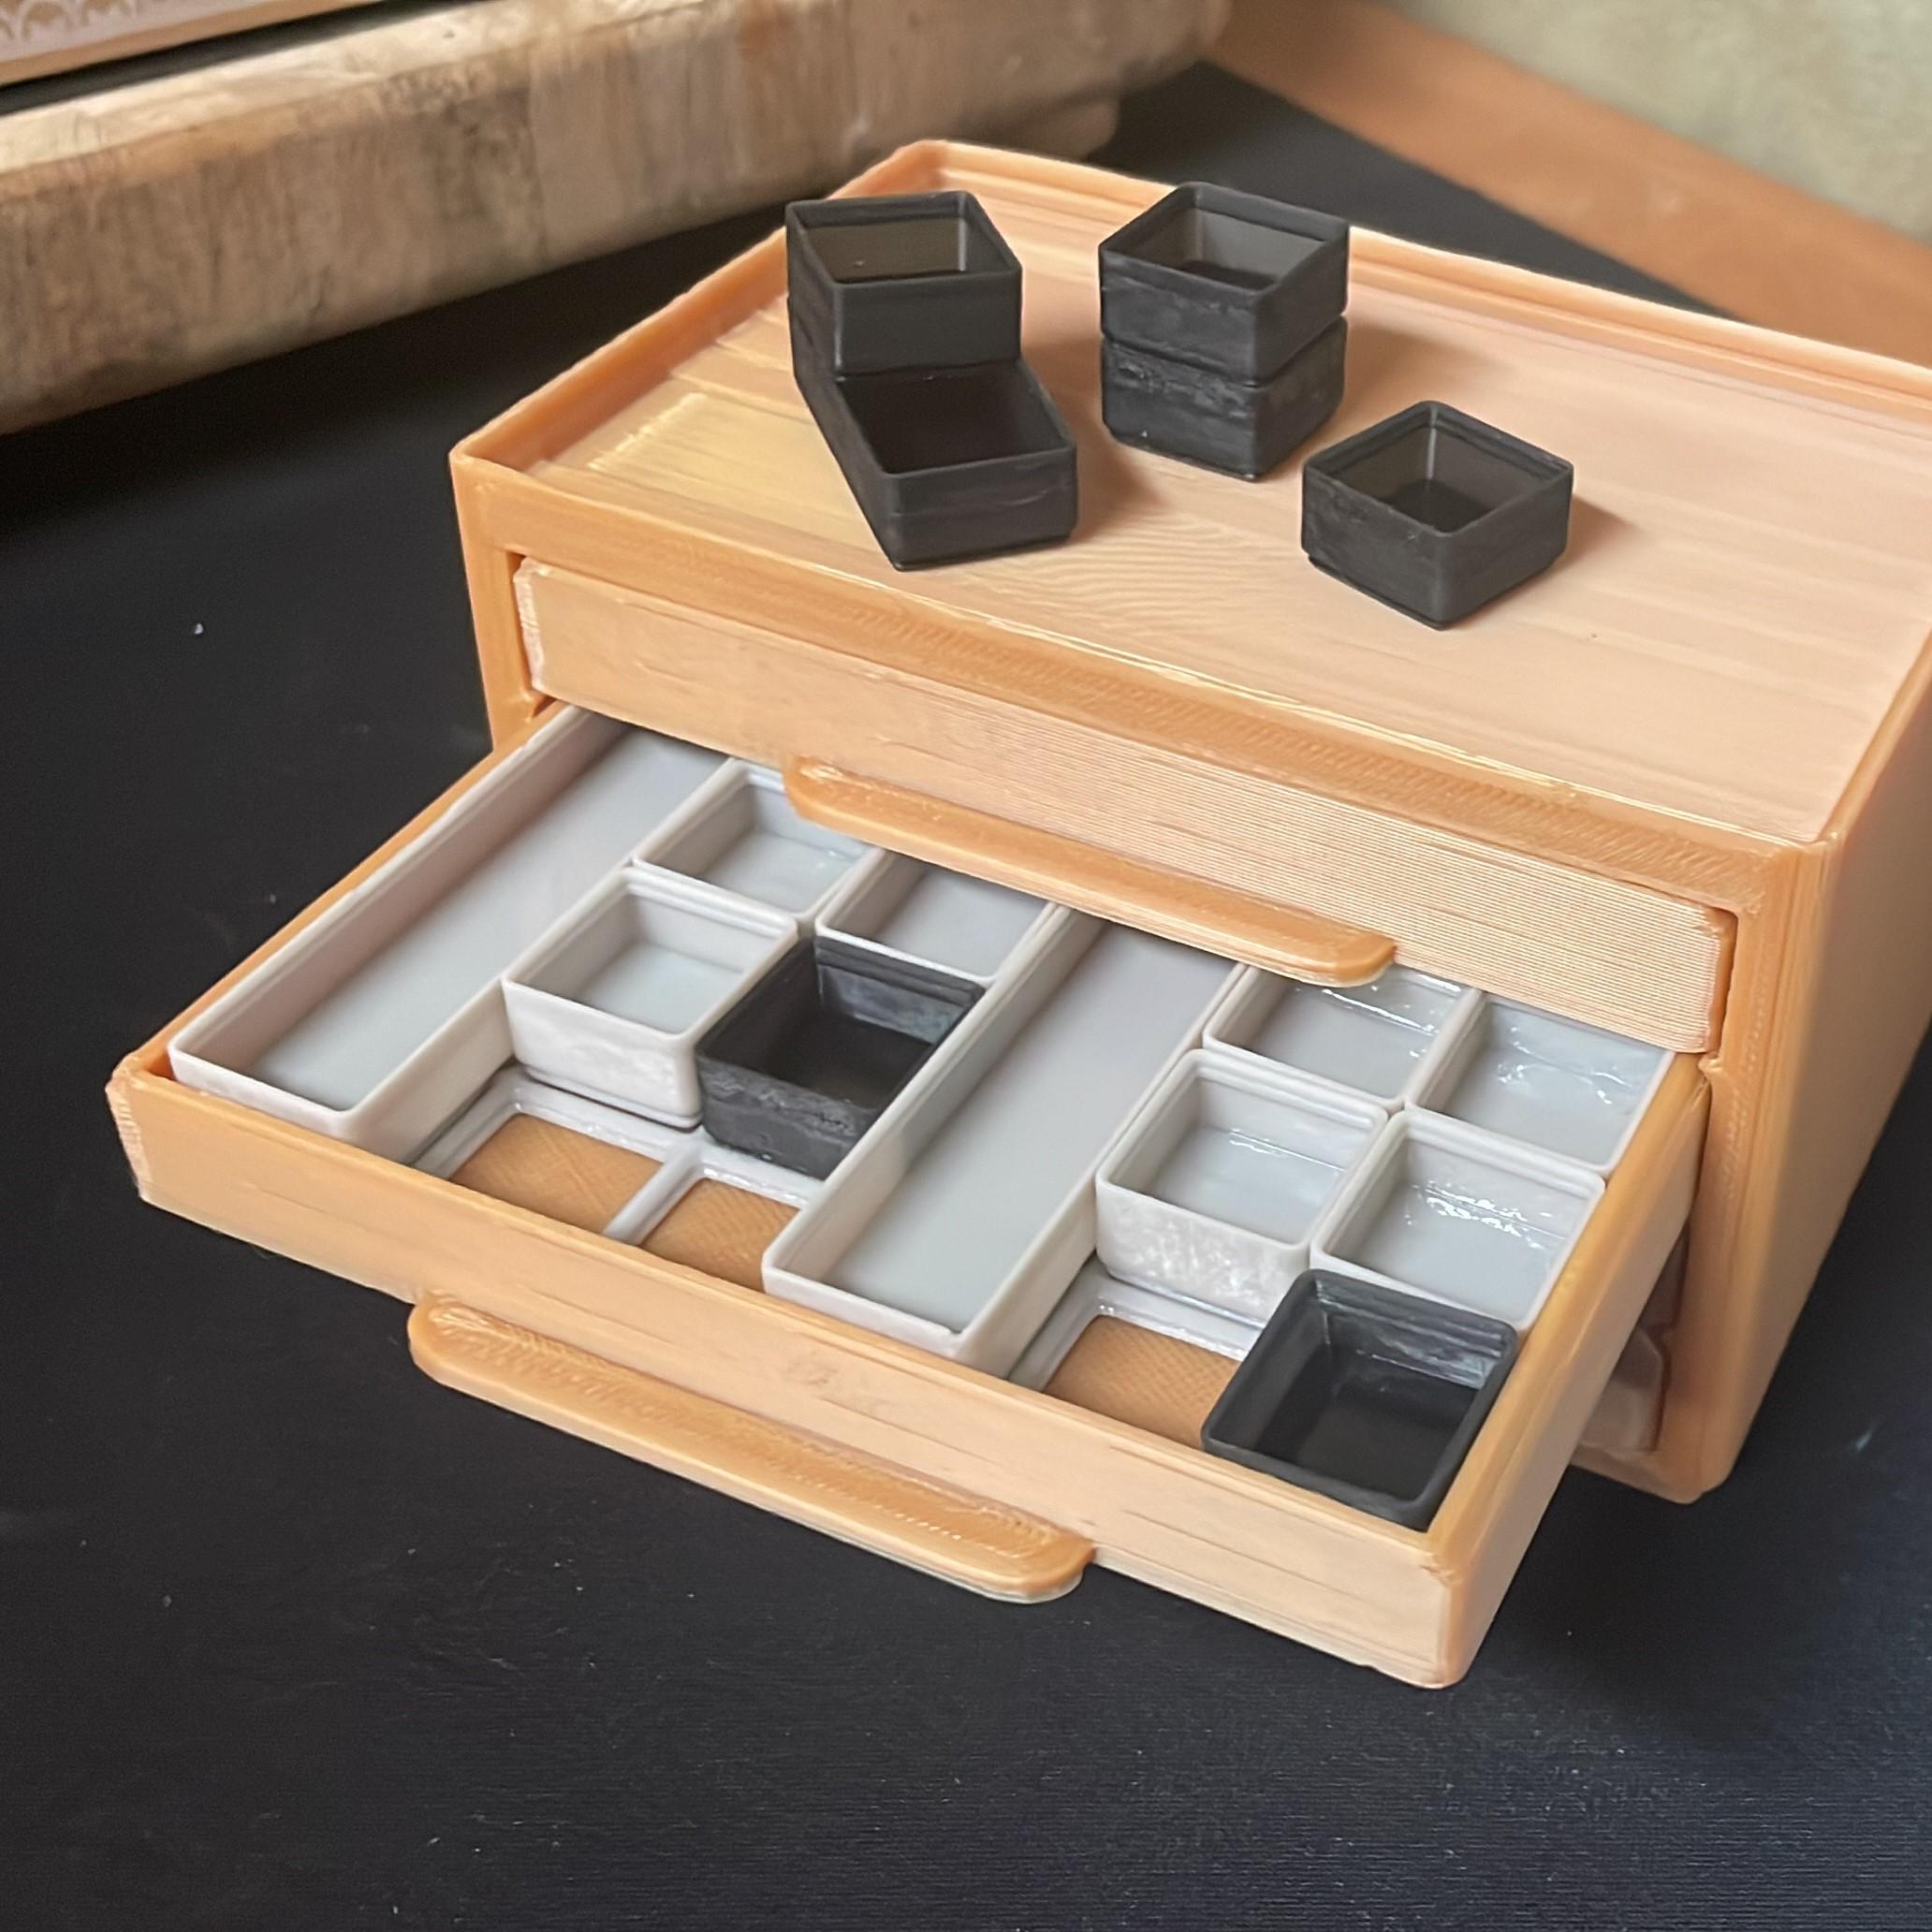
HO Scale Office Furniture

Classified Cyber-Chort Terminal - Heavy Sci-Fi Objective Marker STL
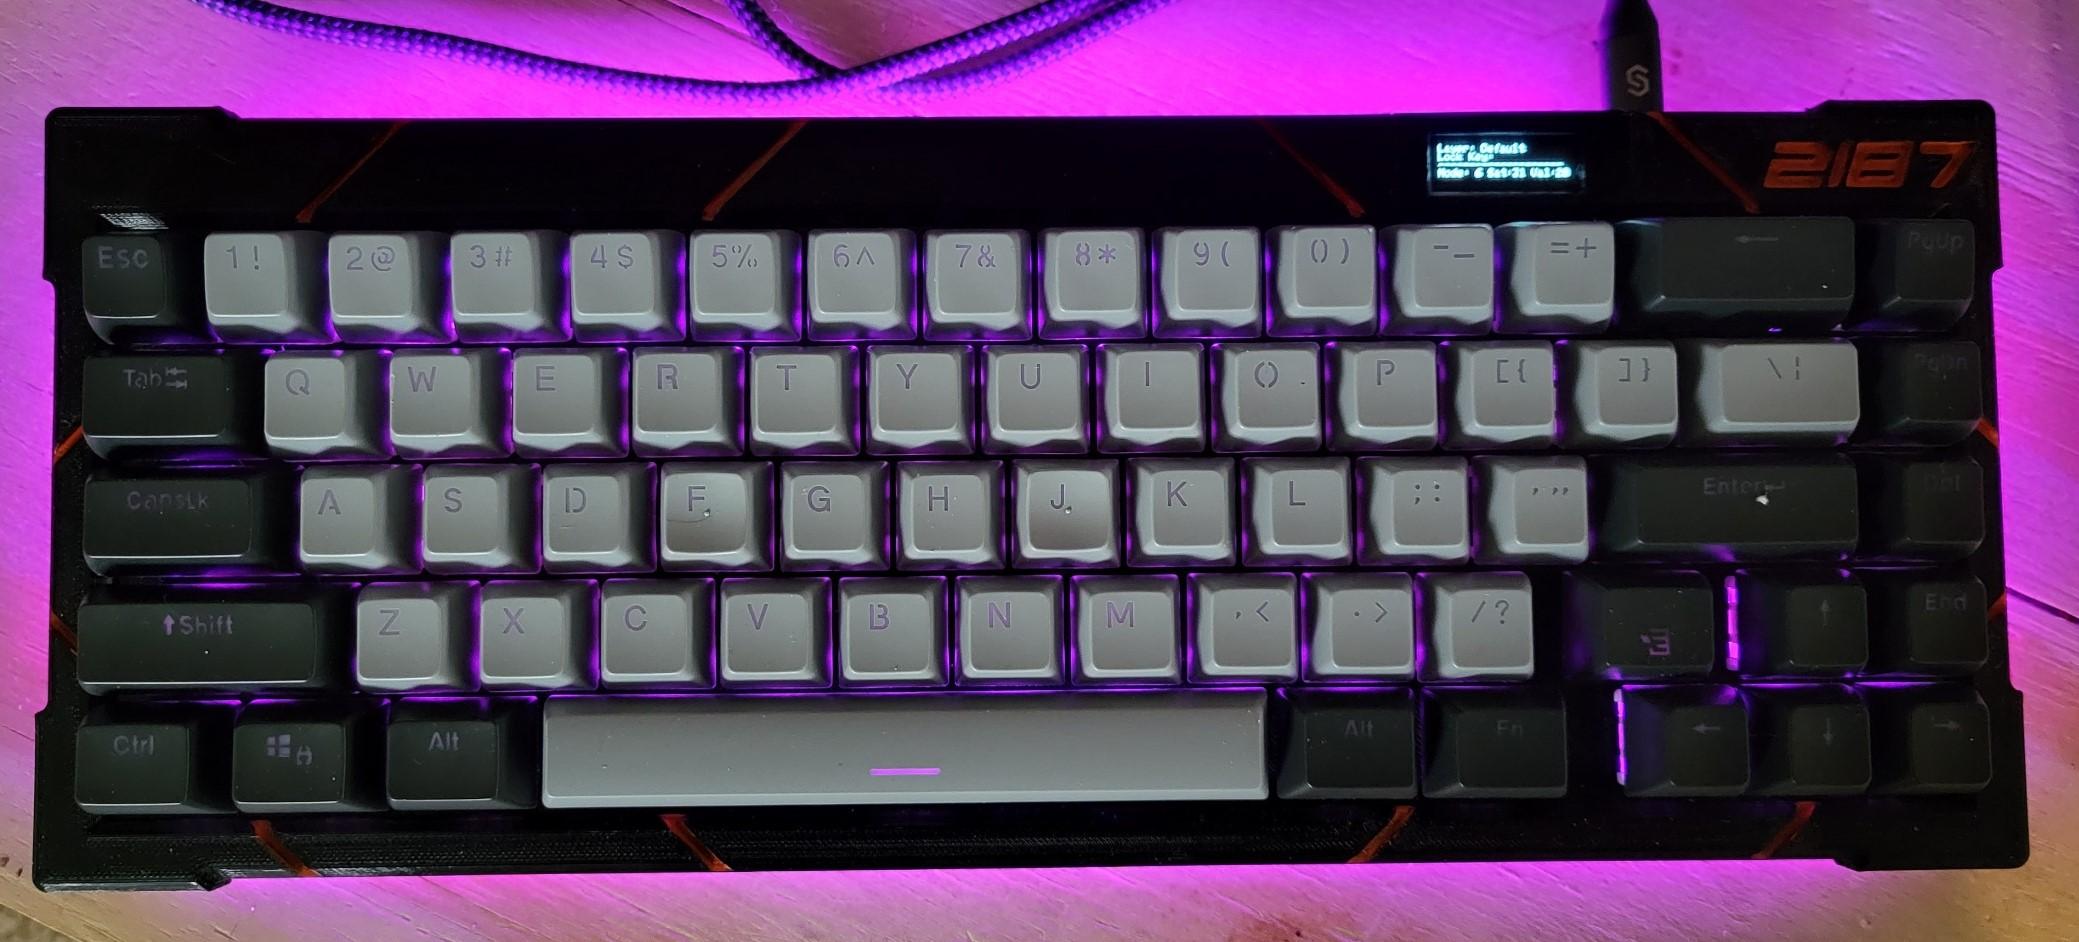
The2187Lite - A Handwired 65% revision of The2187 TKL with OLED and RGB!
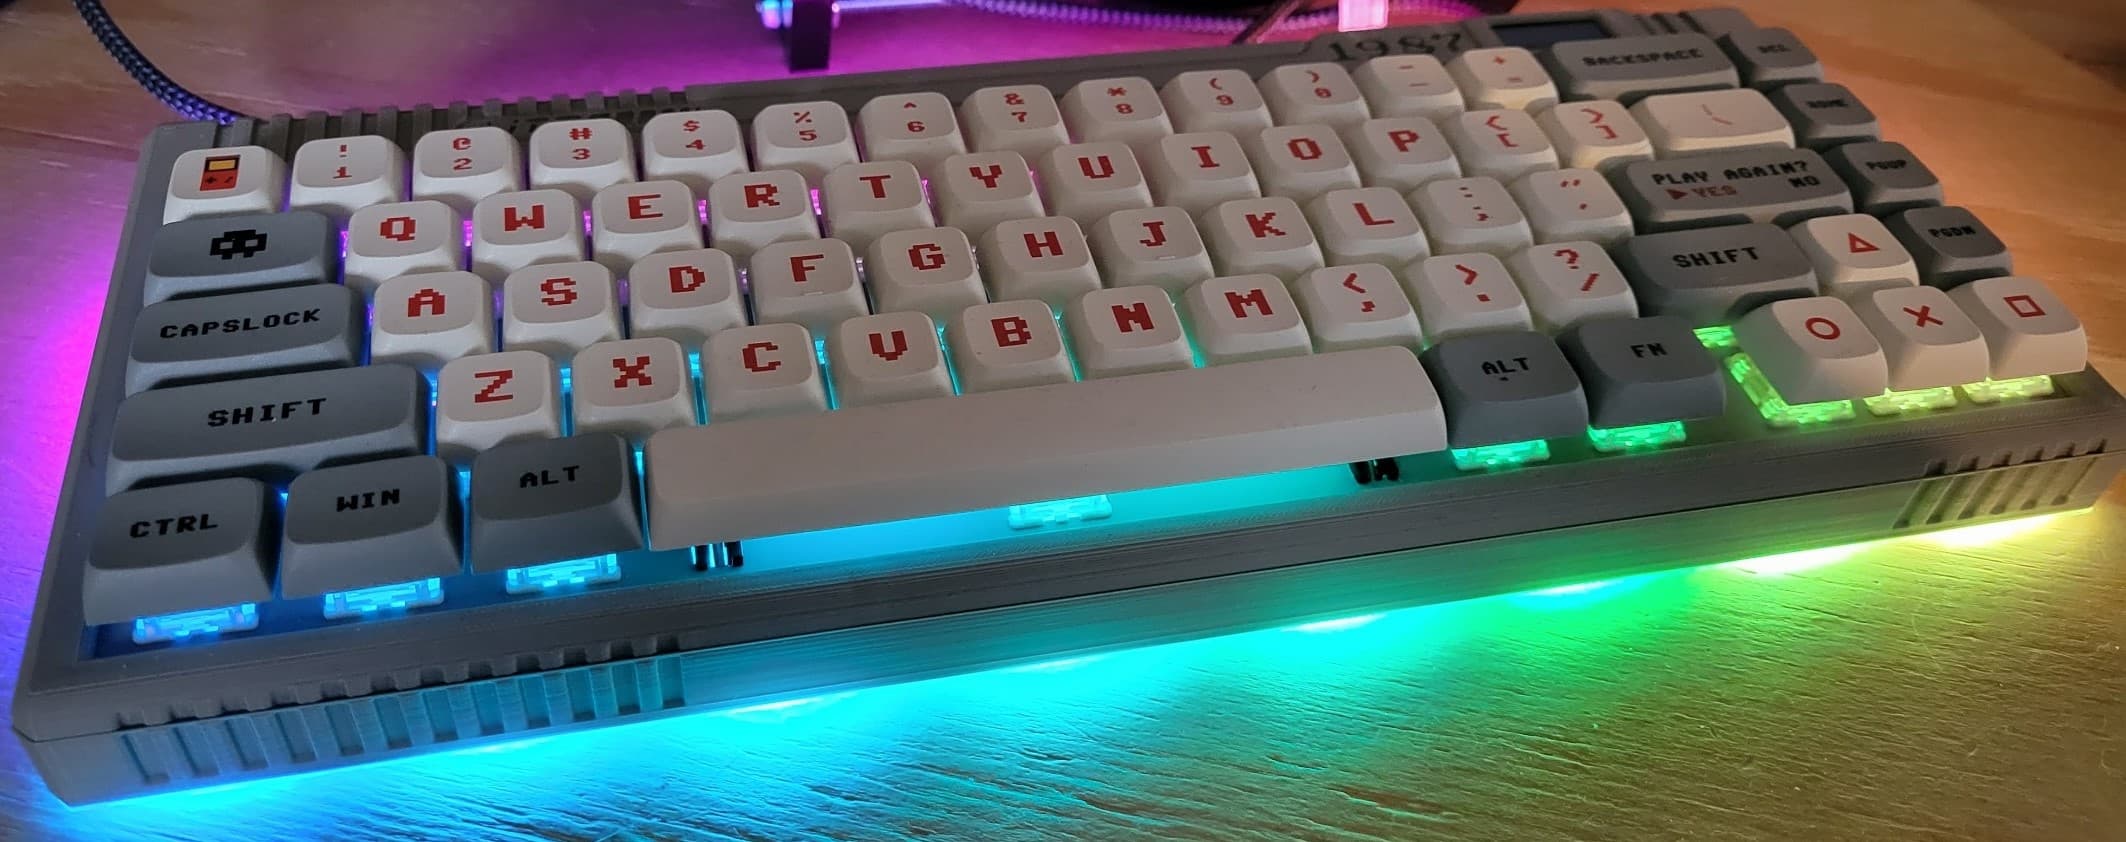
The1987Lite - A Handwired 65% revision of The1987 TKL with OLED and RGB!
Prototype: 3D Printed HOT SWAP Mechanical keyboard.
Minifinity | Gridfinity Drawers Baseplate

CardDock for Uno - Auto-aligning Card Deck Holder and Case

Clicky Cacti - Fidget with Mechanical Switches - Pocket Plants
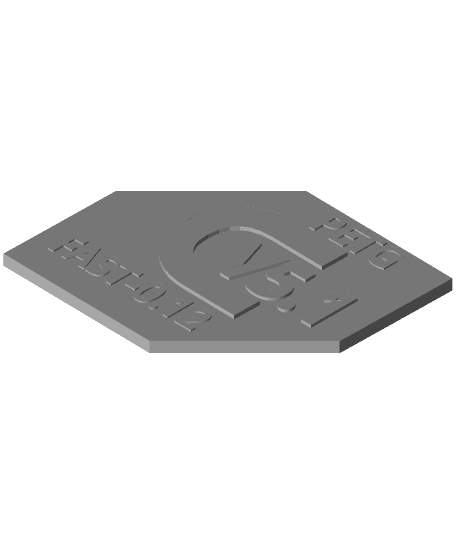
Filament Friday PETG Extra Fast 0.12 Cura Profile
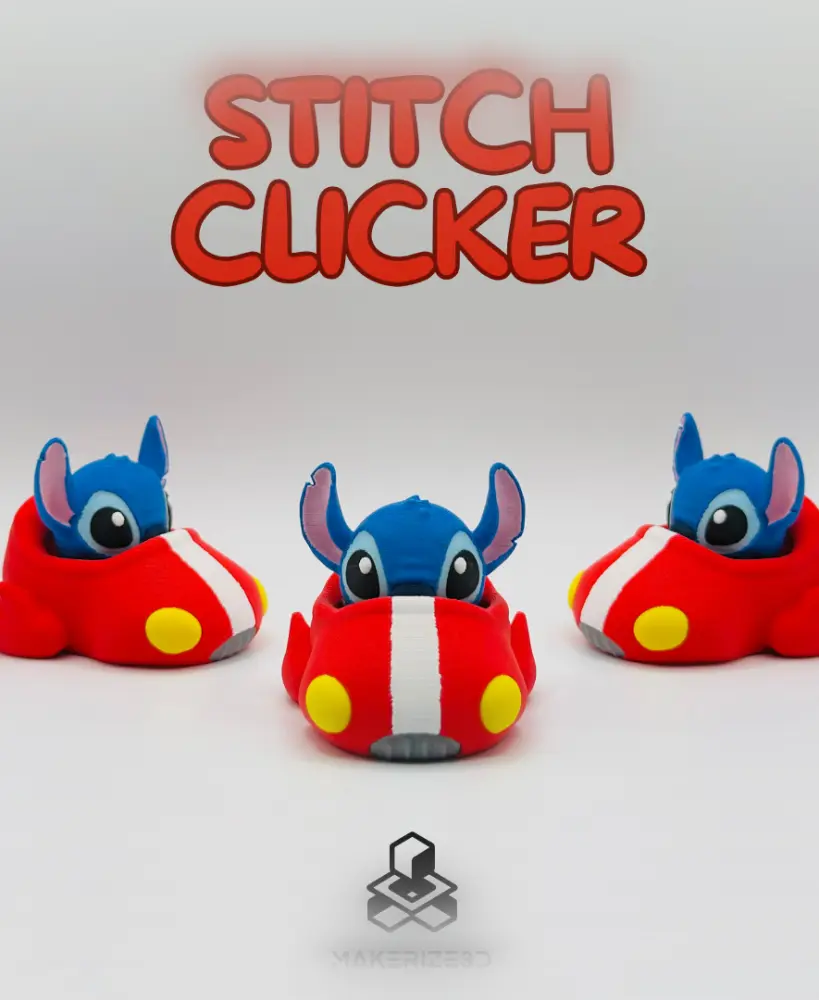
Stitch Clicker + Non-Clicker Option

Macaron Clicker - Macaron Fidget - Ludo Food
S'more Clicker - Ludo - Fidget
Dummy Clicker

Clicky Cacti Pack 2 - Clicker Fidget Cactus - Pocket Plants Collection

Easter Egg Clickers - Egg Fidget Clicker - Ludo

Tuna Roll Clicker - Sushi Fidget Clicker - Ludo Fidget