.jpg&w=3840&q=85)
.jpg&w=256&q=75)


.jpg&w=256&q=75)

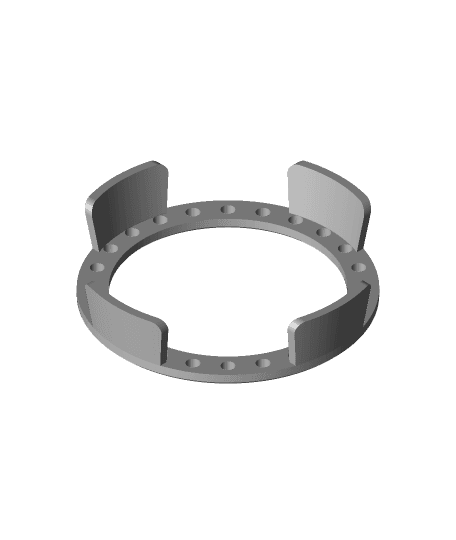
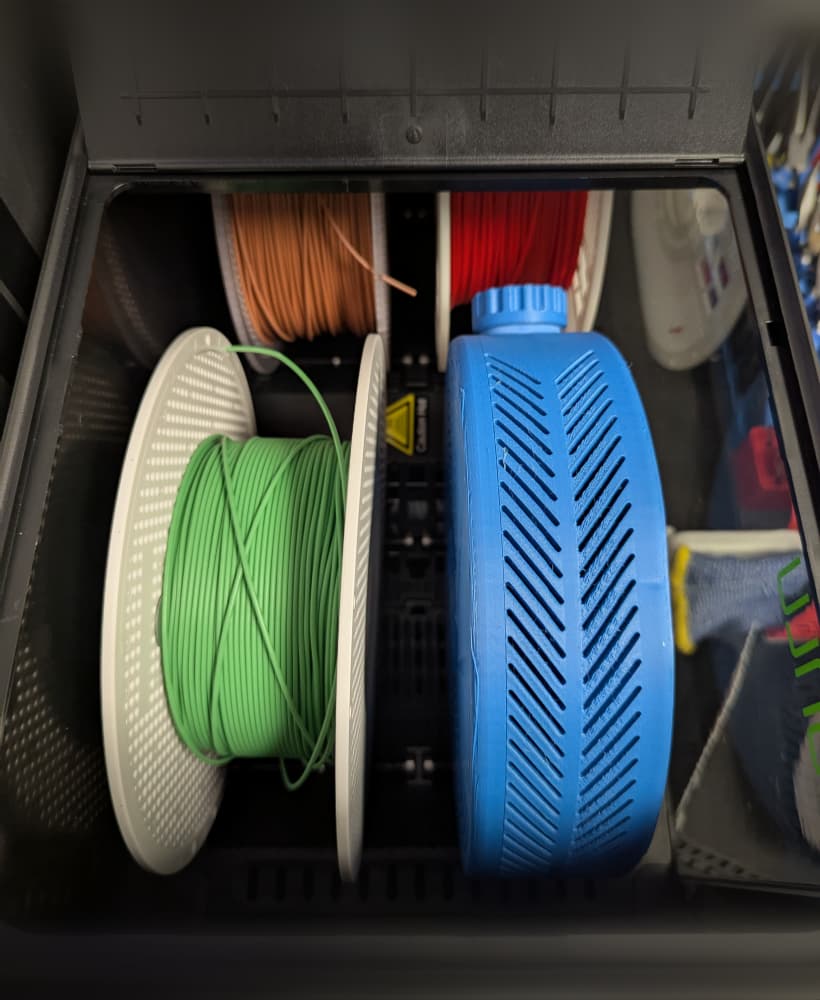
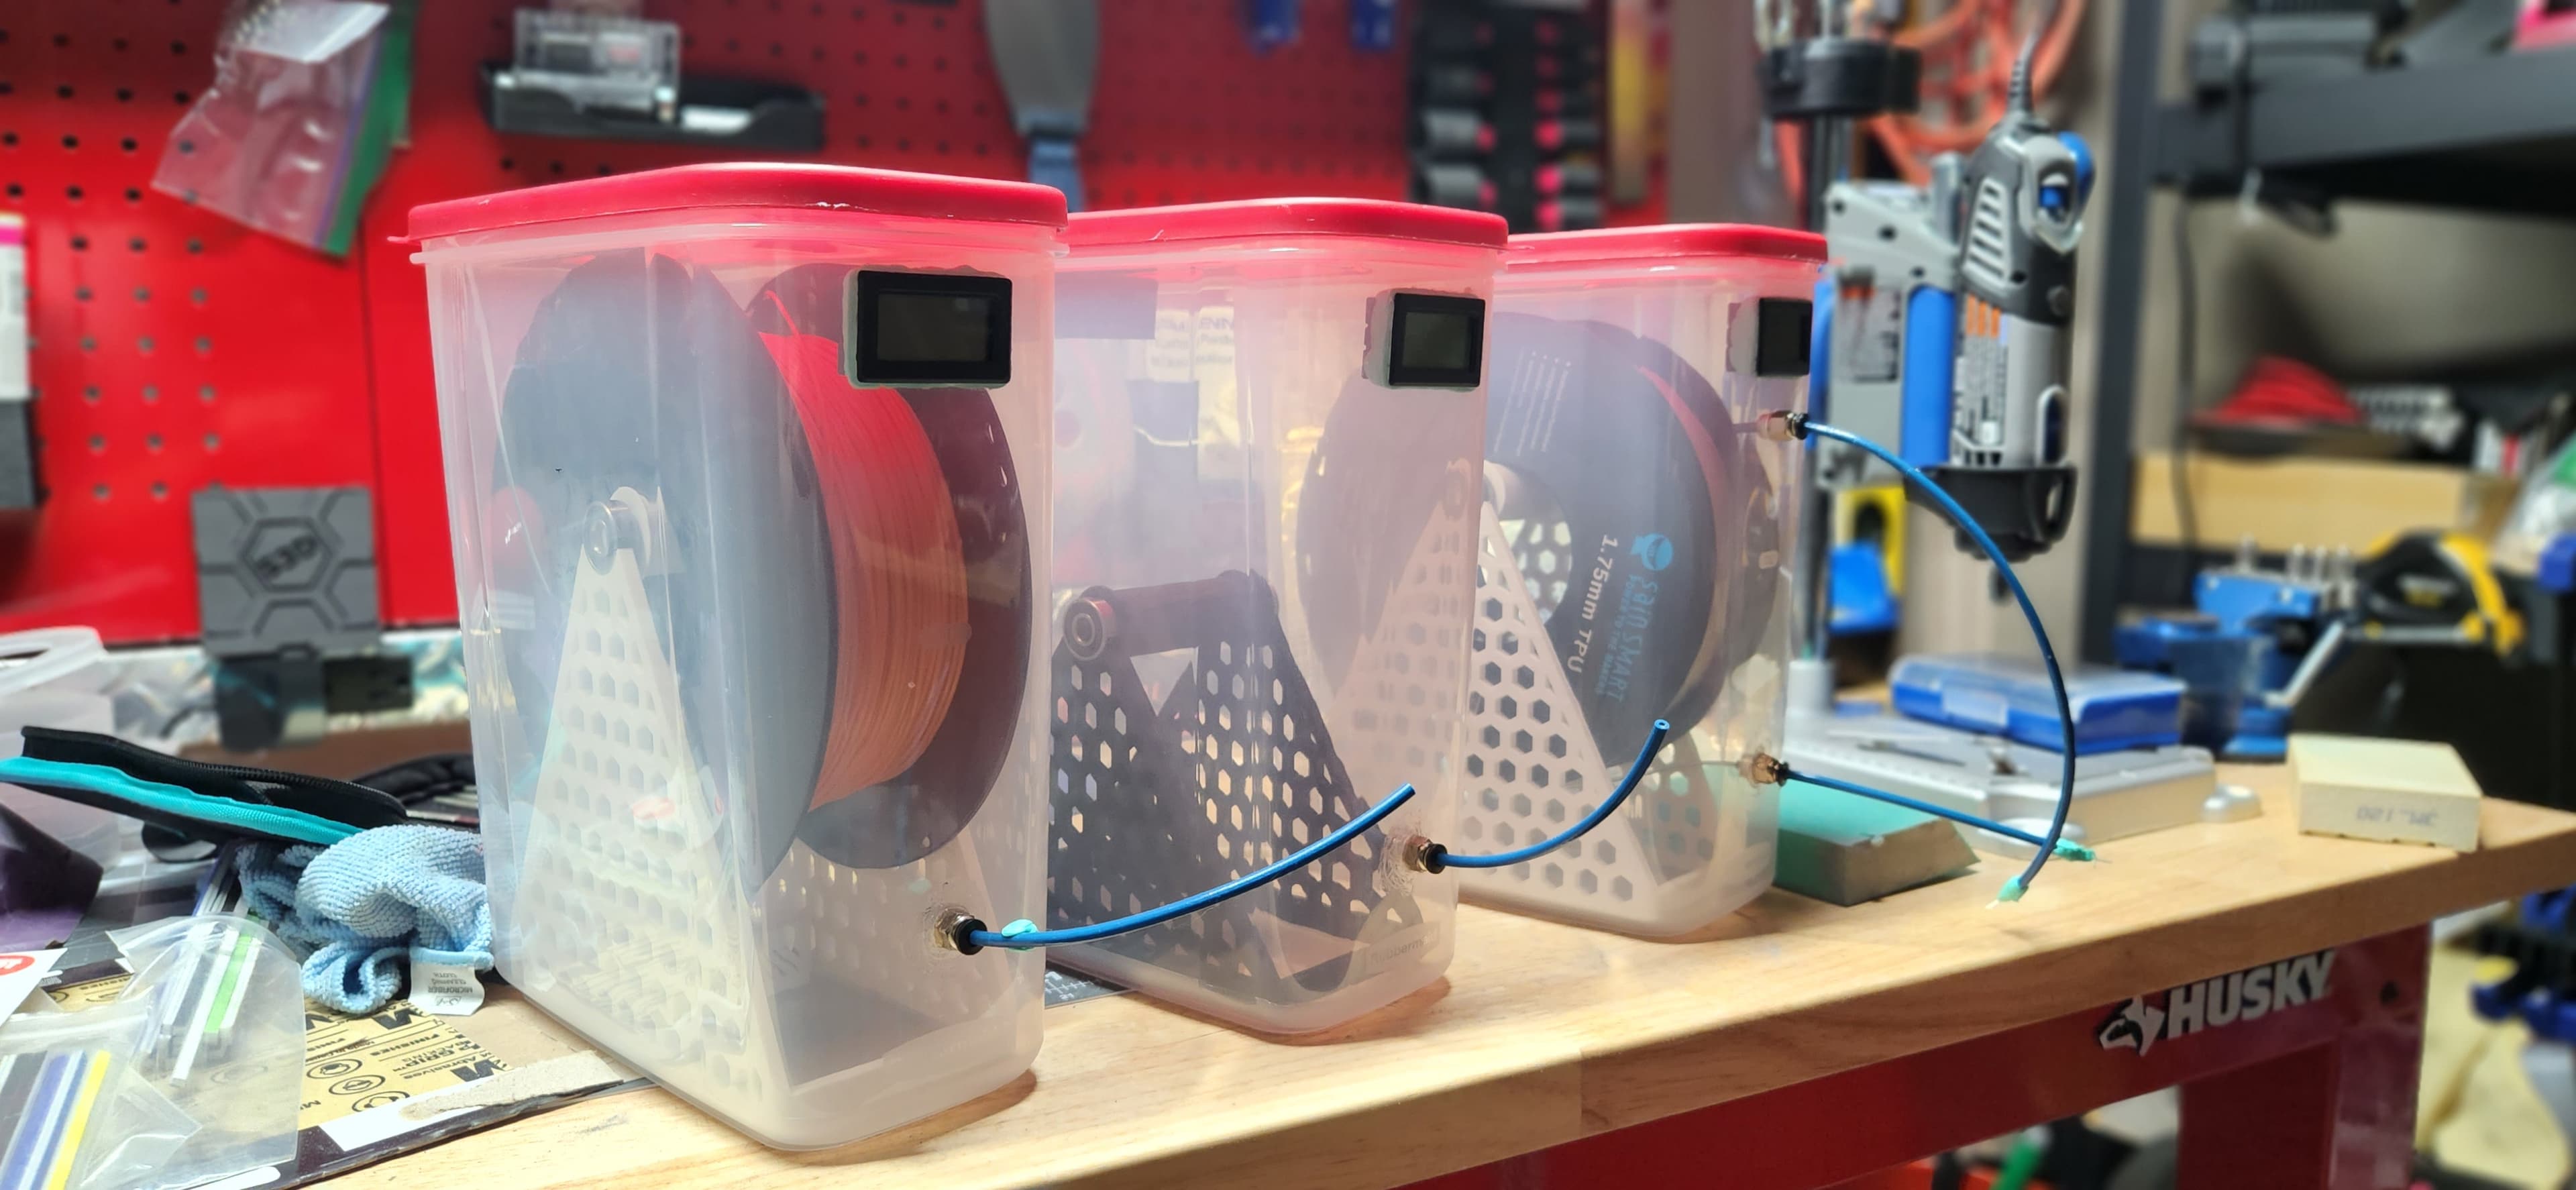
Fast Print In-Spool Silica Gel (Desiccant) Container with Hygrometer
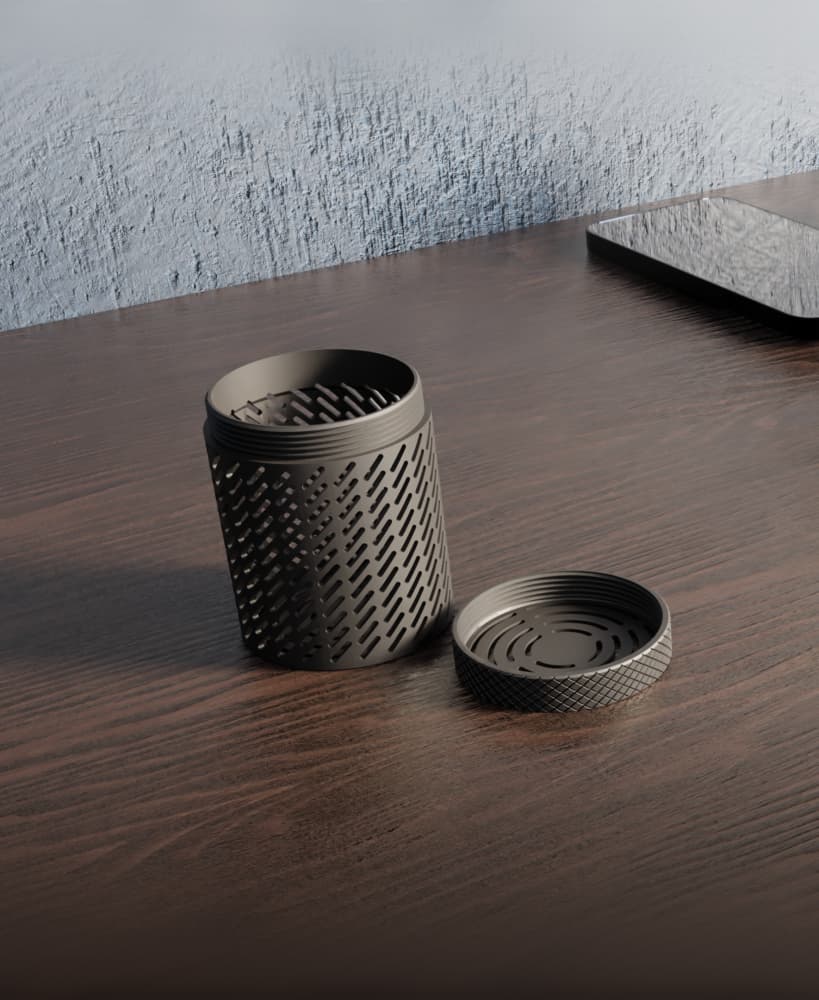
FAST PRINT - Single Wall Basket Weave - NO SUPPORTS
The Problem: All baskets and lids with grid-like perforations result in long print times
If you've printed such a basket you'll notice that the printer spends the majority of its time starting and stopping tiny islands of spires or the walls around the holes in the top/bottom layers.
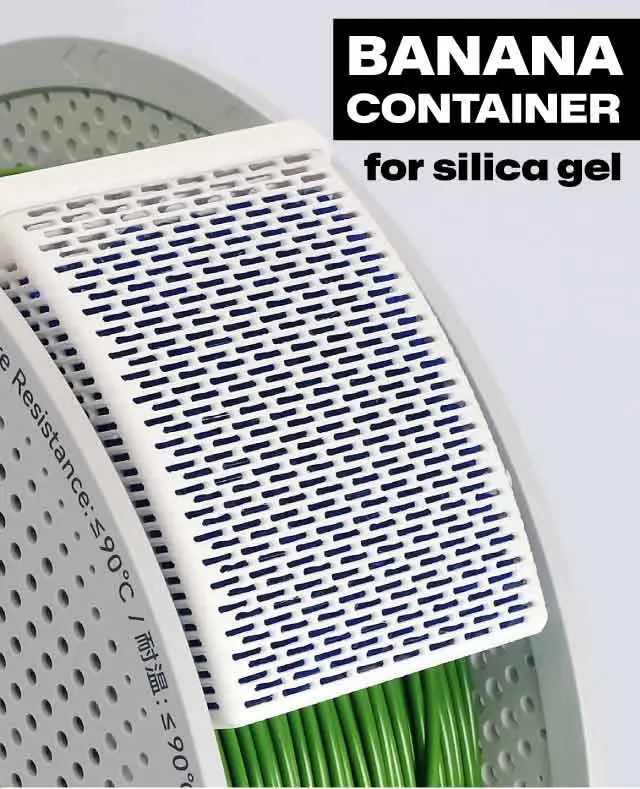
The Solution: Replace the grid with a basket weave made with a single extrusion and use straight-lined slats in the lid and bottom
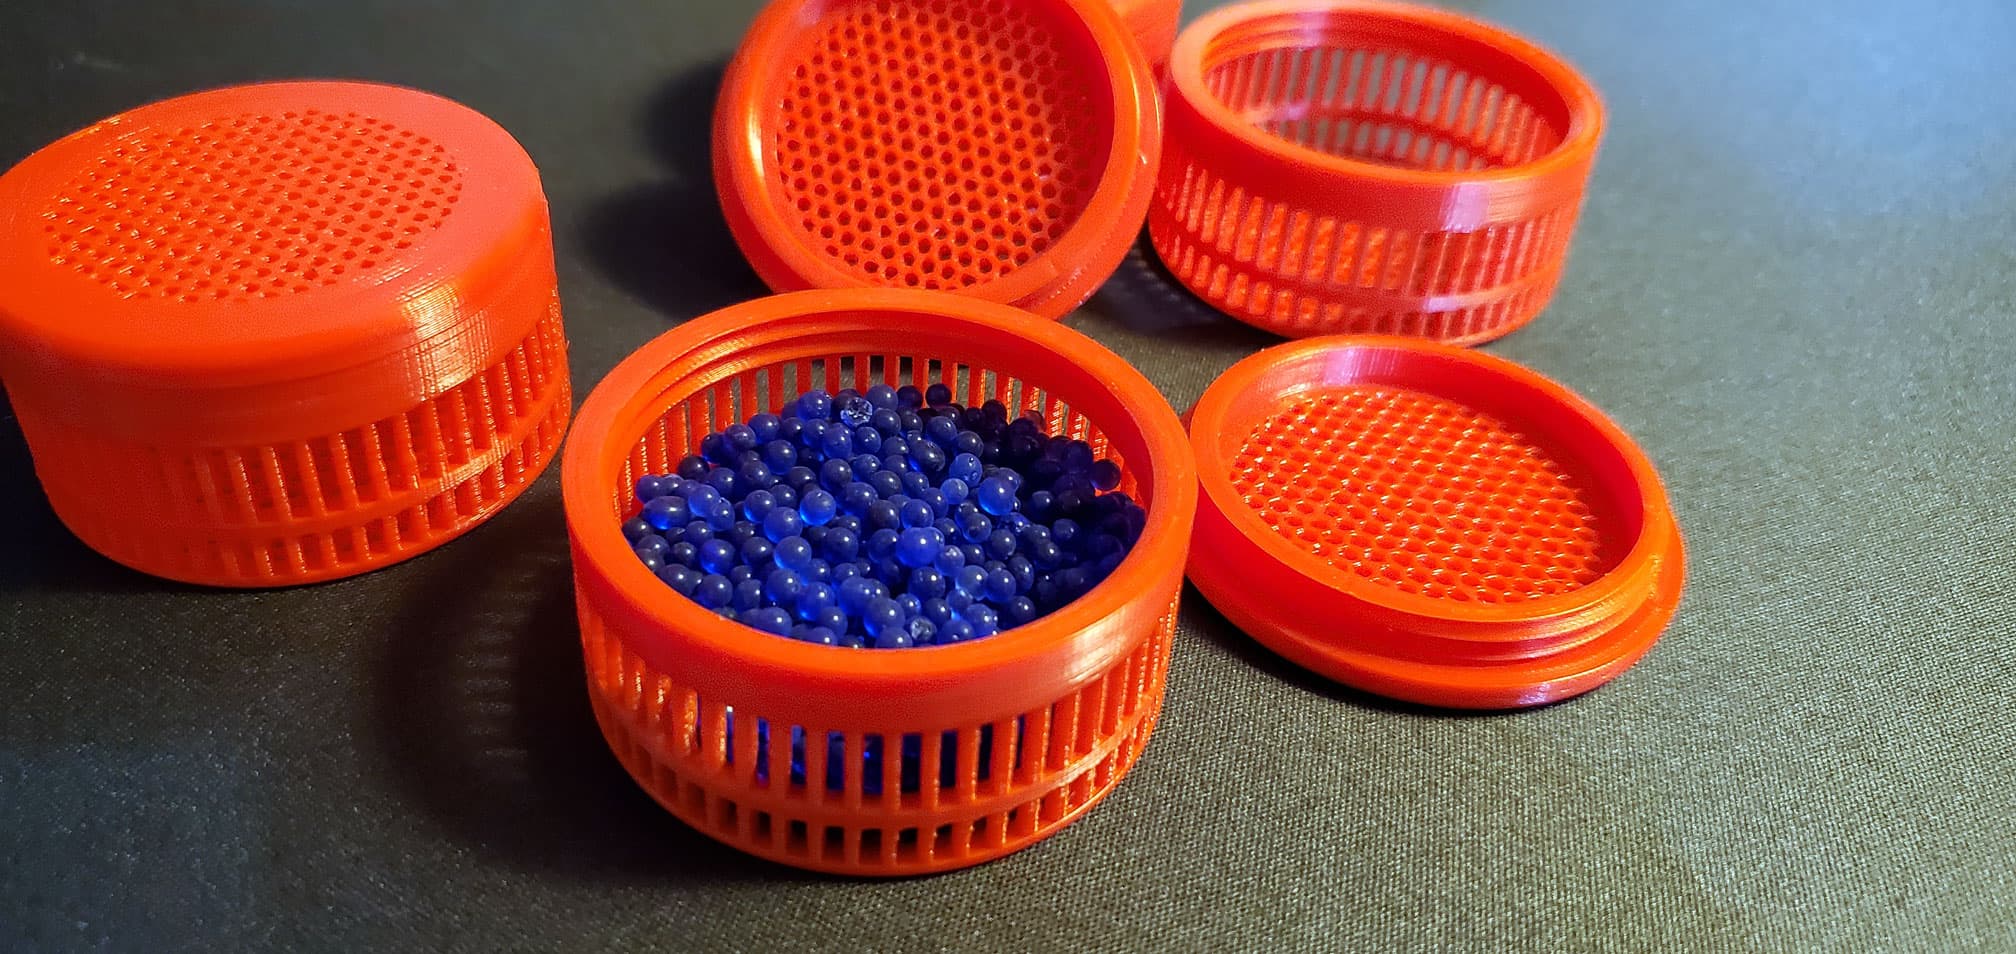
Not only does this print nearly 2X faster but the resulting basket holds smaller gel beads without restricting air flow.
With this design, you can print the large basket with lid in around 2hr 40min and just the small container with hydrometer in 2hr 20min. Or print a full set of both sized containers in 5hrs or less. That's with .2 layer height, 15% infill, no supports, 2 walls, no ironing at fairly conservative speeds... would love to hear how fast others are able to print this.
I've printed sets in both PLA and PETG with great success. Please see the additional information below about z-seam locations and slicer settings.
And let me know in the comments how it works for you... happy printing. :)
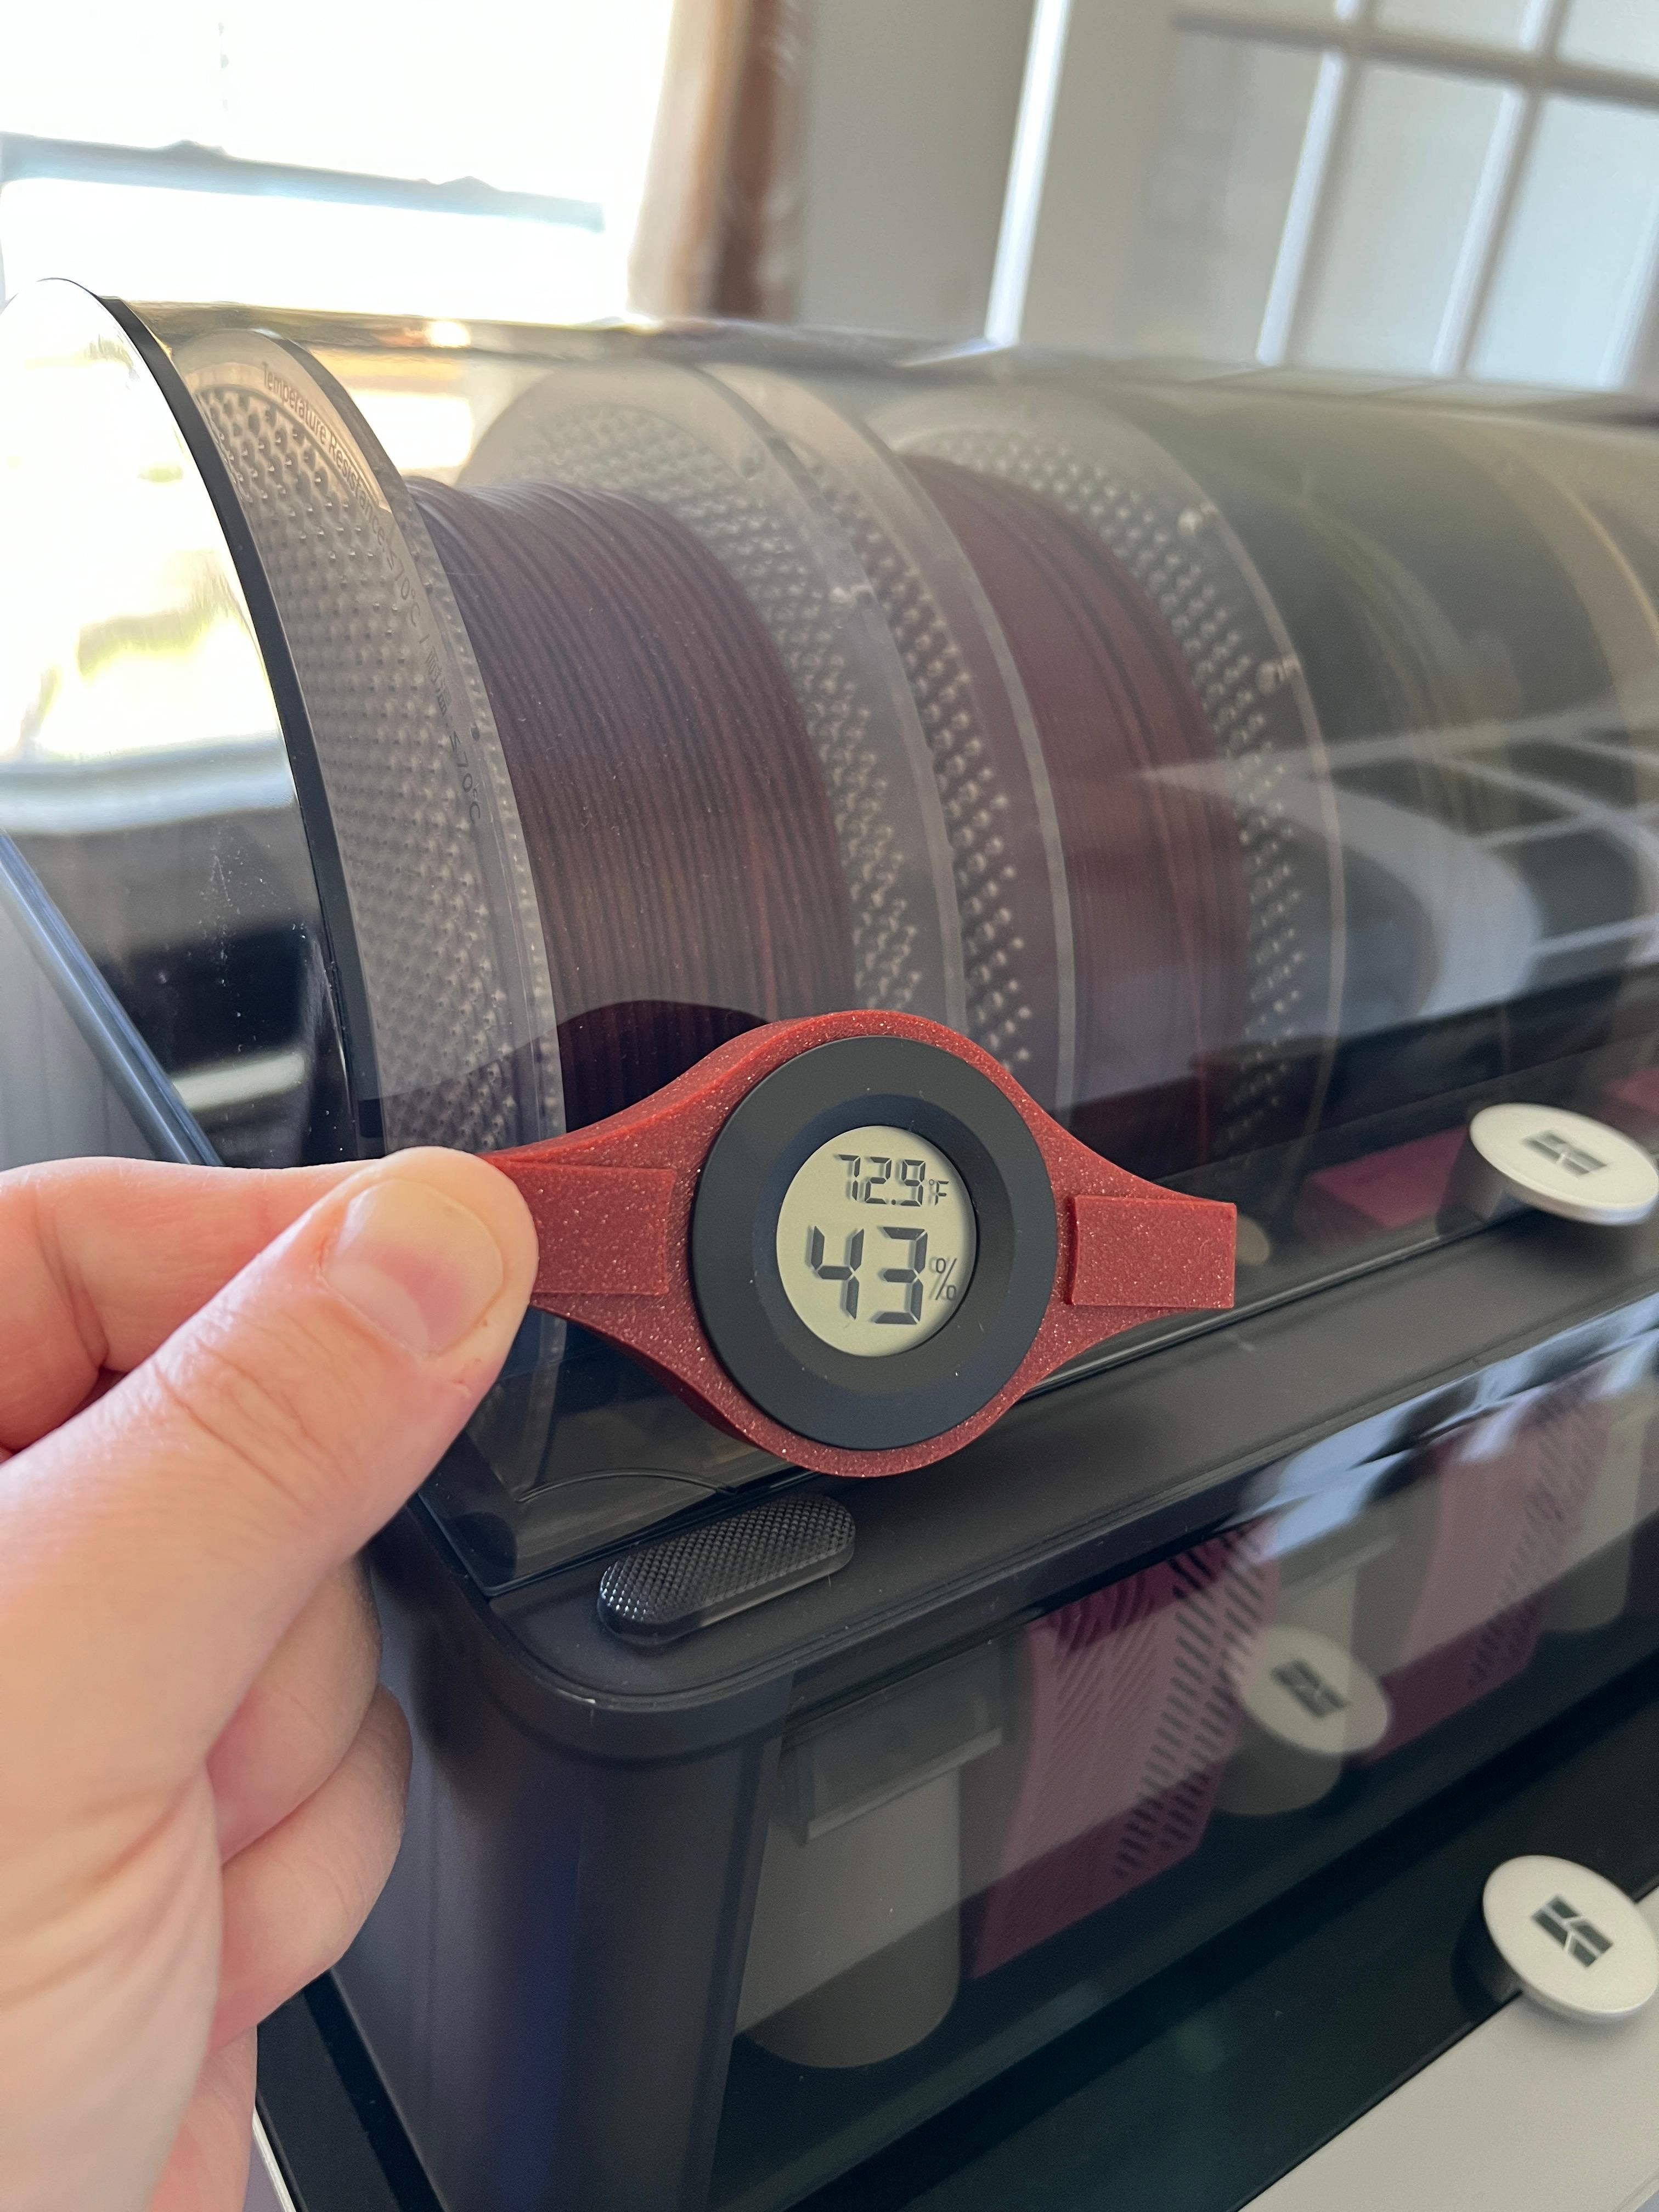
Hygrometer Thermometer Digital LCD Monitors… Can be purchased on Amazon at very reasonable prices: http://a.co/d/6IdBaP4
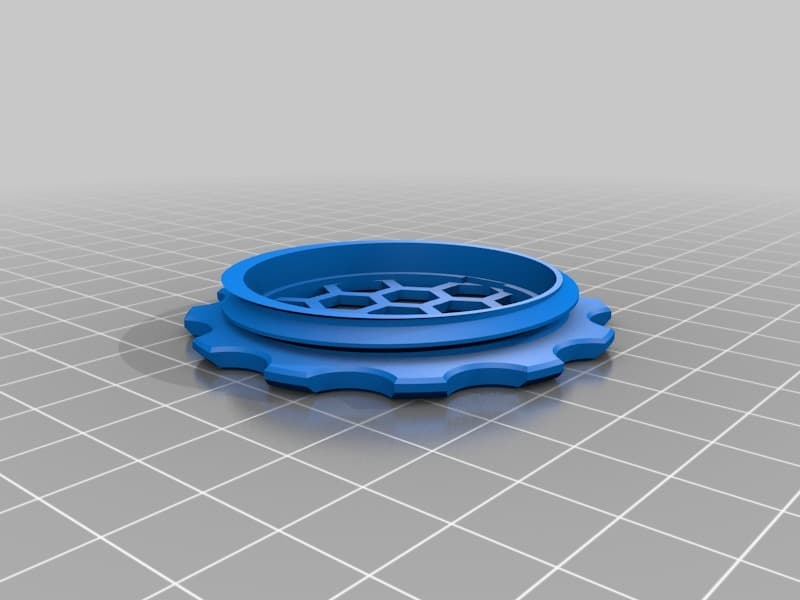
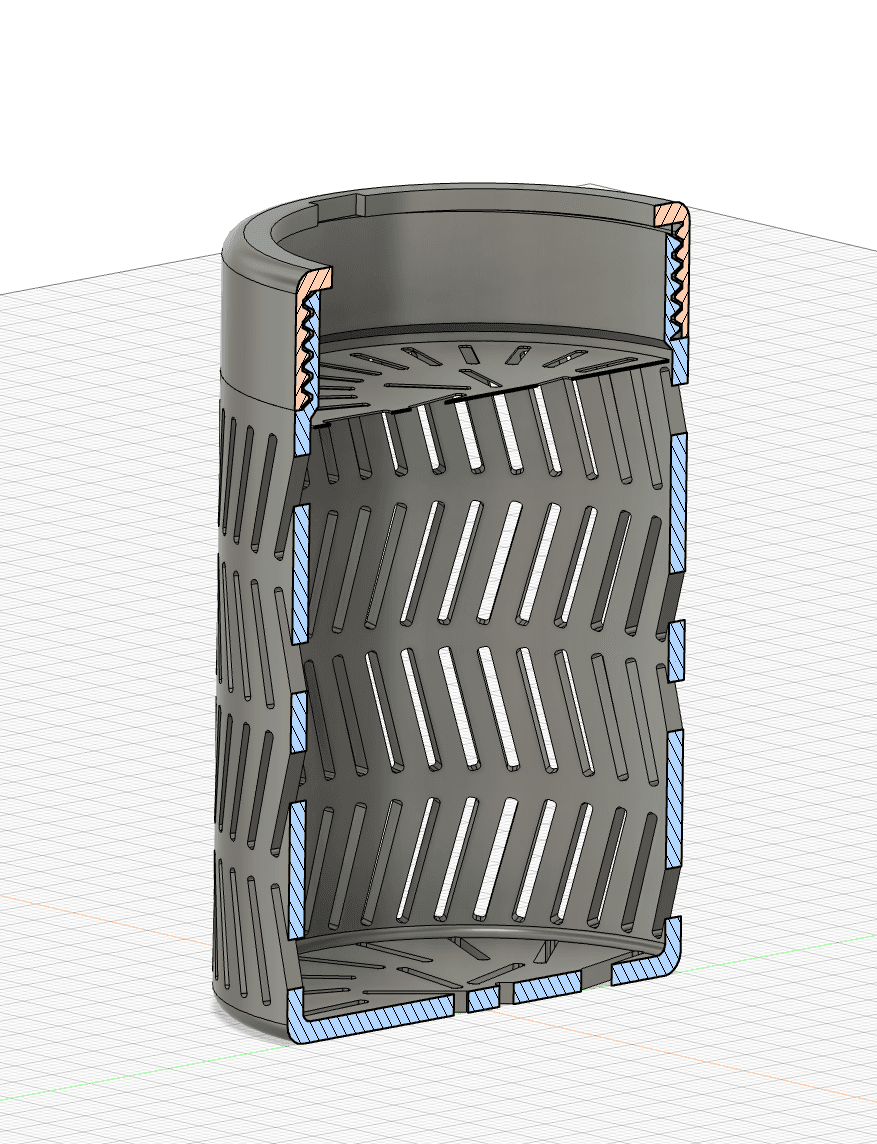
How this was designed… I used offset gears as the basis for the pattern. In Tinkercad, there's a shape generator called "Useful gear" created by "this tinkerer" that I used to generate mine. The diameter is 50mm, 23 teeth, pitch 2, height 20, slop .01.
Updated threads were created using Fusion 360 and then incorporated into the Tinkercad models. Several versions were tested at various tolerances to get just the right fit across multiple materials and layer heights.
Printing tips… Printing threads is always difficult and I highly recommend paying particular attention to your layer height and z-seam locations for this print. The best settings I found were to print at .2mm layer height (or lower) and randomize the seam location.
Higher layer heights than .3mm may not provide enough vertical resolution for proper threads. Stacking the seam in one location (nearest, back, corner, etc) can make the threads too tight AND can affect the quality of the basket weave. I recommend setting the seam location to random and dial in your retraction settings to keep zits/blobs to a minimum for this print.
For best results, I would stick to .2mm and z-seam random.
If using Prusaslicer, be sure to check the box for Detect thin walls as this will ensure the basket weave is a single extrusion and not double. It will still work if printed with slightly thicker weave but becomes a bit too compacted when printing with PETG (for example). For best results, make sure that your slicer is only doing a single extrusion on the weave portion.
Fast Print In-Spool Silica Gel (Desiccant) Container with Hygrometer
Inside Spool Desiccant Holder
Spool Size Silica Gel Container

Filament Spool with silica Beads storage
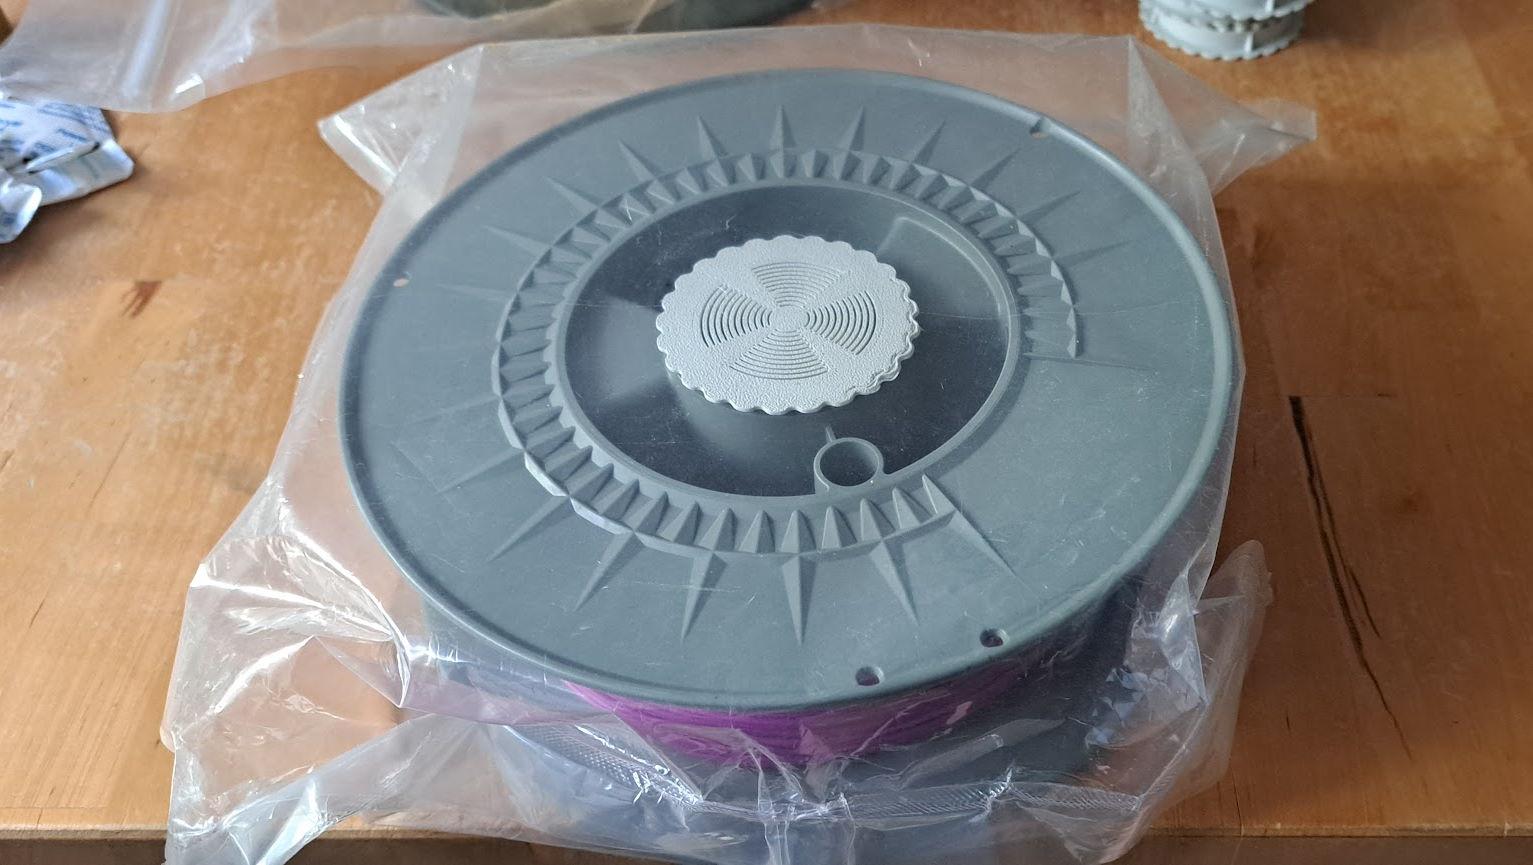
Mini Desiccant for Spool Storage
Spool Desiccant Tub
Hygrometer Spool Mount
Desiccant Dryer Spool
Banana Container For Silica Gel - Desiccant

Modified Lid for Combined Desiccant Cup / Hygrometer Mount for Filament Dry Box
Yet another Desiccant container (silica gel container)
Spool Holder and Desiccant Box
Silica Gel Dryer Spool

Silica gel Universal spool box

Universal 4L cereal desiccant dry box - square and round hygrometer stand
AMS Hygrometer Mount
Mihai's DryBox
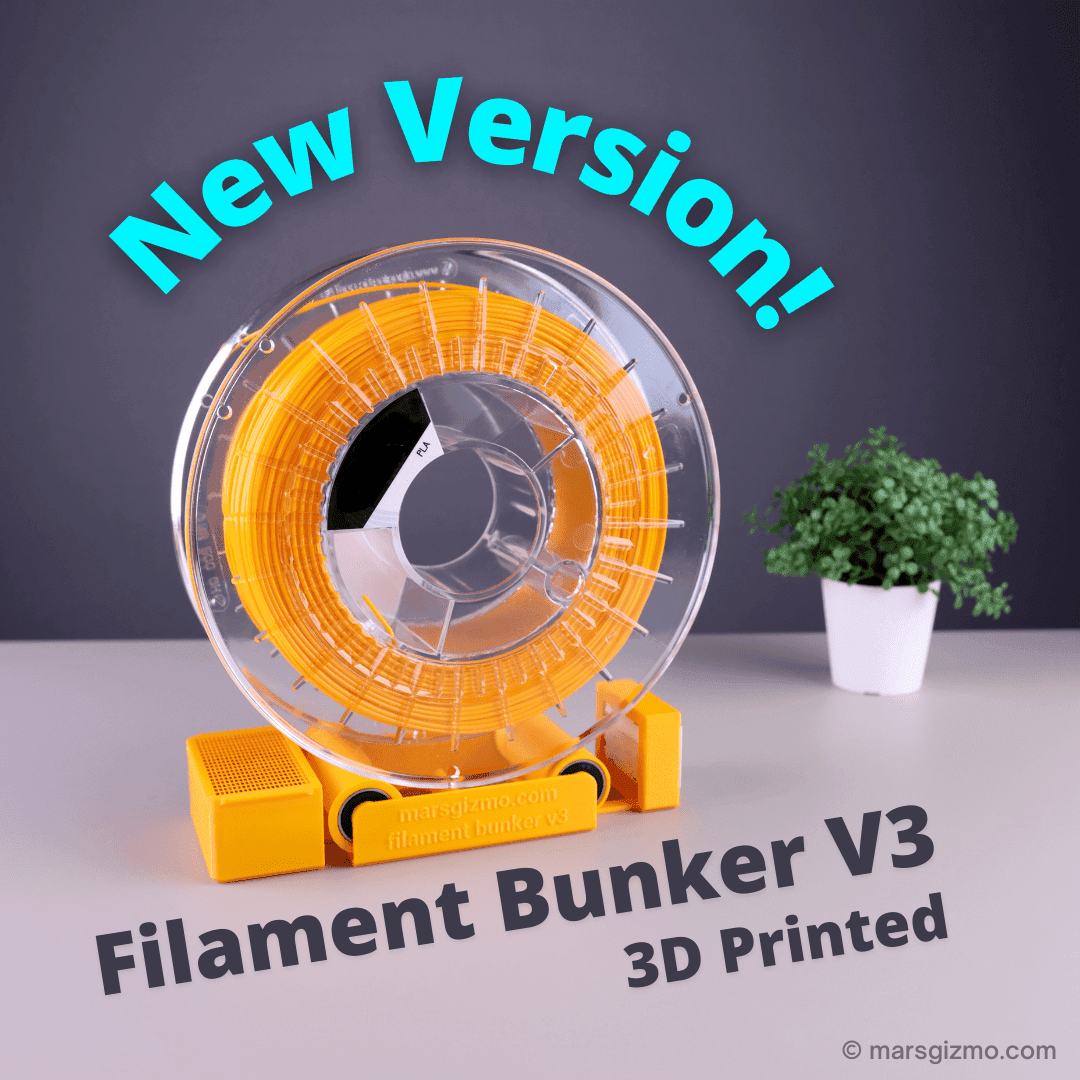
marsgizmo Filament Bunker V3
FAST! Desiccant Container - Low Retraction Count
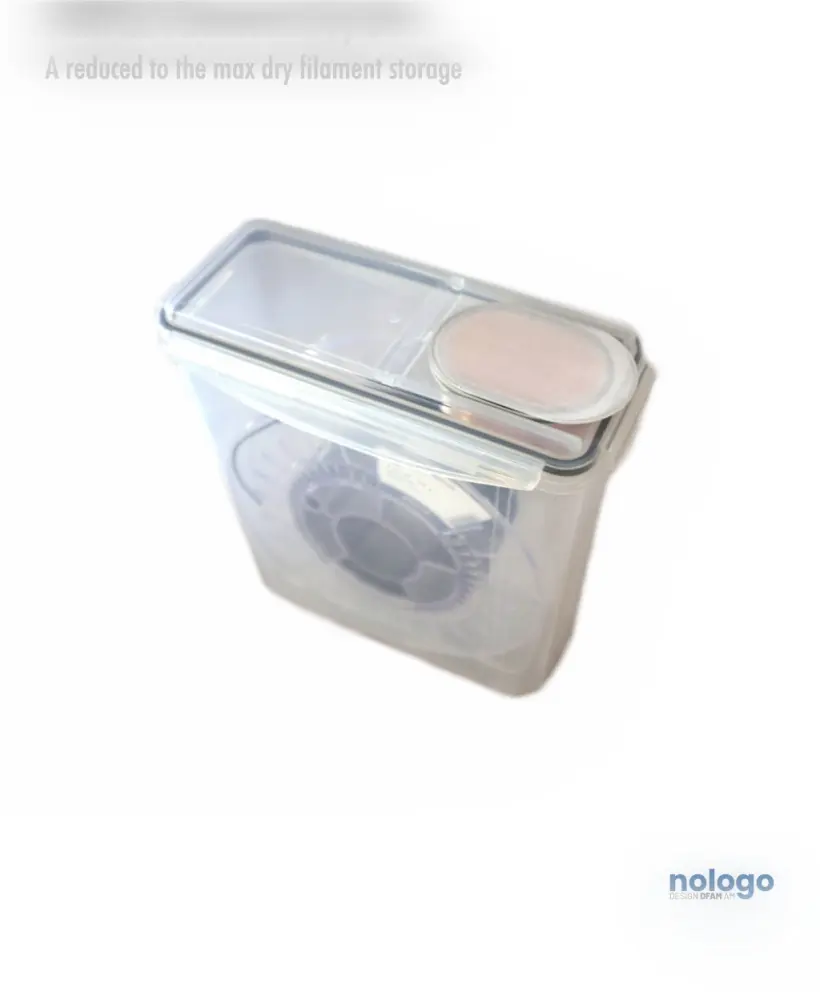
S!MPLE Filament Dry Box
Thanks for the great design. I was looking for exactly such a silicia gel container. 😊 Unfortunately, my Silicia Gel balls seem to be only a few smaller balls with it because sometimes on the side walls, top but also bottom individual balls fall out.