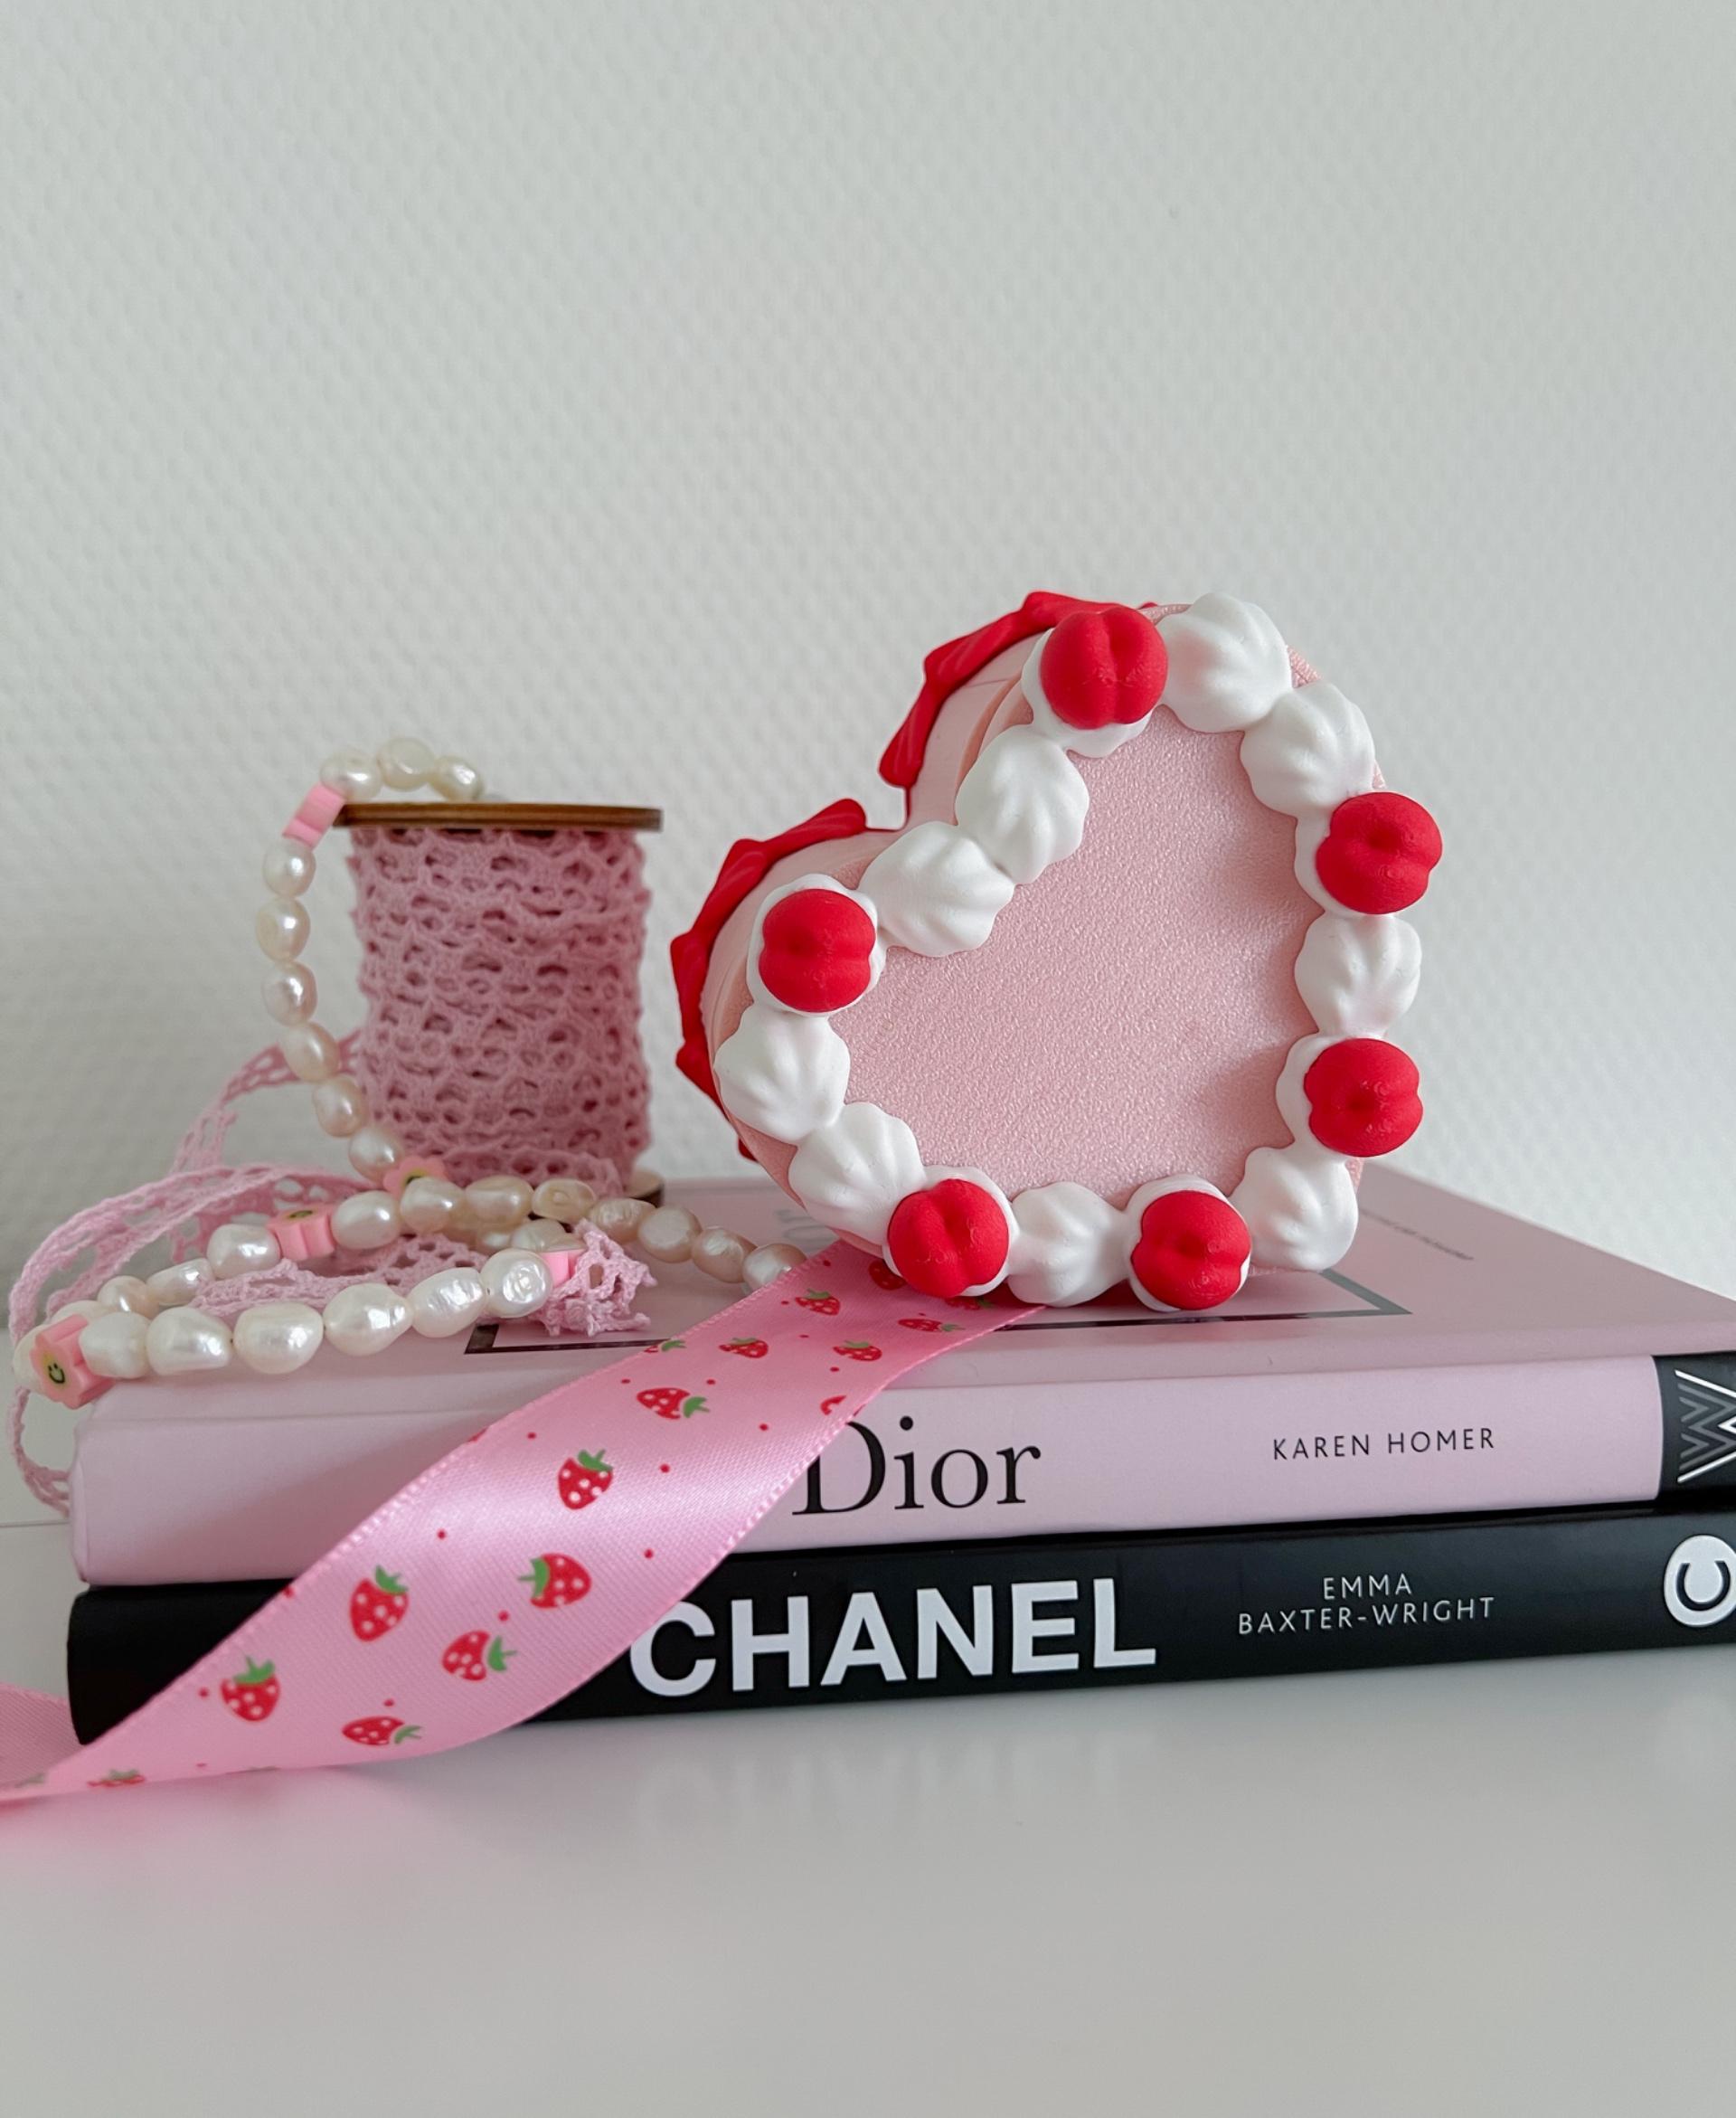
Heart-Shaped Cake Jewelry Box - Vintage, Kitsch Cake Container and Gift Holder
bypixelandpapierEdit 12/15/24: I uploaded a .3mf file specifically designed for AMS machines. Some minor assembly is still required to eliminate the need for supports. You just have to glue the cream piece onto the top of the lid. Additionally, I've resolved the logo issue that some users encountered on the bottom.
Introducing the charming Vintage Kitsch Heart Fake Cake, perfect for those looking to add a playful yet retro touch to their decor, while also serving a practical purpose. This delightful circular fake cake doubles as a catch-all container, designed with a kitsch aesthetic reminiscent of the quirky and colorful styles of mid-20th century Americana.
The design features intricate details that mimic the look of a real layered cake, complete with decorative icing and vintage-inspired embellishments. The top layer of the cake conveniently lifts, revealing a hidden compartment perfect for storing small everyday items like keys, jewelry, or coins, making it a versatile addition to any room.
These are also available with three different wording options that you can choose to display on the cake. This is ideal for customizing as gifts for Mother's Day, Teacher Appreciation Day, anniversaries, or birthdays.
Two Lid Types There are two types of lid files available: tight fit and loose fit. Choose the tight fit if you prefer a lid that sits more securely in place, or the loose fit if you want a lid that's easier to place on.
Print Settings
- Requires a brim for the cherries. The rest of the model will not need a brim.
- Support is required for the lid if it is not printed with its top side down. If the lid is printed with the top facing the build plate, no support is needed. The rest of the model should print without support.
- 10% infill
- 2-3 walls
- 0.4mm nozzle -0.12mm to 0.2mm layer height
Assembly I chose a unique color of PLA for each part of the cake. I then attached the cherry to the cream using super glue and subsequently secured the creams to both the lid and the base of the container. Watch me assemble it here: https://youtu.be/JfNww0KnOHI.

