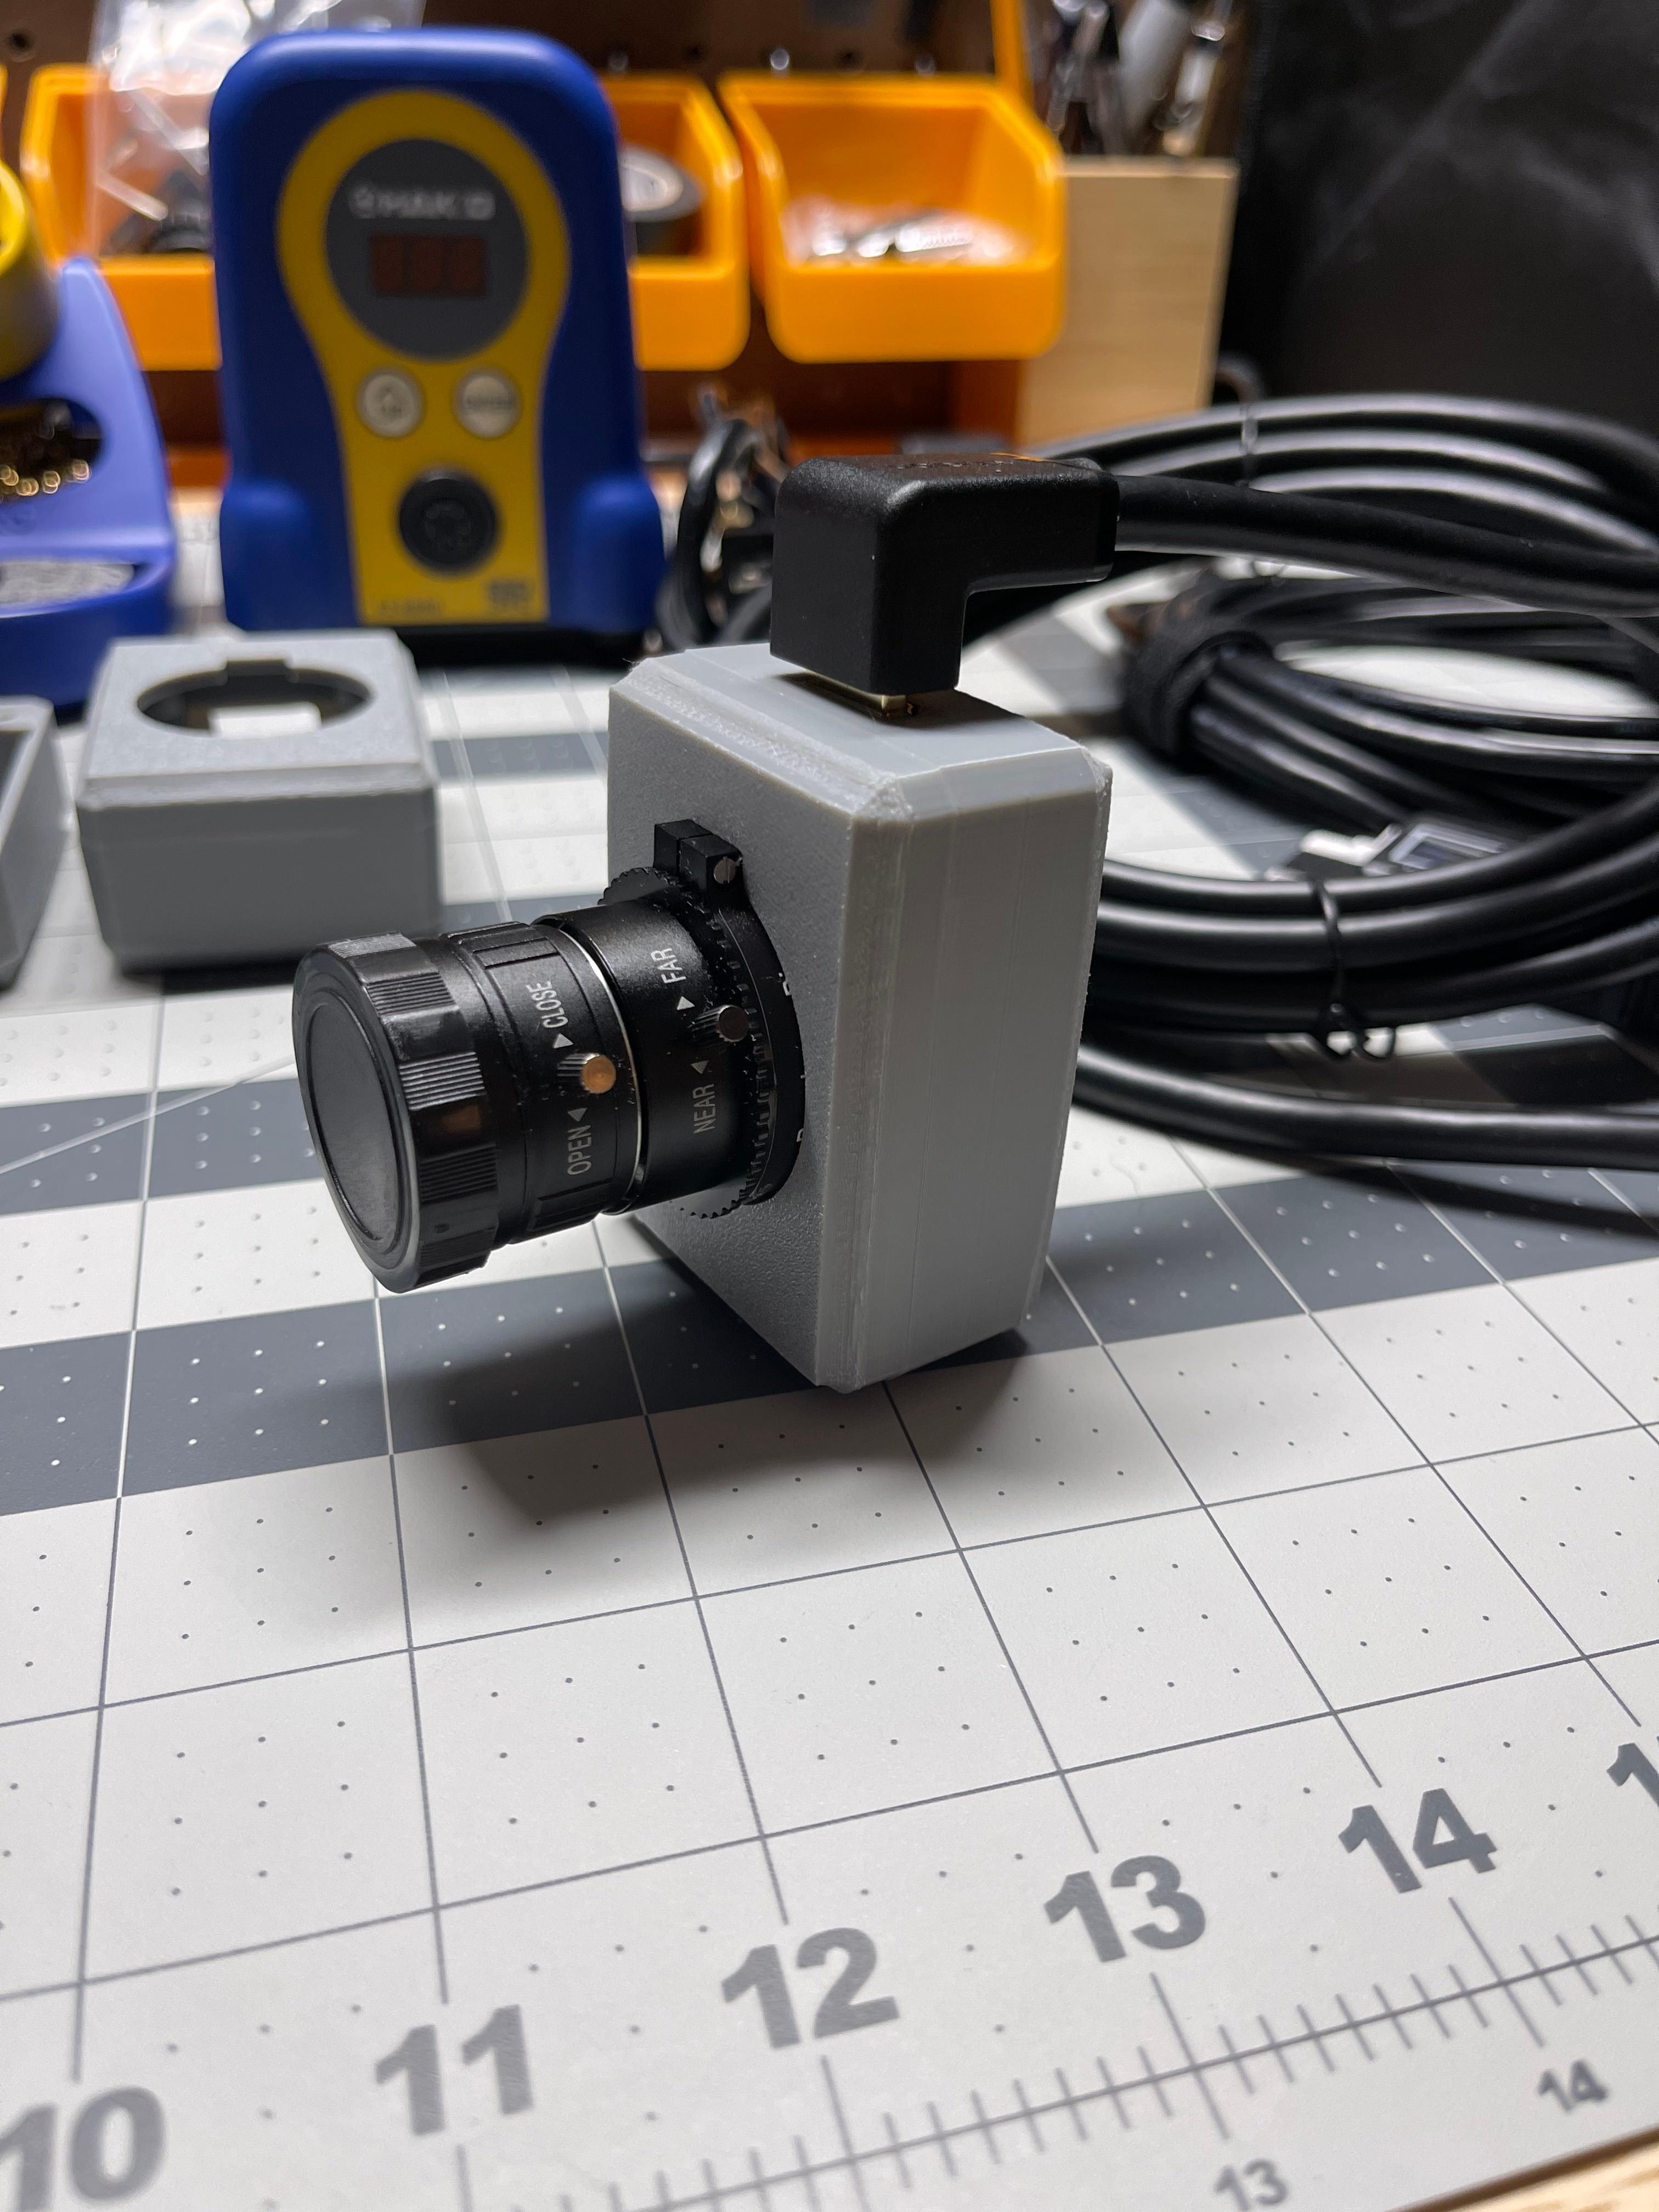
This is a case for the Raspberry Pi HQ Camera, and it includes a place to mount the Arducam CSI to HDMI Cable Extension Module. There is an M4 threaded insert on the back of the camera that I intend to use for designing different attachments. The small pill-shaped hole below the M4 threads will be used to prevent the attachment from rotating.
I wanted the gap between the edge of the camera and the case to be small, so you will have to remove the CS-mount adapter (ring with bumpy ridges) from the camera module to get it to fit through, but then you can just screw it back on. I am using the 6mm CS mount lens in the photos.
I did not use supports, and I did not use bridge settings for the HDMI port. This may depend on your printer, but the gap is small enough that I think most printers won't have an issue printing right across it.
A tip for assembly: The tolerance between the 1/8 jack on the bottom of the HDMI adapter, and the mounting pegs that the board sits on, is pretty tight. If you insert the back side of the board first, with the female HDMI port angled upward, you should be able to push down, and it will snap into place without much effort.
This model is intended for heat set inserts. Links to supplies: Heat Set Inserts: https://www.amazon.com/dp/B0CH82LQS9?psc=1&ref=ppx_yo2ov_dt_b_product_details Metric Hex Screws: https://www.amazon.com/dp/B0BYZ1KK1V?psc=1&ref=ppx_yo2ov_dt_b_product_details CSI to HDMI Module: https://www.amazon.com/Arducam-Extension-Module-Raspberry-Specific/dp/B06XDNBM63 Soldering Iron Insert Tips: https://www.amazon.com/dp/B08B17VQLD?psc=1&ref=ppx_yo2ov_dt_b_product_details
Screws and Inserts:
- M2 - 3x3.5mm (LengthxDiameter)
- 8 of these inserts
- 4 for mounting camera
- 4 for mounting HDMI adapter
- I used M.2 SSD mounting screws, any M2 screw that is less than ~4mm will work
- 8 of these inserts
- M3 - 4x5mm (LengthxDiameter)
- 4 of these inserts for closing the two halves of the case
- Using M3*20mm screws
- M4 - 6x6mm (LengthxDiameter)
- Used for the attachments hole in the back of the case


