

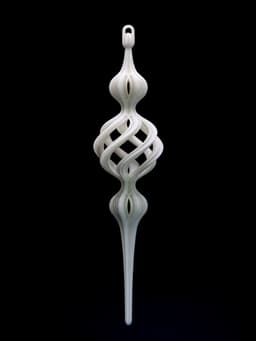


Retro Chic Christmas Ornaments
A fun, elegant, and quick print for Christmas based on traditional finial designs.
Not for commercial use. Please see license agreement.
I originally published this as a work in progress. After extensive testing including changes to the STLs, it's finally done. Since I originally published this, I've increased the width of the bottom stem by 10%. It's barely perceptible, but it improved the final print quality. I've also changed where I cut the model - from the center of the large ball to just below the large ball. This made it a lot easier to align the two pieces and made the seam almost invisible. It also proved to be a challenge to print, but I'm very happy with the final print quality.
I've included my PrusaSlicer 3MF files and GCODE for a Prusa MK3S+. That said, this is not an easy print. If you're new to printing, maybe this isn't the right model for you just yet. If you're experienced, try my files or, if you love a challenge, create your own. NOTE: The 3MF and GCODE files include GCODE that drops the temperature in stages down to 180c. You may need to adjust the print temp for your filament and printer.
I've included STLs of both designs as both 1 piece and 2 pieces. Both 2-piece designs use the same bottom half. So, there are 2 files for the tops and 1 for the bottom.
With my settings, it takes about 6 hours to print the straight version of this design and about 45 minutes more to print the spiral version.
Print Settings
I'm sure plenty of people will look at how I used supports in my files and ask, “Why'd he do THAT?!?!?” Trust me, there are good reasons for everything. I explain them below. But hey, it's your printer, use whatever settings you like.
Top Halves
My settings for both top halves are basically identical aside from the supports. I se Height Range Modifiers to change the settings for different parts of each mode.
-
Layer Height: 0.15mm
-
Perimeters: 2 everywhere except the large ball, which has only 1 perimeter. This isn't for weight. I found with more difficult silky filament that it significantly improved the print quality when paired with the seam settings below. However, I found that other filaments, like MatterHackers Glow in the Dark Pro PLA, works well with 2 perimeters everywhere.
-
Seams: Random combined with paint-on seams. For this particular design, it's the best of both worlds. It allowed me to put the seams on the inside of the balls, which makes the outside more polished, but avoid the holes you can get with 1 perimeter prints and aligned seams.
-
Infill: 20% Rectilinear for height ranges 61.4mm - 62.3mm. No infill anywhere else. Top/Bottom: 3 in the main settings (making it the default for the model) 5 for the first 2mm 2 for 4.7mm - 48.5mm
-
Supports: Grid set to “Support on build plate only” plus paint-on supports. I added supports under the part of the top that flares out to address mushiness I was getting and added support under the loop for an even cleaner print. For the straight design, I used a support angle of 35 degrees. For the spiral design, I set the angle to 1 and essentially painted on the supports. You could also set it to something higher and set supports to “Support enforcers only.” You might prefer using organic supports for the spiral ball, since they are less likely to fail, but they also add about an hour to the print with my support enforcers.
-
Temperatures: You really want to print at the extreme low end of what your printer/filament will print at without clogging. I used 195c for the first layer, 190c after that until I got to the top of the stem, where I dropped down to 185c, then 180c a couple millimeters later.
Bottom Half
-
Layer Height: 0.15mm
-
Perimeters: 2 for the first ~40mm. 1 above that. Using 2 for the narrow part of the stem with silky filament is likely to result in the print overheating and turning to mush. However, I succeeded in getting a beautiful print with 2 perimeters using MatterHackers Glow in the Dark Pro PLA. Since both the silver/gold that would melt with 2 perimeters and the Glow which liked 2 perimeters are made by the same manufacturer, it'll depend a lot on the particular filament you use.
-
Seams: Aligned
-
Infill: 20% Rectilinear for height ranges 8.3mm - 9.2mm. No infill anywhere else. Top/Bottom: 3 for the first ~40mm. ZERO above that.
-
Supports: I used a ton of supports on this. There's two good reasons for that.
- The stem is flexible. Adding supports in the middle stops that.
- The stem tends to overheat, even with maximum cooling and the absolute lowest print temp my filament would print without clogging. Adding the supports gave each layer enough time to cool just enough that the final print looks amazing.
- Temperatures: You really want to print at the extreme low end of what your printer/filament will print at without clogging. I used 195c for the first layer, 190c after that until I got above the ball, where I dropped down to 185c, then 180c a couple millimeters later.

Retro Chic Christmas Ornaments

Nativity Christmas Ornament, Holy Family Ornament, 3D Christmas Decor, Christmas Gift or Surprise

Flat Christmas Ornament Pack | Christmas Ornaments

christmas ornament earrings pack christmas ornaments jewelry pack

Angel Christmas Ornament, 3D Christmas Decor, Christmas Decoration, Christmas Gift, Angel Figurine
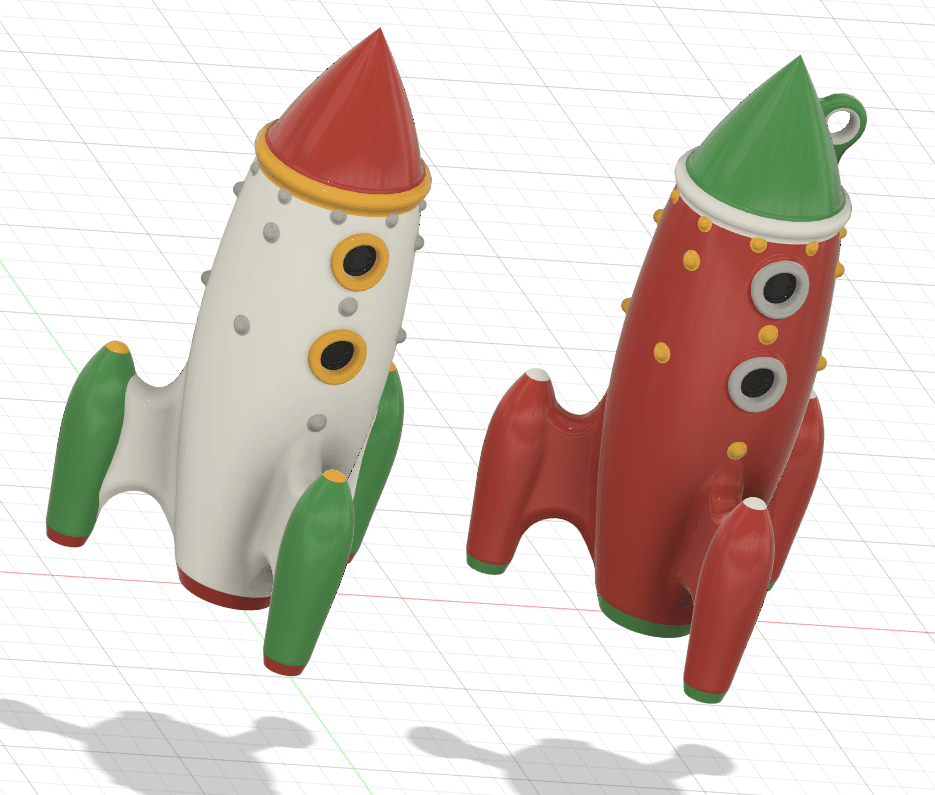
Retro Christmas Rocket Ornament - Decoration

Christmas Ornament Set | 2 pcs Vintage-Retro Style | Elegant Tree Decorations

Christmas Ornament: Personalized Name Ornament
%25203%25201350.png&w=3840&q=75)
Polar Arches Christmas Ornament - Christmas Gifts by Lunfardo
%25204%25201350.png&w=3840&q=75)
Revolution Christmas Ornament - Christmas Gifts by Lunfardo

Shelf Ornament Christmas Tree - Christmas Holidays

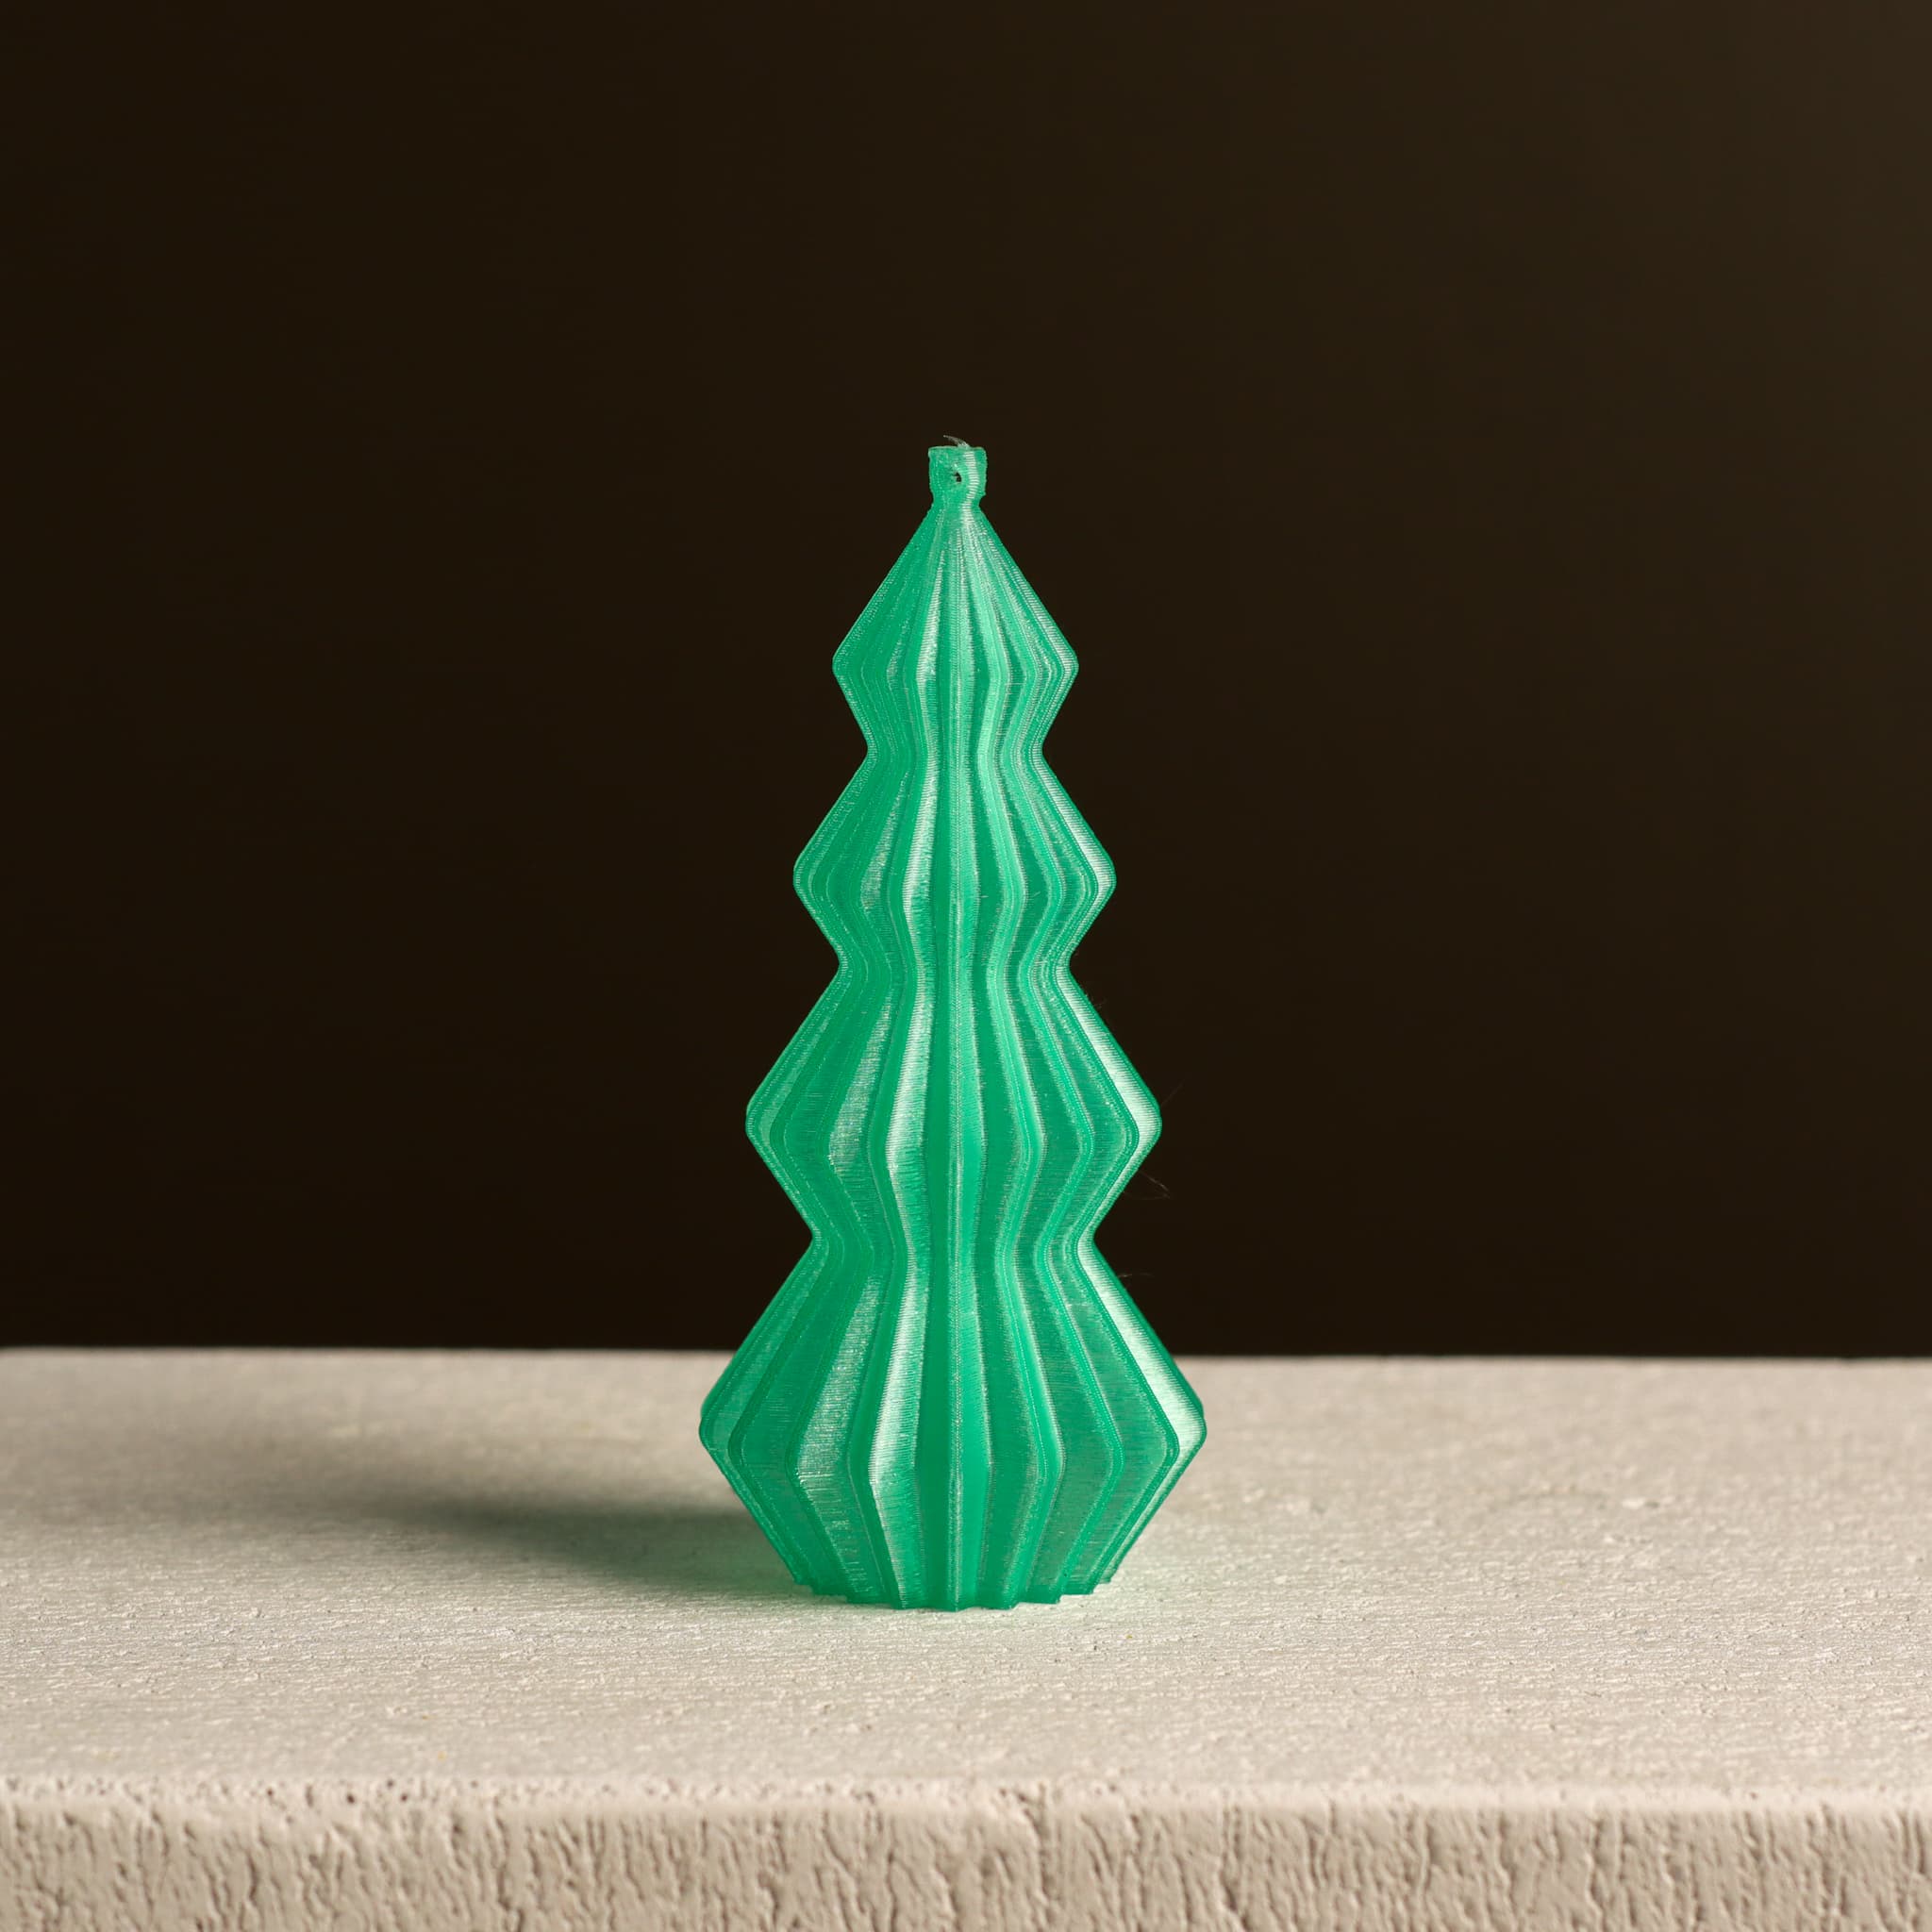
Christmas Tree | Christmas Ornaments
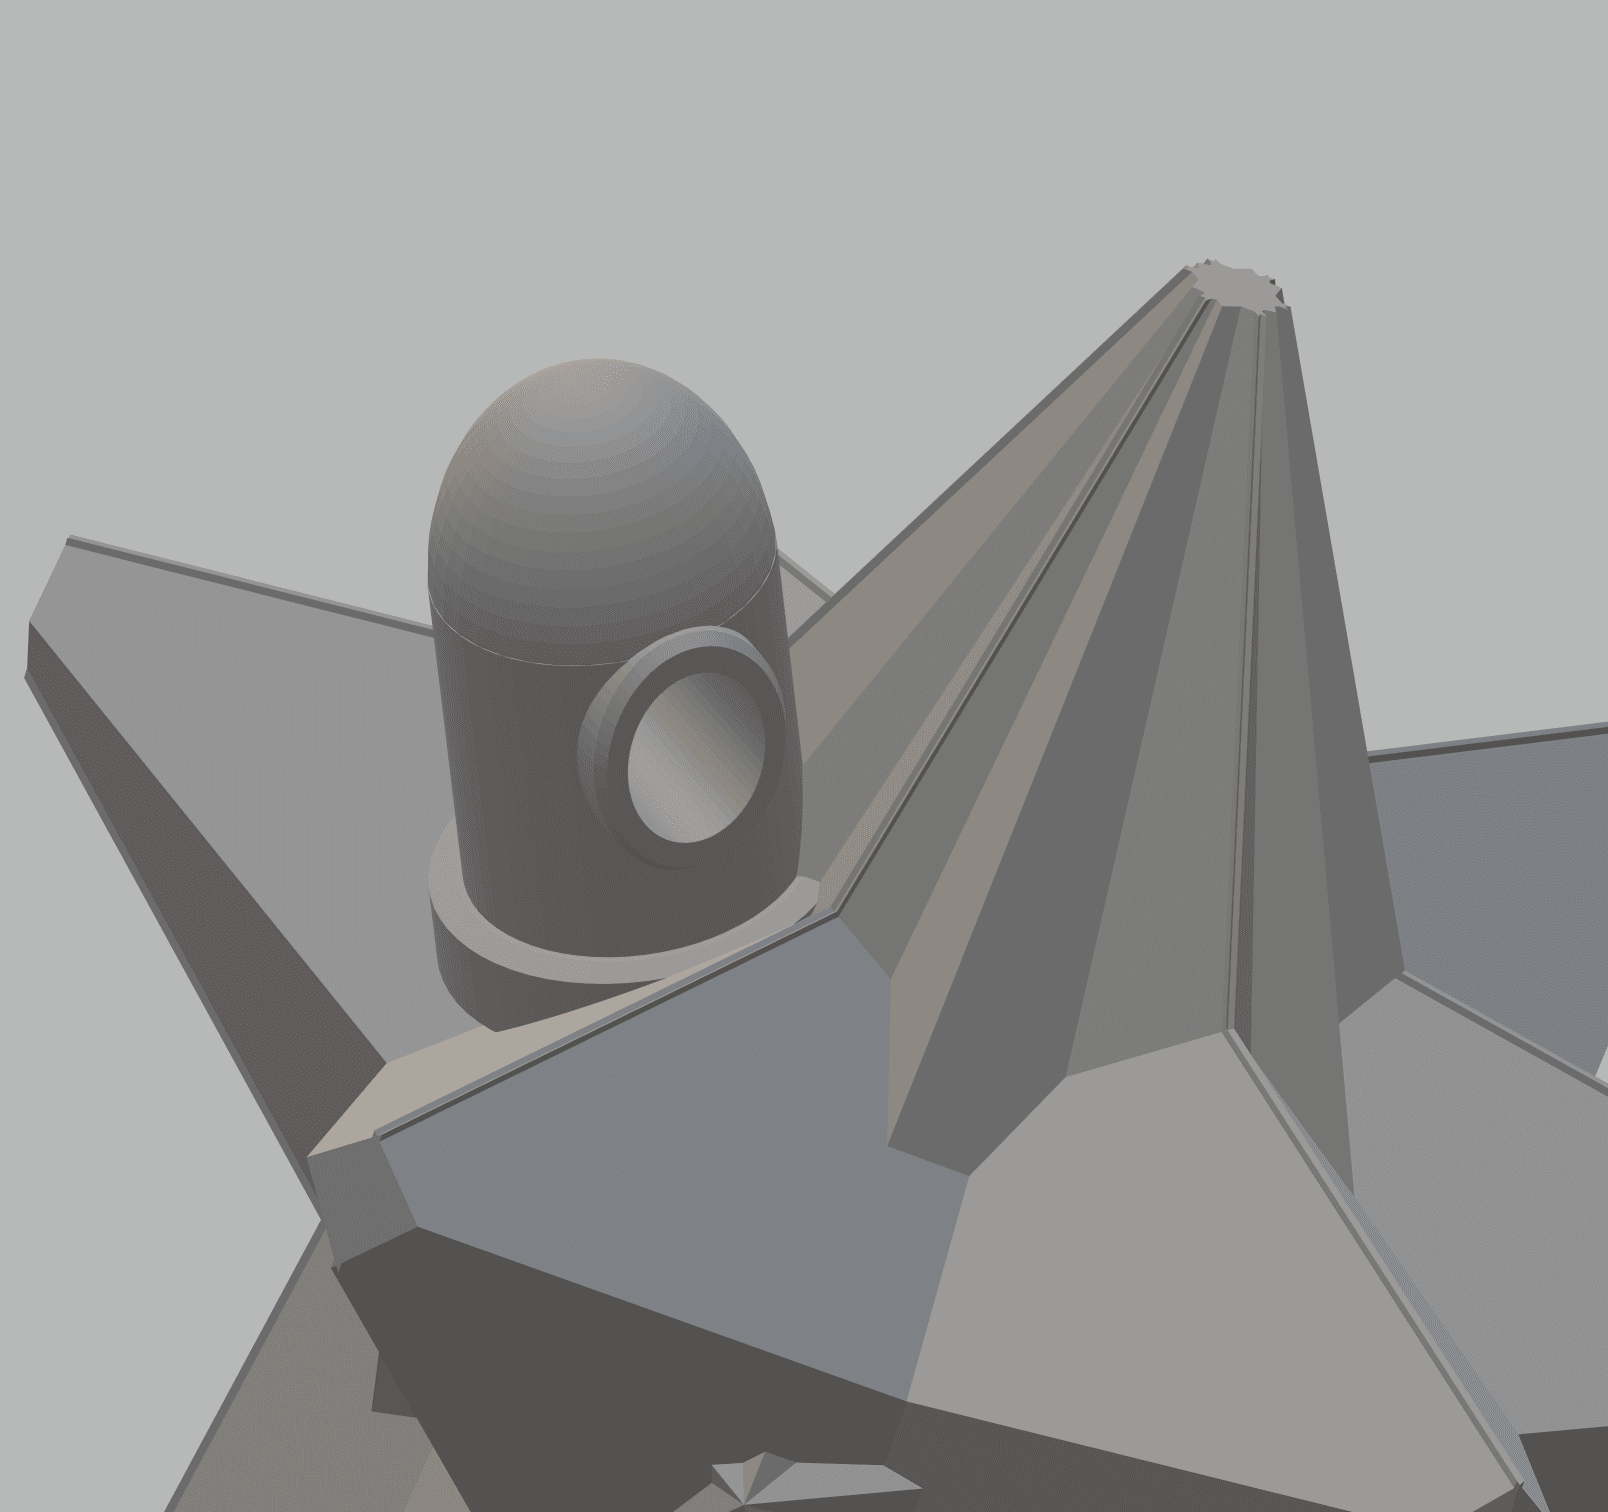
FHW: (Christmas Ornament) Christmas Star v1 a
.jpg&w=3840&q=75)
FHW: (Christmas Ornament) Christmas Ratchet set 2021 v1

Ornaments - Fancy ornaments for Christmas

Victorian Christmas Ornament - Christmas Tree
Christmas Tree Ornament, Christmas Decor by Slimprint
Snowflake Ornament - Christmas Tree Ornament & Decor
.JPG&w=3840&q=75)
Christmas Bells | Christmas Ornaments

Santa Stocking Surprise - Christmas Ornament for Christmas Tree

0,15 Layer height ***
Thank you so much for posting the make! They printed beautifully. Lovely color, too.
I have to print at 0.2mm height on my BBL X1C. For some reason, the pressure is just too high at smaller z-heights and knocks the print over.
How fast were you printing? When I print tall objects with small bases, I slow the printer down a lot.