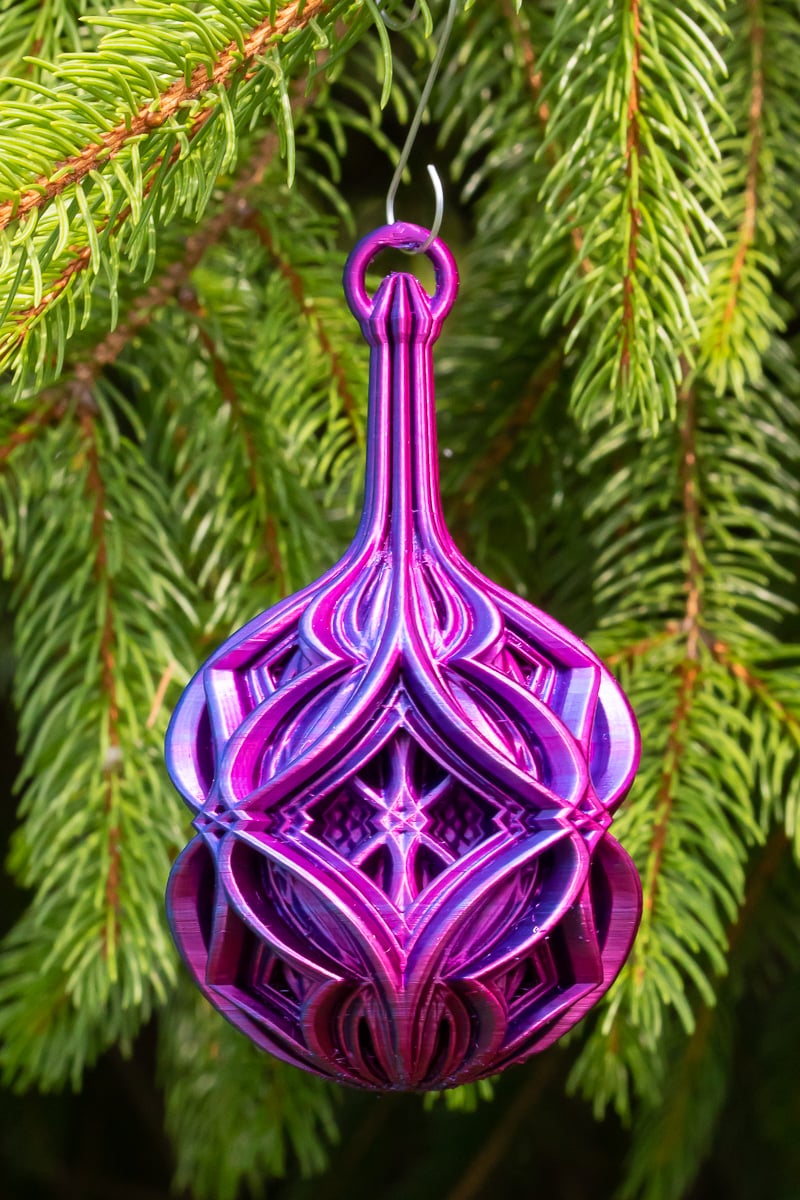

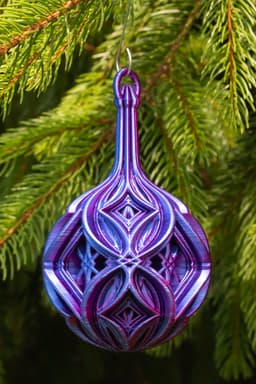

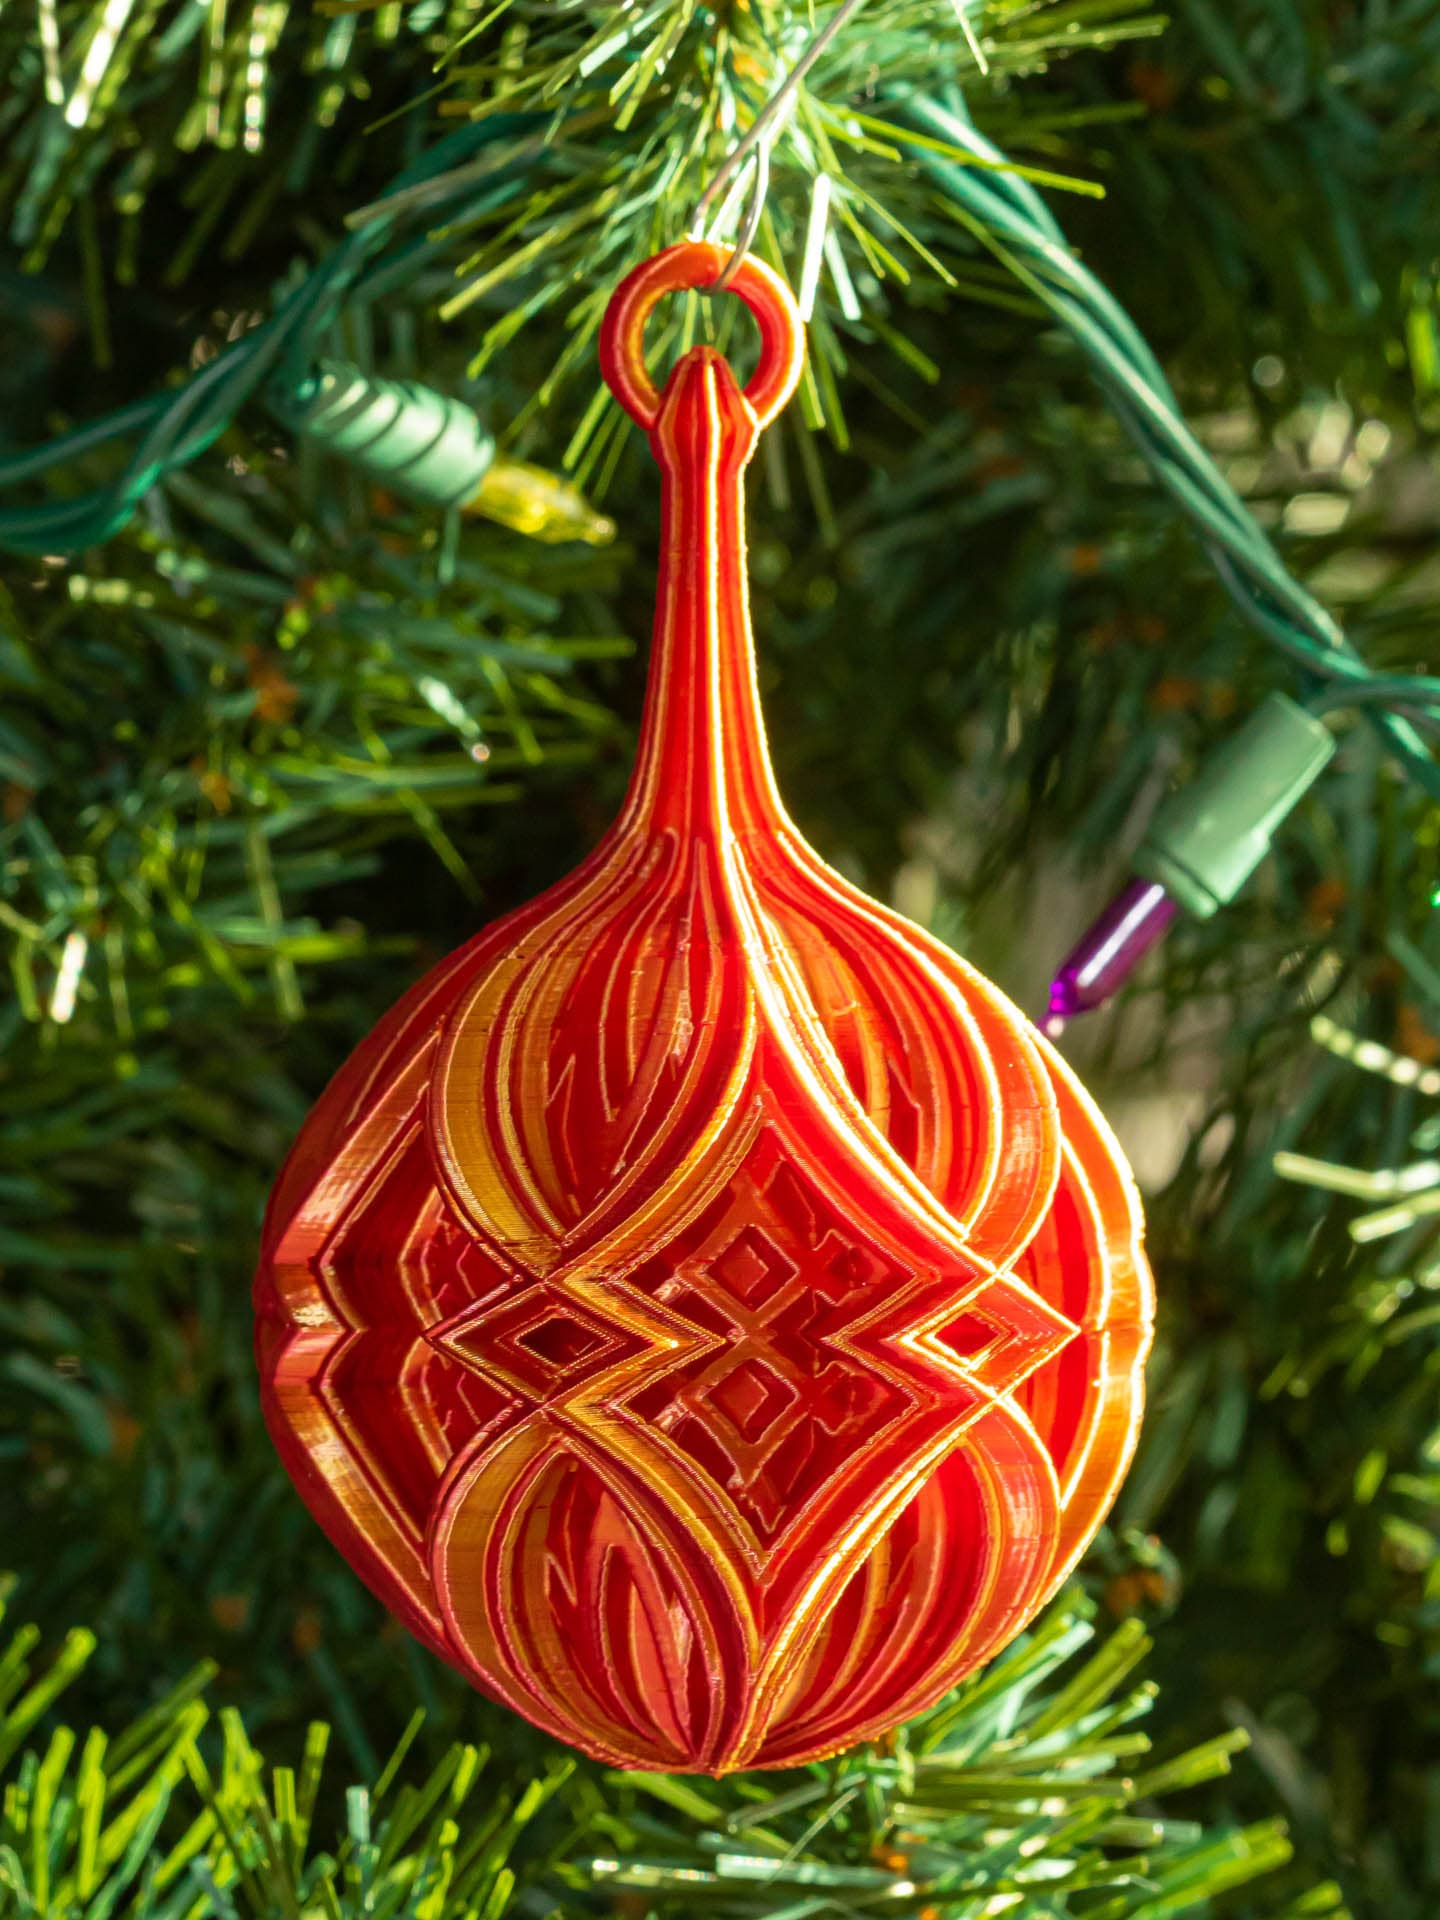
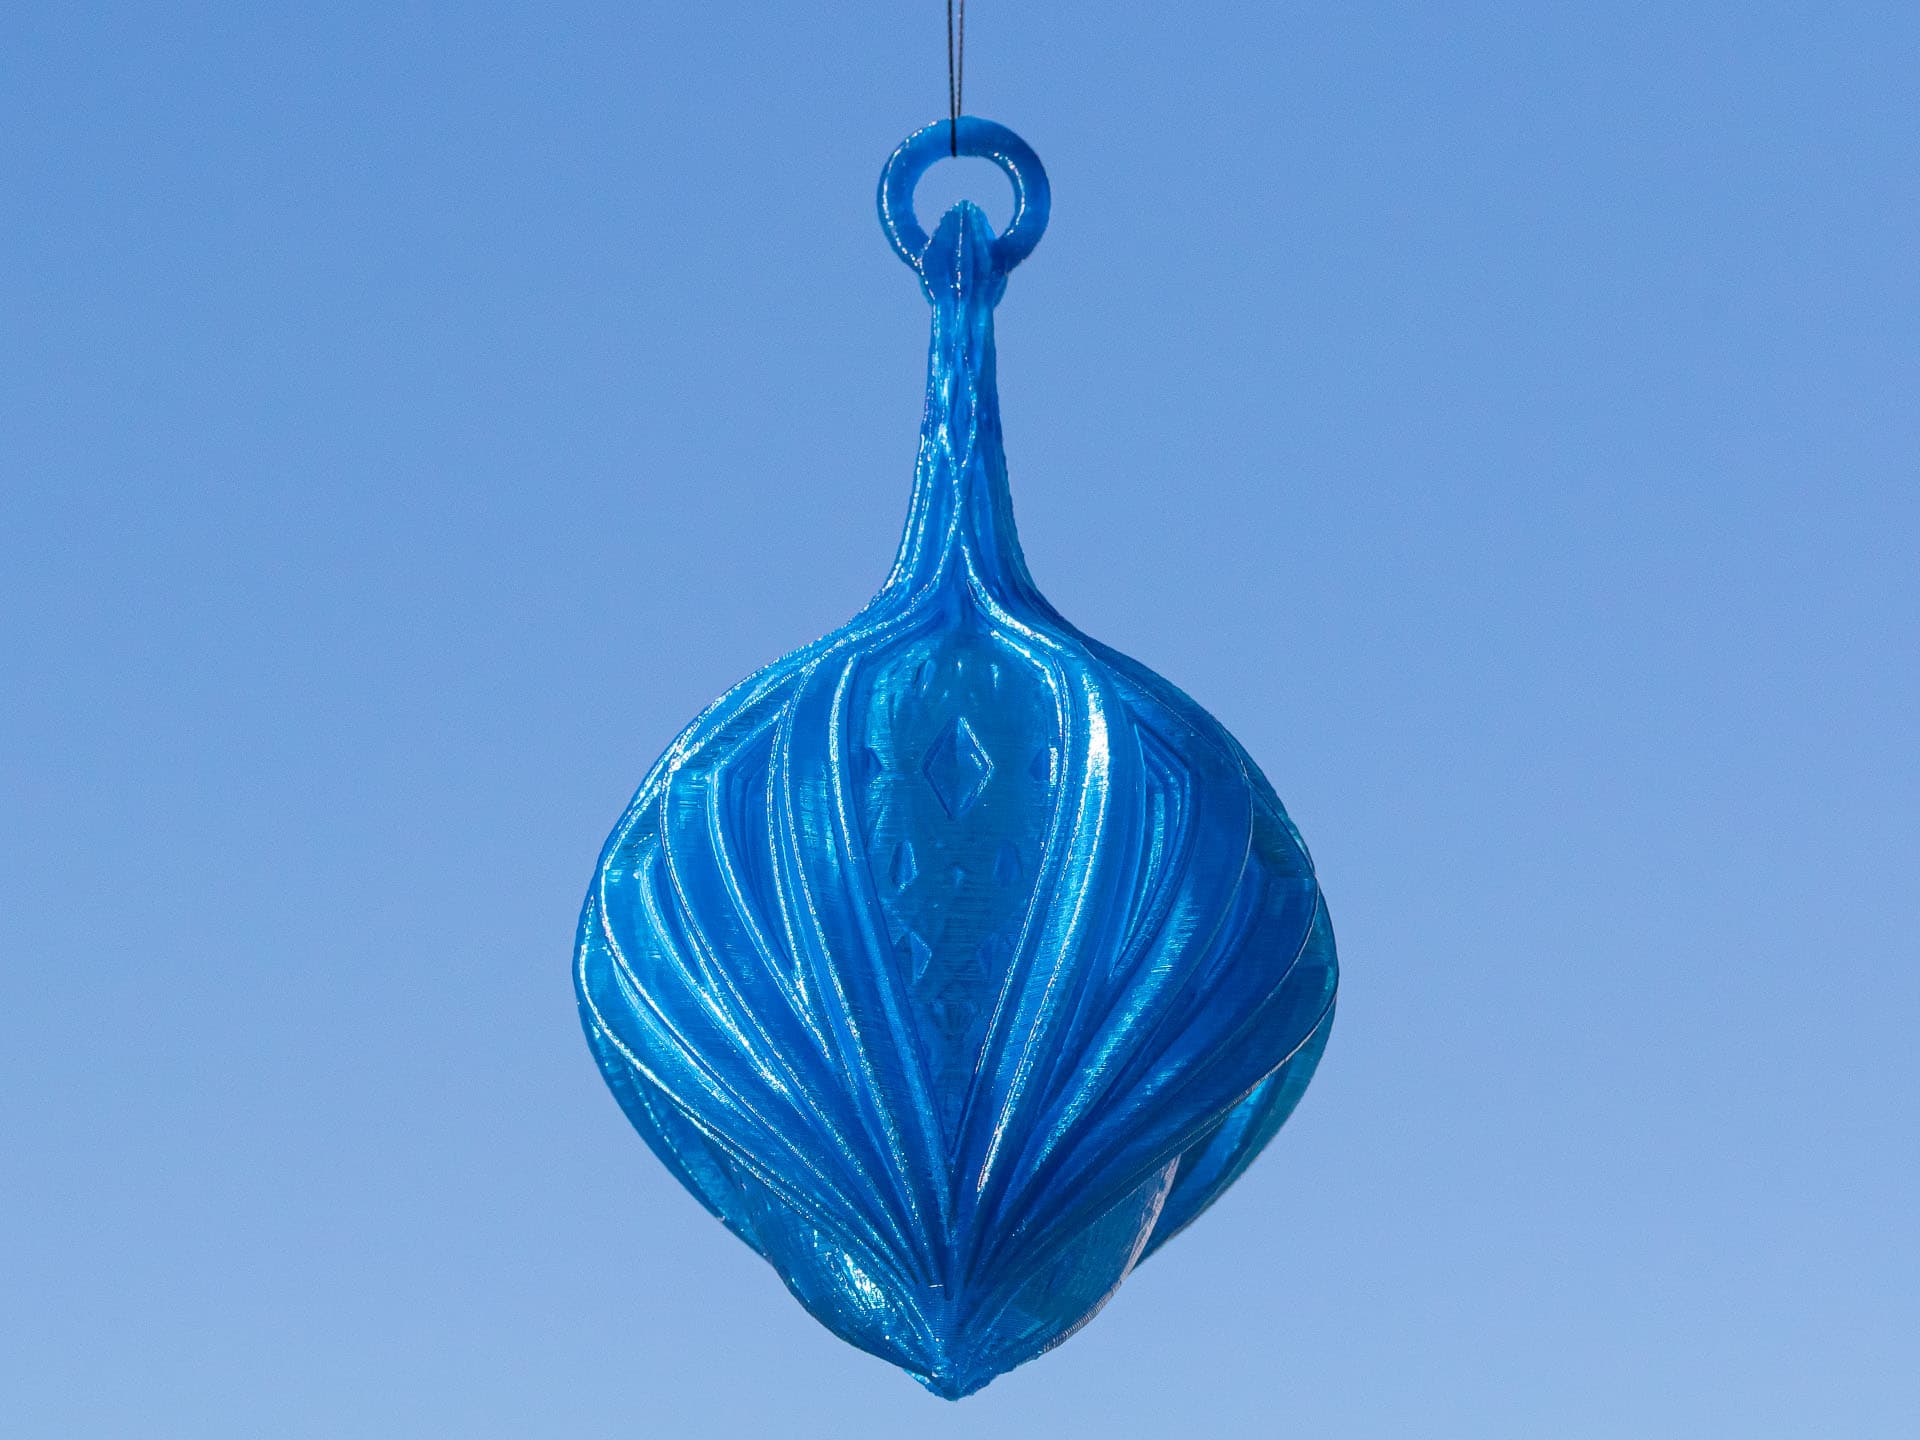
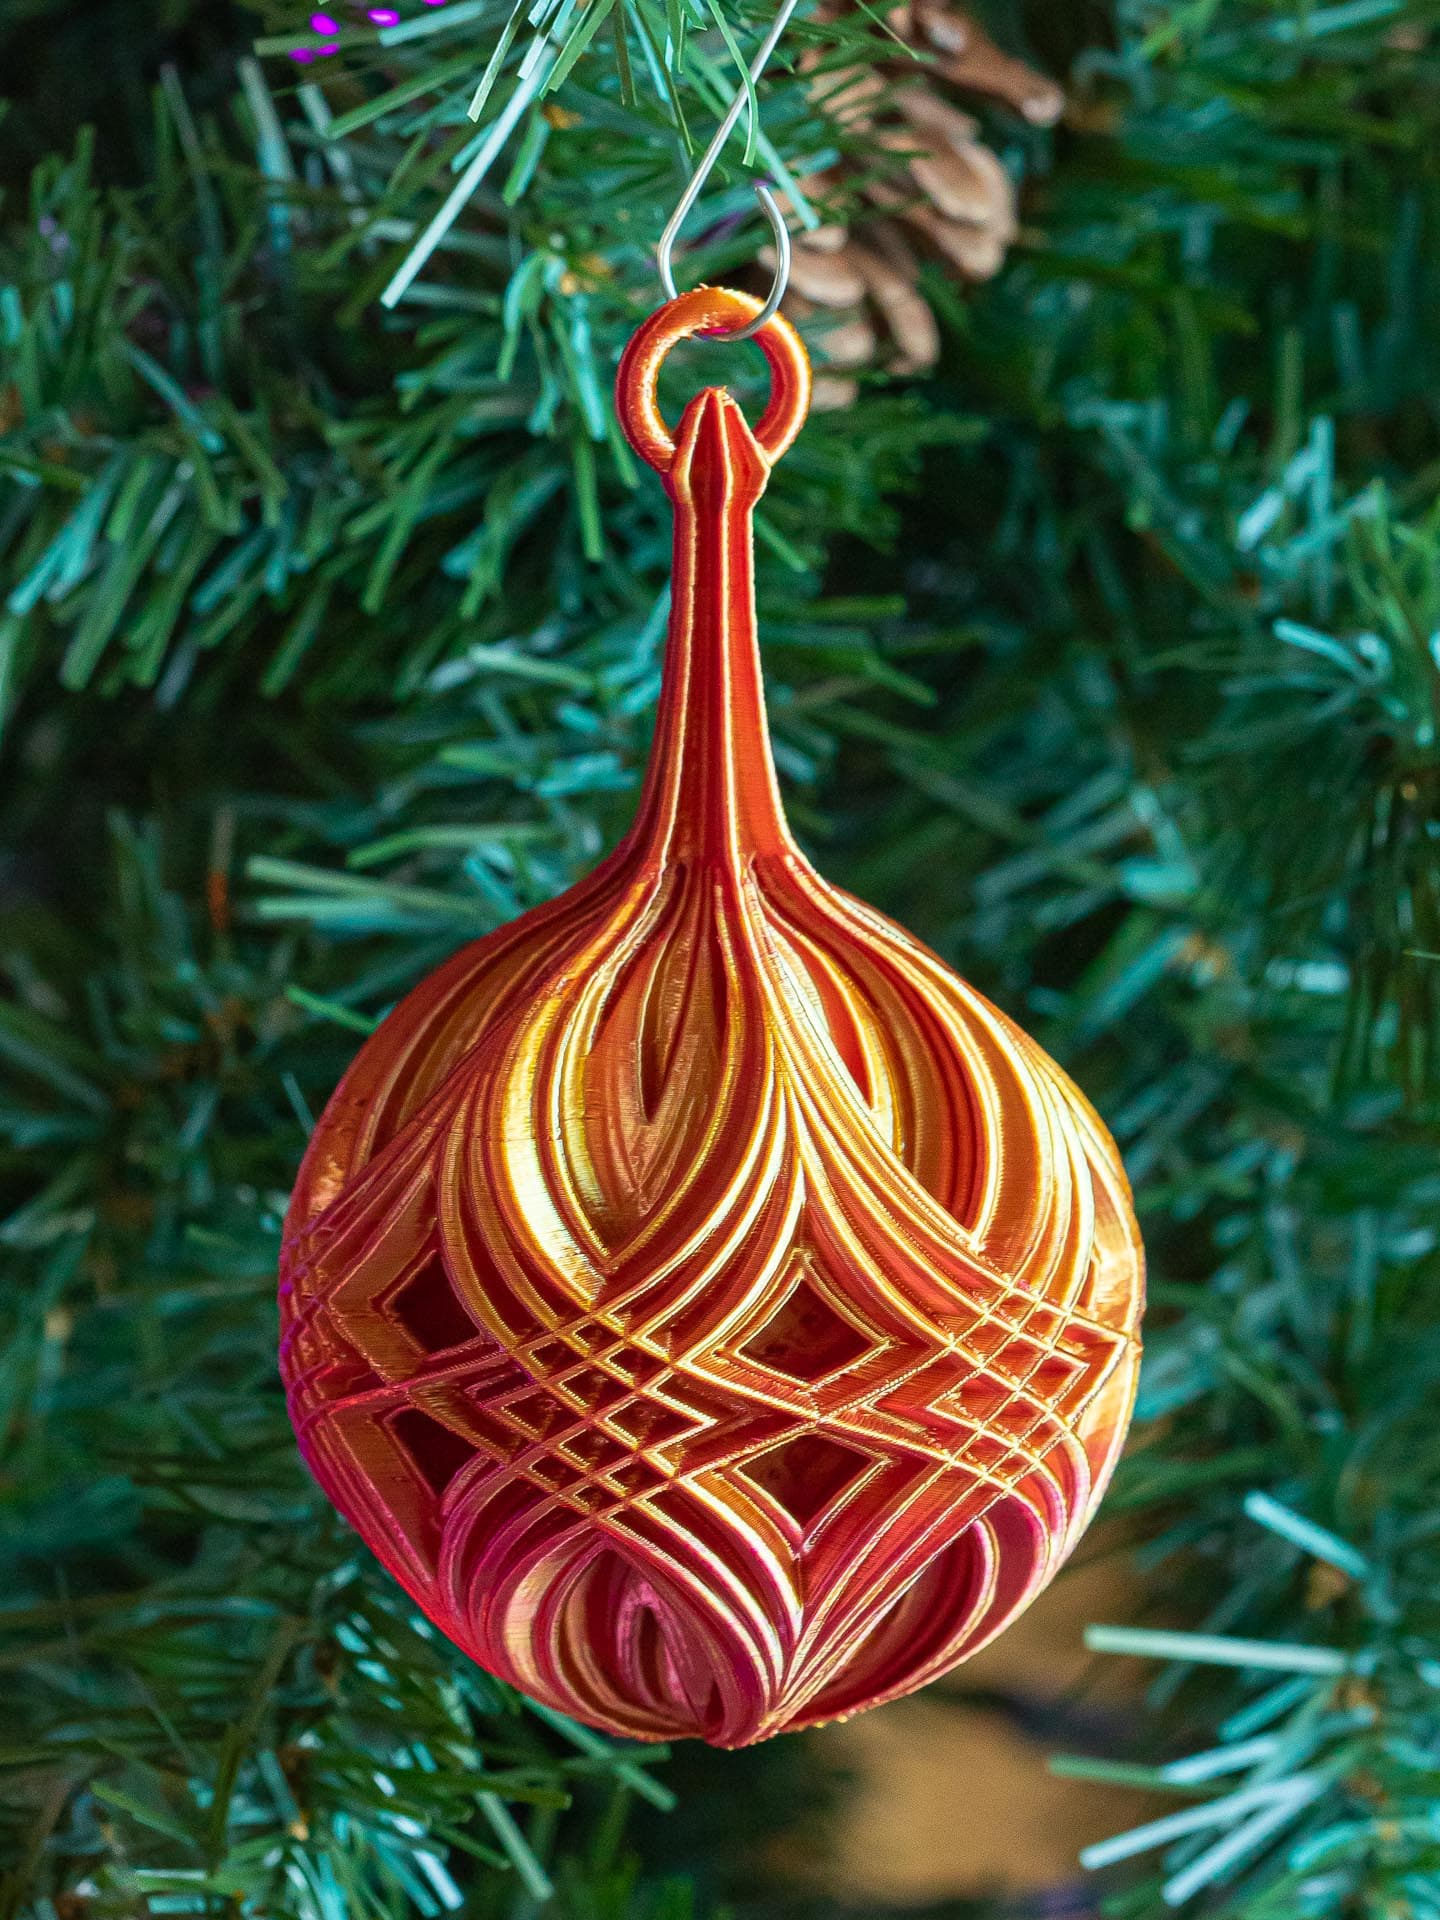
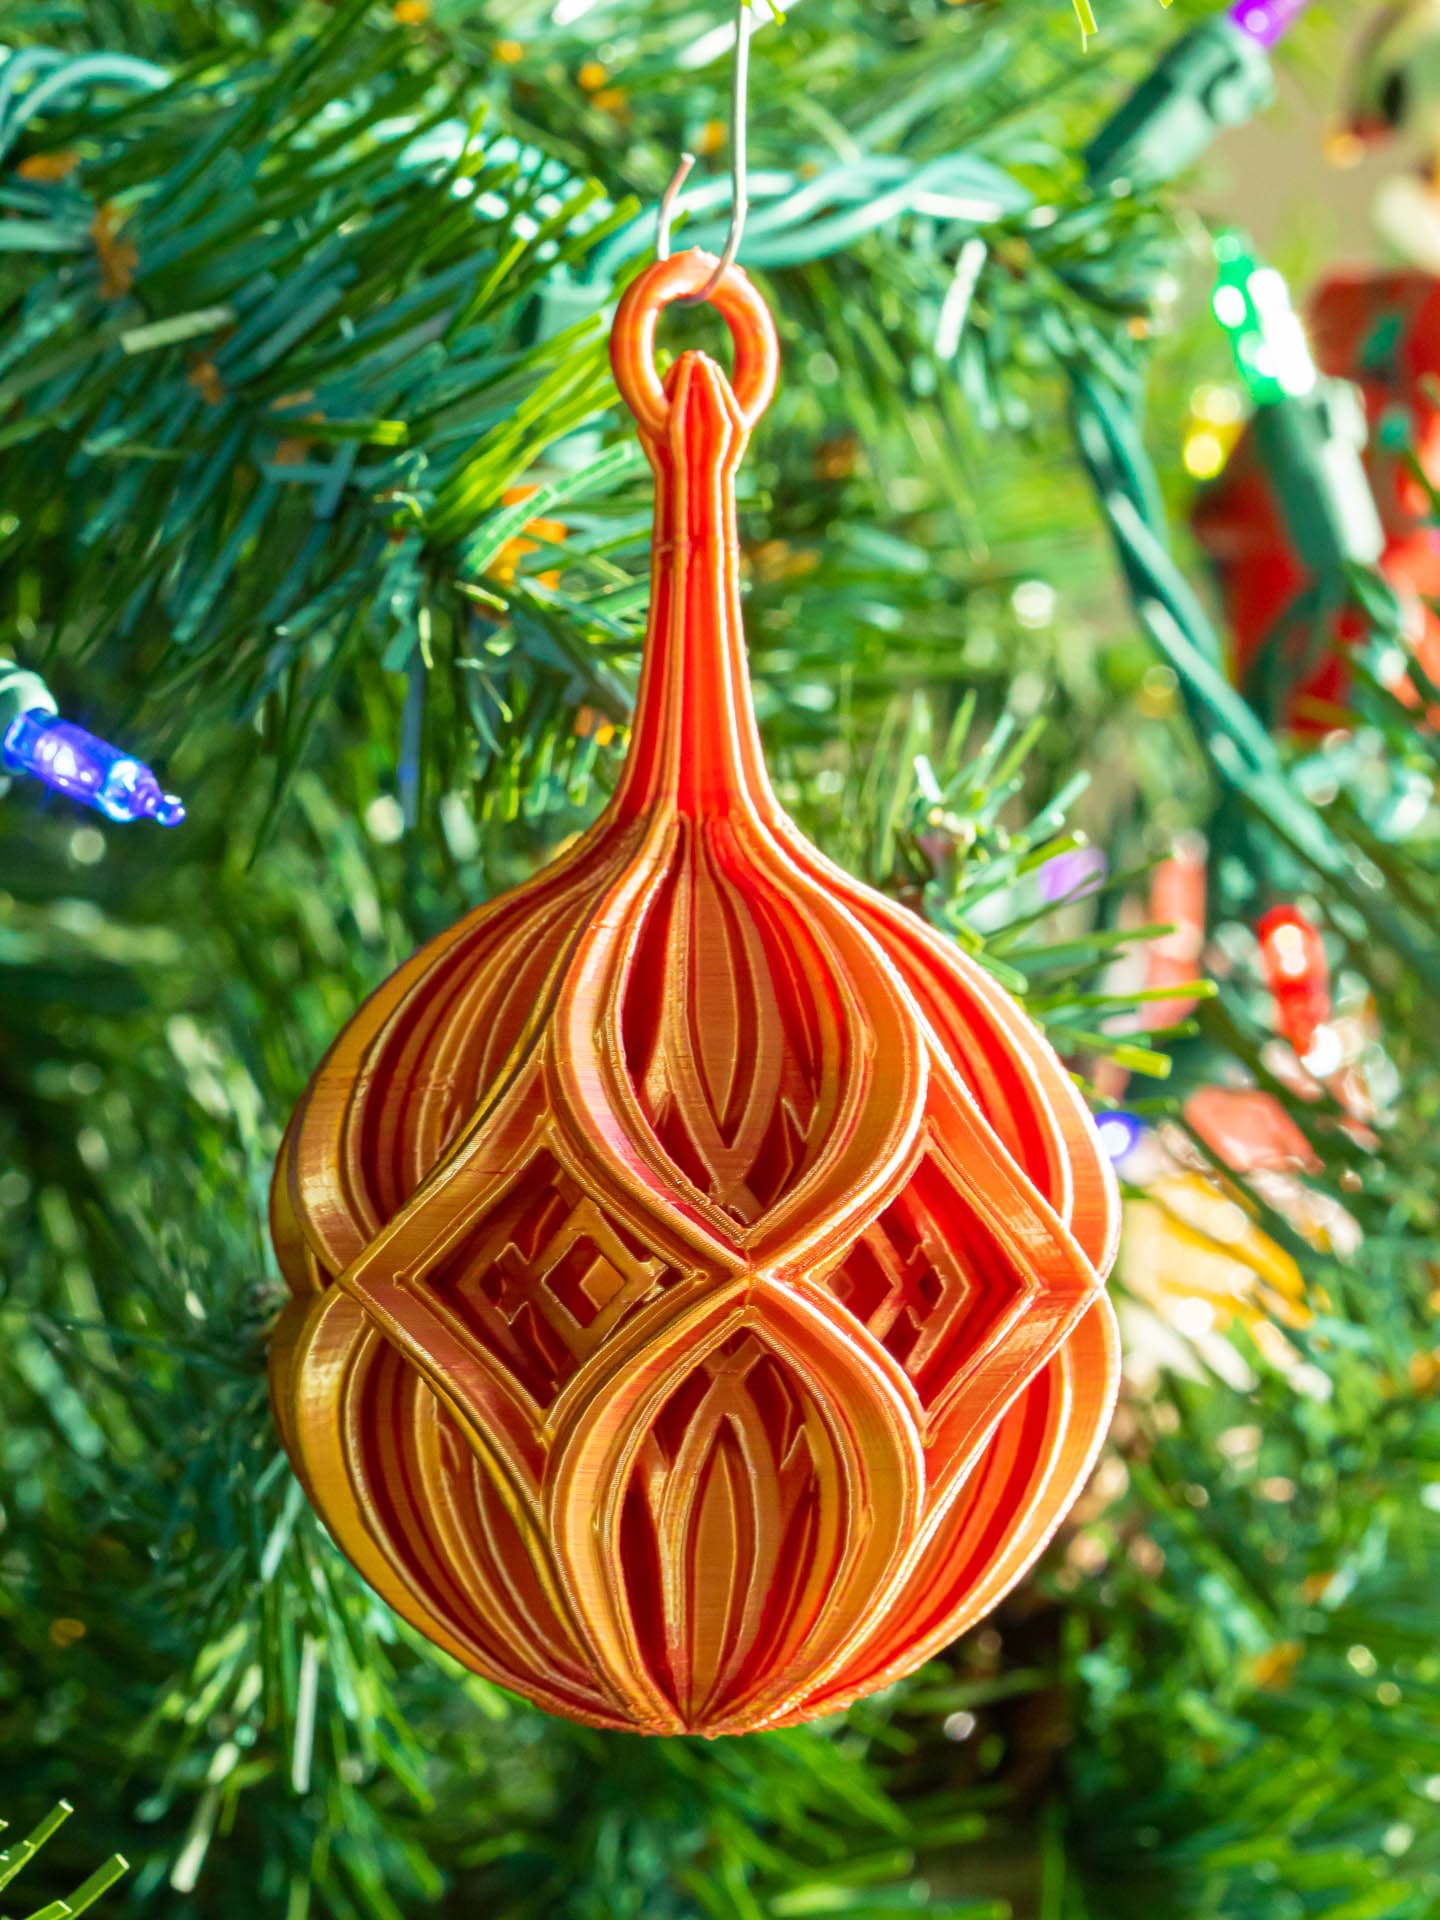
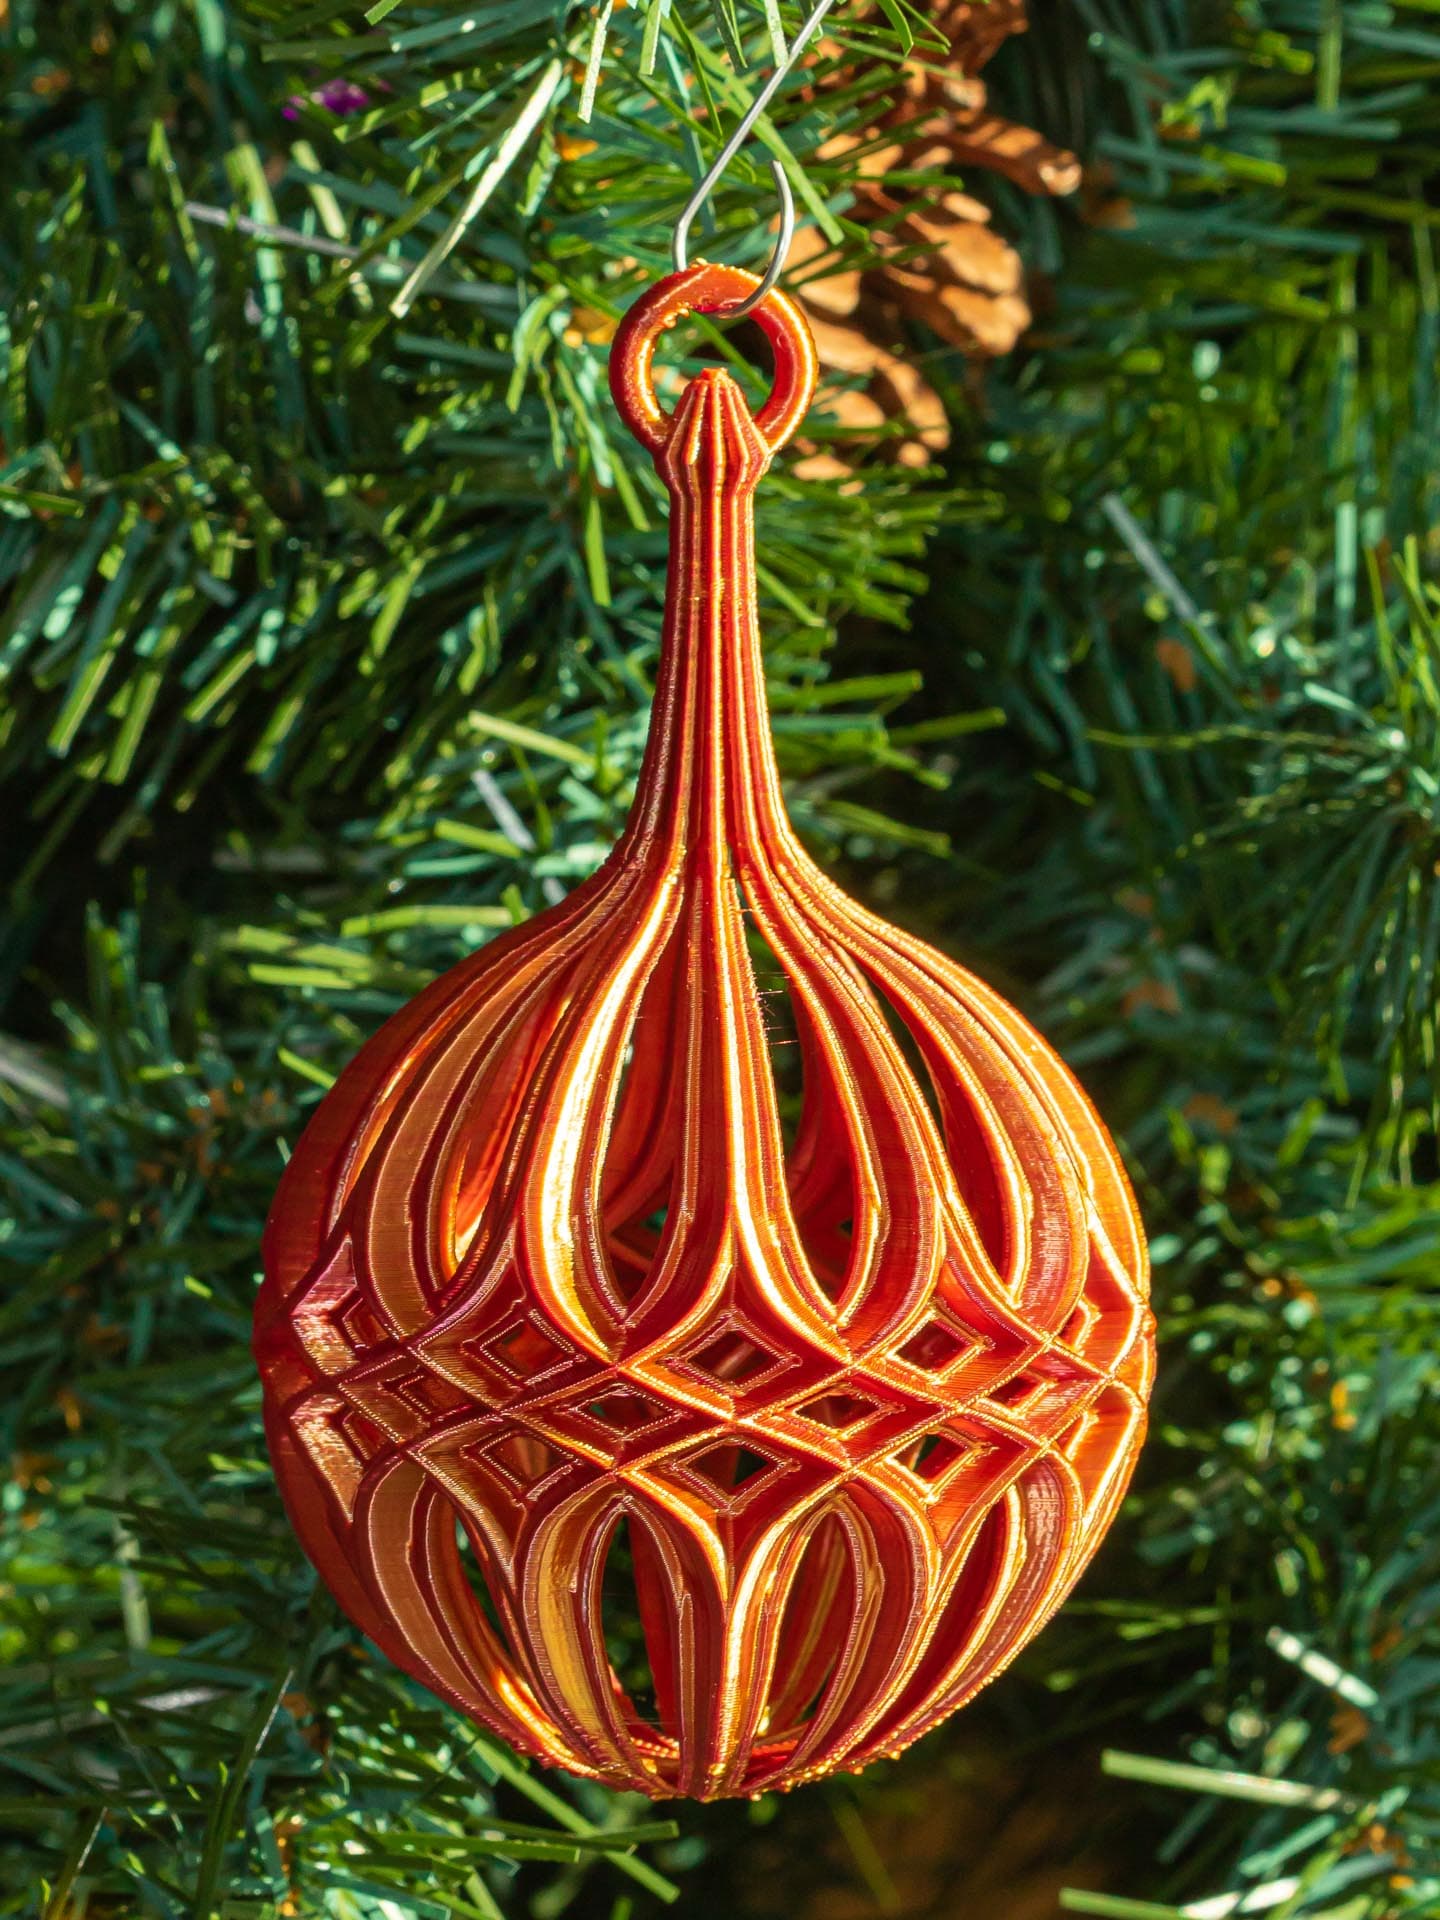
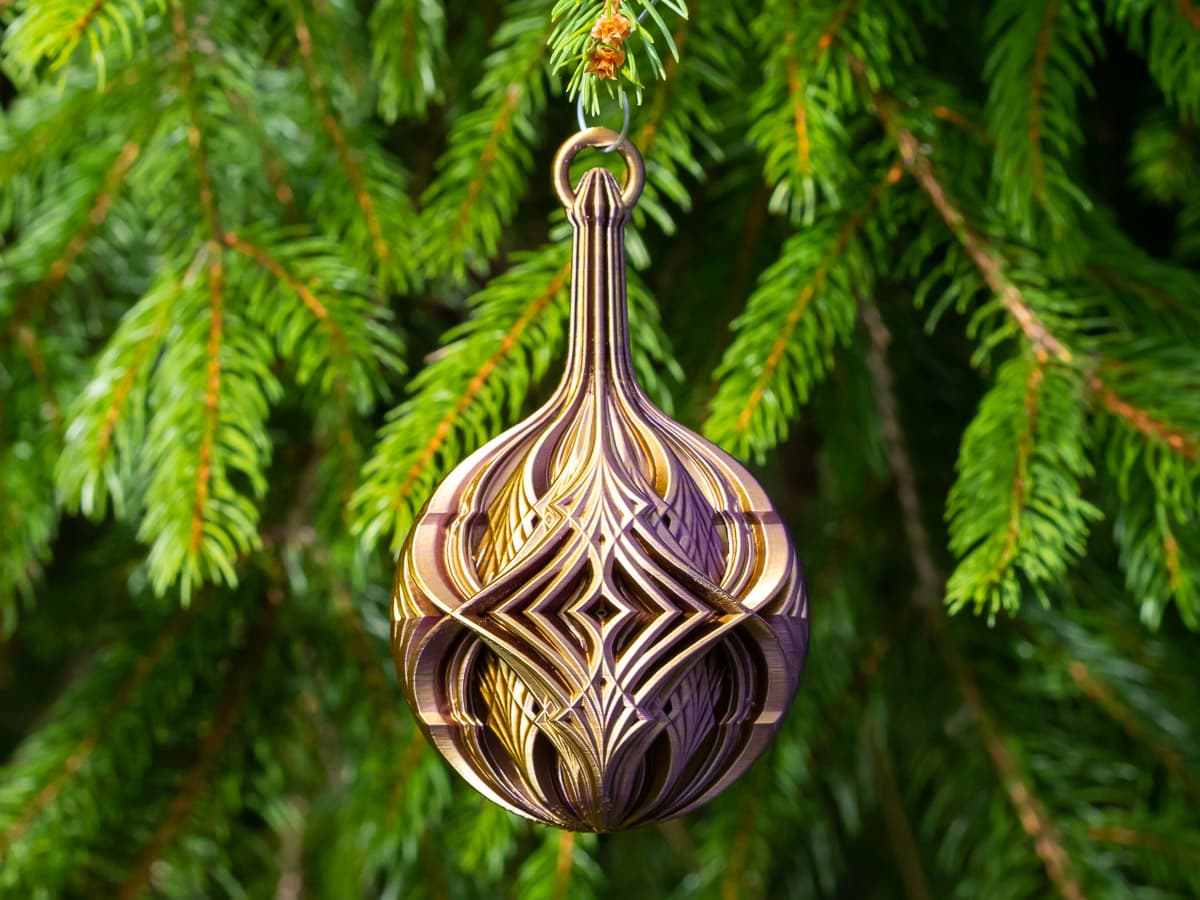
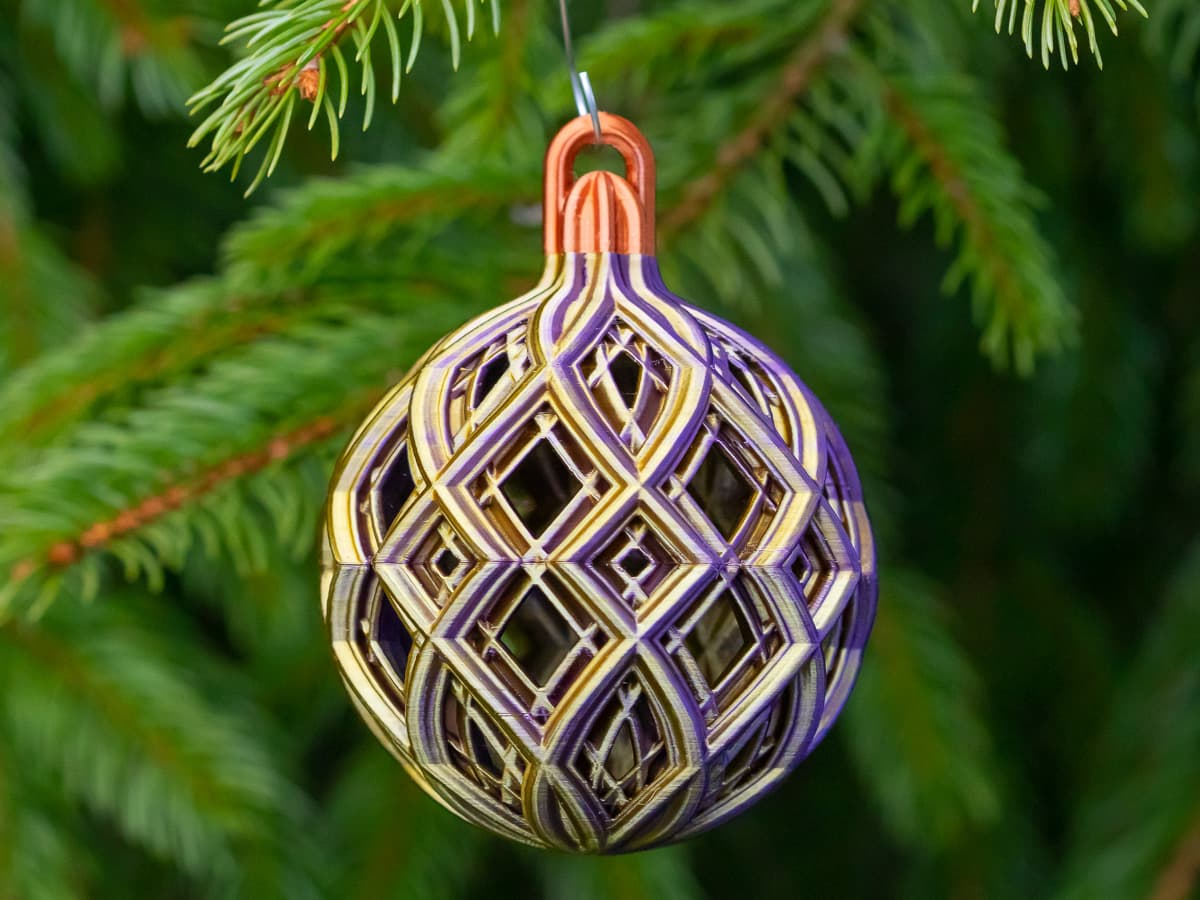
Christmas Ball - Alternating Diamonds
An elegant Christmas ball that looks dramatically different from different angles.
Not for commercial use. Please see license agreement.
Here's a fun new Christmas ball that features alternating diamond patterns. The photos show the same ornament photographed at two different angles. I printed it using a two color filament, so both the color and pattern shift as you look at it from different angles.
I've taken the work out of slicing this for you by providing my PrusaSlicer 3MF files and my MK3s+ GCODE. The ornament can be printed cleanly without weighing a lot, but it's a challenge.
I used a variety of techniques in slicing this model, including Height Range Modifiers, Paint-on Seams, varying layer height, and dropping the model 0.2mm below the build plate. Dropping below the build plate creates a clean first layer with a 0.4mm nozzle. With a 0.25mm nozzle, it's not necessary.
I printed the first 1.3mm with a layer height of 0.1mm (after a first layer of 0.2mm). The rest of the ornament was printed at 0.15mm. This just helps create a smoother print on the bottom of the ball.
Most of the ornament is printed with 1 Perimeter and no Infill. I used Height Range Modifiers to add additional Perimeters and Infill just where it's needed. The first 1.3mm is printed with 100% Infill to make a solid base that will release safely from supports. I also set Top/Bottom to 0 for the first 1.3mm because the infill took care of that need.
I also used Height Range Modifiers to add small sections of 15 - 25% Rectilinear Infill where parts of layers were unsupported. In most of these places, I also added an extra perimeter.
The top 5mm is printed with 2 perimeters and Top/Bottom set to 4 layers (I used 2 for Top/Bottom everywhere else).
You will need supports. Printing the ball as 1 piece keeps them to a minimum. I set the Overhang Threshold to 27 and used Grid supports because I finished this a few months back before PrusaSlicer really got Organic supports nailed down. I didn't add supports for the loop and it printed pretty well (even better with a 0.25mm nozzle), but you could add a tiny amount of supports to the center of the loop using Paint-on supports. I wouldn't use Organic supports for this. It adds about an hour to the print time and since the arms going to the loop are thin (and may break during printing), it increases the chance the print will fail.
If anyone's interested, the filament used in the cover photo is Matterhackers Quantum Raspberry Blue.
Christmas Ball - Alternating Diamonds
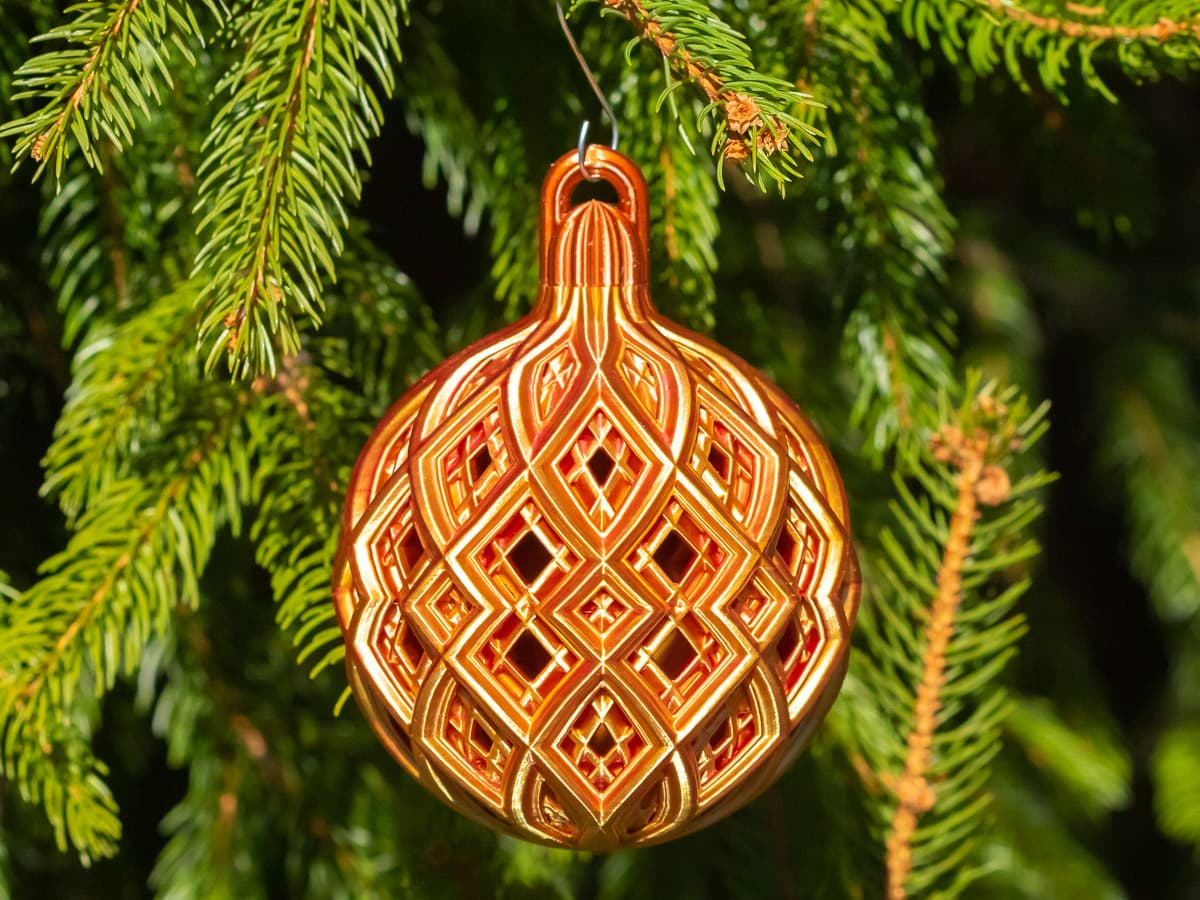
Double Diamond Christmas Ball
Winged Kaleidoscope Christmas Ball
Starburst Christmas Ornament
Diamond Christmas Ball
Diamond Christmas Ball Design 2

Stacked Diamond Christmas Ball
Christmas Ball - Fine Diamond Lattice
Christmas Ball with Intersecting Diamonds
Christmas Ball - Medium Diamond Lattice

MELTING CHRISTMAS BALL / UNIQUE CHRISTMAS DECOR / HOMEDECOR / DESIGNER

Christmas Accessories Vol.1 – 3D Printed Christmas Ball Ornament

Remix of Christmas scene in Christmas Ball
Christmas scene in Christmas Ball

Gift balls, Christmas tree ornaments.

Christmas Ball Ornaments

VANOCE | String Art Ball, Christmas Tree

VANOCE | String Art Flat Ball, Christmas Tree

Customizable deer Christmas ball

Christmas Tree Ball 2D Wall Art/Window Art - Digital STL & SVG Files for 3D Printing and Laser Cutti
