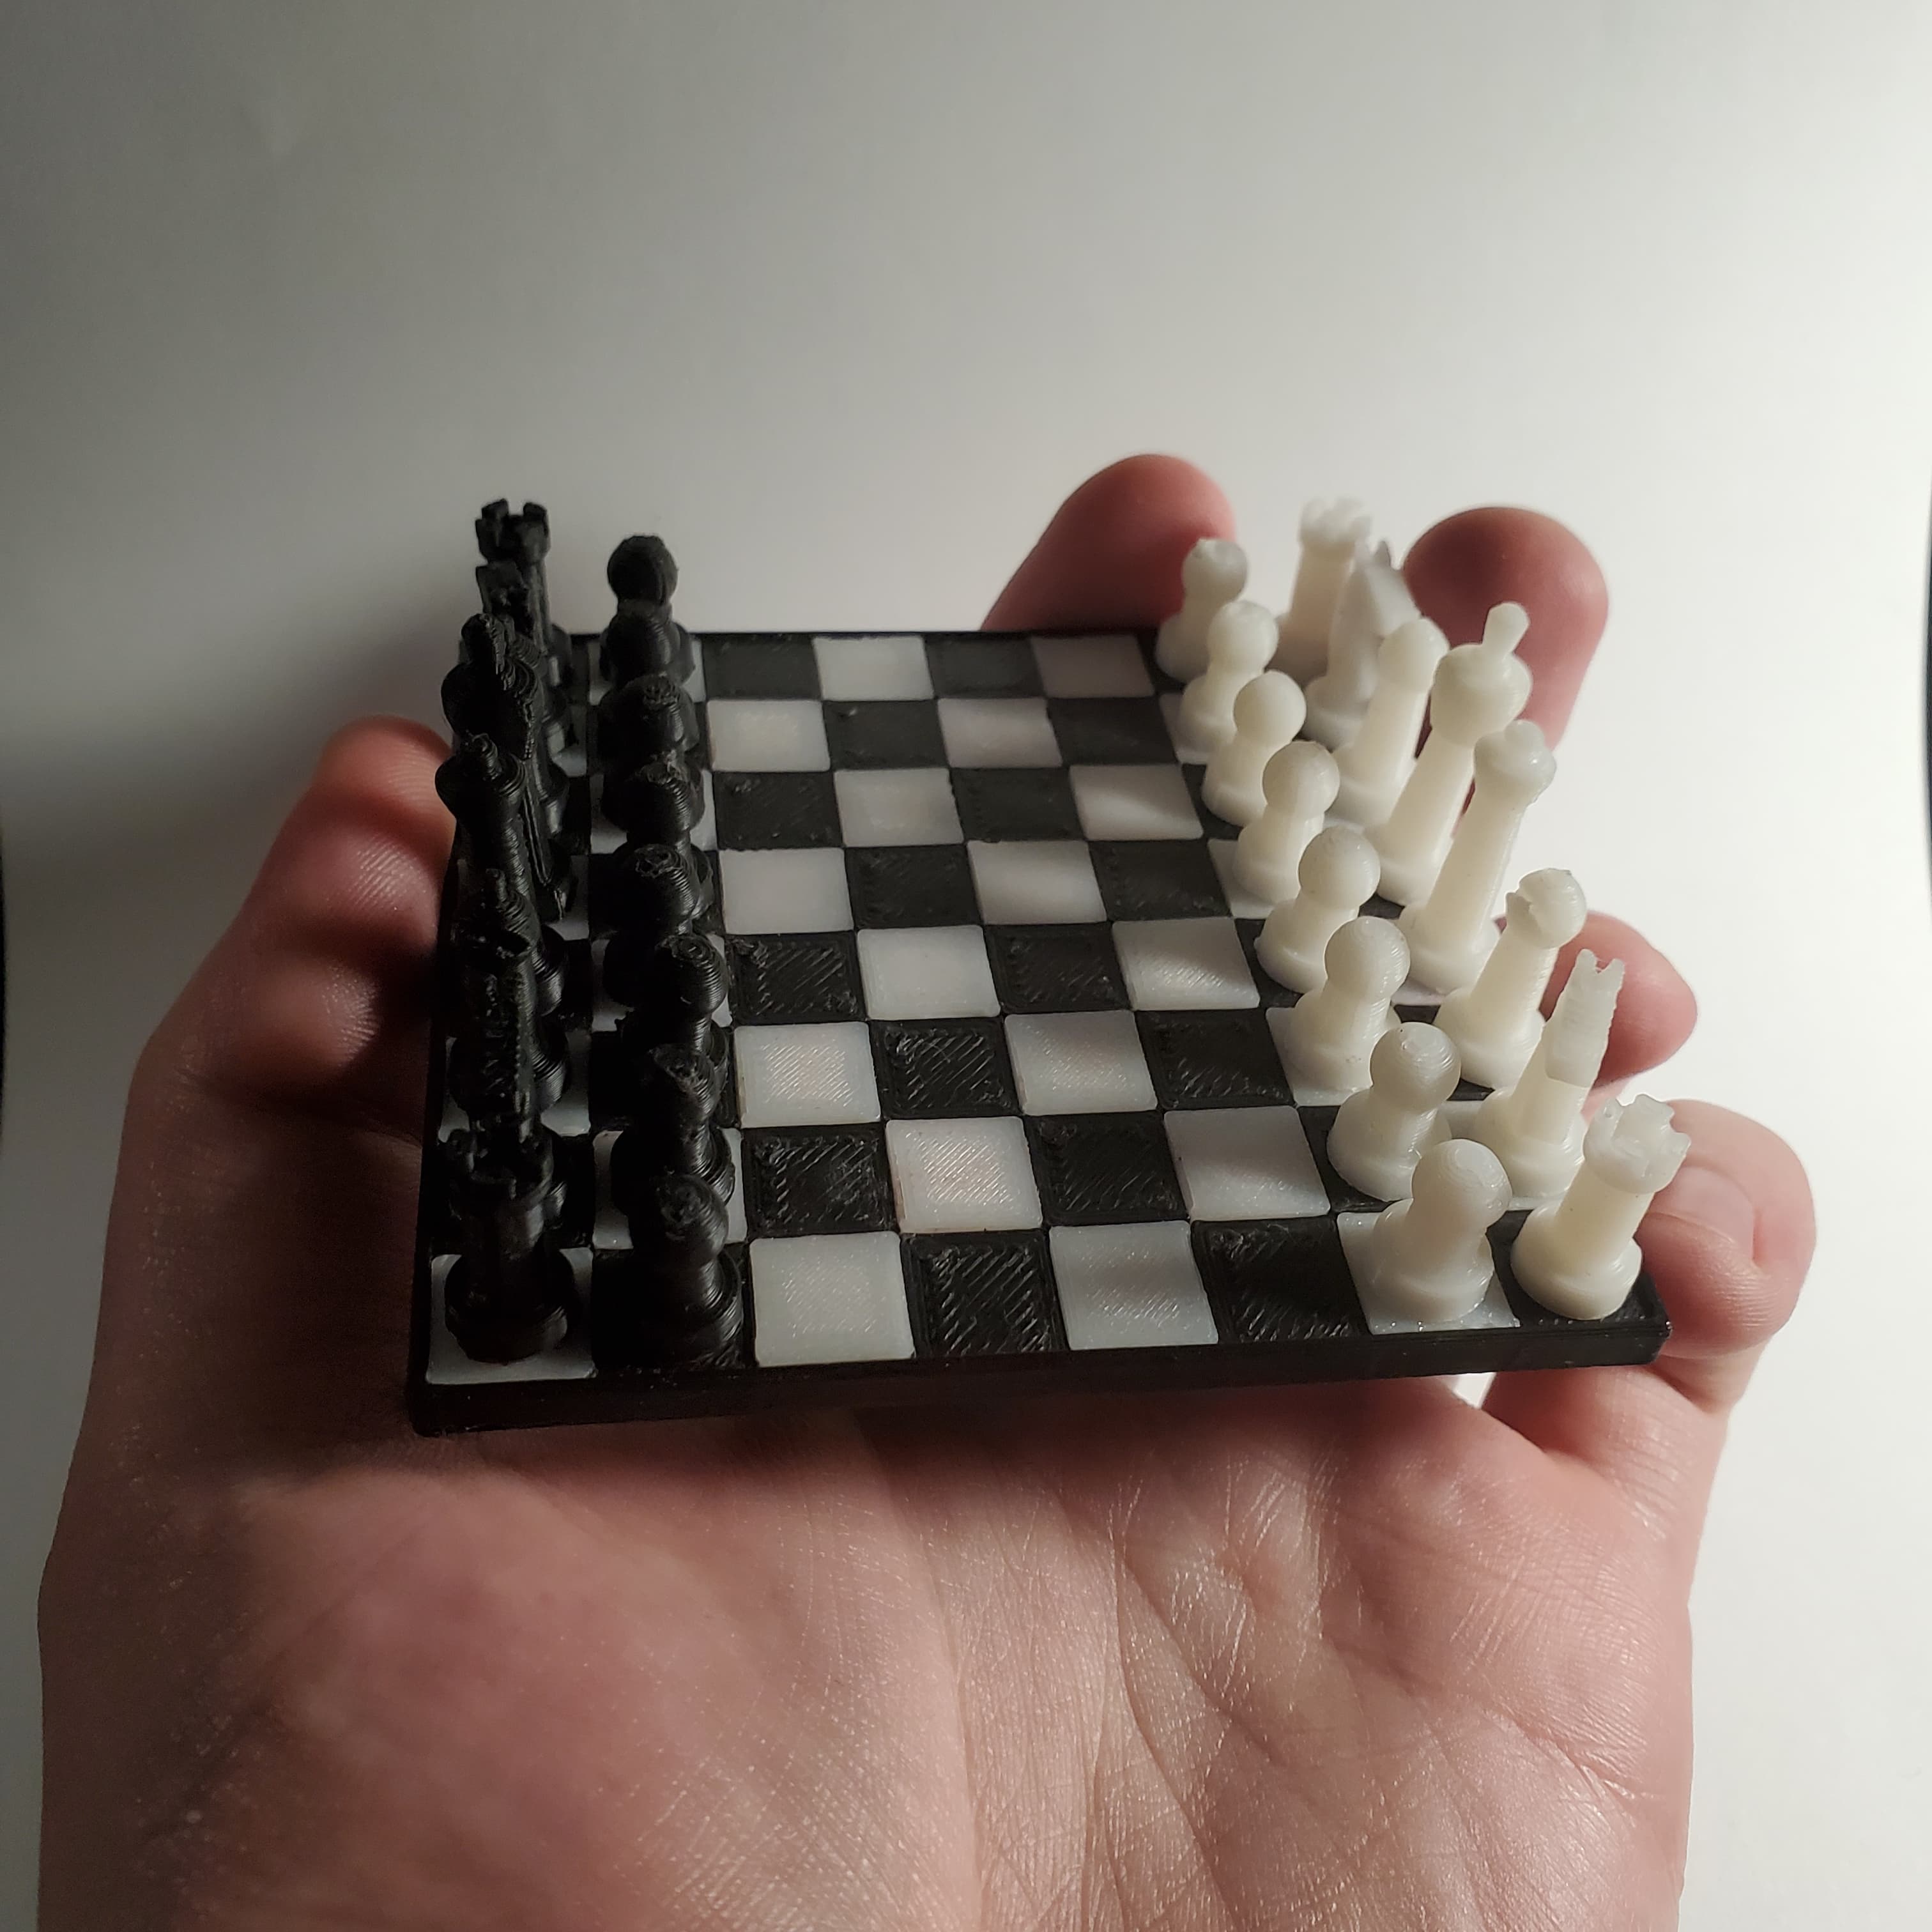


This is, I think, the smallest functional and playable chess board that you don't need chopsticks or tweezers for! It fits in the palm of your hand.
Plus its magnetic so it works great as a fridge magnet.
Each square on the board is exactly 1cm so its 83mm wide including the 1.5mm edges.
This Magnetic Chess Set was designed with a magnet in every square, so there's no sliding pieces around; they all 'snap' exactly into place with ease. As such it uses a LOT of magnets* but the effect is worth it as other magnetic chess boards tend to use a metal board and those do not index the pieces perfectly, something that really is annoying to do at this scale!
*(Ninety-Six(96) 6x2mm Magnets, for 64 squares and 32 Pieces. You can buy a pack of 300 for about $10 online) These are the same magnets used in Gridfinity and many other popular 3D printing applications. If you are a true 3D printing nerd, you likely have some already, right next to a big box of 608 skateboard bearings :D
You MUST make sure you orient every single magnet correctly or the board will not work correctly, but this is easy enough with some diligence. I like to set one magnet, then reference that magnet for each subsequent magnet, sliding them across to their position. If you do mess one up, you can use a small sharp pointed blade to try to pop it out, or drill through from the other side with a very small drill bit and push it out, though that will leave a hole. It may be easier/cheaper to just reprint, as one of those white tiles takes about 2 minutes to print. The magnets should press fit in easily.
Print in any two colors you like, but I made my board black and my insertable tiles white, and will refer to them as such in all instructions
I chose to print the white tiles face-down, so that they would have a different texture than the black tiles, but if you want the textures to match, just flip the white tiles over in your slicer. They will print fine without supports
NO PART OF THIS MODEL REQUIRES SUPPORTS, but you need to use a brim or other bed adhesion on the playing pieces because they are tall with a small footprint. Another option would be to individually print each playing piece alone, as they only get knocked over while the printer head traverses to the next piece in my experience. If you want to print it all at once, just put a big brim of 3 or 4+ on it and prepare to have some cleanup work on tiny parts.
The white tiles are designed to fit snugly in place, but a few of them I had to glue in. MAKE SURE YOU PUT THE MAGNETS IN, IN THEIR CORRECT ORIENTATION, BEFORE YOU INSERT THE WHITE TILES TO THE BLACK BOARD, They DO NOT easily come out, if at all. I recommend putting magnets into all the white tiles, stacking them up to ensure they are all the correct orientation, before putting any white tiles into the board.
I also included an .stl file that consists of only the 6 Playing Piece Models, if that is what you are after.
If you have any questions let me know I reply pretty quick on here.
I modeled all parts from scratch myself in Fusion360.