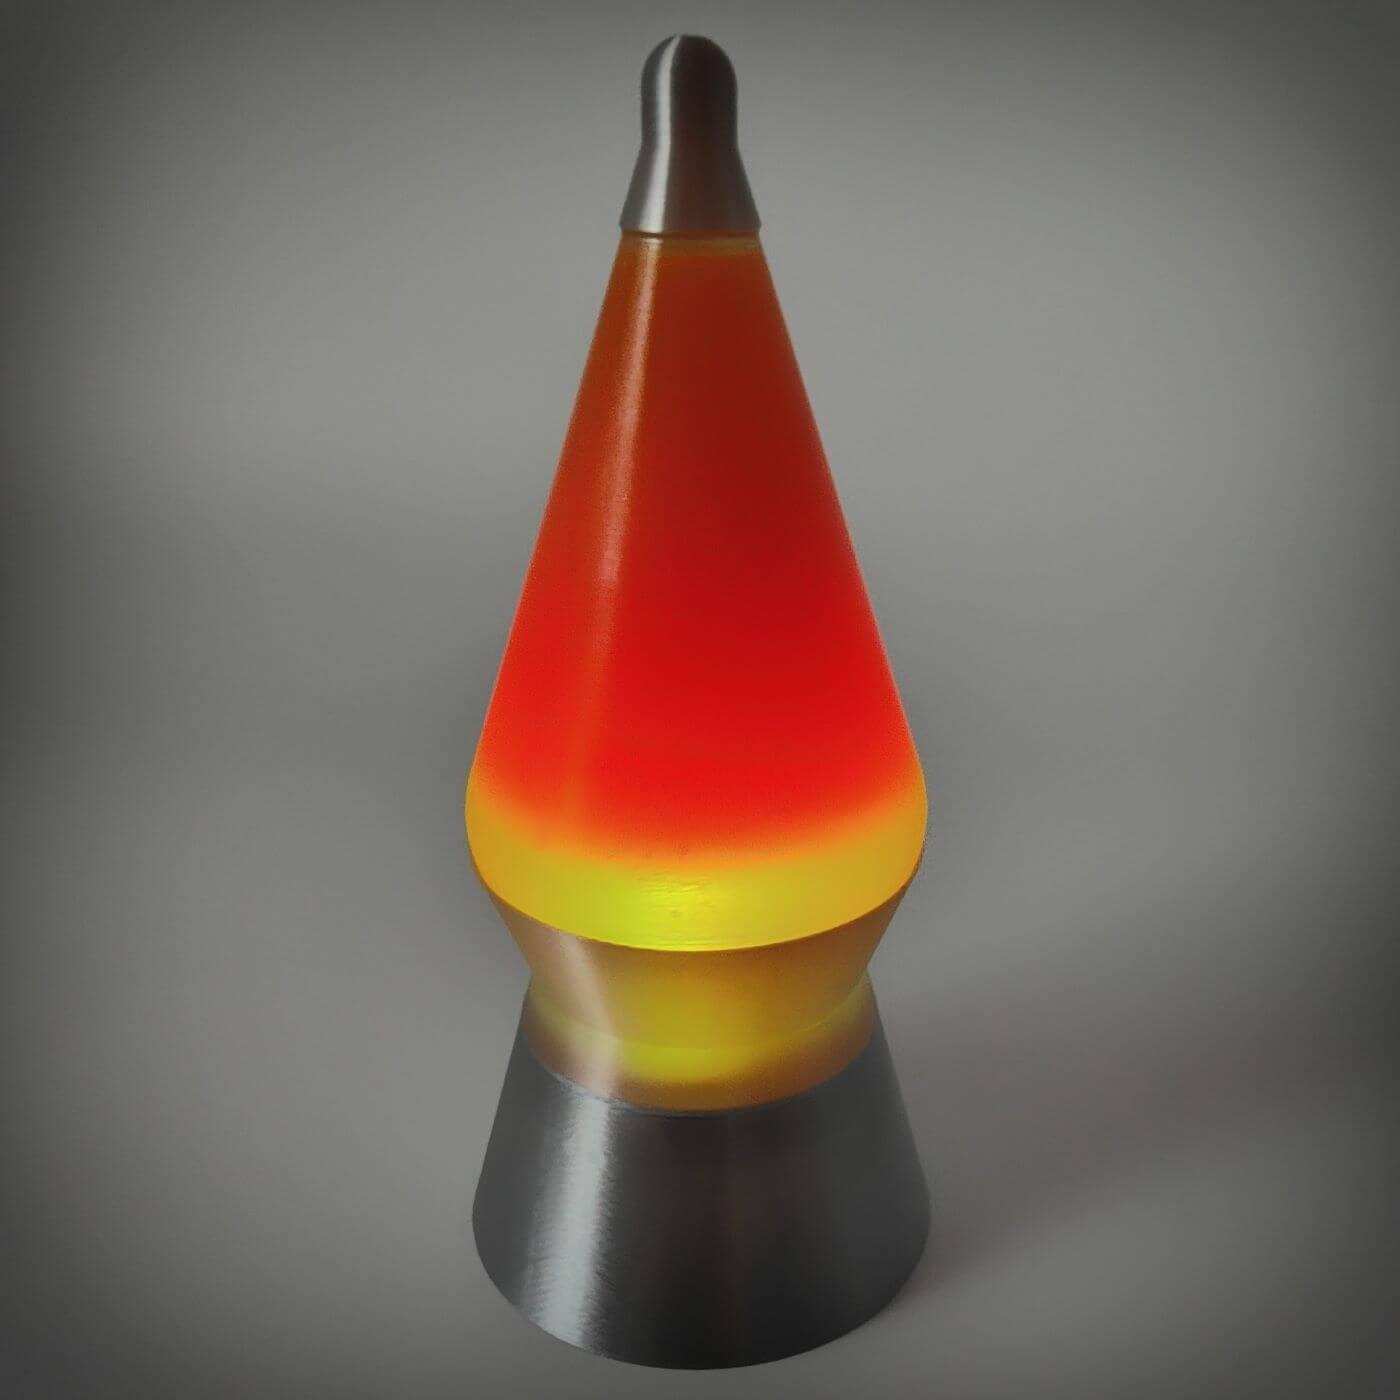
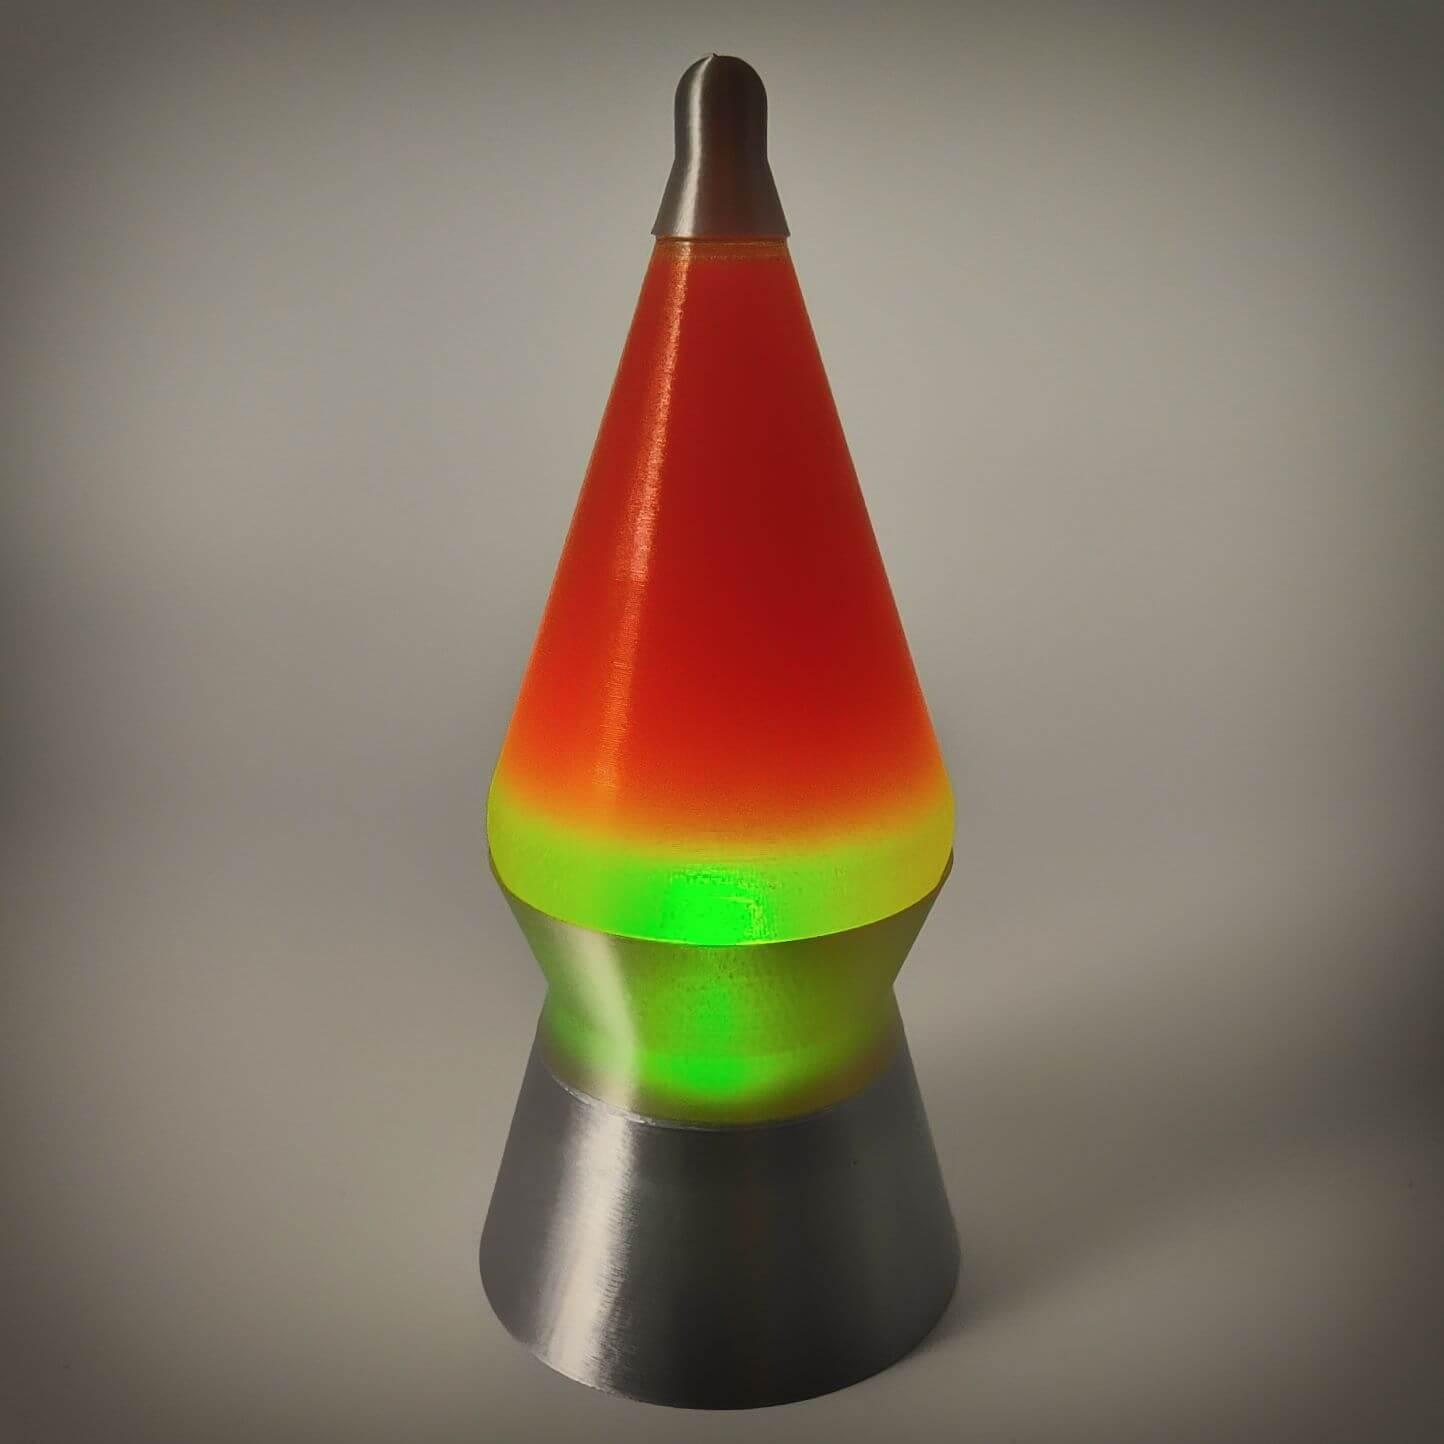
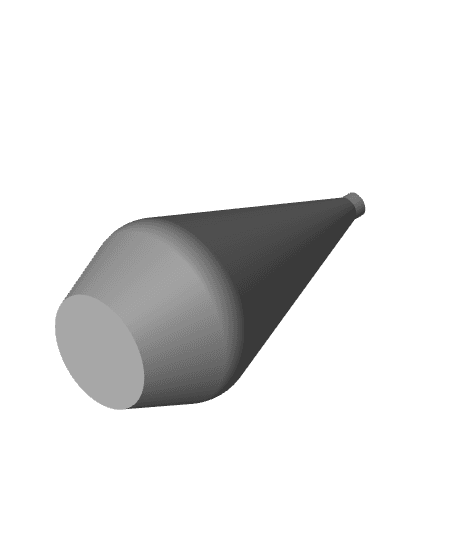
The Mini Lava Lamp is a captivating and creative tabletop decorative item inspired by the iconic Lava lamps of the 1980s. This miniature version is perfect for adding a splash of color, fun, and relaxation to your space, and it's also a do-it-yourself project that can engage children in a creative and educational experience.
To create the Mini Lava Lamp, you will need the following materials:
One 30mm diameter x 27mm height LED tealight (preferably RGB for a touch of chromatic magic). PET-G transparent and PLA filament for printing the parts. A drop of glue to seal the cap (if you don't plan to replace the liquids in the future). Distilled water or natural bottled water. Vegetable oil (you can experiment by adding extra virgin olive oil for variations in density). Liposoluble and hydrosoluble food coloring to customize the liquids. A syringe without a needle for mixing the colorants and filling the cone. Optional: glitter to create sparkling effects. Here's how to proceed, considering the recommended print settings
Printing the Parts:
Base: Use PLA filament with a 0.4mm nozzle. Set layer thickness between 0.08mm and 0.16mm. Fill should be between 10% and 15% with a rectilinear or gyroid pattern. Use regular supports with a threshold angle of 25°, only from the build plate. Set the upper Z distance to 0.25mm, one wall for the loop, enable thin wall detection, and use a backstitch. Body and Cap: Use PET-G transparent filament with a 0.4mm nozzle. Set layer thickness between 0.08mm and 0.16mm, lower layers 4. Use vase mode without rafts. For the Top, use PLA, 0.4mm nozzle, layer heights ranging from 0.8 to 0.16, vase mode, one-wall loops, 0 top and bottom shell layers, and no need to use rafts. Preparing the Liquids:
Prepare a glass of distilled water or natural water and a separate one with vegetable oil to create the liquid base. Add liposoluble food coloring to the oil and, if desired, hydrosoluble food coloring to the water. Experiment with colors to achieve the desired effect. You can also add glitter for unique combinations. Filling the Body:
Use a syringe without a needle to mix and pour the colored liquids into the cone. Keep the water level just above the cone's fold for a better visual effect when placing the tealight. Assembly:
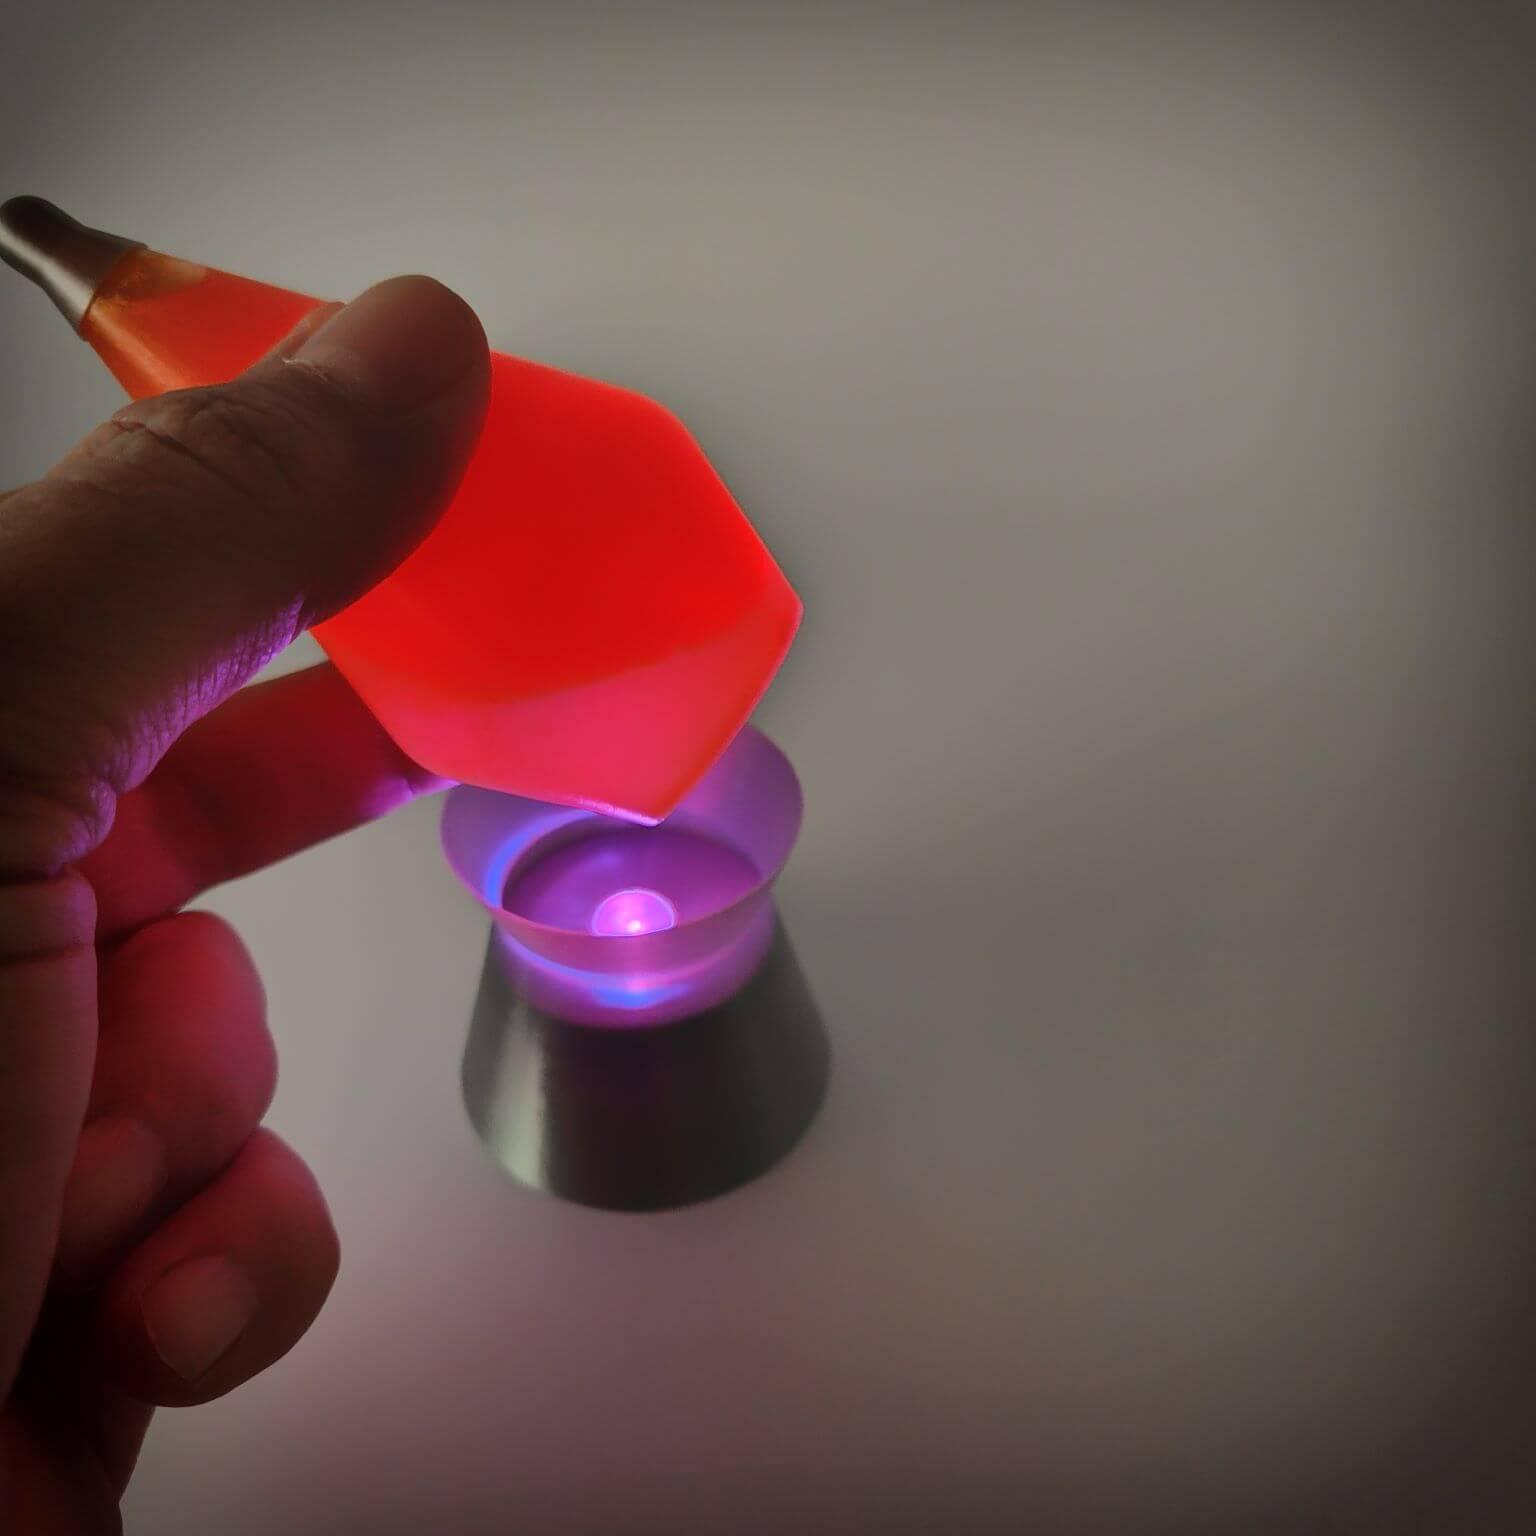
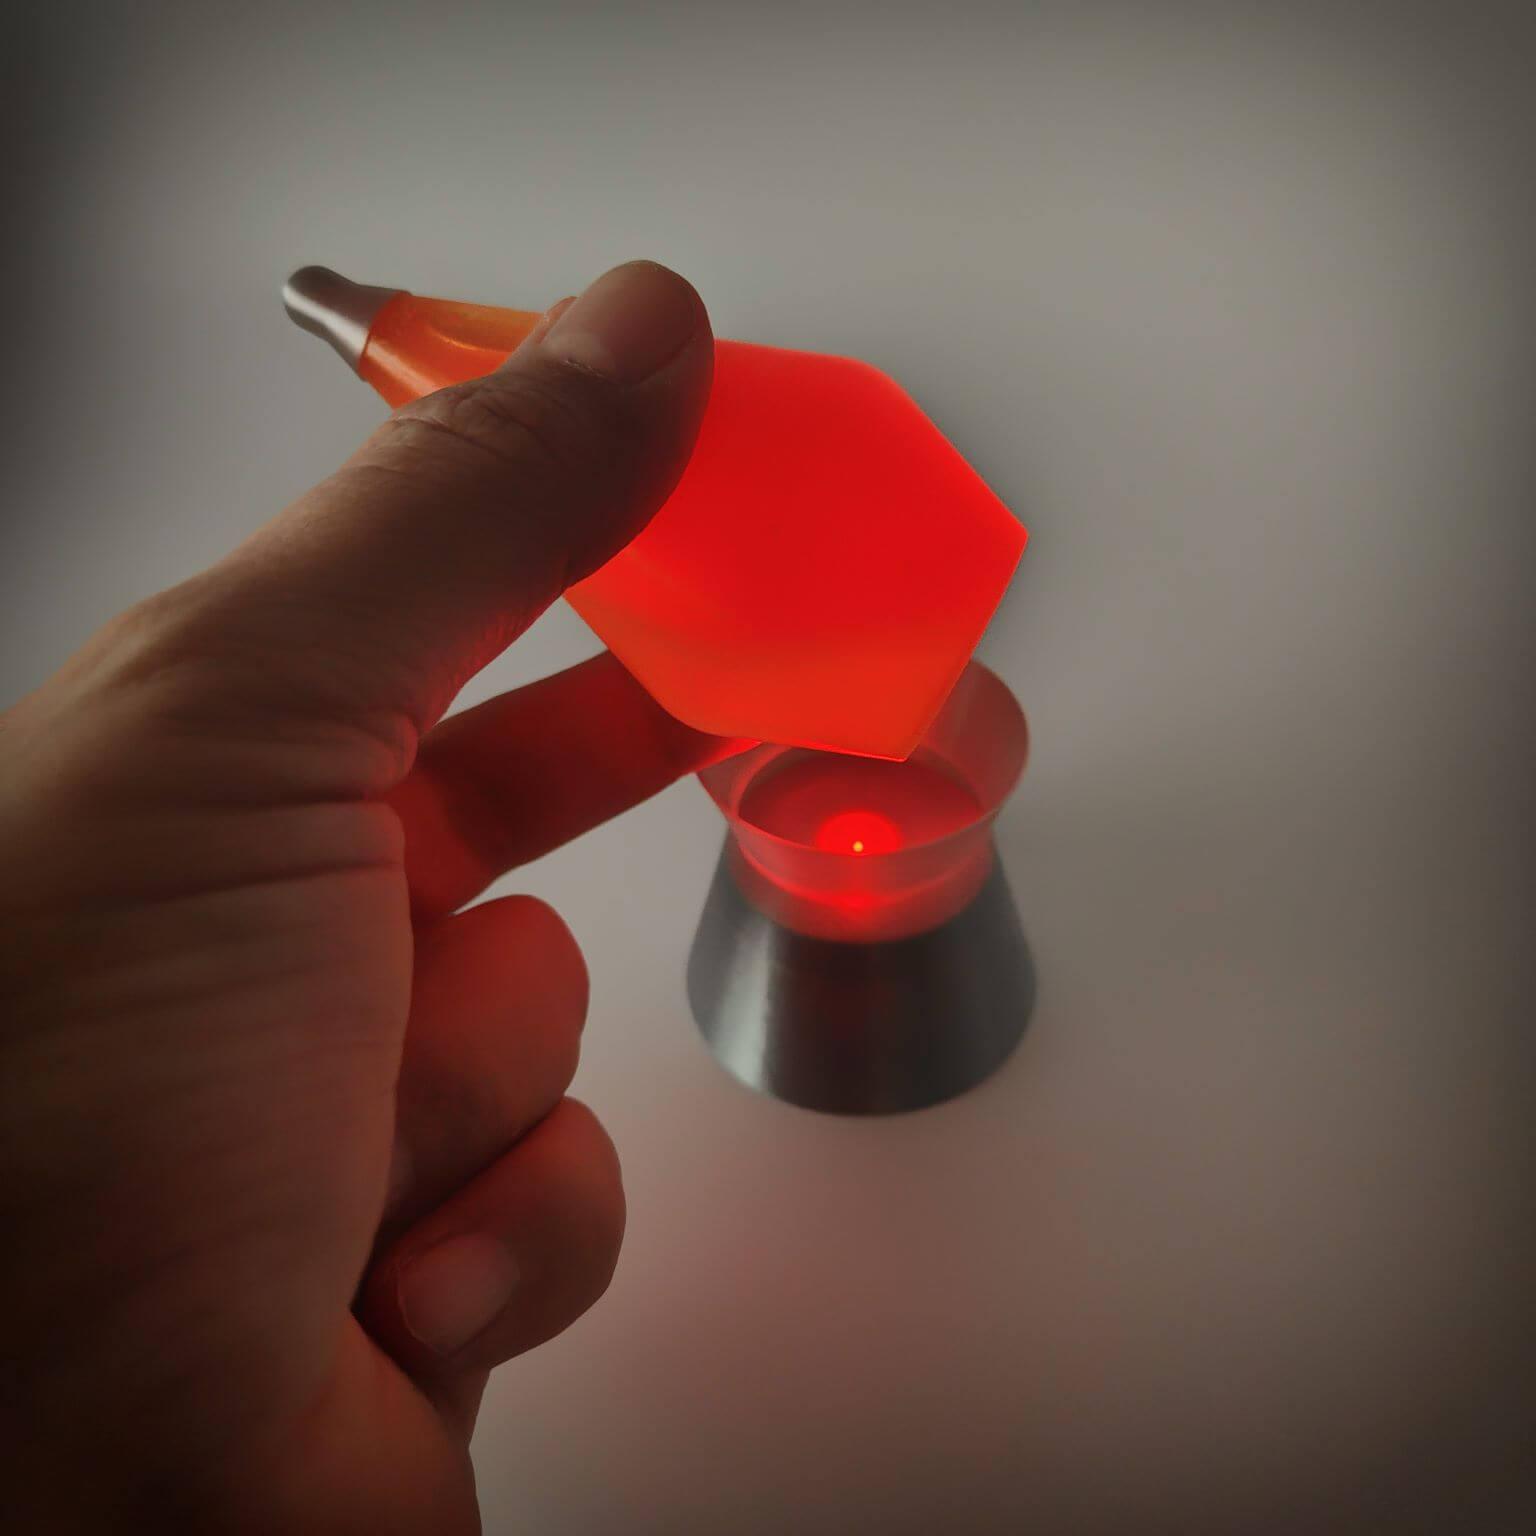
Seal the body with the cap, and if you don't plan to replace the liquids in the future, apply a drop of glue to seal it. Remove the supports and secure the tealight in the designated slot in the base of the Mini Lava Lamp, and you can use a little hot glue or super glue to help. Place the body in the base and insert the top part. The finished object is approximately 112mm tall and 53mm in diameter at the base.
Now your Mini Lava Lamp is ready to illuminate and decorate your space with colors, creativity, and a touch of 1980s nostalgia. Enjoy creating this fascinating decorative item and bask in the relaxing atmosphere it brings to your home!
