English:
Installation video Download Sherpa Mini Assembly Instructions Instructions for pause at height on Cura Slicer ENG Instructions for pause at height on Prusa Slicer ENG
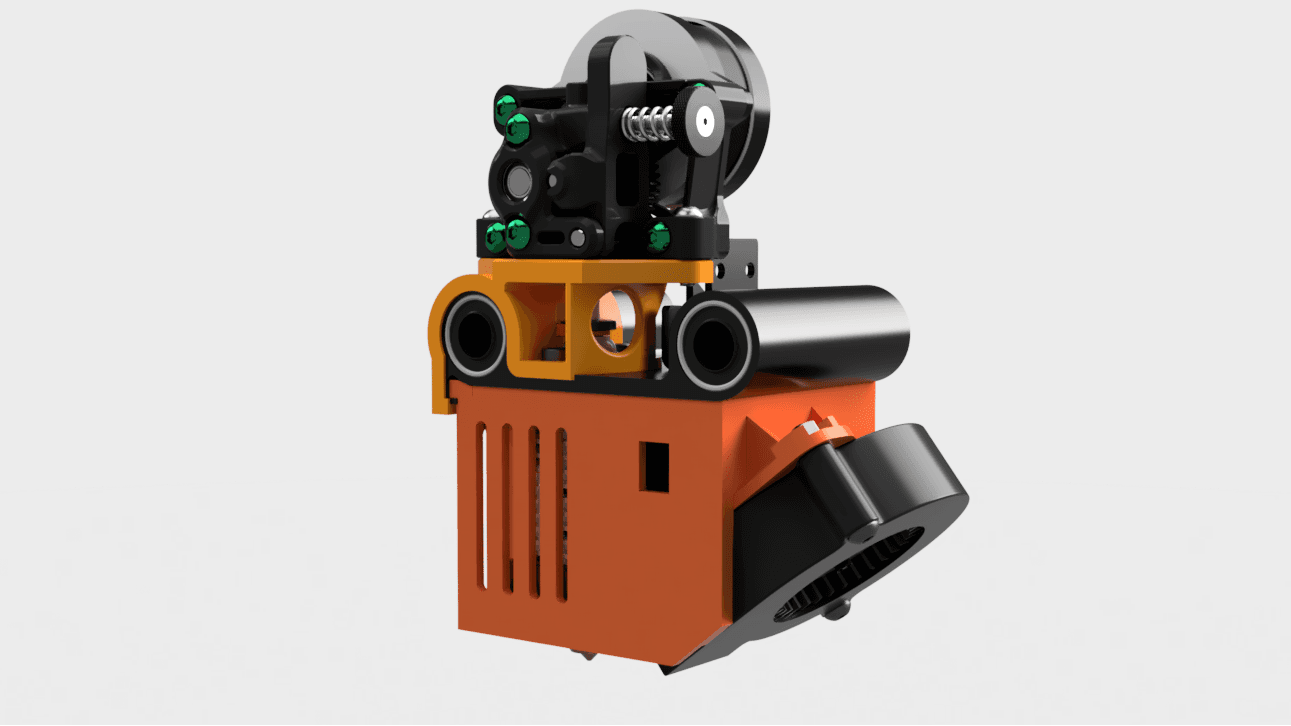
Direct Drive modification system for Flying Bear Ghost 5 with extruder Sherpa Mini The Sherpa mini is a powerful Direct Drive extruder with a compact design, developed by Anlin and the Annex Engineering team. it can be printed at home, or purchased from various manufacturers such as TriangleLab or Mellow
Three designs to adapt to every need: File1 fixing via M3 nuts File2 fastening with premium threaded inserts Ruthex File3 fastening with generic threaded inserts (China)
ATTENTION: if you choose to print the file with M3 dice, it is strictly necessary to print at layer height 0.2, and insert pause at layer 91. I tested the printer only with parts printed at home, and it turned out that for the X limit switch to work correctly, you need to print the [a]_housing_front_x1_rev15_thin file I provided, because it was lowered by 0.5mm. If you take the official file, you risk hitting the screw before the printer reaches the end stop. for this reason I cannot guarantee correct functioning if the Sherpa Mini is purchased already assembled from various suppliers. In this case, I recommend satisfying the M3x8 DIN7380 (BHCS) screw with screws M3x8 ultra low profile
Purchase list necessary for the correct assembly of the mod: [1x] Sherpa Mini Extruder (BOM below), or: trianglelab - Mellow [2x] Screws M3x12 DIN7380 [2x] Nuts M3 DIN934 [only for File1] [2x] Ruthex M3S inserts 3DJake -- Amazon [only for File2] [2x] Generic inserts (M3 OD5 Length 4mm) [only for File3]
Purchase list necessary for the correct assembly of the Sherpa Mini (only necessary if you print at home): [1x] BMG gear set 3DJake -- TriangleLab -- Mellow [1x] Thickness M3x7x0.5
Tools needed: Allen Wrench HEX 2 [included with Ghost 5 printer] Allen Wrench HEX 2.5 [included with Ghost 5 printer] Soldering iron [only for File2 or File3 and assembly Sherpa Mini] Cutter
Contact me for any doubts and/or problems during installation Constructive criticisms are welcome


