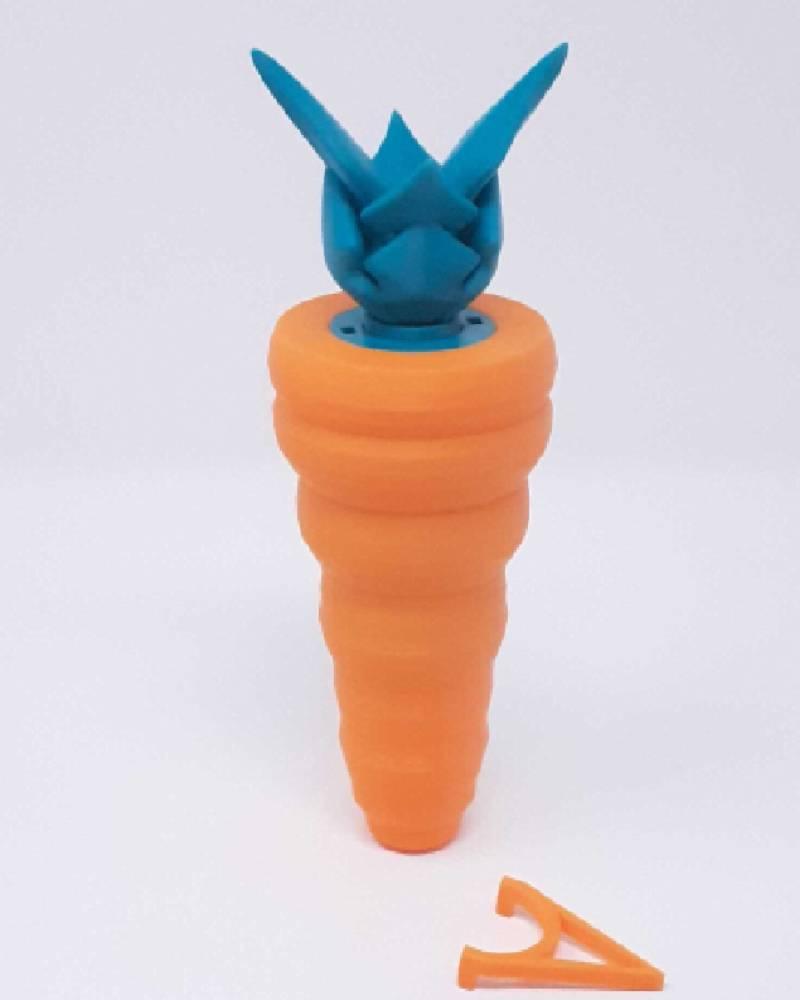
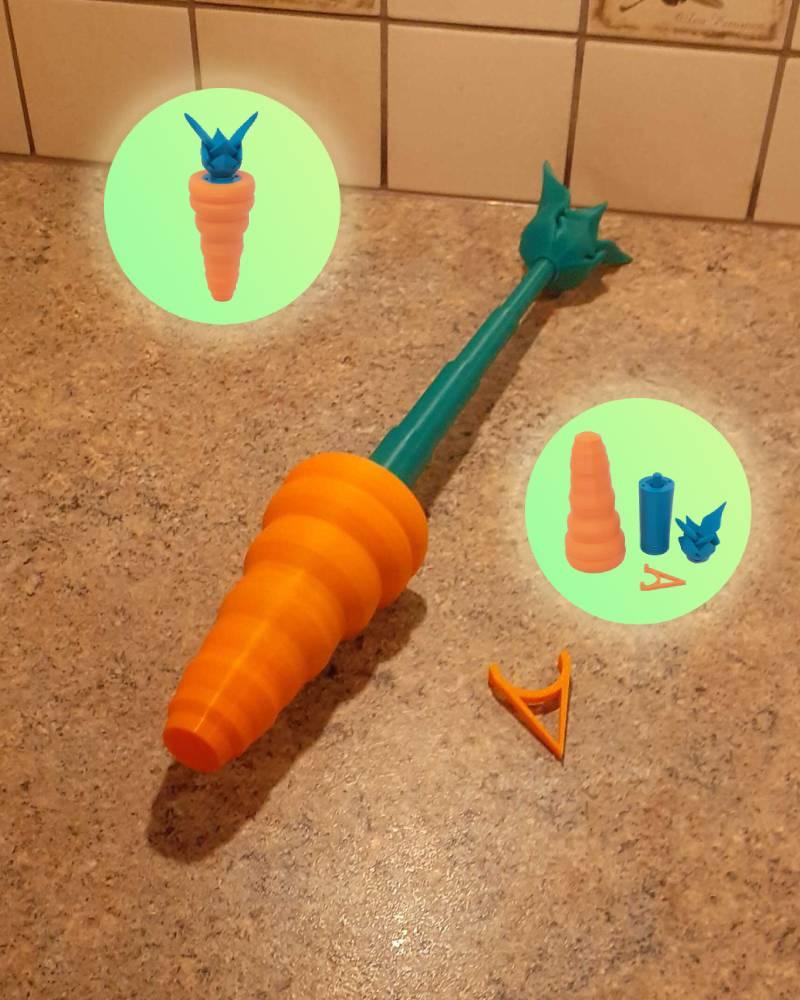
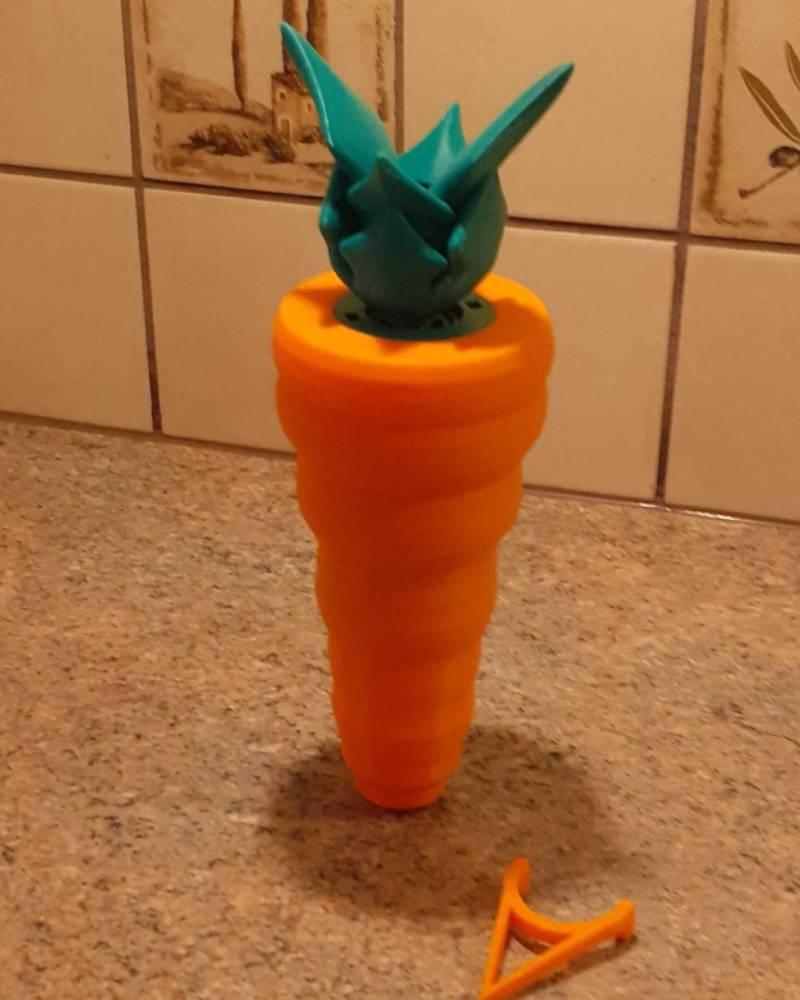
Easter Carrot Sword - the Collapsible sword hidden in a peaceful veggy! (NO AMS required -multipart)
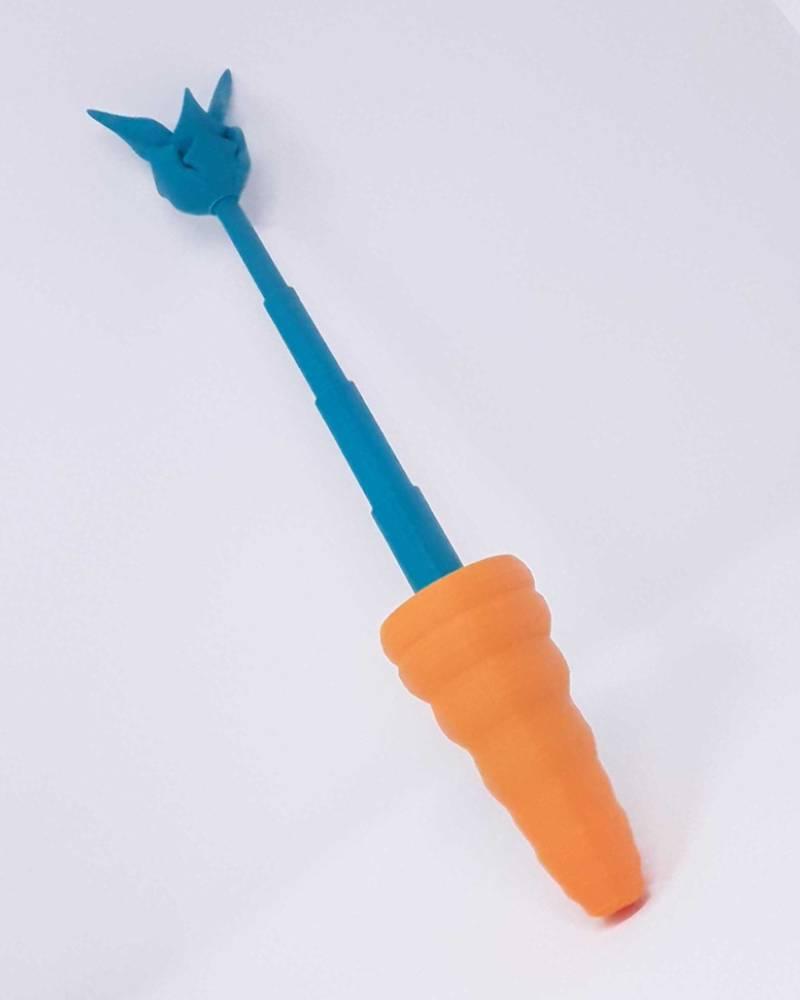
byMazetropolisInspired by so many collapsible swords and all the variations, I wanted to try a version of my own and with Easter closing in, I wanted to make a Easter themed collapsible sword - and that’s how the Easter Carrot Sword came to be!
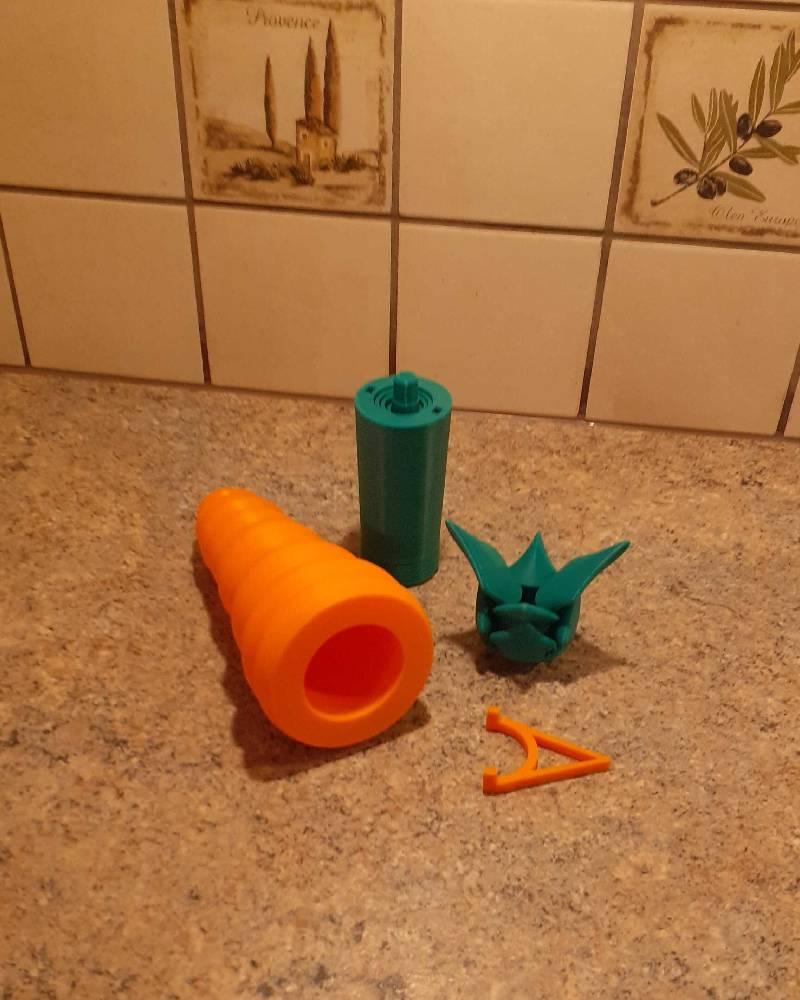
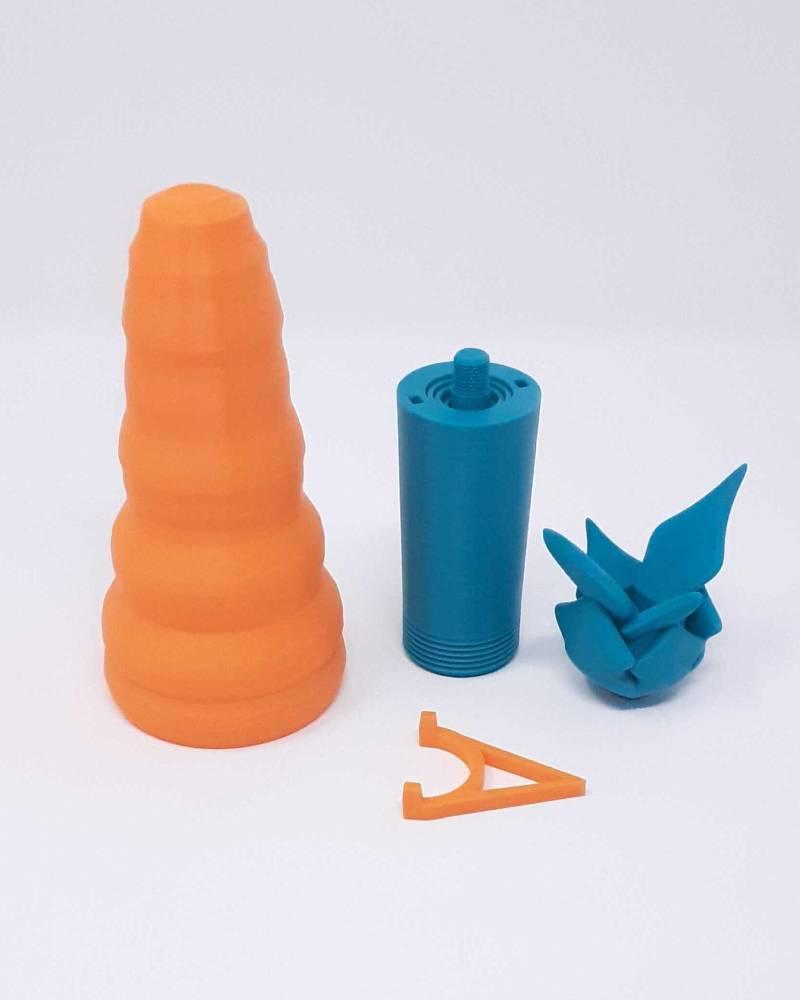
I noticed that the more detail is added, the more likely the print is going to fail, therefore I divided this print in 3 parts:
- “Hilt” part - the base that the user can hold on to.
- The collapsible “Blade” part
- The top part
I found that while the “Blade” part requires great adhesion and testing with settings, the other two parts can be printed with default settings. Furthermore, dividing the design in this way allows multicolor print without an AMS -> way quicker print times!
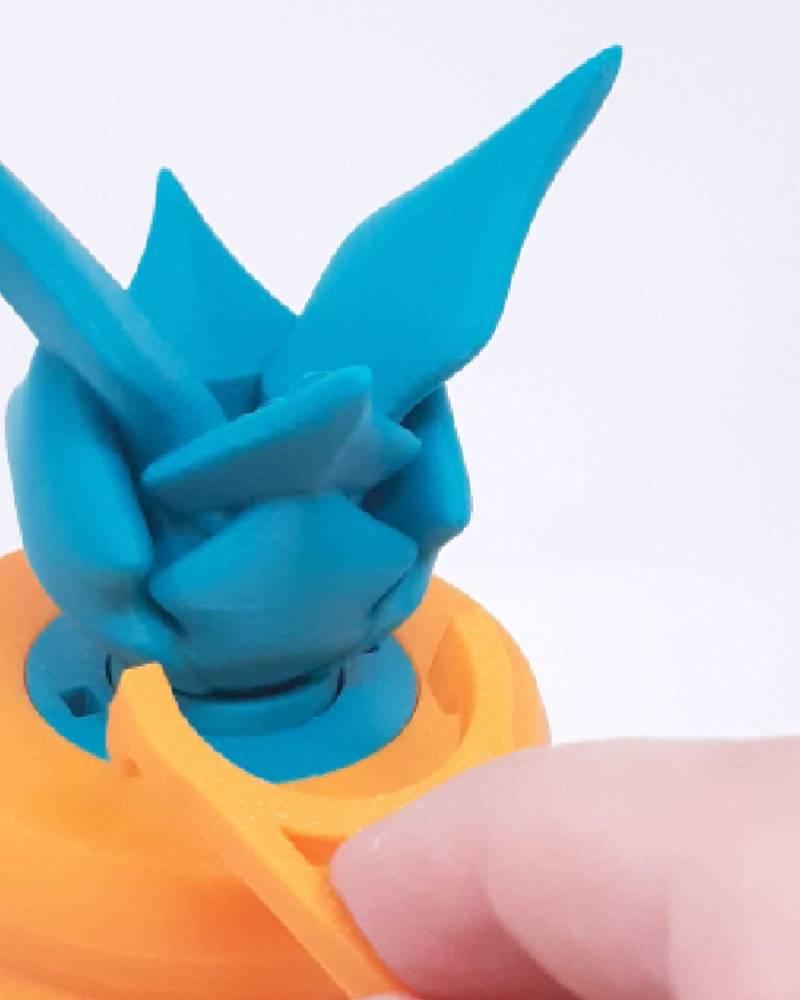
Additionally you will find 4th piece - a piece to tighten the “Blade” part in the “Hilt” part.
Print Specifications:
Blade part:
Number of walls: 5 Support: NO Brim: YES - inner and outer brim / 20 mm width / 0.00mm spacing from model Layer height: 0.2 mm Infill type: none Infill percentage: 0% Print speed: 250 mm/s Print time: 1 hour and 47 Minutes Amount of material required: ~ 22.8 m
Hilt part:
Support: NO Brim: NO Layer height: 0.2 mm Infill type: Gyroid Infill percentage: 12% Print speed: 250 mm/s Print time: 2 hours and 8 Minutes Amount of material required: ~ 22.5 m
Top part:
Number of walls: 2 Support: NO Brim: YES - inner and outer brim / 20 mm width / 0.00mm spacing from model Layer height: 0.2 mm Infill type: Gyroid Infill percentage: 12% Print speed: 250 mm/s Print time: 55 Minutes Amount of material required: ~ 5 m
Tightening tool:
Support: NO Brim: NO Layer height: 0.2 mm Infill type: Gyroid Infill percentage: 12% Print speed: 250 mm/s Print time: 12 Minutes Amount of material required: ~ 0.7 m
TOTAL PRINT TIME: 5 Hours and 2 Minutes TOTAL PRINT MATERIAL: ~ 51 m
