


Modular Magnetic LEGO Tray System
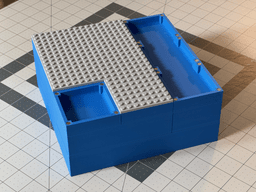
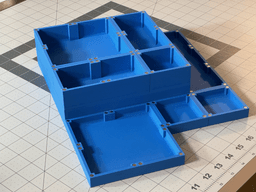
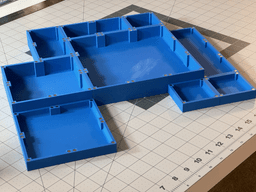
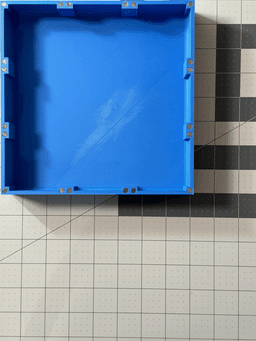
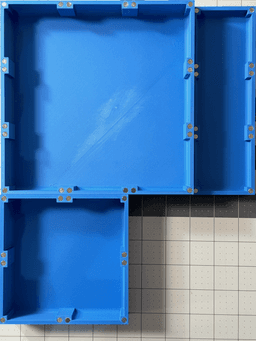
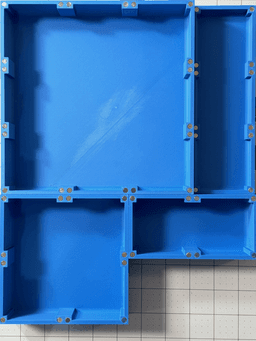
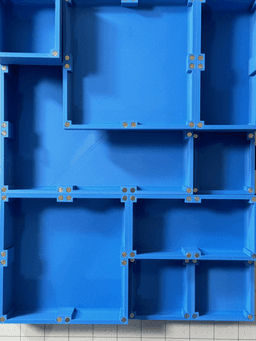
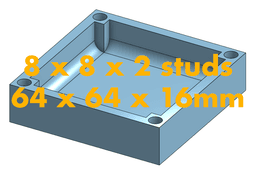
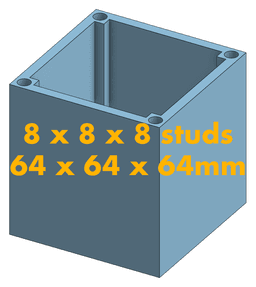
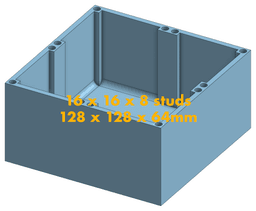
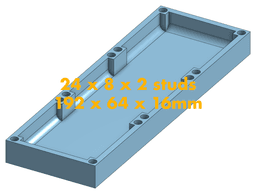
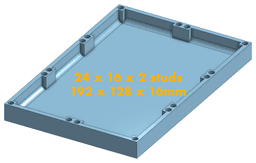
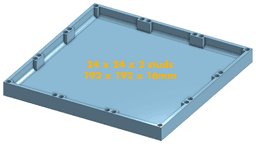
I've designed this system from a parameterized model to output trays and bins of various sizes and depths. The baseline module is roughly 8x8x2 studs measured externally. I have generated models between 1 and 3 modules wide, between 1 and 3 modules long, and between 1 and 4 modules deep. The largest is roughly 24x24x8 studs measured externally. The walls are roughly half a stud thick with a half a stud fillet at the bottom to make it easier to pull out pieces.
https://youtube.com/watch?v=L6-tfK6DYog
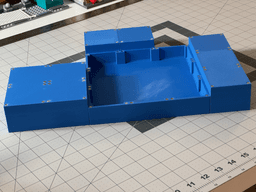
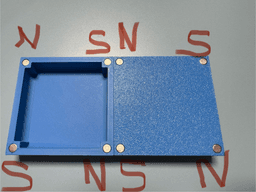
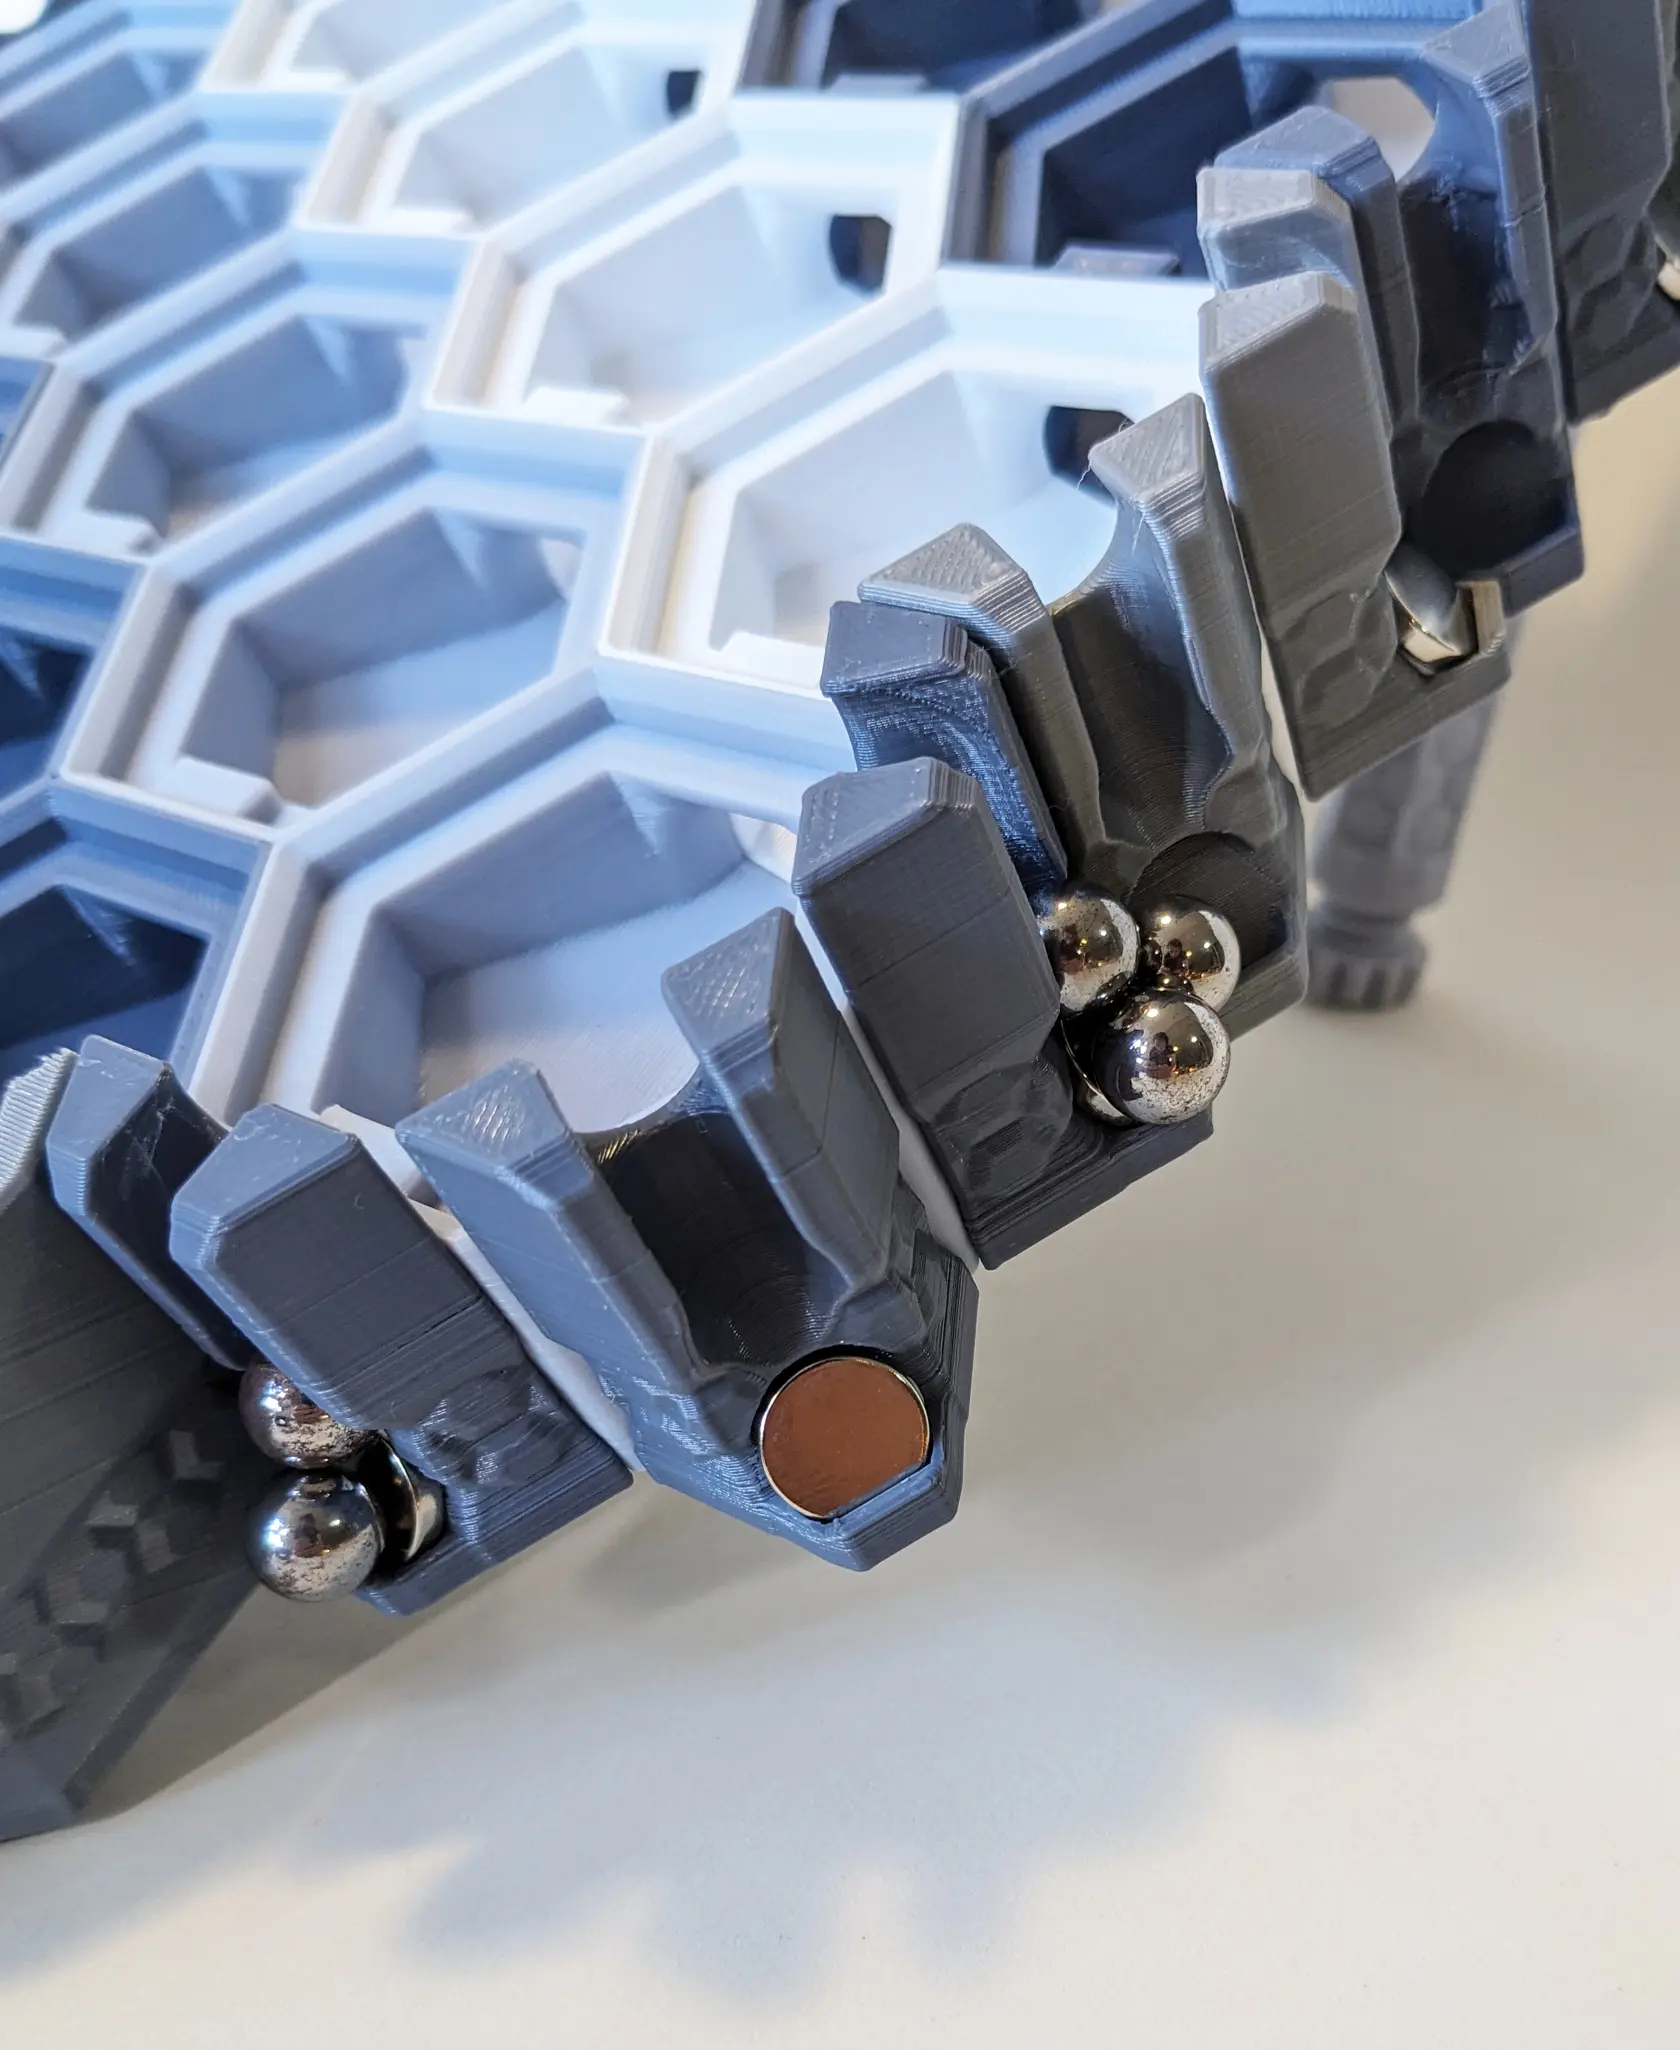
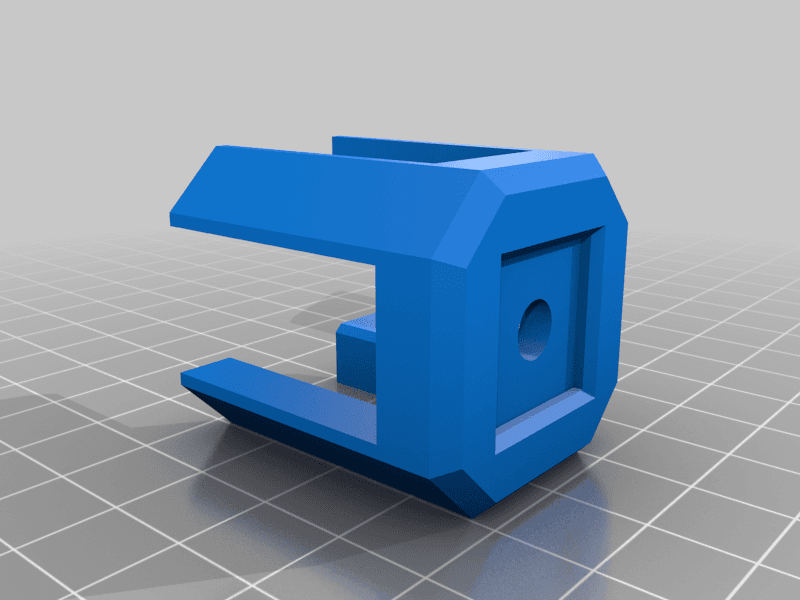
Magnets are placed at the interior of all 8 corners of the module prism with alternating polarity direction. This enables trays to have some attraction side by side, but crucially also enables trays to stack one on top of the other OR top to top OR bottom to bottom. See the final image for more detail on magnet orientation.
See my profile for other sized modules:
8x8x2 8x16x2 8x24x2
8x8x4 8x16x4 8x24x4
8x8x8 8x16x8 8x24x8
16x16x2 16x24x2 16x16x4
16x24x4 16x16x8 16x24x8
24x24x2 24x24x4 24x24x8
These trays use 5x3mm Neodymium magnets - typically available from Amazon or similar for 2-3 cents each.
Magnets required:
8x8 - 8 8x16 - 16 8x24 - 24 16x16 - 28 16x24 - 40 24x24 - 56
You could easily install fewer magnets if you wish.
Be aware that installing magnets will impart a “directionality” for trays where the width does not match the length. Essentially two “rectangular” trays will always want to be either parallel with each other or perpendicular, so keep that in mind when installing magnets.
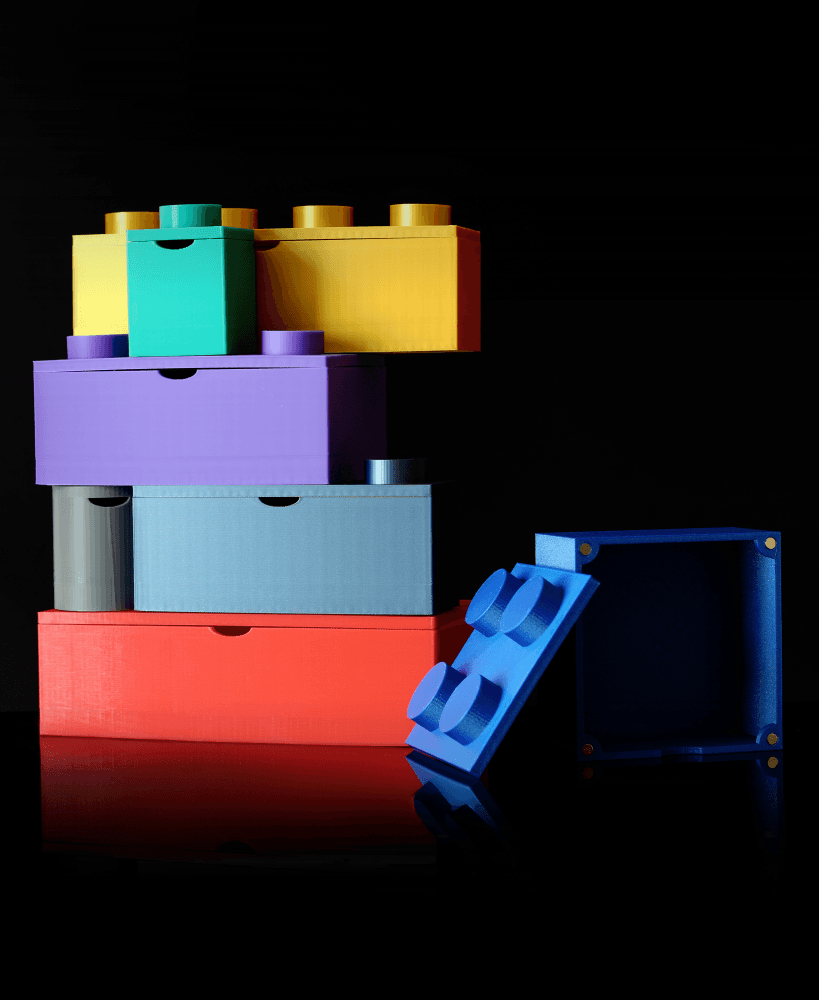
The trays in the image were all printed with Bambu PLA Matte on a Bambu Labs P1S using the stock 0.20mm Standard @BBL X1C profile and no supports. I suspect you could probably reduce infill without issue. You can typically fit a 3x3 module grid on a single build plate - so one 24x24x? or nine 8x8x? or whatever in between.
Modular Magnetic LEGO Tray System

Magnetic Modular Desk Trays

ZenPod Stackable Modular Tray System – Round Size M 3D Print STL

ZenPod Stackable Modular Trays System: Dual Curved Size M
Brick Storage - Magnetic, Modular Storage System

Modular Jewelry Tray System
Magnetic Gutter system for the Modular Hextraction Board
3/8 inch drive magnetic modular socket trays

Ridge Pen Tray - Modular Desk Rail System

Deep Cell Plug Tray – 2×3 Modular Seed Starter System

Deep Cell Plug Tray – 5×3 Modular Seed Starter System

Deep Cell Plug Tray – 2×5 Modular Seed Starter System

Modular Herb Planter System – Pot, Tray, Lid and Seedling Lifter

Modular Herb Planter System – Pot, Tray, Lid and Seedling Lifter

Lego Clip 2x2 - Modular Desk Rail System
LEGO Organizer Set, 4 pcs Stackable Storage Container, LEGO Block, Modular Shelves, LEGO Brick Boxes
LGP Self-Watering Tray — Modular Bottom Watering Reservoir for the Logical Grow Platform

Logical Grow Platform (LGP) – Modular Adjustable Indoor Growing System
Modular Kallax: A modular mounting system for IKEA KALLAX shelf series
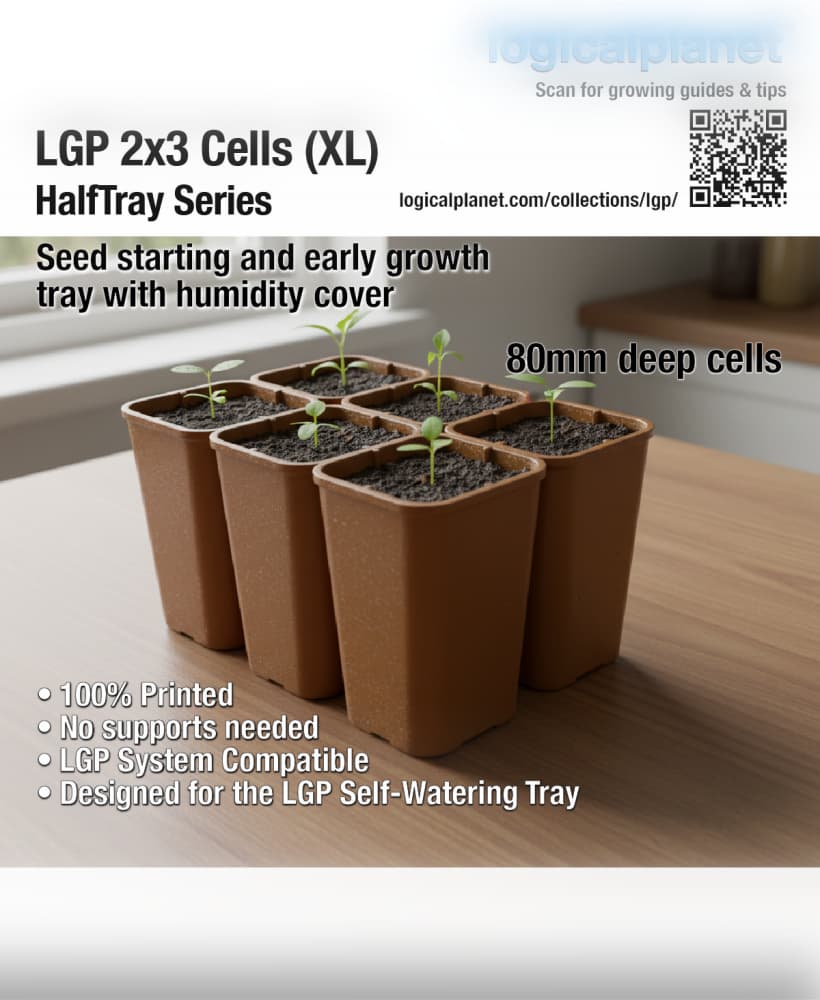
LGP 2×3 Cells XL HalfTray — Modular Seed Starting Tray for the Logical Grow Platform
