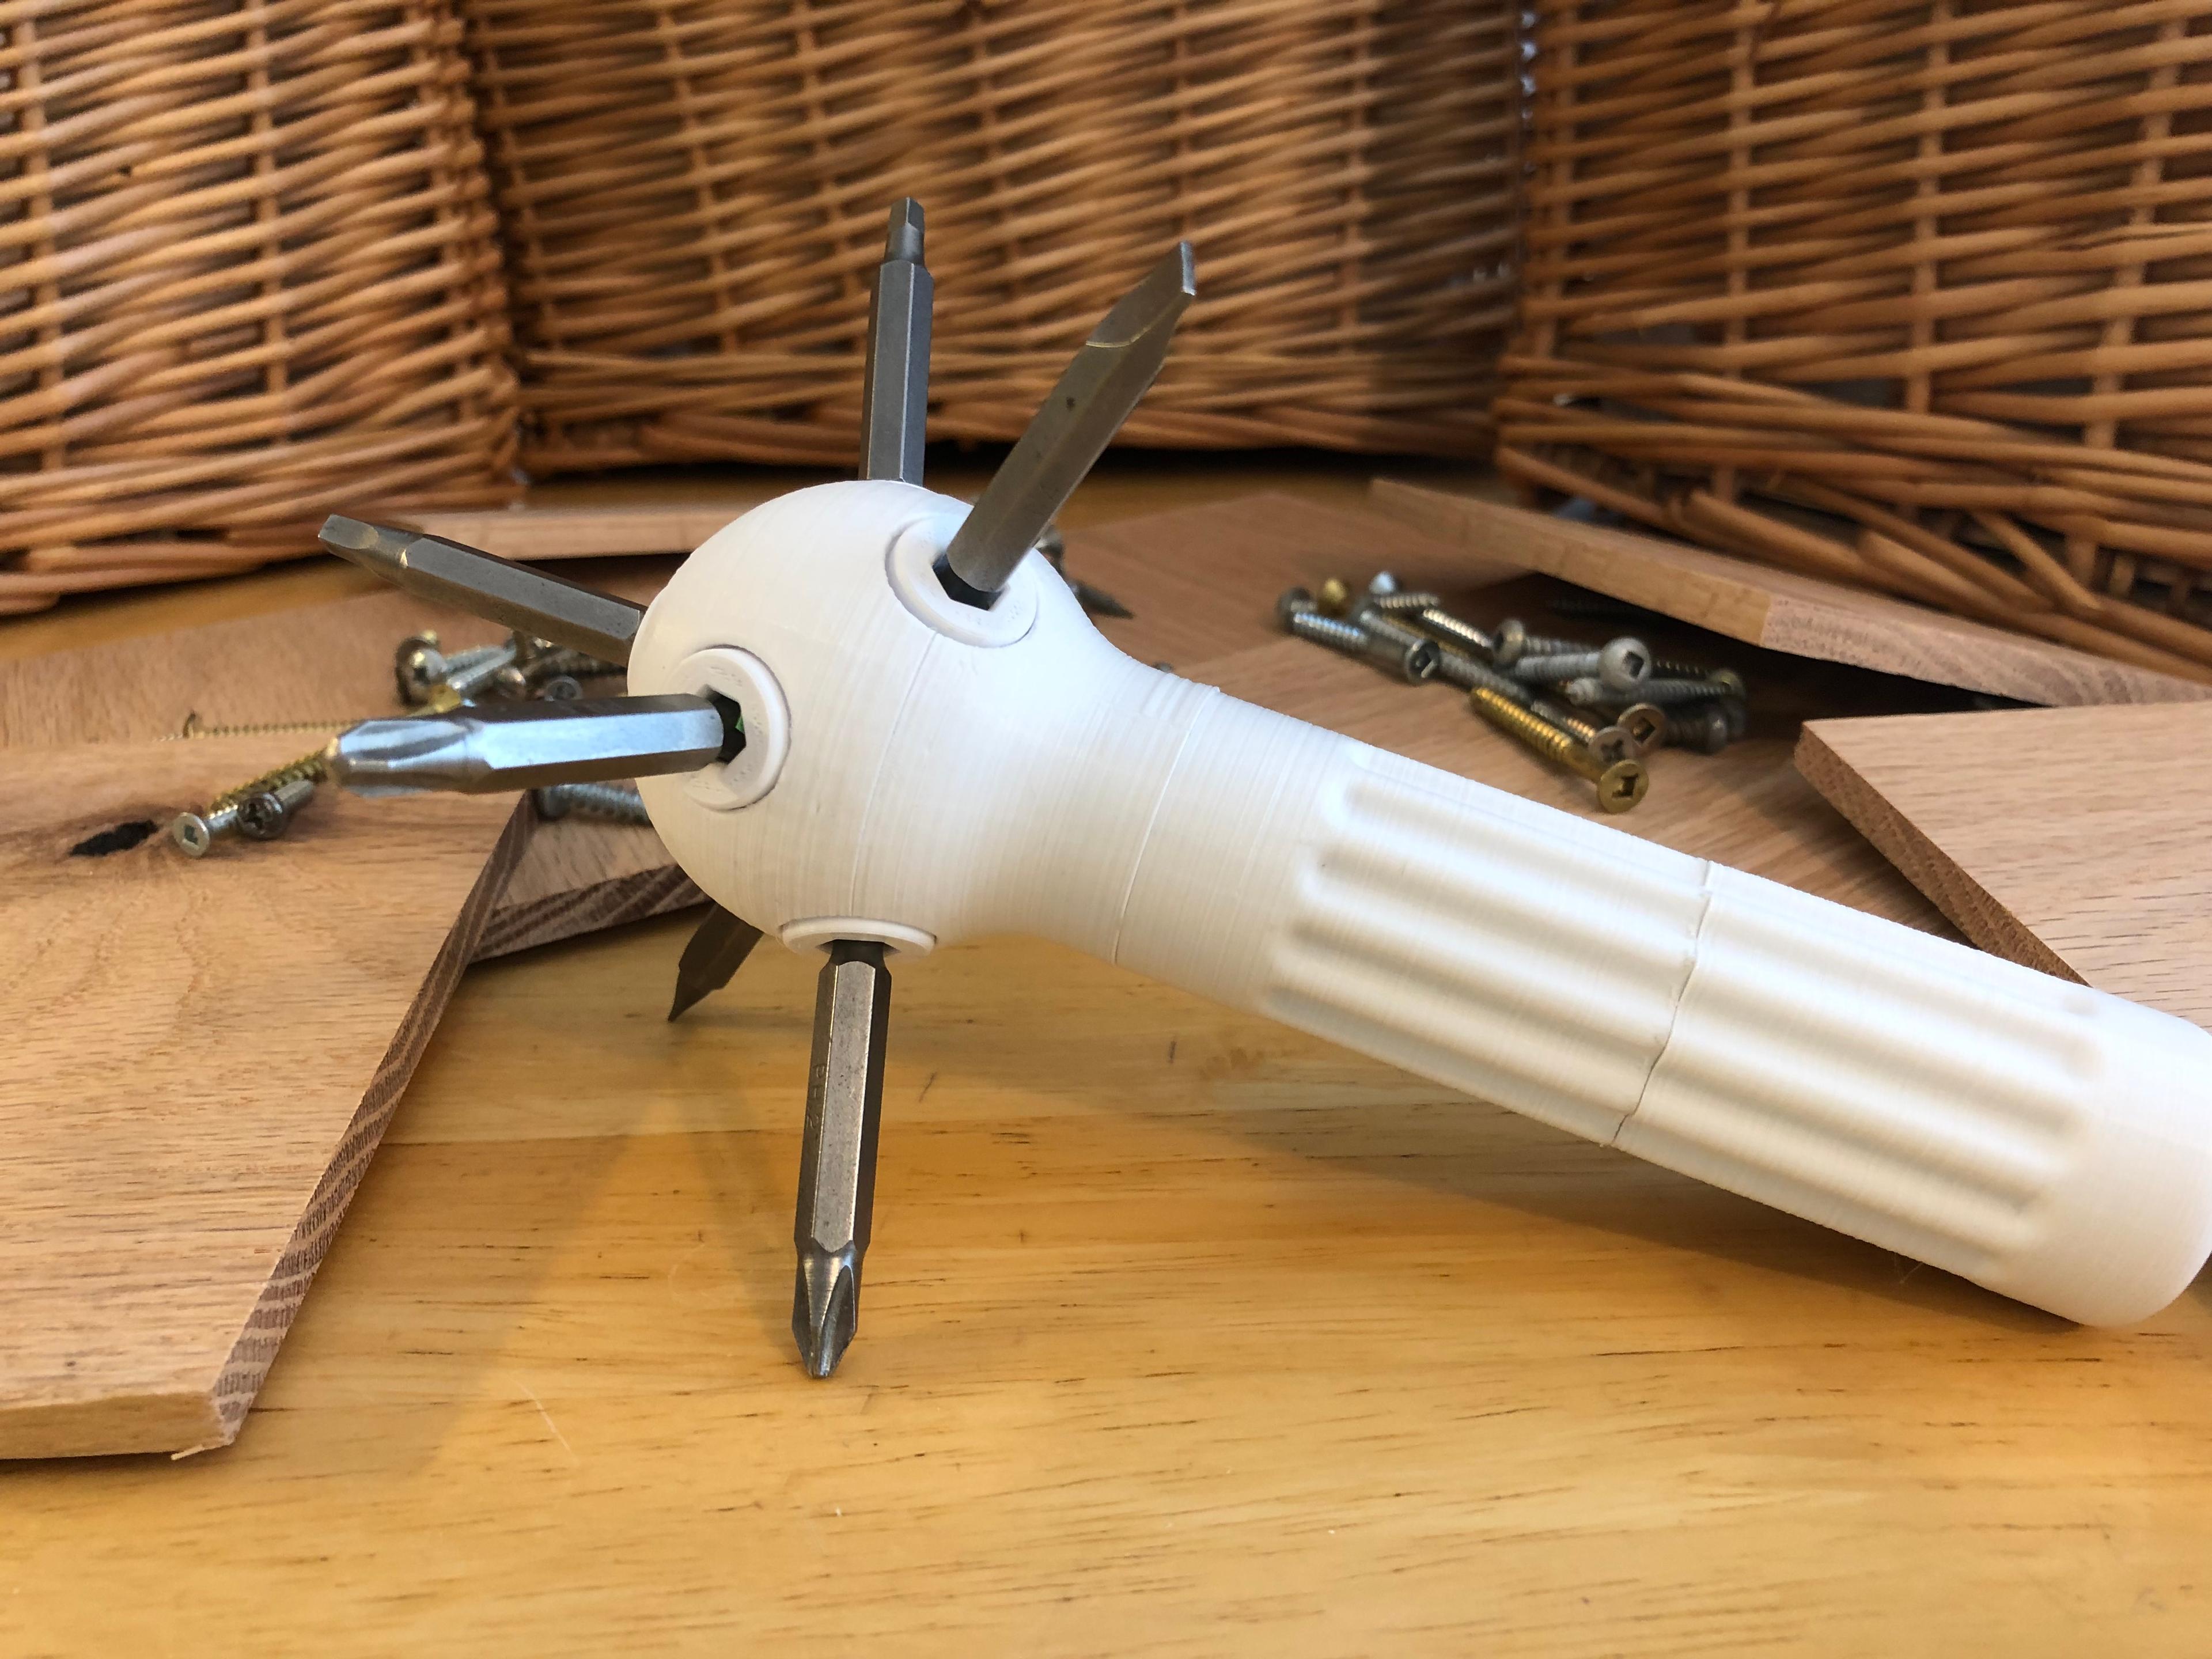
Ultimate Screwdriver (an overly engineered gag gift)
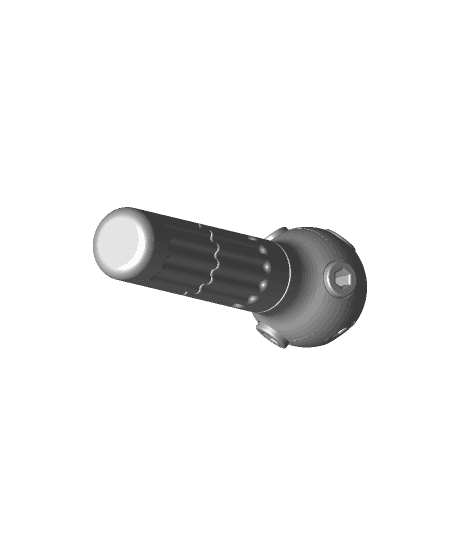
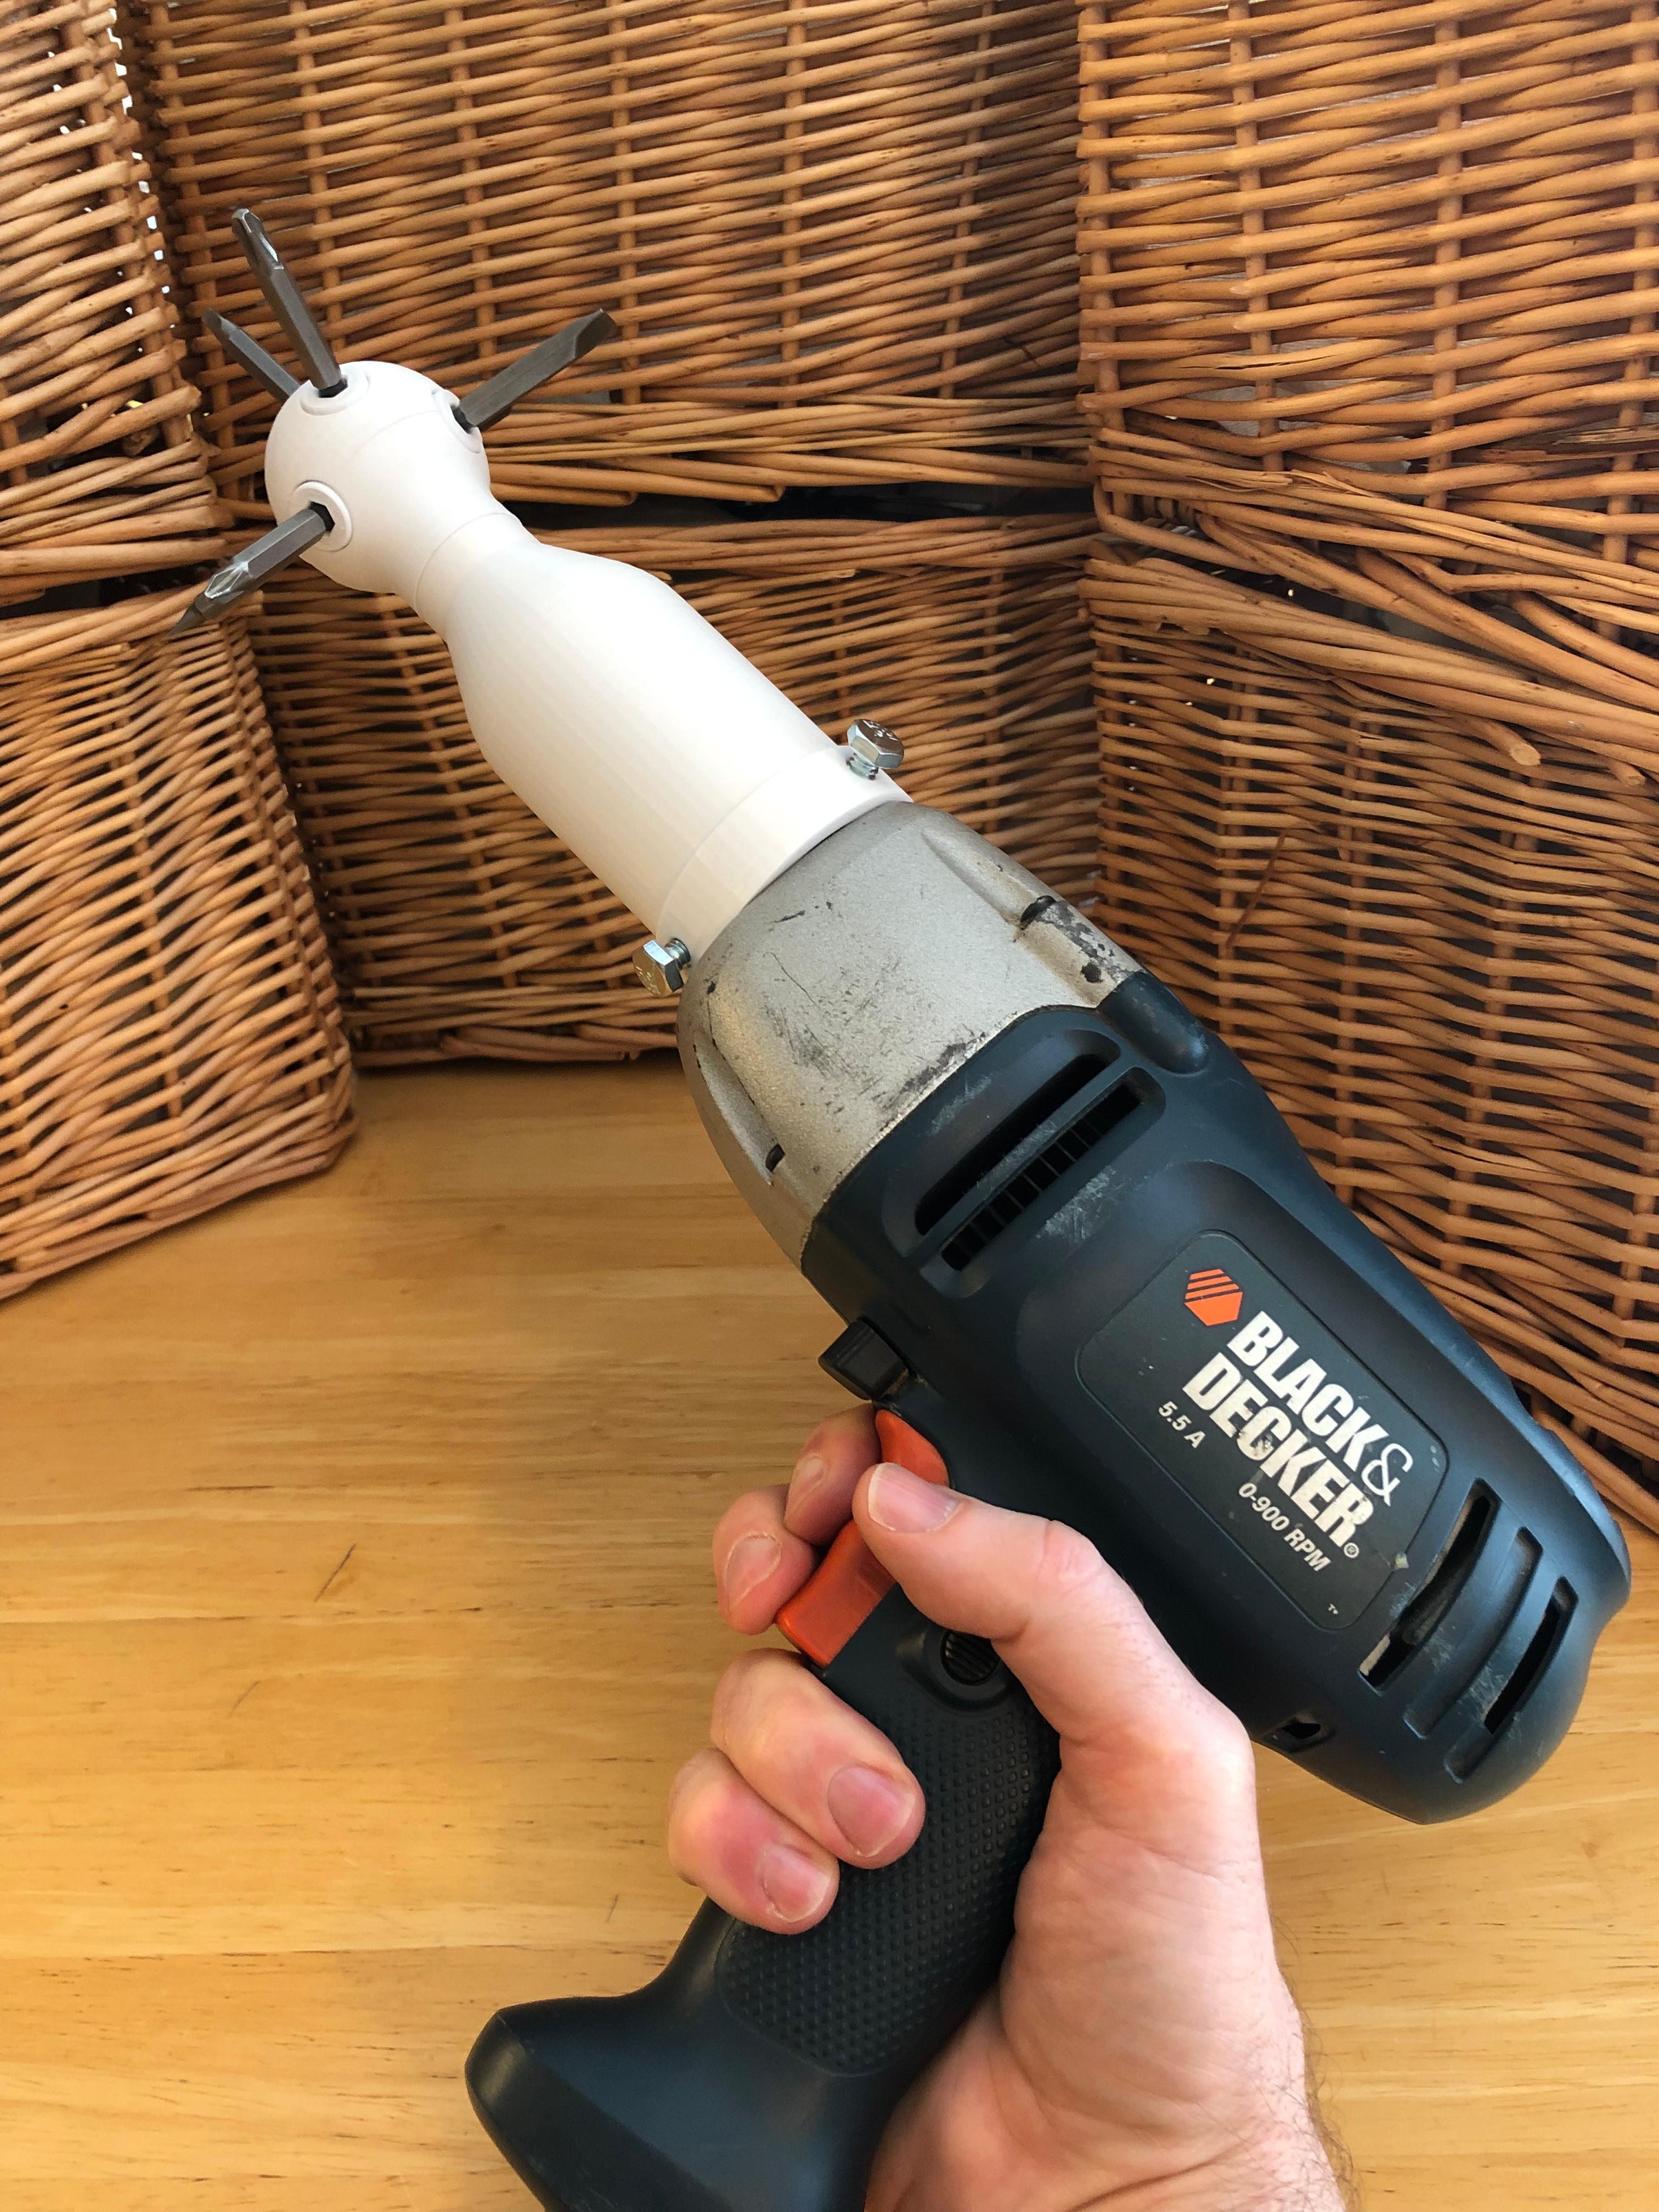
byDaveMakesStuffWork on up to seven projects at once with this Ultimate Screwdriver! The Ultimate Screwdriver comes with a standard handle and optional Power Attachment.
See here for video of screwdriver in action and assembly instructions: https://youtu.be/nkgDUBvQZQk
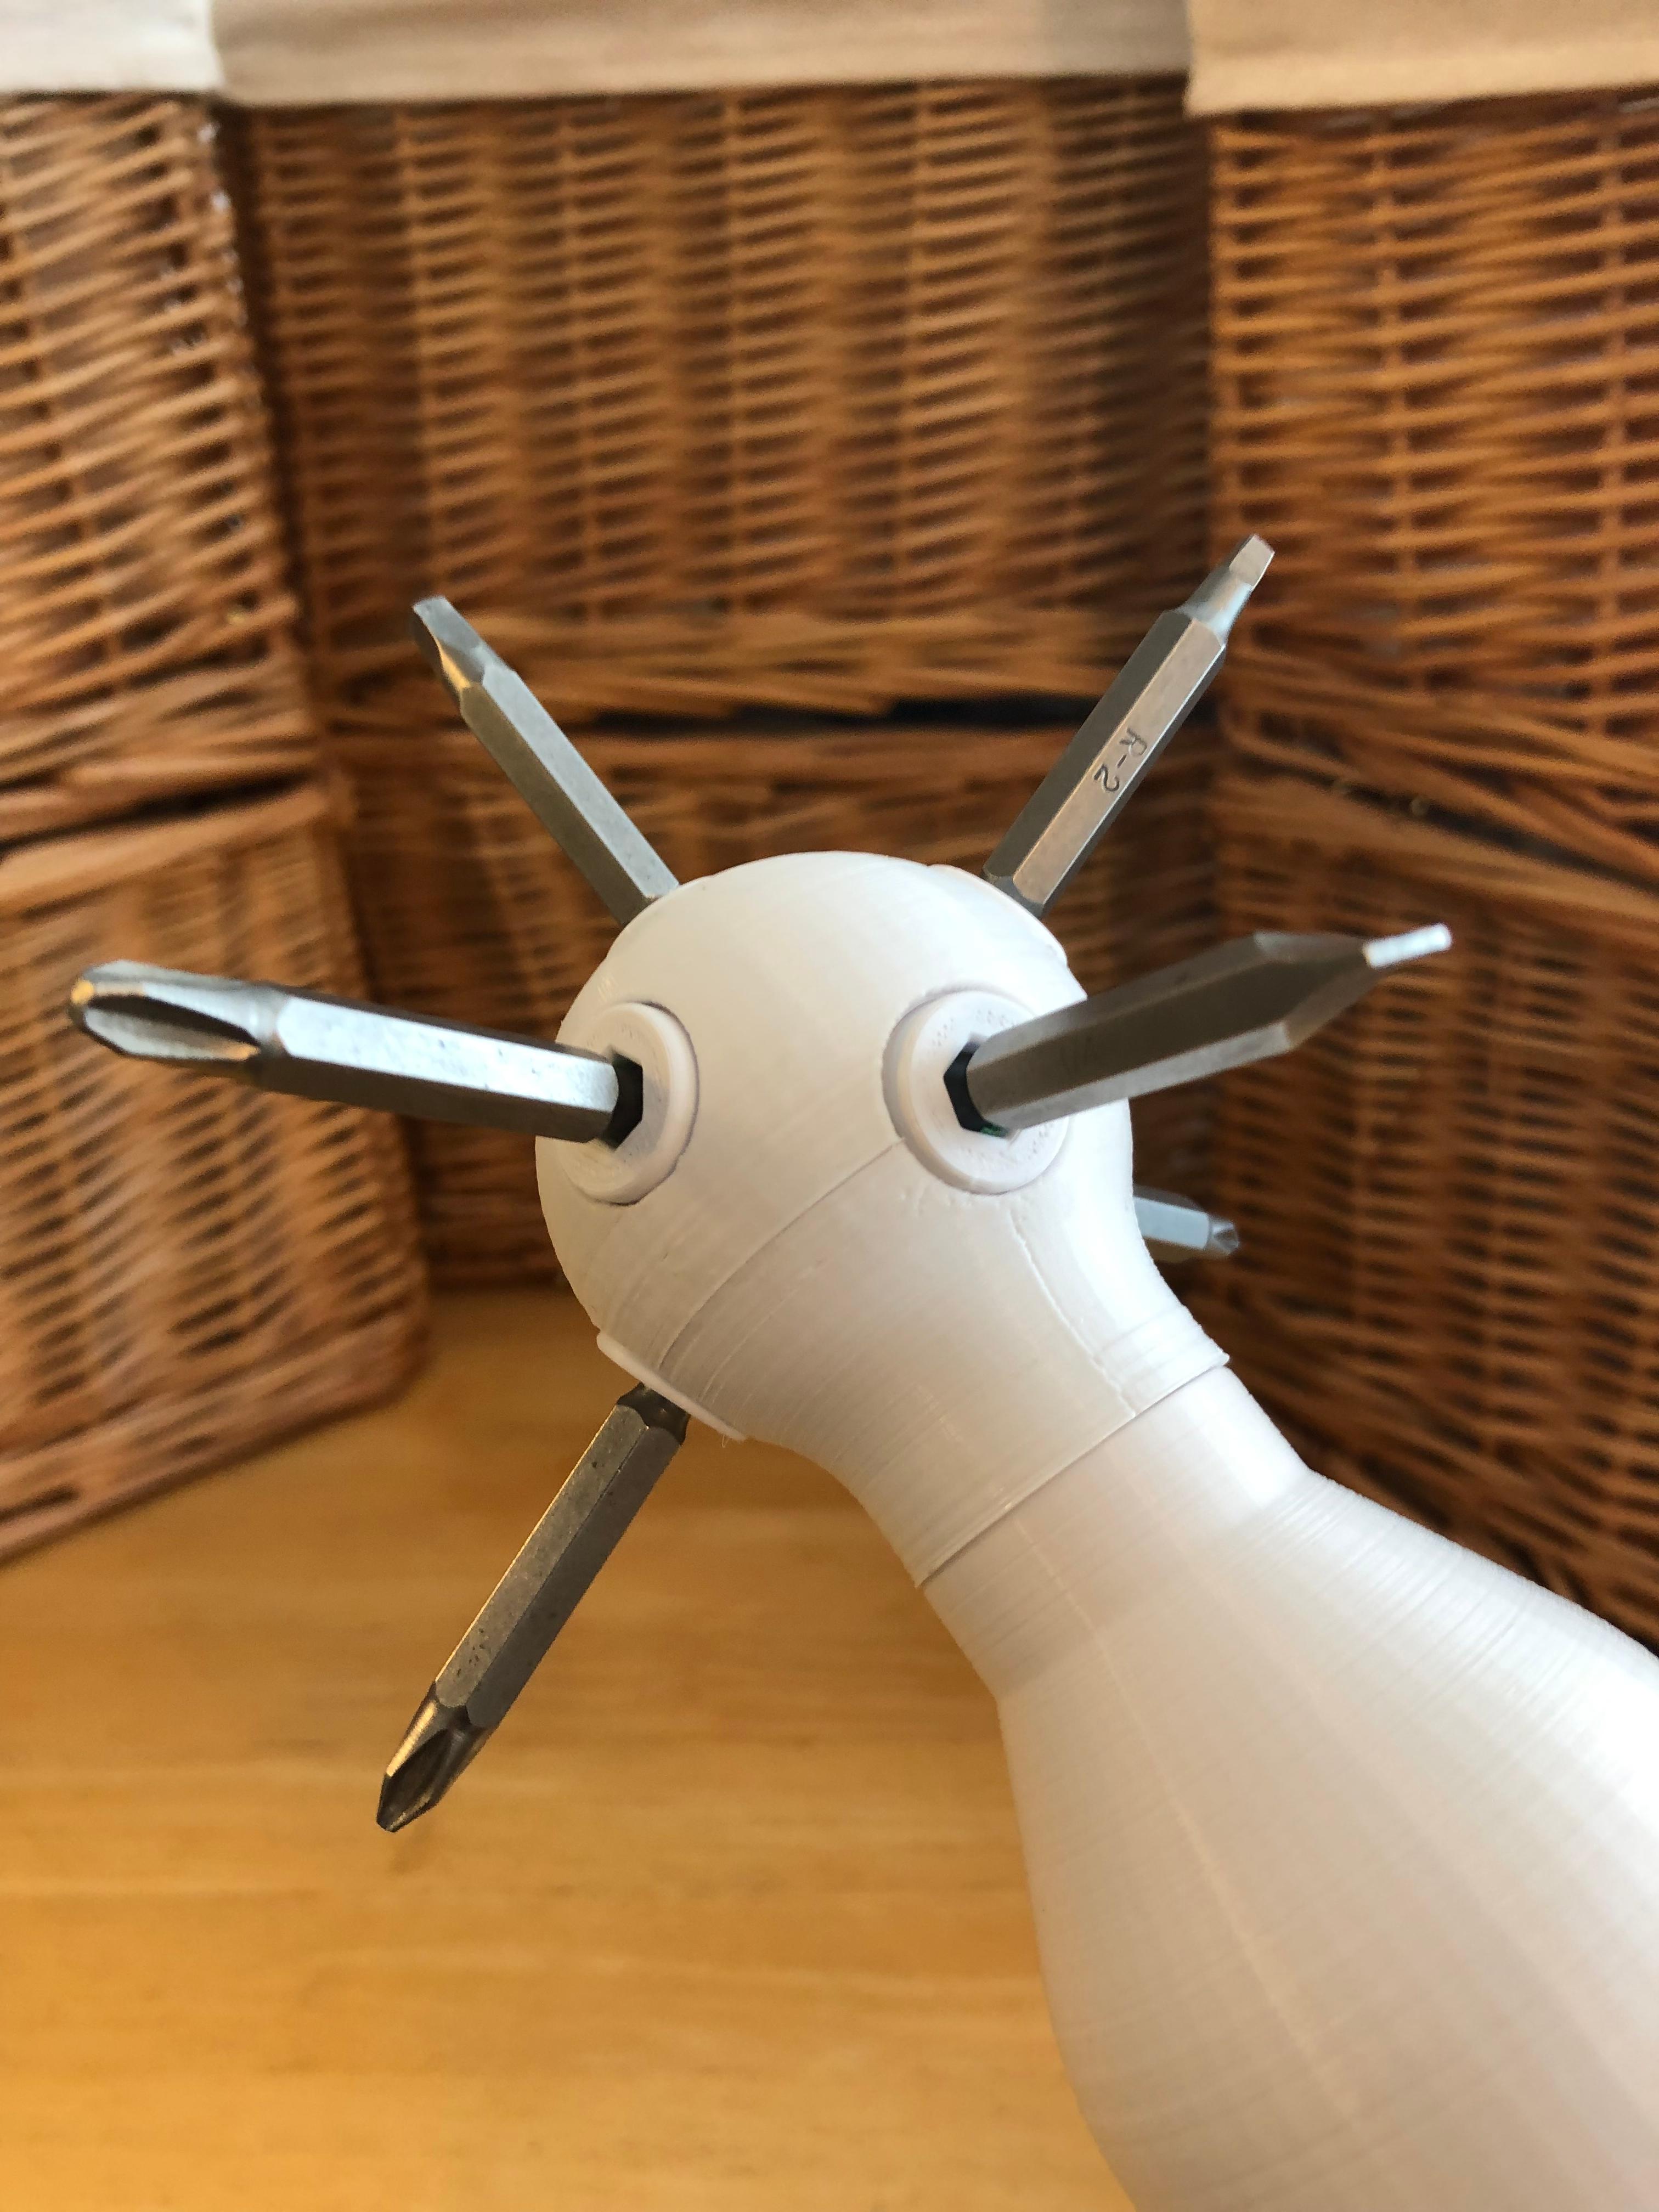
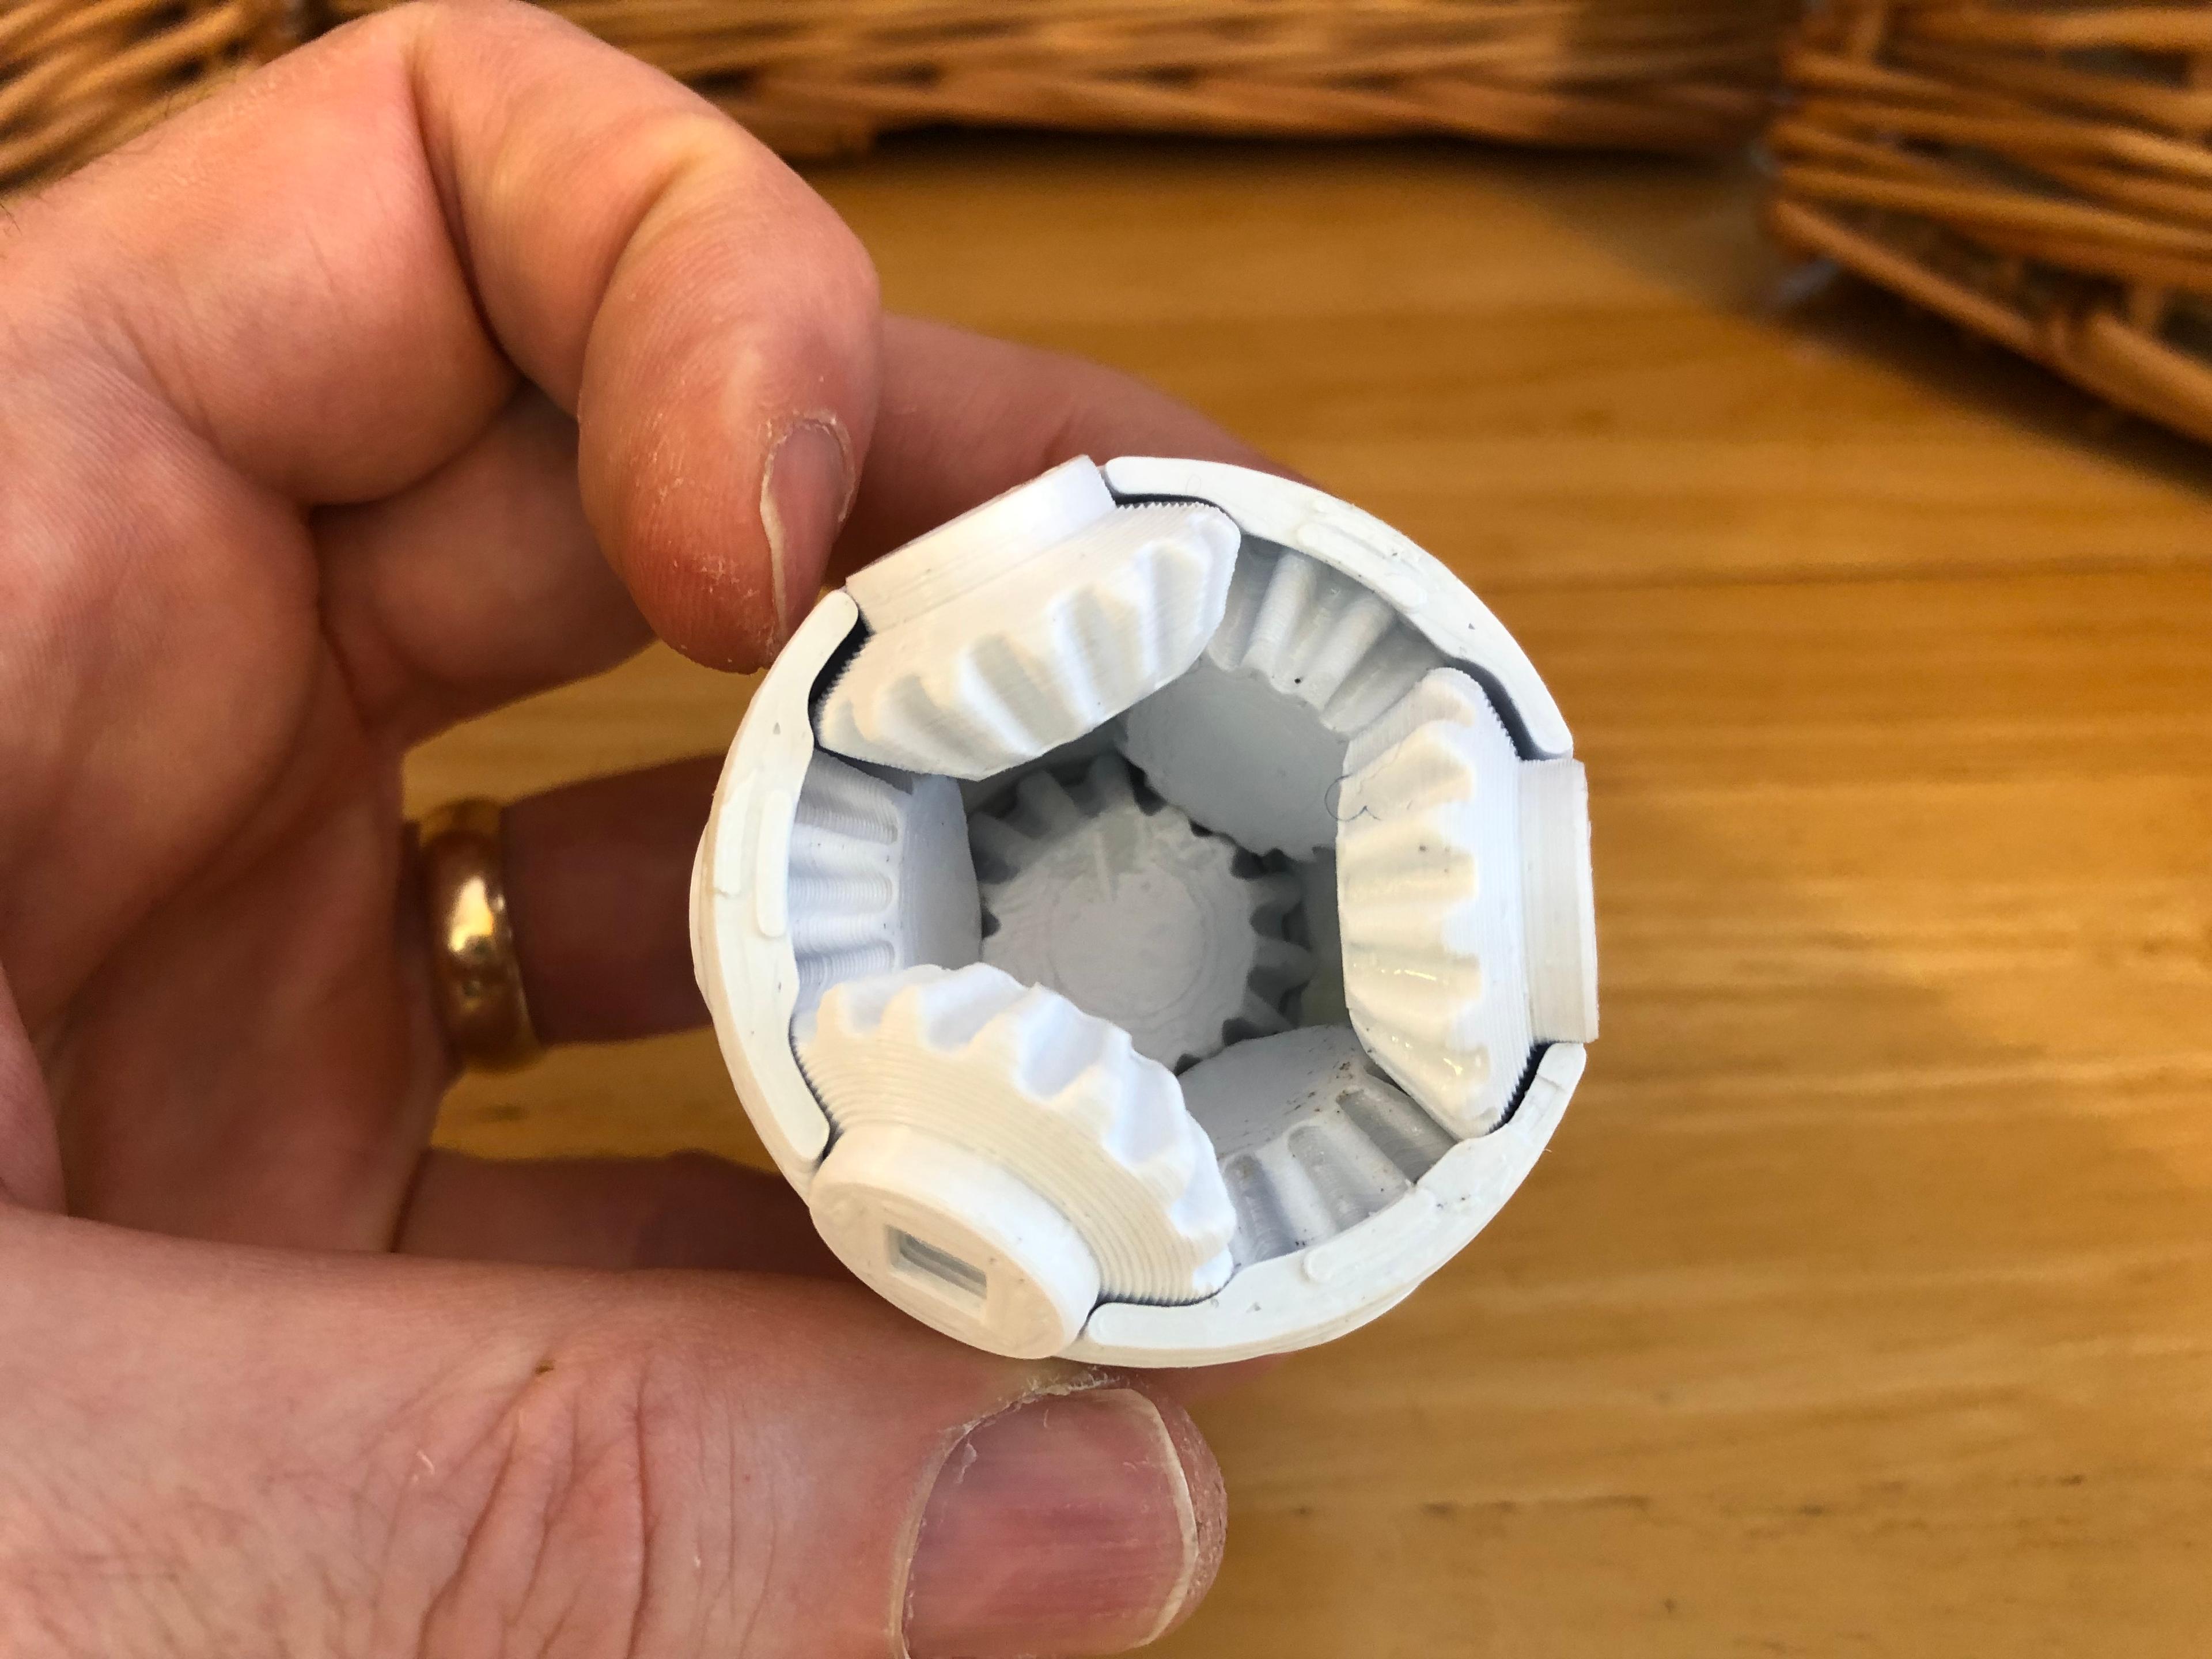
This overly engineered gag gift uses eight bevel gears nested in a sphere to provide synchronous movement to seven quarter inch hex bit drivers.
Assembly of Gear Mechanism
To assemble the gear mechanism, you will need to print seven “Hex Bevel Gears” and one each of “Square Bevel Gear,” “Hemisphere Bottom,” and “Hemisphere Top.”
After printing, be sure to clean up the pieces as much as possible, especially on contact surfaces and at the base of the bevel gears.
Apply a thin coating of lubricant to the contact surfaces and gear teeth. Vaseline works well. Be sure to avoid getting lubricant on any surfaces that you will be gluing.
The seven “Hex Bevel Gears” go into the “Hemisphere Top.”
There is a trick to getting all the gears in place. Look closely at the base of one of the bevel gears. You will notice that there is a very small wedge removed from one side. It might be helpful to mark the location of the wedge with a marker as in the video. Insert the first bevel gear in the central hole.
The next three gears will only snap into place when their respective wedges are aligned. Align the wedges and snap in a second gear, then rotate the first gear so the wedge is facing the next hole and snap in the third gear. Do the same with the fourth.
You don’t have to worry about aligning the wedges for the next three gears that sit in the semicircles around the rim, but do make sure that they snap in as far as they can.
The “Square Bevel Gear” goes into the “Hemisphere Bottom.”
Test fit by holding the hemispheres together and ensuring that the bevel gears mesh properly and turn smoothly. File any burrs or surfaces that might be interfering with movement. Once you are satisfied, glue the hemisphere together.
Assembly of Standard Handle
To assemble the Standard Handle, you will need to print one each of “Handle Bottom,” “Handle Top,” and “Keystock 75mm.”
Insert the “Keystock” into the “Square Bevel Gear” in the gear mechanism. Thread the “Handle Top” into the “Hemisphere Bottom.” NOTE: These are reversed threads to prevent the mechanism from loosening during use. Tighten by turning left!
Insert the “Handle Bottom” on to the keytock. You can also glue this into place if needed.
You’re ready to get to work!
Assembly of Power Attachment
The inner diameter of the “Power Attachment” is 50mm. Be sure that it will fit over the body of your drill before printing!
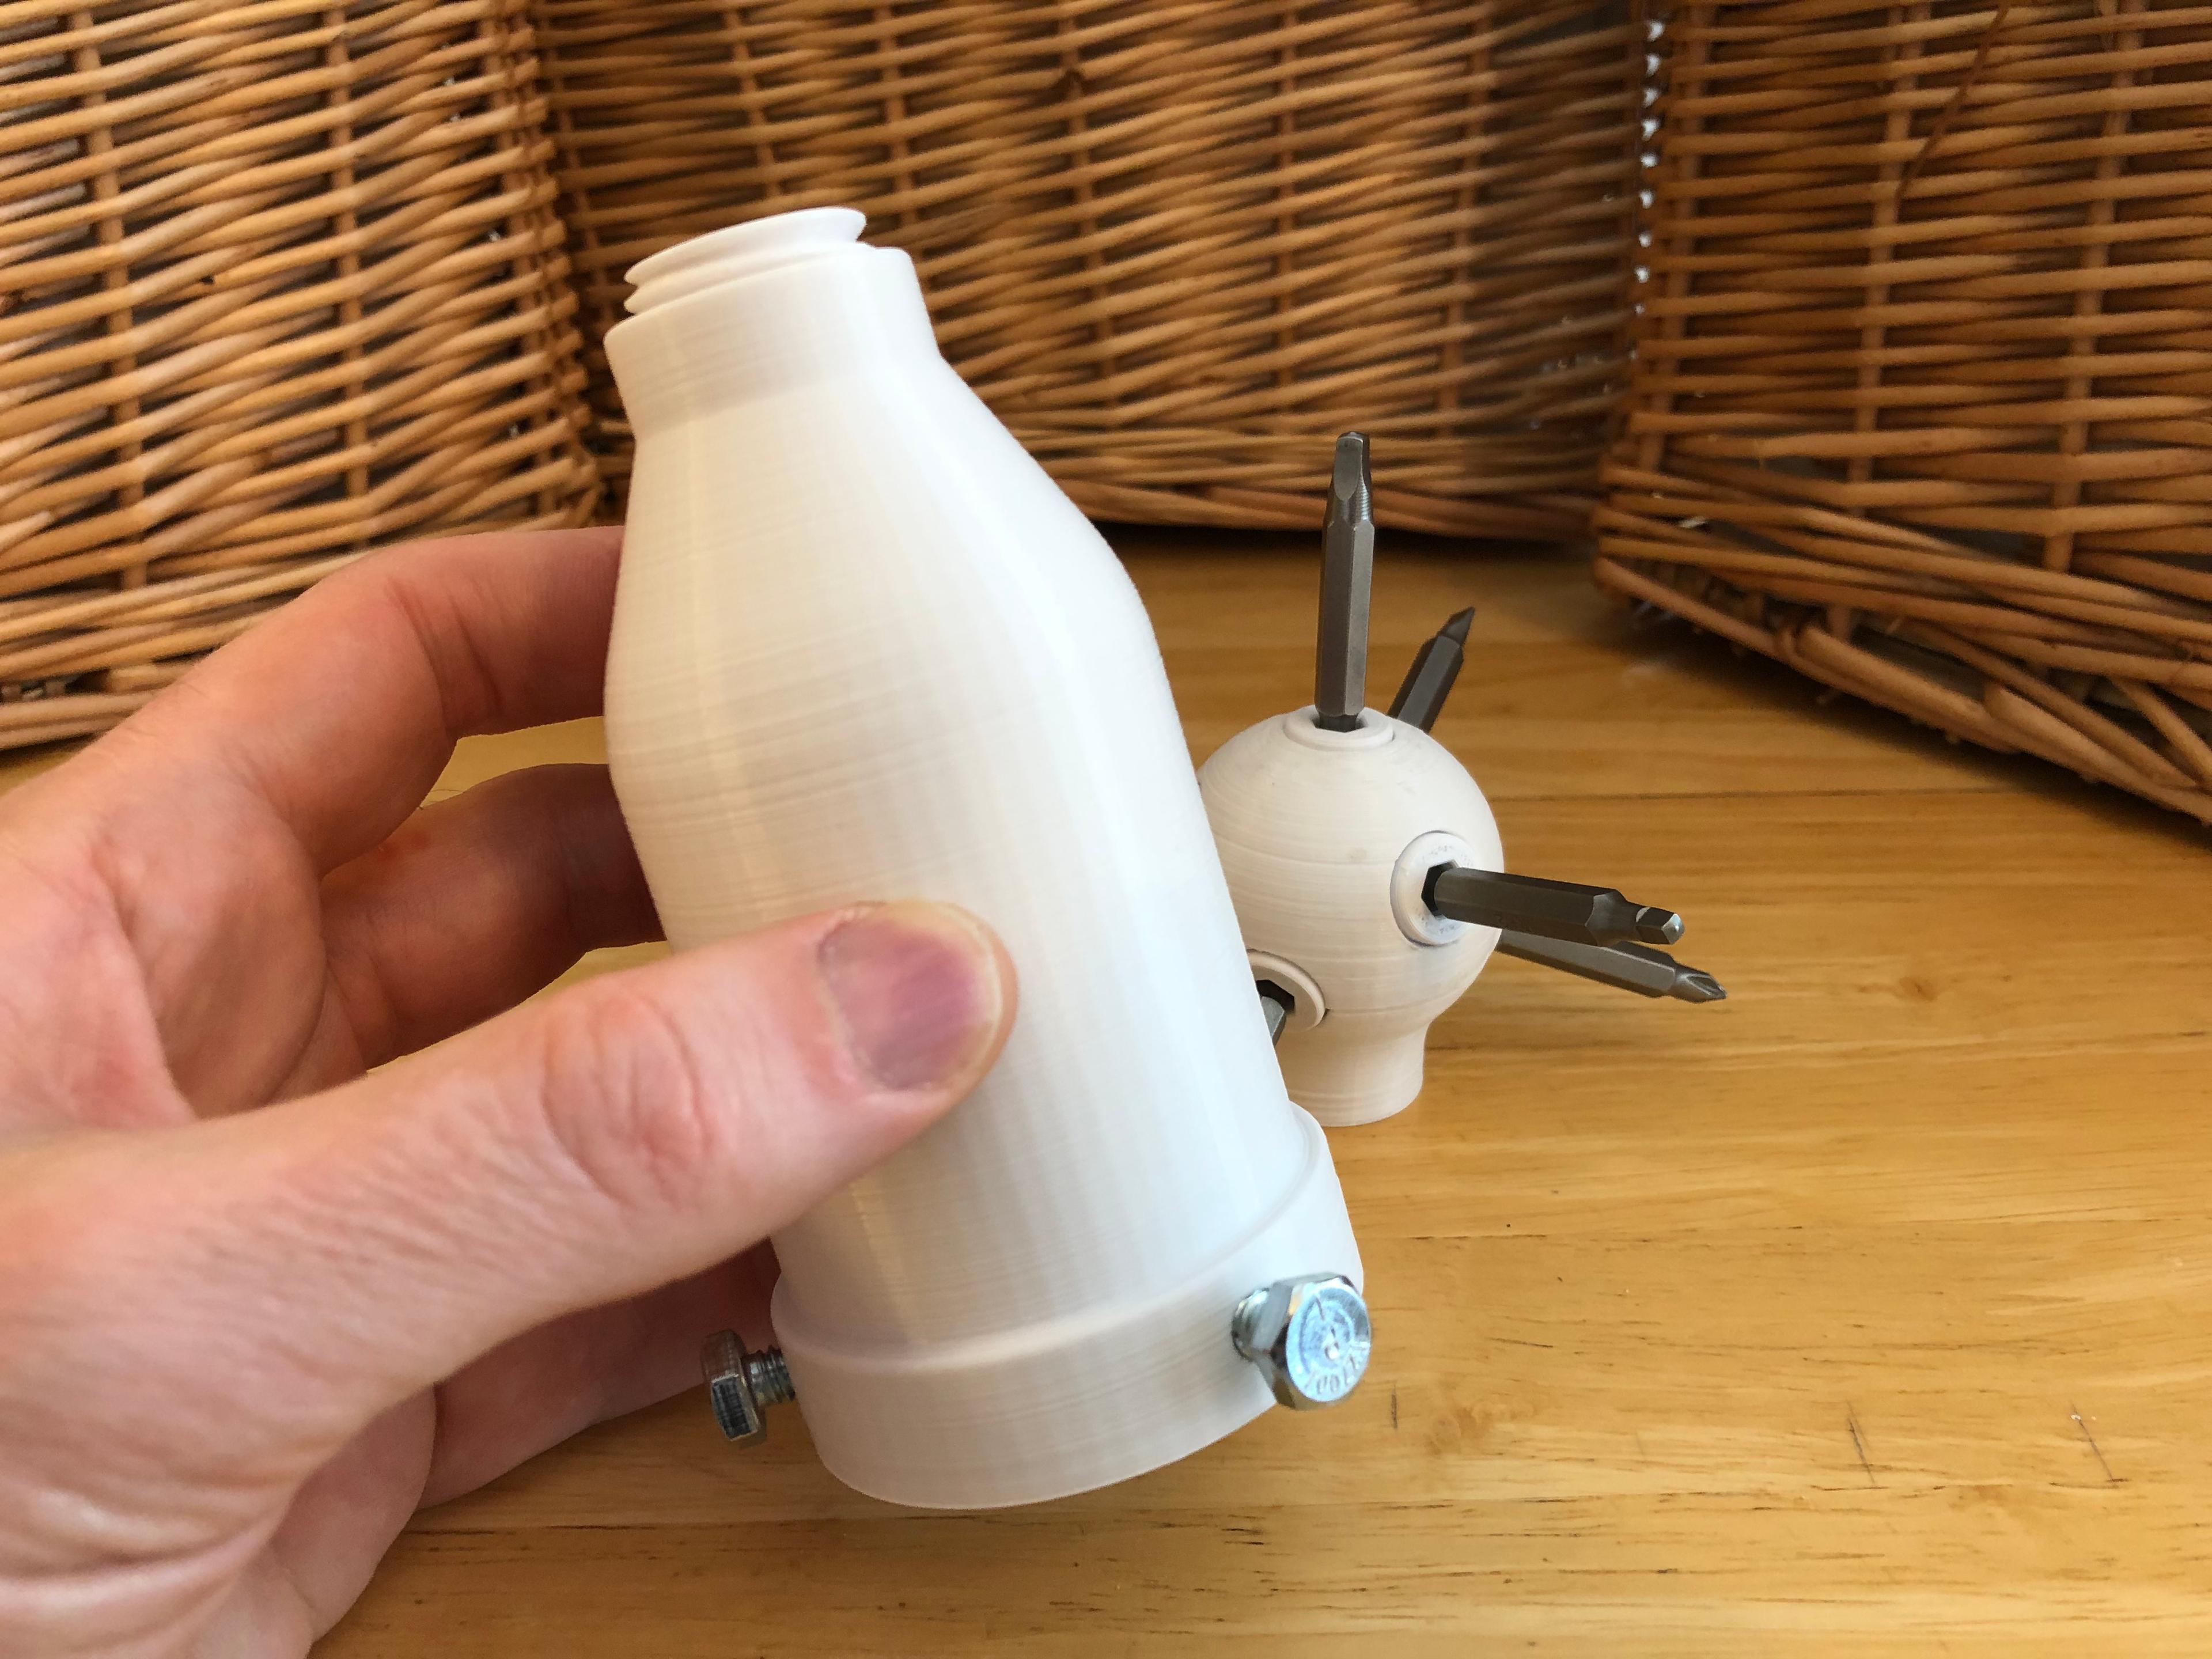
To assemble the power attachment you’ll need to print one each of “Power Attachment” and “Hex Keystock.” You will also need three quarter inch or 6mm bolts. Insert the “Hex Keystock” into the drill chuck, and thread the three bolts into the base of the “Power Attachment.”
Thread the “Power Attachment” into the “Hemisphere Bottom.” NOTE: These are reversed threads to prevent the mechanism from loosening during use. Tighten by turning left!
Slide the “Power Attachment” over the drill chuck until you can feel the “Hex Keystock” insert in the “Square Bevel Gear” inside the gear mechanism.
You’re ready to get to work!
Search words: April fools, prank, gag gift
