Profile Image
DaveMakesStuff
DaveMakesStuff

DaveMakesStuff

"I don't usually know what I'm making until it's too late."

Social media and other collaborations: https://linktr.ee/Davemakesstuff

Follow

Select a membership plan

Premium Models
$10.00
/ month

Membership Includes

  • Access to unlimited premium models for personal use.

Does not include commercial use.

Commercial License
$20.00
/ month

Membership includes

  • Access to unlimited premium models.
  • Commercial rights to sell physical prints of all models for the duration of your membership.
  • Promotional support on social media. Tag me and I’ll share and repost!

Does not include sale or distribution of digital files.

DaveMakesStuff

Base and Lamp Soldering Jig for Modular LED

by
DaveMakesStuff
Follow
Follow
Remix Model
DaveMakesStuff
DaveMakesStuff
|
Image 1 of 9
Base and Lamp Soldering Jig for Modular LED 3d model
DaveMakesStuff
DaveMakesStuff
|
Image 1 of 9
Base and Lamp Soldering Jig for Modular LED 3d model
2D
3D
Makes
Base and Lamp Soldering Jig for Modular LED 3d model
This model is restricted by licensing terms. 

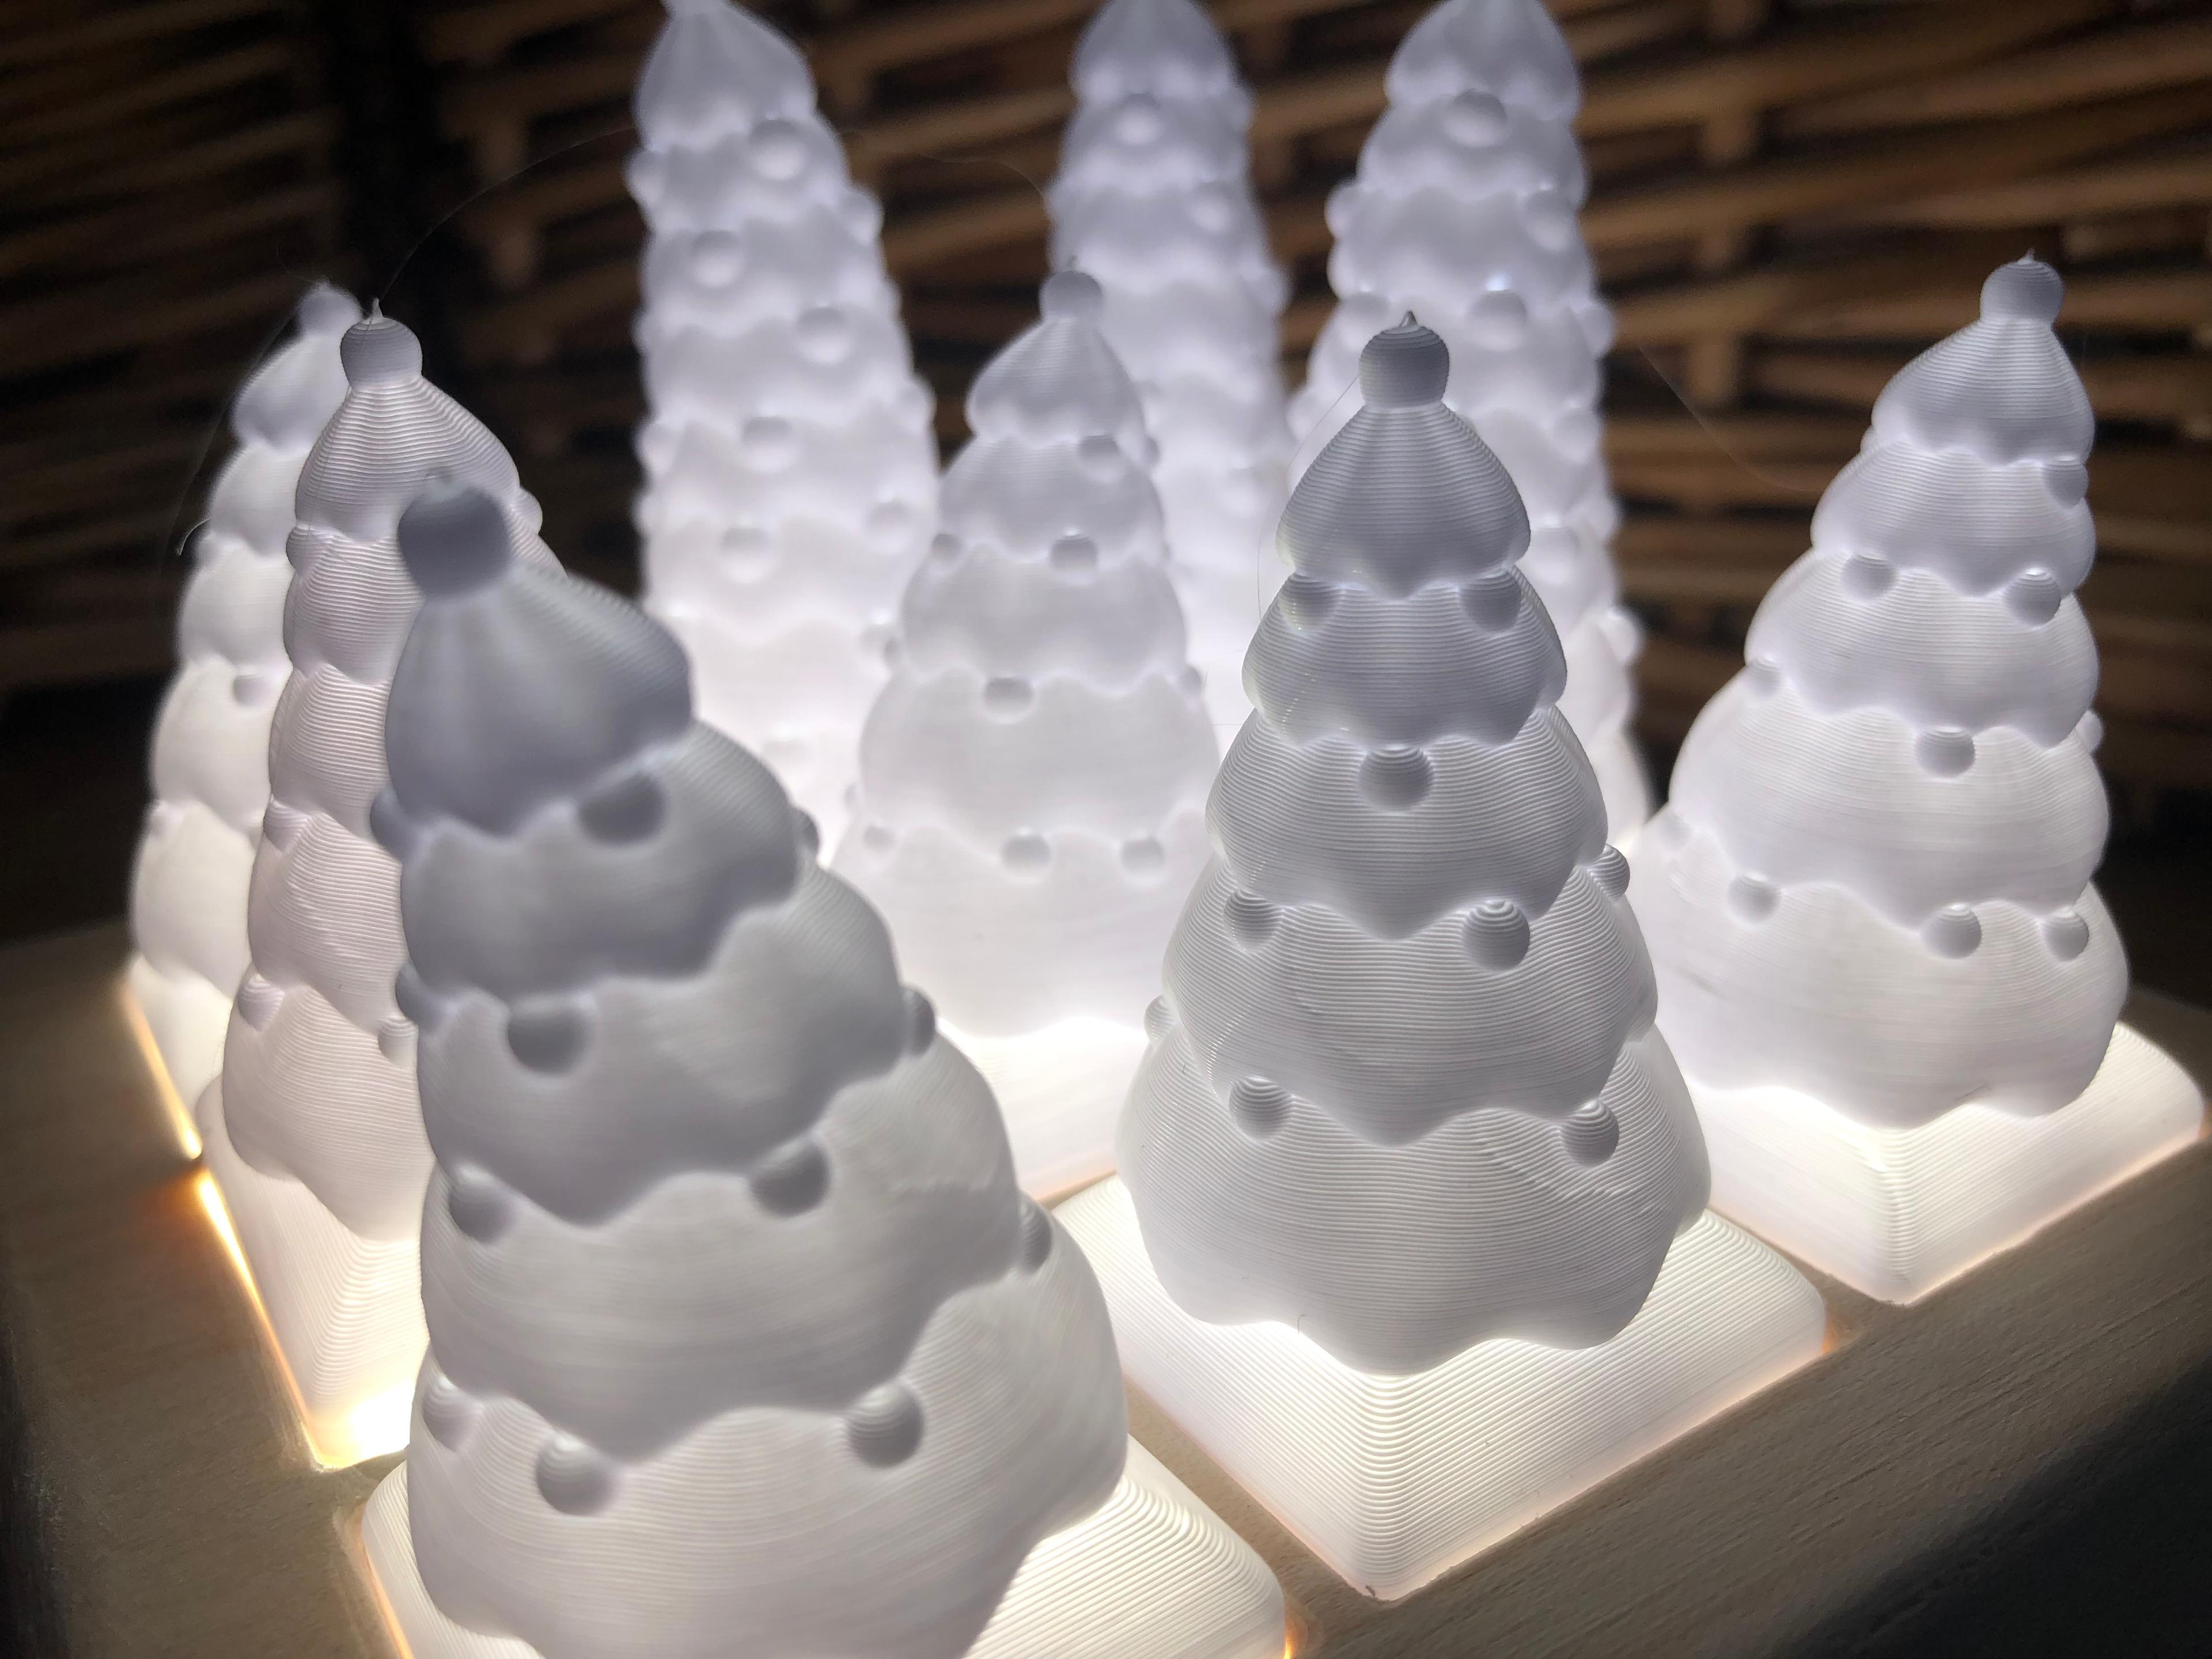
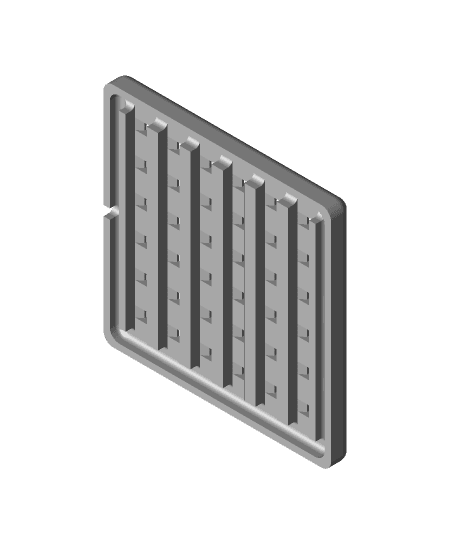
A soldering jig and base for 6 x 6 LED grid modular lamps. This base was designed around the dimensions of the 12VDC LED strips in the diagram above. There is some bridging in the object, so be sure your printer is capable and calibrated appropriately!

  1. Cut the LEDs into sections of 6 LEDs per strip
  2. On one end of the strip, protect the negative contact point with electrical tape and solder a 1.5 cm bare wire on the positive contact point. Do the opposite for the other end. Do this with all strips. See picture above.
  3. Place the LED strips in the soldering jig ensuring that the positive contacts are on one side and the negative contacts are on the other. Run your main positive and negative leads up each side and solder to each strip. Ensure that the LED strips do not shift. See picture above.
  4. Peel the adhesive backing off of the LED strips and press the bottom cover on top to adhere to the LED strips.
  5. With the LEDs properly positioned on the bottom cover, the cover can now be press fit into the base. Hollow prints placed in the top inserts will glow from the light underneath!

8 Likes39 DownloadsDecember 14, 2021


8 Likes39 DownloadsDecember 14, 2021
This model is restricted by licensing terms.