


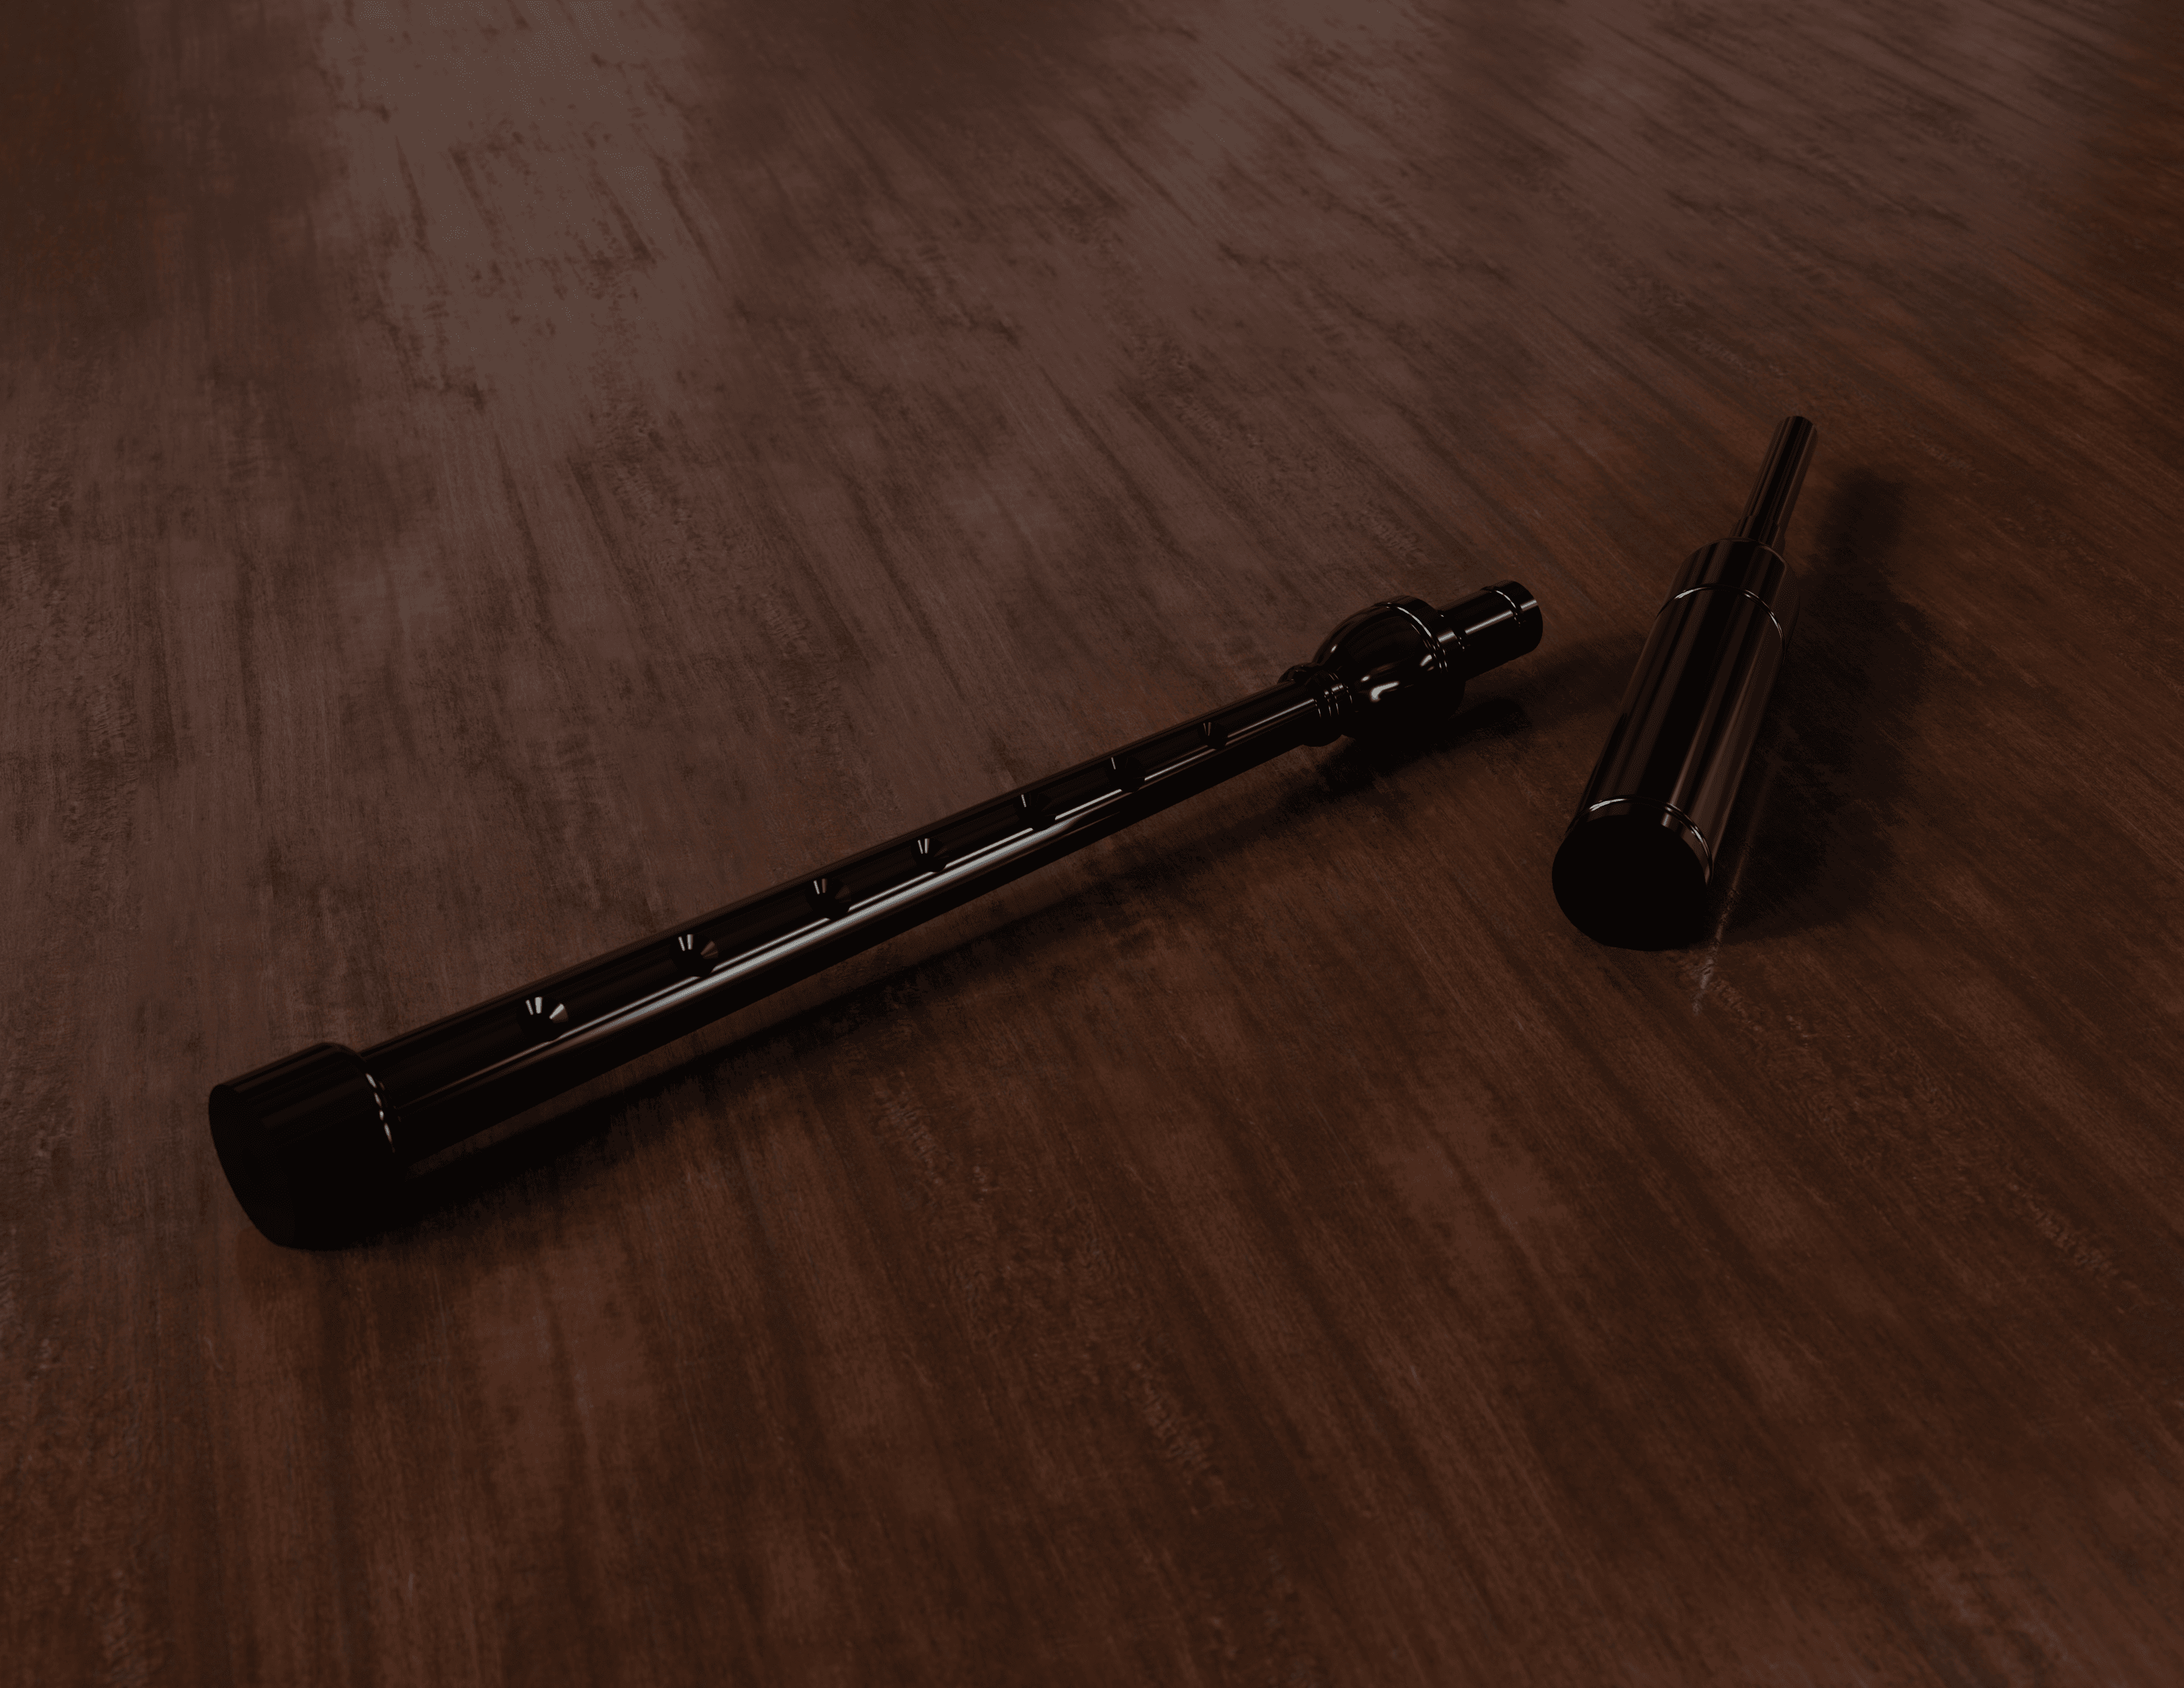
Membrane Reed Bagpipe Chanter
This is a bagpipe chanter utilizing a membrane reed.
Print all the parts in vertical orientation with supports (except for the outer chamber, as it's easy to jam up the threads. If your printer struggles with bridging, my trick for support removal was to insert an open scissors into either side of the section and "unscrew" the supports by twisting counterclockwise).
Wrap PTFE tape around the threads and verify an airtight connection. Alternately, you can try packing the grove where the outer chamber sits with heavy instrument grease (chapstick works great) which may also form an airtight seal.
Screw the outer chamber onto the inner until the outer and inner cylinders are flush with one another (doing this against a mirror, countertop, or ideally granite surface plate helps), and use 400 grit sandpaper with a splash of water to ensure evenness. Check the evenness is airtight by sucking on the air inlet while pressed against the surface, covering the body tube section with a finger.
To make the membrane, many different materials are possible and produce different tones and performance. At the time of writing my favorite material is mylar emergency blanket material, which is what this design is optimized for. Cut a square or circle of material larger than the outer chamber and use the tension ring to attach it to the outer chamber. You want a smooth surface with no wrinkles, but NOT an overly tight "drum." This can take a few tries, but you can even out wrinkles by holding the tension ring and pulling the excess mylar side-to-side.
Next, trim the mylar to size, again while still holding the tension ring in place! When you have a clean attachment with ~2mm of overhanging mylar, put the onion dome on. This will conceal the excess mylar and protect the membrane. Finally, set the initial tension by slowly screwing the outer cylinder against the inner while blowing through the air intake. When you begin to hear a sound, stop, and put the body tube in (to be included soon - currently I am using garden pipe - see image).
Tune the pipe against itself by checking the octave (second-to-lowest note and highest note). If the octave is flat, the membrane needs tightening. If the octave is sharp, the membrane needs loosening. Then, tune the pipe to a tuner by moving the body tube in and out of the inner chamber's tenon.
Membrane Reed Bagpipe Chanter
DIY Bagpipe Chanter! #JuneTunes

Aromatic Orchid - Oil Diffusor and Incense Holder - with Spinning Leaves
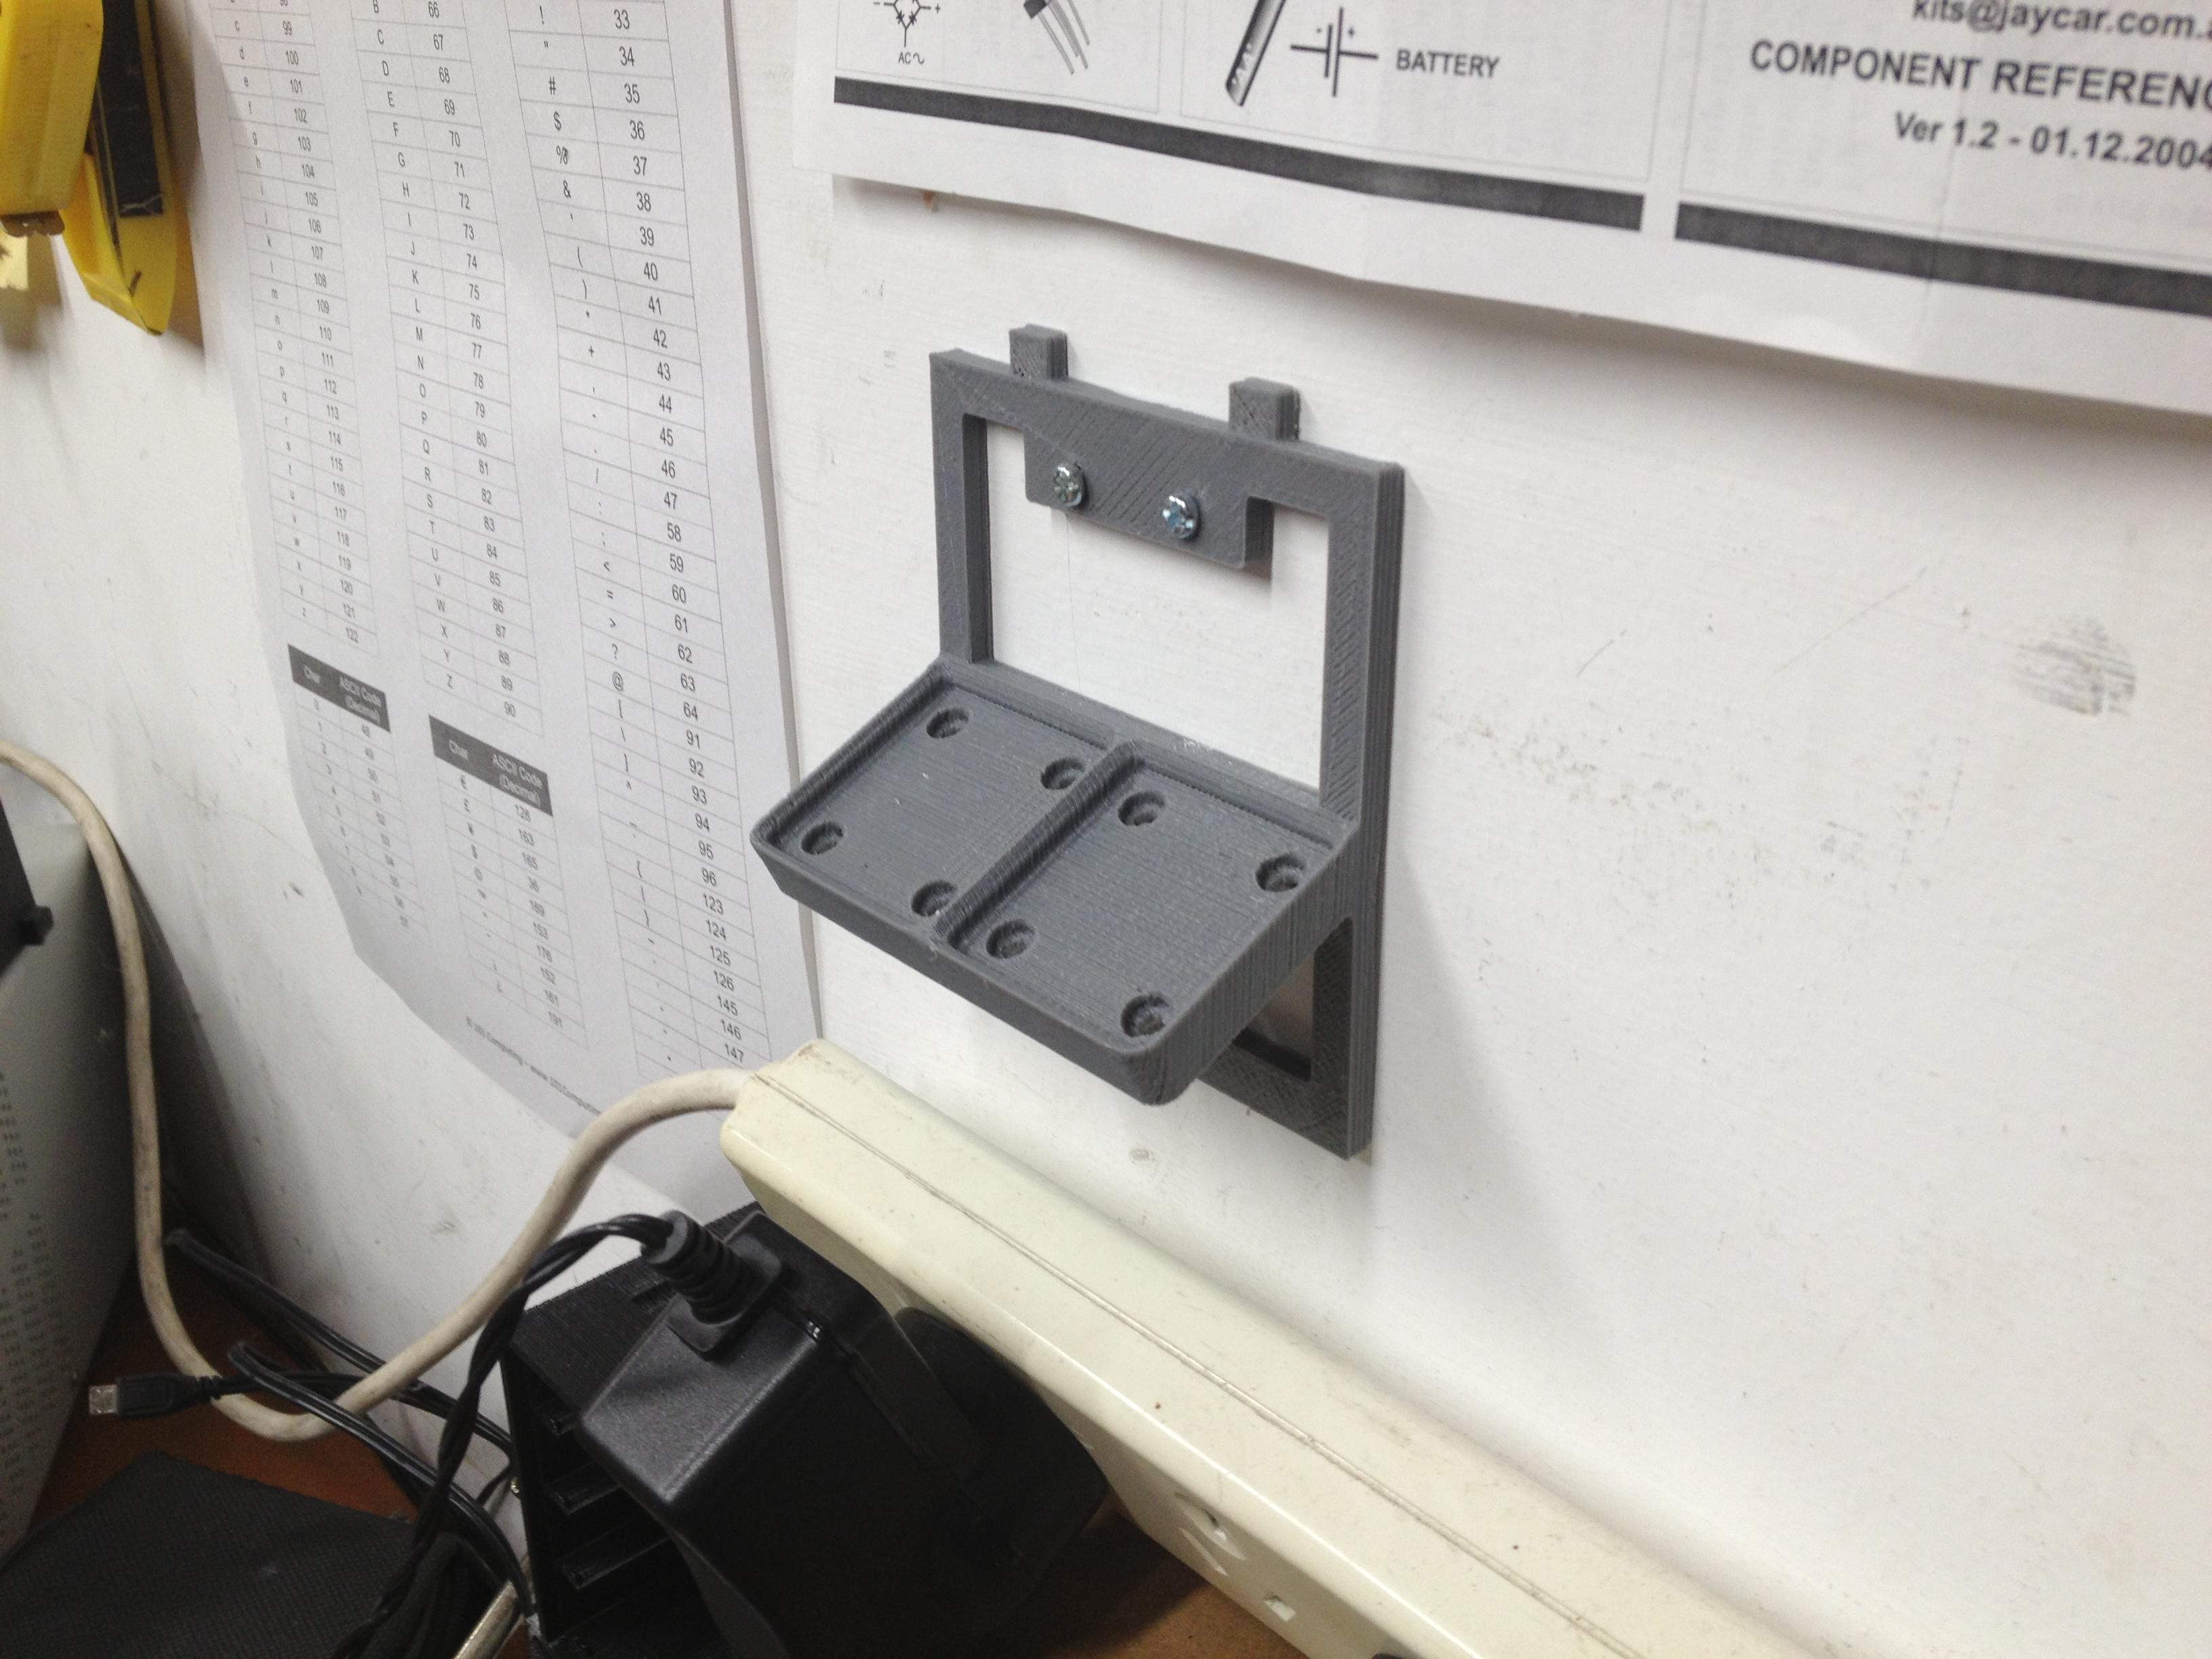
The Stackable Wall Mountable Gridfinity base!

Quackers Duck Call
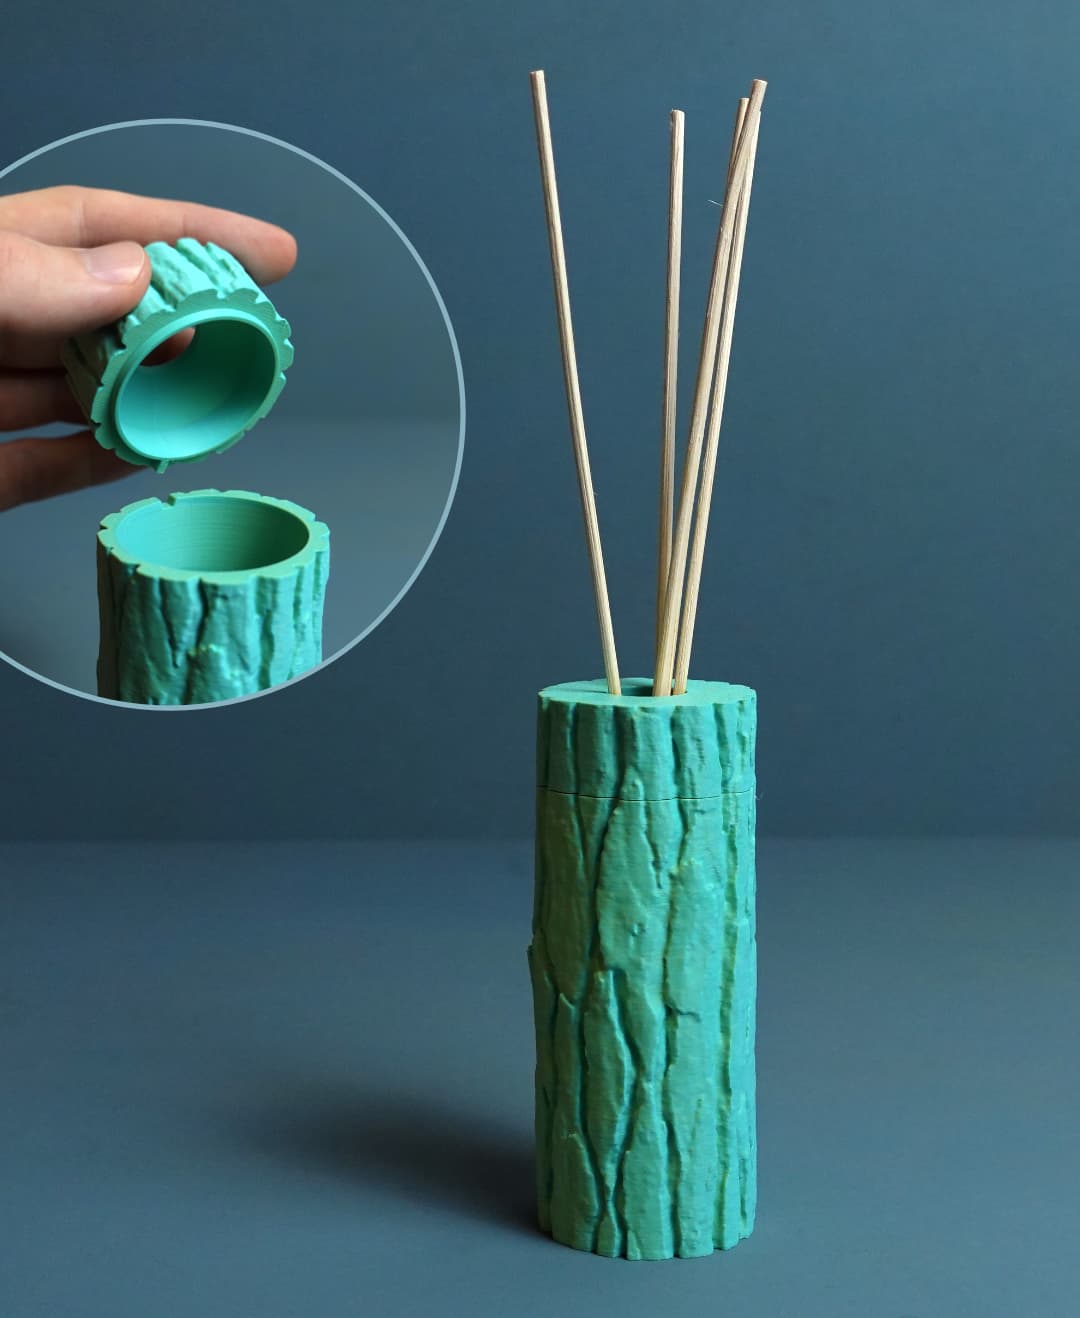
Reed diffuser “sylvestris tree”

Taro Shelf

TPU Rubber Duck | Compatible with The Squeaker! by SpoolDesigns | 3D print your own squeaky toy!
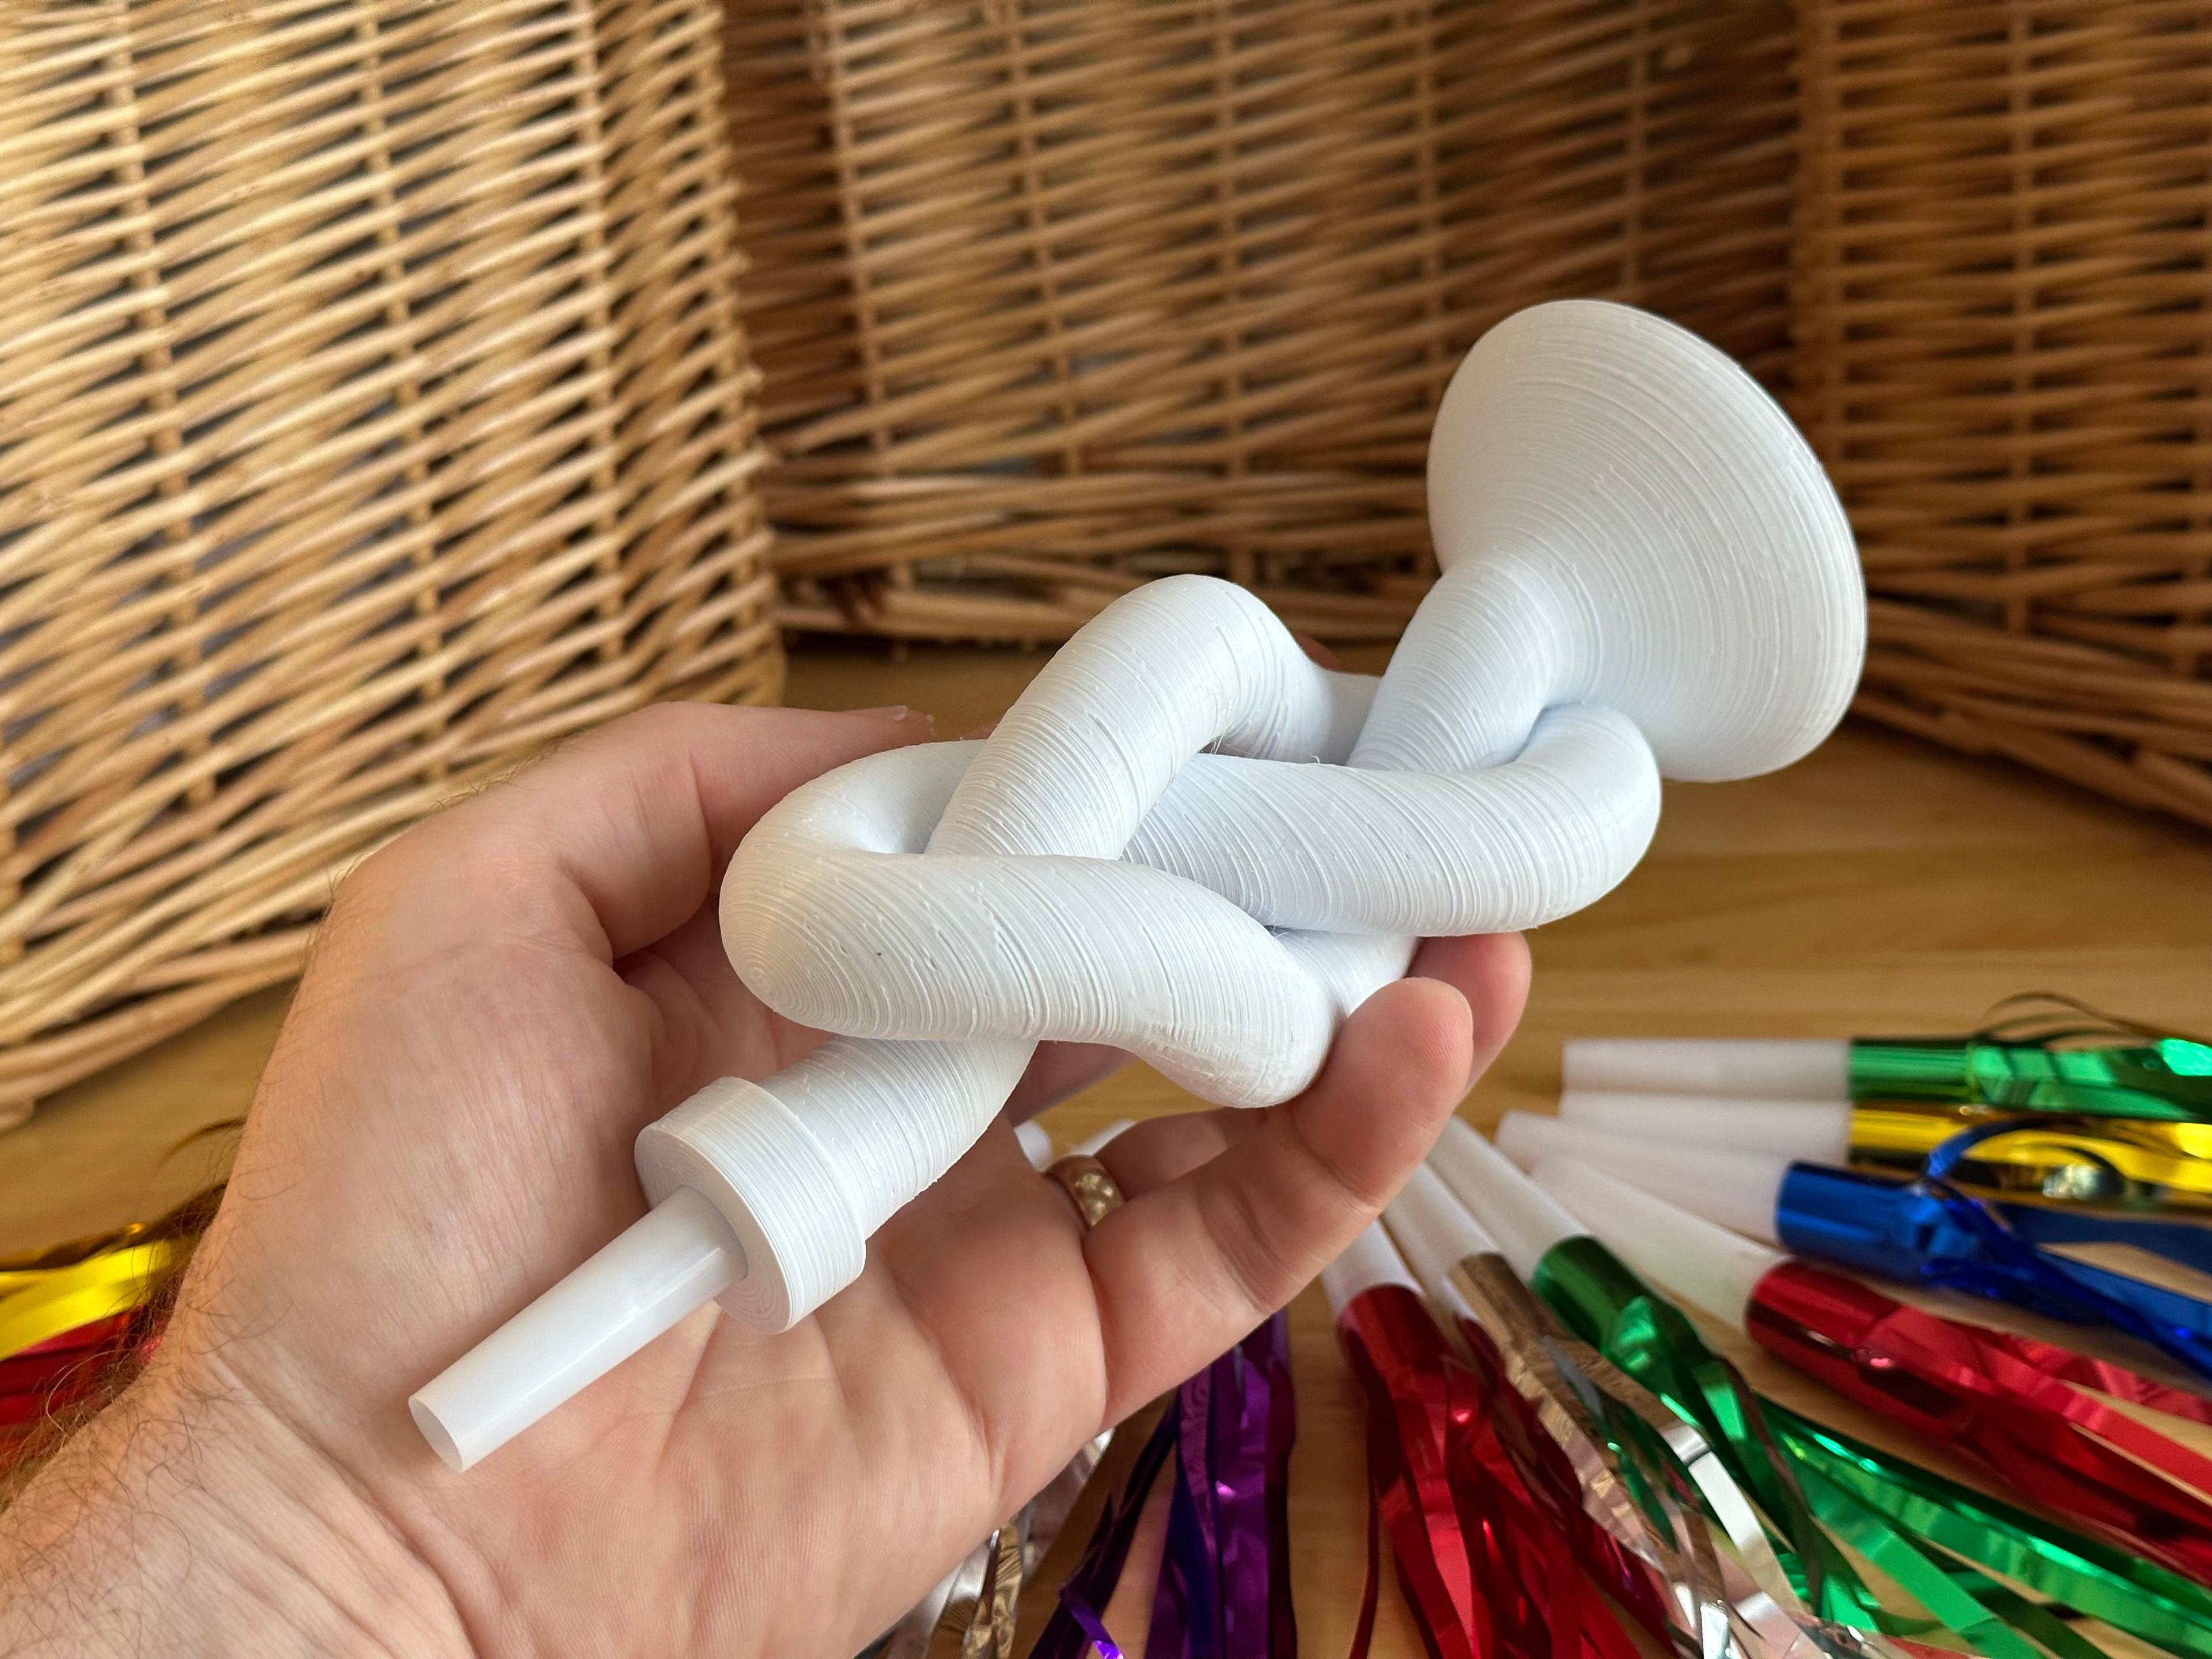
Knot a Noisemaker
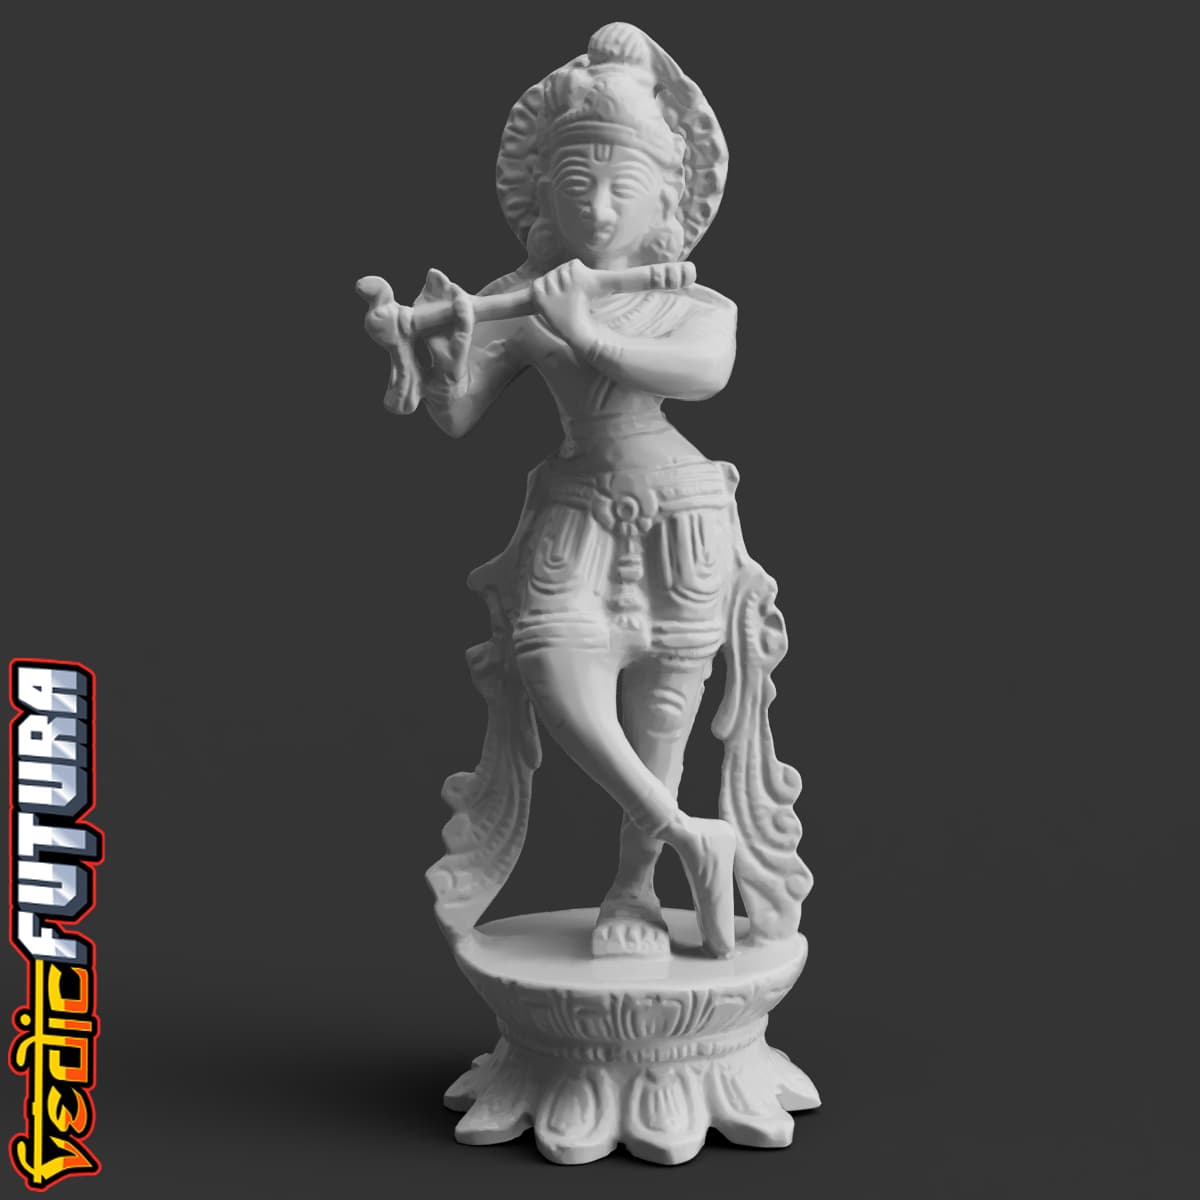
Symbolism of Krishna’s Flute

Animal Cell Model w/labels

Dragonborn Male Bard with Bagpipes

Coscu Cocodrile - fidget Toy & Keychain Articulated-free support

Gnome Male Bard with Bagpipes
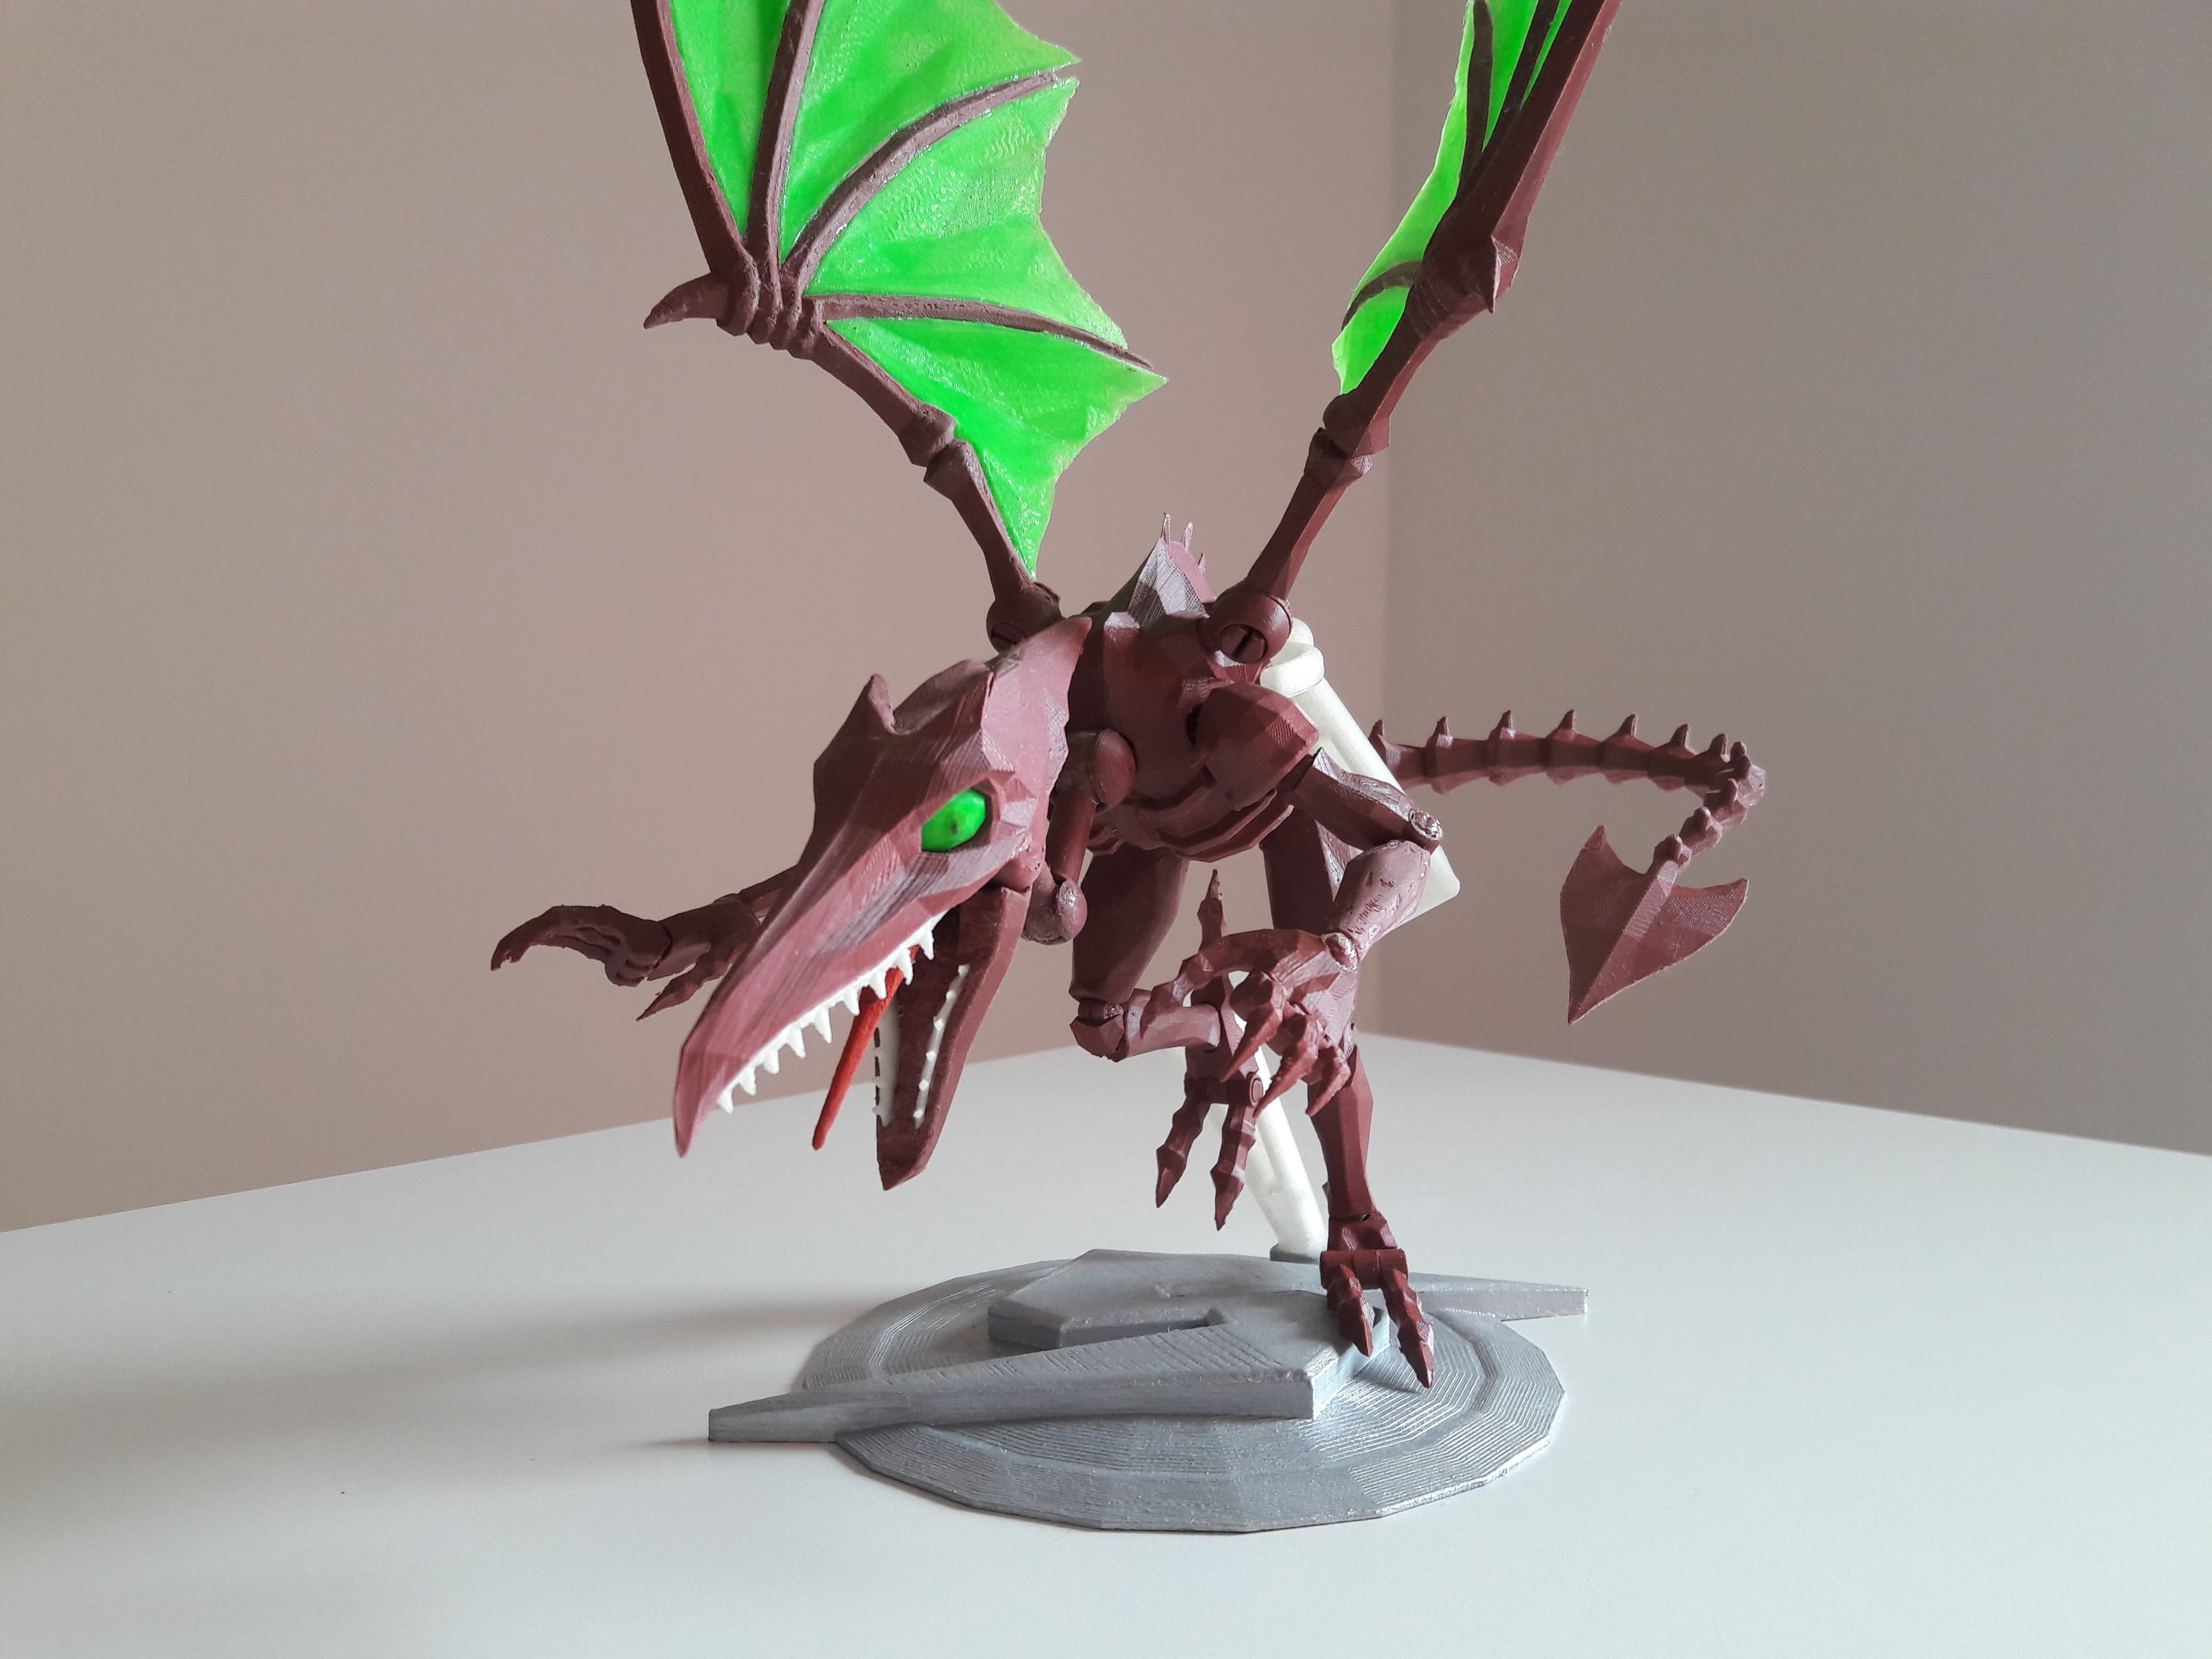
Ridley (Super Metroid - SSBB)

Kobold Bard with Bagpipes

Super Turtle Reed Richards Mr Fantastic

Halloween Window Bat

Frog king cup

Marvel Rivals Ultimate Reed Richards
