Collapsing Katana with Removable Blade
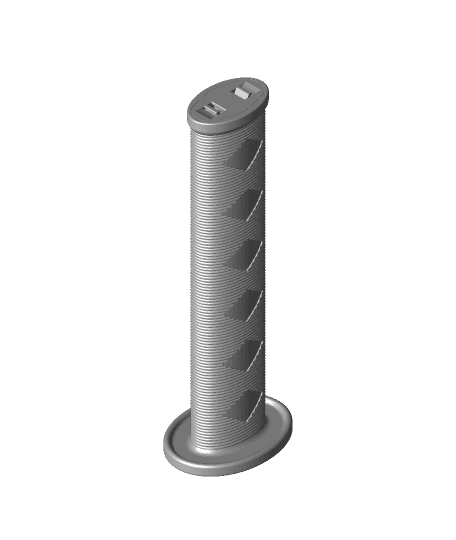
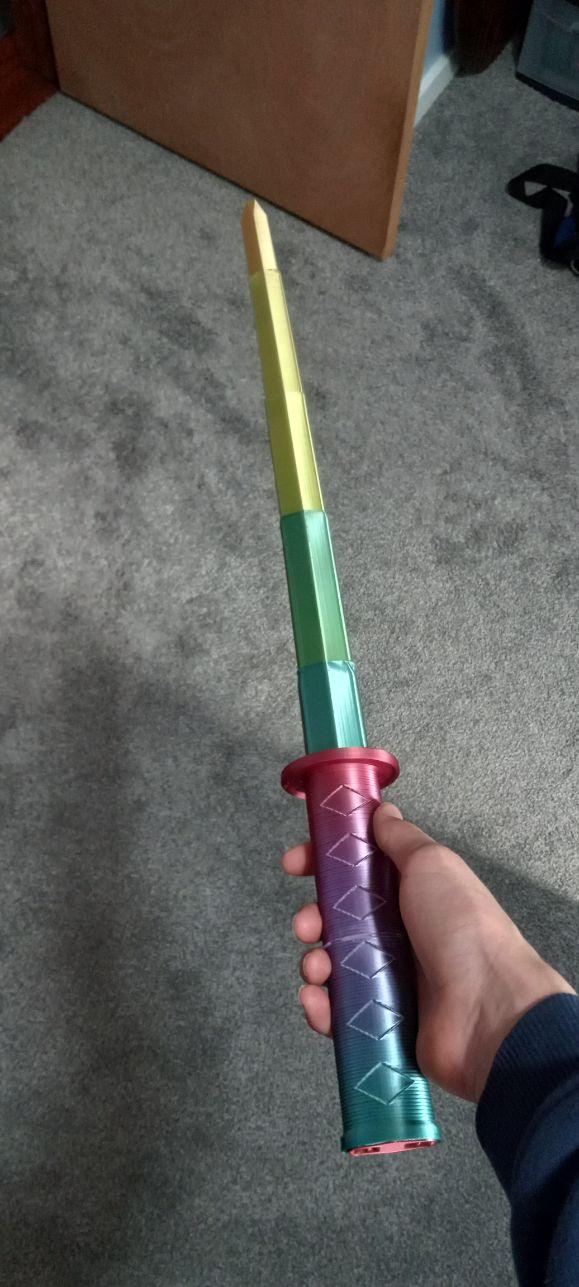
This collapsing Kantana is similar to the original version in appearance but its modified so the cap on the pommel can be removed so the blade can be printed separately then assembled.
I also made an alterative version of this that has single edged curved blade.
Printing None of the parts require supports. The blades can be printed concentrically as an assembly or individually in vase mode. If you plan to print concentrically, a single stl contains all the blades. If printing in vase mode, there is a stl for each blade. Note the vase mode stl’s are supposed to be solid so the slicer knows not to make an internal perimeter.
Vase Mode I prefer printing the blades in vase mode as the result is a much cleaner and easier print that can easily be scaled. If you print sequentially, it’s faster too. If printing at 100% scale, set the line width to .9mm. If you plan to print it smaller, scale the line width down by the same about. If printing in vase mode you can scale down to a minimum of 55% with a .4mm nozzle. For vase mode turn top and bottom layers on for the first blade, but turn it off for segments 2-5. You will notice that the vase mode files are solid, this is so your slicer knows not to try to build a inner perimeter.
Top and Bottom layers Turn only the bottom layers off when printing the first blade segment, and turn both top and bottom layers off when printing the rest.
Print two blade segments and test. If the blades don't catch, bump your line width up .2mm or so. If they catch too soon, reduce line width.
Concentric When printing the blades concentrically use a .4mm nozzle and set the line width to .43 so the blades are two shell thick. If you would like to scale it down try printing the vase mode version instead. Before printing the blade assembly make sure perform the test print found here This print is sensitive to the layer seam and extruder calibration, it’s a good idea to make sure your setting are tuned so the blades don’t fuse.
Test Print The test print is a total of 24mm high so I change retraction settings every 8mm. Then I compare the changes until I achieve the best result. Each printer is going to be different but in my case I used a negative “extra restart” distance to reduce the size of the layer seam.
Detailed printing instructions can be found on my website
Printed with Filament One Glint Silver and [Glint Gold PLA
Printed on the Muldex rep-rap IDEX printer.
Other Collapsing Swords Master Sword Katana Jian Broad Sword Dagger
Note: Assembly model for reference only.
Having troubles printing or want to show off your prints? Join our Facebook Group.


