


Yet Another Slider Puzzle Design v2.0 / 8-bit Picture Frame
Hello! A few years back I designed a print-in-place slider puzzle. In that time, I've had some ideas on how to improve that design to have a better end result. While redesigning my first slider, I stumbled into a different idea this can be used for: Pixel Art.
Bare with me as I go through the changes and thought process of this design.
What was wrong? Starting off with the original and the issues I noticed with it.
- The first issue I noticed was the floppiness of the tiles with it being a “print-in-place” design. This kinda limited it to only working well up to a 5x5. Any bigger and pieces would start falling out with slight force.
- The puzzles were hard to move without having it on a flat smooth surface.
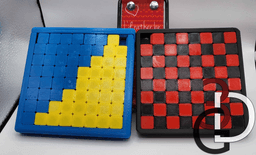
- Another issue I had was the fact that each variation was a different size from 2x2 up to 6x6.
- The old design only allowed you to print one puzzle per base. What if you wanted a different puzzle? Or what if you wanted to change out a few tiles?
- Finally, how the puzzle was assembled…so much glue…so many small tiles. Glue bad.
How I fixed each issue:
- Fixing this was easy. I just added a solid back to the entire puzzle. But that gave me another challenge; how do I still make it print-in-place with a solid back? Exactly. I'll get there. With the solid backing though, this let me have up to an 8x8 without any pieces falling out.
- I wanted to standardize the sizing of the puzzles so that the only thing that changed was the size of the tiles.
- Remember the solid back print-in-place dilemma? Hinges. I decided to create one side of the frame have a hinged piece that snaps in place when you're done putting tiles in. This lets you do many things like open it up and cheat to solve the puzzle without “solving” it, replace the tiles with a different puzzle, or if you just use solid colored tiles turn it into a 8-bit picture frame.
- With the hinged side, this means you can print the tiles by themselves and not have to glue anything in. NO MORE GLUE!
What else? I'm glad you asked. While I was making this, in testing the 8x8 for tolerances I realized this can be used as a build-you-own 8-bit picture. With that idea in mind, I wanted to see if I could have similar results with a 2x frame using the same tiles as the 8x8. The result was kinda cool (Mario Fire Flower picture).
The only downside to this; the bigger frame requires a slightly bigger printer. This one was printed on a 256x256 X1C.
So, yeah, completely unintended result but glad it gave an alternative use to this.
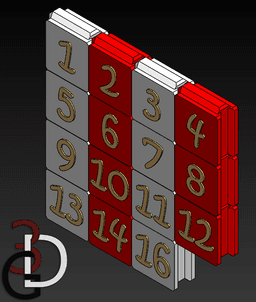
ALSO, I included a 4x4 and 5x5 numbered tile set just because.
In the future I'll come out with more puzzle variations for this design. I'll also add a .3mf to let you fully customize anything on top of the tiles for a puzzle once I get that created.
Printing instructions: For the base
- 0.2 mm layer height
- 3 perimeters
- 10% infill
For tiles
- 0.2 mm layer height
- 3 perimeters
- 10% infill
Additional info
- If you want to create a 16x16 - use the 8x8 tile size.
- For the numbered puzzles, if you want to print them in different colors; right click the object in your slicer and select “Split to objects”. This will explode each tile to it's own object and you can delete/readd as needed.
- To print the numbers as a different color, add a color change at 12.2mm.
- The snap on the frame is a bit tight, but that's intended.
- NO SUPPORT NEEDED!!
This was heavily over engineered and I had fun making it, I hope you enjoy!
If you have any questions, please let me know!
If you'd like to help me out or have permission to sell physical items from my designs, please consider becoming a member!
Yet Another Slider Puzzle Design v2.0 / 8-bit Picture Frame

Quilt Block Dominoes "Double 9"

Pokeball Dominoes "Double 6"

Yin Yang Cribbage Board - Chicago Bears

Yin Yang Cribbage Board - Detroit Lions

Yin Yang Cribbage Board - Green Bay Packers
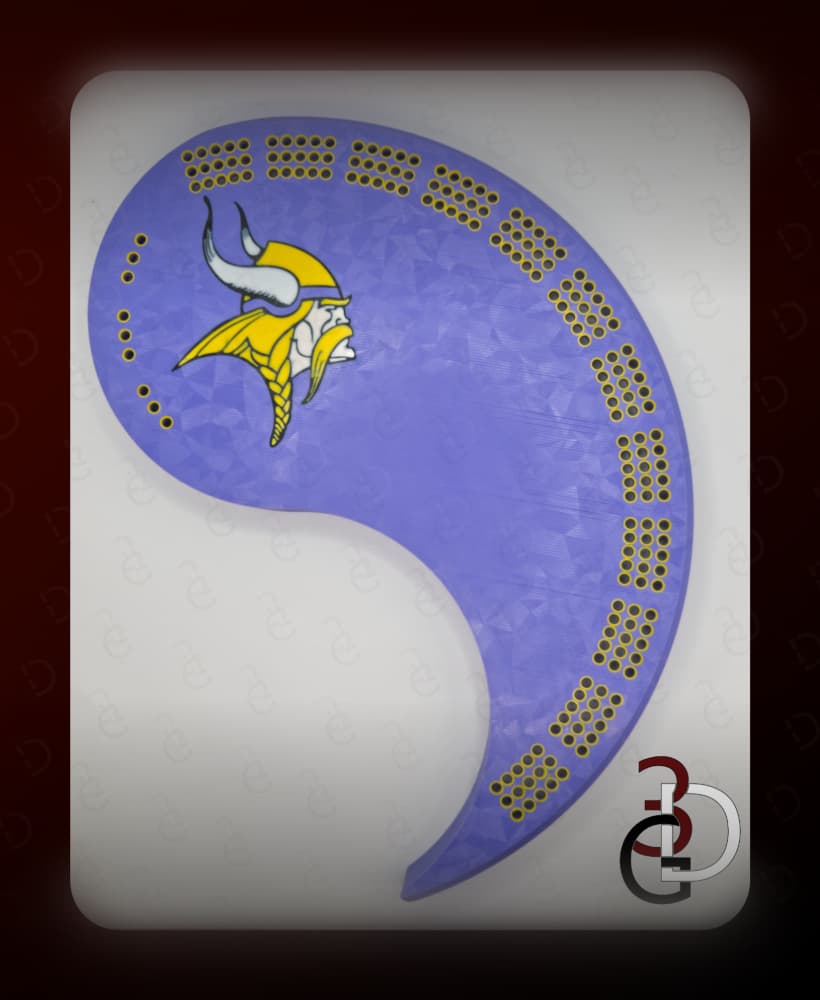
Yin Yang Cribbage Board - Minnesota Vikings

Yin Yang Cribbage Board - Detroit Tigers

Yin Yang Cribbage Board - Detroit Red Wings

Yin Yang Cribbage Board - University of Michigan

Yin Yang Cribbage Board - Michigan State University

Yin Yang Cribbage Board

Netball Piggy Bank

Luxury Ball Piggy Bank

Functional Luxury Ball Full Detailed

Loveball Piggy Bank

Team Rocket Greatball Piggy Bank

Team Rocket Pokeball Piggy Bank

Functional Loveball Full Detailed

Functional Team Rocket Greatball Full Detailed
