PPR Mini Subwoofer with 3D Printed Passive Radiator
This tiny subwoofer reaches very low for its size, 45Hz. It does this by using a 3D printed passive radiator. Check out the video: https://youtu.be/pLwOpjRZ1ew The passive radiator surround must be printed with flexible filament. At 180x115x106mm, it will print on almost any printer and only uses ~600g of filament. It is designed specifically for the Tang Band W3-1876S driver, (the same one used in Hexibase's Hexibox subwoofers). A word of warning: due to the low tuning frequency, and the mass of the passive radiator, this speaker puts out a lot of vibration. You will need somewhere stable to put it and will likely need to bluetack it down!
If you like, it please hit like!
If you are not down with flexible filaments, I have also included a version of the enclosure which will work with a Peerless P830878 passive radiator. Fusion 360 and STEP files provided for anyone who wants to hack about.
Someone will ask the inevitable question; is this better than the Hexibox using the same driver? It isn't better, but it is comparable, and it is half the size and uses less than half as much filament. On top of that, it's got a 3D printed passive radiator, how cool is that? Print both and compare.
Print enclosure with 3 walls and >40% infill. When printing the surround, turn on "detect thin walls", and/or set extrusion width to 0.4mm.
Source the driver: USA: https://www.parts-express.com/Tang-Band-W3-1876S-3-Mini-Subwoofer-264-909 Europe: https://www.soundimports.eu/en/tang-band-tang-band-w3-1876s.html
Other items:
- 8 x M3 Screws
- Glue (I recommend epoxy for the brace and front panel and clear gorilla glue for the flexible surround.)
- Bluetack
During Assembly, it is very important to get good seals on all the joints, any leaks will significantly reduce the efficiency and the bass response.
Assembly Process:
- Glue the Brace into place and secure with screws
- Glue wire the cable into place and carefully seal the channel from the inside
- Glue the front panel into the enclosure
- Glue the center piece of the passive radiator to the surround, using the jig to clamp it
- Glue approximately ~30g of mass into the cavity center piece
- Glue the surround into the enclosure, using the jig to clamp it
- Fit the driver, making a gasket out of bluetack
- Measure the impedance to find the tuning frequency, b y looking for the dip, (see images)
- Add additional mass 10g at a time, untill the tuning frequency is between 50 and 55Hz.
- Enjoy

PPR Mini Subwoofer with 3D Printed Passive Radiator

DrinkColder (12floz) – Self-Closing Drink Holder & Cooler
Smooth Passive Speaker

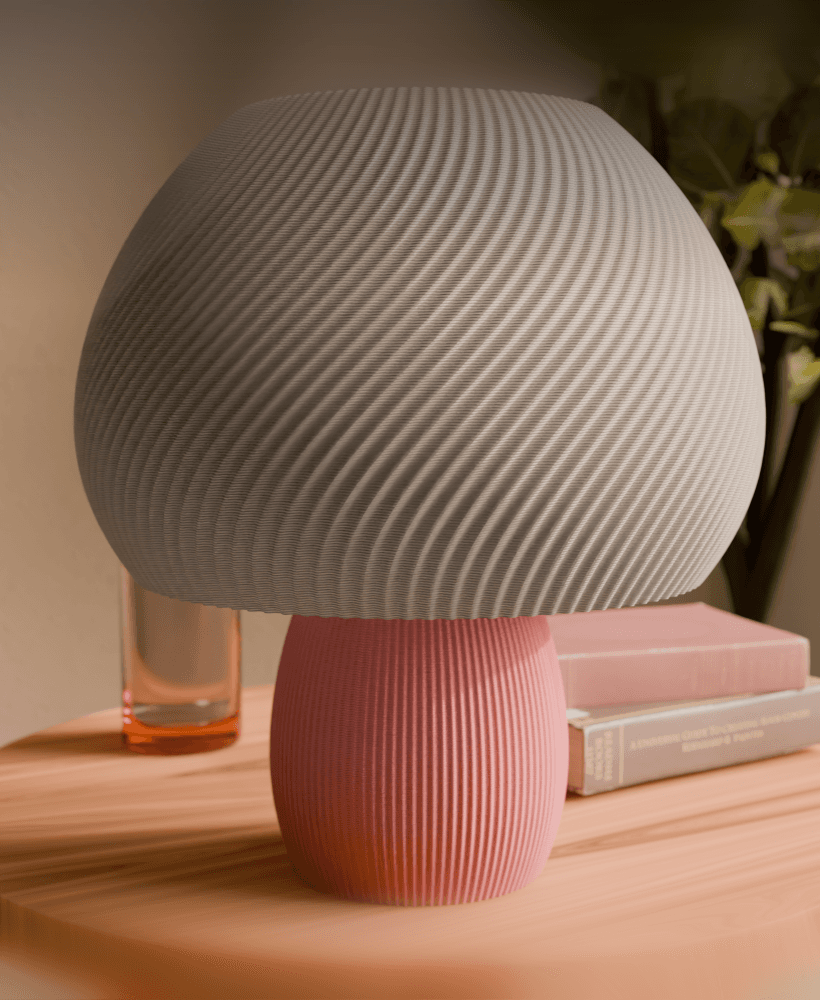
Groove Tiny Mushroom Table Lamp
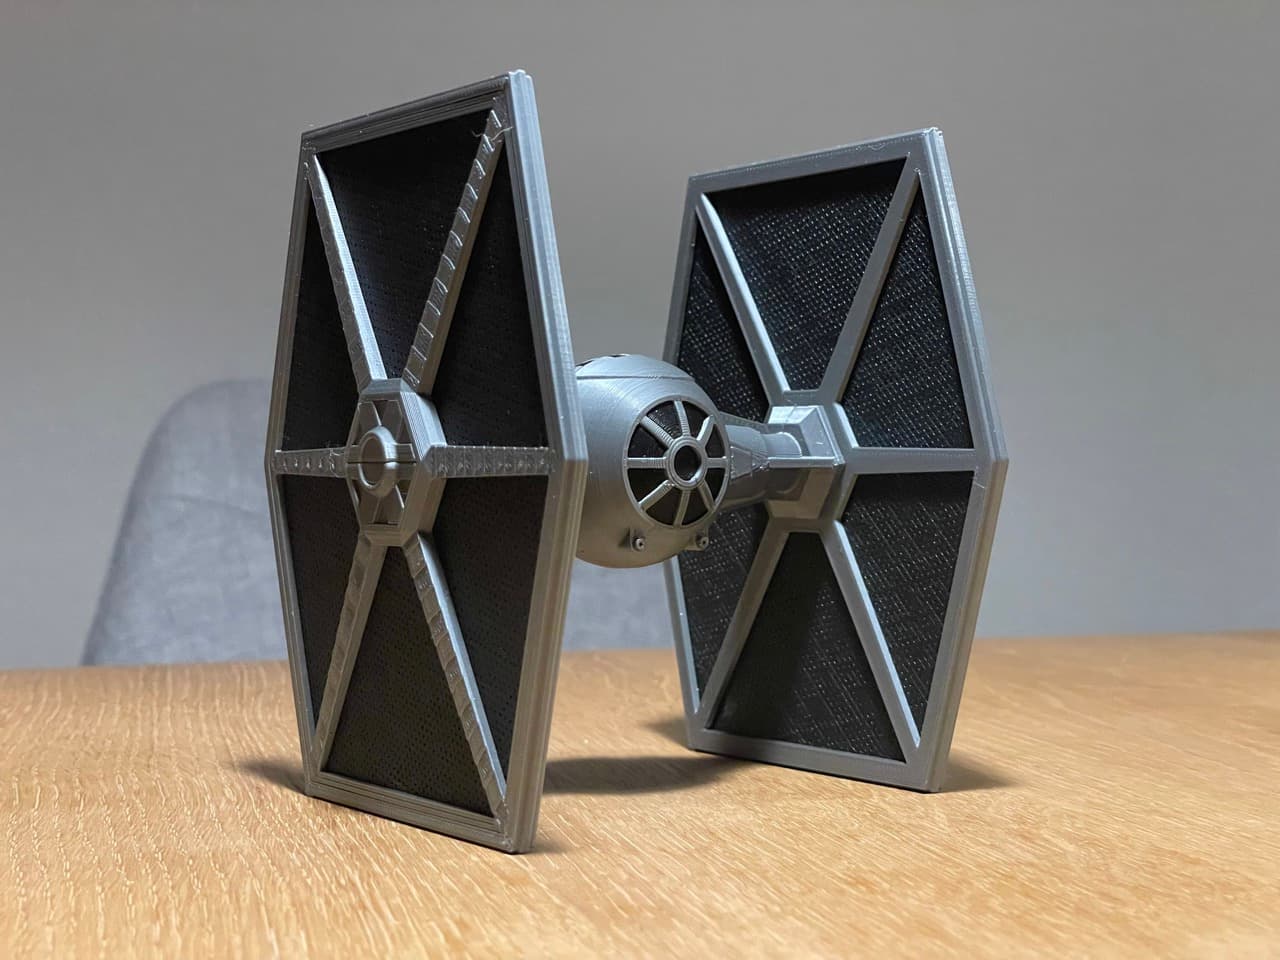
TIE Fighter Kit
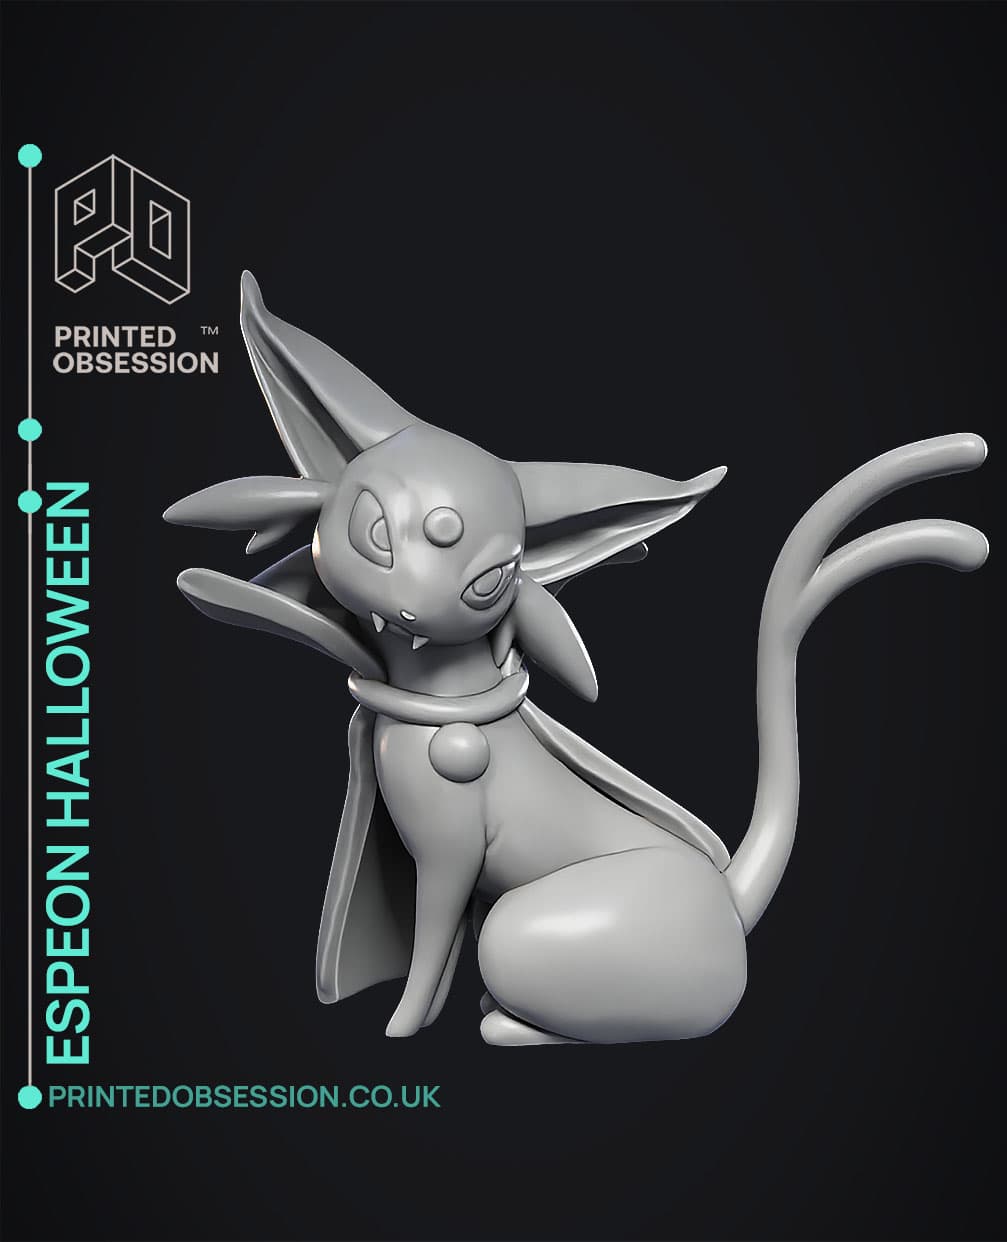
Espeon halloween - Pokemon - Fan Art

Li'l Ghoul - Fallout Wastelander Fanart Collectible Figure
.JPG&w=3840&q=75)
Christmas Totoro

Yuletide Vase for Simple Festive Home Decor

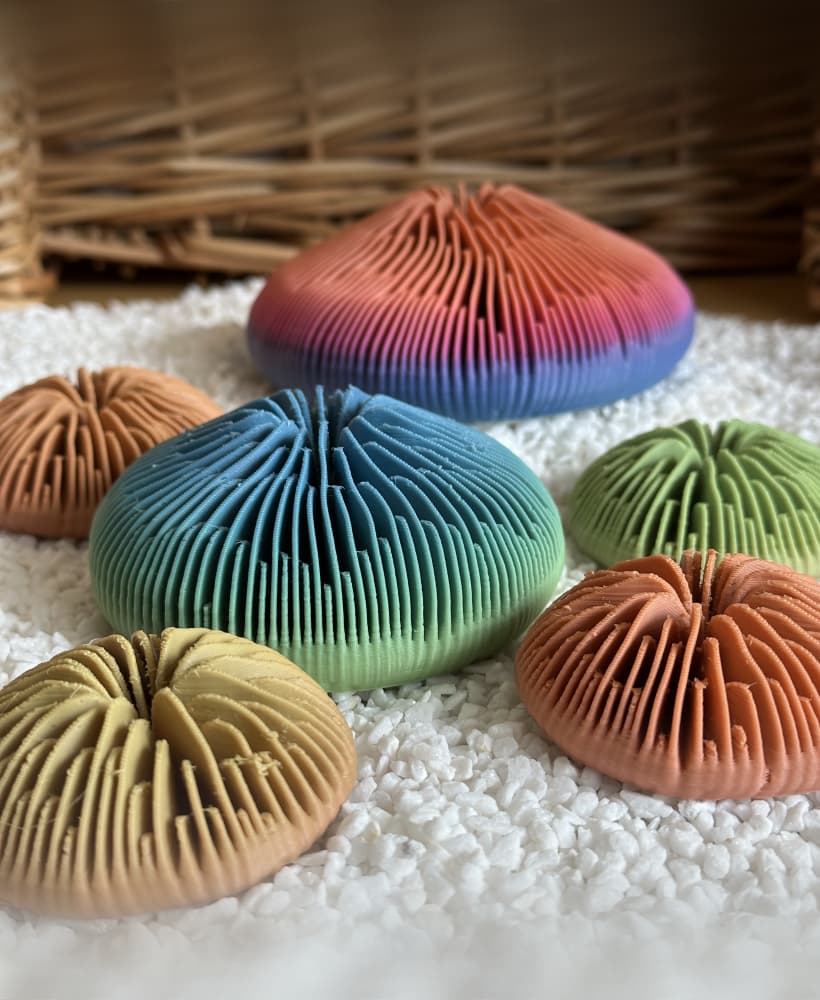
Mushroom Lamp
%2520(Fanart)_Render.jpg&w=3840&q=75)
Uku & Lele (Lava) (Fanart)

RILLIA self-watering planter

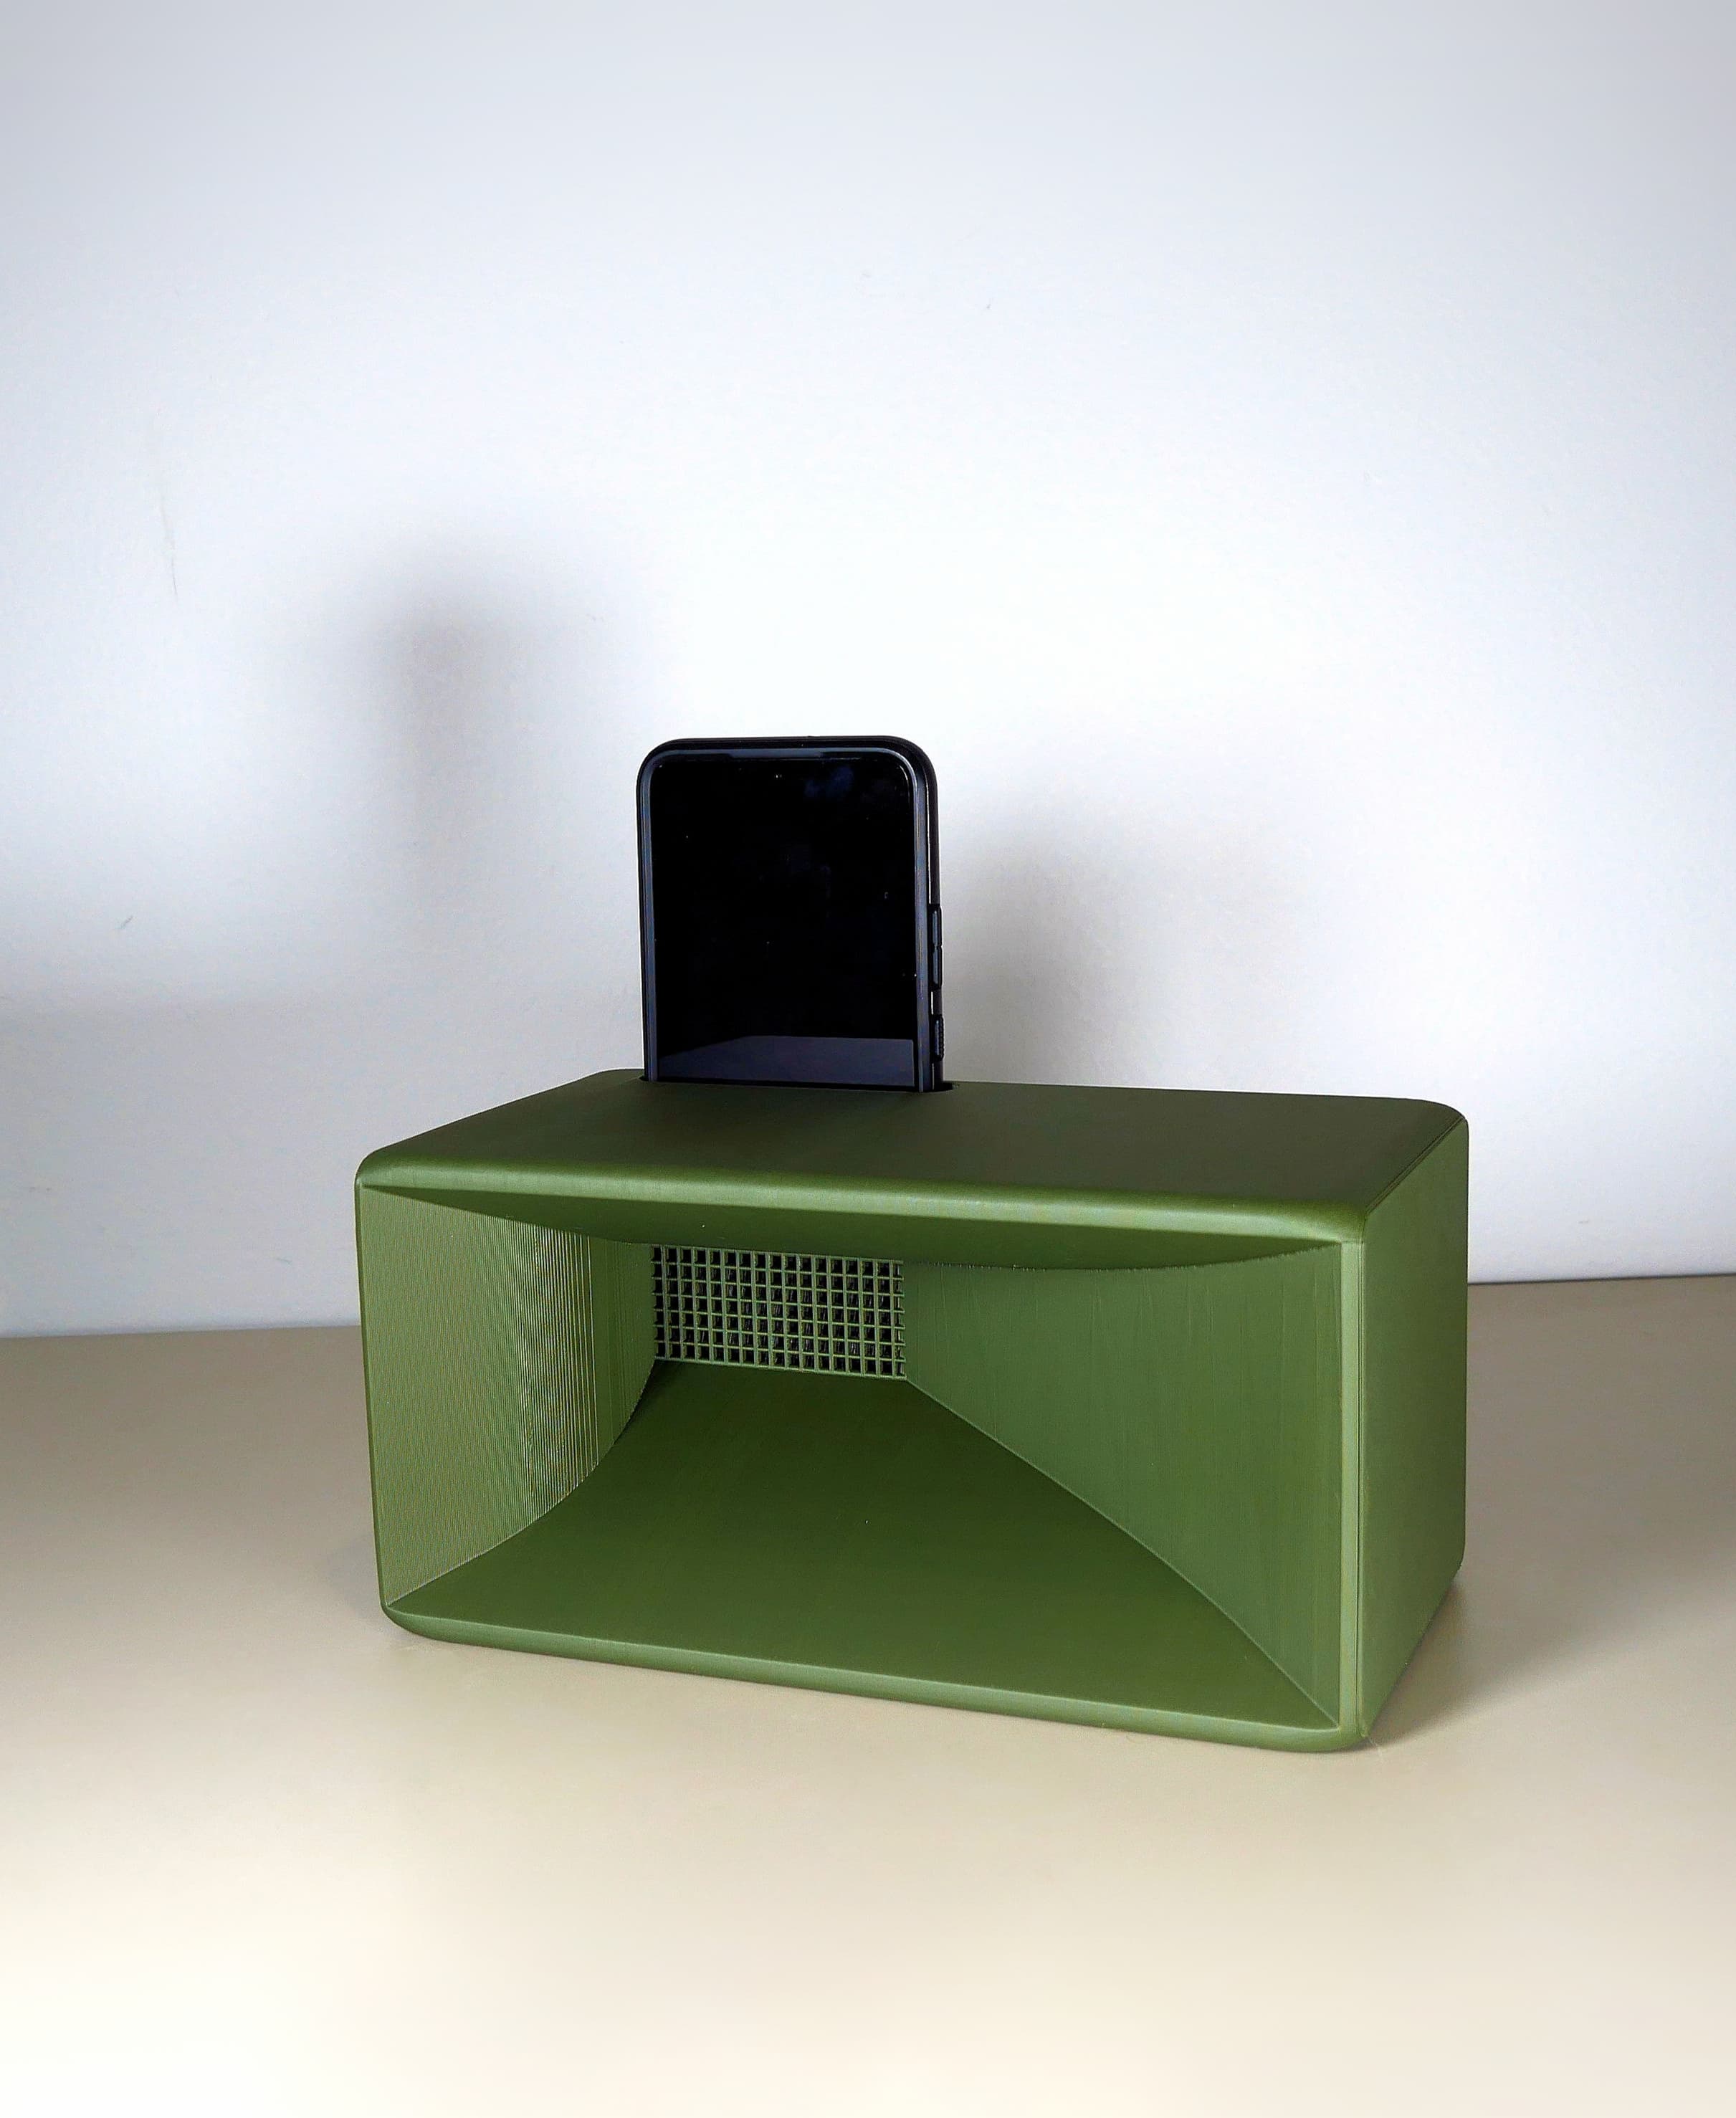
Seashell Horn Amplifier - Very Loud

Corpse Bride – Victor & Emily

Deep Cell Plug Tray – 2×3 Modular Seed Starter System
Rippled Mushroom Twisted Lamp

BOTI & BOTI XL – Companion Figures Pen Holder STL (Free Version/Personal License)

Baby_Tigger_and_Pooh.stl
Regalis Prime

Dragon Twin - Book Box