Model originally uploaded to Thingiverse Full Specs, Instruction, and Revision History Available at Thingiverse
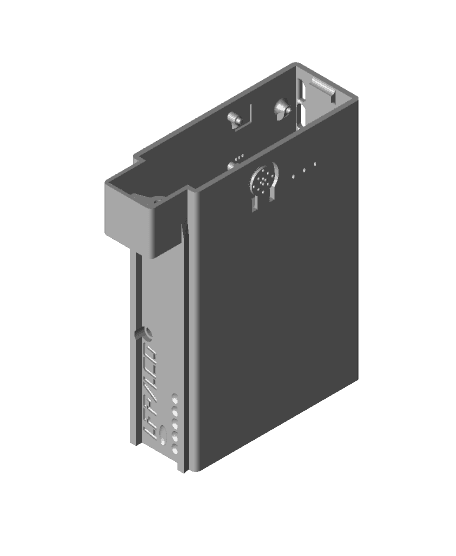
This Thing was created to provide a portable solution to the ISDT 608AC's modular interface, allowing one to power it with a DC supply between 10-30V. This is the "Slim" version in my file hierarchy and although it is meant to be a similar form factor to the included 60W adapter, the full size and XL are still a work in progress.
Included are the Solidworks SLDPRT files as well as the SLDASM file that can serve as a reference. The important STLs are included as well, but the Dummy Components used for visualization are not.
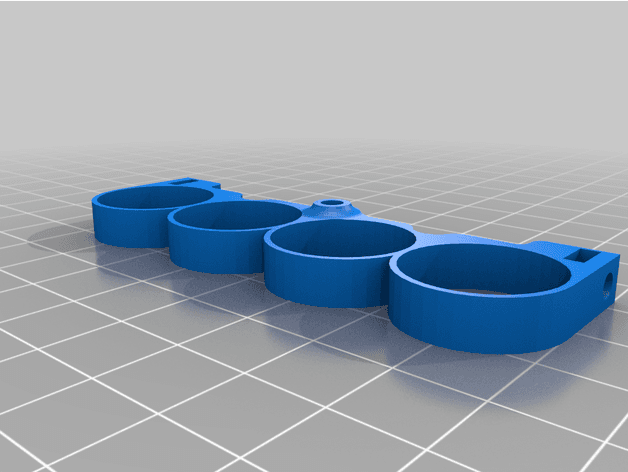
M3 Nut Inserts
There are a total of 5 M3 nuts used for this project, although it is entirely possible to assemble and use without a single one due to the tolerances of the threads. I wouldn't necessarily recommend this for long term, as they will definitely become loose overtime.
2X in Cell Caddy - Faceplate mounting Same Side Only! (They are reversible for simplicity)
2X in Cell Caddy - Shell mounting (Top and bottom)
1X in Shell - Backplate mounting (underneath the XT60, this one is the most optional)
These can be inserted by hand for the most part, and if they can't, taking an M3 bolt and screwing it in to pull the nut works, as well as taking an oversized bolt and pulling it manually into the hole. If all else fails just heat the nut up and heat-sink it into place gently.
Make sure the nuts on the sides of the battery caddy are on the same side facing the same way as the XT60. You don't want to put them in the wrong sides or use all 4 slots, they are designed to be reversible for simplicity, not every hole is used.
M3 Bolts
There's a fair amount of wiggle room for different length bolts, but this was specifically designed for button head hex bolts with less than 2mm head height. Here is a list of minimum and maximum sizes for the bolts that are accounted for:
Faceplate Mounting Bolts: Min 6mm | Max 10mm Backplate Mount Bolts: MIn 12mm | Max 18mm Battery Mount Bolts: Min 8mm | Max 14mm
A value between these should be perfect.
M2 Bolts and Nuts
These are reserved for the mounting of the USB-C Chargers (2x for LCO and 1x for LFP). The nuts are screwed in from the inside and the bolts sink themselves flush with the plastic. I recommend some kind of glue or Loctite, as they can get lose if not tightened sufficiently. an M2 lock nut would work just as well.
M2x10mm - M2x20mm
Assembly The easiest way I've found to assemble this is to solder output wires onto the PCB first before spot welding/soldering the BMS to the battery. I would recommend to solder all 3 wires for the charger, level indicator, and output XT60 directly to the XT60 and it is possible to include a 3x10 glass fuse jammed+heatshrinked into the wires leading to the BMS. Recommend 150mm of lead from the connectors for BMS wires.
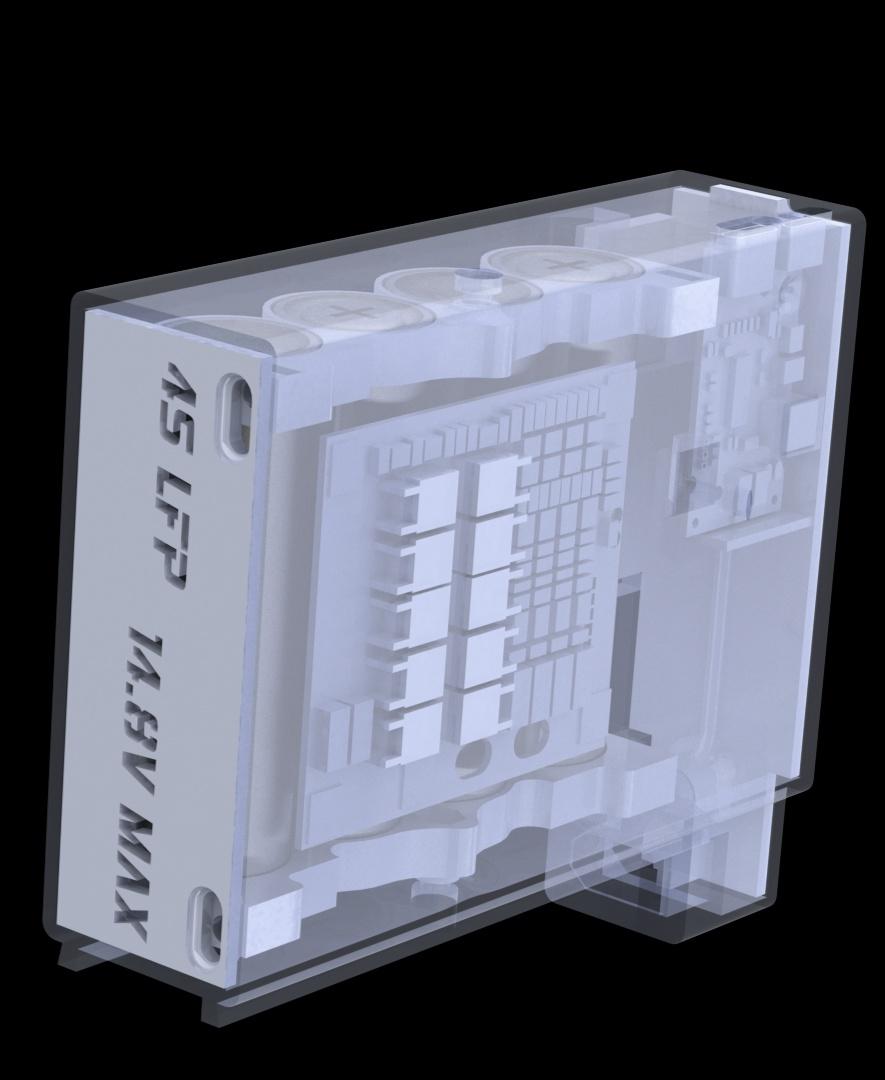
Once the cells themselves are assembled with the BMS, you can slide the whole dangling assembly into the case from the front, taking care to point the BMS away from the charge level indicator. See the render below
(You can also solder the output wires to the BMS first and solder all the wires onto the XT60 after the battery is inserted)
AS the ISDT 608AC has a maximum input rating of 200W|9A, 18ga wire will be sufficient in almost every application.
The following only applies to the Dual-Chem with the use of Type-C USB 2S 3S 4S 5S BMS 4.5V-15V In order to set the voltage, abide by one of the following formulas:
battV = 1.8 * ( ( 1+R1 ) / R2 ) +1.8 )
OR
battv = 1.8 * ( 1 + ( R1 / R2 ) )
