


POTA Long Wire Spooler
Parks On The Air is a HAM or Amateur Radio activity where Amateur Radio operators go to city, county, parish, state or federal parks and set up a portable station and attempt to make contacts with other amateur radio operators, and demonstrate to park visitors some of the things one can do with Amateur Radio.
This assembly/model is intended to provide a simple spool solution that includes a ratchet, to allow an operator to set up and collect a long wire antenna while they are setting up and taking down, and provides a reasonably small package for keeping the antenna wire in an uncluttered package between events.
There are 5 parts. A base plate, a pawl, a ratchet spool side, a spool side, and a crank handle. You will need a 225x225 (X and Y dimensions, Z will fit on just about every printer out there) to print the baseplate.
You will also need: 1 ea 3/4" (or longer) 5/16, or M8 bolt ( Optional - You may prefer a 1 and 1/2 inch long bolt with a nylock nut for this. The spool side of this provides me with a reasonably secure connection, however a locking bolt would prevent the spool from potentially unscrewing itself off the bolt.) 1 ea flat washer for 5/16 or M8 bolt 2 ea 16 mm M3 bolts 1 ea M3 Locking nut. Appropriate wire for your setup. and a drill bit to open up the hole in the spool for the wire to secure the spool end of the wire to the spool center or side (There are designed in locations for these.)
I've printed mine in PETG for base plate and PAWL, and PLA for the spool parts and crank. Use whatever settings and materials provide the best results with your hardware. I will neither advocate for, or against using carbon fiber filled filaments however some people have observed some electrical characteristics with the material, so I'll leave that testing and debate to others.
The PETG parts were printed on a Bambu Labs P1S, and the PLA parts were printed on a Bambu Labs A1 Mini. All should print on anything from an Ender 3 to a Stratasys, so enjoy.
For most materials, if you are going to leave this in an outside environment for extended periods, it is a good idea to apply a paint that will block UV from attacking the material. I recommend doing that before assembly so you can mask off tight tollerance spaces, while treating all exposed surfaces.
Assembly: Use superglue to assemble the ratchet side to the main spool. A couple of drops on the trefoil interface should provide a secure bond. Feed the 5/16 bolt through the hole from the side with no raised features through the central hole of the baseplate. set the washer on the spool side of this, and turn the spool onto the threads of the 5/16" bolt. Thread the spool down to just snug to the base plate, then back it off enough to allow the spool to turn freely relative to the base plate. If you elected to go with the longer bolt and a nylock nut, you will want to use a socket (either deep, or with an extension) and either a ratchet or handle appropriate to the socket to turn the nut to the point it provides a 'locked' fitting to the bolt, w/o snugging down the spool to he baseplate again. (You want that to spin. Use one of the 16mm M3 bolts through the handle and through the hole on the side of the spool that the bolt fits through smoothly. Secure this with an M3 Nylock Nut. The crank handle should spin freely on the side of the spool, and the threads should not be extending so far into the spoo core that they cause issues with the wire you're going to be feeding in. The second M3 bolt should fit through the hole on the Baseplate and thread onto the pawl. The pawl point should be oriented so that it can catch the ratchet ring of the spool, and the nub on the side of the pawl should fit one of the 2 notches in the baseplate raised portion at a good spot for the pawl to stay in place. It should also be loose enough to allow for the free turning of the spool with a light pressure on the thumb pad of the pawl when dispensing the wire, and light pressure against the other side of the pawl should give you a better feel of the ratchet action when retrieving your antenna to the spool.
Add wire for your antenna, a light duty, insulated stranded wire of 20-24 gauge (AWG) (I'm not sure what the equivalent is in metric) wire should work. Feed the wire through the eye in the feed end, and (after drilling out the appropriate hole per your preference, feed your wire through one of the holes in the spool, and either tie it off, or fold it over and crimp a ferrel onto it to prevent it from detaching from the spool. Now crank the wire onto the spool so that as you are cranking, the pawl slips over the ratchet catches, and if you stop spooling the wire the pawl prevents the wire from running free. This should be turning the spool in a clockwise direction as you are looking at the crank handle side of the spool, however if you have a reason for flipping things left to right specifically the baseplate, pawl and ratchet spool side, it may be counterclockwise. (Someone who wishes to operate this left handed may do this, or there may be other reasons.)
There is a hole in the corner under where your hand would normally hold the baseplate where you can attach some varieties of carabiners or a zip-tie, or some other lanyard solution, for securing the spooler where it is going to be in a safe place, and the antenna is going to be in an operational configuration.
I advise reviewing your antenna building guides for a balun or unun to match this for your radio, and determination of whether you wish to have a counterpoise.
I can see other uses for this if you wish. If you have a collection of mason line that is on cardboard spool cores that have gotten wet and failed, or you are looking for a means of pulling wire through conduit, or you would like a simple Kite Line spool, this may work for you. I imagine that you could put a fair amount of kite line on such a setup. You may want to add a metal guide to the feed guide to prevent the kite line from chewing through that though. It could also be used if you need to untangle some fishing line. I'm sure that there are other uses as well.
POTA Long Wire Spooler
Prusa MUTANT Upgrade Kit (for MK2.5S, MK3S, MK3S+)

Prusa MUTANT Upgrade Kit (for MK2.5S, MK3S, MK3S+)
Gridfinity Nippers + Strippers + Pliers Racks
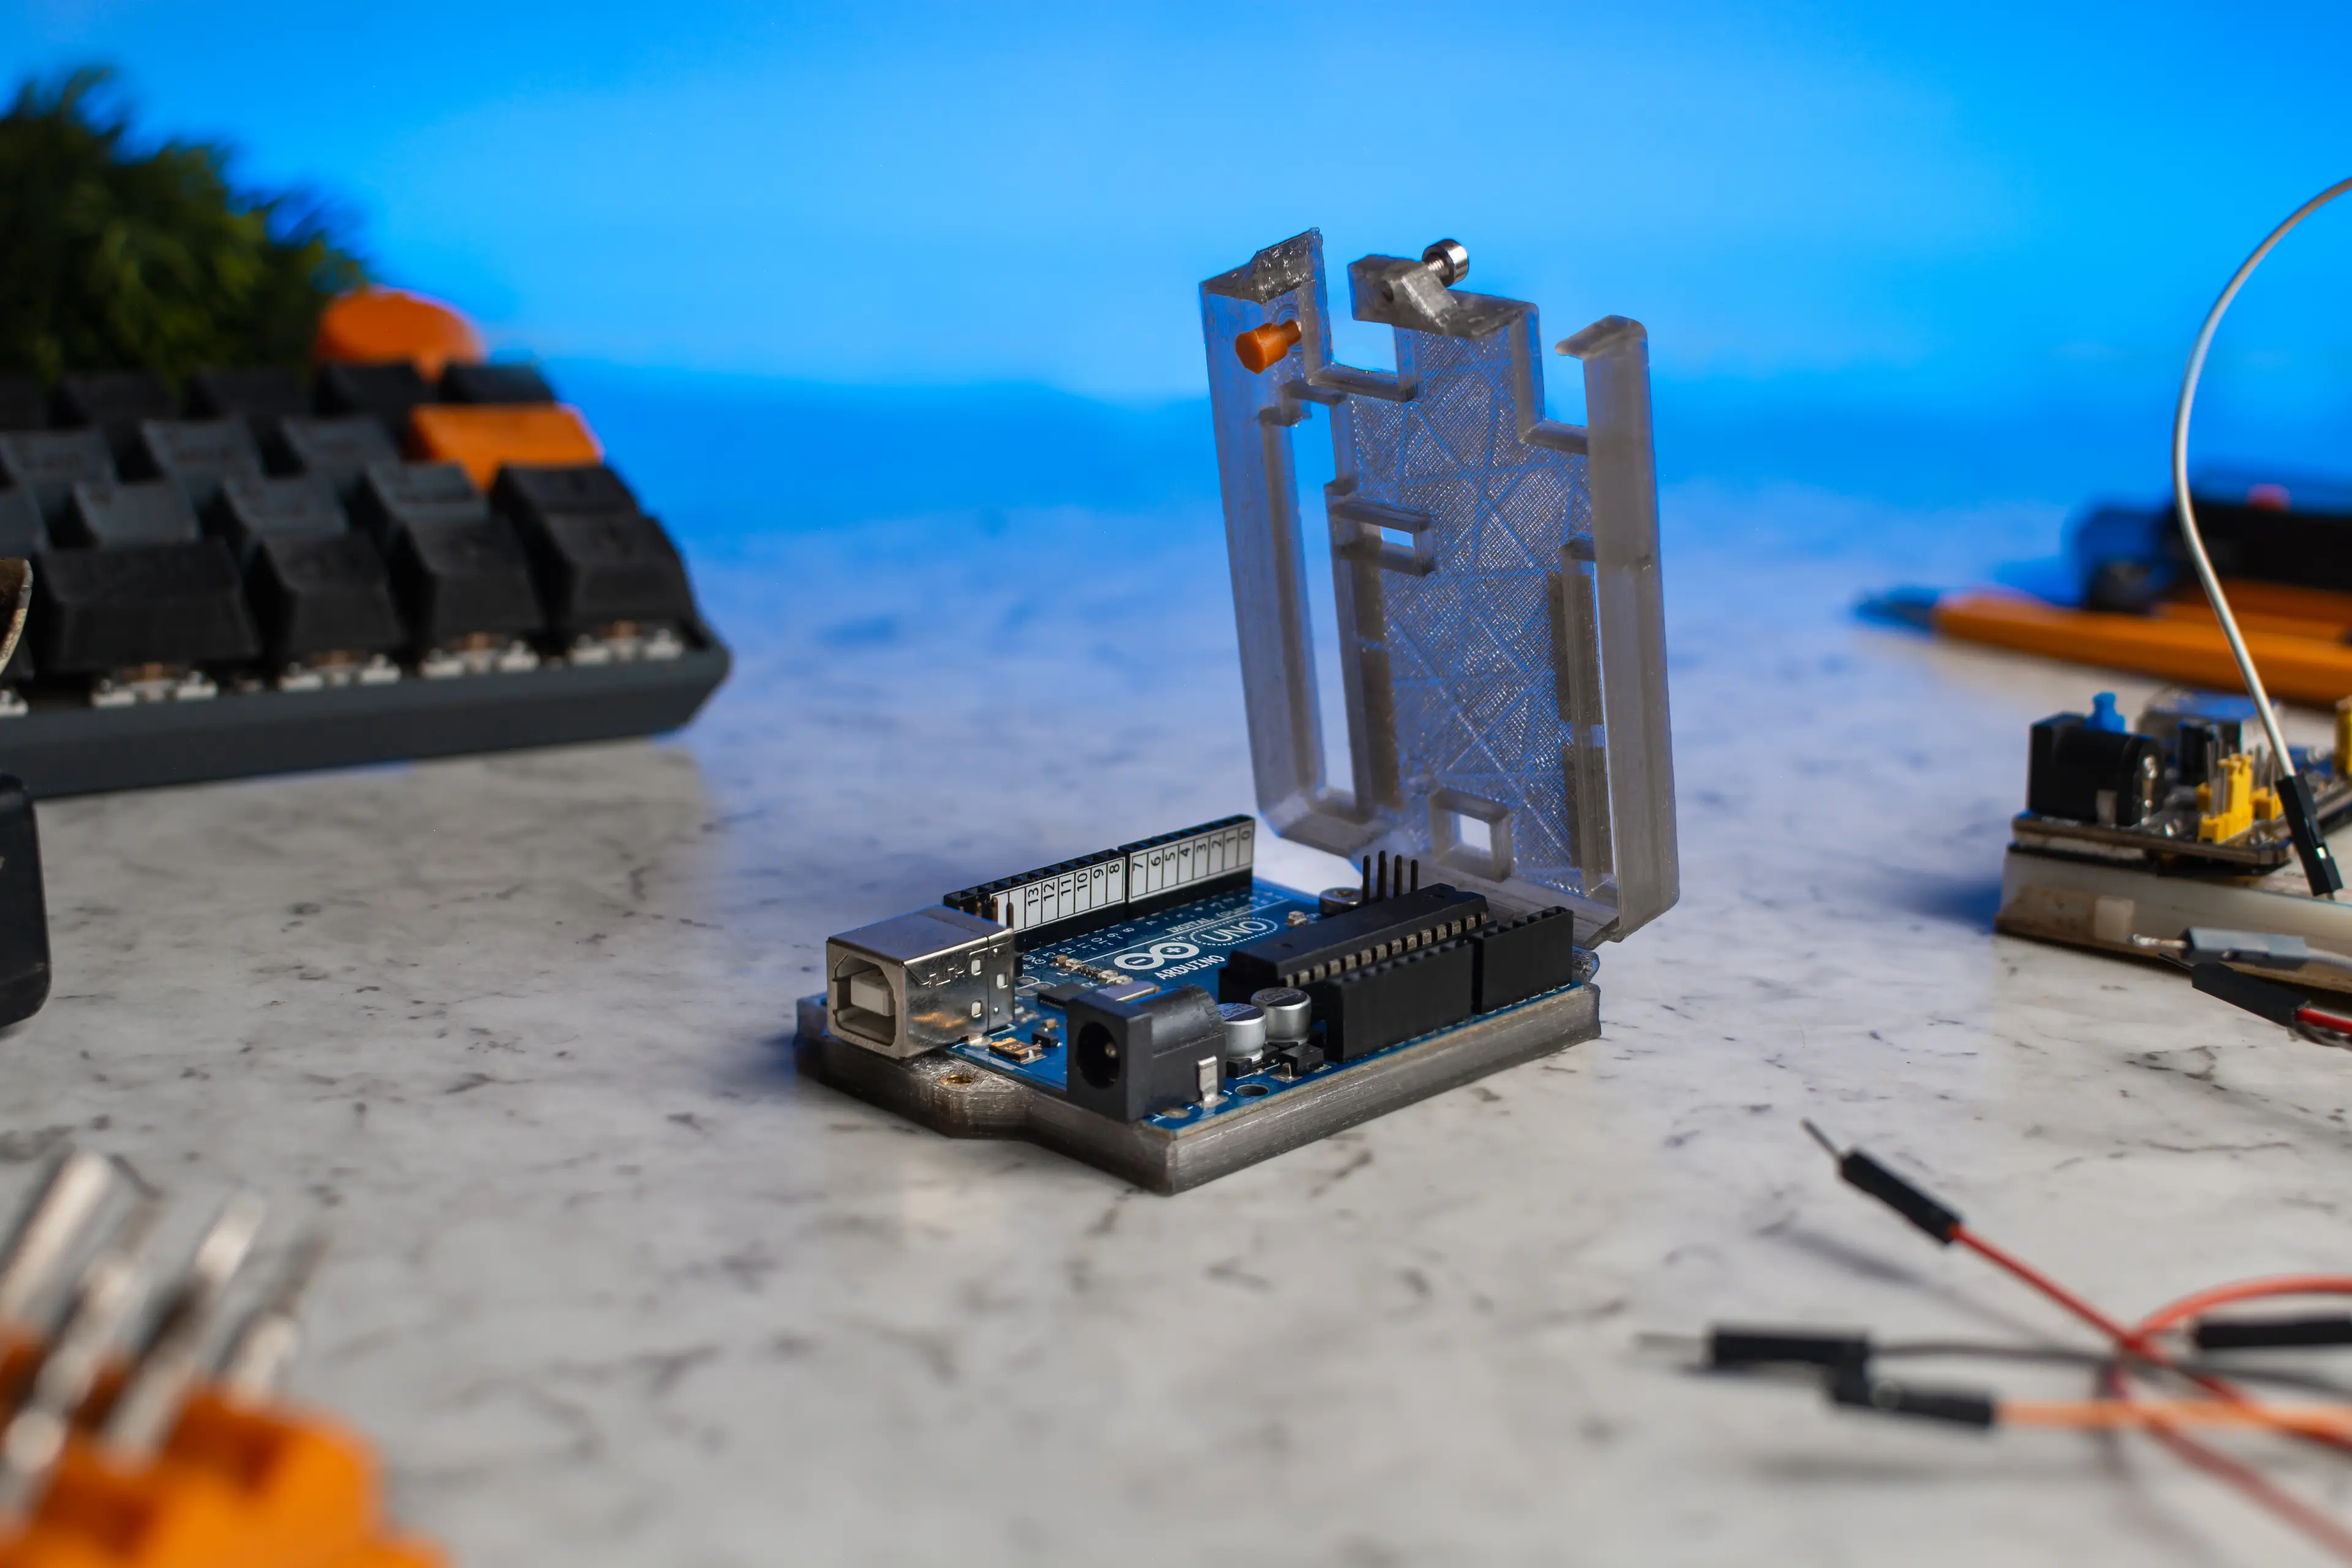
Arduino Uno case
Creality Ender 3 / Pro / V2 - Part & Hotend Cooling Upgrade Kit
Wire organizer

Nintendo Switch Game Card / Cartridge RCM Jig
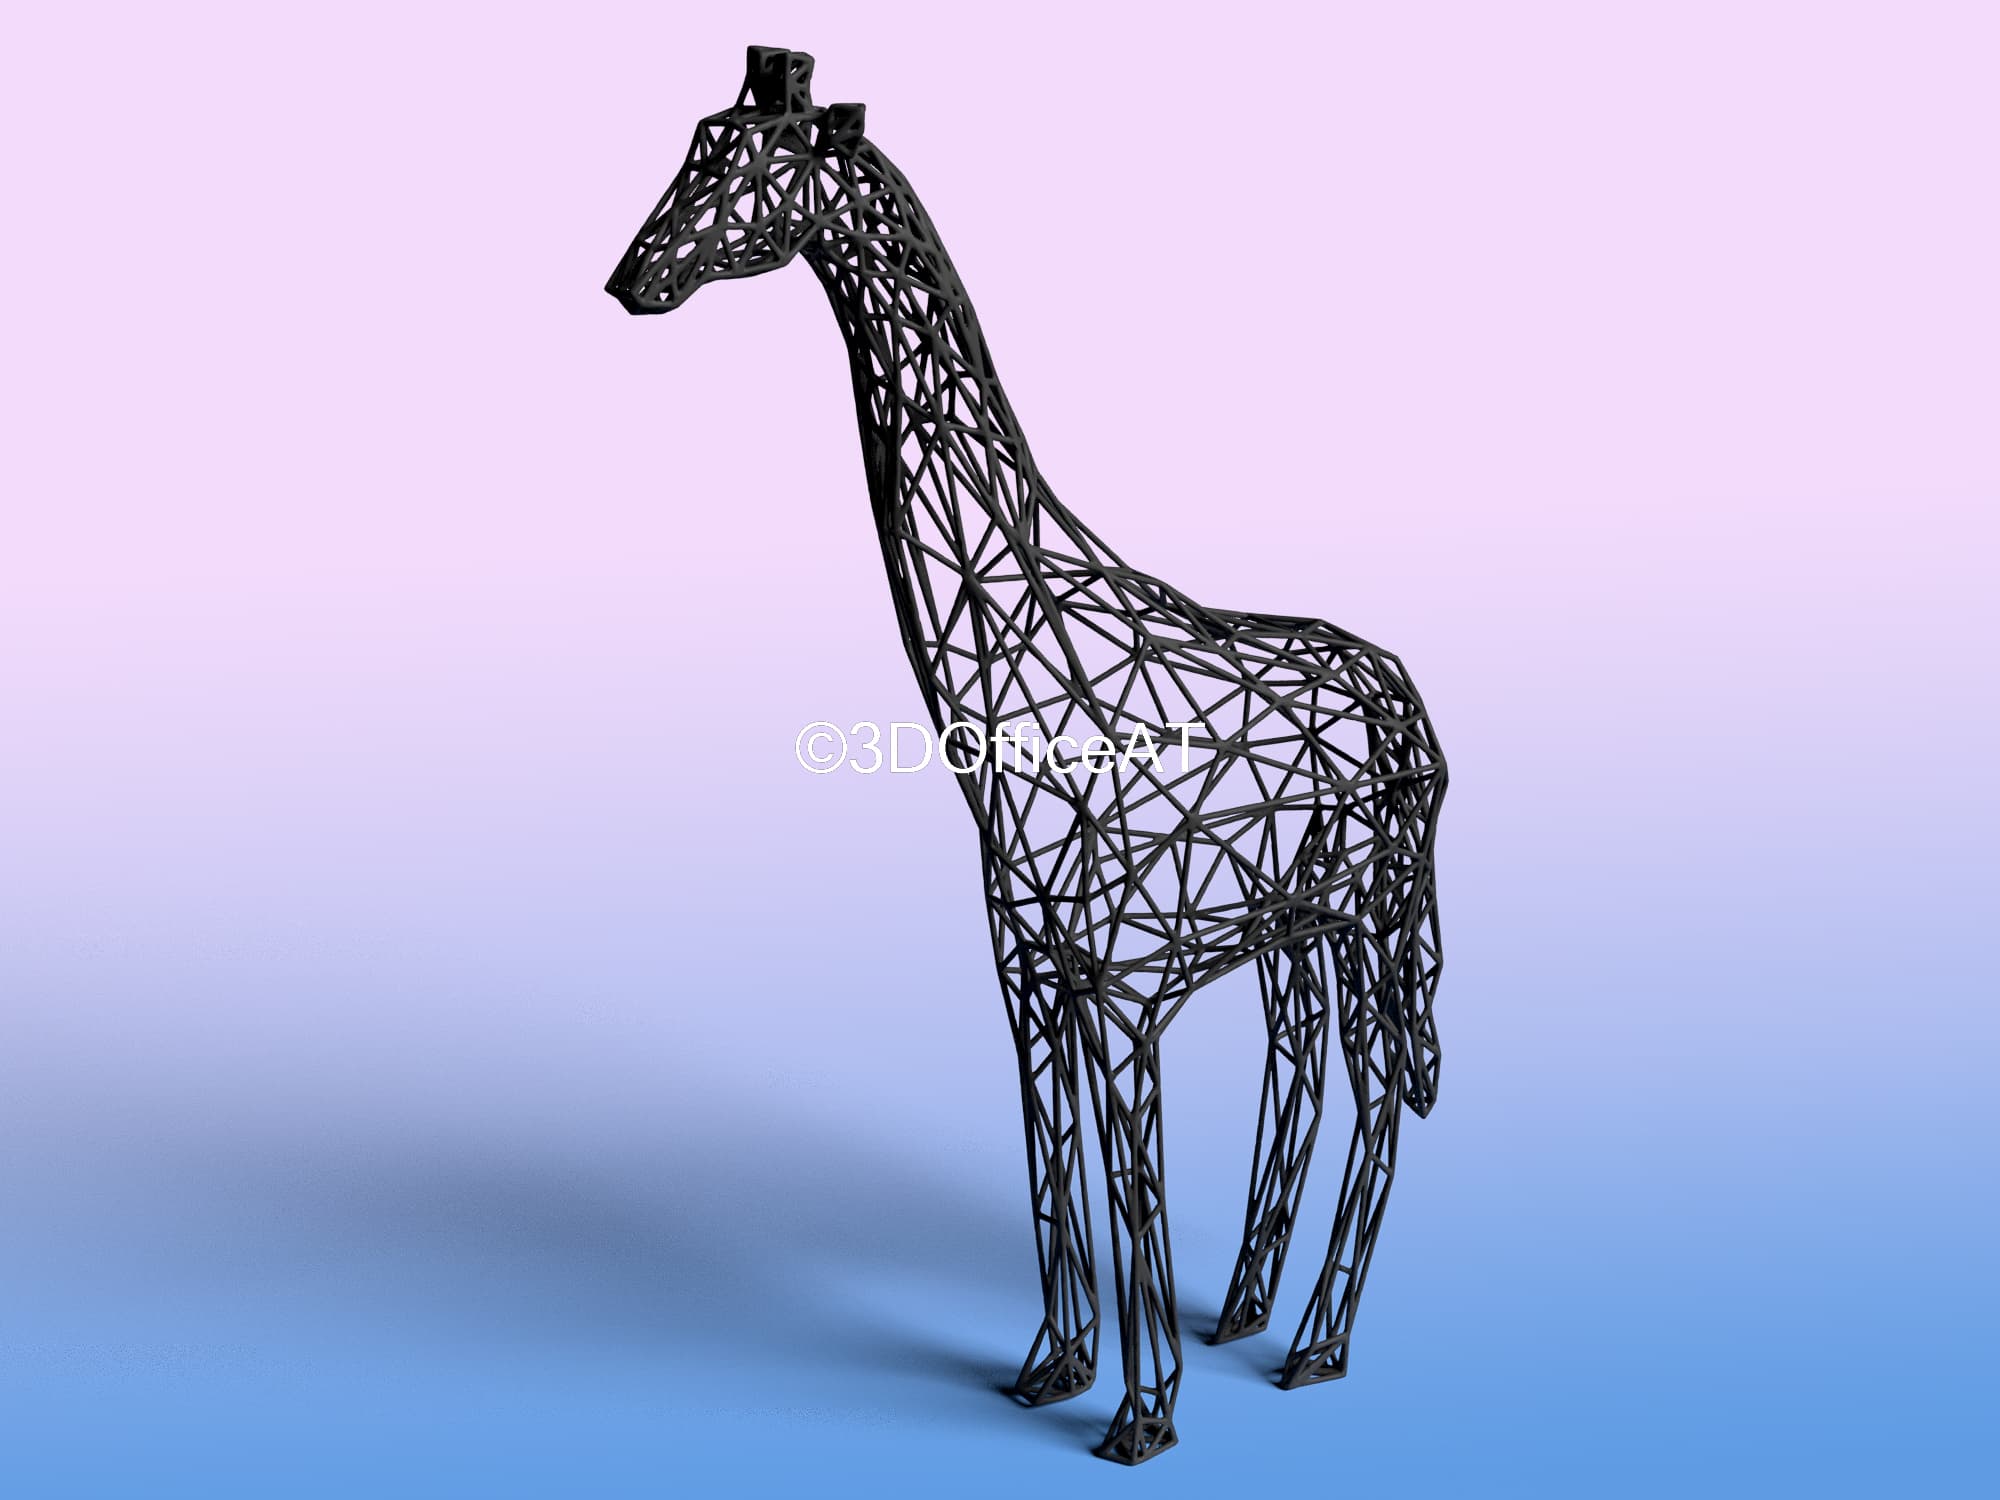
Wire Art Giraffe

AA to 3R12 Battery Adapter

5015 Blower Upgrade for 2-Spool Filament Dryer (SOVOL/Comgrow)
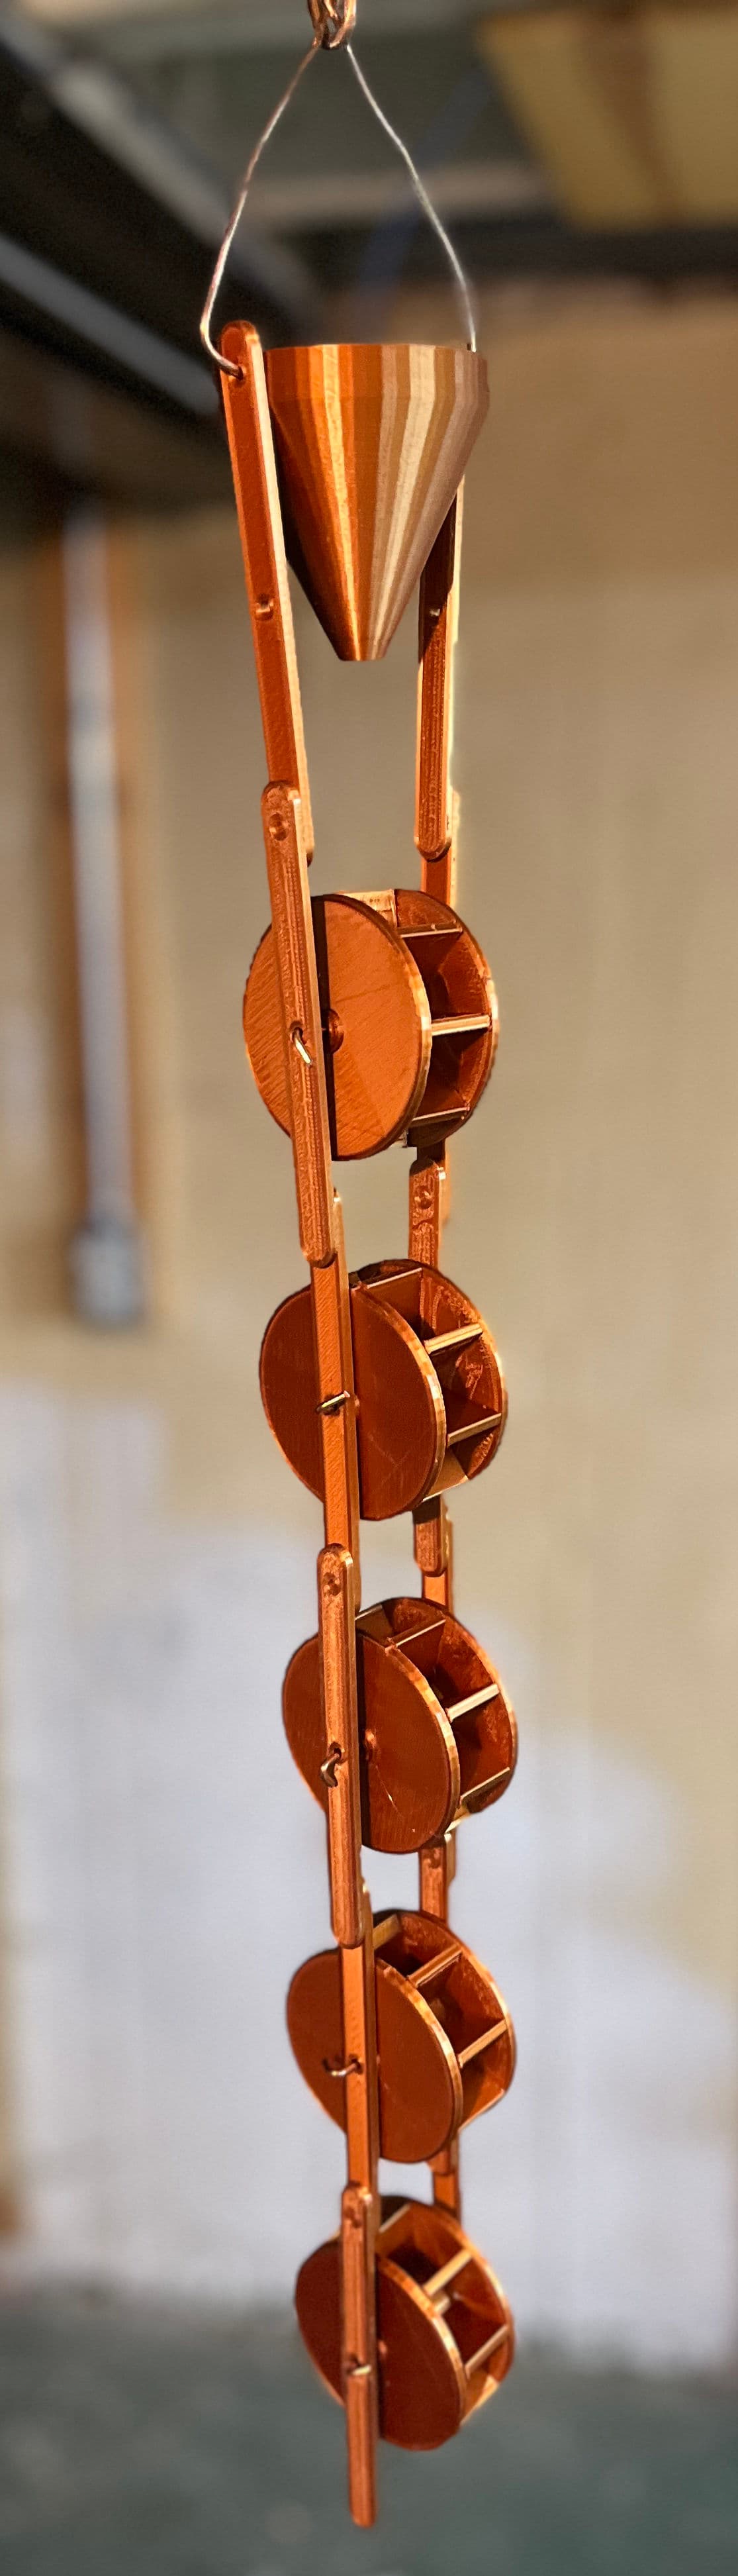
Water Wheel Chain
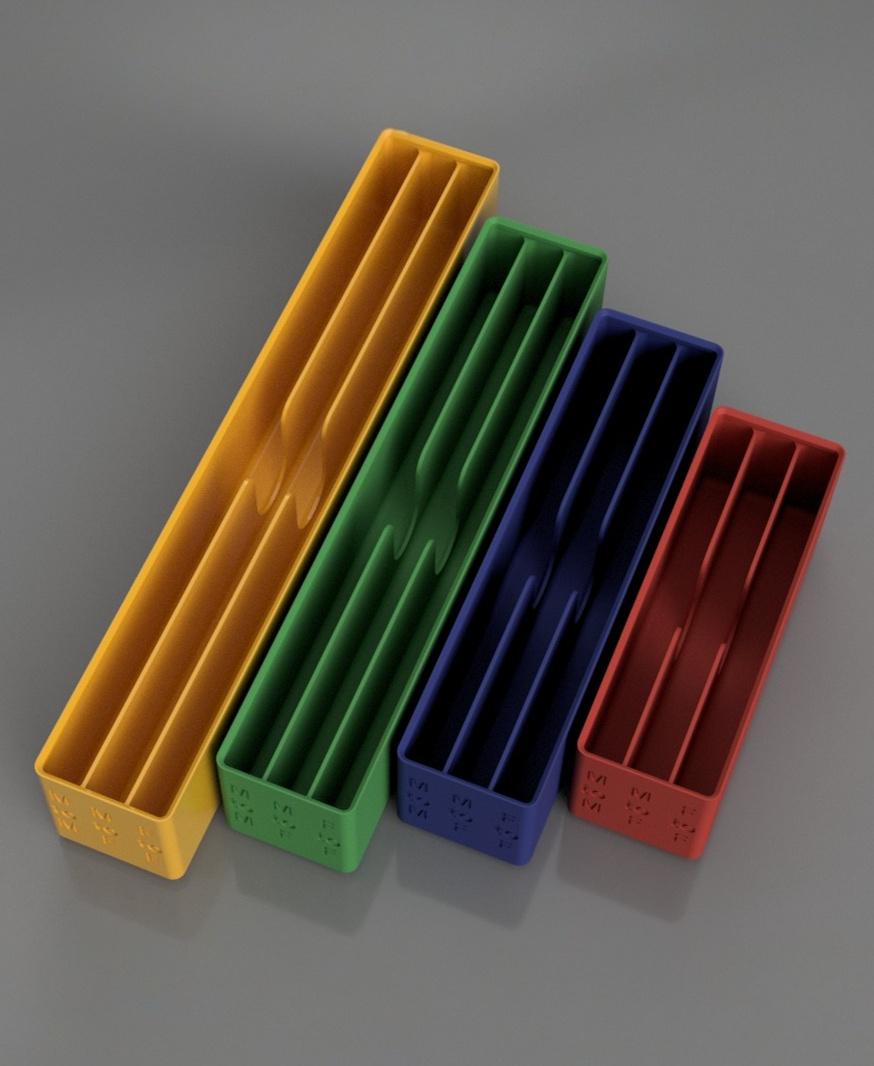
Gridfinity Jumper wire Bins

#Gridfinity Bendy McLampface
Belt Deflect-O-Meter
Logitech Extreme 3D Pro Throttle Pedal
1,2, and 4 Wire Screw Down Clips

Opto-mechanical Auto Bed Level Probe (Ender 3)
Sherpa Mini Dragon
Light Plate for Kossel Mini printer - LED Strip lights