


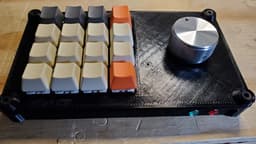

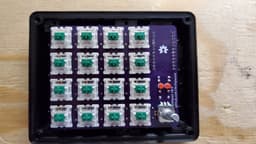


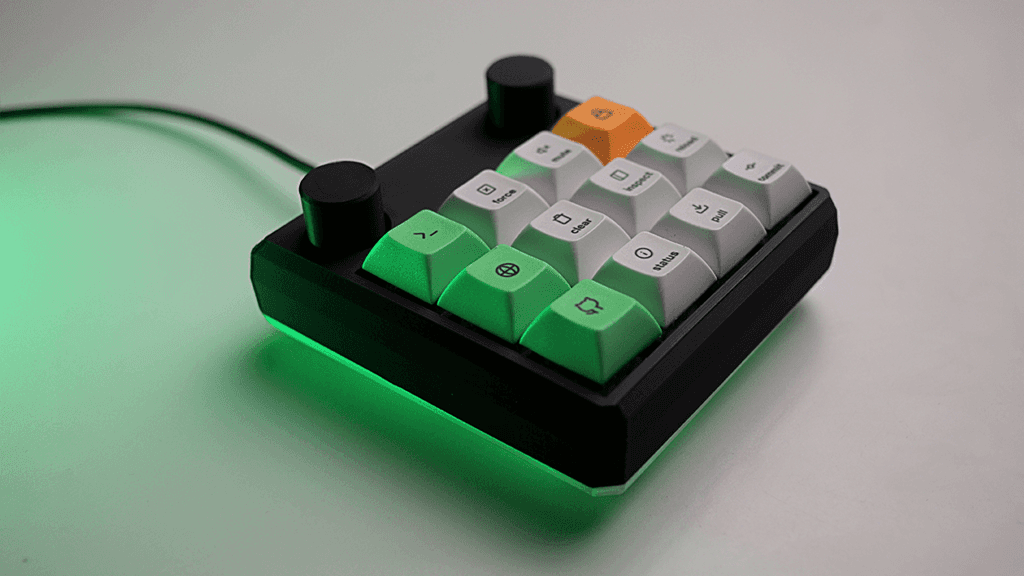
Dumbpad - 4x4 Macro Keypad with Rotary Encoder
Model originally uploaded to Thingiverse at https://www.thingiverse.com/thing:4175635.
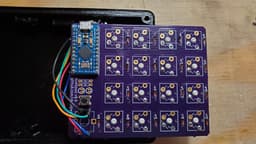
This case is a remix of my handwired version, but designed to use imchipwood's PCB from here: https://github.com/imchipwood/dumbpad
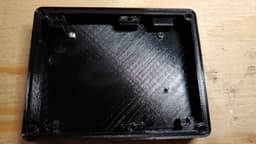
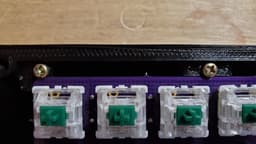
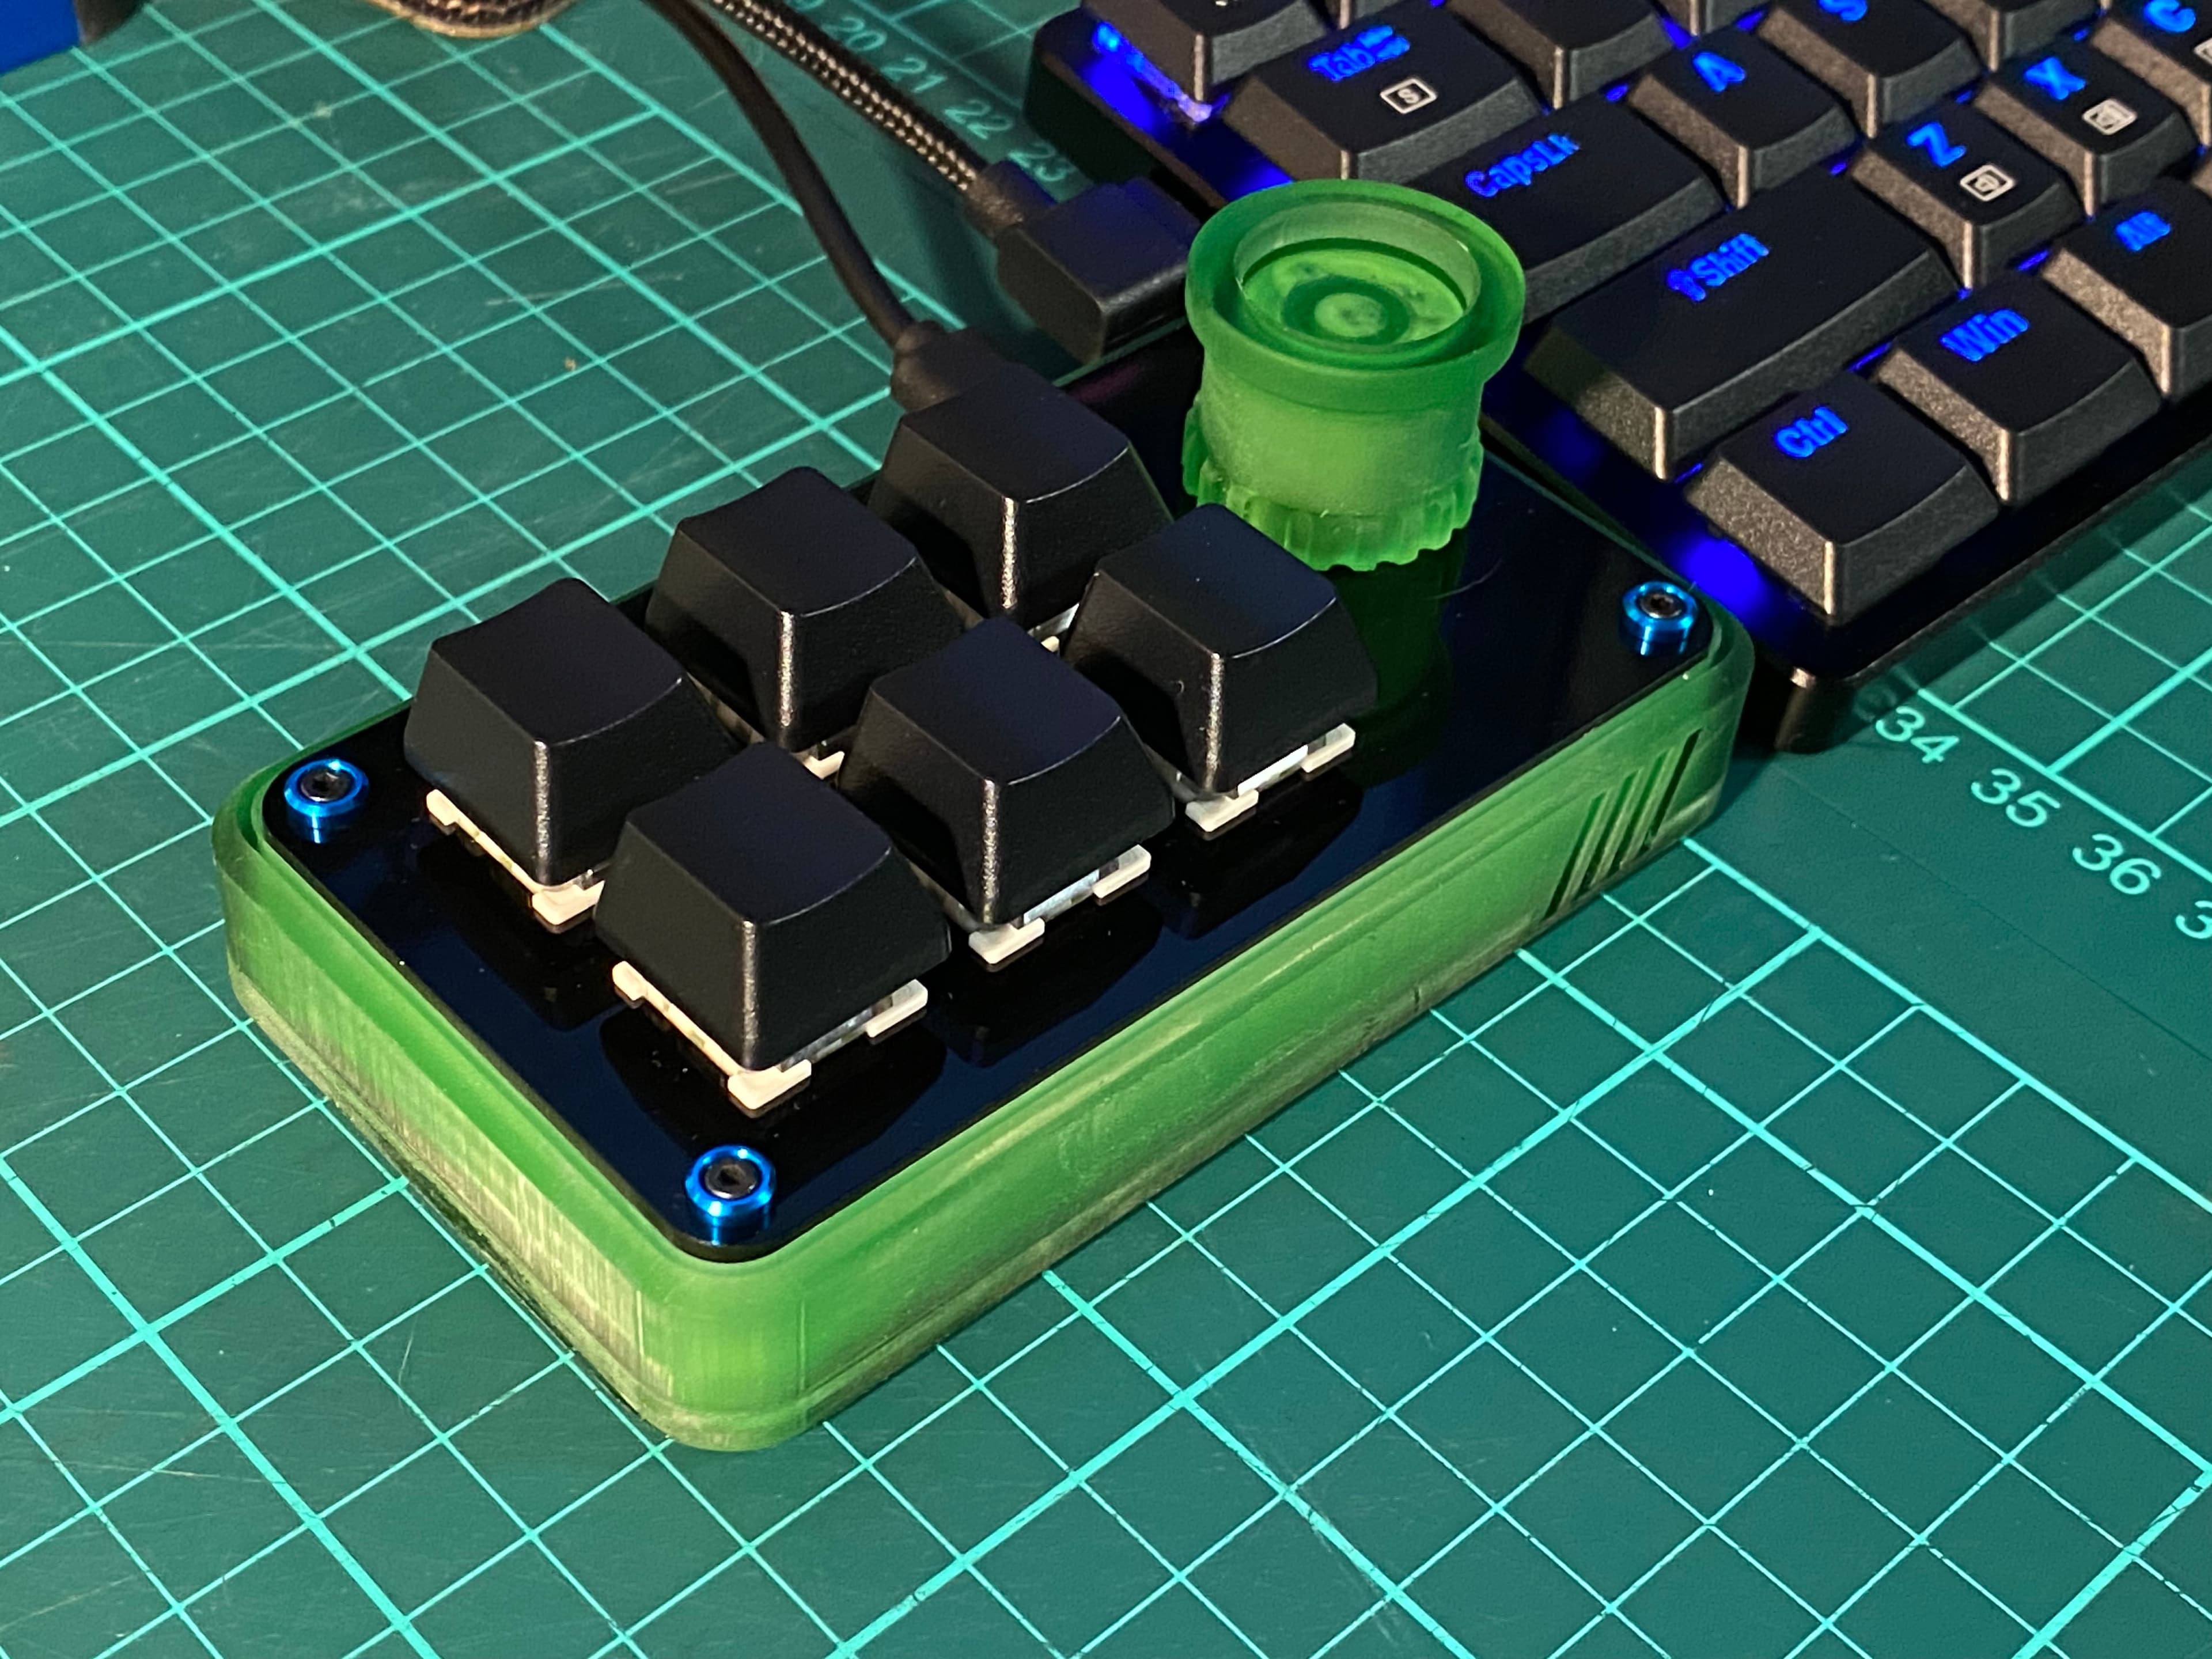
The 'Large' version files are uploaded and reflect the pictures of the completed project - except in the photos you may see the reset switch on the 'top' of the pcb, but its been moved to the bottom along with the pinhole to trigger it.
For both the 'Large' and forthcoming "Small" versions, you must flip the board over to move the rotary encoder to the right of the keypad.
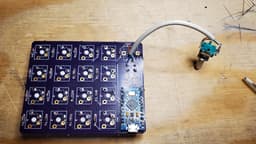
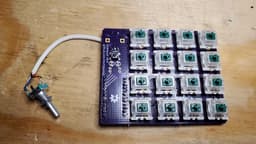
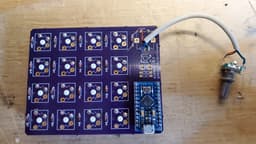
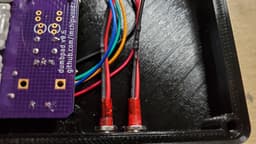
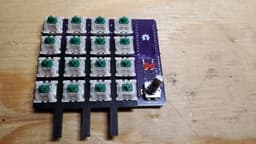
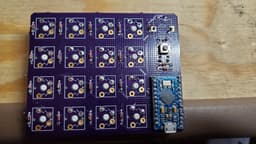
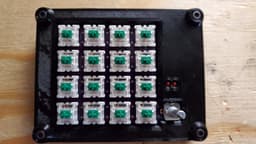
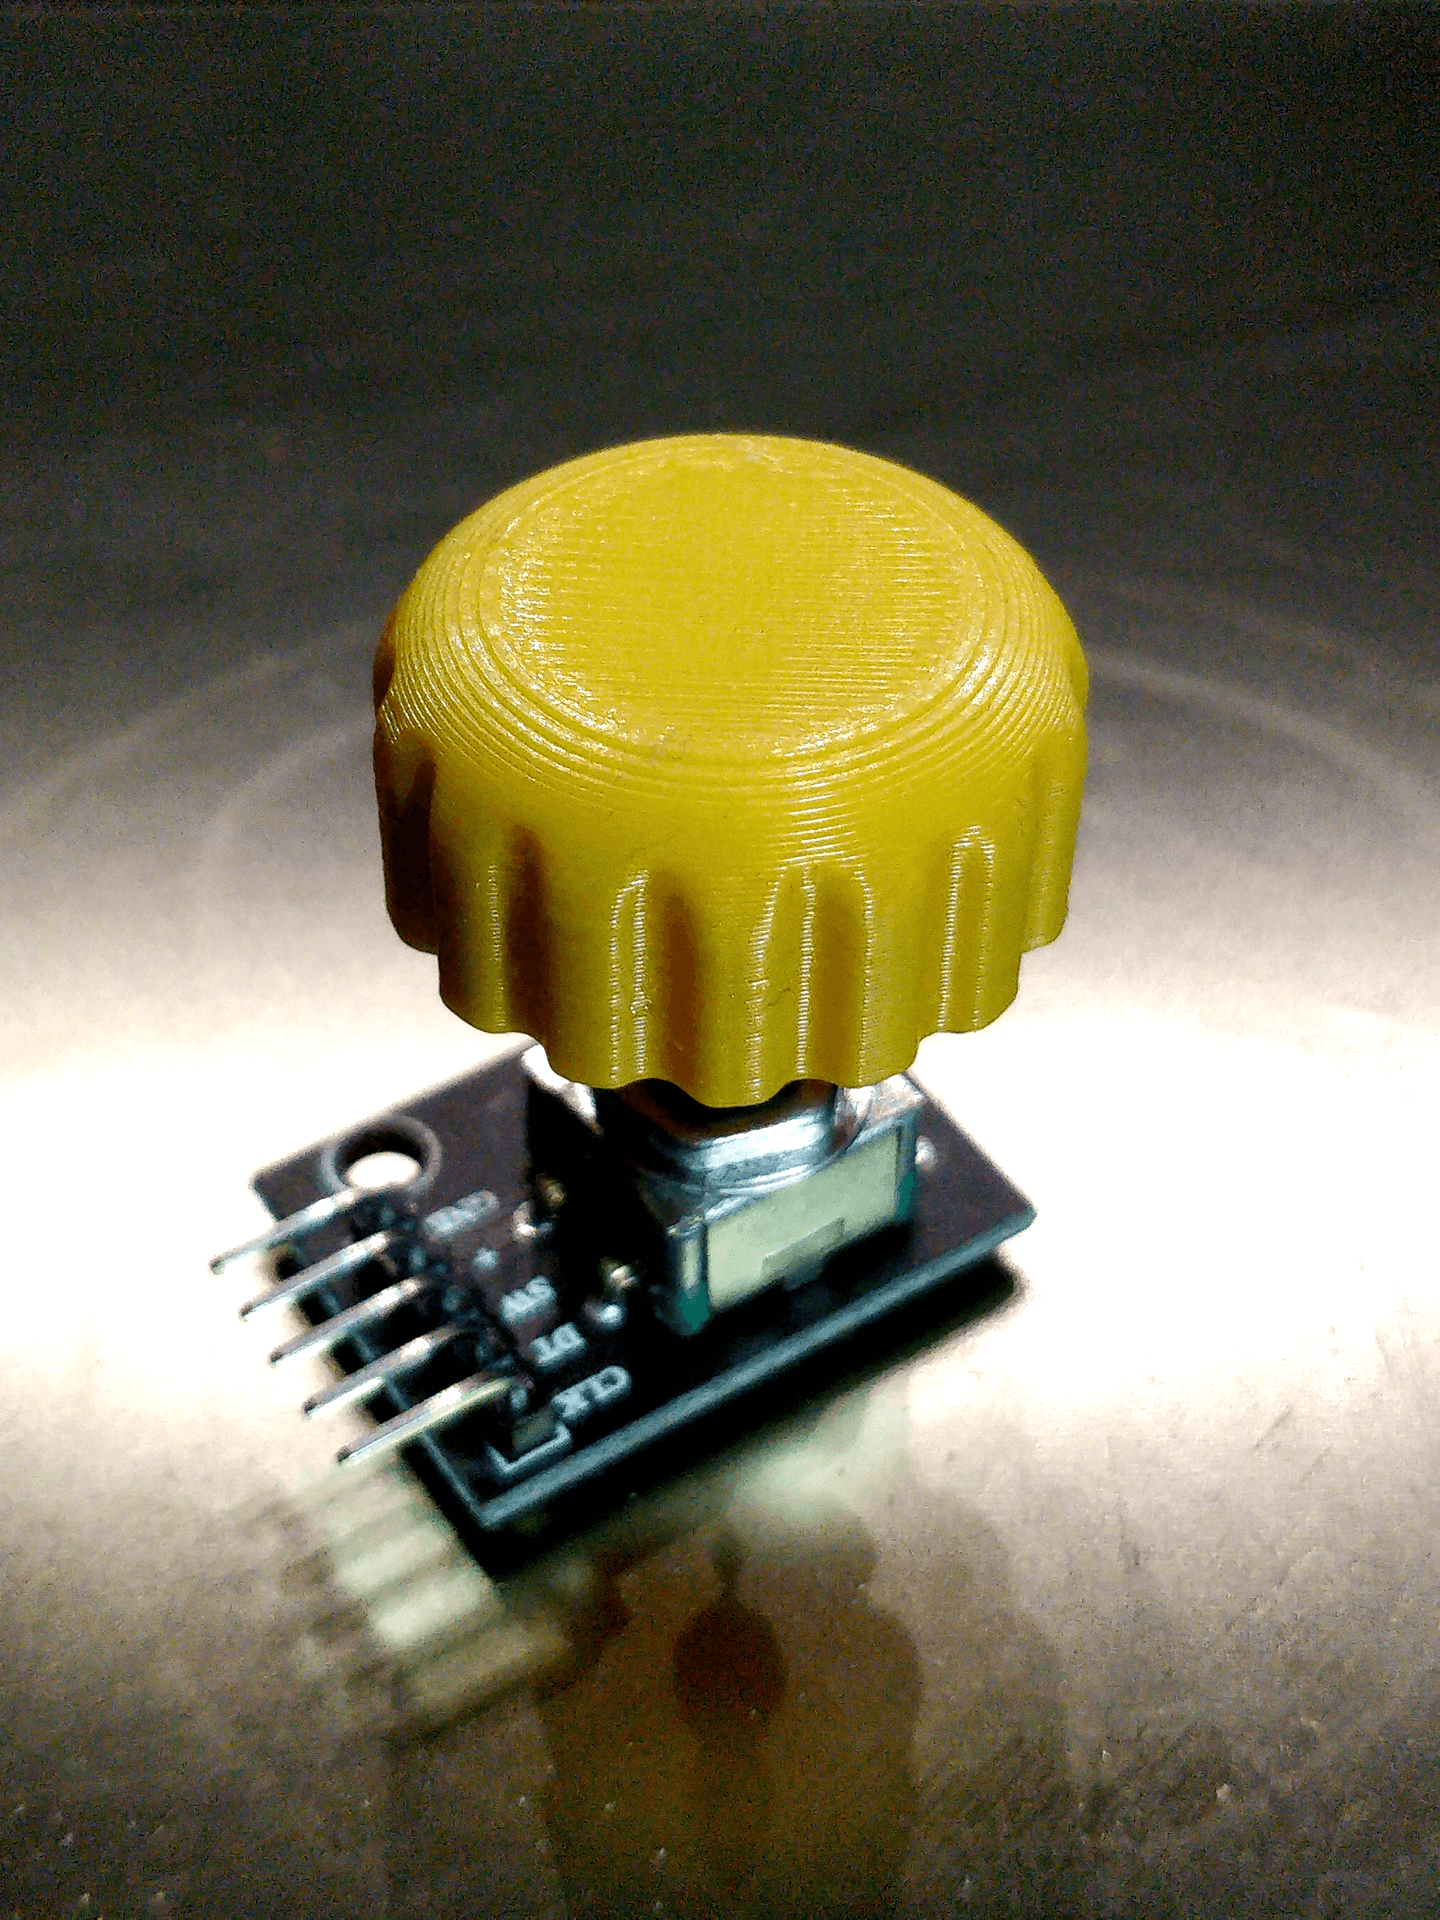
In this configuration for Large - i soldiered: On the 'Top' of the board (facing up) - the key switches On the 'Bottom' of the board (facing down) - the diodes, jumpers (or resistors) for the LEDs, the remote led leads (had built in 220 ohm resistors), the 6mm tactile switch and the wiring for the rotary encoder
In this configuration for Small - i soldiered: On the 'Top' of the board (facing up) - the key switches, the rotary encoder, and 2x 3mm LEDs On the 'Bottom' of the board (facing down) - the diodes, 220 ohm resistors for the LEDs and the 6mm tactile switch.
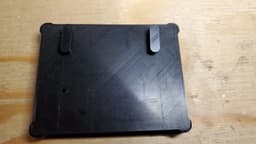
See the photos for reference.
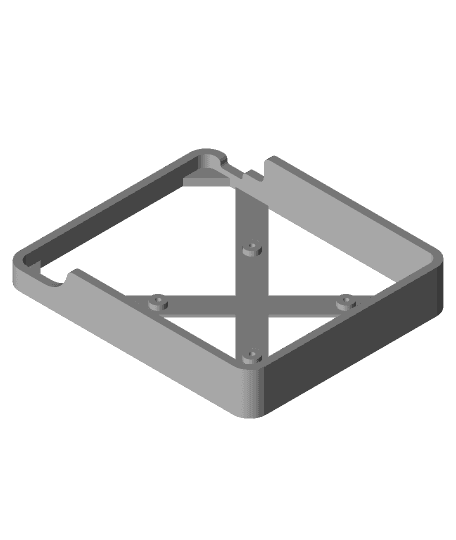
The keyswitch Alignment tool can help you keep your switches aligned in a proper grid, if you have panel-mount ones like I did rather than pcb mount ones with the alignment pins.
I will try to put up more info on the parts i used as time permits - but I also included the stp files so you can change the design to suit your taste as well.
UPDATE: I added the 'Small' version files and a few more photos of assembly. Setting the feet, PCB and etc, are similar between the large and small versions with the exception of making remote placement of LEDs and the encoder.
Parts List:
- Encoder Knobs: a. You can print the big 50mm knob from the handwired version b. the really nice mxuteuk 35mm machined aluminum knob from Amazon c. the smaller Knob is one from radio shack that Ive had for a while, there are other examples you can print elsewhere on thingiverse
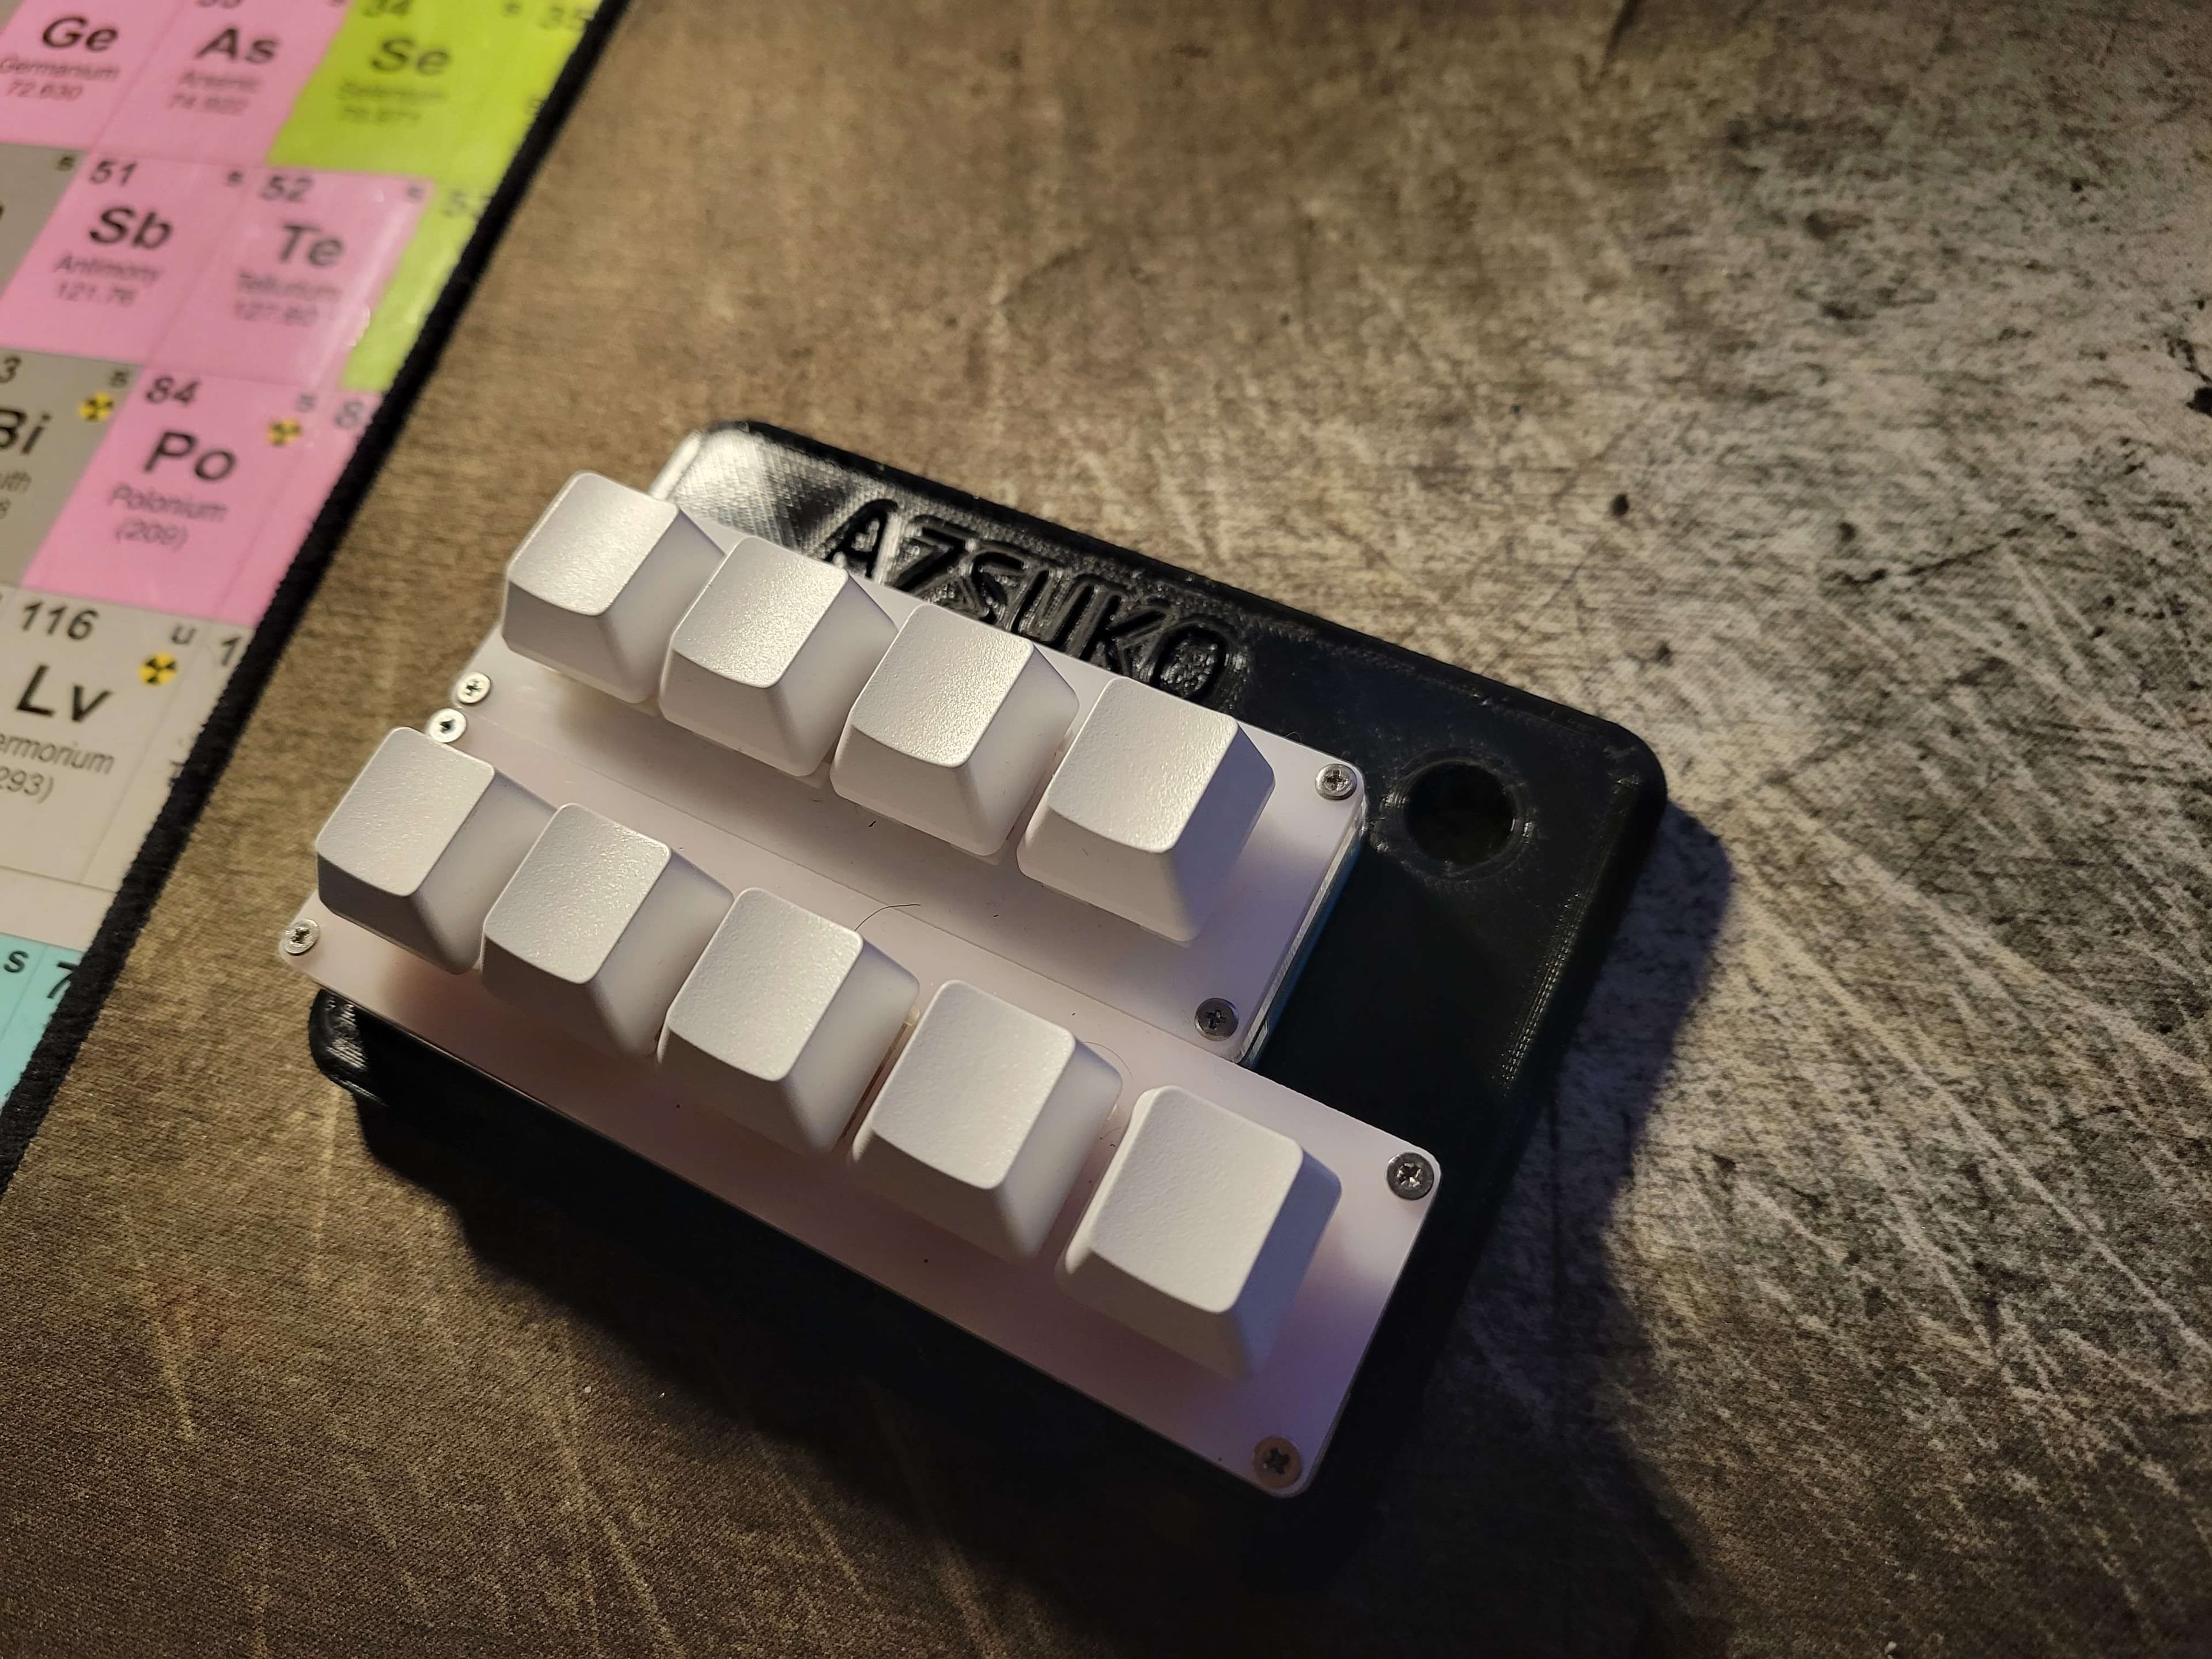
- Keycaps are YDMK SA Carbon blanks from Amazon
- LEDs: a. on the 'Small' version I used 3mm low intensity red ones -radio shack PN: 2760026 b. on the 'Large' version I used Red LED assemblies from radioshack I have a silly amount of old radioshack stuff.....
- Diodes:In4148 - you can get a cheap 100 pack from Amazon 5.Resistors: 220 ohm, i have a cache of things like this again from radioshack (when the local one closed, i bought out the remaining contents of the parts bin....another story for another time)
- Tactile Switches:any standard pcb mount 6mm ones you have about - from other projects, but you can also buy them in packs of 100 from Amazon and other places
- Rotary Encoders:Here is a 10 pack of EC11's from Amazon
- Jumpers:Save some castoff from diodes or resistors
- Pro Micros:3-pack from Amazon
- KeySwitches:I used Gateron clear-top greens, you can use whatever you like - i just had a bag of those on-hand.
- Screws:The case top screws are M4 hex insert machine screws, anything from 10mm to 16mm should work
- The feet and PCB mounting screws are thread-forming screws from the scrap bin, the holes are 3mm, if i remember correctly. the feet should require 8mm or so, and the pcb ones should be 8-10mm (with a pan head large enough to just catch the edge of the pcb as seen in one of the reference photos)
I will upload my kemap and firmware hex file if there interest, but this is a QMK firmware board that is included in the build environment and configurator
Hit me up in the comments for any clarifications
My other stuff (mostly Keyboards) https://www.thingiverse.com/revere521/designs
Dumbpad - 4x4 Macro Keypad with Rotary Encoder
DIY Mechanical Macro Keypad ― Ocreeb

Macro Pad
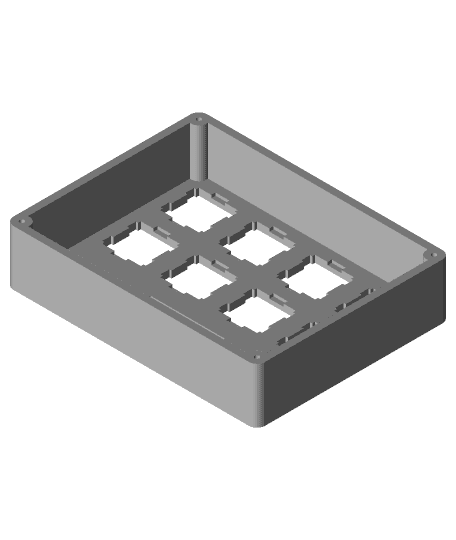
Case for dumbpad v1.x
2x6 1knob Macro Pad Case.stl
Mac1
Modular Keypad Base
TheUltiPad MK2 - Now with OLED Display and RGB

SiCK-68 Mechanical Keyboard
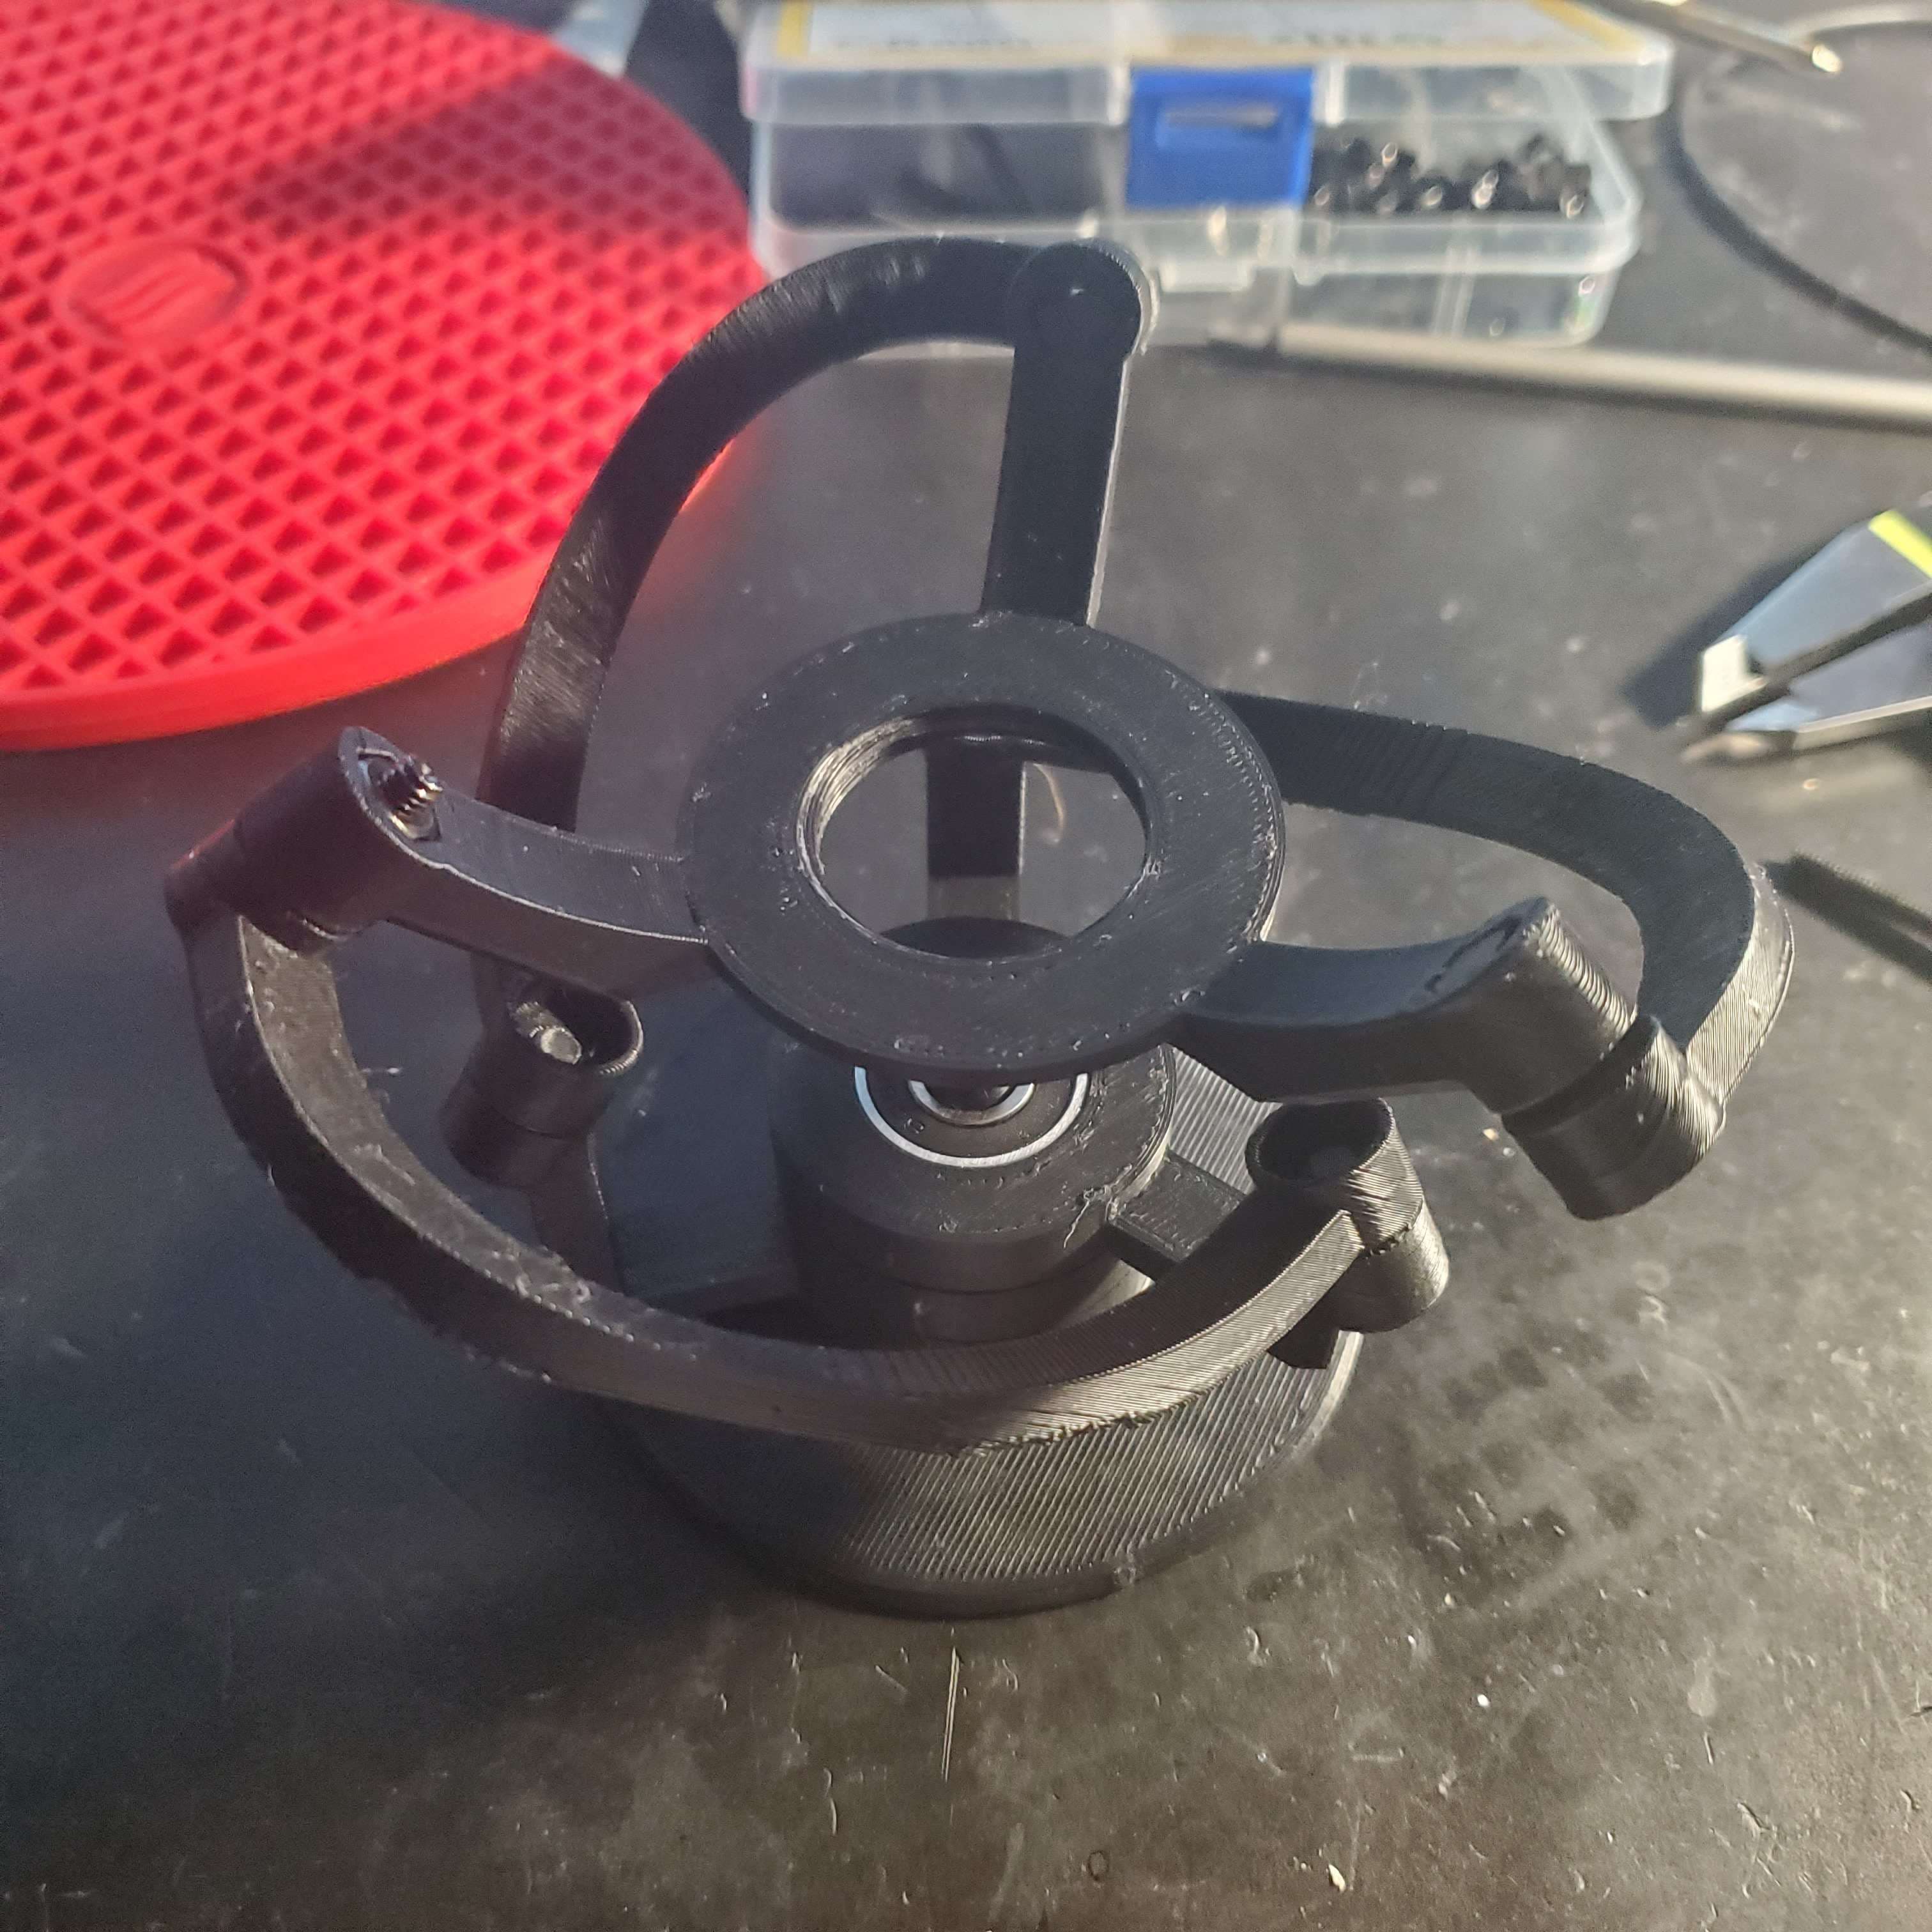
Spherical Parallel Manipulator Prototype
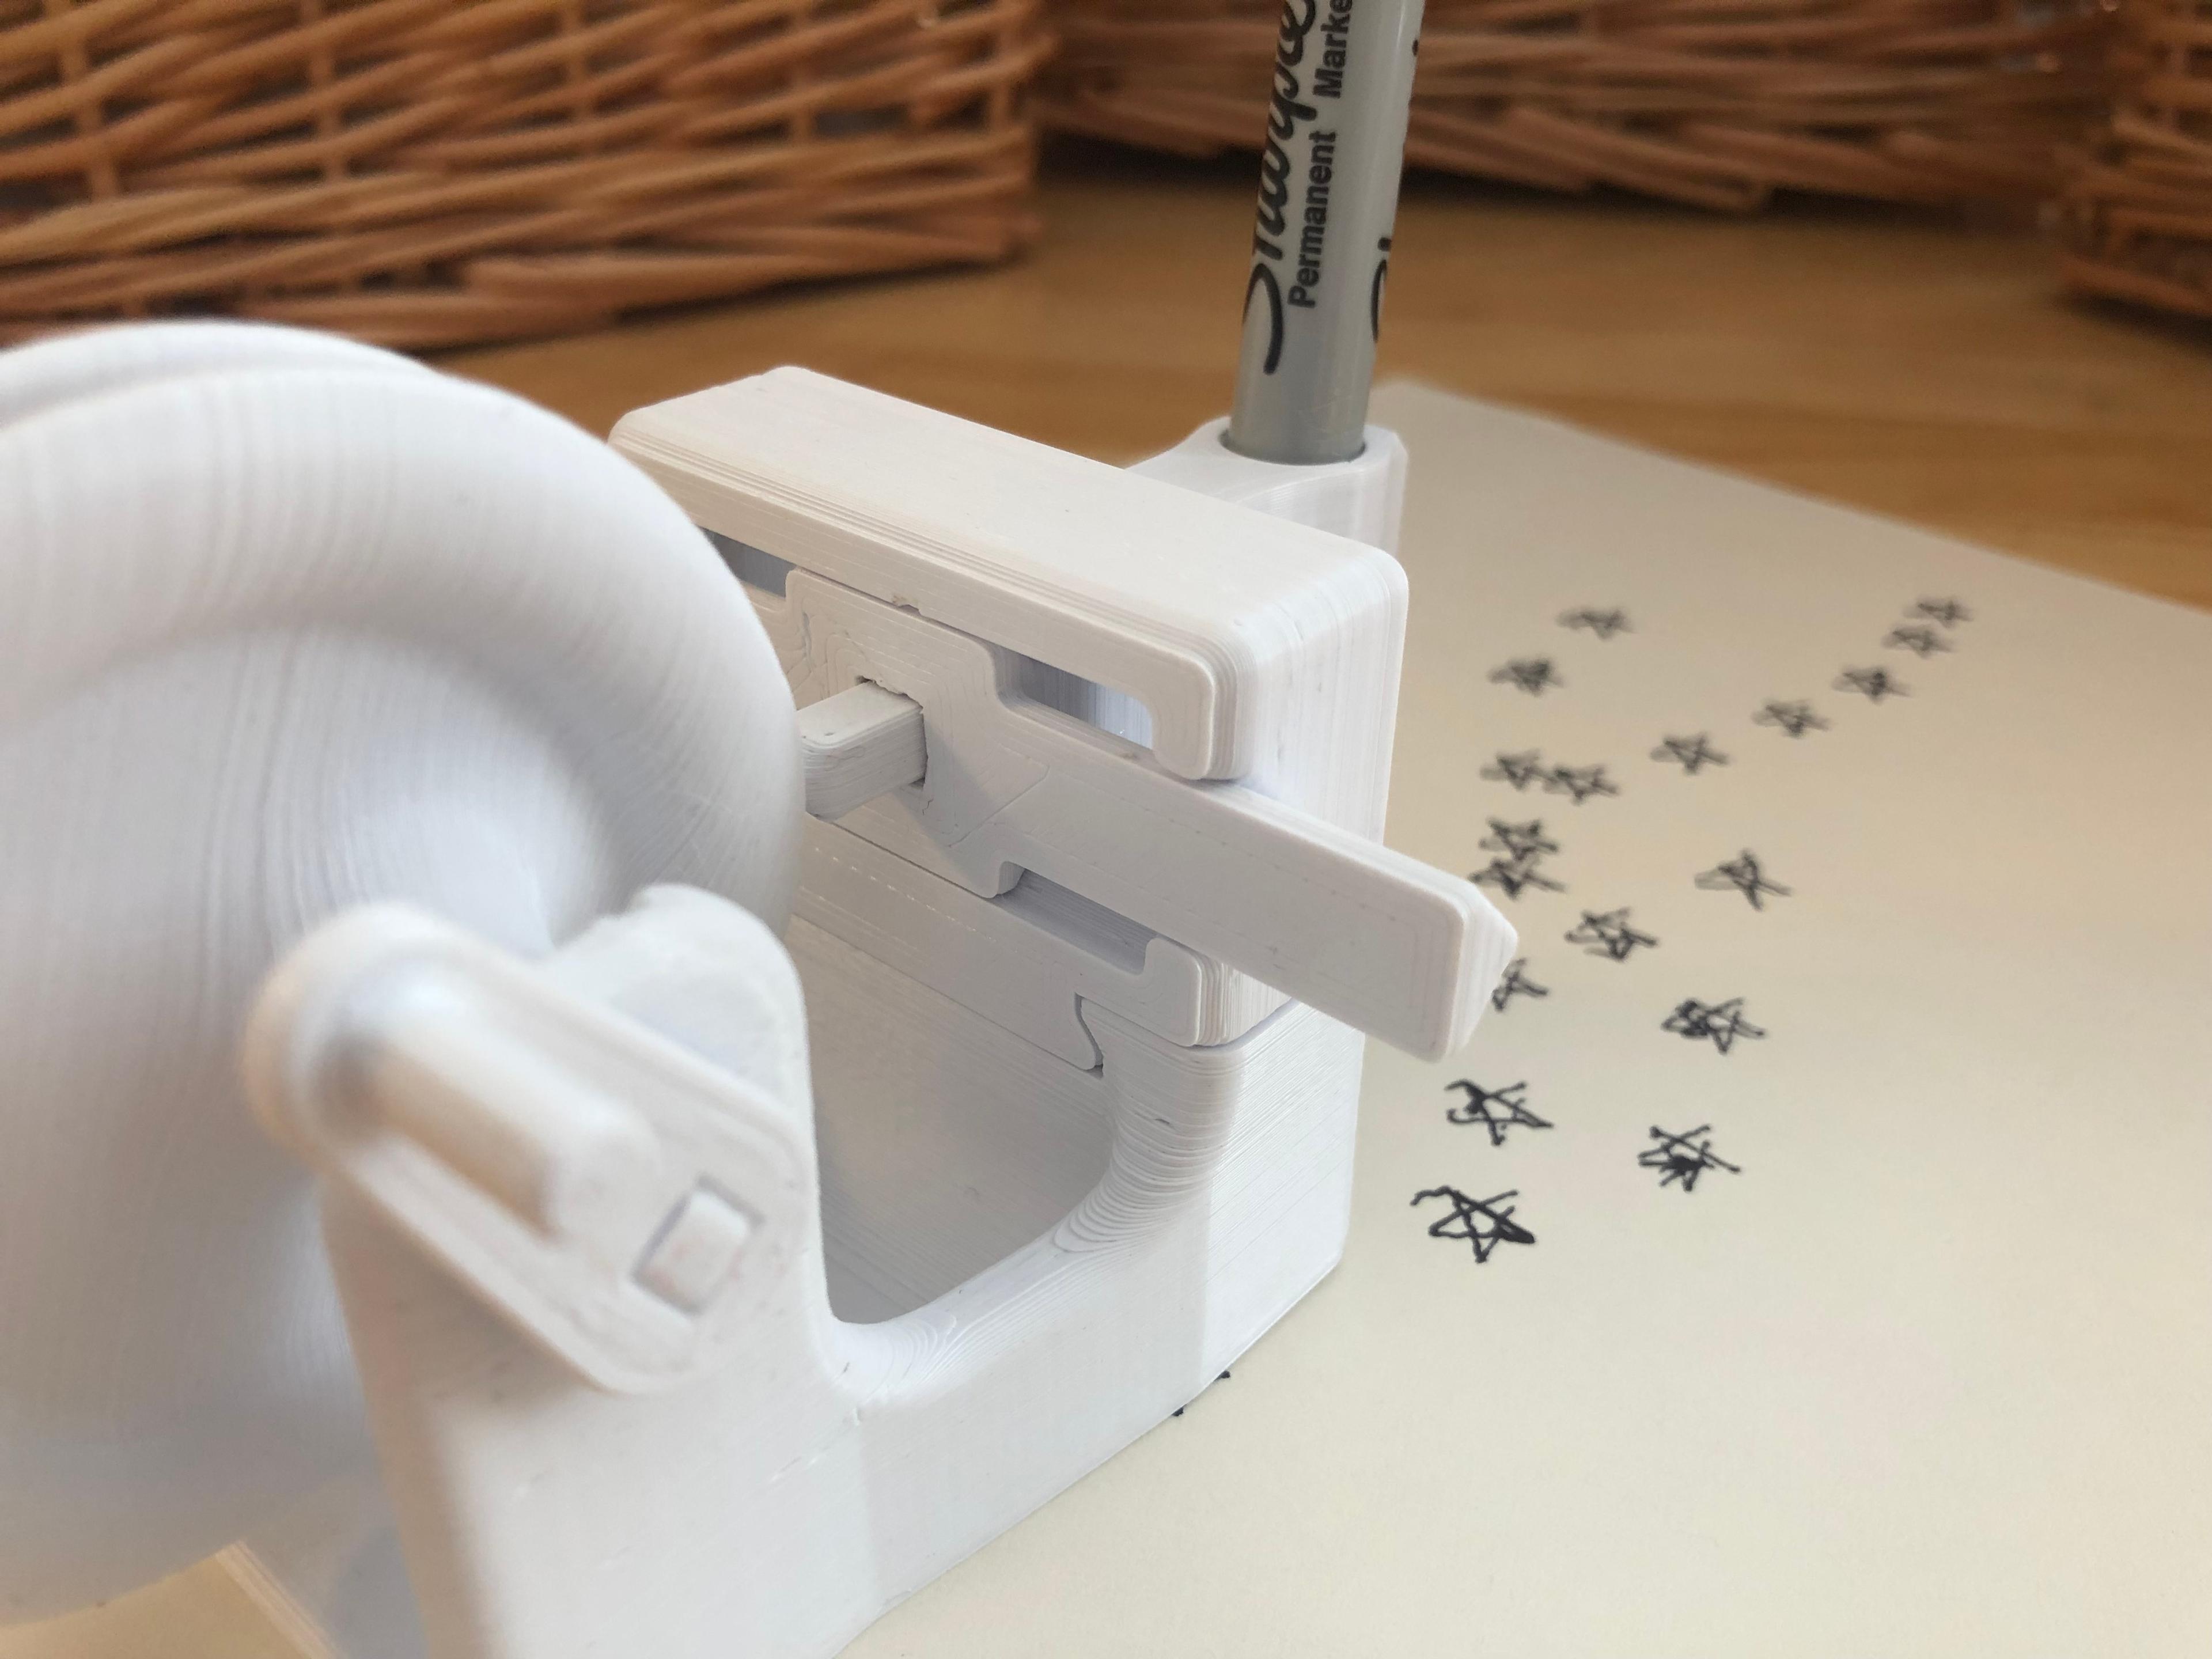
Complex Barrel Cam Shape Drawing Machine

BinaryBin – 16-Digit Binary Coded Lockable Container
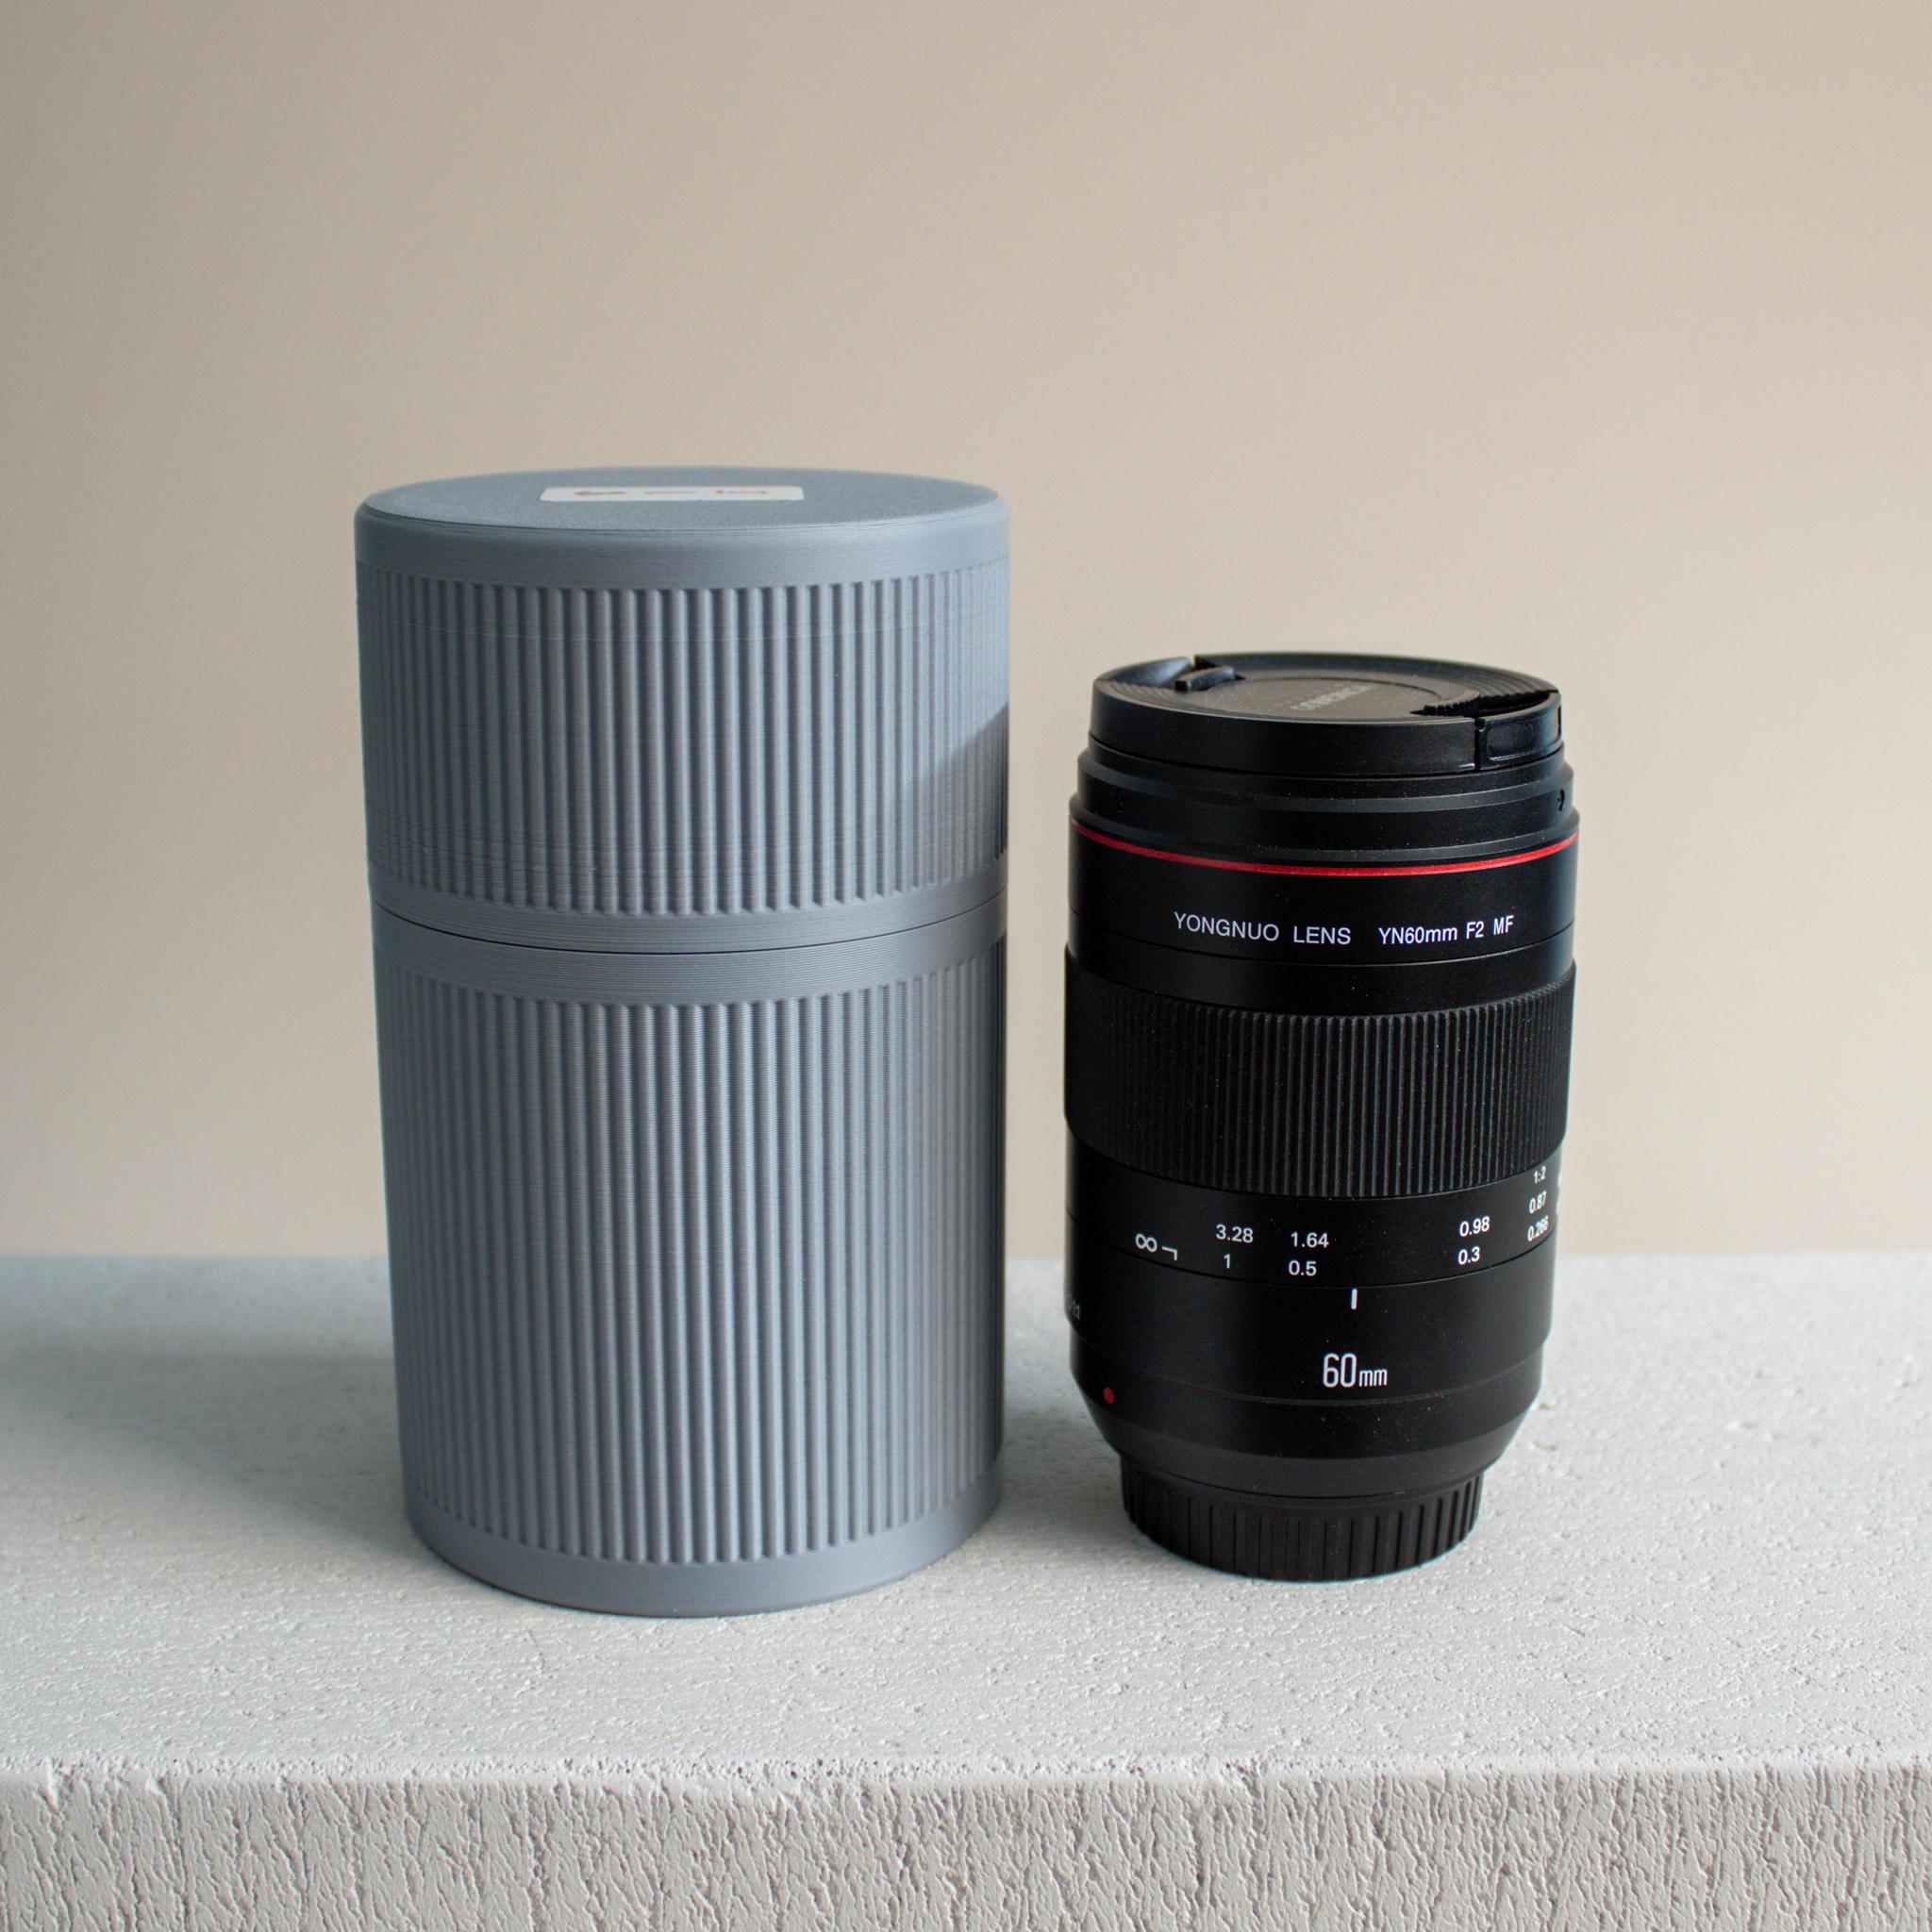
Lens Case for Yongnuo YN60mm F2 MF Macro Lens (Cover)
.png&w=3840&q=75)
Runout En-Coder-Cube

Firefighter Pretend Play Set
Encoder Knob

Hand Grenade Cryptex — Configurable 4-digit puzzle container

Chad GPT - Macro Button
Encoder Knob
Prototype: 3D Printed HOT SWAP Mechanical keyboard.