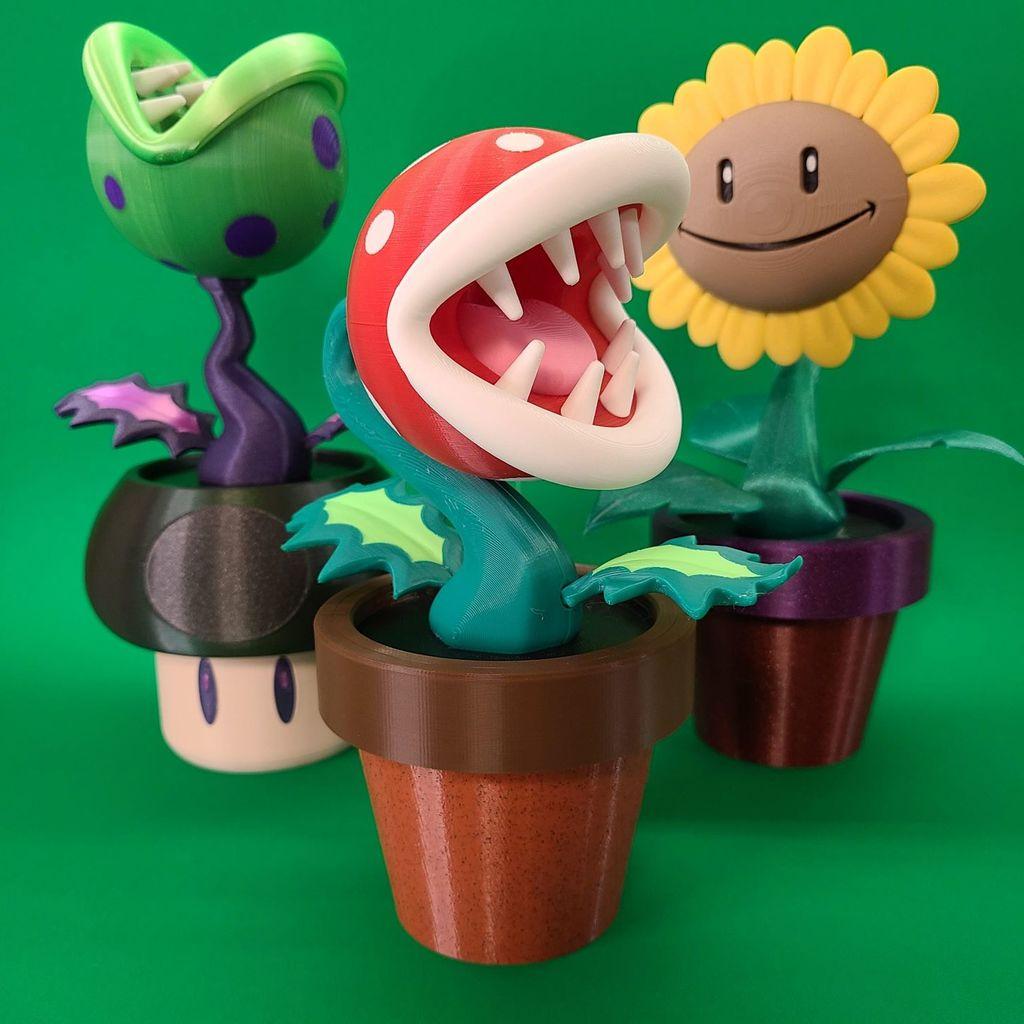
Model originally uploaded to Thingiverse at https://www.thingiverse.com/thing:5426723.
Red and white parts are designed to be printed together on a MMU or multi color printer. As well as the dark and light green leaves.
This project turned out to be one of my favorite designs inspiring me to create multiple versions as well as another plant. I just simply love experimenting with different colors on the main head and head spots, as well as the stem and leaves.
I included just the flower pot base in this free version, but have created other bases and a different version of the stem available here..
https://cults3d.com/en/3d-model/art/piranha-plant-v2
Free Sunflower design here...
https://www.thingiverse.com/thing:5426766
Pea shooter design available here..
https://cults3d.com/en/3d-model/game/pea-shooter-launcher-that-works-pla-n-pa
****** Created a remix to add parts for the single extruder printers ****** https://www.thingiverse.com/thing:5451481
I tried to make most of this design able to print on your average single extruder printer, but unfortunately could not come up with an efficient way to print the head and the spots without a duel extruder, or IDX printer. The “Top Head” and “Top Head Spots” should be printed together, as well as the “Bottom Head” and “Bottom head Spots”. “Back Leaf Light Green” and “Back leaf Dark Green” should be printed together to complete half of the back leaf then mirrored in your slicer program to complete the 2nd half of the leaf. The same process will be necessary to complete the front leaf. Everything else should be self-explanatory, just align the flat spots of each part on the build plate. Most parts can be printed without supports, but a few will need them. Once everything is printed, I start assembling the model by attaching the tongue in the bottom head with some 3D gloop. Then the teeth should fall into place when they are aligned correctly. Letting the tongue and teeth set in the bottom head, I attach the head pins and remaining teeth in the top head. I then take time to attach the leaf halves together, by applying a small amount of gloop to one side and holding the respective mirrored side together. Setting the leaves aside to set up, I finish attaching the top and bottom head pieces together, and carefully apply gloop along the groove for the lips to be attached. You will notice the flat spot on the lips will line up with the bottom, or tongue part of the head. I then attach the two stem parts together. It helps to align the arrow on the bottom of the stem with the arrow on the black base and glue the stem to the base at roughly the same time. After leaving the stem set up in the base for a few minutes, It should be fine to dip the respected leaf ends in gloop and insert them into position on the stem. The stem and the head will need attached together next. Be sure to correctly align the top of the head upwards. I apply gloop to not only the stem heptagon, but to the cut out on the stem as well. Last I apply gloop to the diagonal part of the pot top and to the diagonal of the black bases bottom and attach the two together.
You can follow me on instagram, https://www.instagram.com/pla.n.pa/ to find out what I designs I am currently working on
If your interested in selling prints of my designs, become a Patreon supporter here… https://patreon.com/planpa3d
Thanks for checking out my design. Happy printing!!


