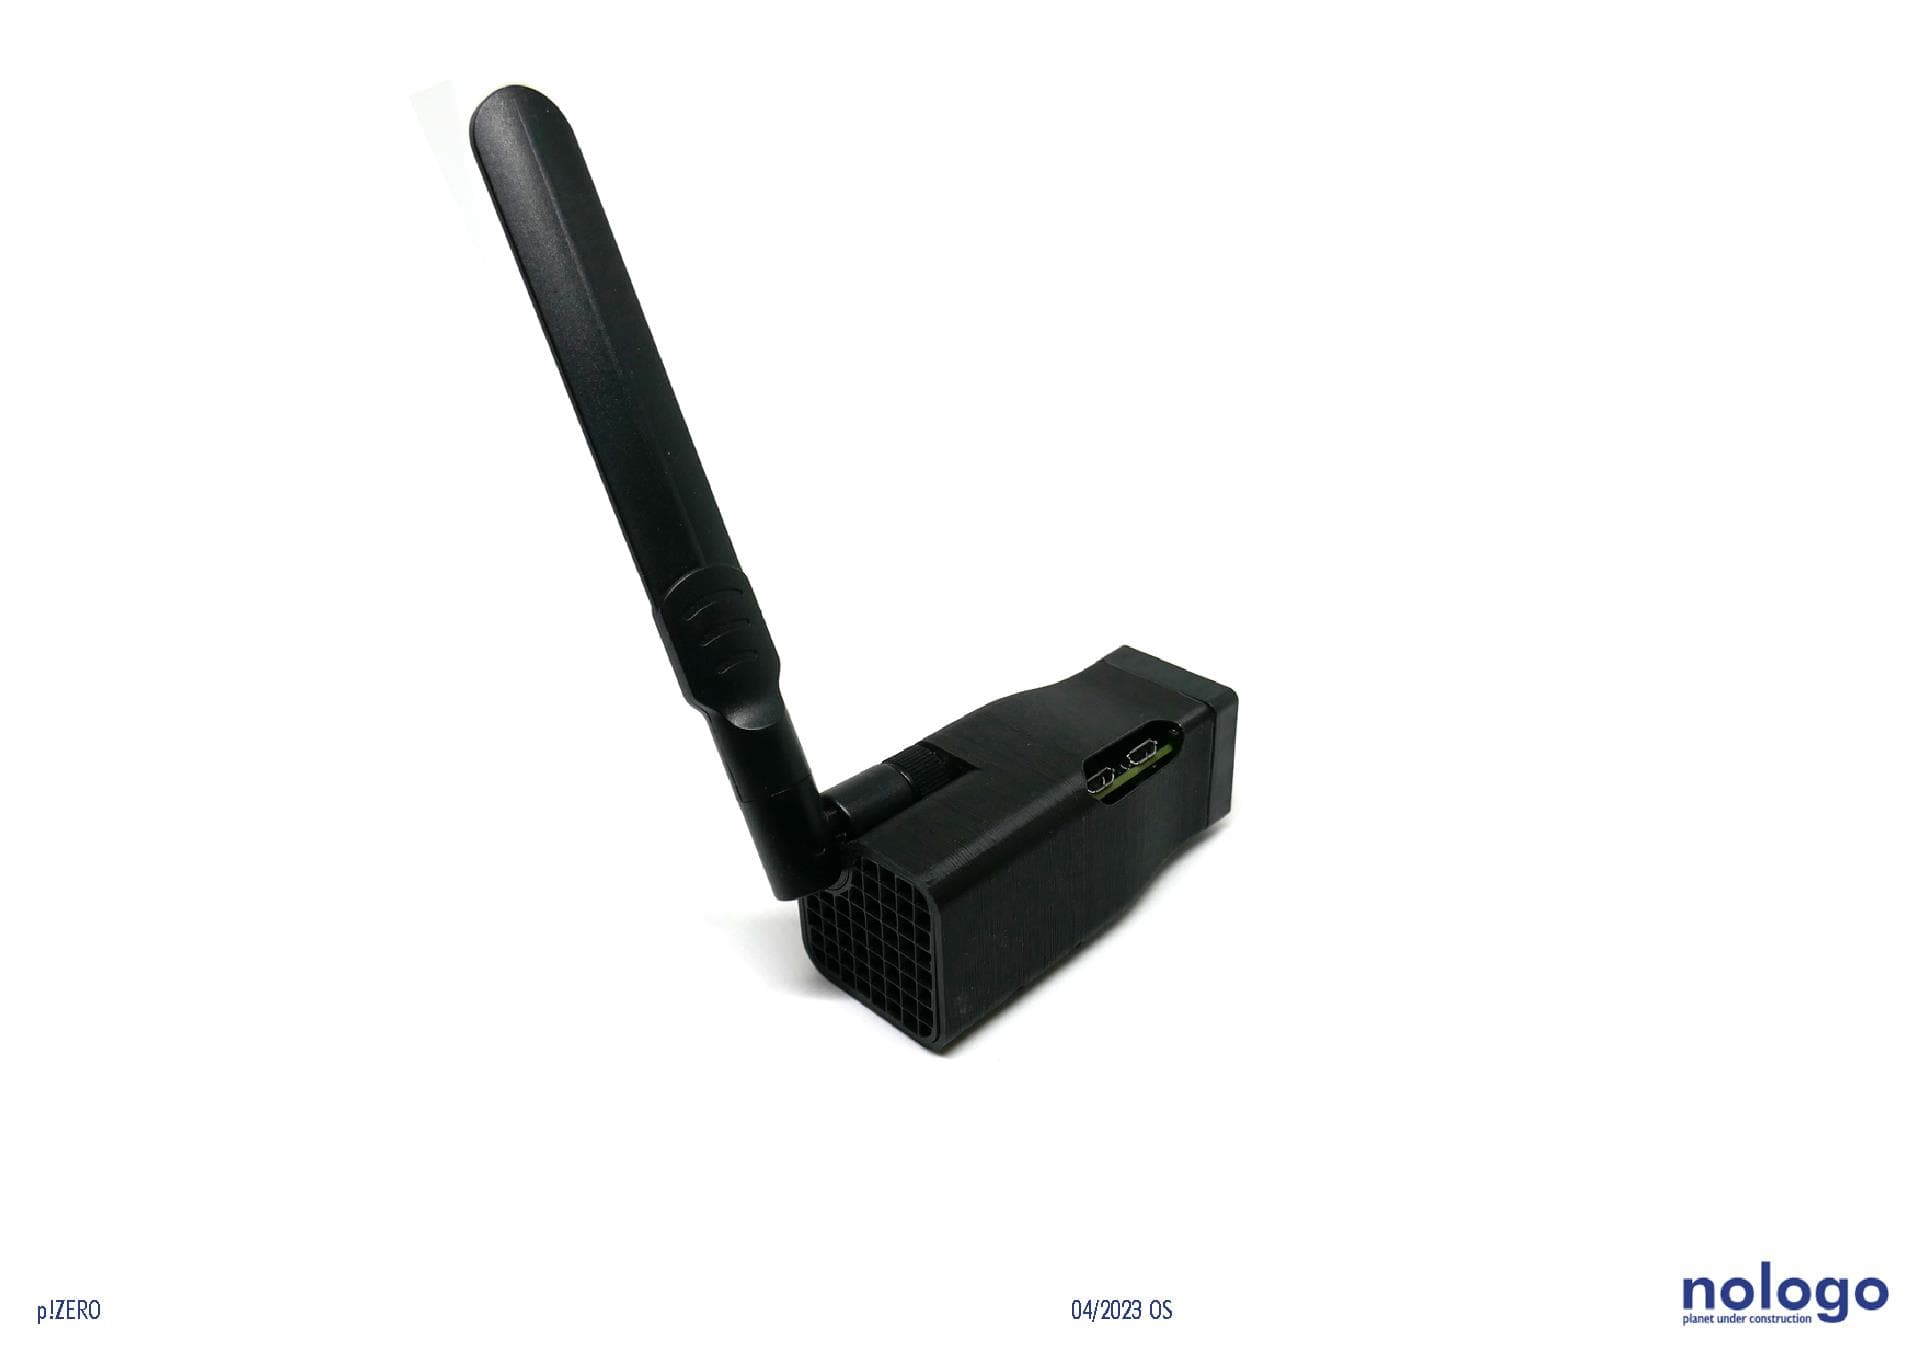


SH!ELD Zero - Case for Banana Pi BPI-M2 ZERO or Raspberry Pi Zero 2 W
Design Both the Banana and the Raspberry Zero (material links below) are great little devices but especially the Banana definitely needs cooling, active if possible. An antenna to improve WiFi connection is also an add on you might want to have. This design puts it all together in one case, the Banana or Raspberry, a 30 mm fan and an antenna. Easily printable with no supports, in around 3 hrs, for add-on parts that are standard and widely available on the internet and quickly mounted to any 20 or 40 mm aluminium extrusion with cable ties. I personally use (and designed) the case for the Banana Zeros as OctoPrint servers for the 3D printers in my farm.
Construction The design is made of 3 printed parts, the case itself, a clip to fix the SBC inside the case and an end cap that you might or might not need / want (I use mine without to maximise airflow). The clip (and the Zero) is held in place by the fan's screws, the antenna socket screws on and the end cap fits tightly into the upper end of the case. The case has 2 x 2 openings for cable ties with ducts which are designed so a 2.6 mm cable tie can just be pushed through and will come out the opposite side.
Slicing, Printing All three parts print completely without supports if printed in the orientation in the files.
The case and the clip part should be perfectly fine with standard settings (e.g. 0.4 mm nozzle, ~0.15 mm layer height, 2 perimeters, 5 bottom/top layers, 20% infill) and are designed to be printed with a 0.4mm nozzle.
The endcap (if needed) should be printed flat on the bed, with no top and bottom layers and a grid infill around 15%. This will give you the thinnest mesh structure with adjustable openings by changing the infill percentage.
Plain PLA should be perfectly fine for the parts.
Assembly While the parts are printing I suggest preparing the Banana or Raspberry Zero by connecting (soldering) the fan (material link below) cables to the right pins on the SBC (Pin 4 +5V and Pin 6 GND) and mounting the heatsinks (material link below) onto the SBC. And please see also the assembly sequence pic ord PDF to which also the numbering is related.
First thing after finishing the prints is to mount the antenna (material link below) connector (with the antenna cable) into the case (1). Do not forget to use the (usually) supplied washer on the outside of the case to ensure a tight fit before screwing on the antenna (2) and pluging the cable onto the Zero (3, 4).
Next slide the clip on the fan cables (5). Make sure the flat side faces towards the fan.
Now slide the Zero into the case (5) (through the fan side opening, heatsinks point towards the antenna mount) and position it into the two “clamps” at the other side. Please make sure that the antenna cable is also guided through the case, as a loop, always on the top side of the SBC.
Position the clip into the case (6, 7)so it fixes the two still loose corners of your Zero. Make sure to position the clip in the right rotation since the grooves holding the Zero are different on each side. But there is a notch in the case that fits exactly into the gap of the clip which will help you identify the right orientation.
Next step is to screw on the fan and I suggest starting with the two screws that go into the case (8) and only then screw in the screws that go into the clip (9).
You can now bend the antenna cable loop that is looking out of the case on the top side to the underside of the SBC where it will stay by itself (10, 11). And finally you can clip on the end cap (12).
Sounds actually a bit more difficult than it is. Should actually all be fairly easy and done within a few minutes!
Material Links These are affiliate links and I will get a few cents of your purchase but since the models are free it would be kind to still use them!
Happy printing and assembling!