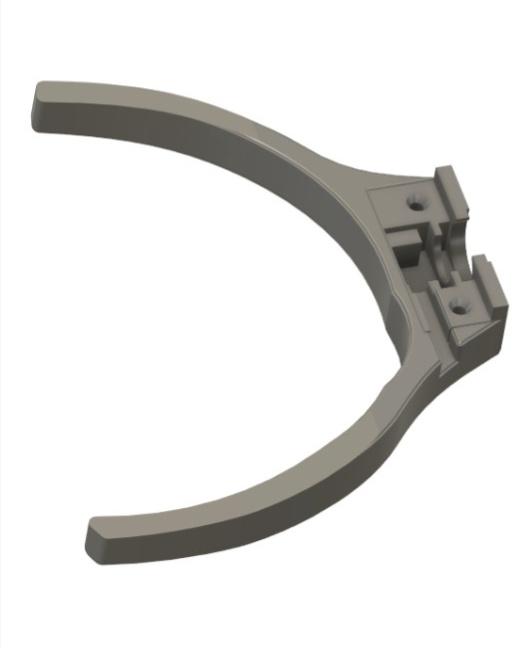
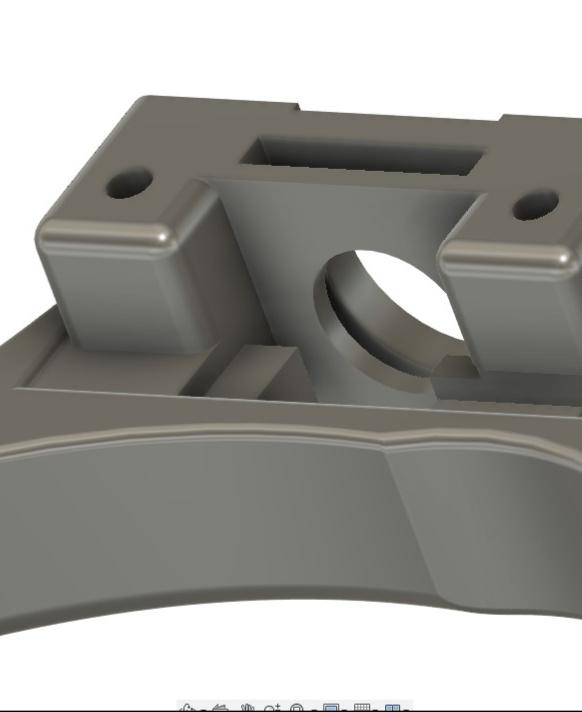
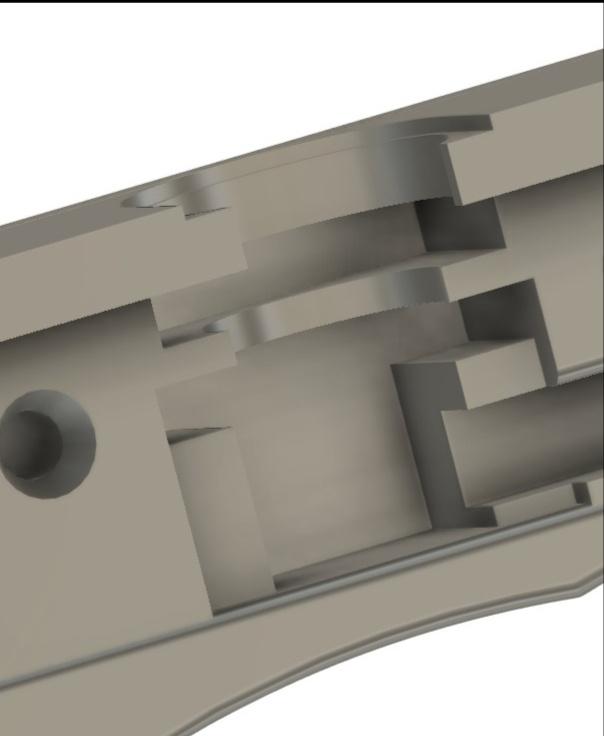
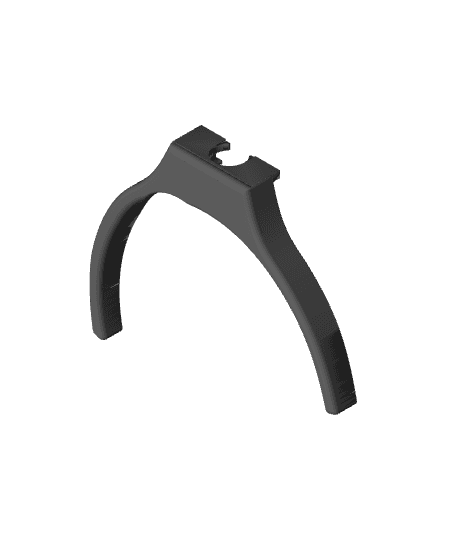
Overview A ear-cup attachment arm pseudo-replacement for the Monoprice BT-600ANC Bluetooth Over Ear Headphones. Note, this is only the arm and clamp that "wrap" the ~9mm cylindrical mount point on the headphones. If that cylindrical mount point is damaged, this is not the model for you. Not for commercial use.
Limitations I'm terming this as a "pseudo-replacement" as the design has modifications that doesn't stay faithful to the original part:
- Arm is glued onto the ear cup and does not angle-pivot (but still rotates where it attaches to the band).
- Ear cup signal wire is not encased in the control arm. This is partially for strength. The OEM arm's pivot point that has the wire running through it remains attached in it original position as I didn't want to risk damage extricating it from the headphone ear cup.
- Aesthetics okay, but not sure I'd wear it in public. -Some flatness in certain areas to allow easier printing.
Modifications to Fit Your Melon Since the attachment arm is glued to the ear cup at a permanent fixed angle, you'll want it to match the angle of the other side of the headphones.
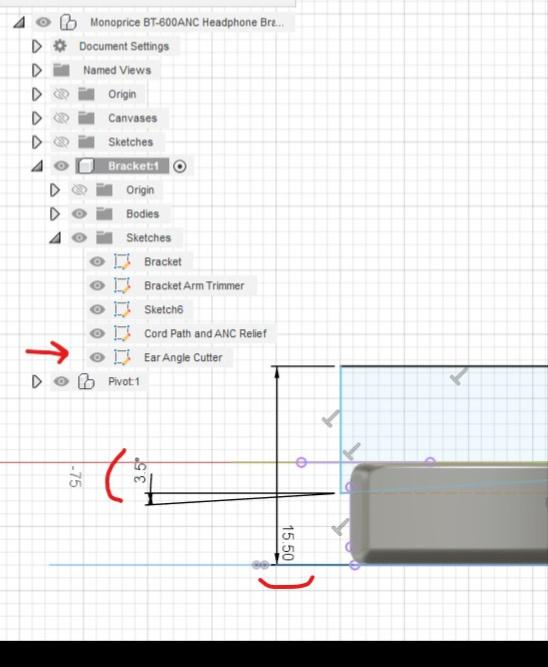
Unsure if this will make too much of a difference, but I approximated the angle by using a mirror, digital angle finder, and some guesswork. In the Fusion360 file, there is a Bracket->Ear Angle Cutter sketch (see photo) that you can adjust to control the surface angle which is glued to the headphone ear cup in attempt to fit your head.
Notes
- There's about .2mm of tolerance in the fitment of the rotation mount.
- I used some 1.5mm x 12mm (I think) hex bolts. You could probably modify the model to work with the OEM screws.
- I'm still learning Fusion360 and the part is quite persnickety, so model is a bit piecemeal. The slicer is used to meld the main arm with the pivot point. I'm sure a pro can make it much better.
- There's some imperfections, but they'll be hidden from view and generally don't impact the slicer.
- Feels nice on the head. I cannot tell the difference between the OEM condition and the fix.
Why Original product's plastic arm is very brittle. This was more of a design workaround challenge.
Original Product https://www.monoprice.com/product?p_id=41232
