
StashCan 2.0 - 3D Printed Secret Safe with Programmable Lock
bylogicalplanet


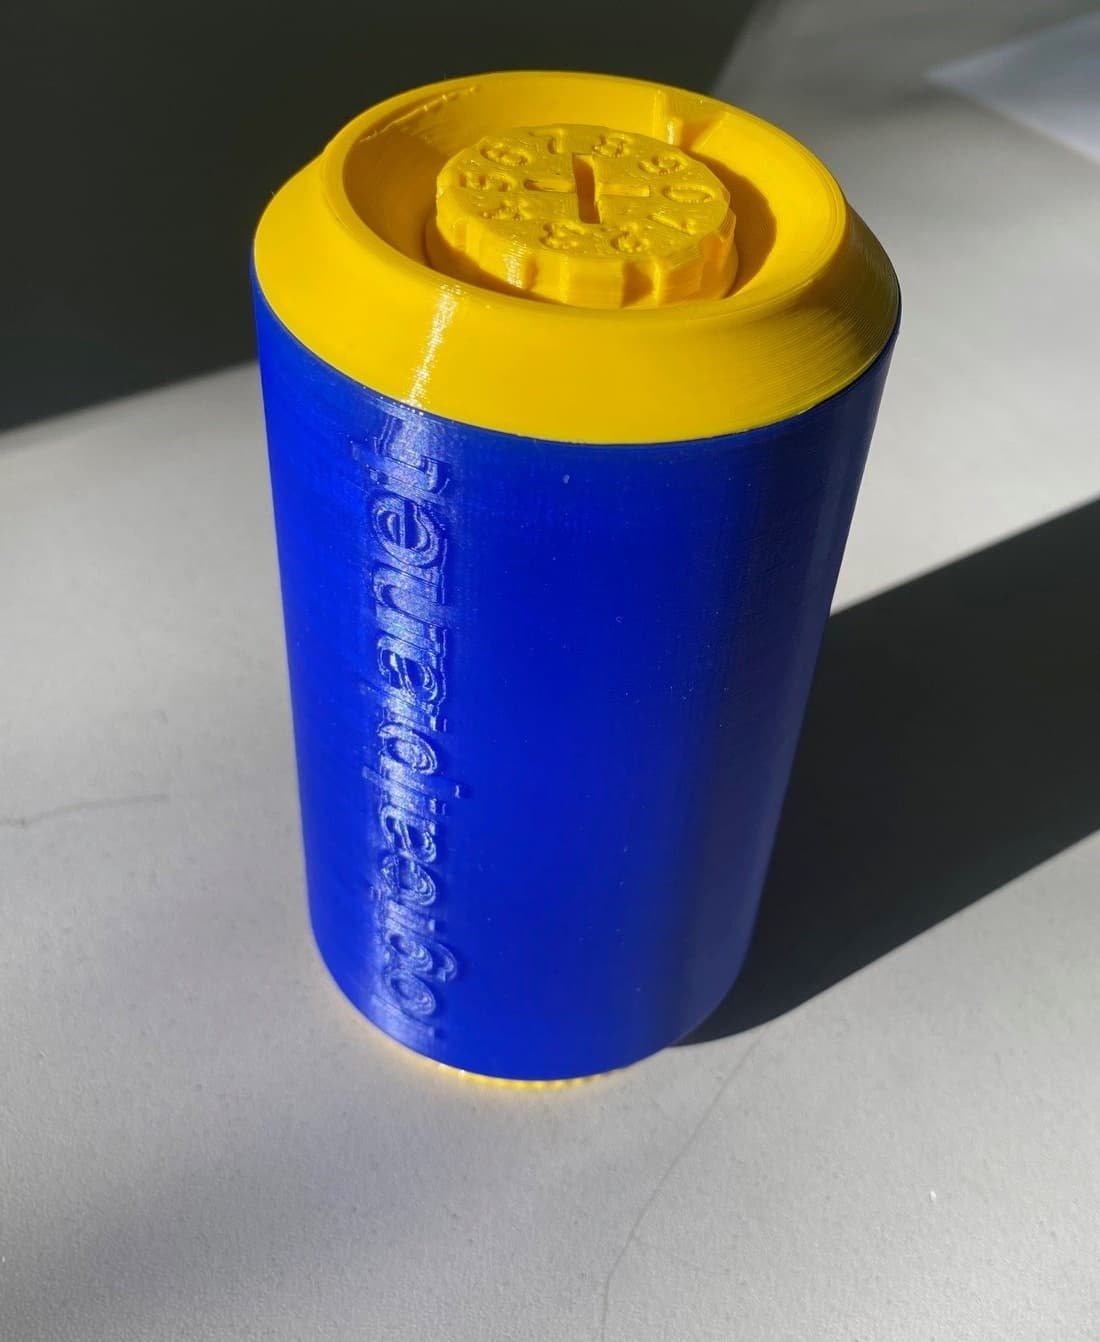
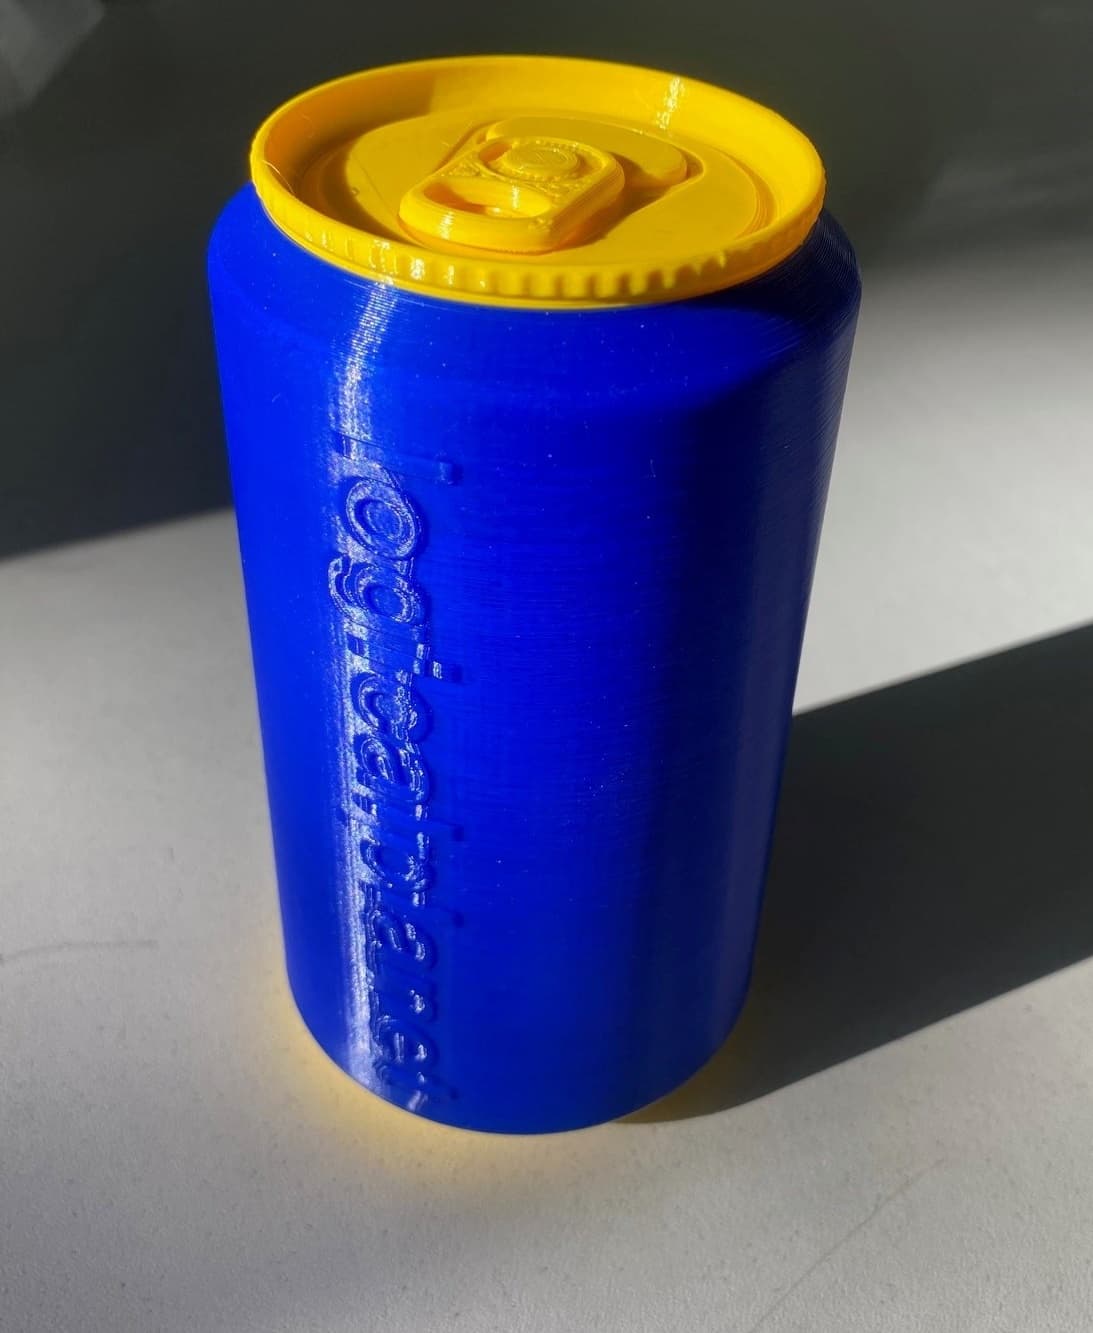
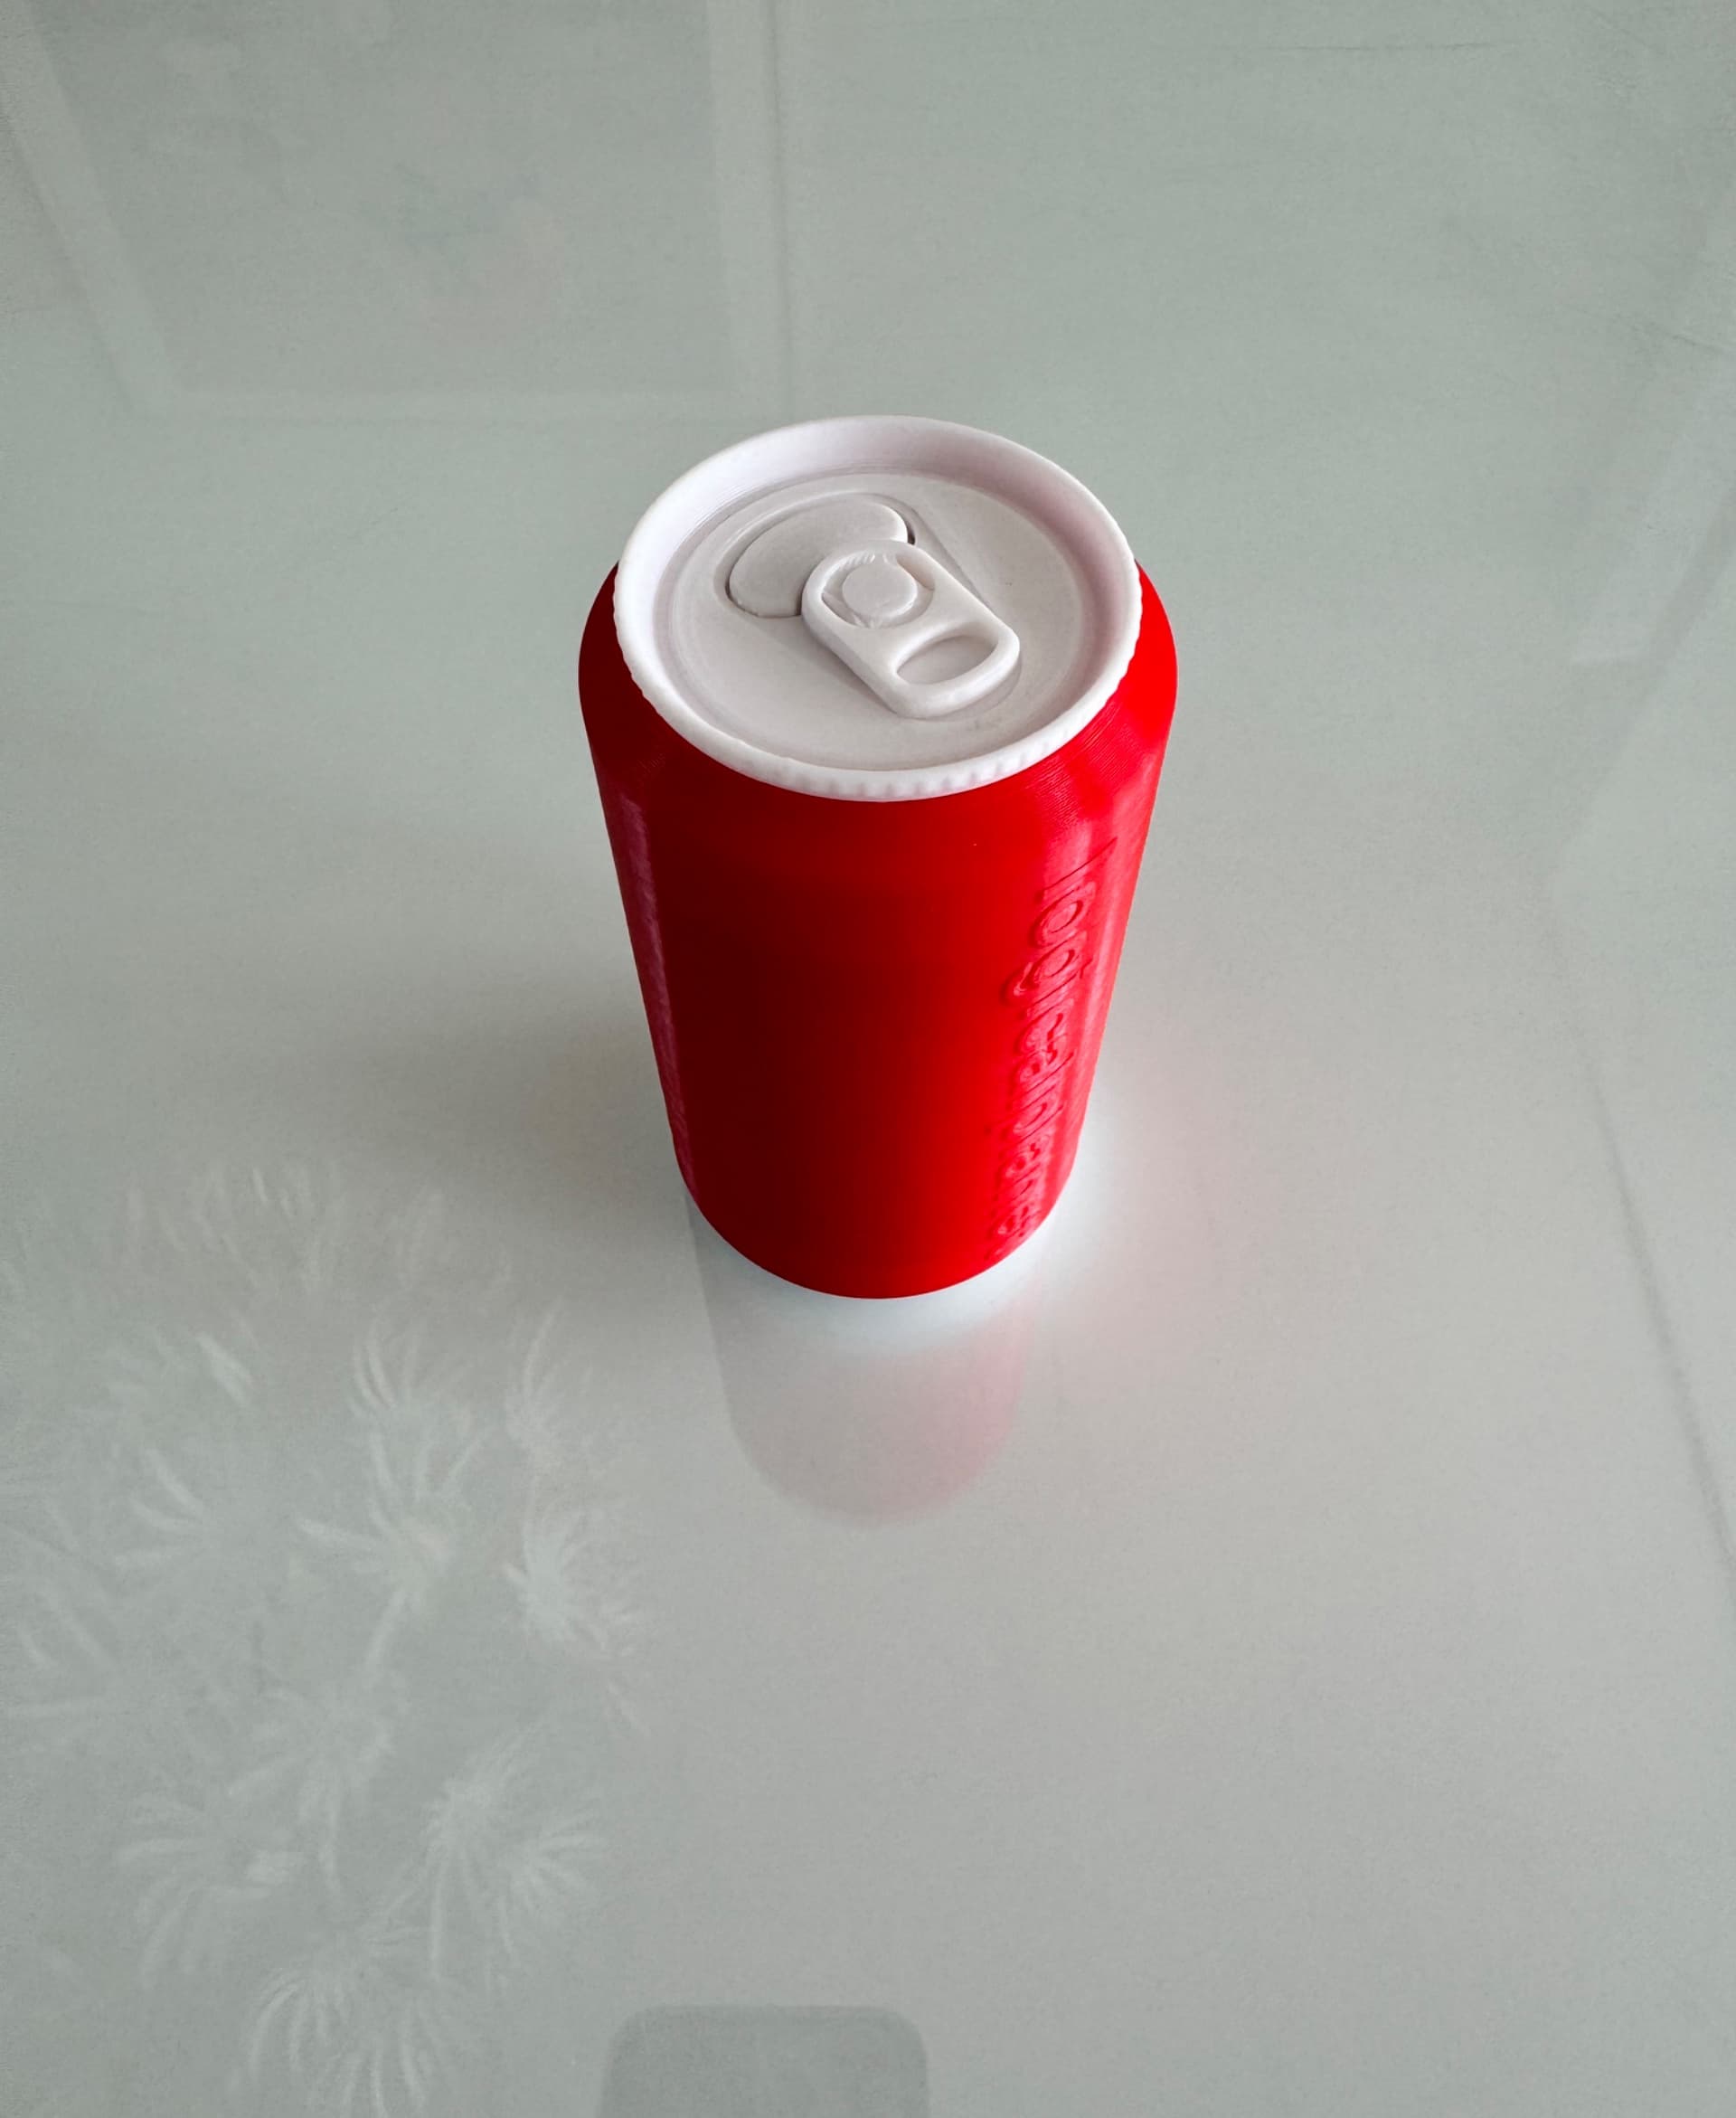

This is a major upgrade to my previously released Secret Can Safe (aka StashCan). This new version is still 100% printable but now includes a programmable combination lock in the base of the can as well as an upgrade to the sequential puzzle-locked lid.
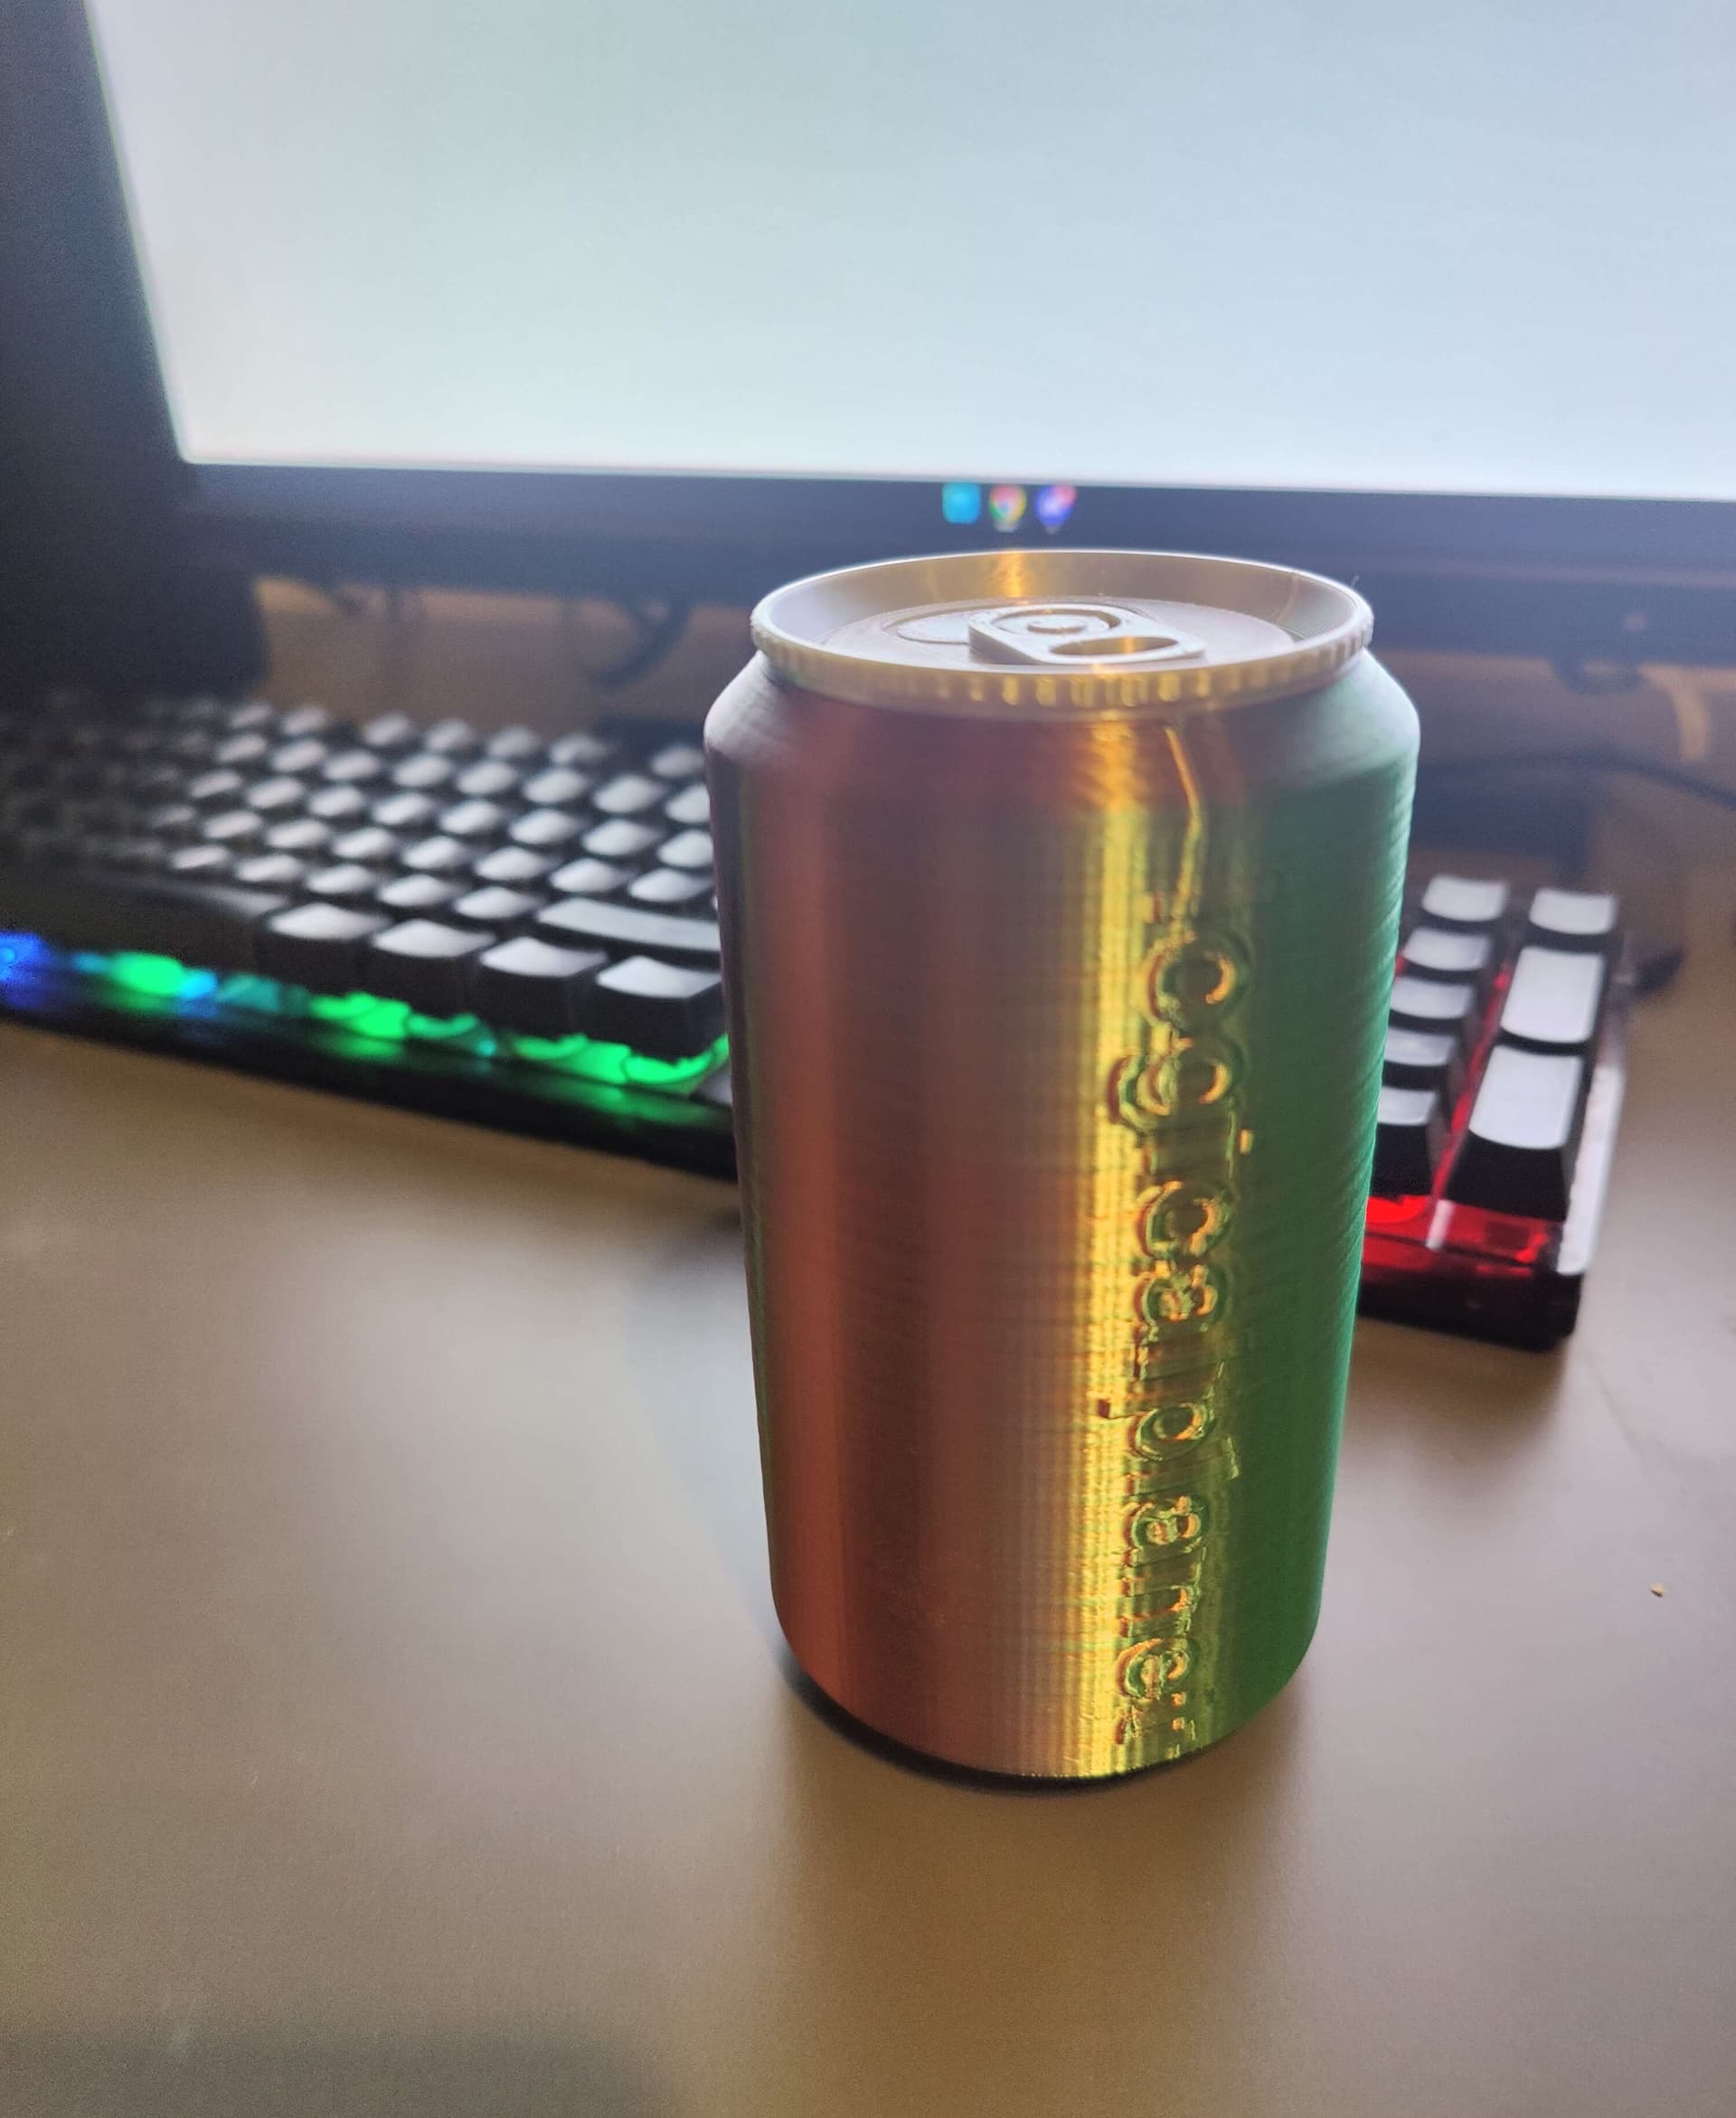
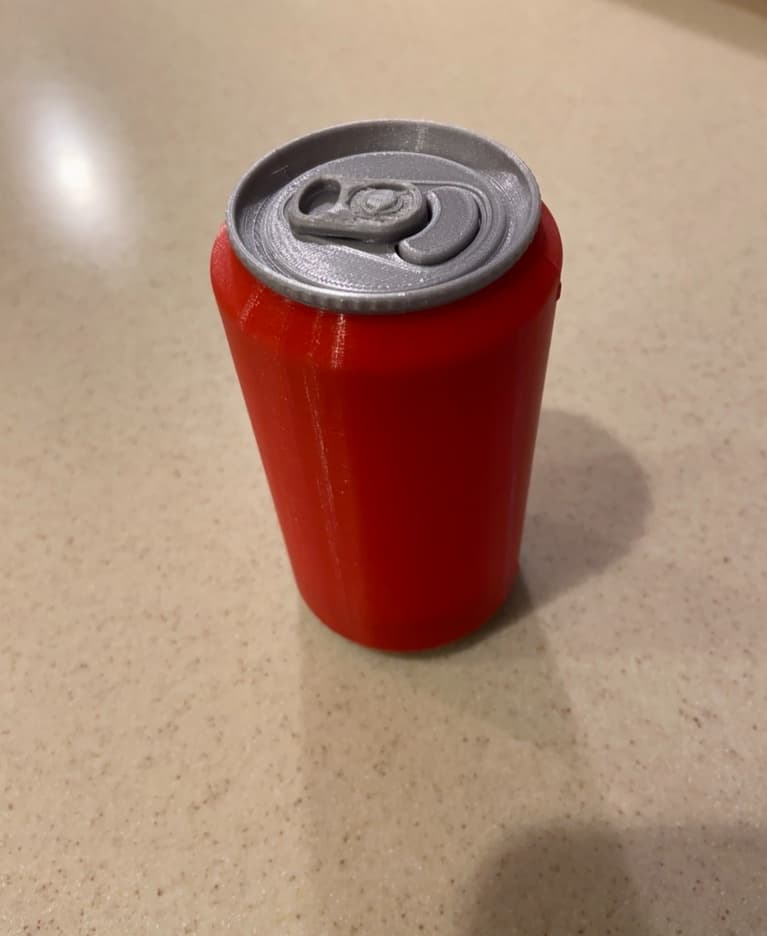
It is a fun hide-in-plain-sight secret hiding place but now with "real" security (the combination lock). Of course, it is not really secure as it is portable and made of plastic but don’t let that take away from the fun.
This is an advanced model and there is lots of details. So please be sure to check out the extensive documentation on my blog at https://logicalplanet.com/ and also watch the video before attempting this model.
100% printed - no hardware, fasteners, or adhesives required. No additional support is required.
Overview
The StashCan2 is comprised of 24 parts groups into the following 3 assemblies.
i) The Lid Assembly which when opened reveals the contents of the StashCan2 but can only be opened when the correct lock combination is entered and the sequential logic of the lid is executed.
ii) The Main Body Assembly to which the Lid Assembly is screwed onto the top and the Lock Assembly is screwed onto the bottom.
iii) The Lock Assembly is screwed onto the bottom of the Main Body Assembly and then the threads are locked from inside the can to prevent the Lock Assembly from being removed.
The sequential puzzle lid design is a bit superfluous given the combination lock on the bottom but since I had already designed the top (for my original StashCan) I have left that in the design. While it does not add any meaningful additional security, I feel it is a) fun and b) adds an additional layer of complication to opening the can which may be enough to confuse and deter would-be-safe crackers.
Detailed Description
The Lid
As illustrated in the accompanying image, the Lid Assembly is made up of the Lid (the can top) itself and 7 additional components that form a locking mechanism which requires the user to first depress the Push Plate and then while holding that down, rotate the Tab 90° clockwise. The Lid locking mechanism controls two fingers which extend out on both sides of the assembly into the inside of the can and prevent the Lid from being removed unless the locking mechanism is unlocked first.
When the can is unlocked the Lid Assembly can be removed by rotating the entire assembly counterclockwise 360°. However, in addition to the Lid locking mechanism the bottom combination lock must also be unlocked before the Lid Assembly can be unscrewed.
The Lock Latch located in the Main Body Assembly extends up into the threads of the Lid Assembly and the top of the can (Main Body Assembly) interfering with the threads and therefore locking the Lid Assembly onto the Main Body Assembly.
The Main Body
As previously noted the Main Body Assembly holds the top and bottom of the entire assembly and also creates the cavity for storing the user’s contents. To prevent the user’s contents from interfering with the locking mechanism a Liner is used to protect the Lock Latch movement. The Lock Latch must move freely based on gravity in order to operate the StashCan2.
The Liner also protects a Thread Lock component which is manually controlled from inside the StashCan2. When pushed down the Thread Lock locks the Lock Assembly (the bottom of the StashCan2) into the threads of the Main Body Assembly. If the user wants to remove the Lock Assembly to service it or change the lock combination, they must first lift up the Thread Lock from inside the StashCan2 and then the bottom Lock Assembly can be unscrewed from the Main Body Assembly.
The Lock
The Lock Assembly is the heart of the StashCan2 and is worthy of considerable documentation but I am leaning heavily on my video to explain it all – the following is supplemental.
I will try to explain how the lock system works in the subsequent section and here just cover the component descriptions.
The Lock Case forms the housing of the lock and is essentially the bottom of the can. Of the remaining 11 parts of the Lock Assembly all but one (the Lock Dial) sit inside the Lock Case. The Lock Dial is assembled into the Lock Assembly from the underside of the Lock Case.
When fully assembled, the Lock Dial and the Lock Retainers are held together by the Spring C Clip and sandwich between them the 3 Lock Disks and their corresponding Key Disks (code disk). Three ring-springs sit on the Lock Case frame and correspond to each of the Lock Disks. The springs act as a detent to slow the Lock Disk rotation and index them on the numbers (0 through 9).
By rotating the key disks (A and B) relative to their Lock Disks the user can change the combination lock codes (1 and 2 respectively). The third lock code is sent by changing the Lock Dial rotation relative to Lock Disk C. See the below for more information about setting the lock combination.
Section View
The following cutaway view is intended to help you see the relative position of all the components once the StashCan2 is fully assembled.
Unlocking the Lock
The lock operates with a 3-digit code. Each of the three digits is a number from 0-9. The three digits are entered in the following sequence…
Invert the StashCan2. To operate the lock, the StashCan2 must be inverted (i.e. the bottom of the can must be up). This is a security feature preventing someone from “testing” the lock and feeling the “tumblers”.
Rotate the Lock Dial clockwise at least 2 full rotations (to reset the lock) and then stop on the first number of the combination.
Rotate the Lock Dial counterclockwise nine (9) digits (i.e. rotate counterclockwise until just before the number you started on) and then continue to your number. This usually means rotating to the second instance of your second number. But if the number you are on (after rotating 9 digits) is your next number then you do not turn another full rotation. This means that if your second number is 1 less than your first number, you go to the first instance of it, otherwise go to the second instance. Rotate the Lock Dial clockwise to the third number of the combination and stop. Now flip the can over so that the top of the can is up (the combination lock end is now down). If the combination code was entered correctly the Lock Latch can now slide down and the Lid Assembly is no longer locked by the combination lock. You must now use the Lid’s sequential puzzle sequence to unlock the lid and unscrew it.
Due to the space limitations of the underside of the soda can, the lock dial is relatively difficult to turn with your fingers. To address this issue I added slots in the centre of the lock dial so that you can use a coin, flat screwdriver or something similar to turn the dial if you are unable to turn it by hand.
And, as with all combination locks, if you overshoot a number even by a small amount, you will have to reset the lock and start over. Ensuring the lock disks are lightly lubricated helps to ensure smooth operation.
Setting the Combination Code
In order to set or change the lock combination you must first open the StashCan, slide up the internal Thread Lock, and then unscrew the Lock Assembly from the Main Body.
Once you have removed the Lock Assembly from the Main Body, you must then remove the C Clip and lift off the Lock Retainer. Once those two parts are removed the lock assembly is free to separate. All the disks are unique so you can identify the order in which they must be re-assembled.
The top disk (A) sets the first code of the combination lock. The second disk (B) sets the second code and the third disk (C) determines the final code. Therefore it is essential that all the disks are returned to the lock assembly in that order. And, I will say it again later, always inspect that your code is working as you planned before re-assembling the StashCan2. If you assemble it and the code does not work, you have to cut it open to gain access – I have had to do that twice.
Each of the Lock Disks has a series of numbered holes in them which correspond to the lock combination you want to set. Rotating the Key Disk so that the Key on each Key Disk protrudes through the hole with the desired corresponding number sets the lock combination. I hope the included diagram is enough to explain it.
I have simplified the instructions for setting Lock Disk C for clarity. But in fact, when setting the Lock Dial and its corresponding Key into Lock Disk C you must first pass the Lock Dial through the bottom of the can (the “Lock Case”). You will recall that I noted above in the discussion regarding the exploded diagrams, the Lock Dial installs from outside the Lock Case.
When your code is set and you have reassembled the Lock Assembly, you can then test your code by trying to unlock the lock. You must do that with the Lock Assembly fully assembled (but not installed in the Main Body). If the code you enter is correct, the gaps in the Lock Disks will align as shown in the image below. This corresponds to “unlocked”. If they do not align disassemble the lock again and check you keys as described above.
When setting your lock combination avoid using 2 digits in a row. For example, 545 is ok, but 455 is not.
EXTREMELY IMPORTANT: After setting the lock combination, test the lock in the Lock Housing before installing it into the Main Body. If the code you think you entered does not work, there is no mechanism to open the lock. You will have two choices if that happens… a) test all 1000 possible combinations, or b) cut the Main Body in half with a saw to salvage all the other parts. I have had to do that …twice! Yes, I am a slow learner sometimes.
Printing
Material: I choose to use PETG for its durability and flexibility.
My Setup: Nozzle = 0.4mm
My Settings: Layer height = 0.2mm Line width = 0.4mm Wall count = 4 (1.6mm) Infill = 40% Ironing = ON
Support: Designed to print without support – any required support is incorporated into the designs.
Print Orientation: As shown in the screenshot(s).
Assembly Notes
Assembly of the StashCan2 is relatively complex and I have not yet documented it other than through my video. Please refer to my video for assembly instructions and notes.
Springs
The 3 circular springs are identical. They have a section on each side that is slightly shorter than the rest of the spring. Therefore the springs are printed upside down. When installing the springs ensure that they are installed with the
Lubrication
Lubrication of the moving parts is critical for the lock and lock latch. However, too much lubricant is also problematic. When lubricating parts use a good quality synthetic lubricant and then gently wipe off the lubricant. This will leave enough lubricant behind to be effective. Excessive lubricant will cause problems as well.
A very small film of synthetic lubricant on the outside edges of the Lock Disks will ensure smooth lock operation. Without lubricant the lock may be “jumpy” and unlocking it more difficult or impossible.
The Lock Latch must move freely between the Liner and the Can itself. A thin layer of synthetic lubricant coating the entire lock latch is advisable.
Commercial Licensing is available through my logicalplanet Memberships here on Thangs. I will customize and provide commercial support to members on request.
I am committed to helping everyone get great print results to the extent I can so please contact me if you are having issues I enjoy trying to help resolve those challenges. I welcome requests, suggestions and ideas to help make this and all my products better. Please send me a message any time.
See my blog for more details and other product info… https://www.logicalplanet.com/