


Tesla M40 Blower Fan Adapter
WARNING: Since this adapter deals with electronics/heat, use it at your own risk. I have been using this live for almost six months without issues with my setup. Your mileage may vary depending on your conditions/tower/cooling/etc.
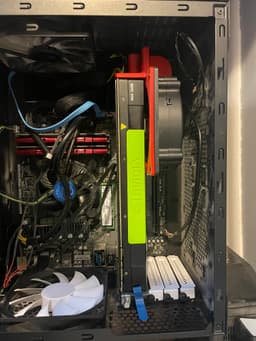
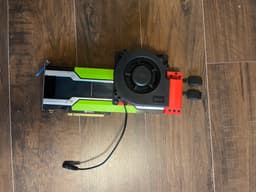
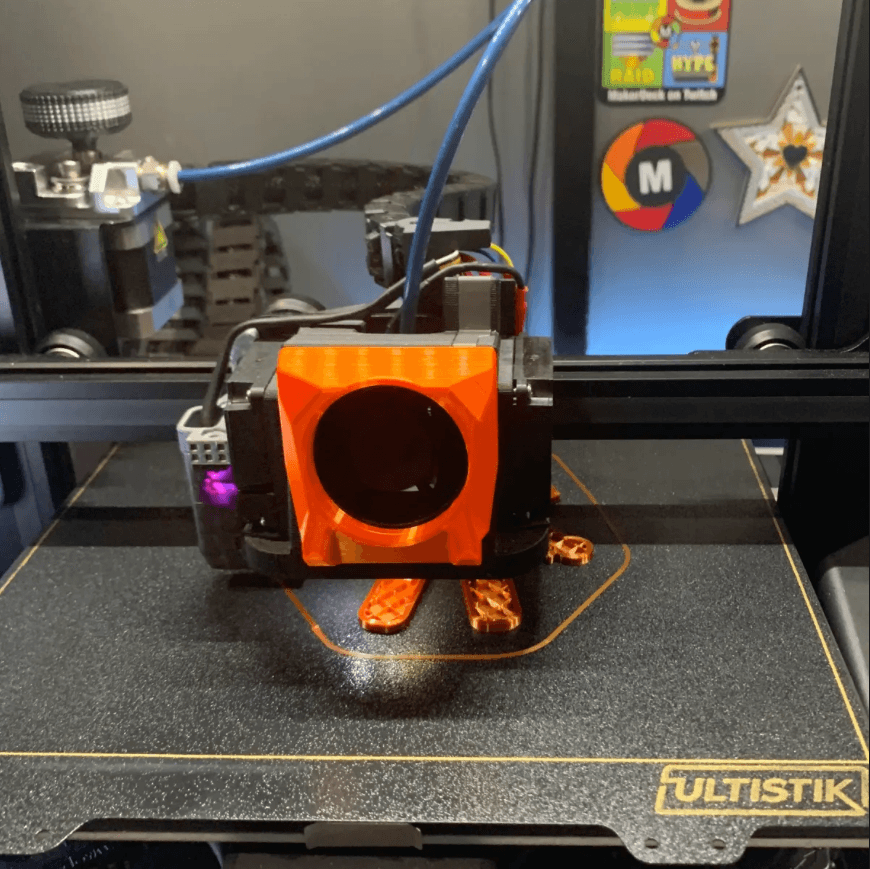
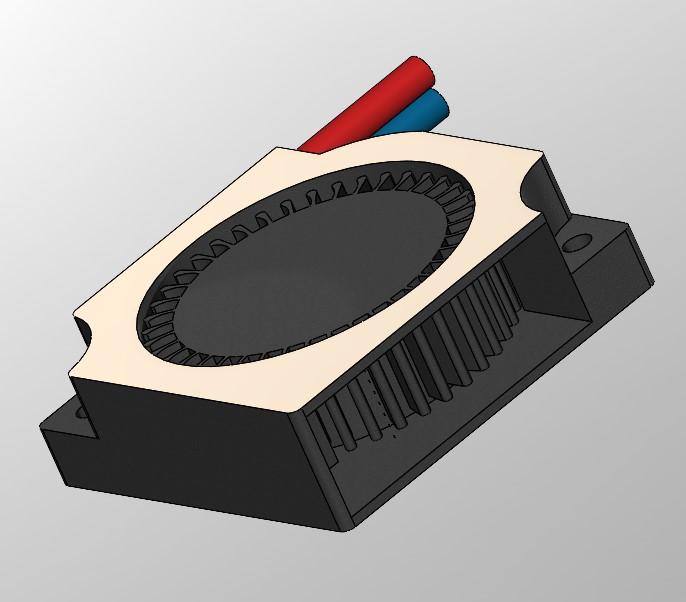
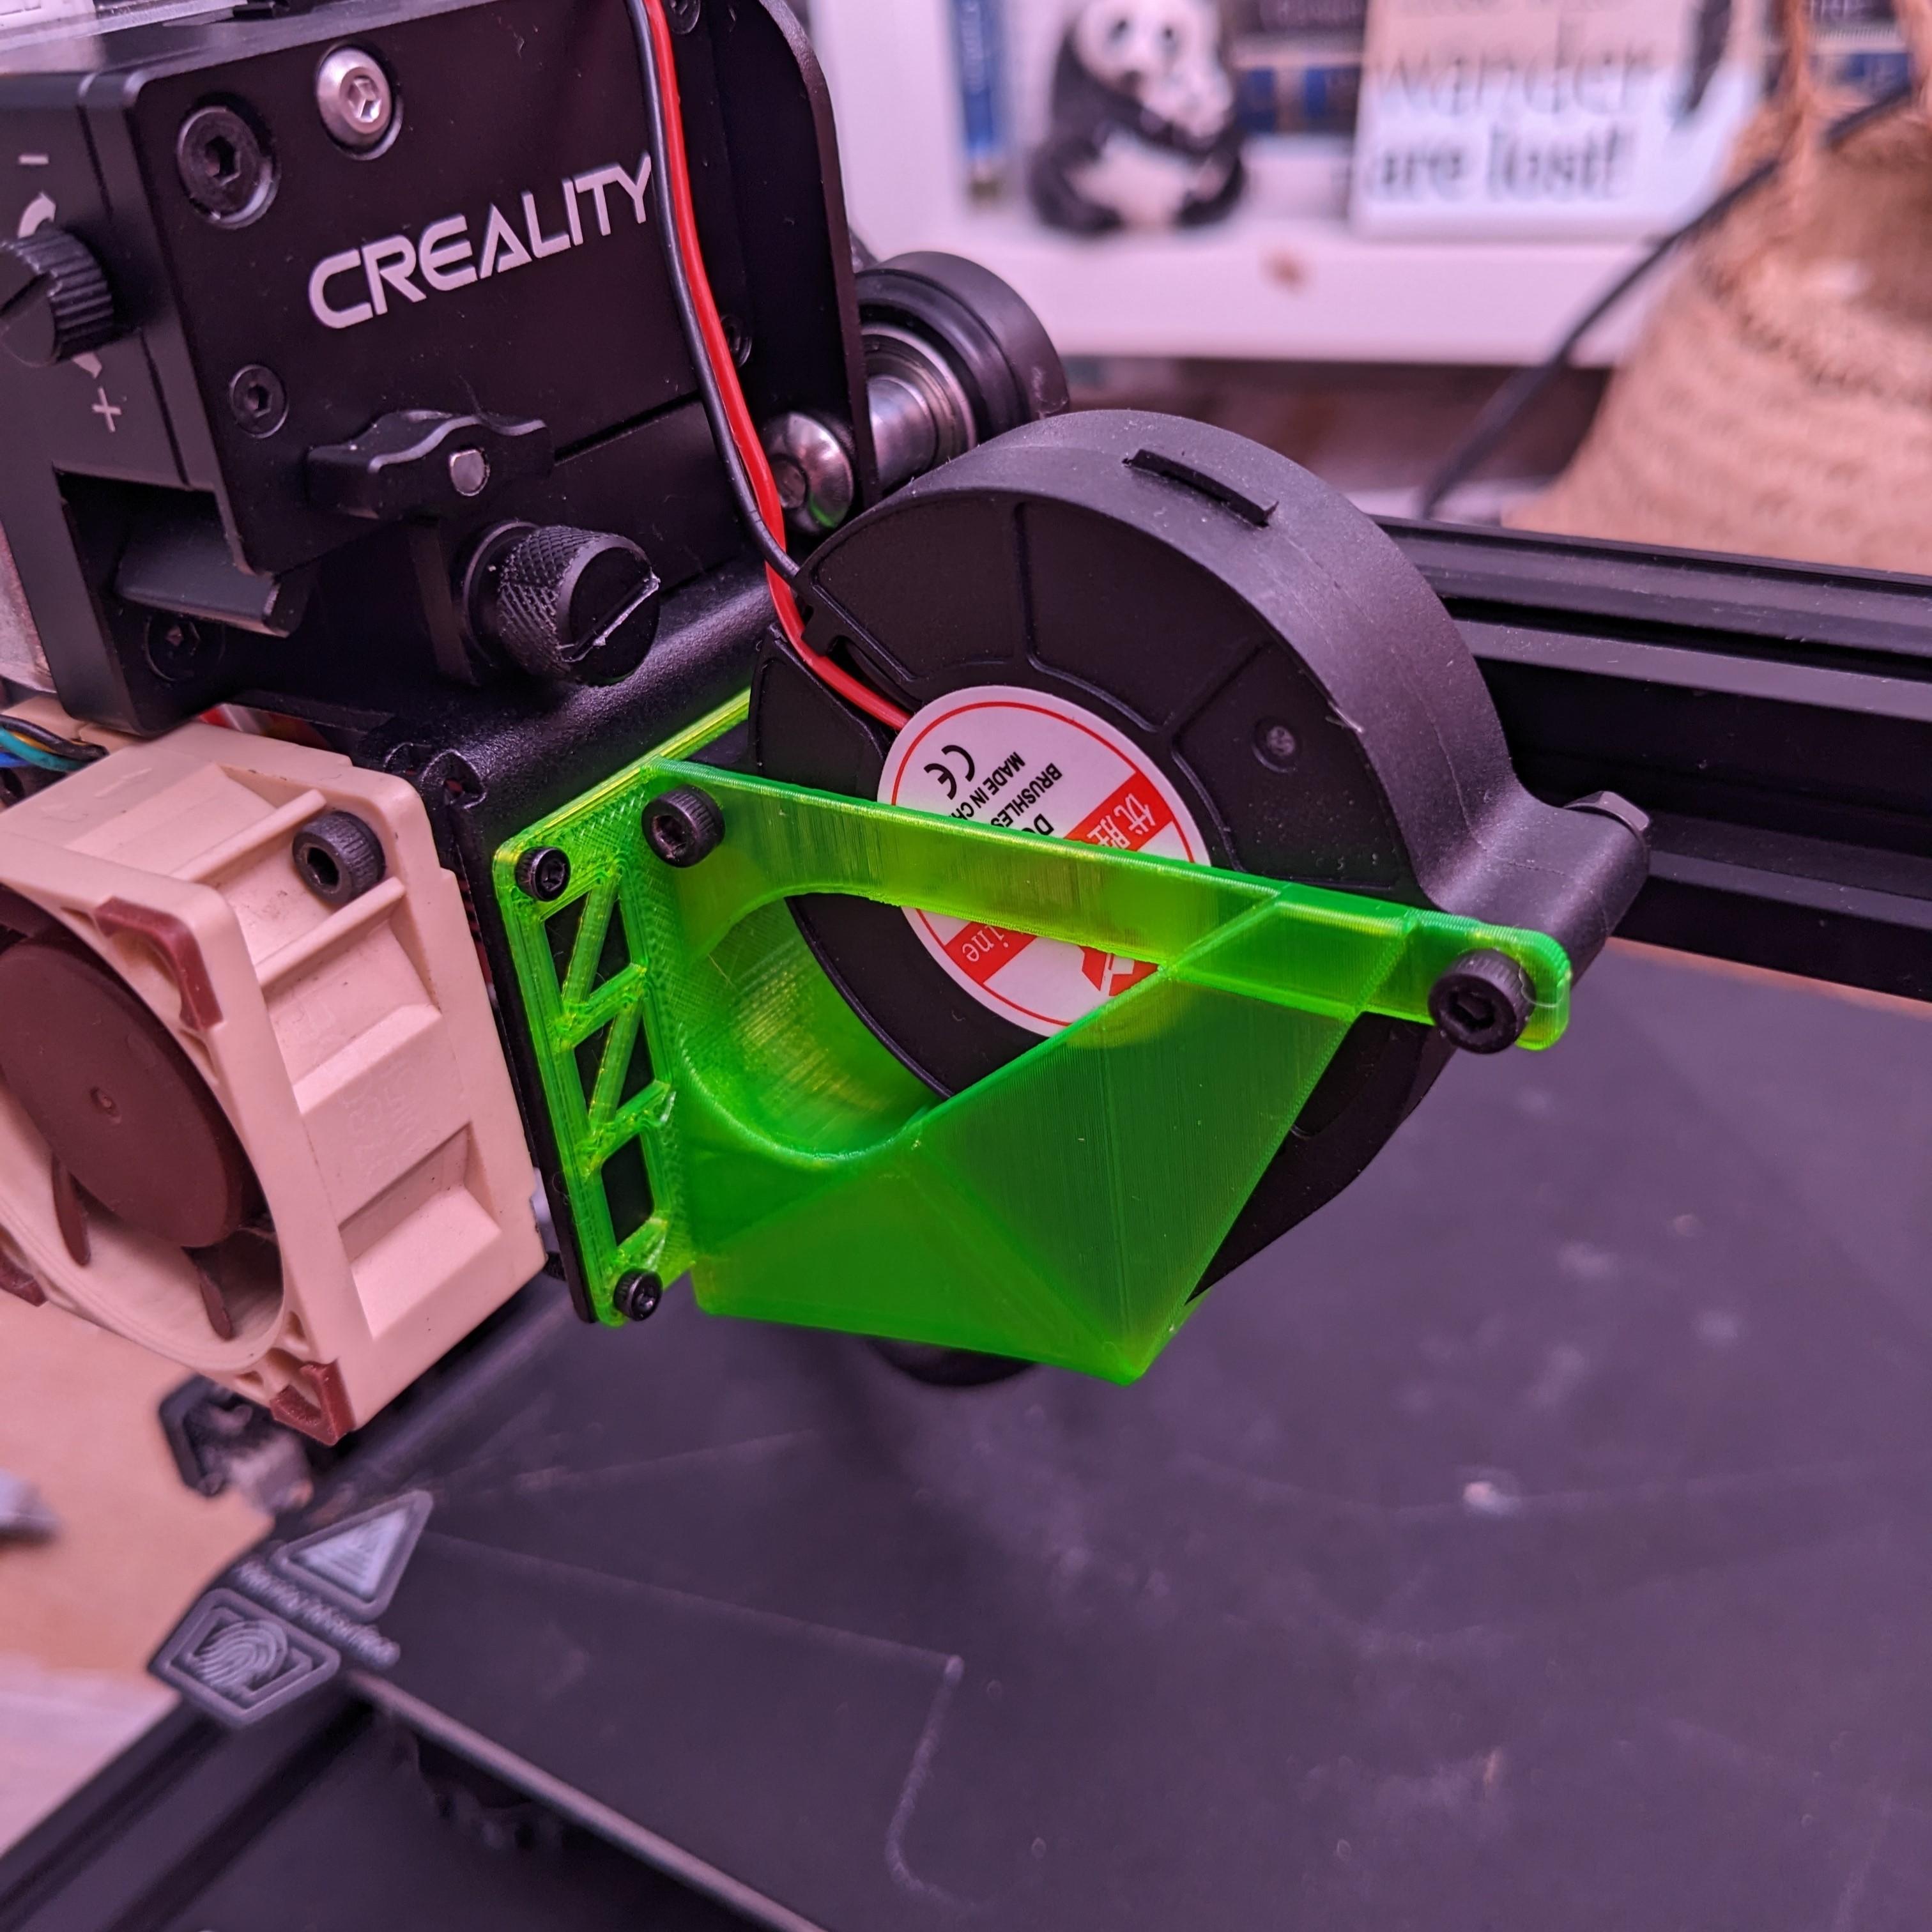
Brief Model Description This adapter uses a large blower fan with controls on the A/C adapter to cool down the NVIDIA Tesla M40 graphics card. The card does not have its own cooling because it was originally used in servers.
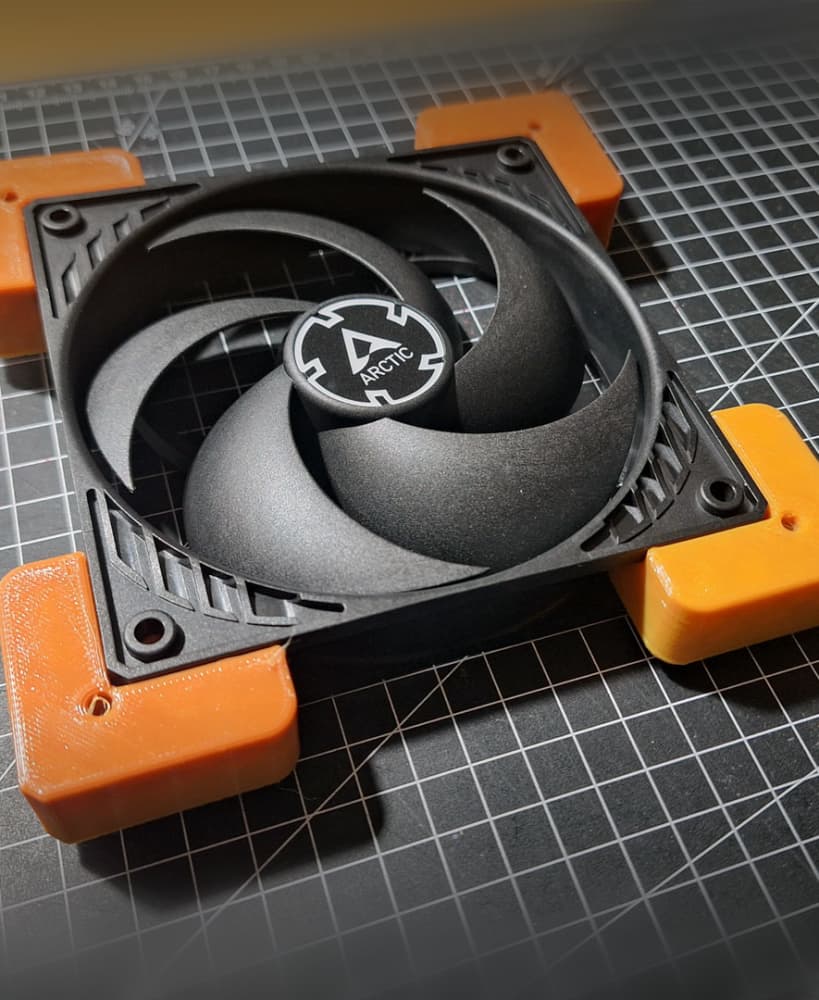
Needed Adapters/Equipment/Parts You can get the fan here: Amazon.com: UTUO Variable Speed Blower Fan
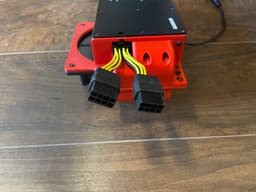
If you haven't yet powered up the graphics card on your system, you may need to source an adapter. It uses a different power connector than the typical PCI-Express connectors (it takes two of them and merges them into a new pin setup). The NVIDIA part number that I used was 030-0571-000.
Approximately 13 M3 x 10 mm screws are needed, and ten nuts. Read below for caveats or exceptions.
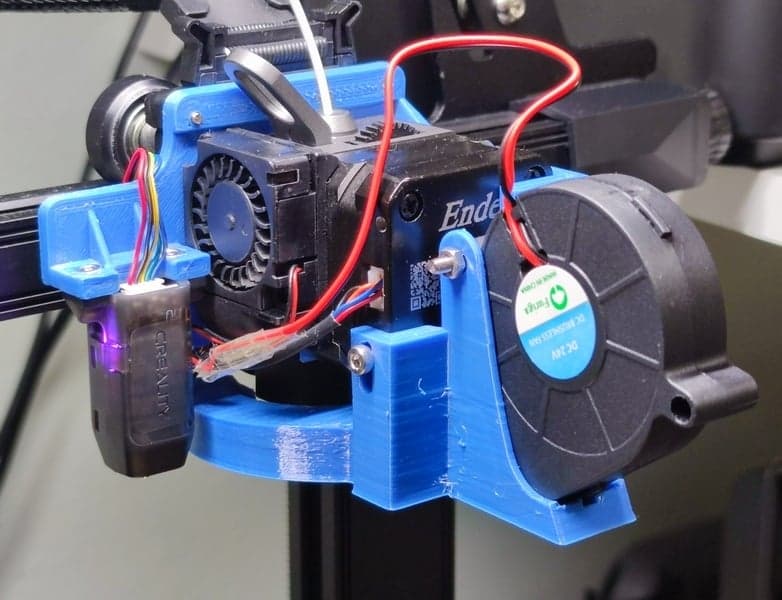
Backstory I was inspired by this adapter I found on Thingiverse (Nvidia GPU Fan Mount K80 / M40 by nitrag - Thingiverse). It is where I got the idea of what fan to use, but I made everything from scratch. This was my first major 3D modeling project with this kind of complexity, so if there are rough edges or things that need improvement, let me know, and I will try to fix them if I can. There have not been any adapters for these kinds of cards that can work in a small tower like the one I have, so I decided to use this project to improve and hone my 3D modeling skills.
The initial design was done in Alibre Atom3d (a relatively affordable CAD package I'm surprised isn't more well-known) in a weekend, with several iterations and prototypes over a week or two.
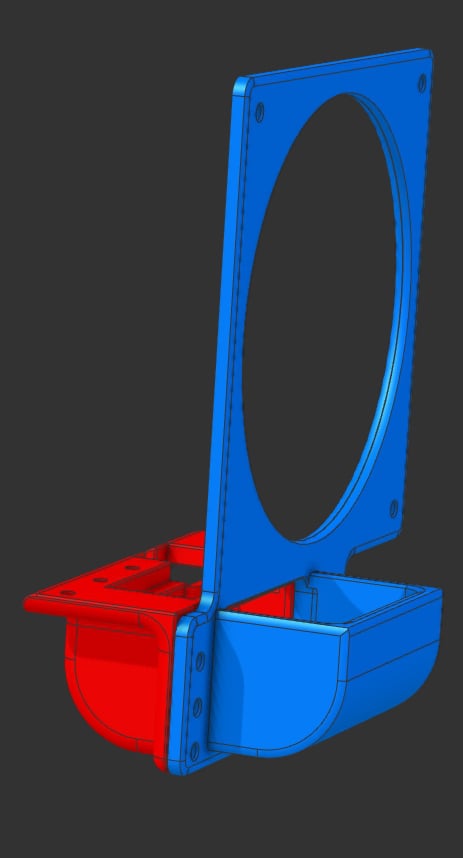
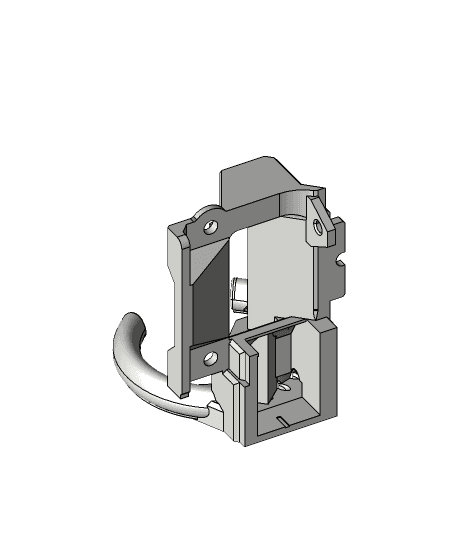
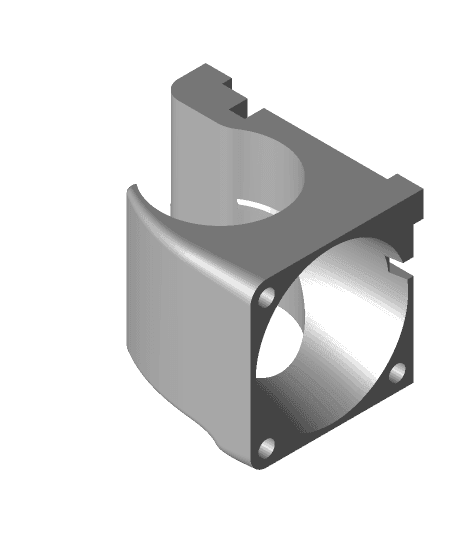
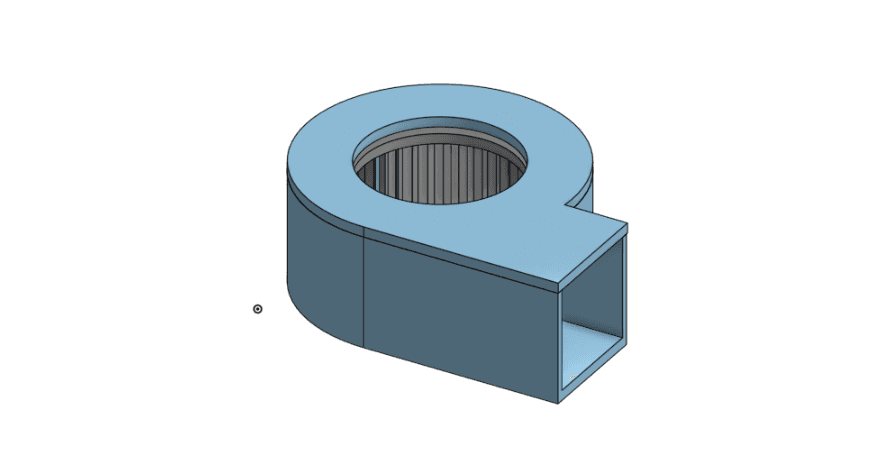
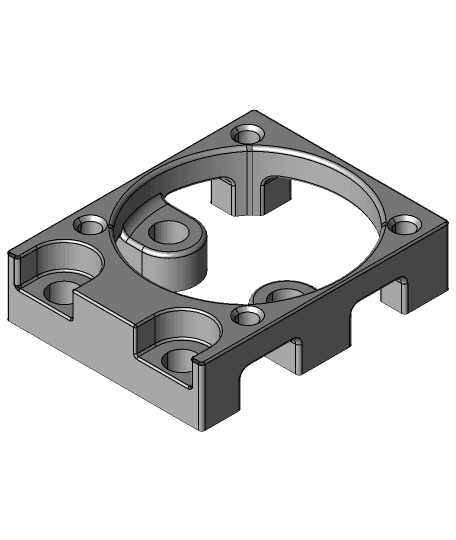
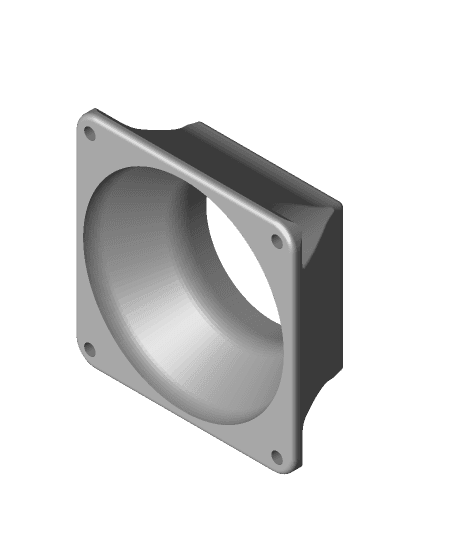
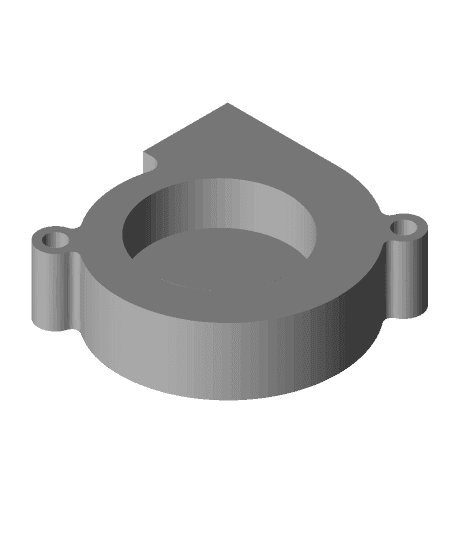
I created two adapters that join together to avoid having insane amounts of support needed otherwise.
Print Recommendations I recommend printing in a heat-tolerant filament like ABS or ASA, as it is a graphics card that can get hot when operating. In a temperate room with the blower going full blast, I have had this keep the video card at 80 C or lower. Unless you keep the room hot, at least for me, it has kept it below the threshold (85 C that I have seen discussed here and there). In my non-scientific tests (running some stable diffusion generating as a test load), I found that from barely having the fan running in a decent cool room, it will be at 87 C, but when the blower fan is on full blast, I can get it down to 76 C.
I used PolyLite Red ASA to print my adapter. I did 20% (possibly could do less) gyroid infill and Archnae generator with the regular .20 mm profile defaults (on Bambu Studio). I would recommend enabling supports. I found the tree slim supports with supporting critical regions would suffice. A brim might help on the fan adapter, depending on the level of warping you get when printing the filament.
Print the Fan Adapter with everything flat (the hex cutouts should be on the print bed). Brim probably should be enabled unless warping isn't a concern. It may not need supports except maybe hex holes (it should be fine generally).
Print the Top Adapter with the power connector cutout flat on the bed (with supports enabled).
Hardware/Assembly Information 7 x M3 x 10 mm (Need seven screws and nuts, though you may skip some if you find it rigid enough depending on infill/material) - Connecting the Two Adapters Together
Notes: Longer screws shouldn't matter; they would stick out past the nuts on the top adapter.
3 x M3 x 10 mm (Need three screws and nuts) - Mounting the Blower to the Fan Adapter
Notes: Shorter screws may not be long enough to engage the nuts, and longer ones may scratch the face of the graphics card or cause it to be offset and increase vibrations.
3 x M3 x 10 or 12 mm (Need three screws, possibly use longer ones) - Mounting top adapter to card itself.
Holes should be wide enough for the screws to go through, though I would recommend cleanup on the fan mount holes or pre-screwing in case your printer didn't do the overhangs well and there is stray filament covering the hole.
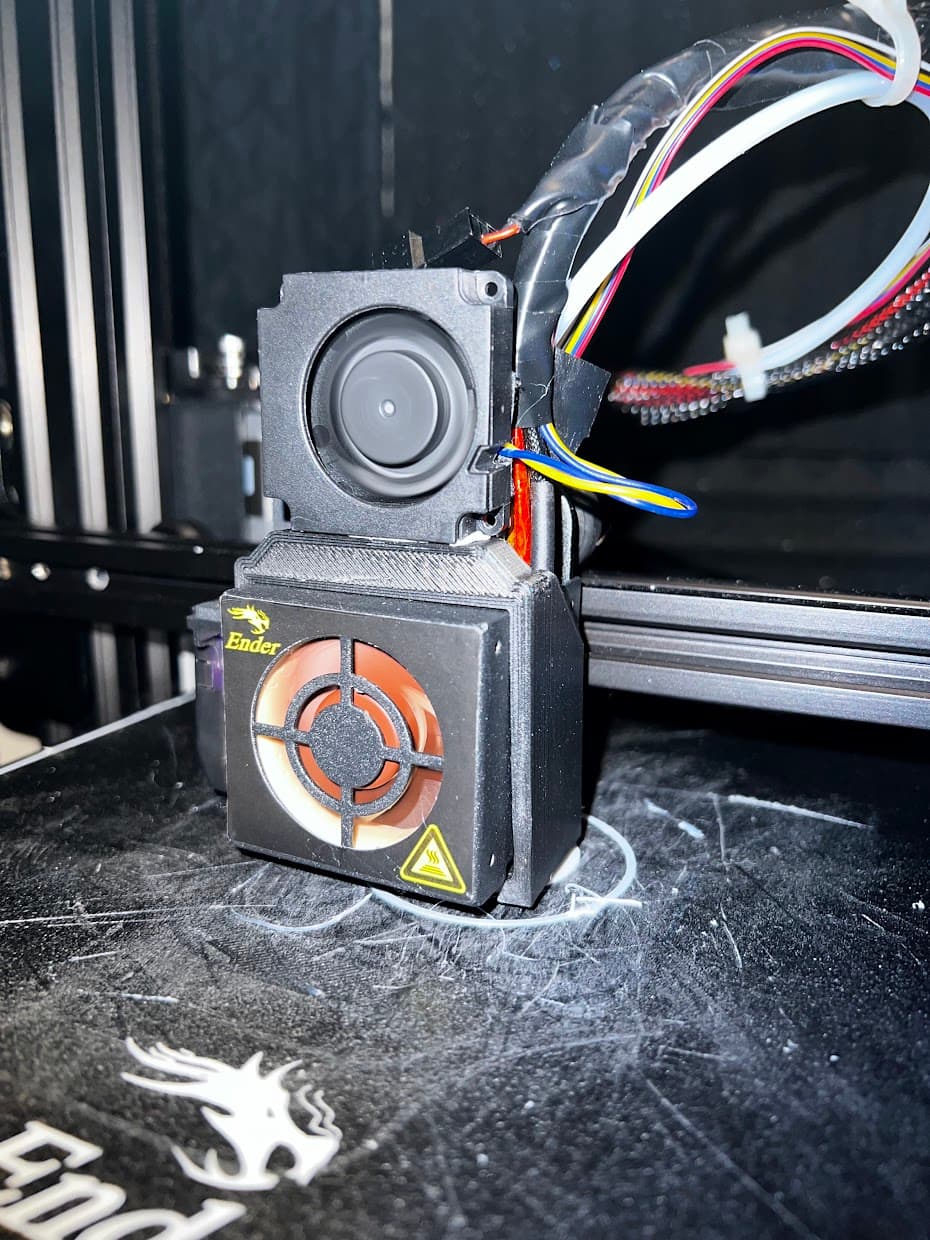
Assembly Order I recommend putting the blower on the adapter first, installing the top adapter on the card next, then using your finger to hold the nut while you screw the screw from the fan adapter side. Install screws that connect the two adapters like you would install on a wheel, not tightening one side until the other sides are done and working on opposite sides.
Tesla M40 Blower Fan Adapter
HI-flow Extruder-Head For ANYCUBIC i3 MEGA fan-bracket for 5015 Blower fan
K2 Satsana Dual Stock Blower Fan Duct Shroud - Ender 3v2 with CRTouch

PCIE to 120mm fan adapter
120mm to 150mm fan Adapter

Ikea Bestå Fan Adapter

Saturn 4 / Ultra / 16k Fan & Duct Adapter
blower_fan 2006

XTool D1 Laser 80mm Fan Adapter - Makeblock Laser Cutter Upgrade
E3D V6 3030 + 4040 Blower Fan Mount
Centrifugal Blower Fan
Ender 3 Blower Fan Relocator
Creality E-Fit 5015 Cooling Fan Adapter
30mm Fan Adapter for Flying Bear Dual Nozzle Hot End
3d upfitters 60mm fan adapter for the grommet holes
Zad Nozzle Fan Duct mk3 v1.0 for Ender 3 S1 Pro Spriter extruder and 5015 blower fan
92mm Fan Adapter for 3d upfitters enclosure
50mm Blower Fan
Dual Blower Fan Duct for Ender 3 V2 with Spider Hotend V1
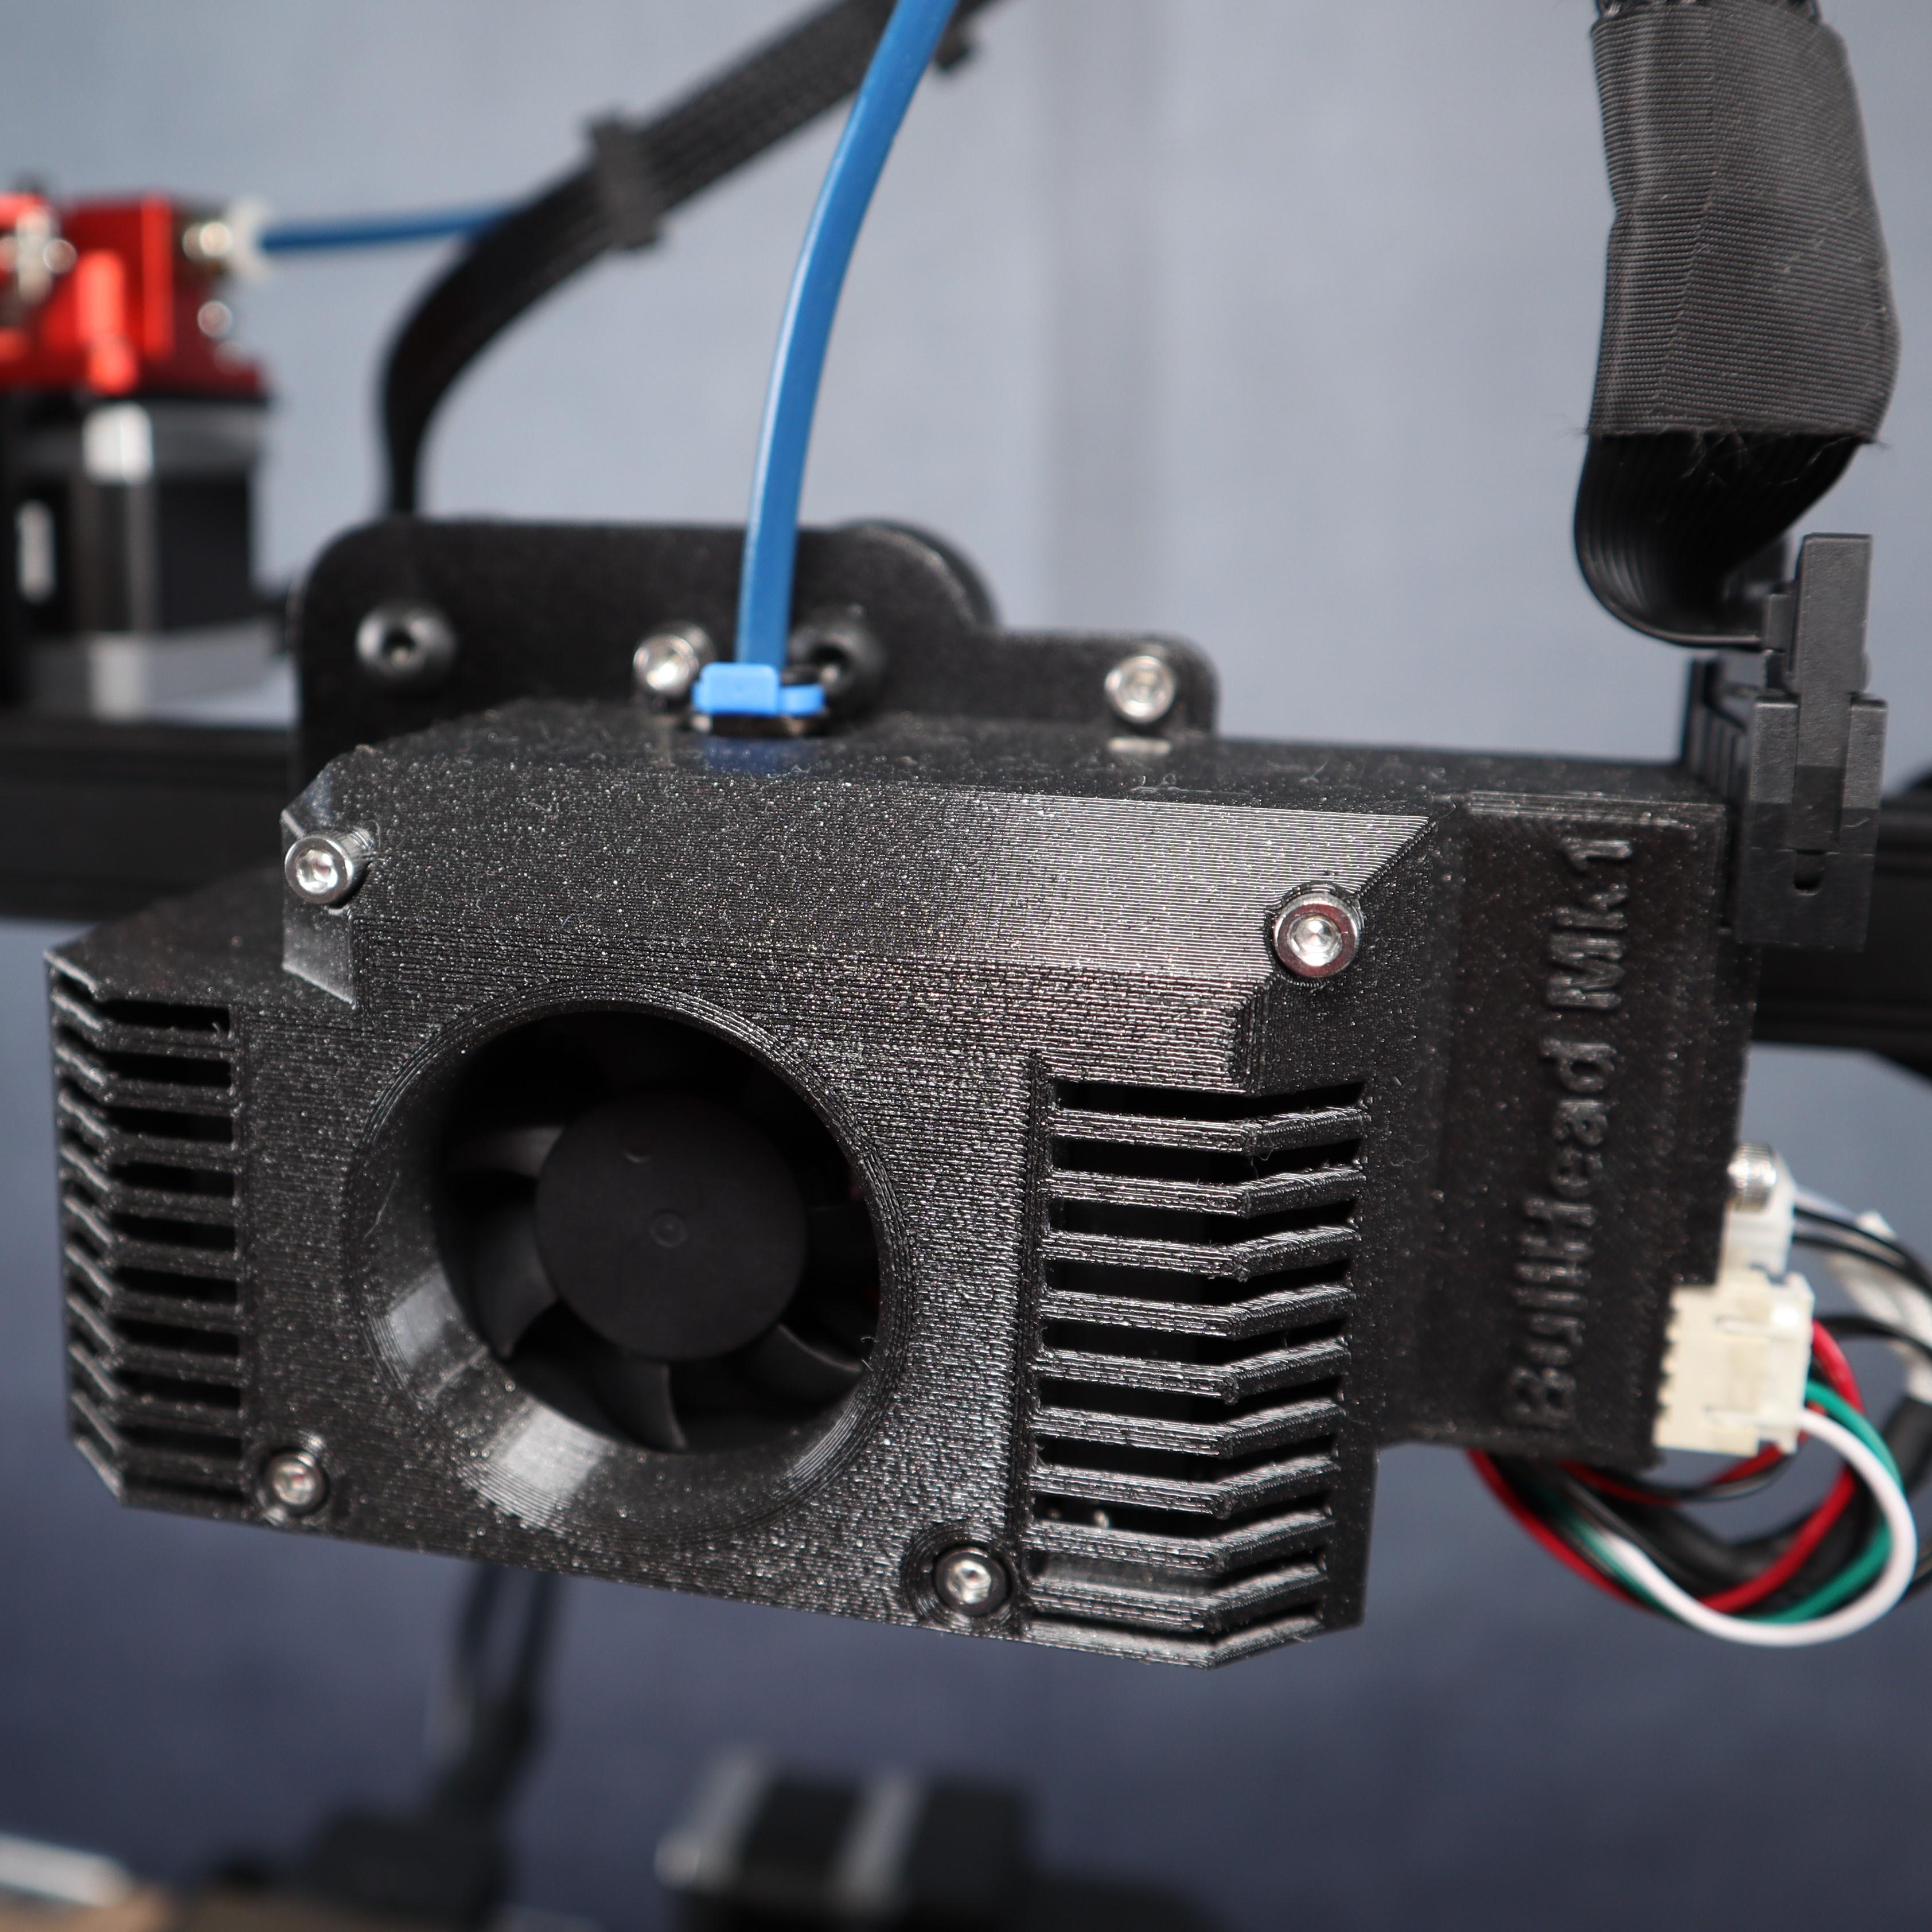
Dual Blower Fan Duct for Creality CR-6 SE - BullHead Mk1