Profile Image
kosteklvp
kosteklvp

kosteklvp

Hello fellow printer!

My name is Piotr, and I am 3D-printing since 2020. For some time, I have also been designing 3D models, which I share here. Feel free to grab and enjoy any of them!

If you like my works, and would like to see more of them, please consider supporting me through one of the available tiers. With your support, I can spend more time creating better and more models and continue to develop further. :)

For any questions or help, you can contact me directly here.

Happy printing!

Follow

Select a membership plan

$10.00
/ month

Join me as a supporter, if you want to access all of my exclusive models and posts, or just want to show your appreciation.

I'll keep you updated with regular behind-the-scenes posts. This level also allows you to have a direct impact on what I create.

With your support, I can spend more time creating better and better works and continue to develop further. :)

$25.00
/ month

Join me as a champion, if you want to access all of my exclusive models and posts, and if you want to use my exclusive models commercially. This level also allows you to have a direct impact on what I create.

With your support, I can spend more time creating better and better works and continue to develop further.

kosteklvp

Raspberry Pi 3A+ Case

by
kosteklvp
Follow
Follow
Remix Model
kosteklvp
kosteklvp
|
Image 1 of 12
Raspberry Pi 3A+ Case 3d model
kosteklvp
kosteklvp
|
Image 1 of 12
Raspberry Pi 3A+ Case 3d model
2D
3D
Makes
Raspberry Pi 3A+ Case 3d model
This model is restricted by licensing terms. 

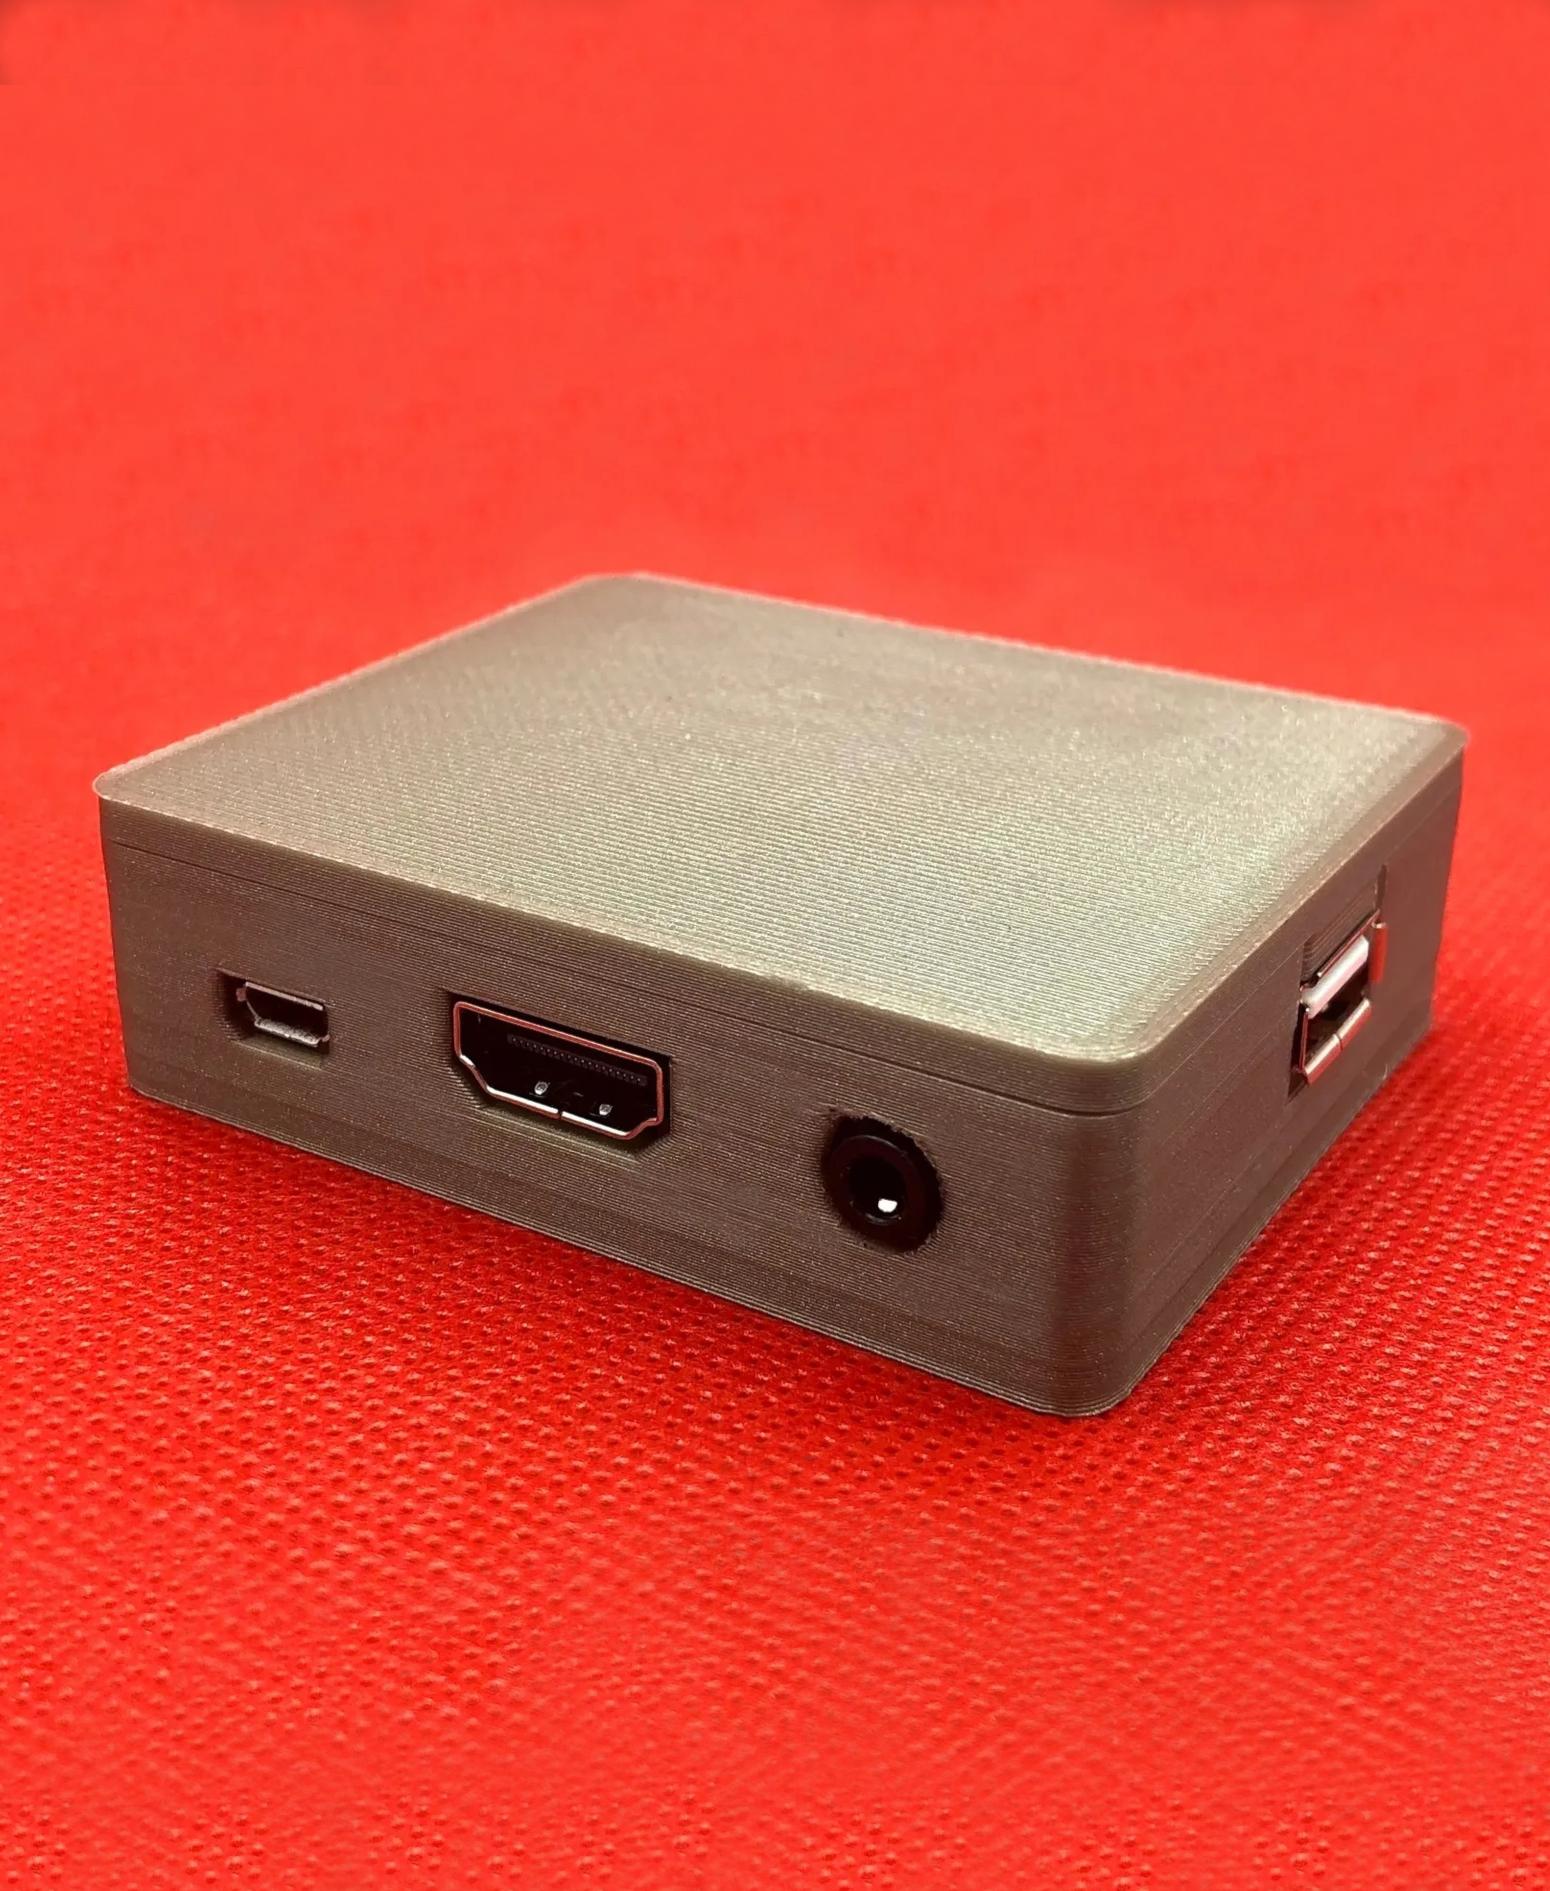
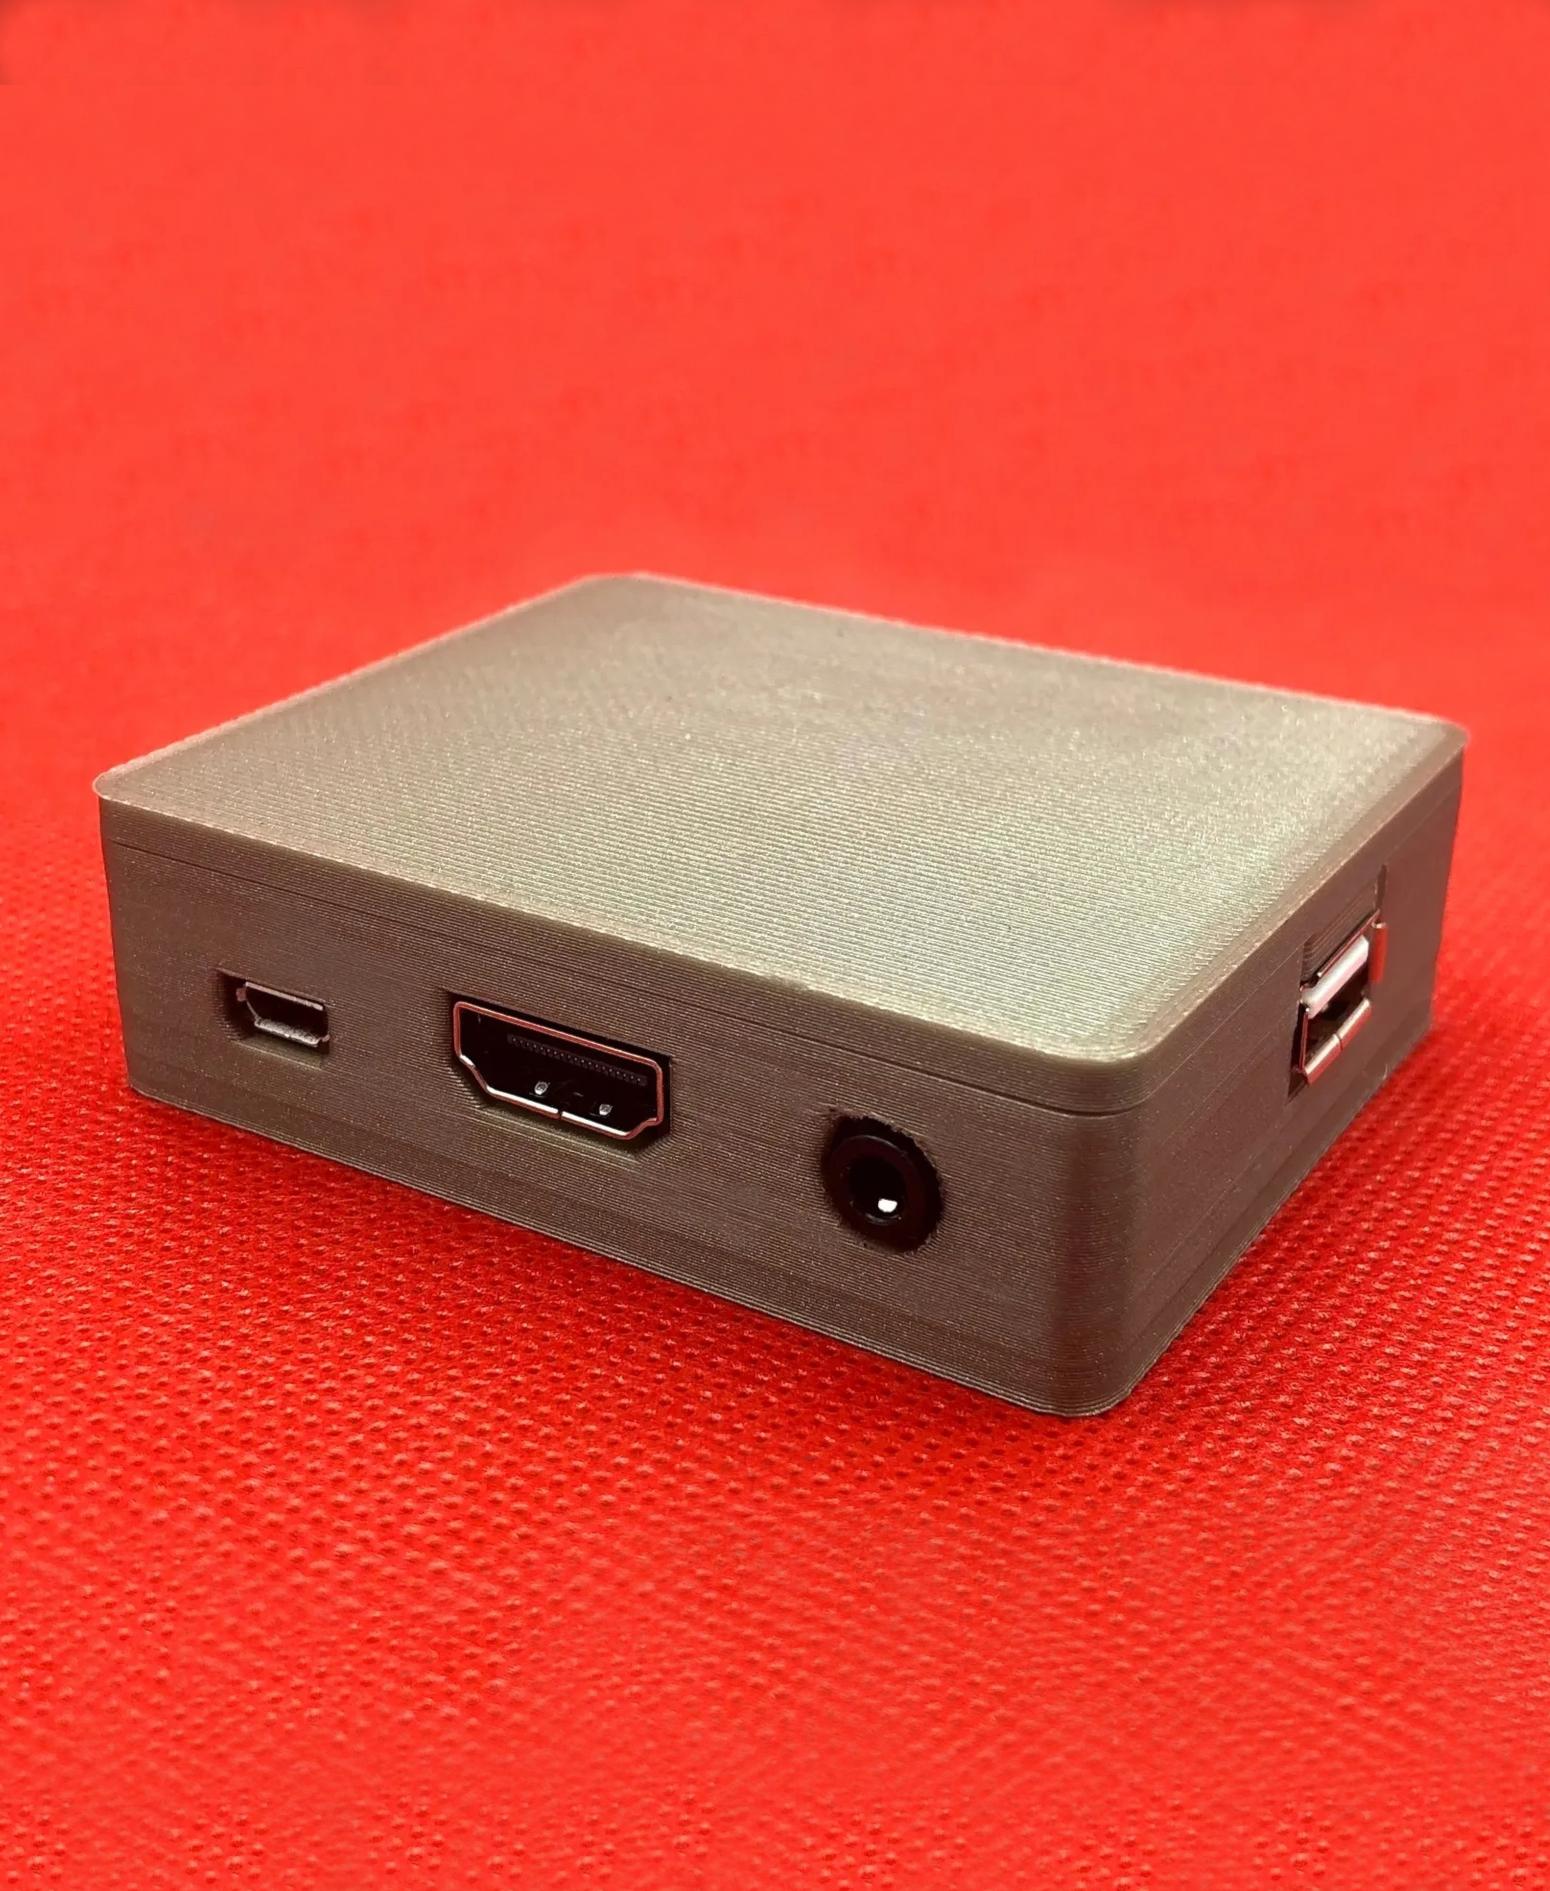
This is a case for Raspberry Pi 3 Model A+ and Raspberry Pi 1 Model A+.

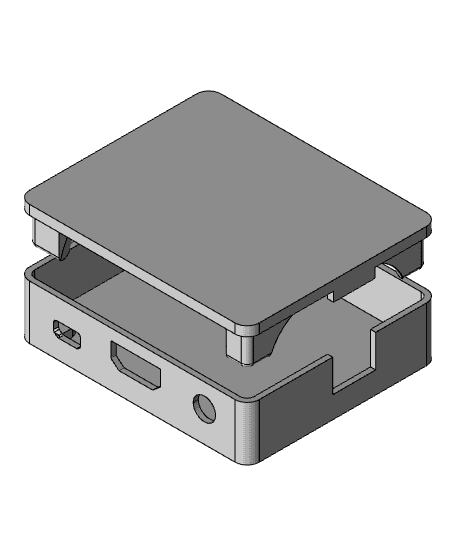
The dimensions of the case are 72 mm x 60 mm x 20 mm. It consists of two parts (a base and a lid) and has been designed to be fully covered with only cutouts for ports. It's easy to print and assemble. It doesn't require any additional screws or joints.

Recommended print settings

  • layer height: 0.2 mm
  • perimeters: 2
  • solid layers: 5
  • infill: 20% grid
  • supports: no

Assembly instructions

  1. Insert microSD card into Raspberry Pi.
  2. Insert Raspberry Pi into the base. Side with HDMI, microUSB and mini Jack ports should be inserted first.
  3. Assembly lid. A little connector should be inserted in the place where the USB port is located.

The lid should fit quite tight, but it should also disassemble from the base without using too much force.

39 Likes132 DownloadsFebruary 20, 2022


39 Likes132 DownloadsFebruary 20, 2022
This model is restricted by licensing terms.