


ZigZag Christmas Ornament
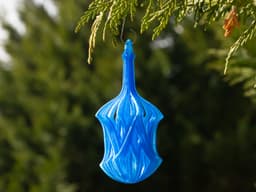
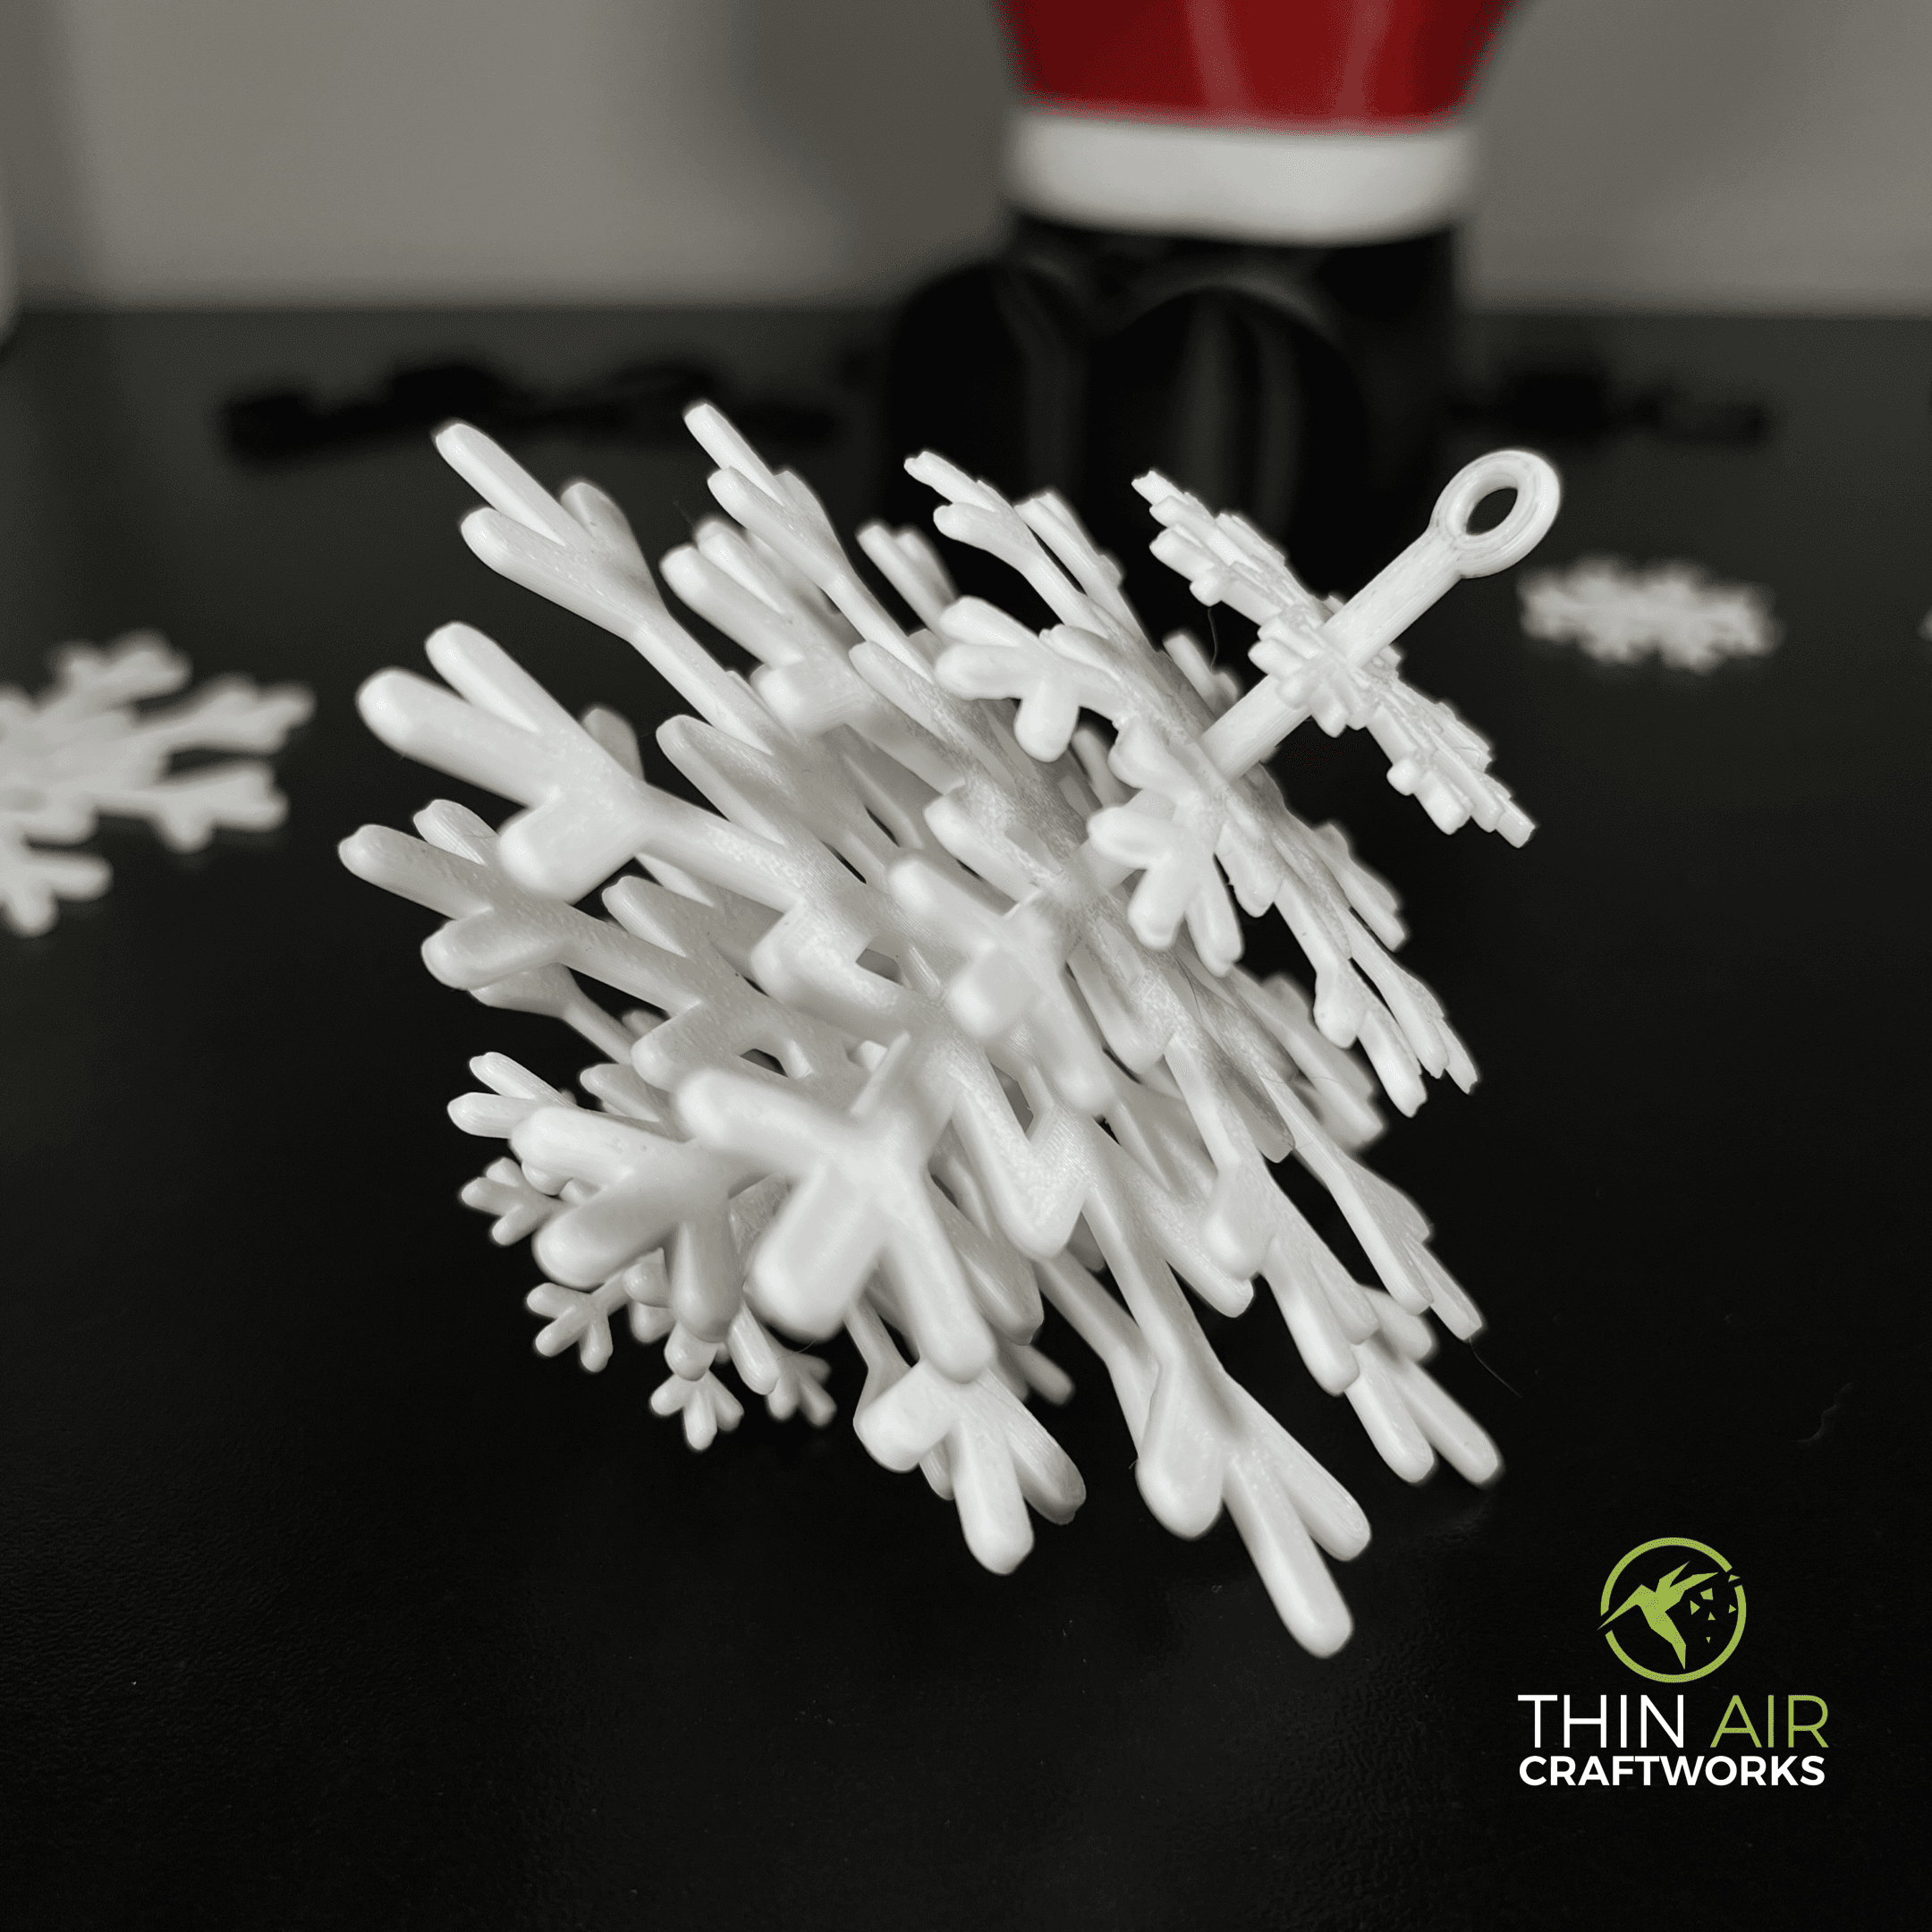
This is an elegant abstract sculpture that doubles as a Christmas ornament. It almost seems to change shape as you rotate it in different directions.
Not for commercial use. Please see license agreement.
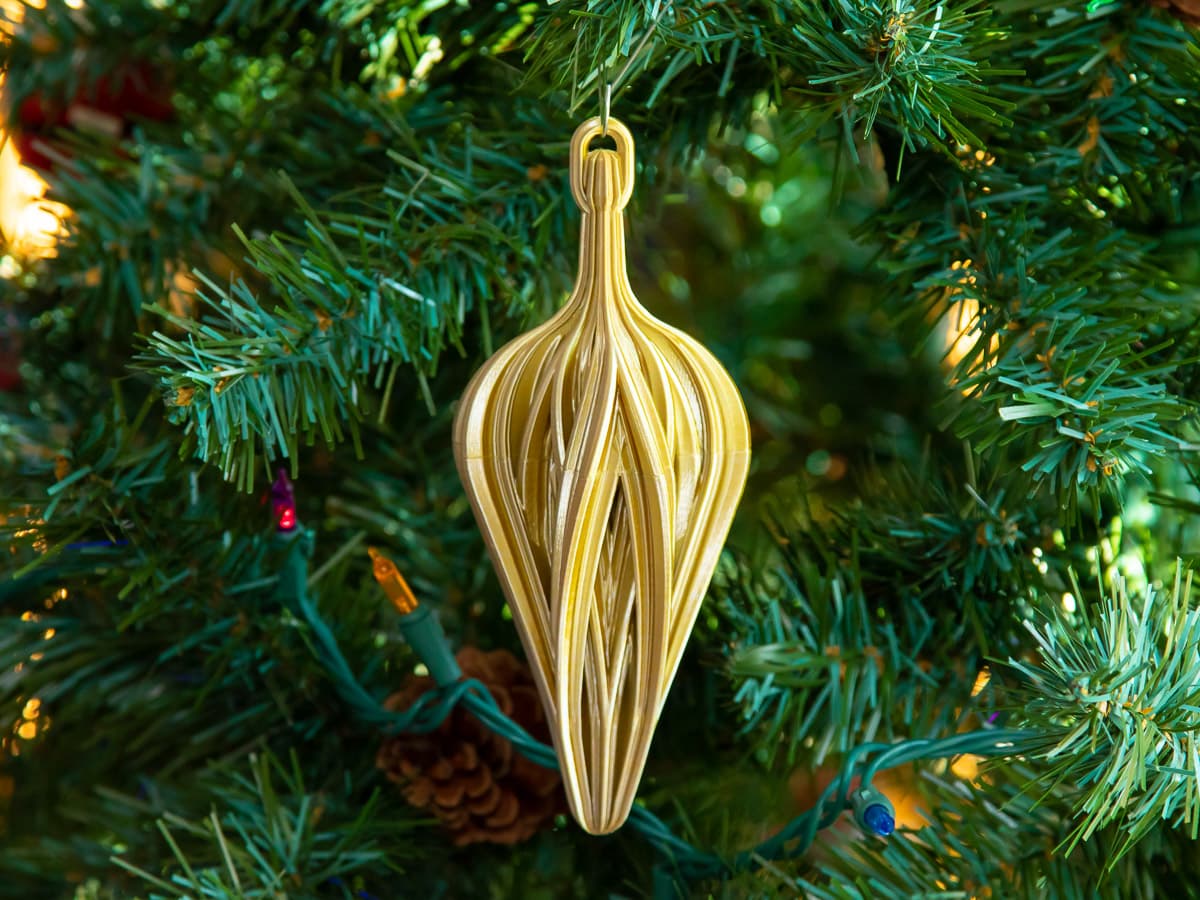
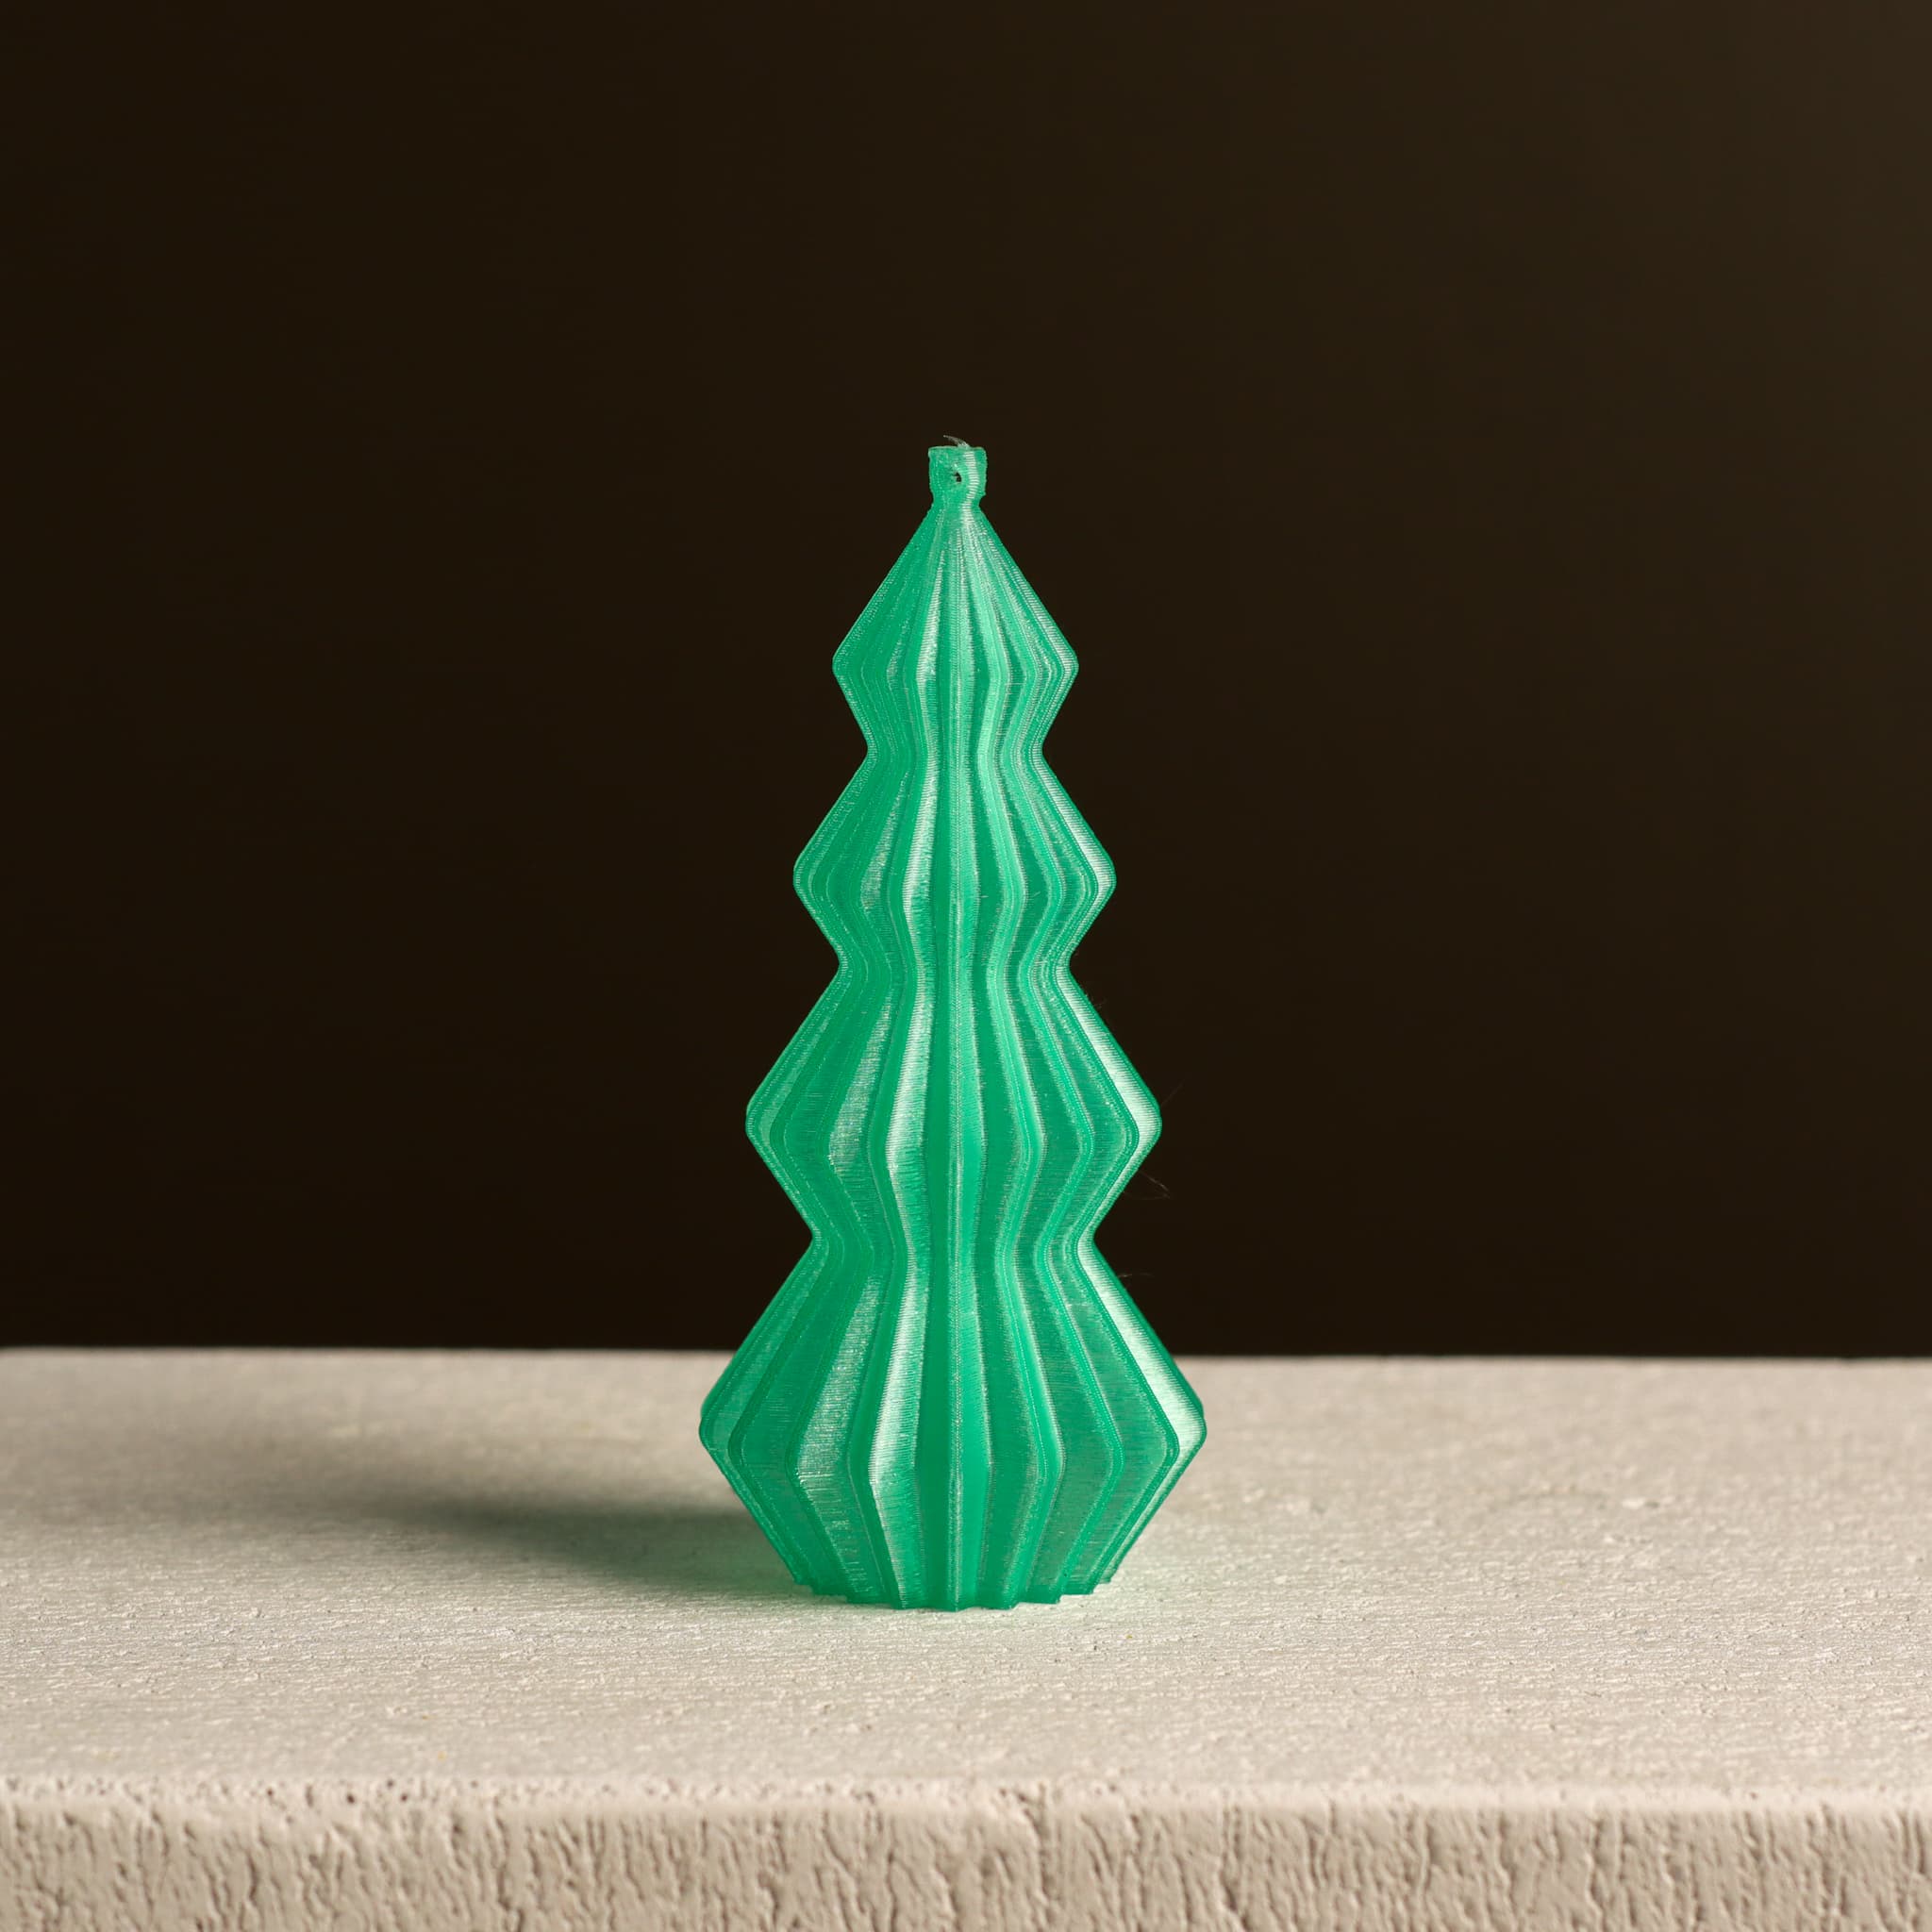
This ornament prints well with just a single perimeter. That makes it very light and lets the most light through is you use transparent/translucent filament. In fact, it positively glows. It also looks amazing printed with bichromatic or trichromatic filaments.
The clear version pictured was printed with Matterhackers Transparent PLA. It was sliced using Cura and printed using an AnyCubic i3 Mega S. The other versions were sliced using PrusaSlicer and printed on a Prusa MK3S+ with Matterhackers Quantum Raspberry Gold and Matterhackers Translucent Blue.
Resizing These should scale up well, but I'm not sure how much smaller you could print them using a consumer FDM printer. Using a resin printer, you could probably print them much smaller.
Print Time About 5 hours
Print Settings The trickiest parts to print is the top of the stems. Using FDM, if you don't temp, speed, flow, and cooling right, the thin parts of the stem will melt as you print. Thinner walls help. If that's not enough, try increasing the layer height.
Thickness
- Layer thickness: .15 mm
- Wall thickness: 0.4 mm.
Infill Using PrusaSlicer, you won't need infill. Just set top and bottom to 1 layer and minimum shell thickness to 0.15 mm. That will keep the ornament light (about 13 grams) and will let the most light through if you use translucent/transparent PLA.
If you use Cura, I would use support blockers set to 1-3 layers high to add infill just in those areas that are unsupported.
Speed With PrusaSclier, I used the default speed settings for my printer and generic PLA. In cura, I used:
- Outer Wall: 35 mm/sec
- Inner Wall: 40 mm/sec
- Travel Speed: 60 mm/sec
Build Plate Adhesion I used a brim. With the supports, you shouldn't need a raft.
Supports You will probably need supports for both bed adhesion and the overhang on the first few layers. You shouldn't need supports for the loop at the top. Adding them would just increase the chances the supports broke and caused the print to fail. If you get supports inside the ball, just add a support blocker.
- Support Structure: Normal
- Support Placement: Touching Buildplate
- Support Overhang Angle: 60 Degrees (Cura) and 67 (PrusaSlicer)
ZigZag Christmas Ornament
Zigzag Teardrop Christmas Ornament

Nativity Christmas Ornament, Holy Family Ornament, 3D Christmas Decor, Christmas Gift or Surprise

Flat Christmas Ornament Pack | Christmas Ornaments

christmas ornament earrings pack christmas ornaments jewelry pack

Angel Christmas Ornament, 3D Christmas Decor, Christmas Decoration, Christmas Gift, Angel Figurine

Christmas Ornament: Personalized Name Ornament
%25203%25201350.png&w=3840&q=75)
Polar Arches Christmas Ornament - Christmas Gifts by Lunfardo
%25204%25201350.png&w=3840&q=75)
Revolution Christmas Ornament - Christmas Gifts by Lunfardo

Shelf Ornament Christmas Tree - Christmas Holidays

Christmas Tree | Christmas Ornaments
FHW: (Christmas Ornament) Christmas Star v1 a
.jpg&w=3840&q=75)
FHW: (Christmas Ornament) Christmas Ratchet set 2021 v1

Ornaments - Fancy ornaments for Christmas

Victorian Christmas Ornament - Christmas Tree
Christmas Tree Ornament, Christmas Decor by Slimprint
Snowflake Ornament - Christmas Tree Ornament & Decor
.JPG&w=3840&q=75)
Christmas Bells | Christmas Ornaments

Santa Stocking Surprise - Christmas Ornament for Christmas Tree

FHW: 2022 Modern Christmas Ornament ornament X
