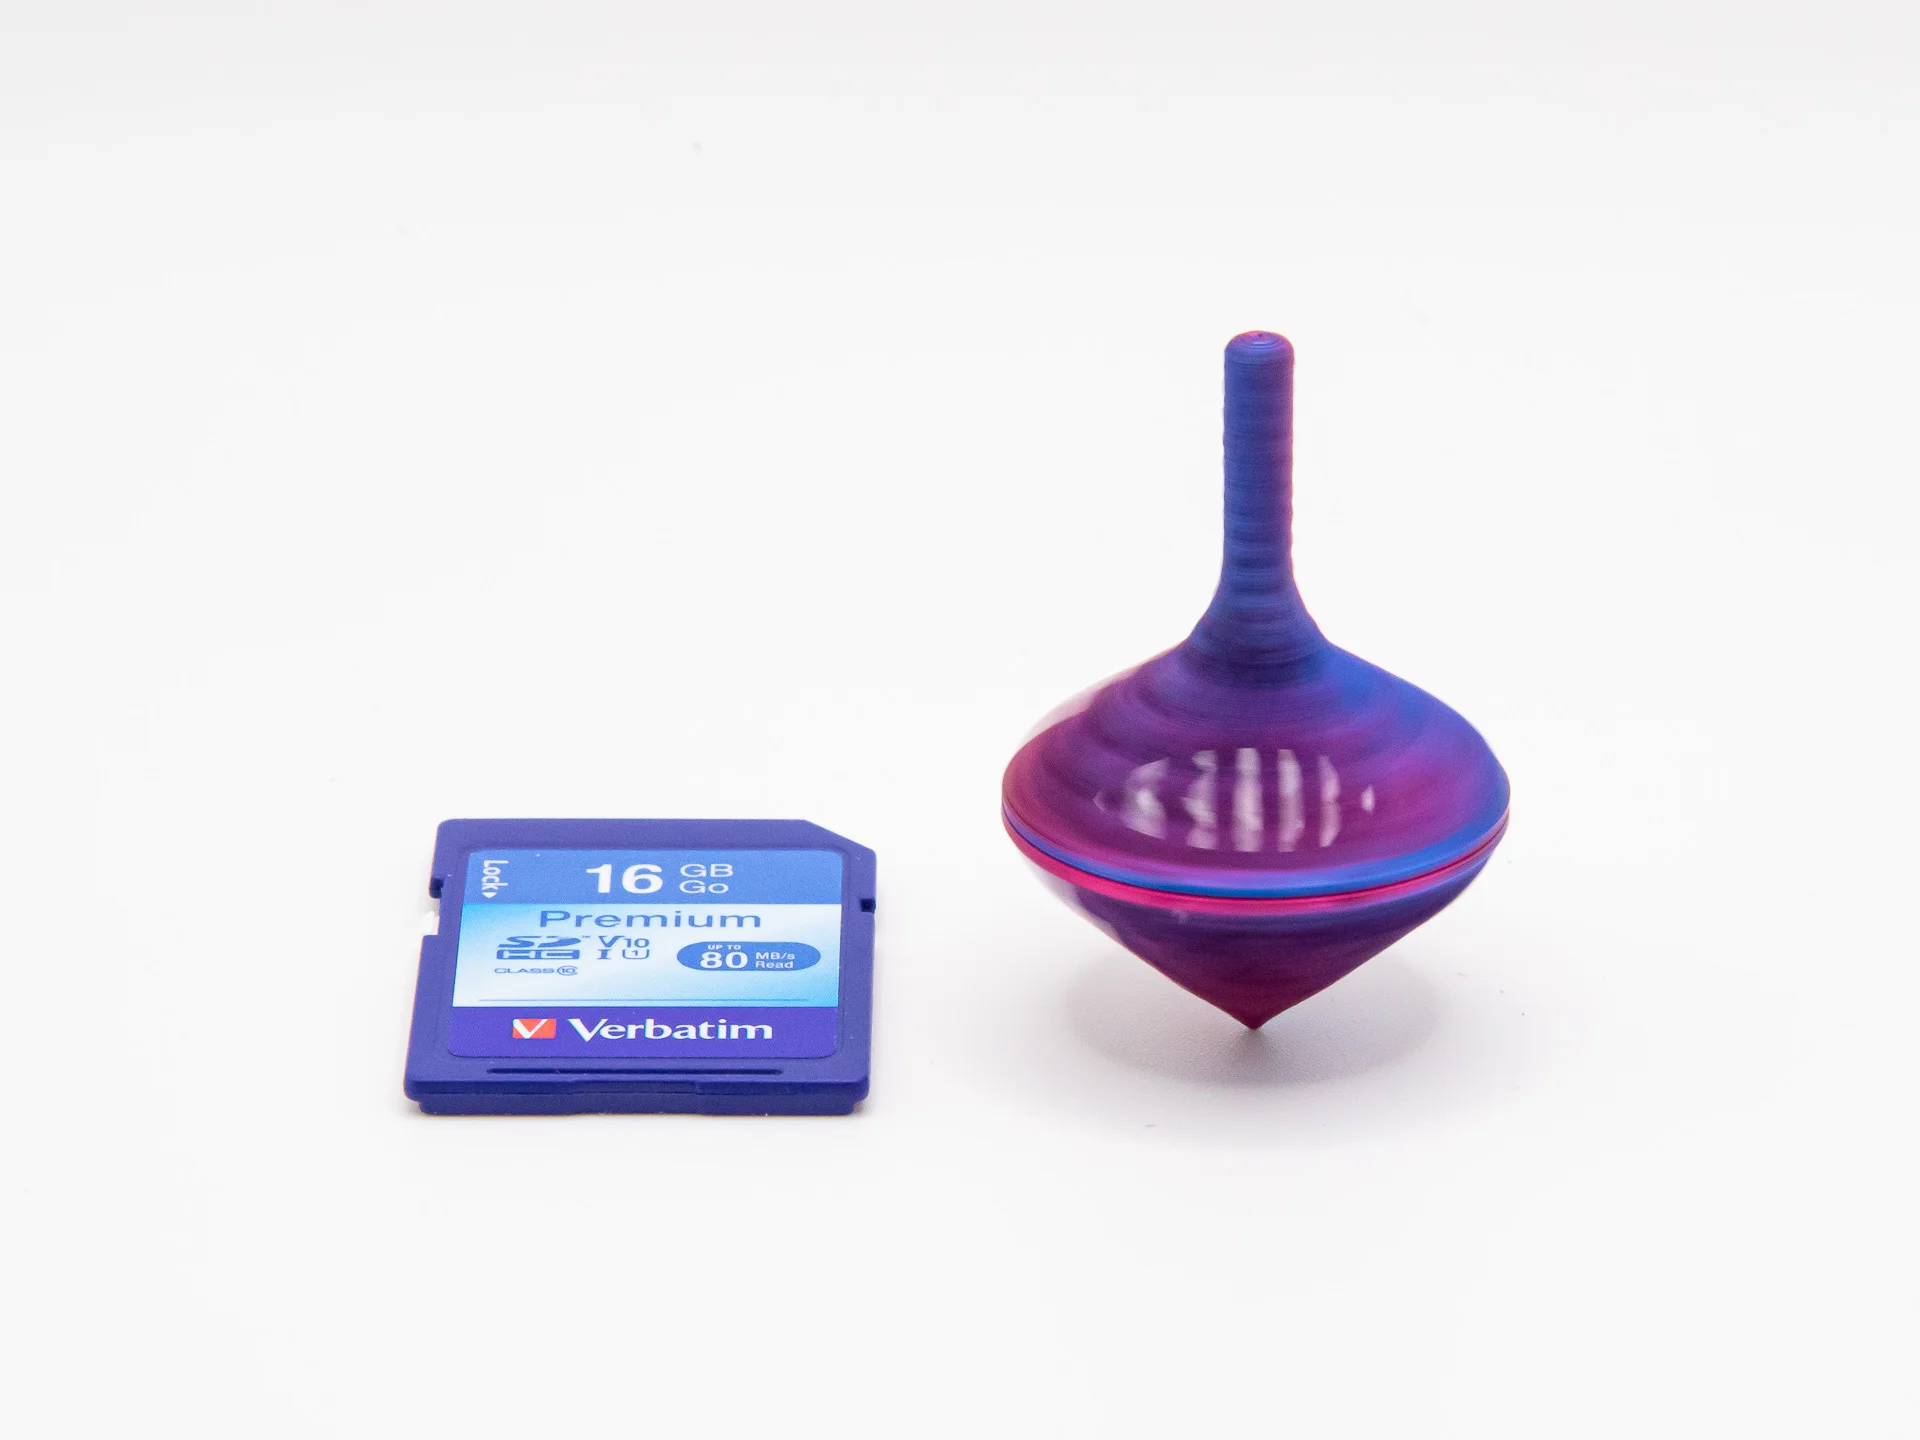

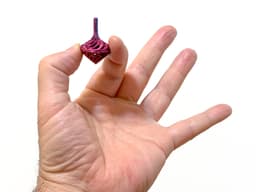


World's Smallest Tops
Are these really the world's smallest? Eh, I dunno. They are pretty small, though.
Not for commercial use. Please see license agreement.
I've experimented with creating smaller versions of my tops and published them with the larger versions. I'm republishing a collection of just the smallest versions because they are just so much fun at this size. I can't believe how easy it is to spin them even with my size extra large men's hands.
Want to show off your top? Download my Display Stand for Tops. It prints in as little as 10 minutes!
Print Settings
I've included my PrusaSlicer 3MF files. The secret to getting the stems to print so well was to speed up the print slightly, drop the temperature before it begins printing the stems, and print two tops at once so each layer in the stems has a chance to cool slightly before the next layer prints. Be aware, I've added a line of GCODE to my 3MF files that reduces the print head to 180C at layer height 10.50mm. This could cause problems for filaments that demand higher temperatures.
For those who want to print the to as a single piece, the best way I know of is to print it upside down. I've included a collar that fits around the stem to keep the stem from wobbling during the print. If sized correctly for your printer/settings, it releases reasonably easily with care. If it's too tight, enlarge the collar about 0.5 - 1%. I find the surface facing down during the print is a lot rougher this way, but it does eliminate the need for glue and the top spins really well. I've included the STL for the collar and my 3MF file for the counterswirl top, which doesn't use any GCODE inserts and prints at 195C. If you want to print a different top this way, you can open the 3MF in PrusaSlicer, slect the top, right-click, and select “Replace with STL.” All the tops' stems are teh same size, so you shouldn't have to change anything else.
I'm printing with a Prusa Original MK3S+ and a 0.4mm nozzle. It may be possible to get these to print even smaller using a 0.2mm nozzle or a resin printer. If you try it, please post a make.
I recommend printing at 0.1mm layer height. These top have complex geometry and the thinner layer height really shows it off. Plus, it only takes 2 hours to print a set of 2 tops at that height.
I recommend printing with 6 perimeters (yes, really), so the top is solid and has the mass to spin well. Using perimeters instead of infill should avoid creating internal gaps that could cause instability as the tops spin. Also, print external perimeters first. I couldn't explain why, but they are a lot smoother if you print the outside first.
I added grid supports with an overhang angle of 50 degrees.
I arranged the 4 pieces on the build plate this way so as the printer printed each layer, it would alternate between printing a stem and printing the tip of the bottom half of a top. This improved the quality of the bottom points of the tops, which is essential for a good spinning top.
Filament
I used a combination of MatterHackers Quantum PLA and OVV3D's Tri-Colors Red-Yellow-Blue PLA. Both work well at the same temperature range.

Maverick's Trail Badge Top of the World Moab Utah
Goku Kamehameha - Phone Stand - Dragon Ball Z - Fan Art

Oni Half Mask - Wearable
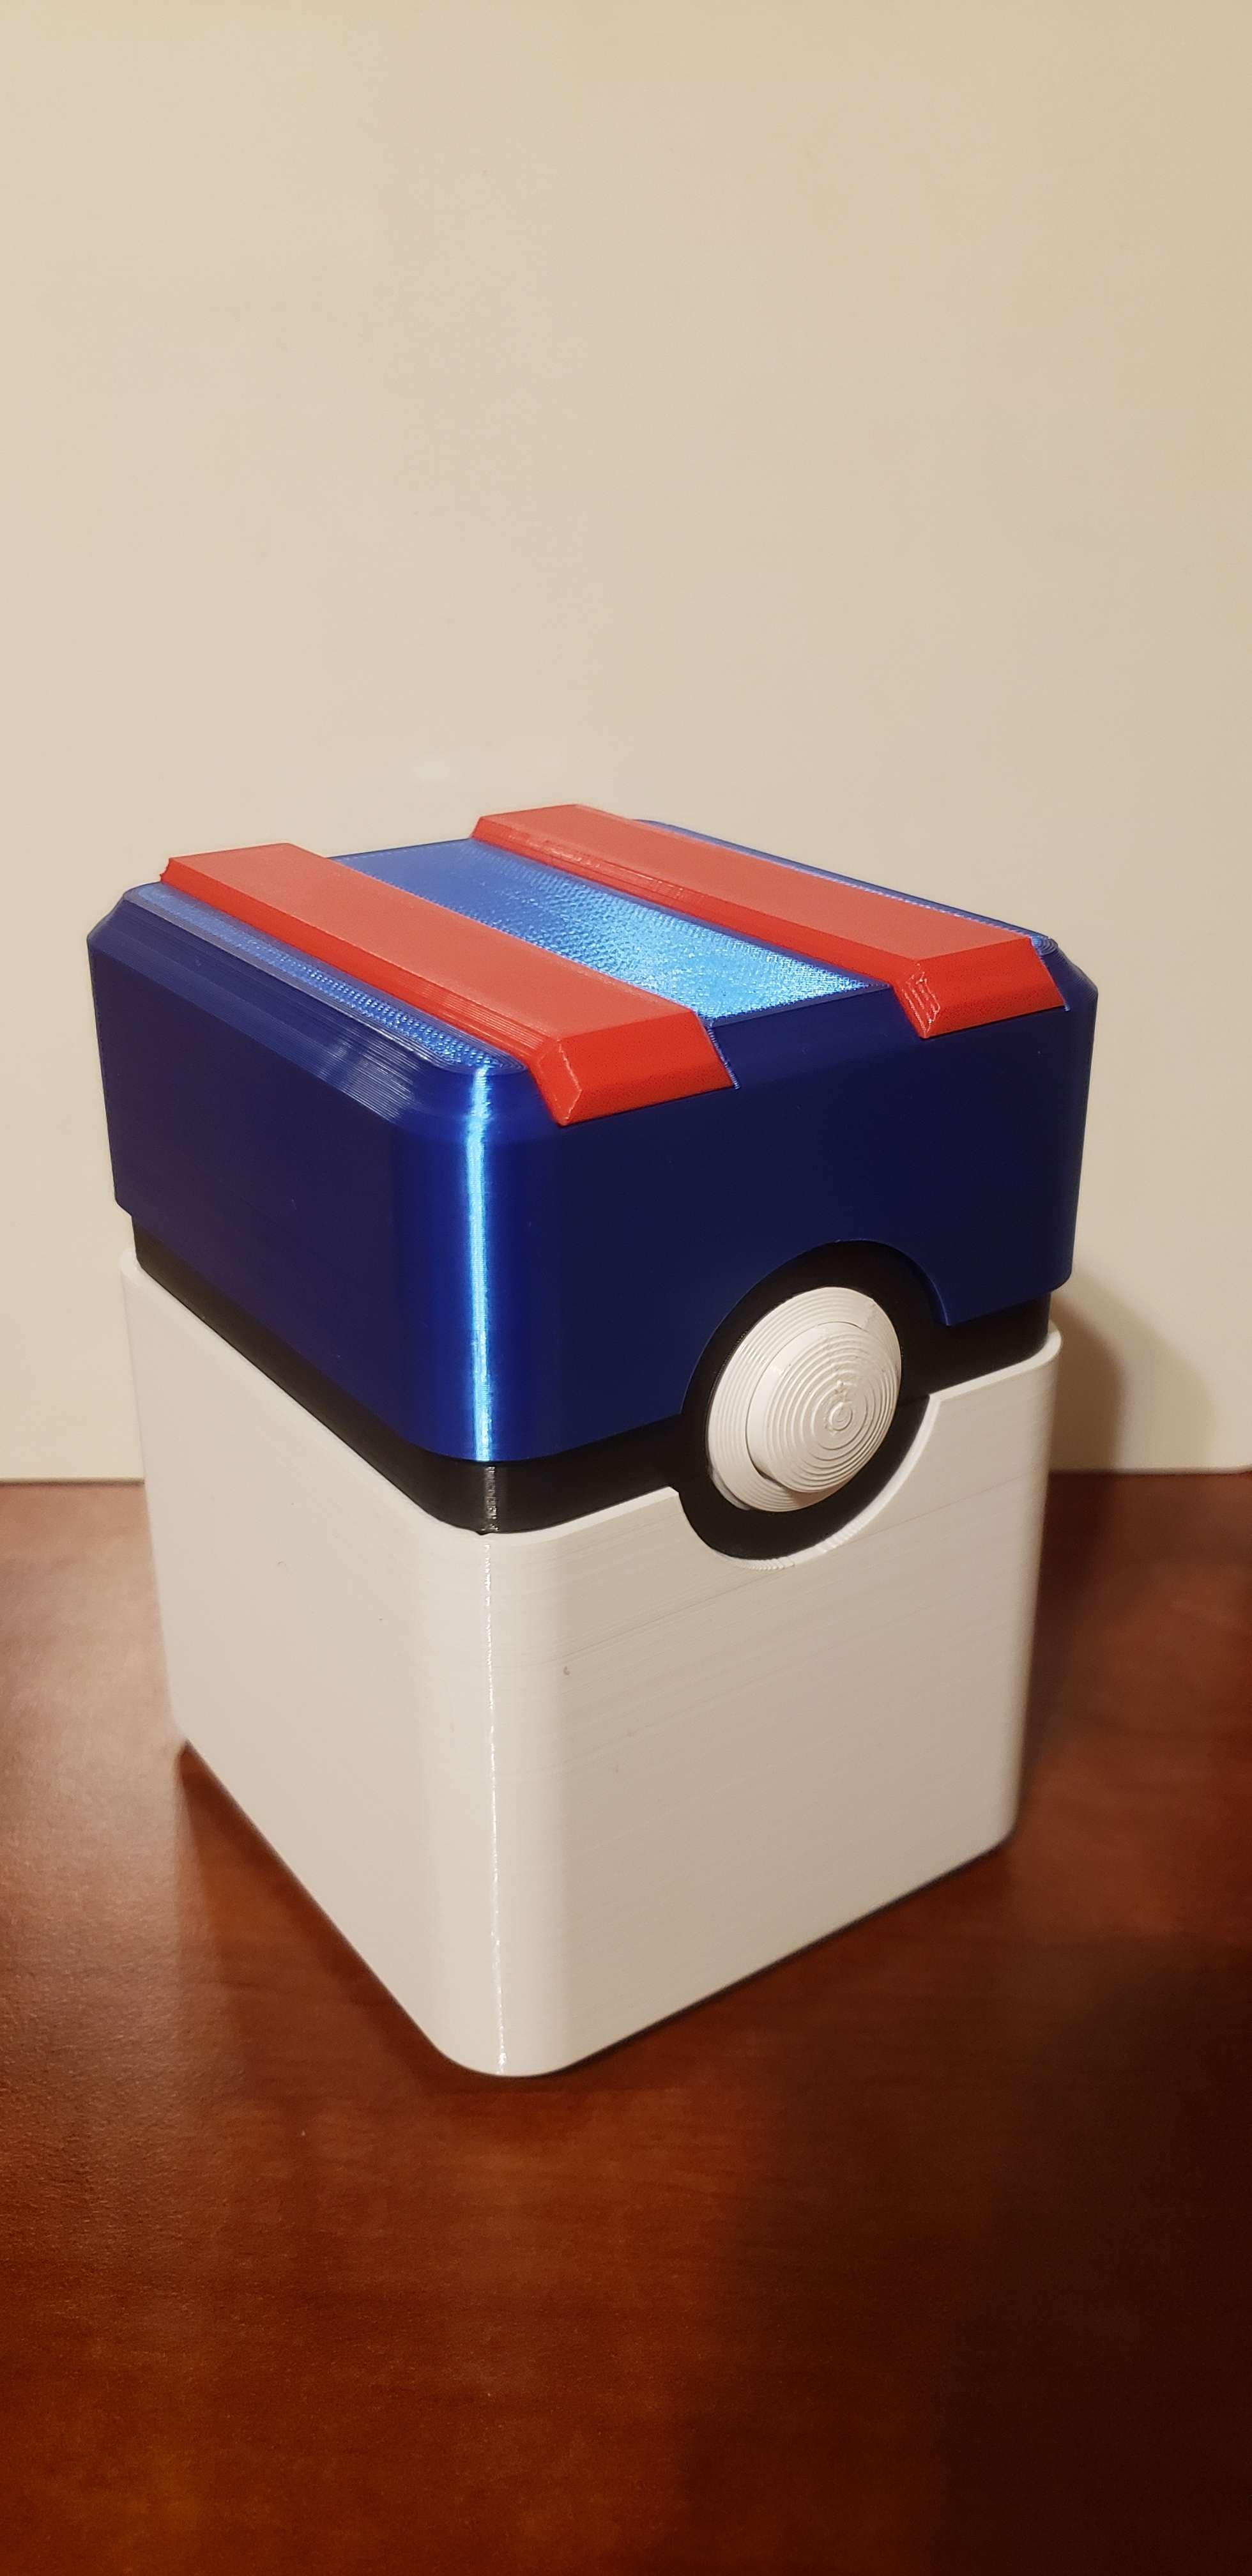
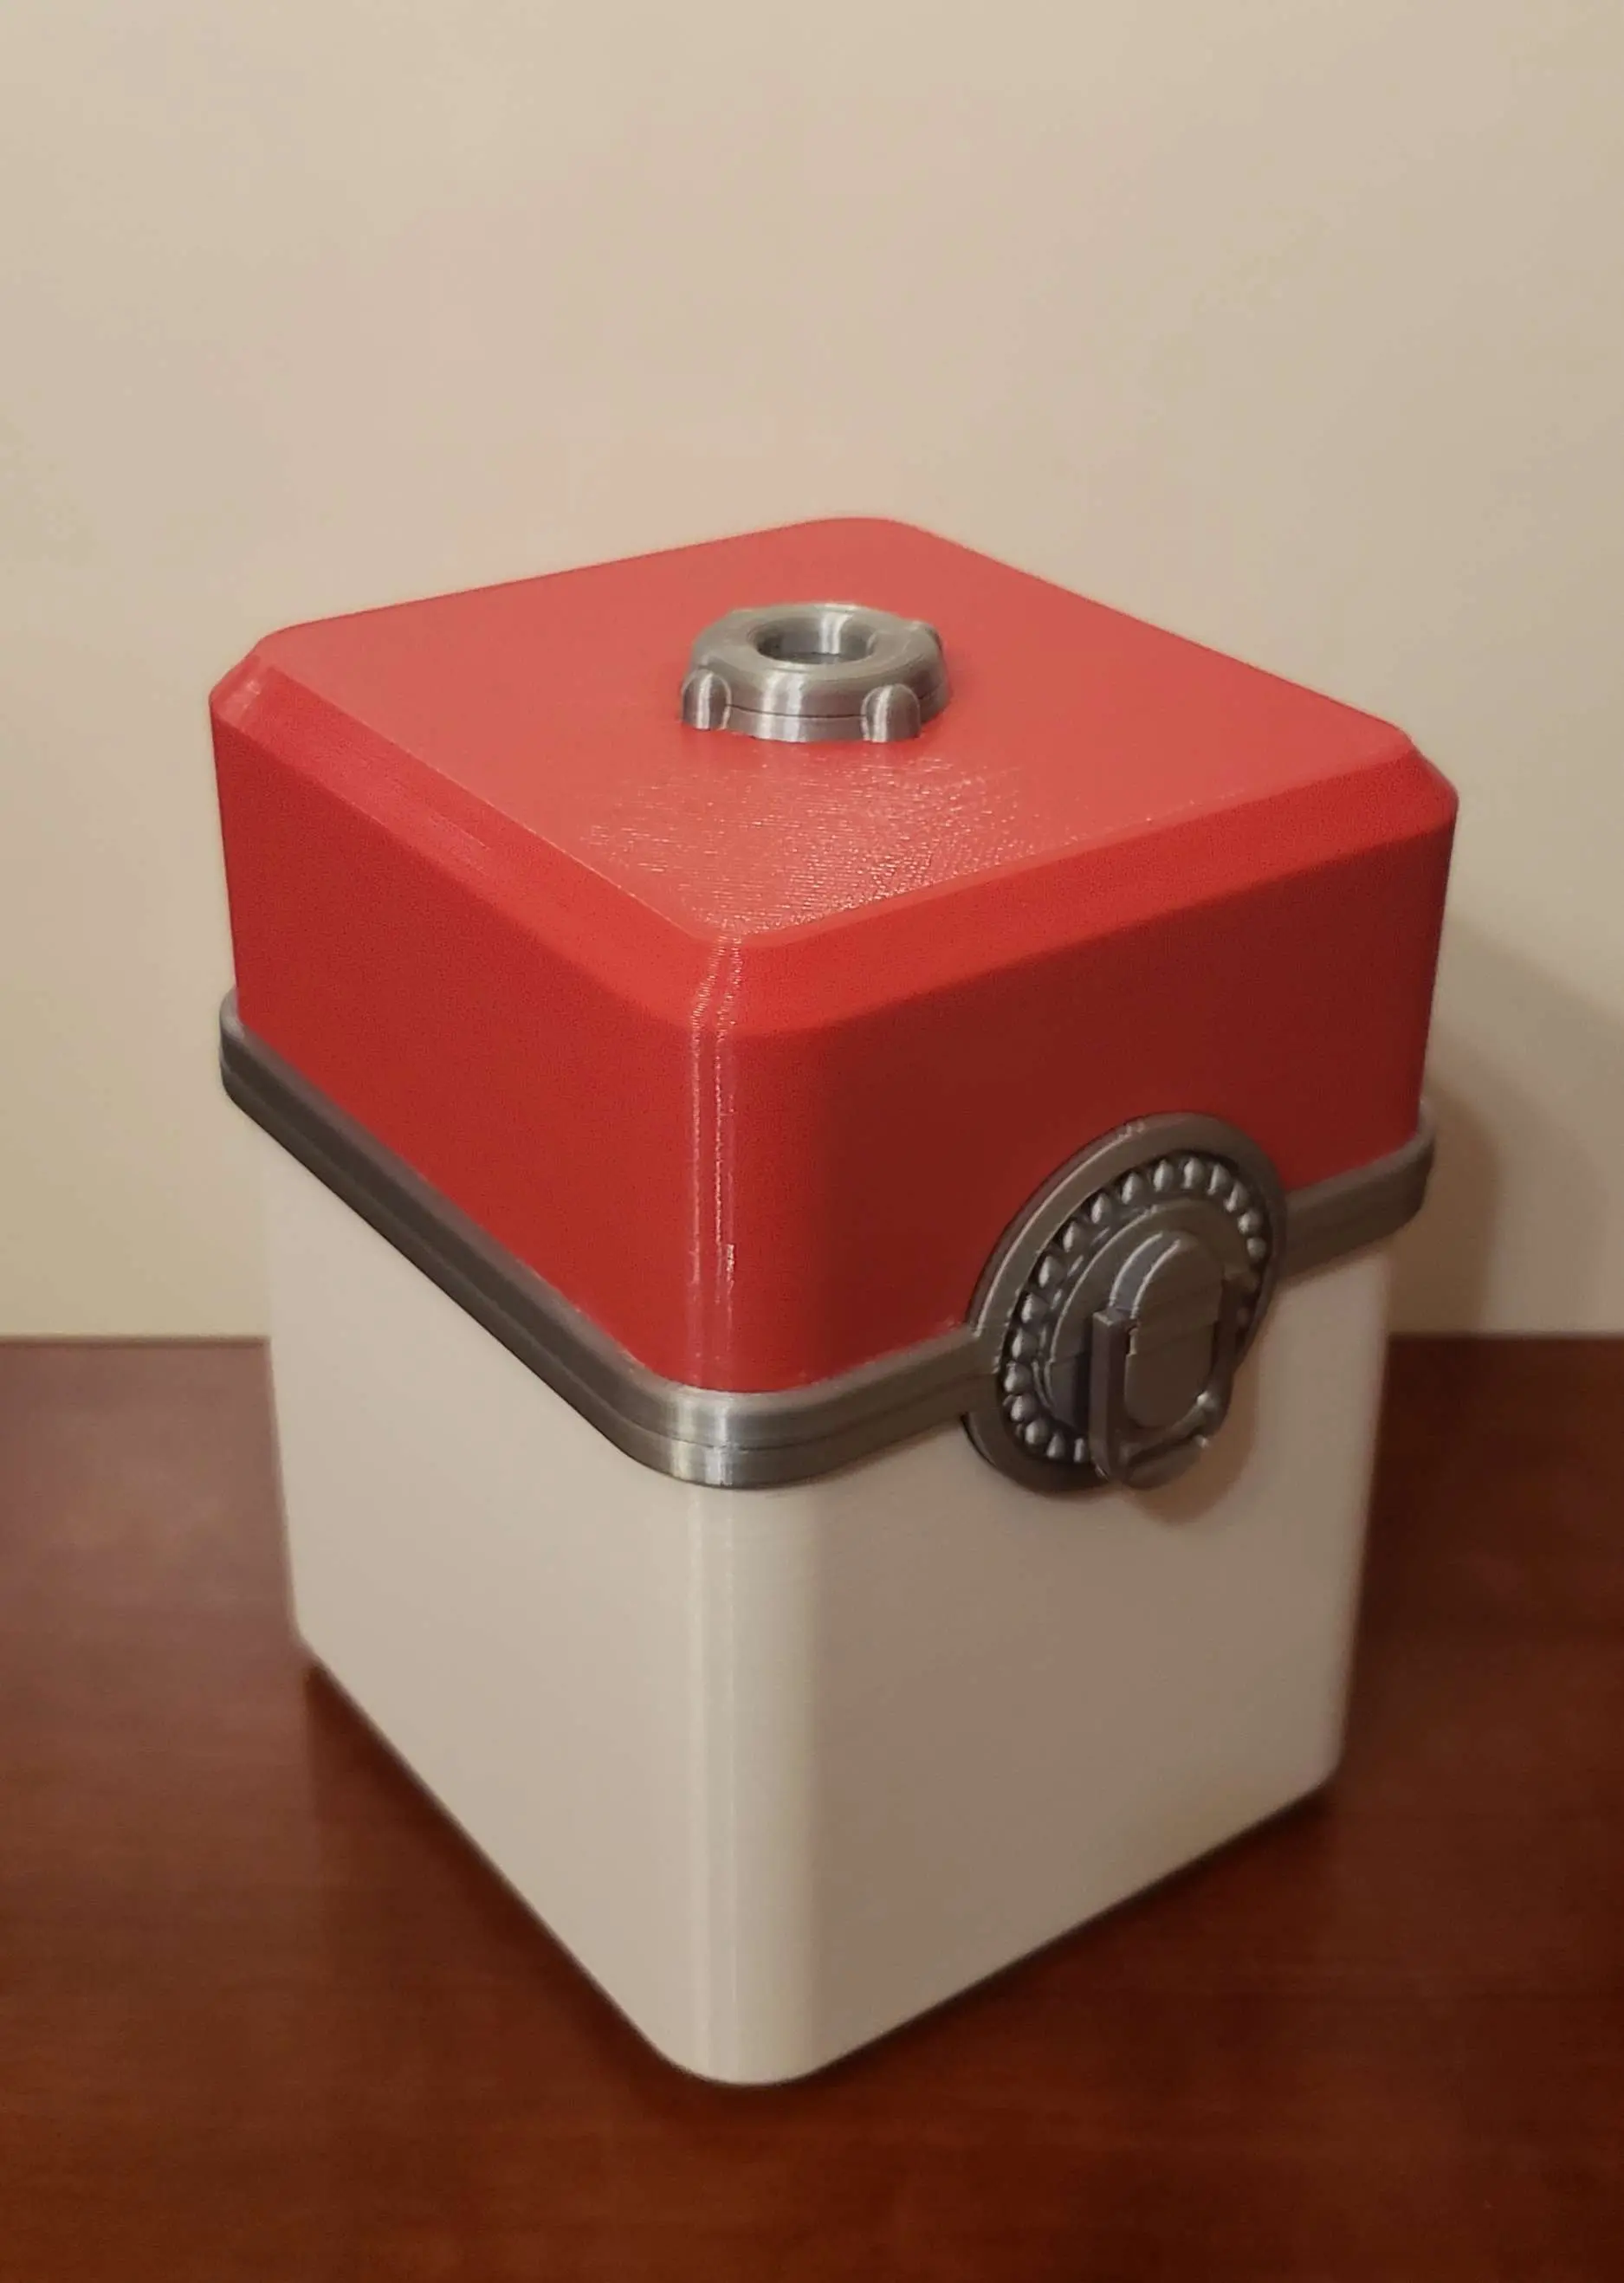
Pokeball Deck Box
Reinforced Spiralized Gridfinity Bin
Masterball Deck Box
Spirograph Top

Threaded Christmas Tree
Ultra Ball Pokebox Deck Box
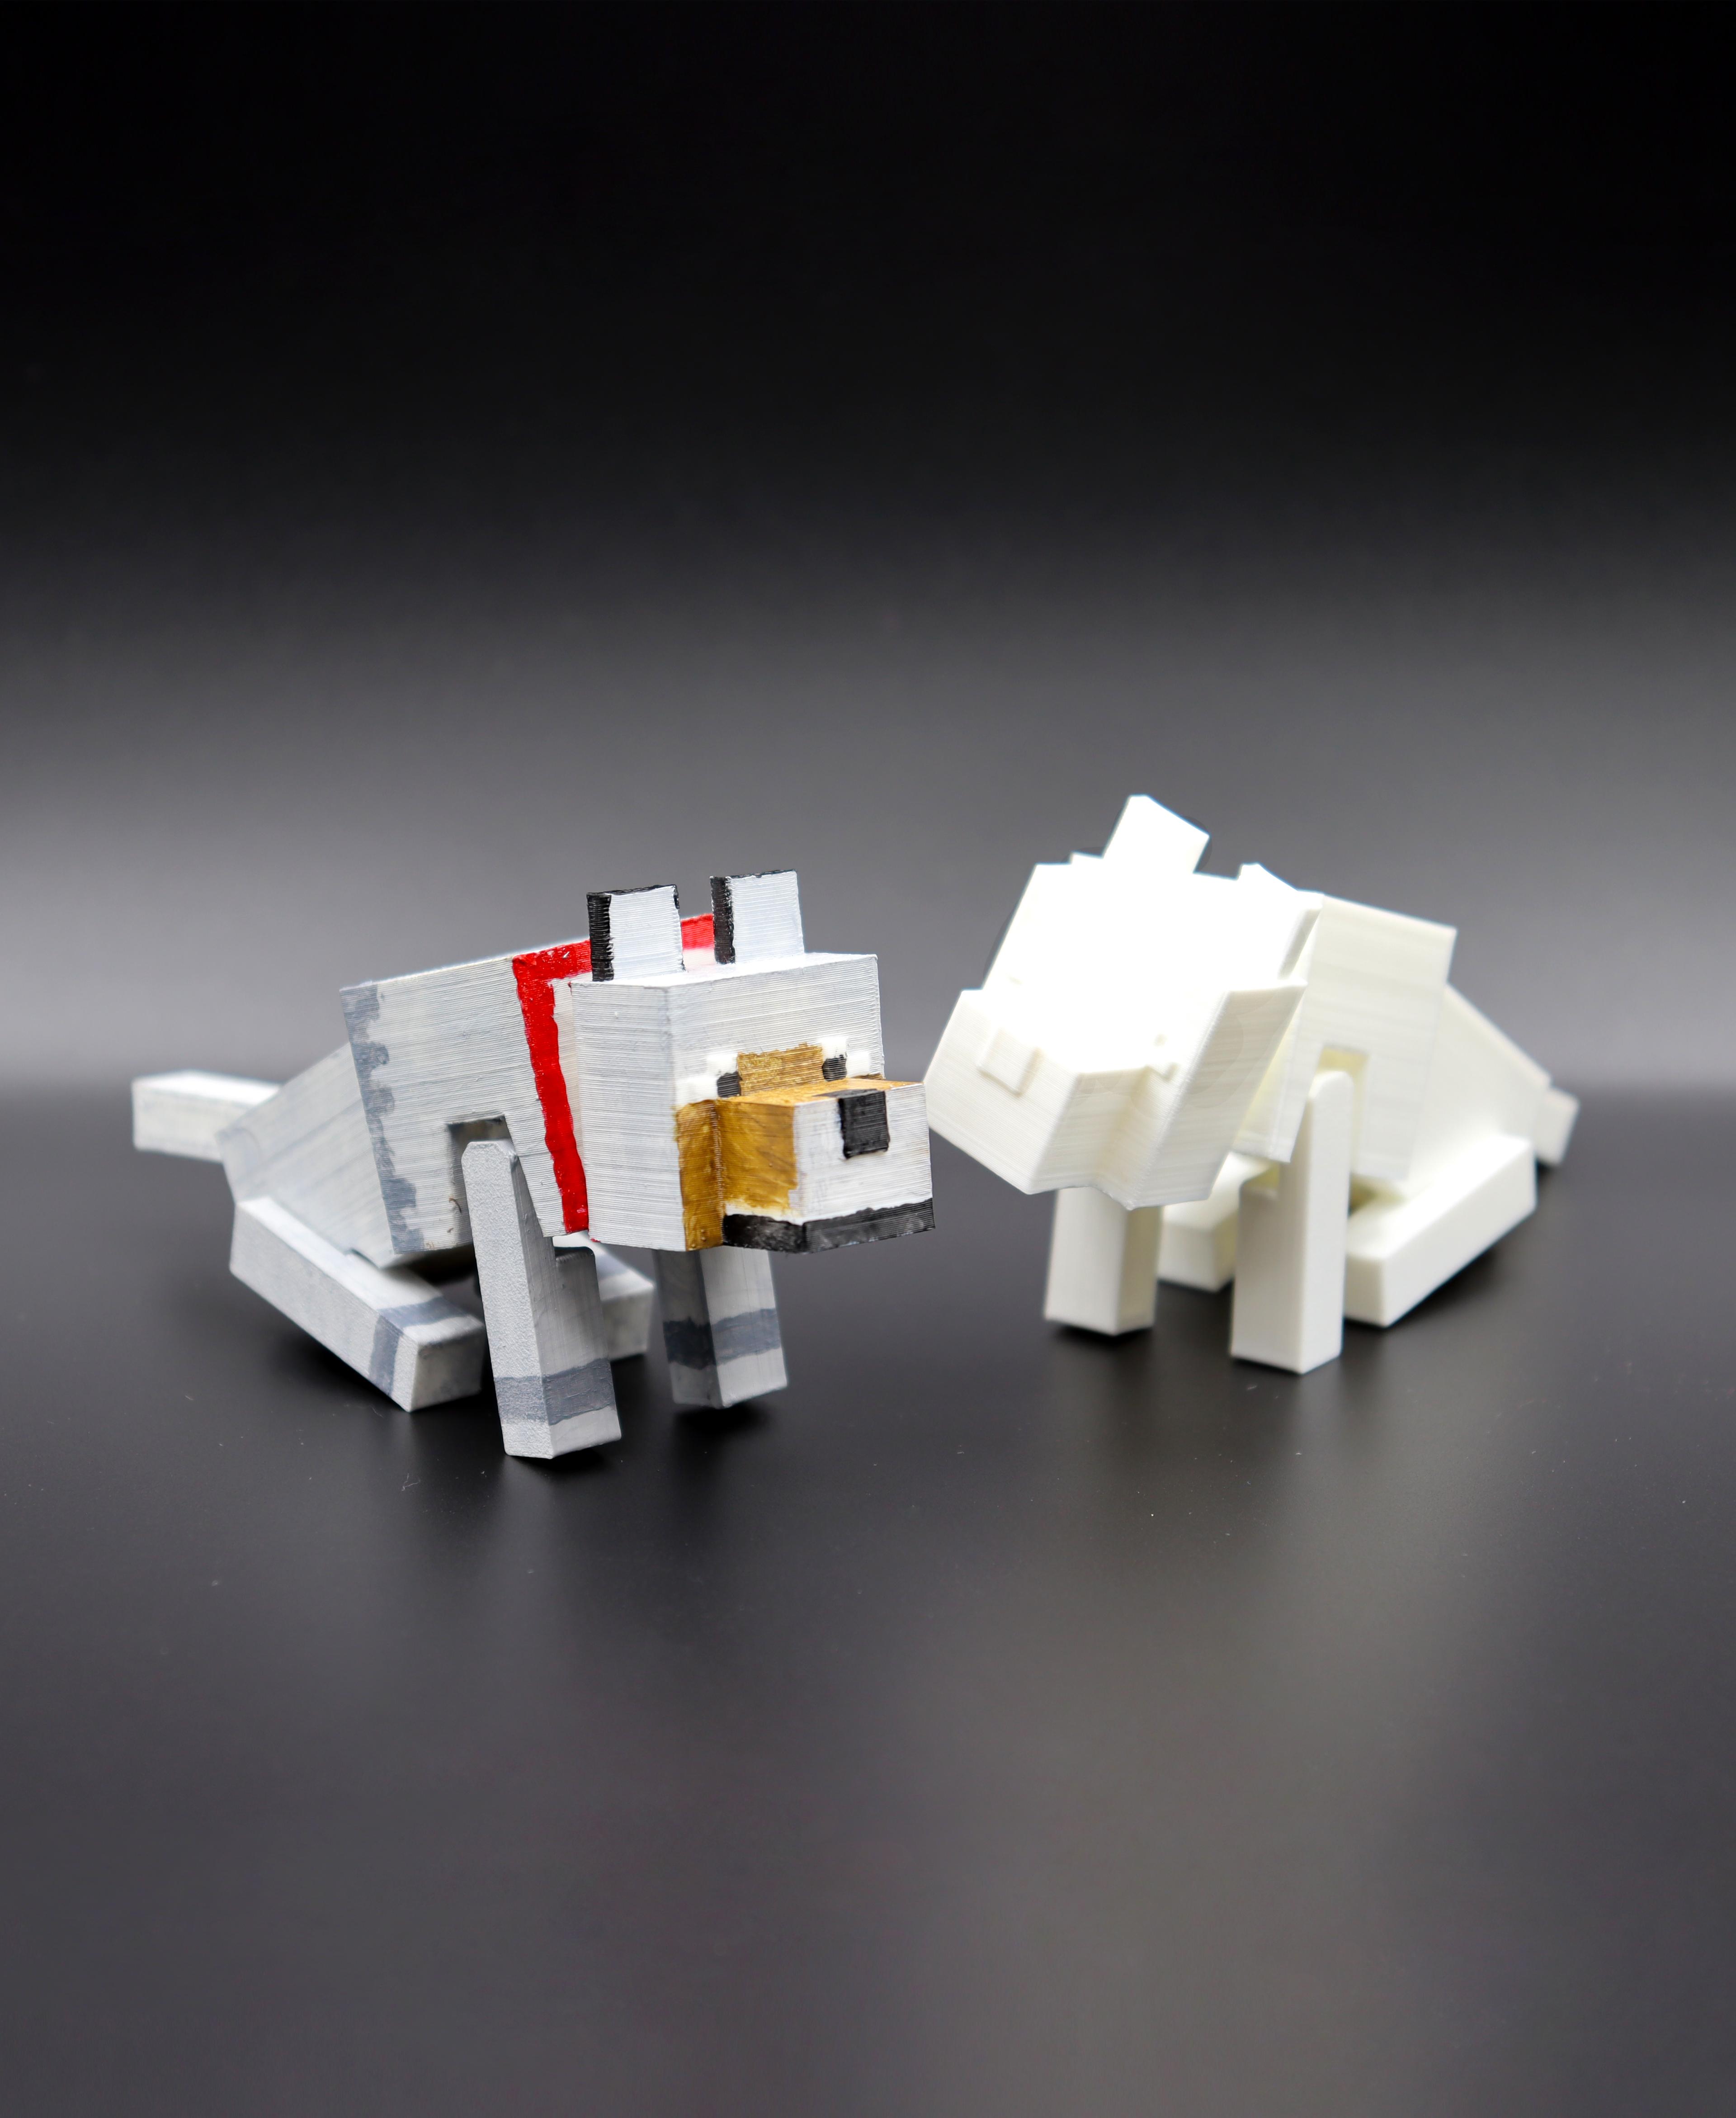
Tamed wolf articulated
Great Ball Deck Box
Luxury Ball Deck Box
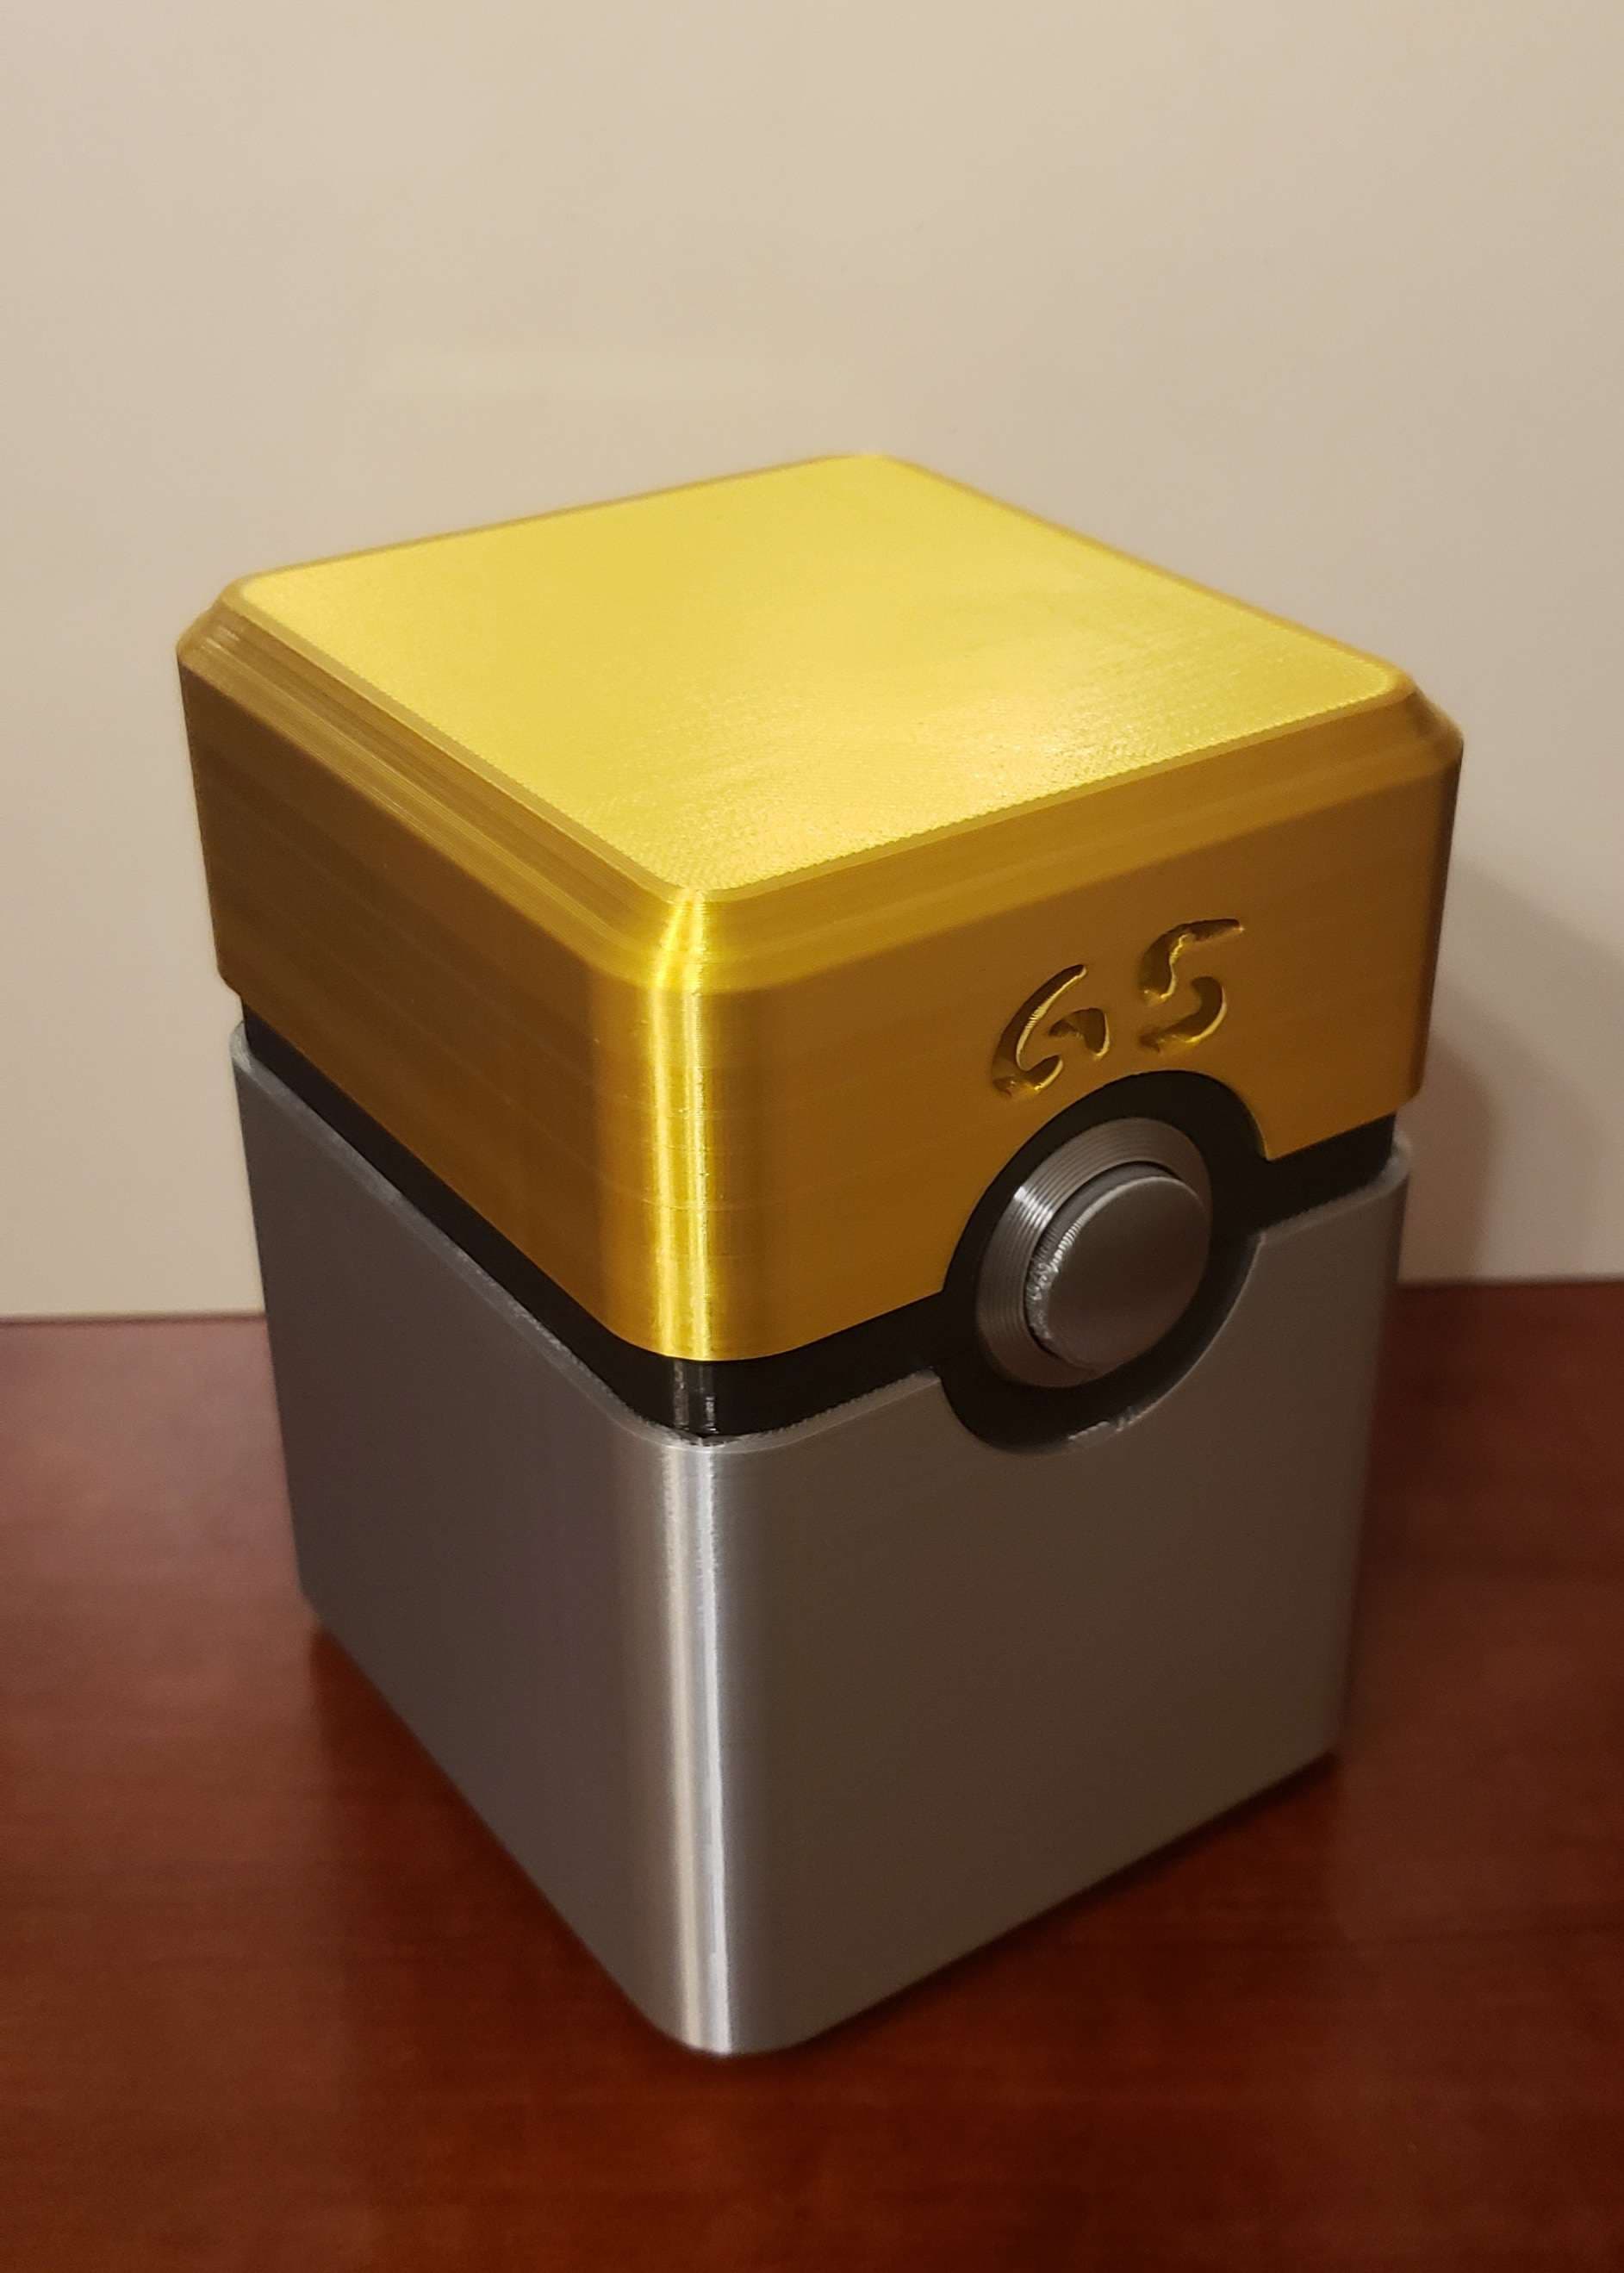
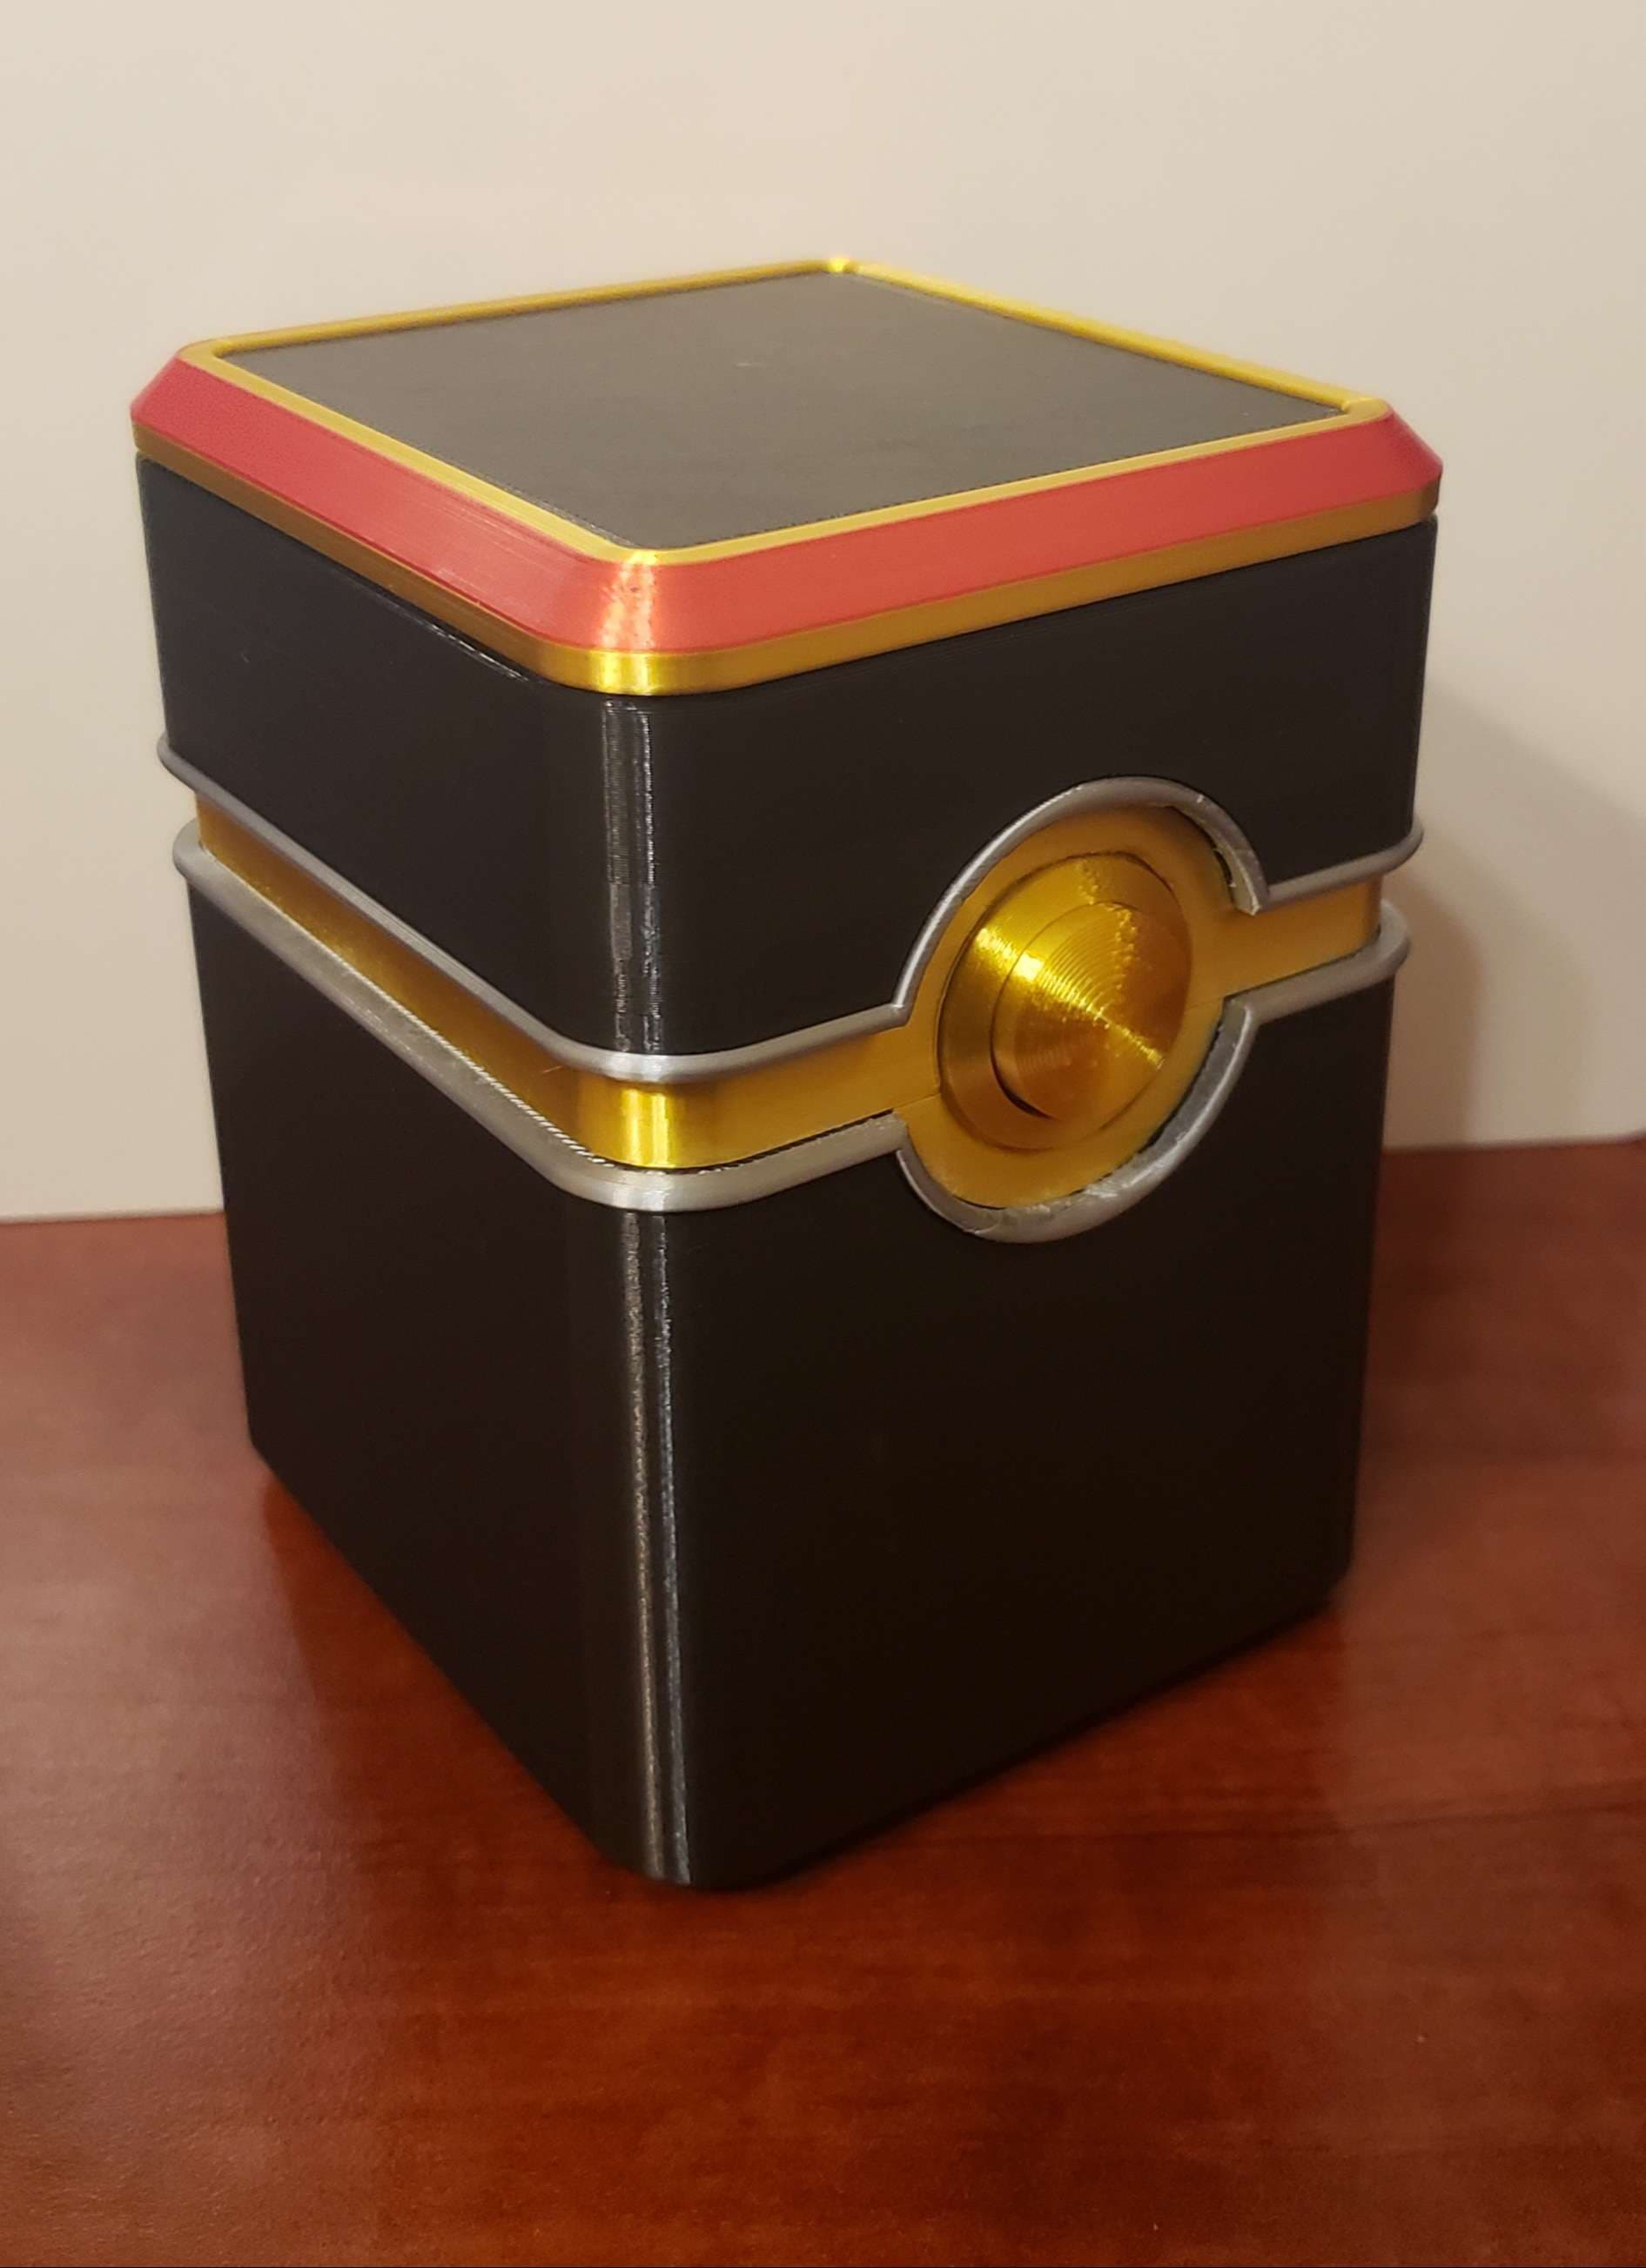
GS Pokeball Deck Box
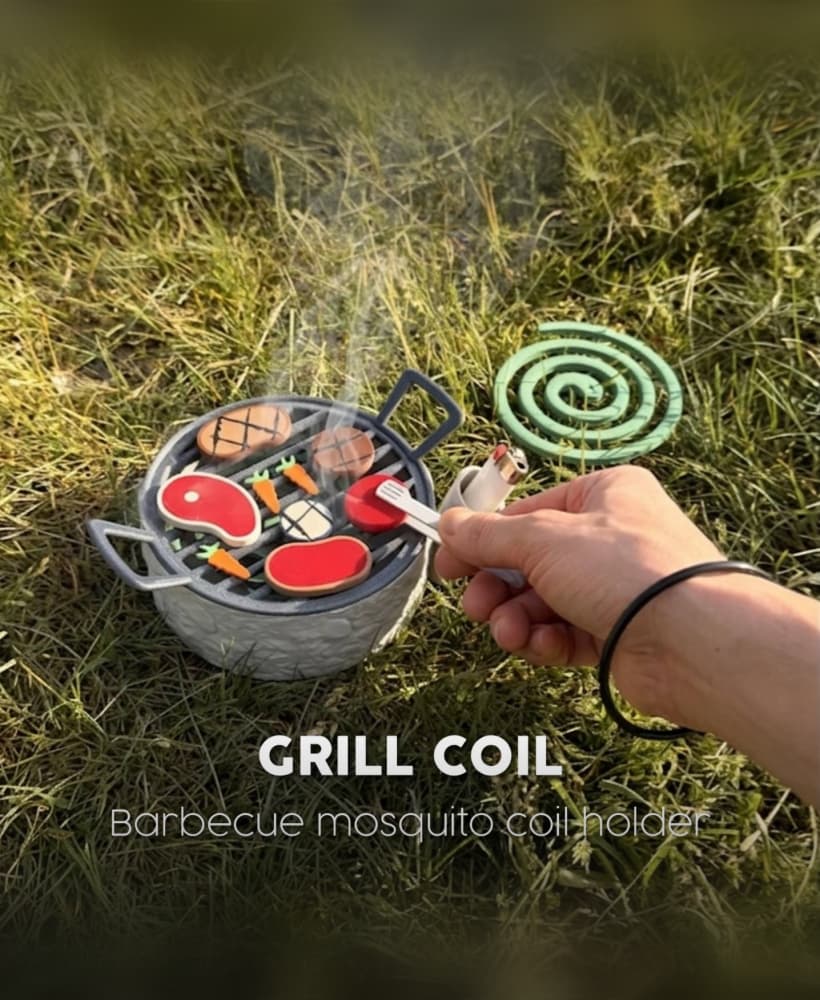
GRILL COIL | BARBECUE MOSQUITO COIL HOLDER

Leaning Tower of Pisa
.jpg&w=3840&q=75)
POKEMON MASTER BALL CONTAINER SWAPPABLE
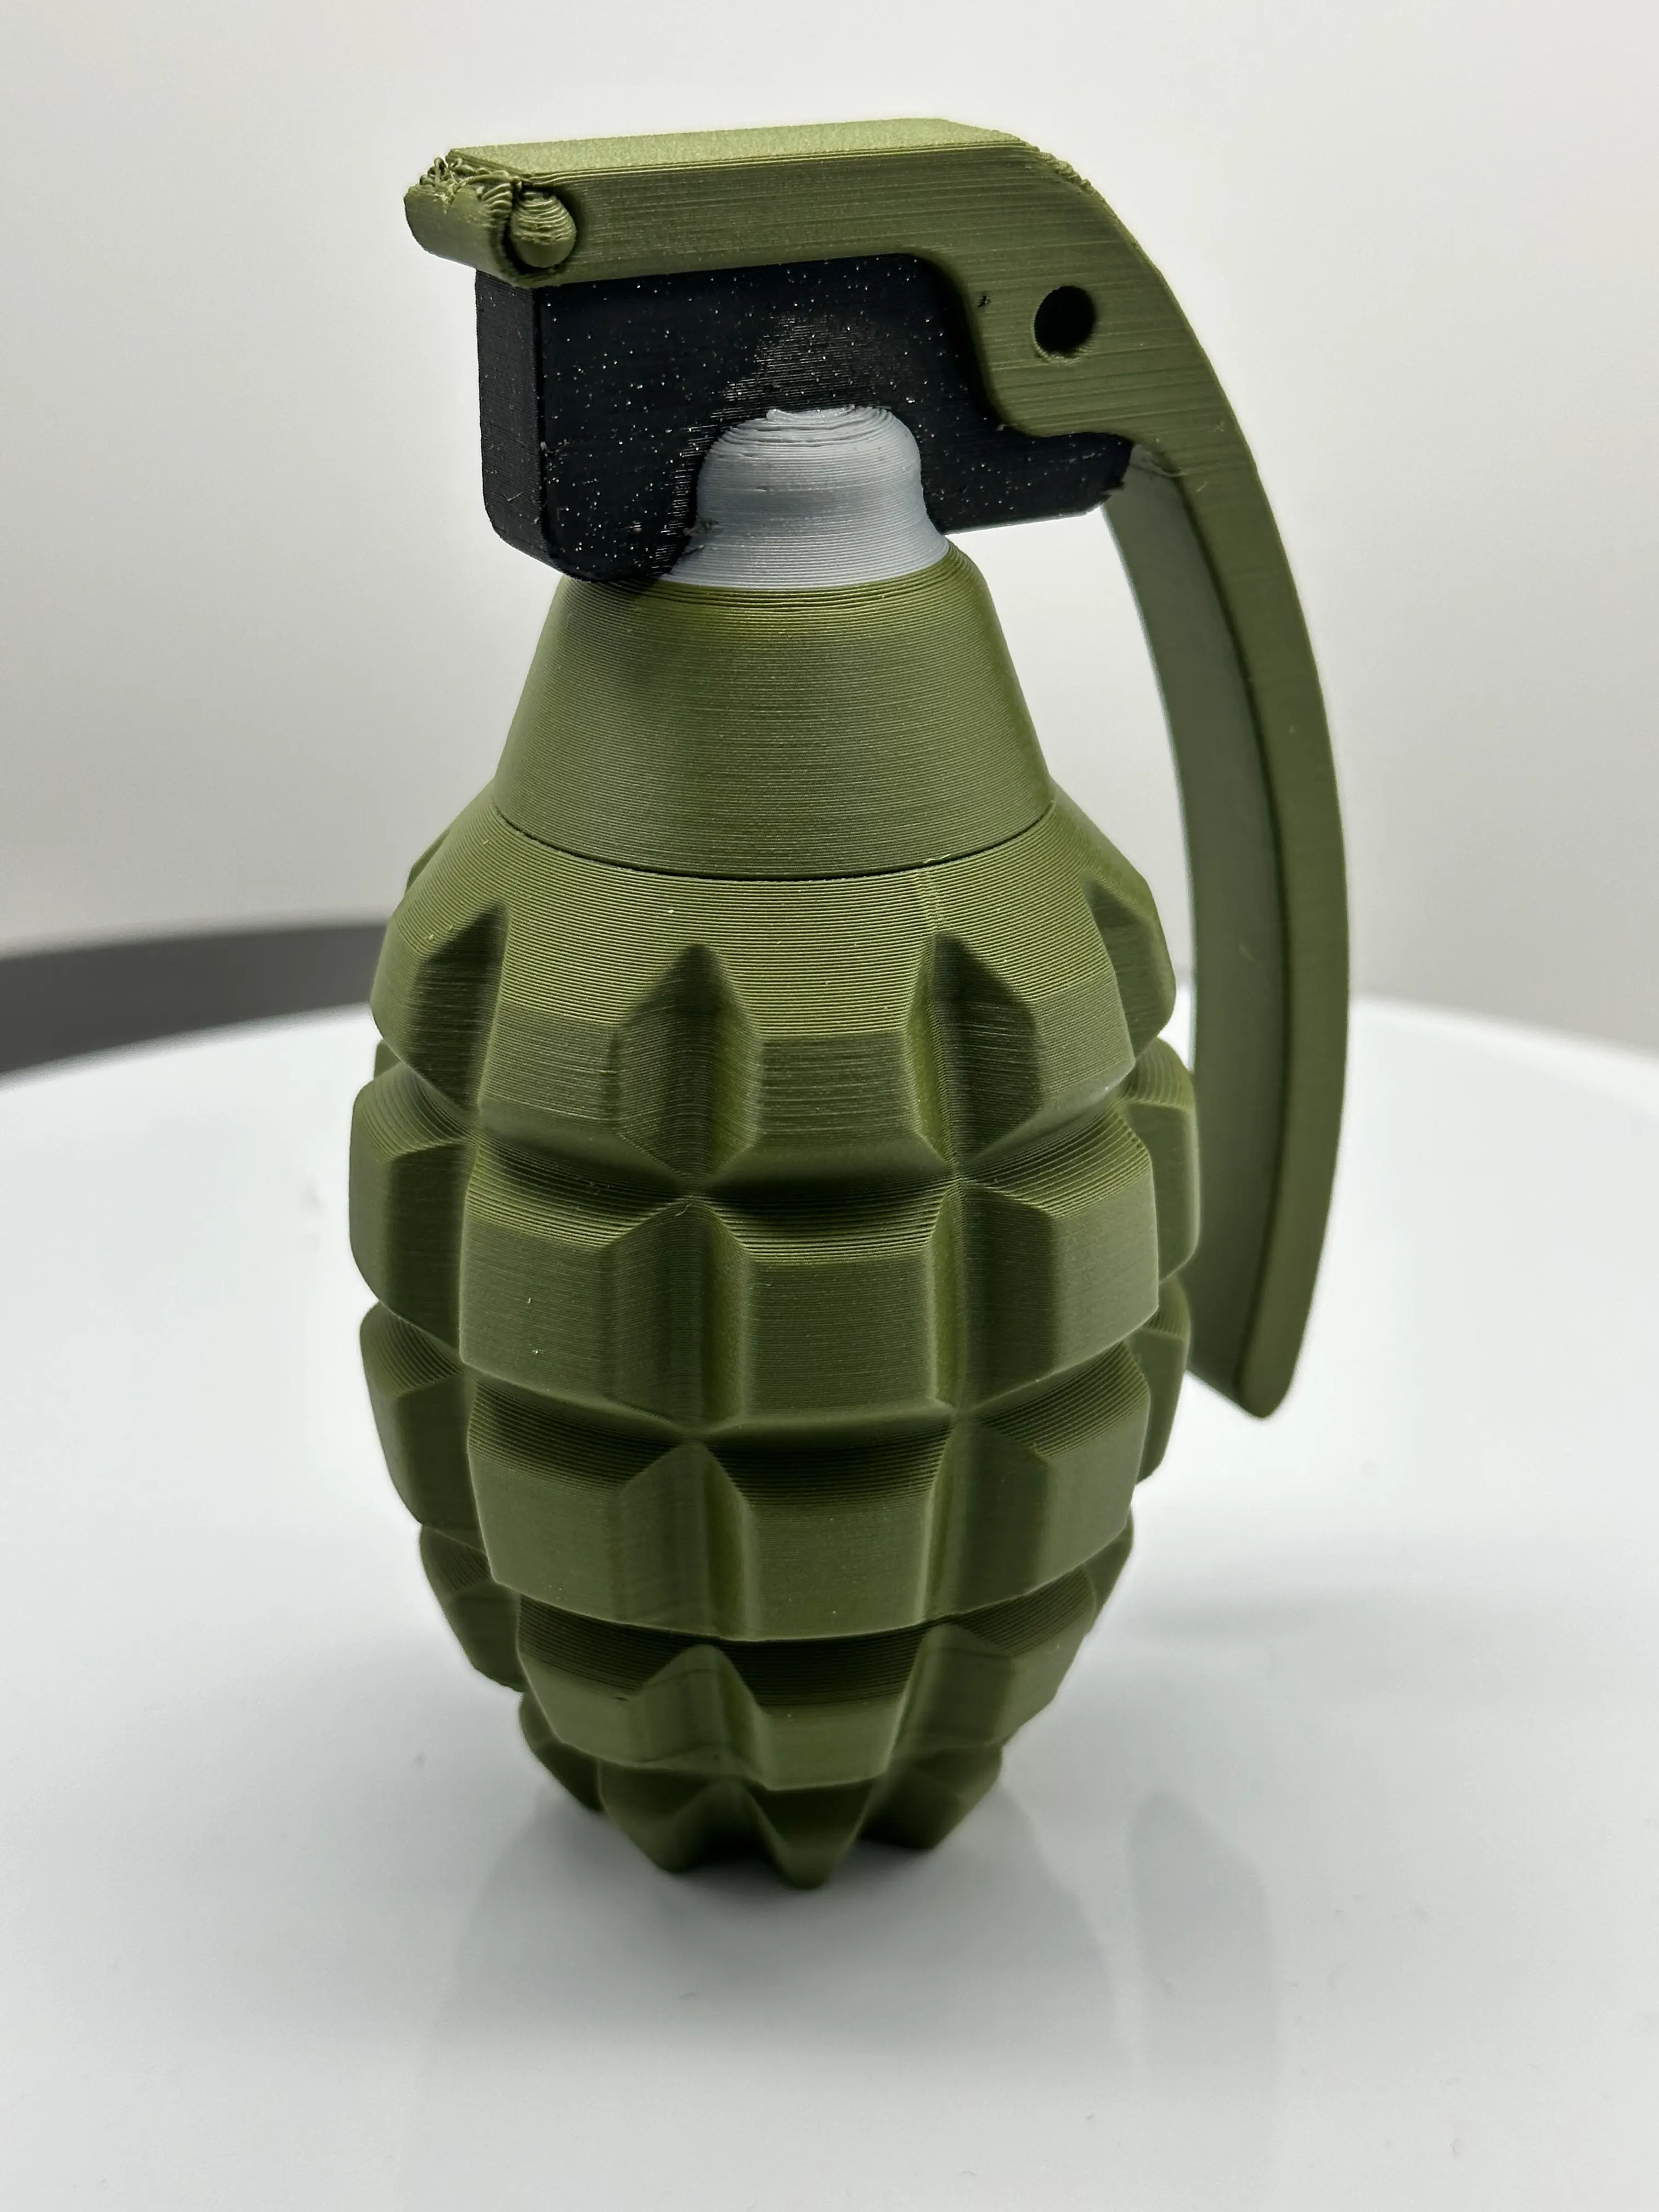
Realistic Hand Grenade Stash Container
Hisuian Pokeball Deckbox
.png&w=3840&q=75)
Dracosin dice tray
