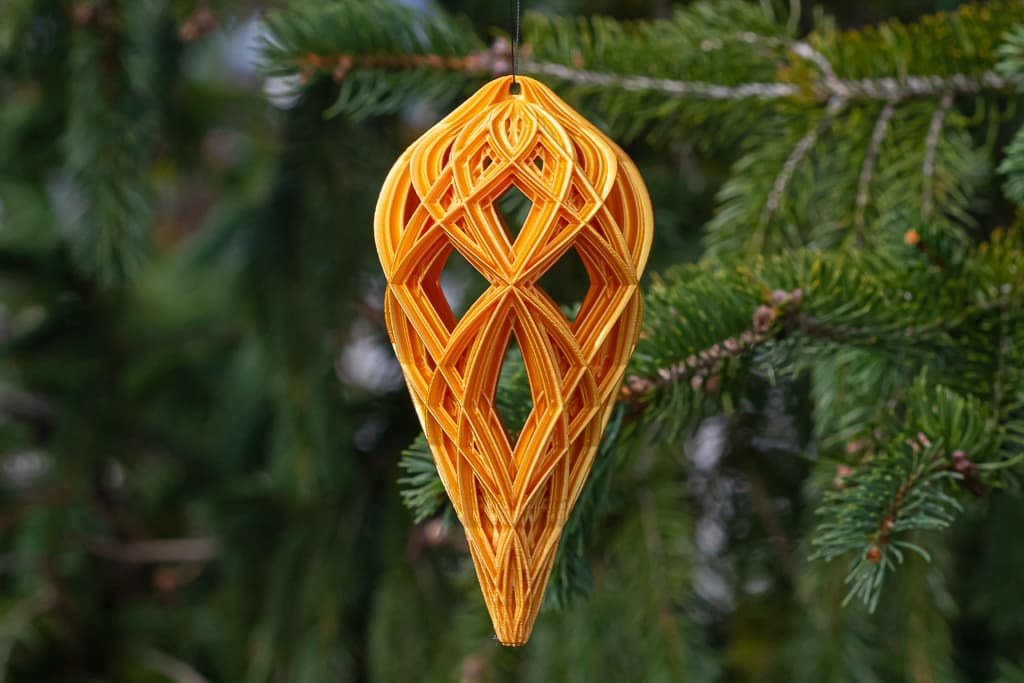
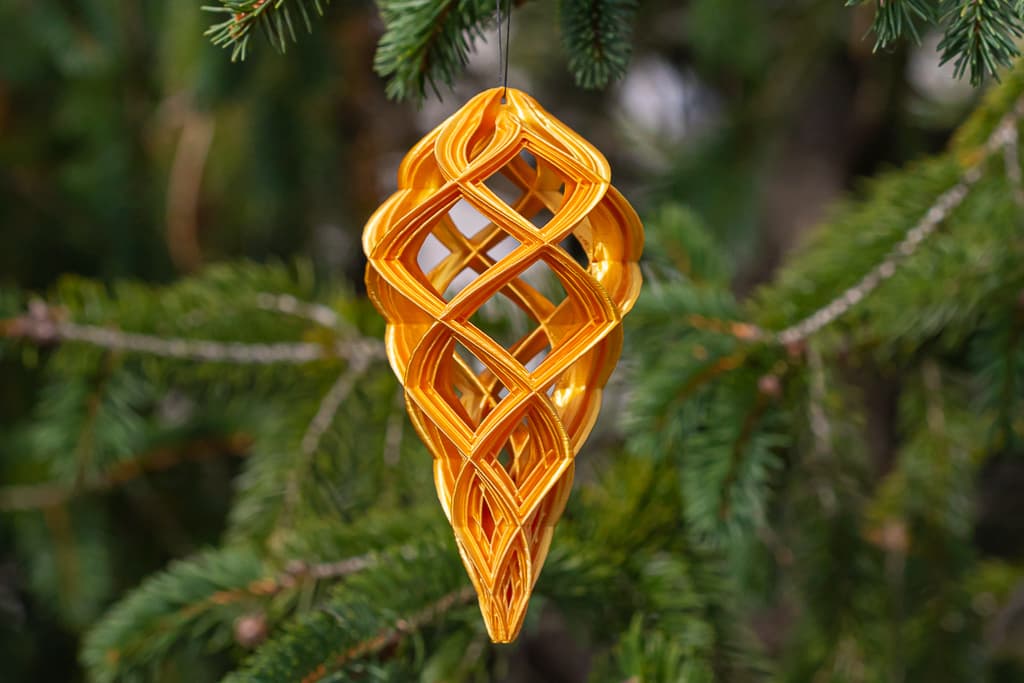
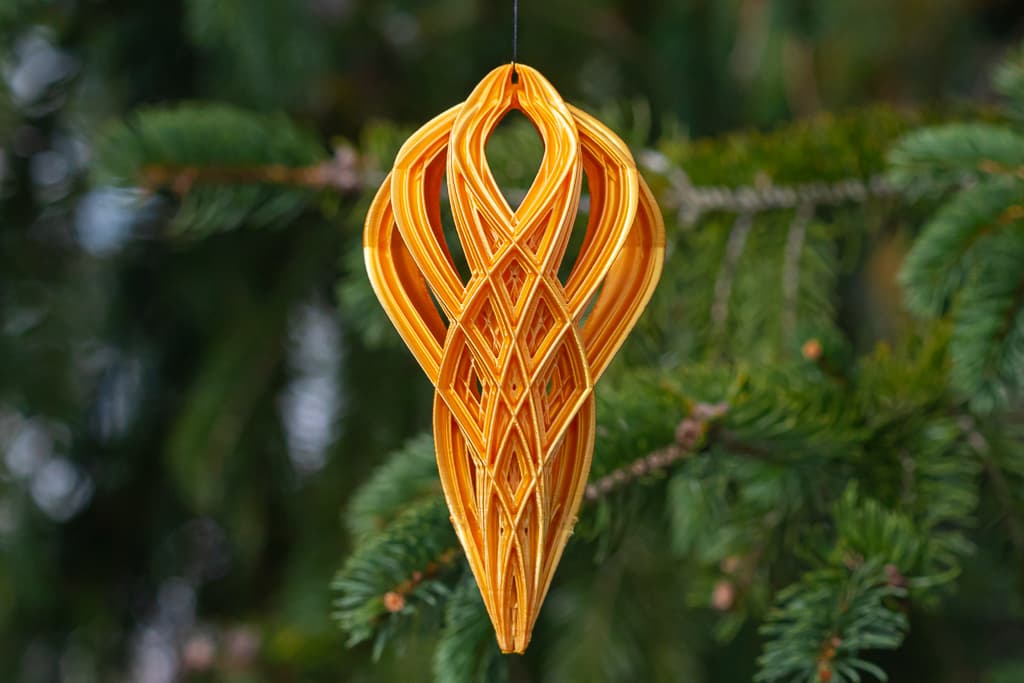
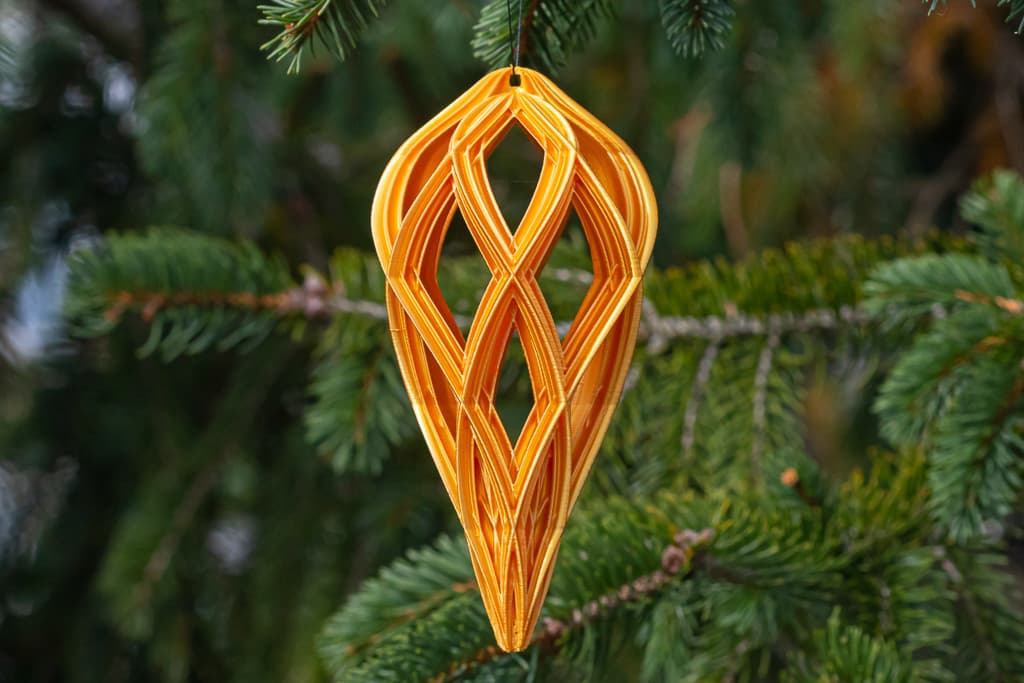
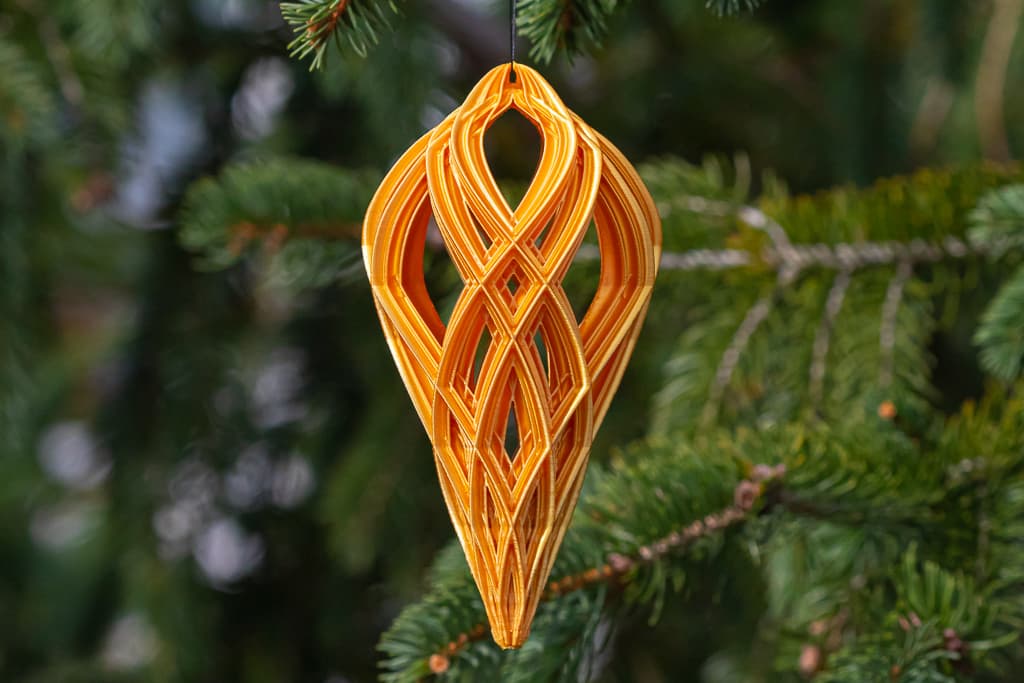
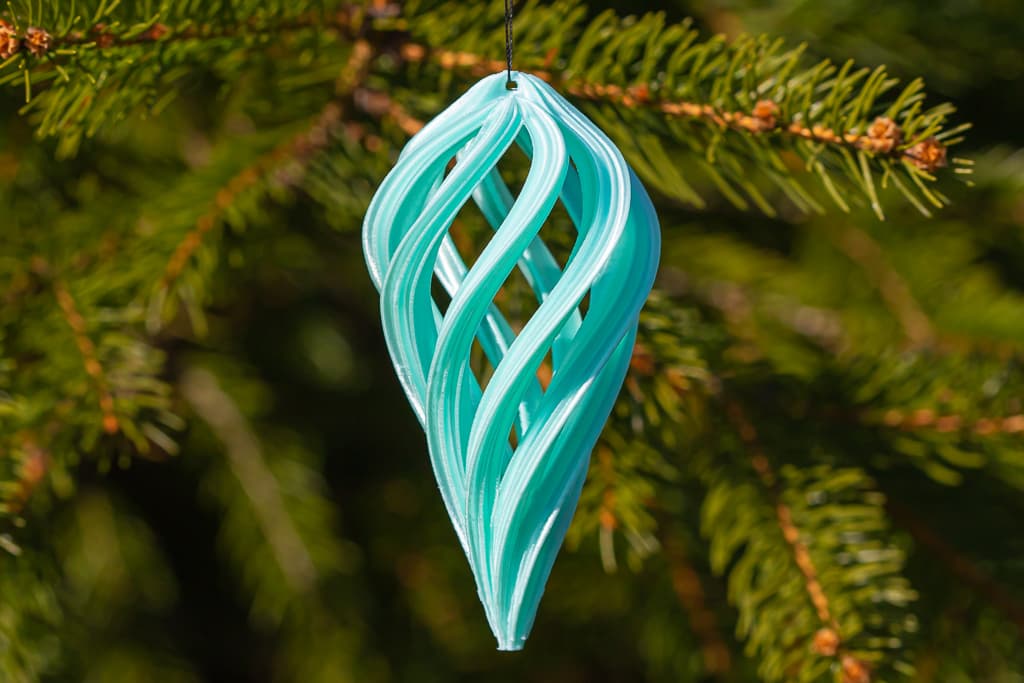
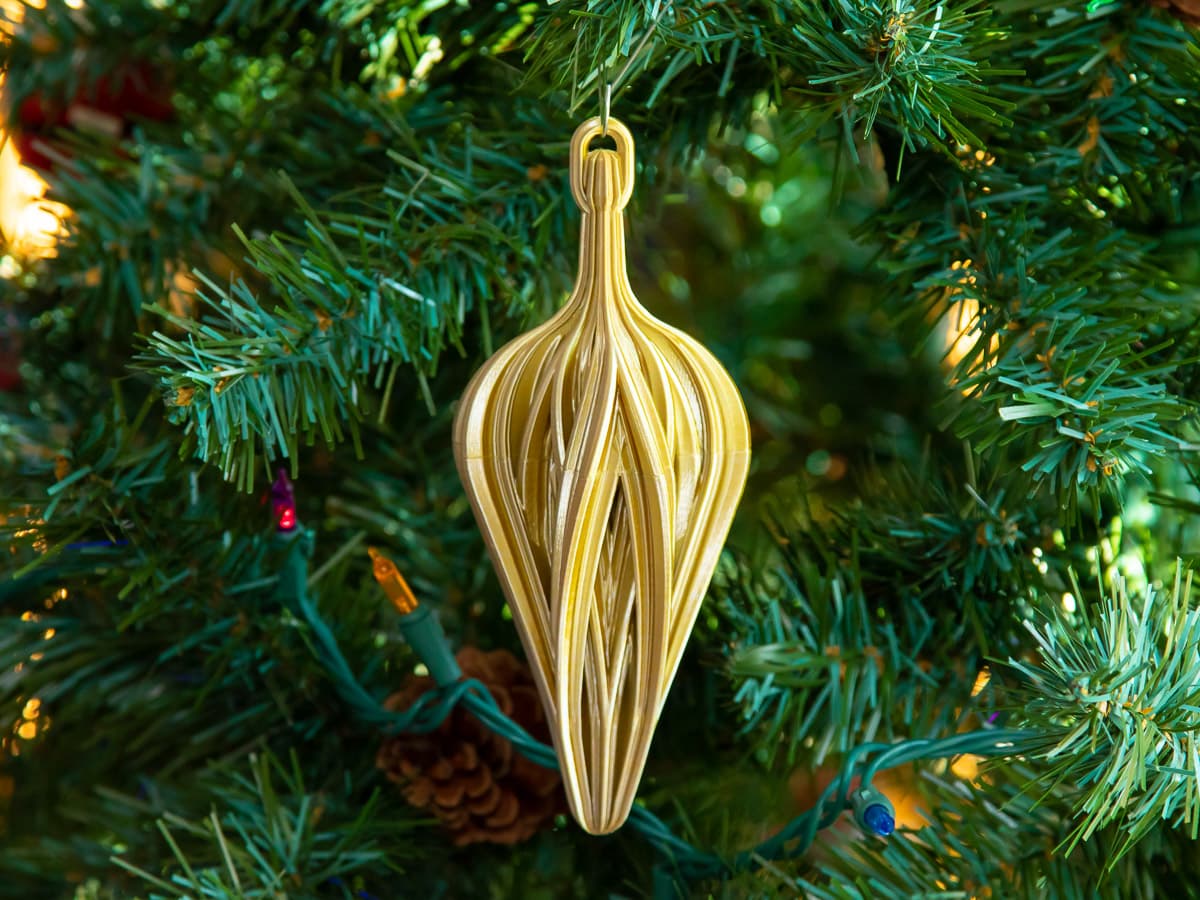
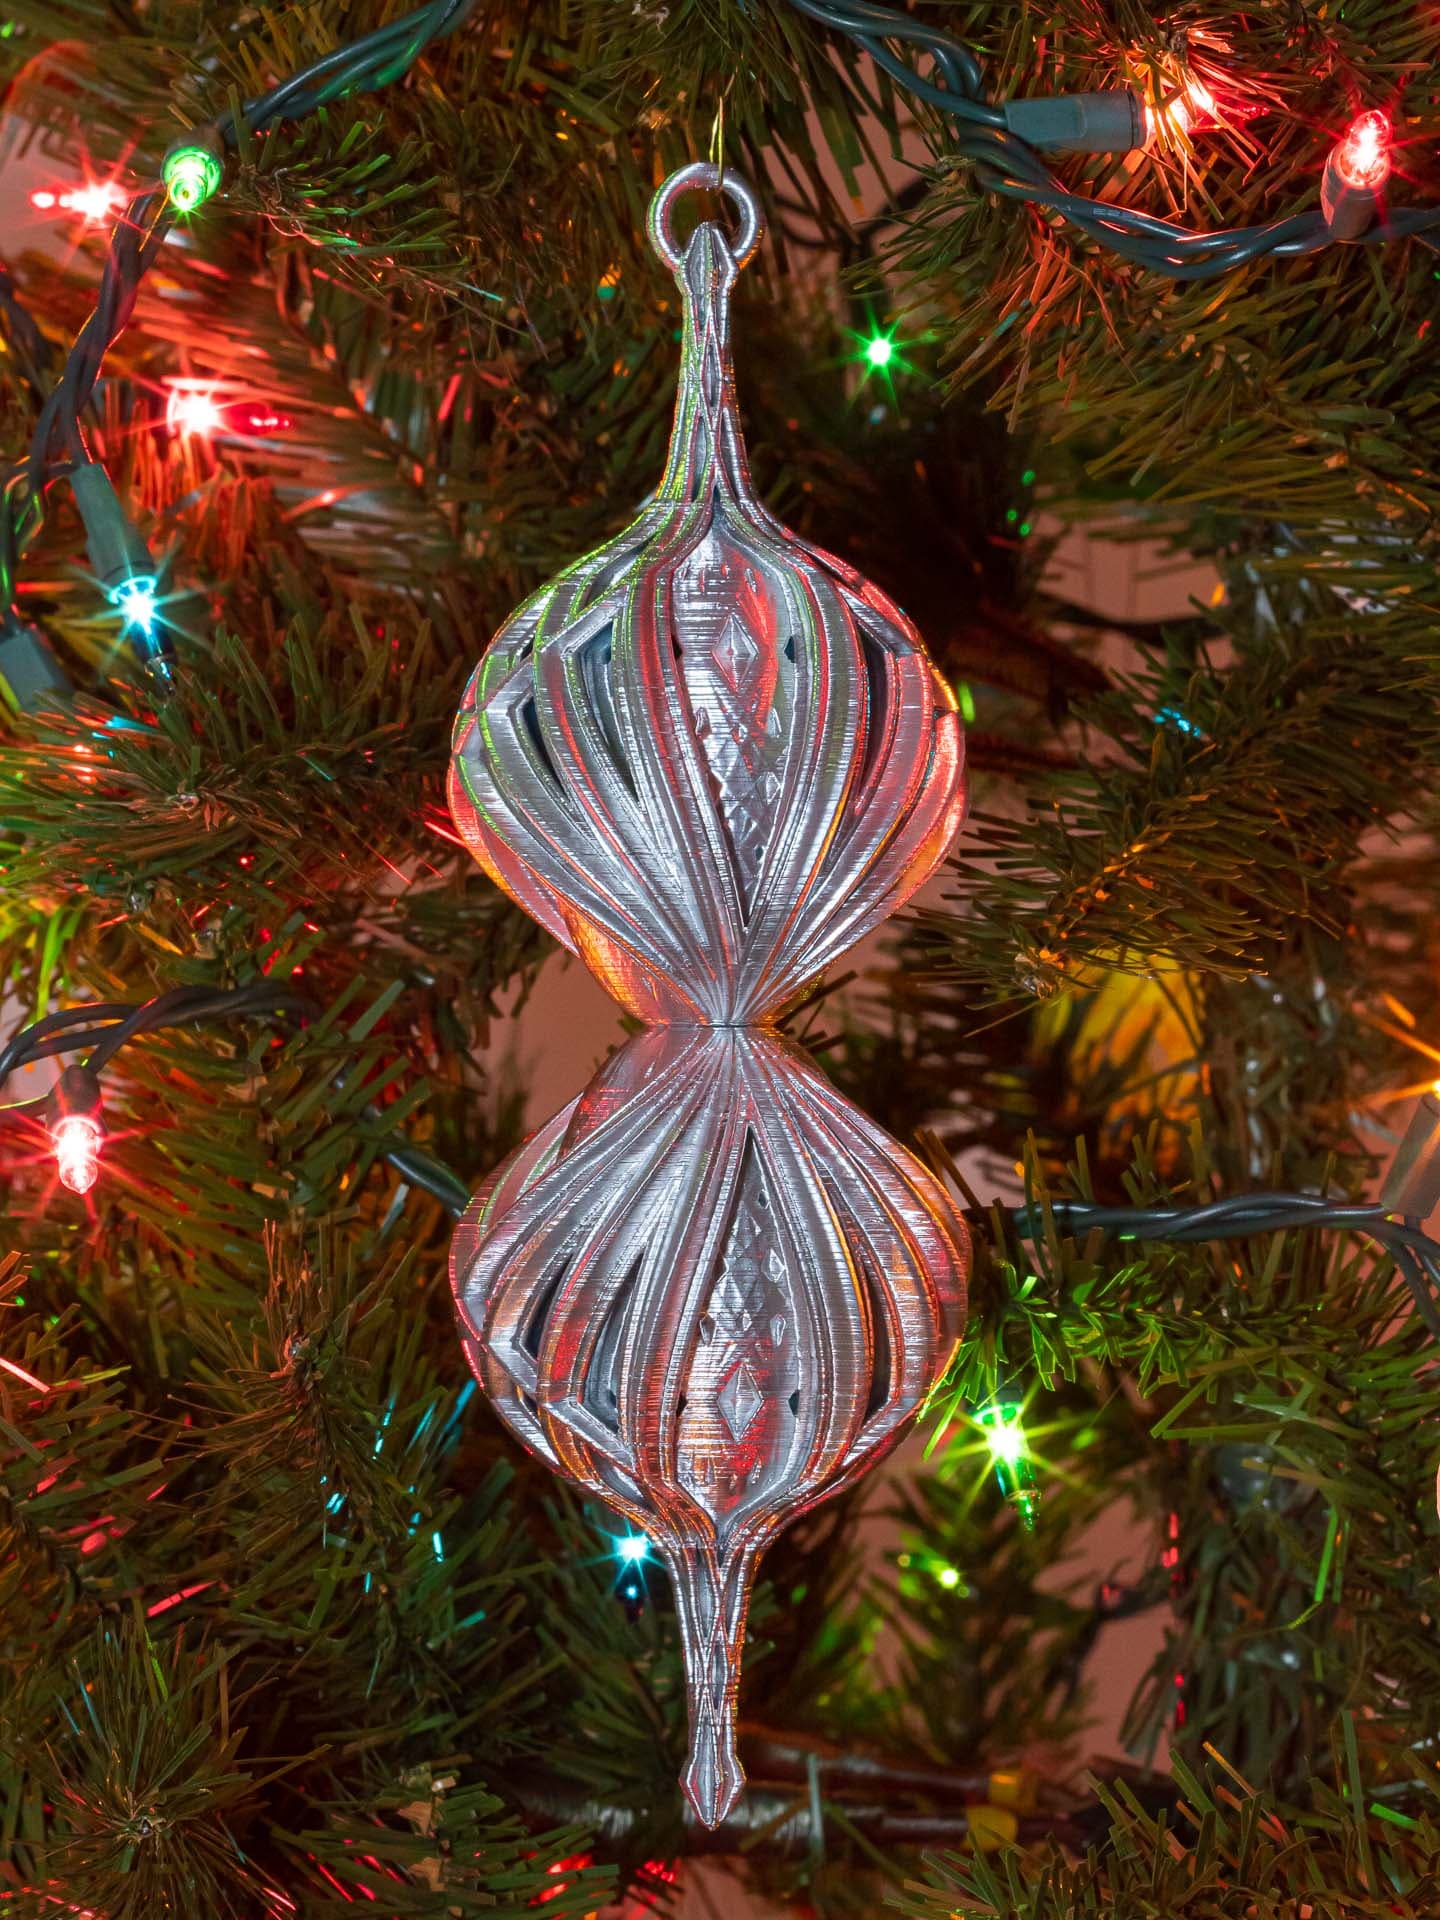
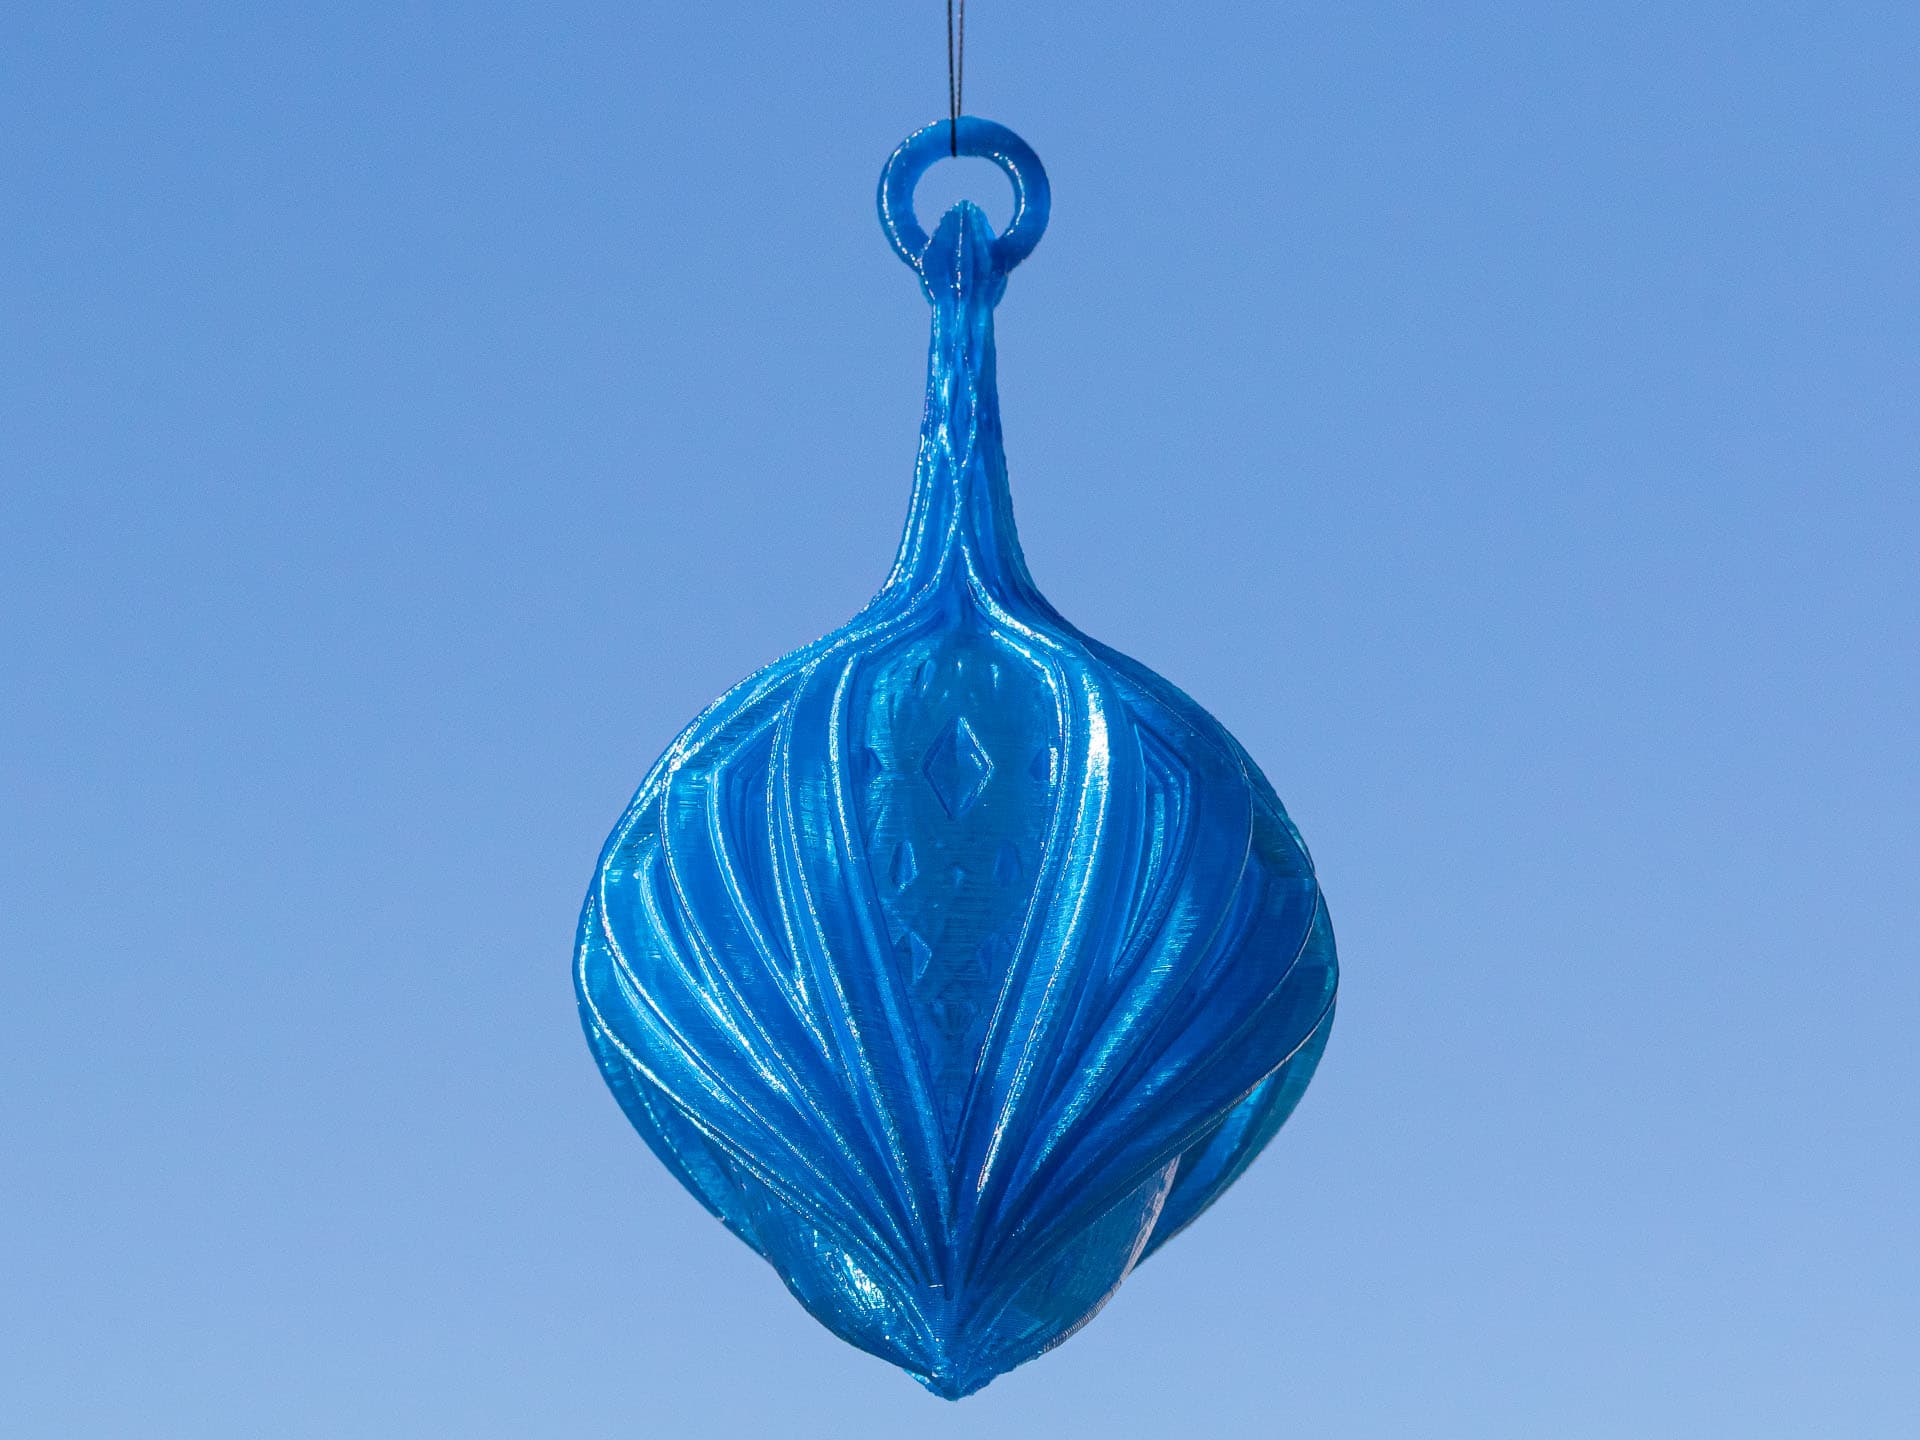
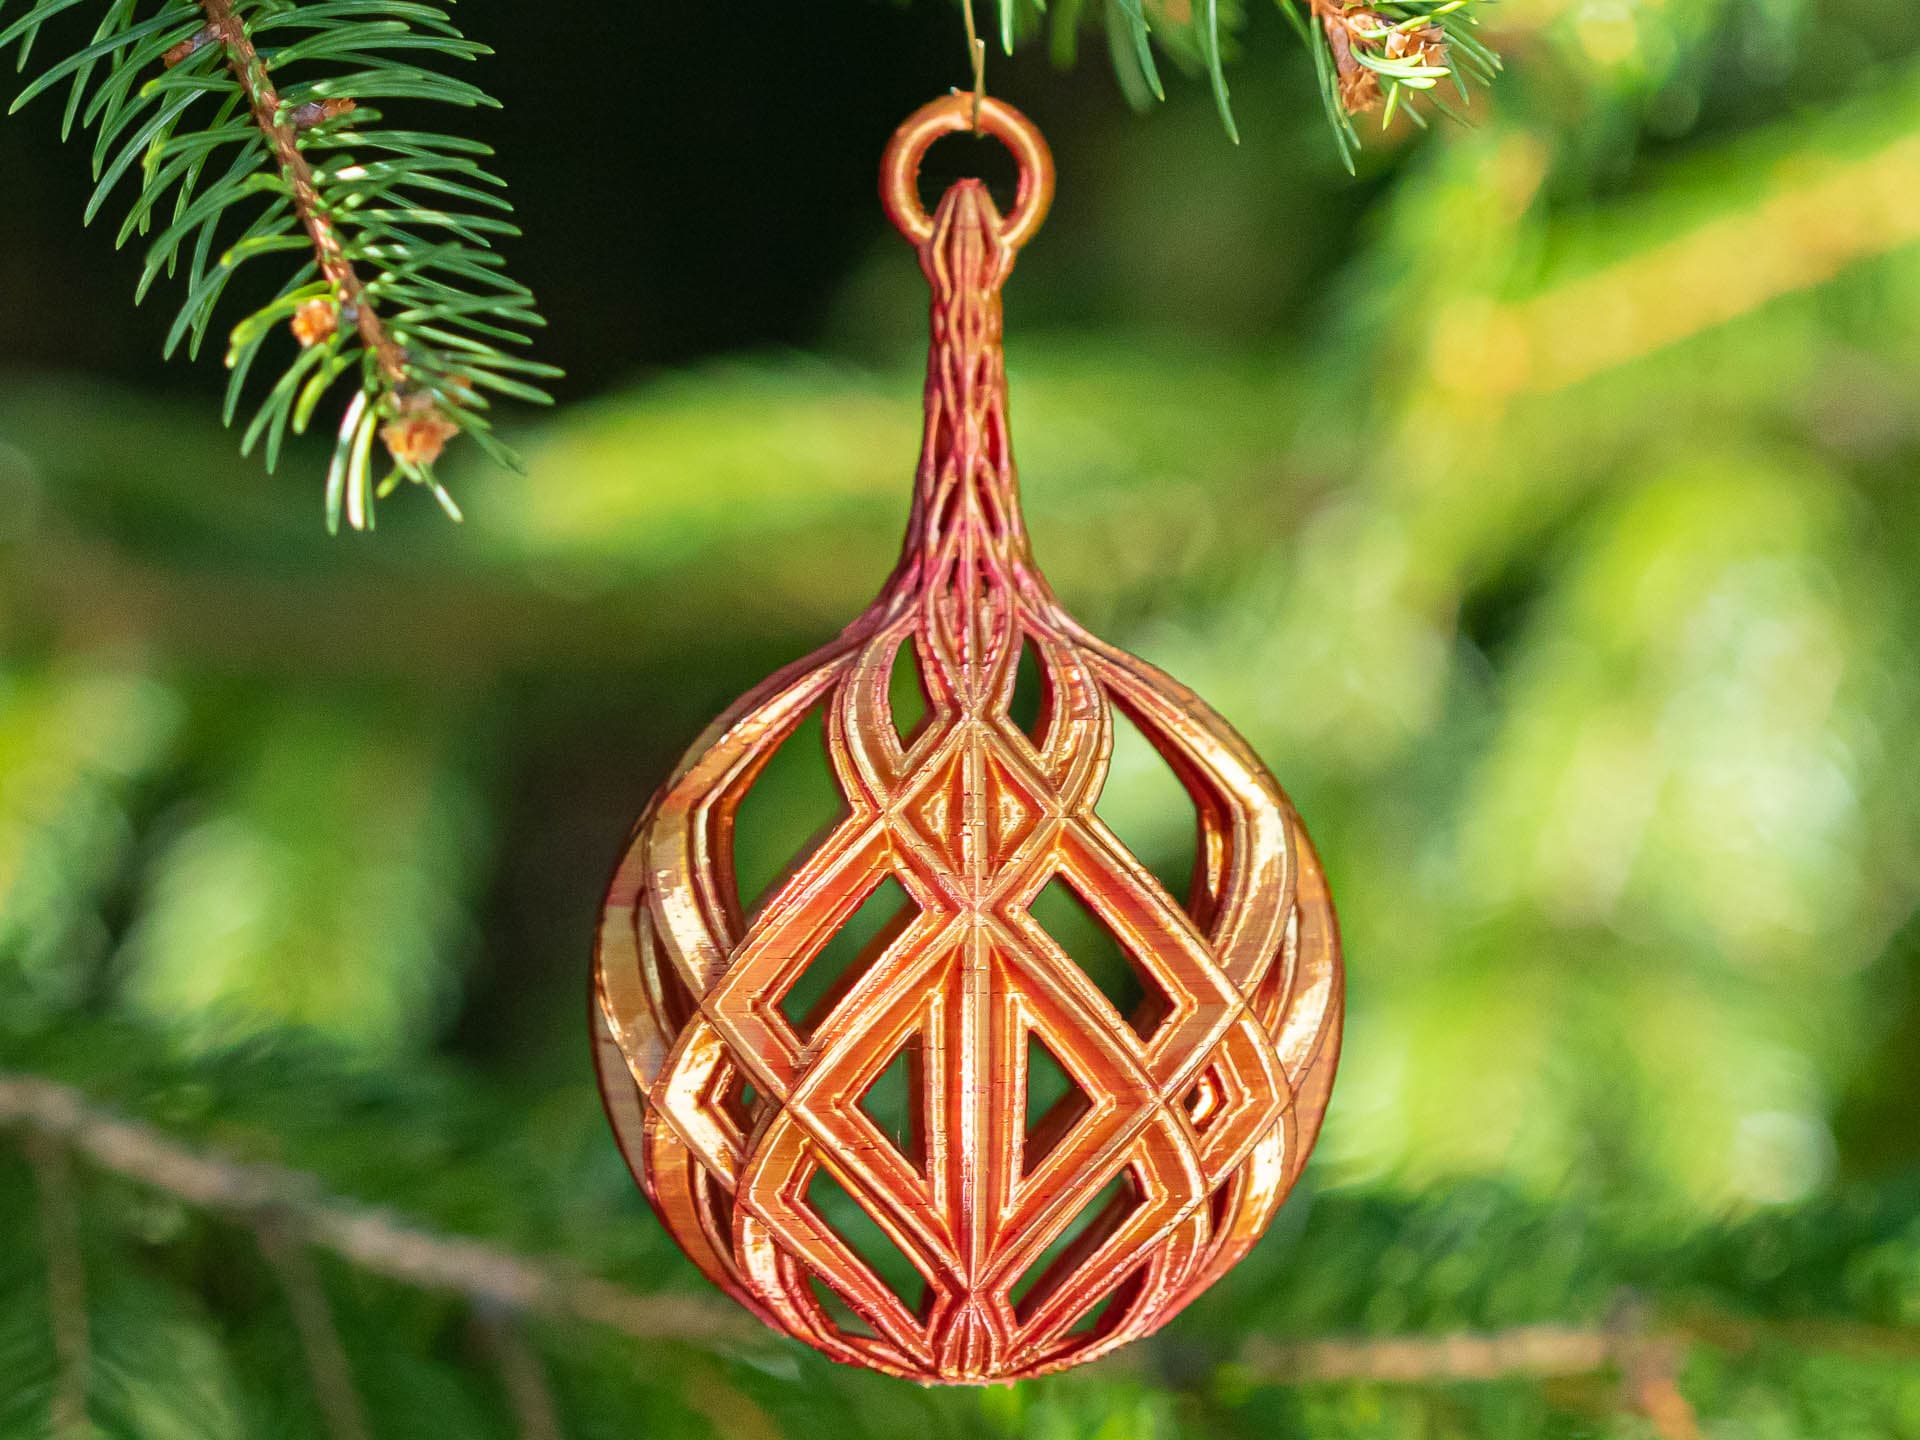
Kaleidoscope Teardrop Ornament
Here's a new design for the holiday season. The ornament has two patterns that alternate.
Not for commercial use. Please see license agreement.
I was able to get reasonably good prints by printing the ornament as a single piece, but by cutting the ornament in two, I reduced print time and improved print quality. You just need a thin bead of super glue to join the pieces. To make sure the pieces are lined up and dry properly, stack 2 rolls of filament and set the ornament in the middle. That makes it easy to rotate the ornament without moving the pieces out of alignment.
I use Height Range Modifiers in PrusaSlicer to adjust settings for Perimeters, Top, Bottom, and Infill. I also used paint on seams. I was able to get a great balance of print quality and weight. I've shared my PrusaSlicer 3MF files and MK3S+ GCODE to make it easier for you.
I've provided as both 1 piece and 2 piece as STL/OBJ files. 2 are STL. One is an OBJ because the STL had mesh errors that I corrected using PrusaSlicer's Repair STL File feature.
Most of the ornament only requires 1 perimeter and doesn't need infill. I set Top/Bottom to 3 layers.
On the top half of the ornament, I only used 2 perimeters at the top of the inner dome and for the loop. In the first 12+ mm of the top, I added 5 areas of 40% grid infill that are each about 1mm or less high. This puts infill just where it's needed. In the stem, I increased Top/Bottom from 3 to 4 layers. This eliminated the need for infill in the stem. I also added custom GCODE at 29.9mm and 32.3mm to reduce the hot end temp so the stem would print cleanly. The base seems to need a slightly higher temp to avoid holes at some seems in the base of the top. I used Paint-on Supports to add Organic Supports to the loop at the top. It may print well without it, but I'm a perfectionist.
On the bottom half, I only used Height Range Modifiers to add infill. The whole bottom printed well with 1 perimeter and Top/Bottom set to 3 layers. I added 40% Grid Infill to 9 areas in the print and 100% Rectilinear to the top 2+mm. The bottom also has GCODE at 32.3mm to reduce the hot end temp.
You might use 25% Rectilinear Infill instead of 40% Grid, but it only seems to reduce the weight of the ornament by about 2g.
Kaleidoscope Teardrop Ornament
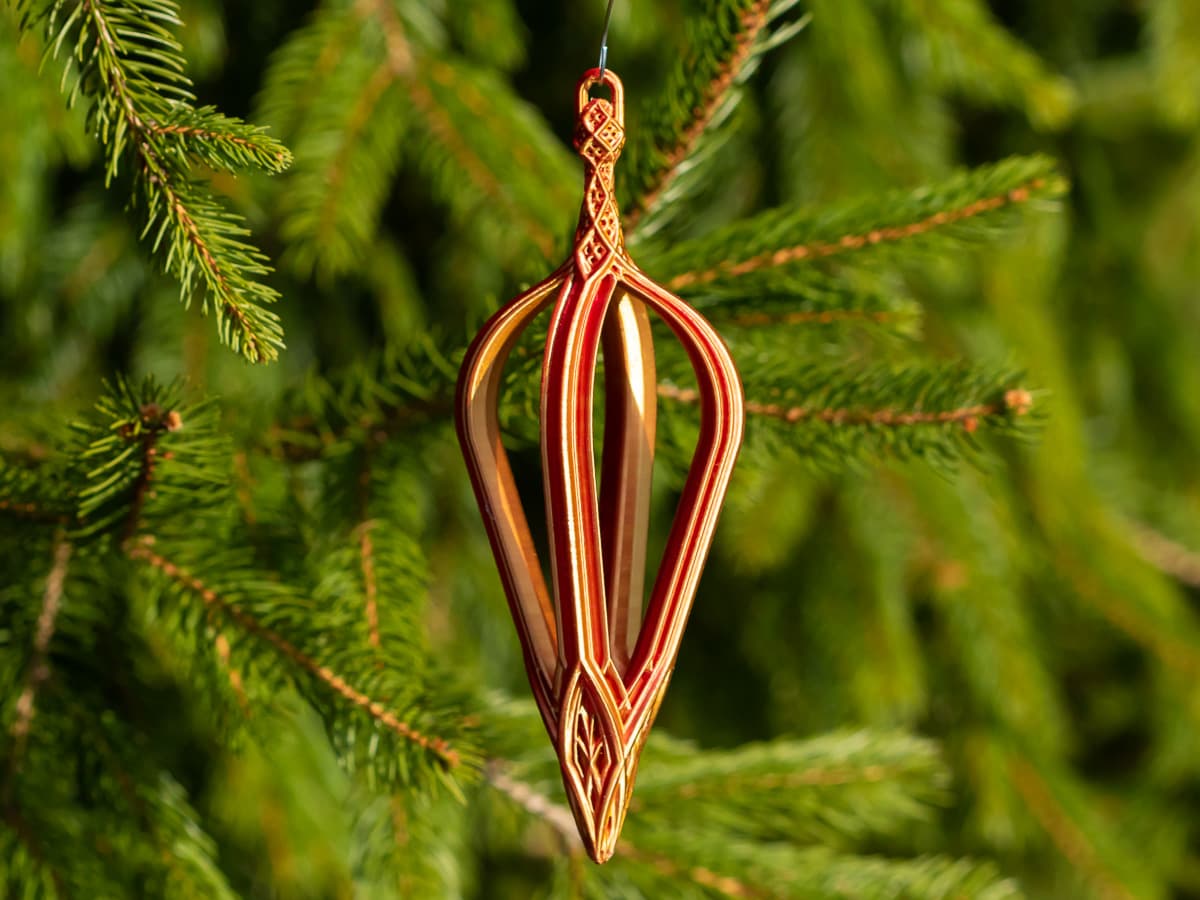
Grand Kaleidoscope Teardrop Ornament
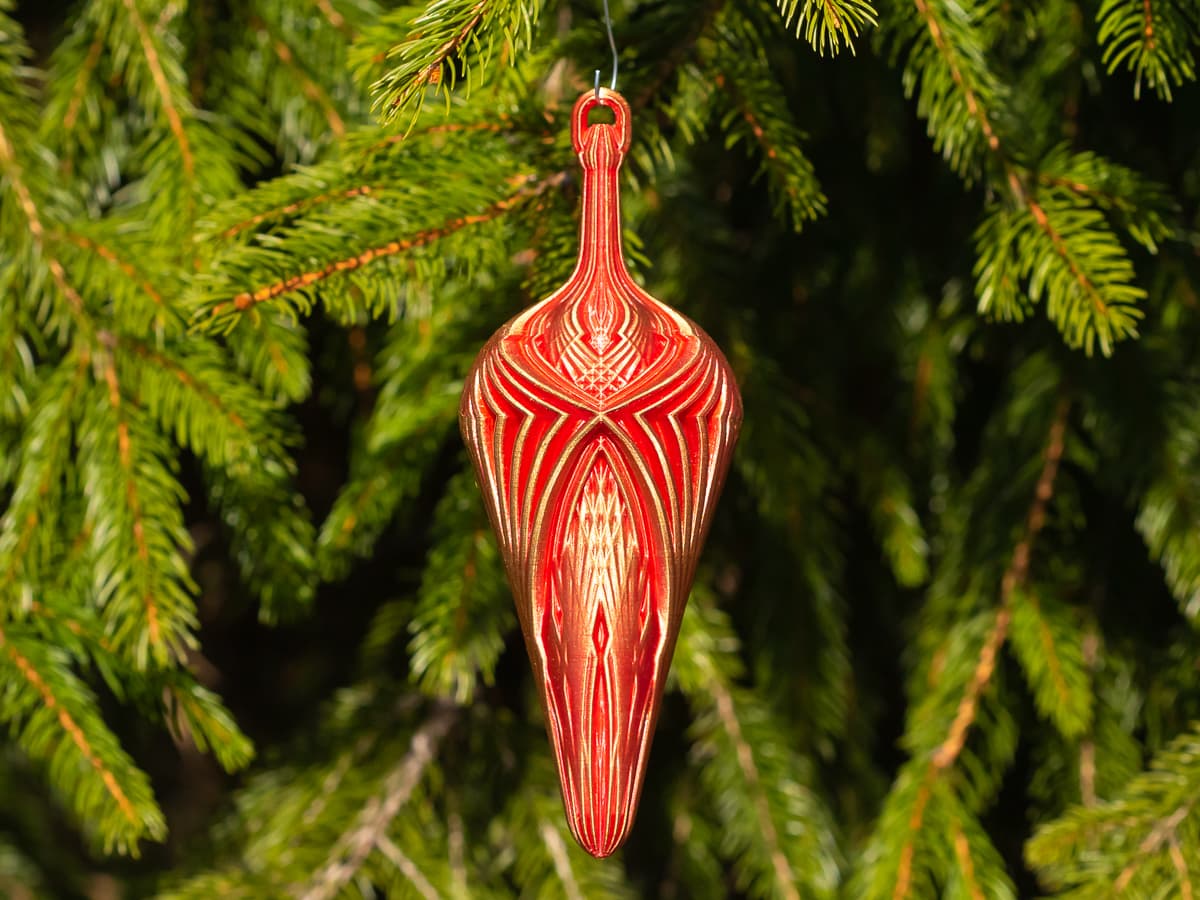
Royal Crown Christmas Teardrop Ornament
Christmas Teardrop Ornament 5
Christmas Teardrop Ornament 1
Christmas Teardrop Ornament 4
Christmas Teardrop Ornament 2
Christmas Teardrop Ornament 3
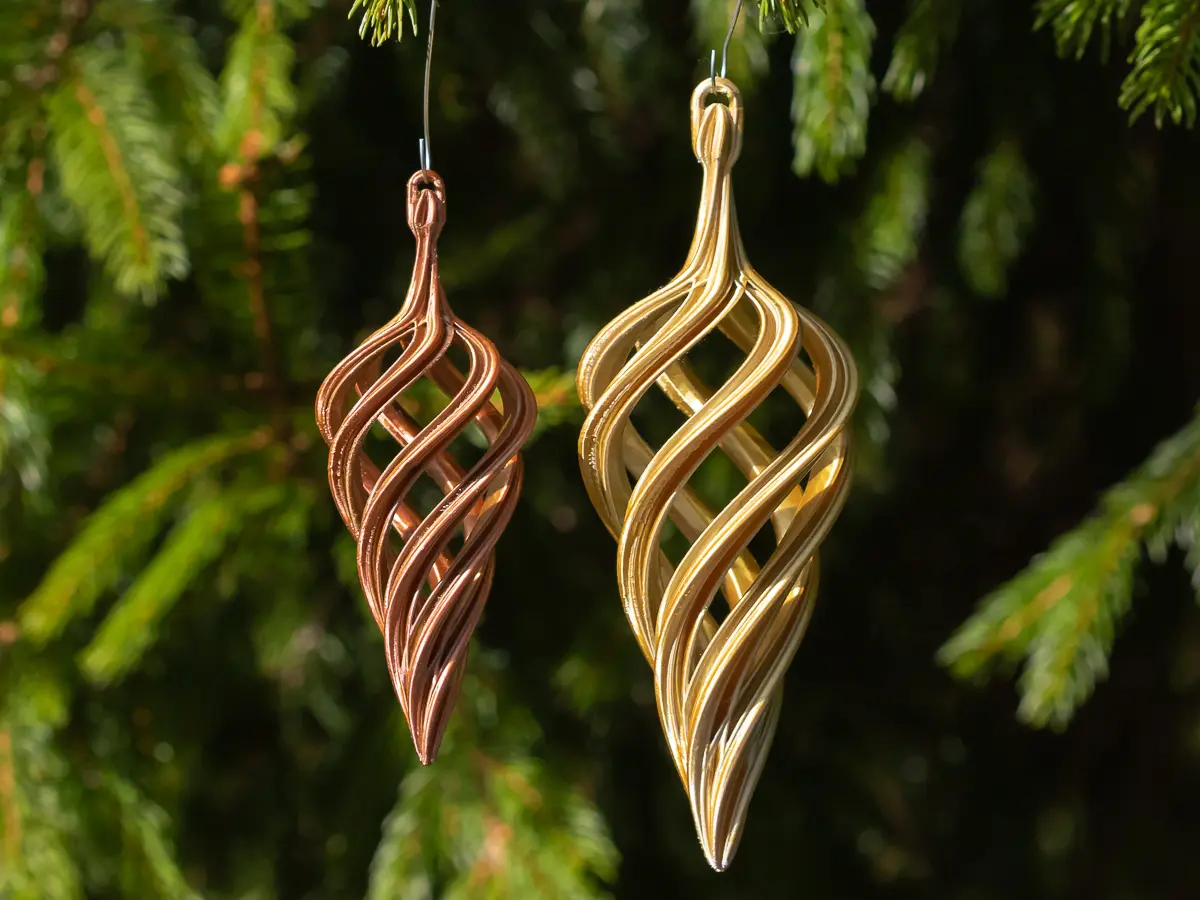
Spiral Teardrop Christmas Ornament
Zigzag Teardrop Christmas Ornament

Kaleidoscope 4 Christmas Bulb 2024

Kaleidoscope 3 Christmas Bulb 2024

Kaleidoscope 2 Christmas Bulb 2024

Kaleidoscope 1 Christmas Bulb 2024
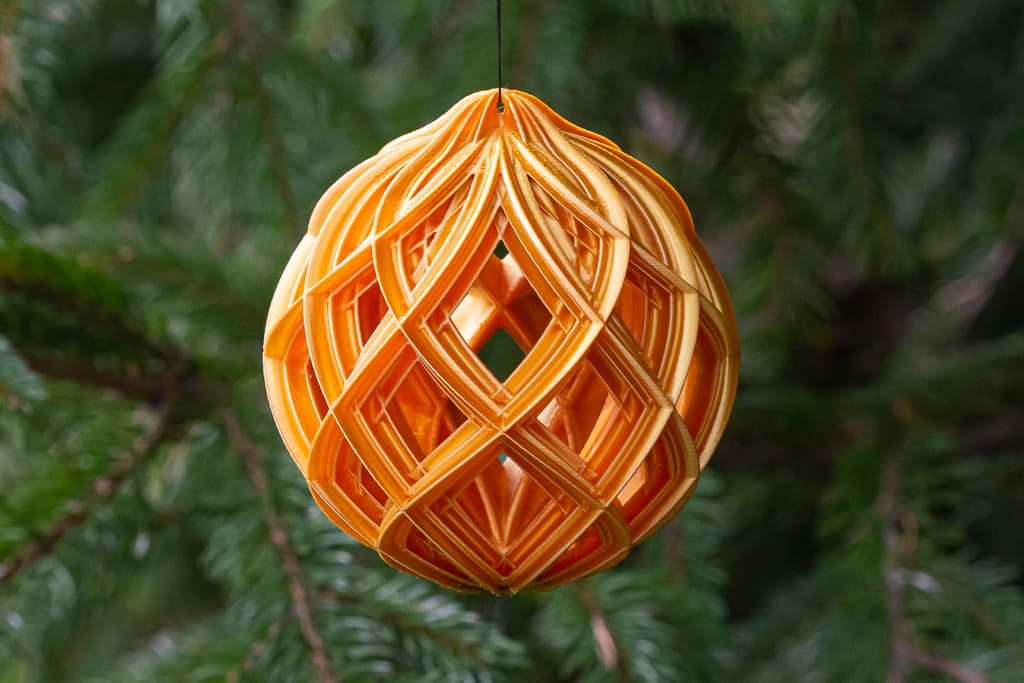
Double Winged Kaleidoscope Christmas Ball

Grand Kaleidoscope Christmas Ball

Kaleidoscope Christmas Ball 2
Winged Kaleidoscope Christmas Ball
Christmas Spiral Teardrop 2023
Kaleidoscope Christmas Balls with Stems