


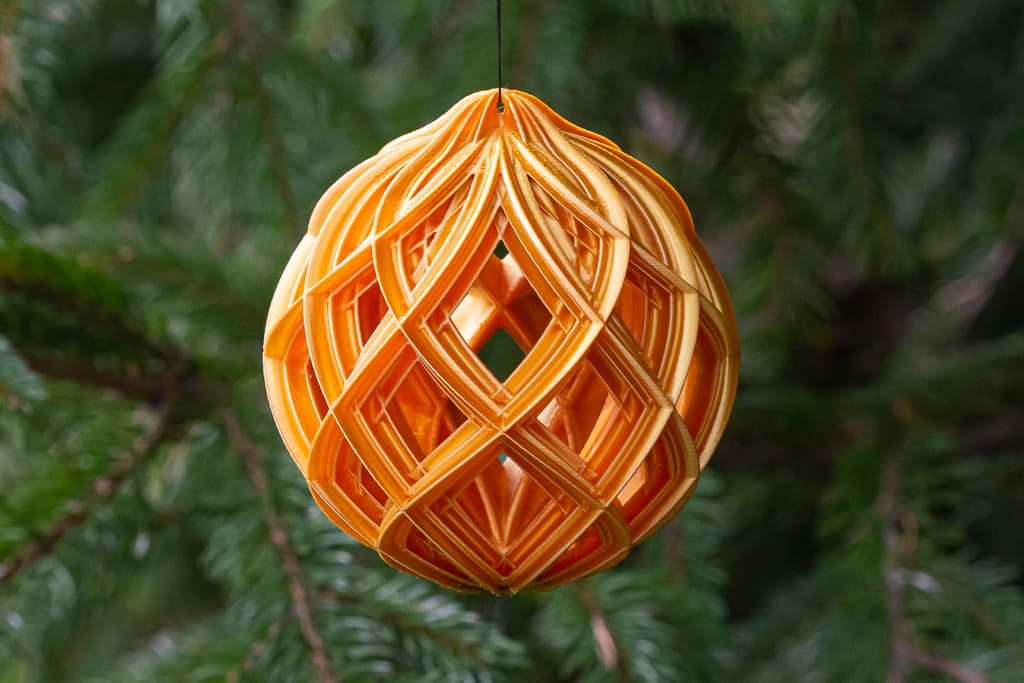
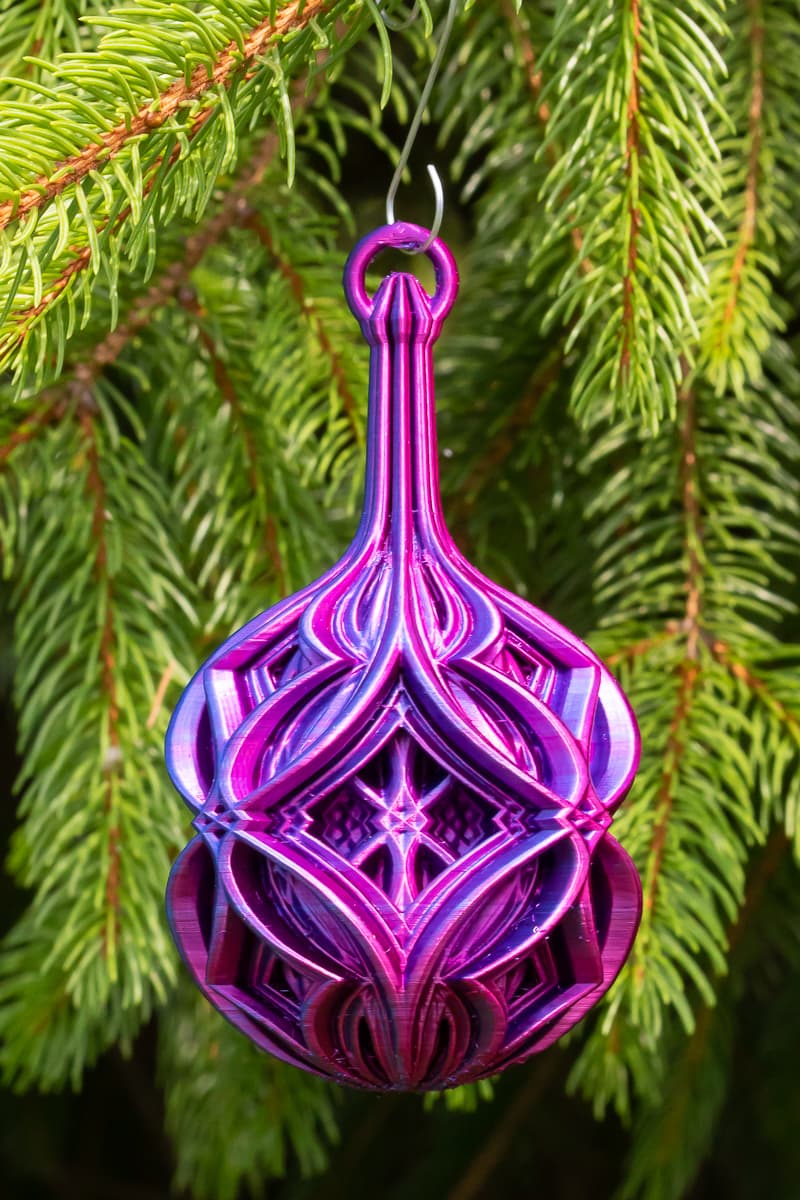
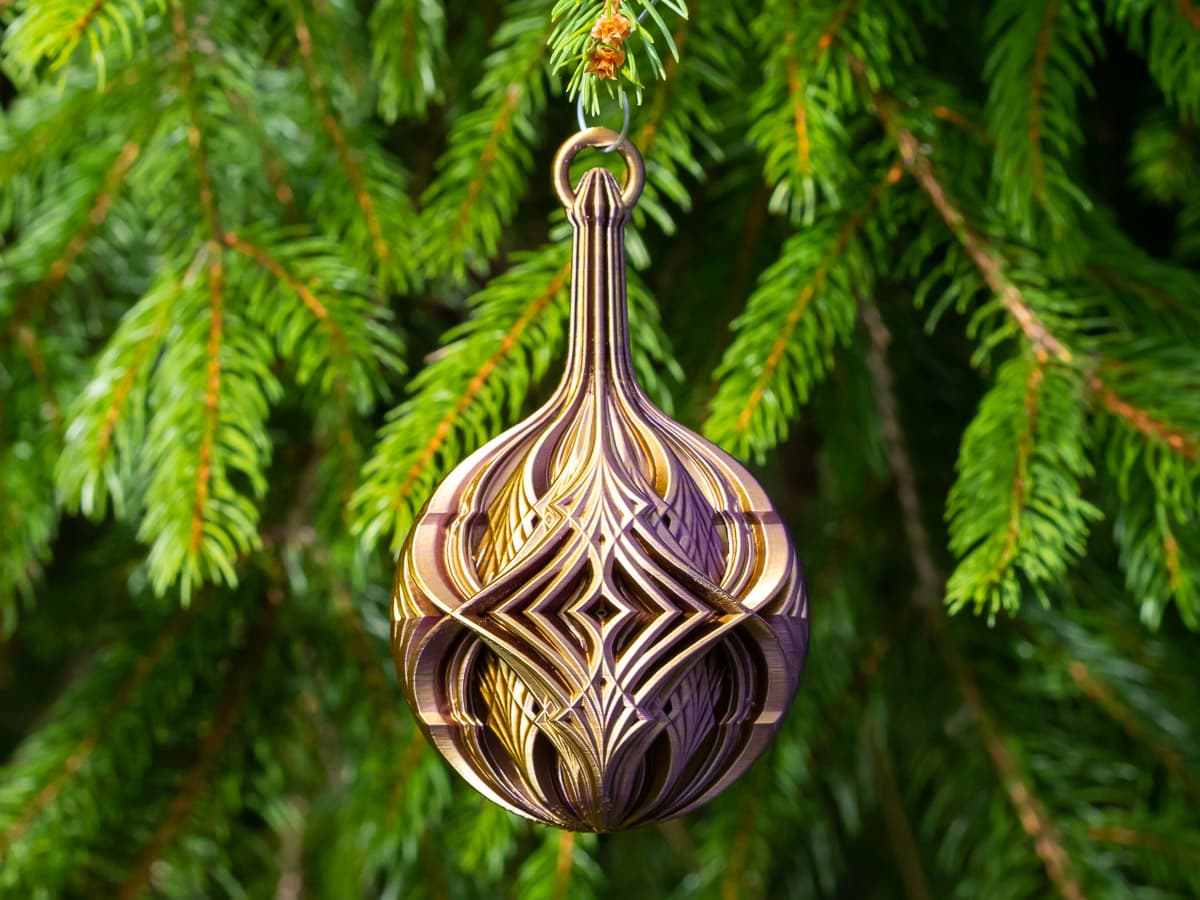
Grand Kaleidoscope Christmas Ball
Out of all my Christmas ornaments from 2023, I think this is my favorite. I love looking at it from all angles, Each new angle reveals some new detail you couldn't see before.
Updates I've uploaded a new STL after removing a lot of unnecessary internal geometry that made printing this more difficult. I've also added my PrusaSlicer project file and my GCODE for a Prusa MK3S+ printer.
Not for commercial use. Please see license agreement.
It can be a little bit of a challenge to print, but if you follow the instructions I've provided below, you should get a clean, strong print at a reasonable weight. You will need to know your slicer app and your printer well to print this. I use advanced techniques and settings to print it. You'll also need to know your filament well.
RESIZING These should scale up well, but I'm not sure how much smaller you could print them using a consumer FDM printer. Using a resin printer, you could probably print them much smaller.
PRINT TIME About 7.5 hours.
PRINT SETTINGS I strongly recommend using all my print settings on your first print. If you want to increase the walls, change the print speed, add infill, etc. after that, go for it. You might want to print this page.
Thickness
- Layer thickness: .15 mm
- Wall thickness: 0.4 mm
- Alternate Extra Layer: Yes
- Top/Bottom Layers: 2
Infill I use infill in select areas, but I do not apply infill everywhere. Adding it everywhere will greatly increase the weight of the ornament without any earl benefit. This is designed to hang from a tree, so it needs to be light. At the bottom of this section, I explain how to add infill to just one area using Cura. I don't know if you can do this with other slicers.
I use infill in the top of the stem and the loop to strengthen them. There, I added 100% infill using a support blocker scaled to 175% (in all axes) aligned to (0,0,100.2 mm).
I also added infill to areas where a part of the ornament started printing in free space without any support. In most cases, I added a very small area of infill (usually just 3 layers high) plus a single bottom layer to add strength to the infill. They act like bridges. The smaller bridges don't tend to print cleanly, they work really well and you'll never see them once the print is done – unless you print with transparent filament. For these bridges, I added 1 bottom layer and used 15% line infill. In the global settings, I set “Extra Infill Wall Count” to 1. To get to that setting, you'll have to temporarily set the global infill percentage above zero. Then, the option for Extra Infill Wall Count will appear. Set it to 1, then set the global infill percent to zero. The extra infill wall setting will be retained, though setting infill to 0 will hide it again. Since I also add a support blocker that's 75 mm wide (see supports section), I make my bridges 85 mm wide on at least one side so I can still select them individually once the support blocker is in place.
Below are the exact settings I used for the bridges:
- Size (85 mm, 3.5 mm, 0.6 mm), Position (0, 0, 22.2 mm)
- Size (85 mm, 3.5 mm, 0.6 mm), Position (0, 9.25, 23.7 mm)
- Size (85 mm, 3.5 mm, 0.6 mm), Position (0, -9.25, 23.7 mm)
- Size (85 mm, 3.5 mm, 0.6 mm), Position (0, 0, 24.6 mm)
- Size (85 mm, 3.5 mm, 0.6 mm), Position (0, 9, 26.4 mm)
- Size (85 mm, 3.5 mm, 0.6 mm), Position (0, -9, 26.4 mm)
- Size (85 mm, 85 mm, 3.6 mm), Position (0, 0, 32.55 mm)
- Size (3.5 mm, 385 mm, 1.2 mm), Position (0, 0, 46.35 mm)
- Size (3.5 mm, 85 mm, 0.6 mm), Position (0, 0, 49.5 mm)
- Size (85 mm, 85 mm, 3.6 mm), Position (0, 0, 59 mm)
To add infill (or extra walls, tops or bottoms) to just one area of an object in Cura:
- Add a support blocker
- Select the support blocker and scale and position it where you want the added infill. Be sure to scale it first. Cura scales blockers from the middle. Changing the Z size after you position it changes which layer the infill begins on.
- Select “Per Model Settings” then select “Modify Settings for Overlaps”
- Select “Select Settings” and check “Infill Density” then select “Close”
- Set Infill Density to 15%.
- Set Bottom Layers to 1.
Speed
- Outer Wall: 18 mm/s
- Inner Wall: 20 mm/s
- Top/Bottom Speed: 20 mm/s
- Support Speed: 30 mm/s
- Travel Speed: 85 mm/s
Build Plate Adhesion I relied on the supports for build plate adhesion.
Supports I recommend using both traditional supports and adding cylindrical custom supports where the ledges come to a point. This means you'll have to set Support Placement to Everywhere, so I also used a support blocker scaled to 75 mm x 75 mm x 110 mm placed at (0, 0, 15 mm).
- Support Structure: Normal
- Support Placement: Everywhere
- Support Overhang Angle: 55 Degrees
The custom supports help prevent the model from wobbling or coming loose from the print plate in addition to improving the print quality at the point where they touch the model.
Grand Kaleidoscope Christmas Ball
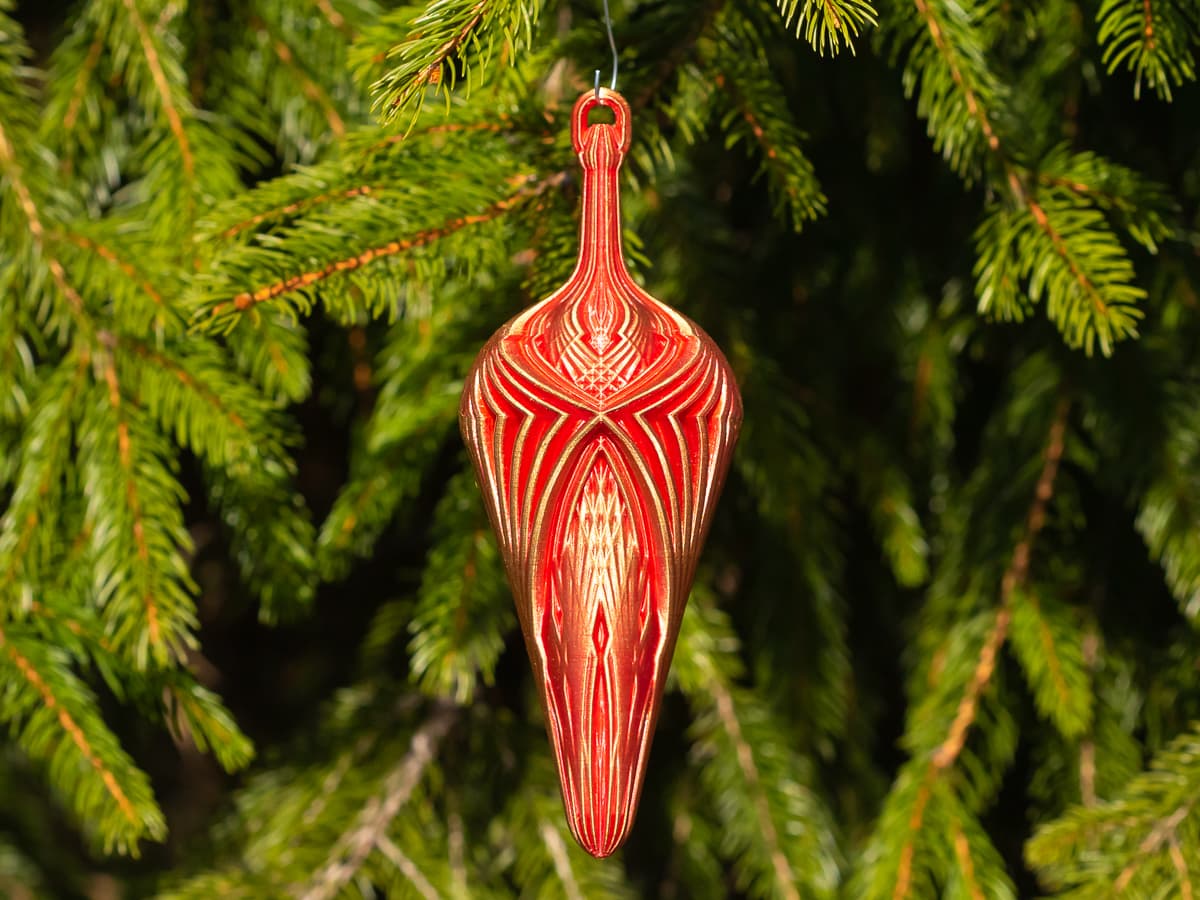
Grand Kaleidoscope Teardrop Ornament
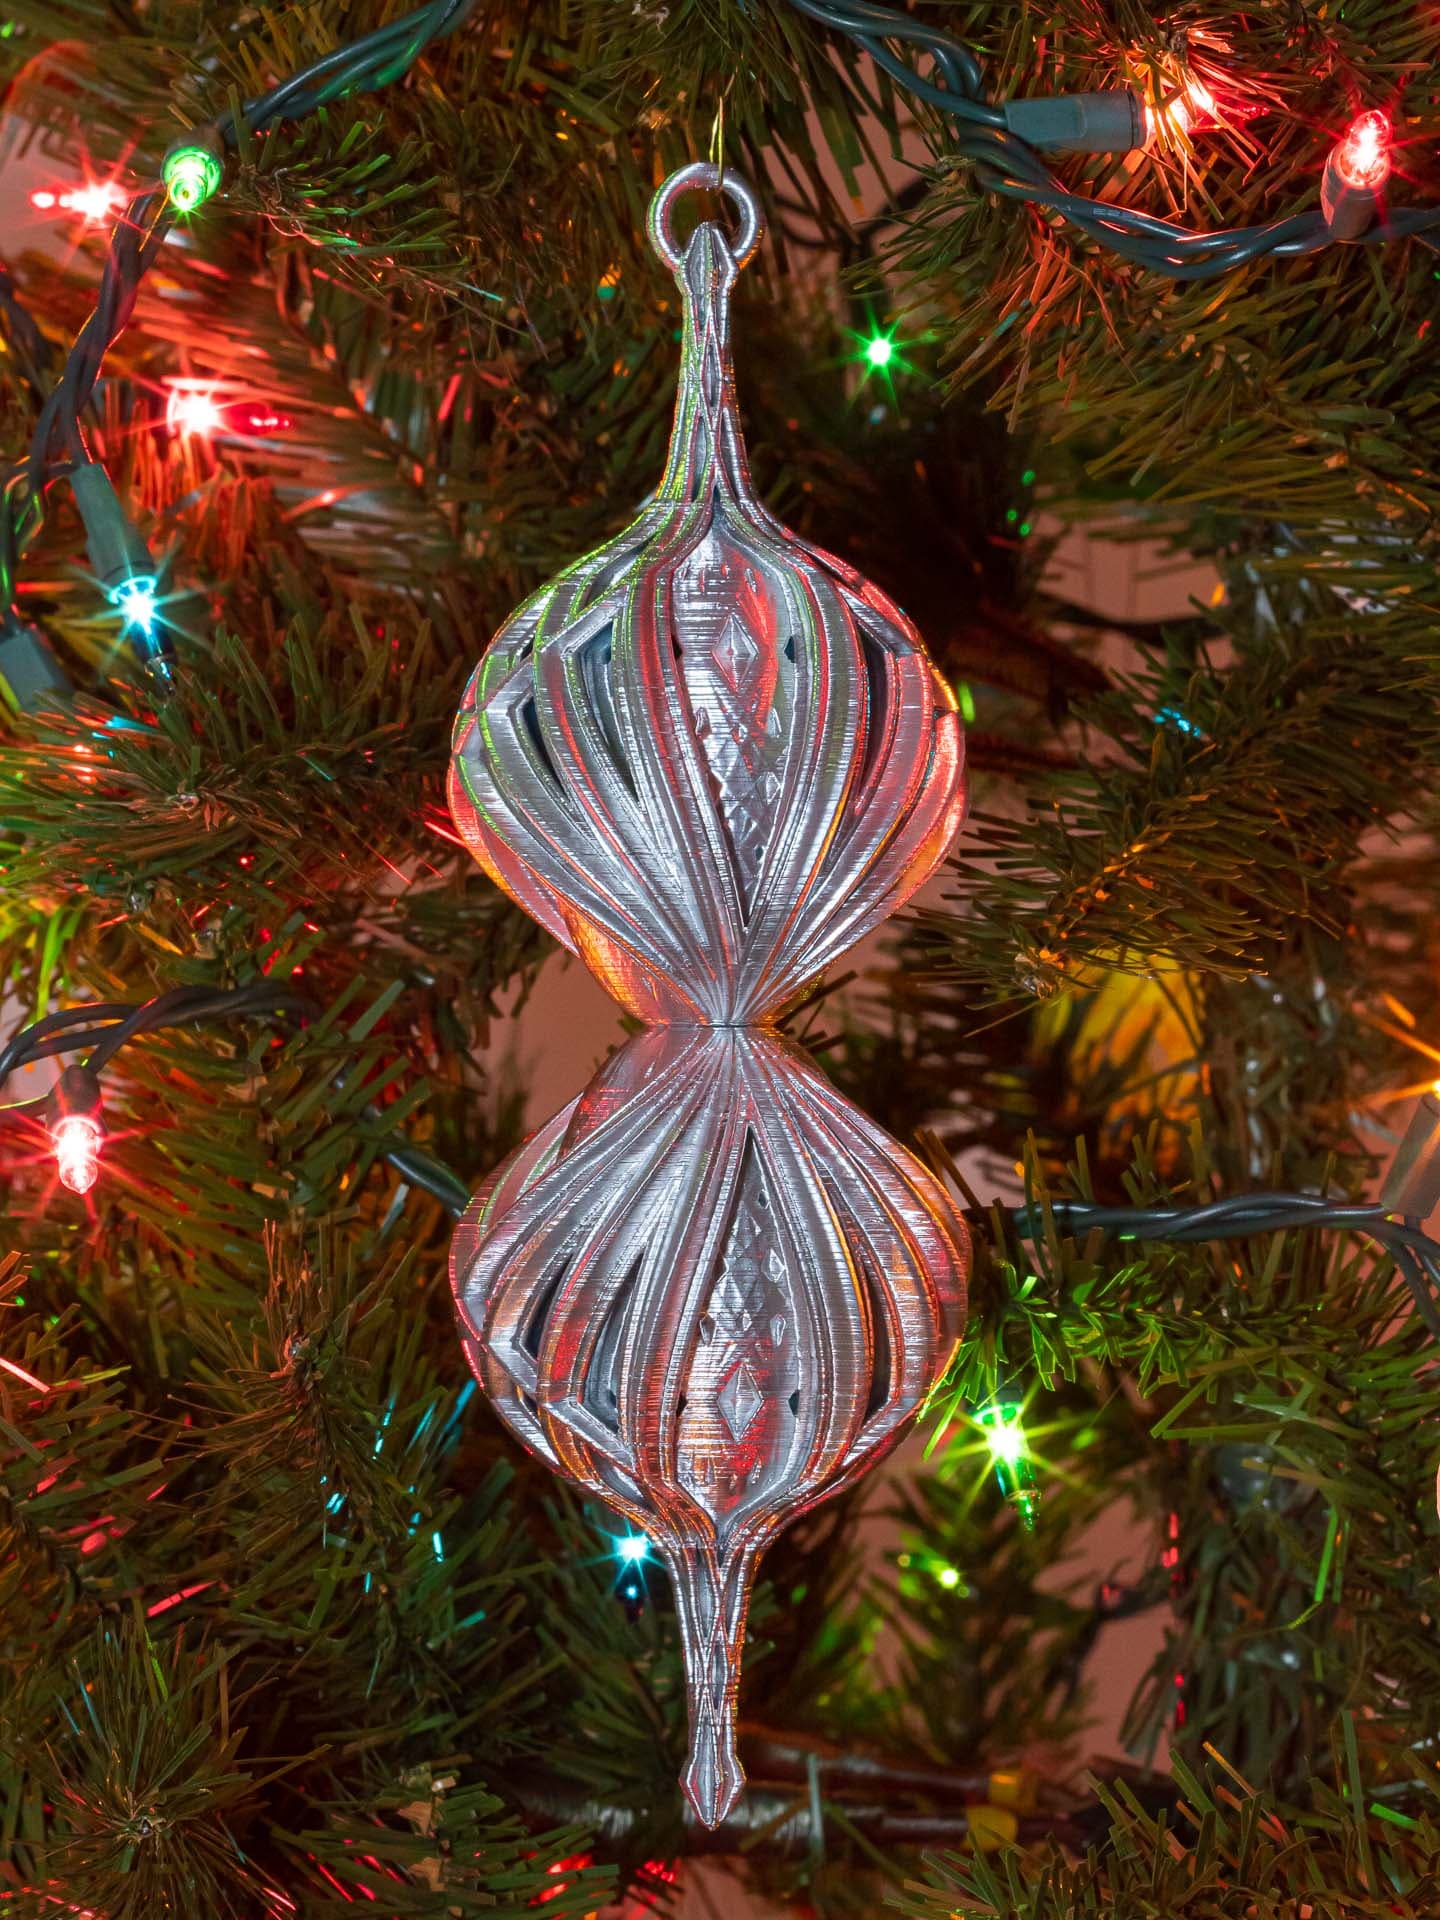
Double Winged Kaleidoscope Christmas Ball
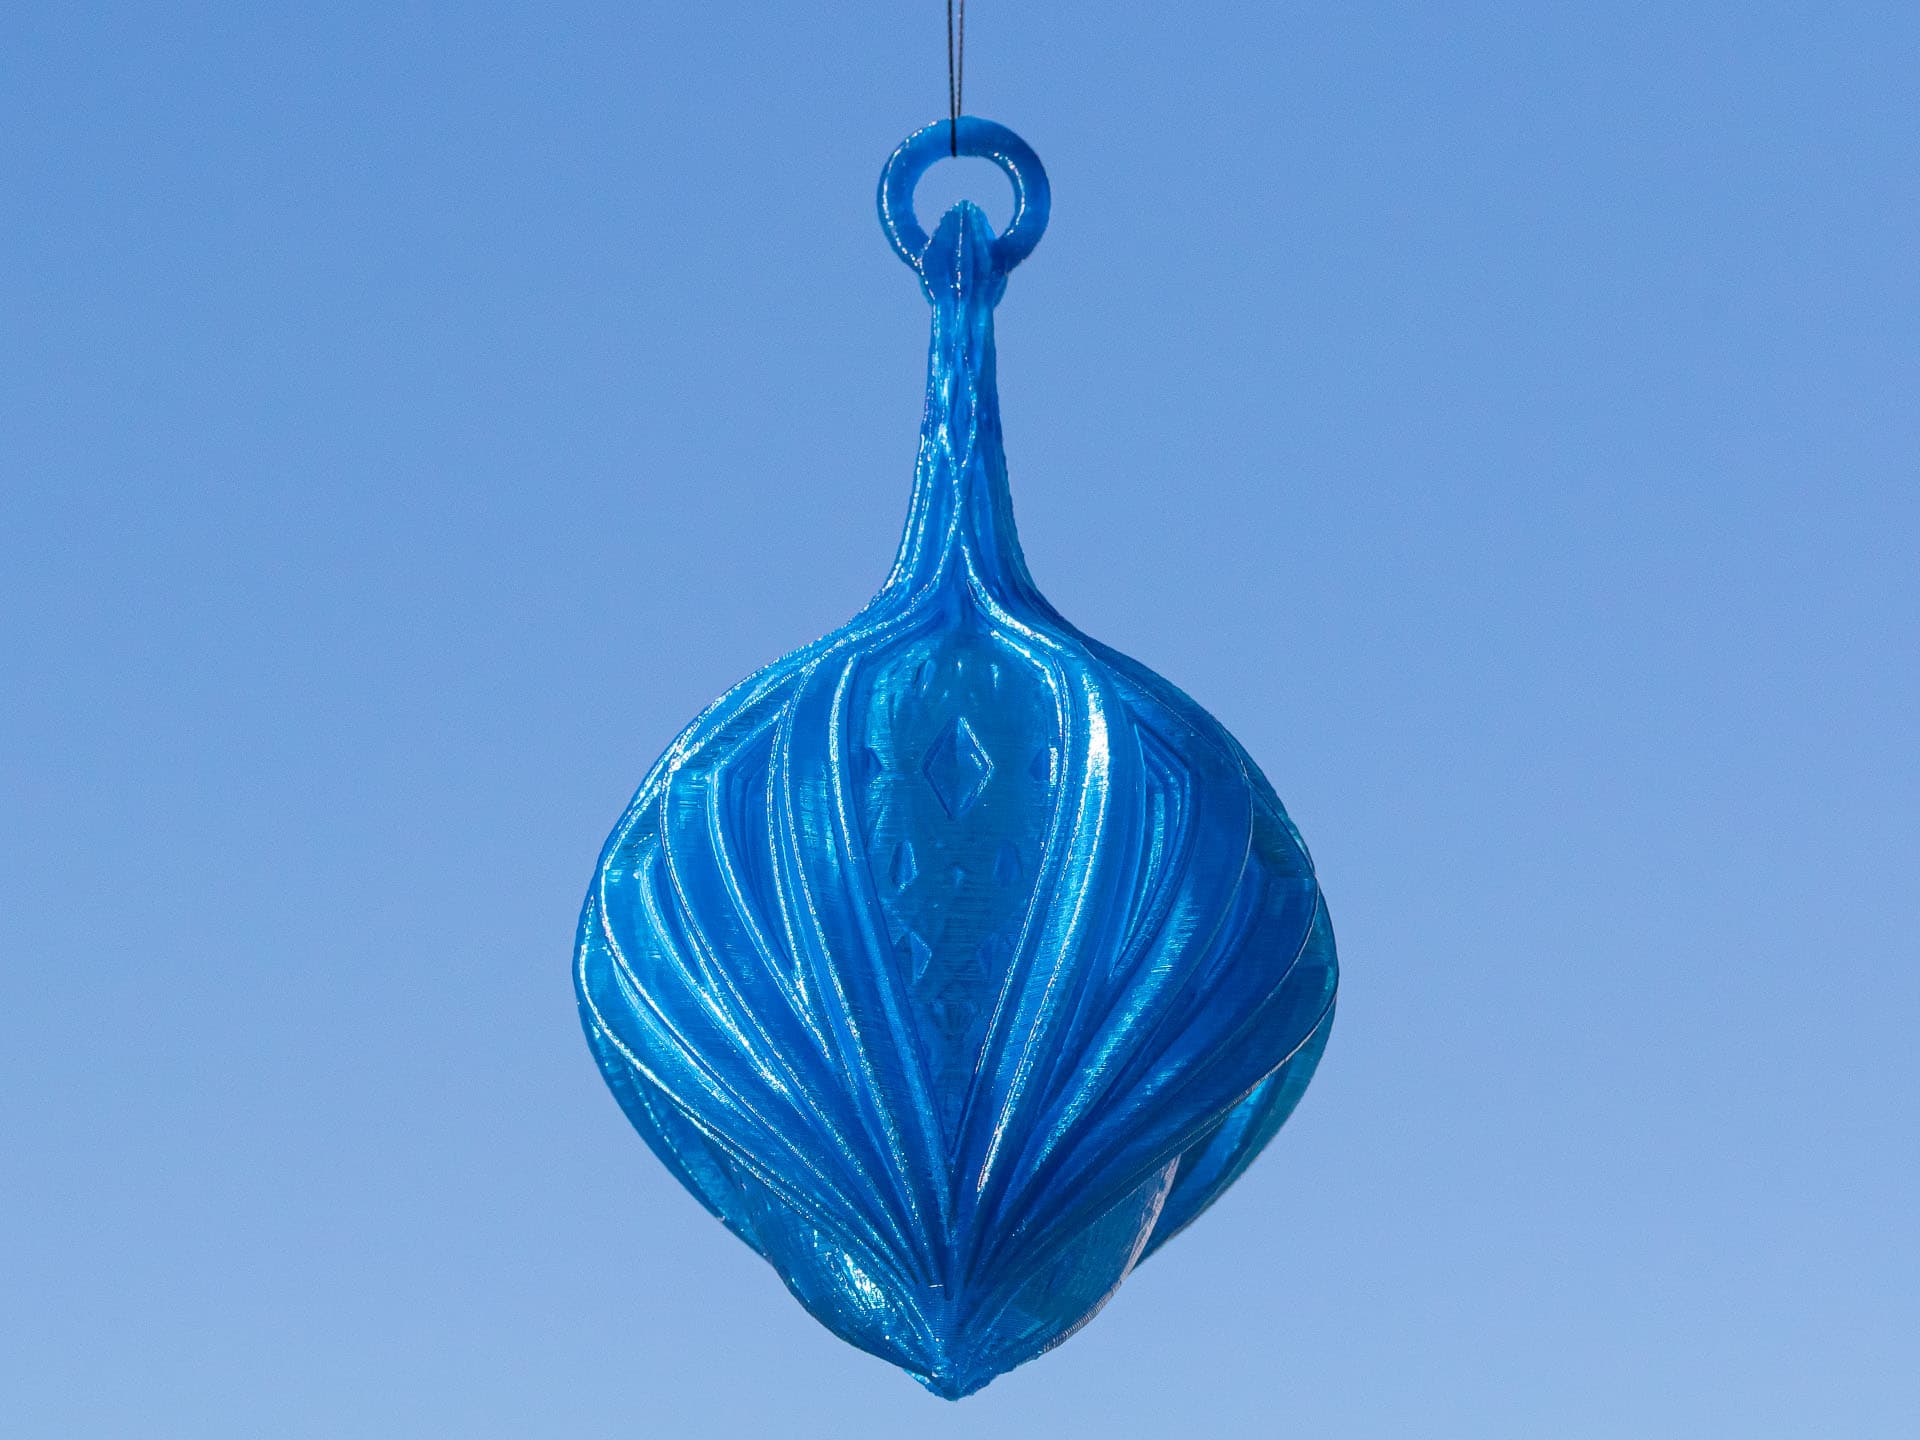
Winged Kaleidoscope Christmas Ball

Kaleidoscope Christmas Balls with Stems

Kaleidoscope Christmas Ball 2
Kaleidoscope Christmas Ball 1

MELTING CHRISTMAS BALL / UNIQUE CHRISTMAS DECOR / HOMEDECOR / DESIGNER

Christmas Accessories Vol.1 – 3D Printed Christmas Ball Ornament

Remix of Christmas scene in Christmas Ball
Christmas scene in Christmas Ball

Gift balls, Christmas tree ornaments.

Christmas Ball Ornaments

VANOCE | String Art Ball, Christmas Tree

VANOCE | String Art Flat Ball, Christmas Tree
Christmas Ball - Alternating Diamonds

Customizable deer Christmas ball

Christmas Tree Ball 2D Wall Art/Window Art - Digital STL & SVG Files for 3D Printing and Laser Cutti

Christmas Tree Ball 2D Wall Art/Window Art - Digital STL & SVG Files for 3D Printing and Laser Cutti
Christmas Ball with Intersecting Diamonds
