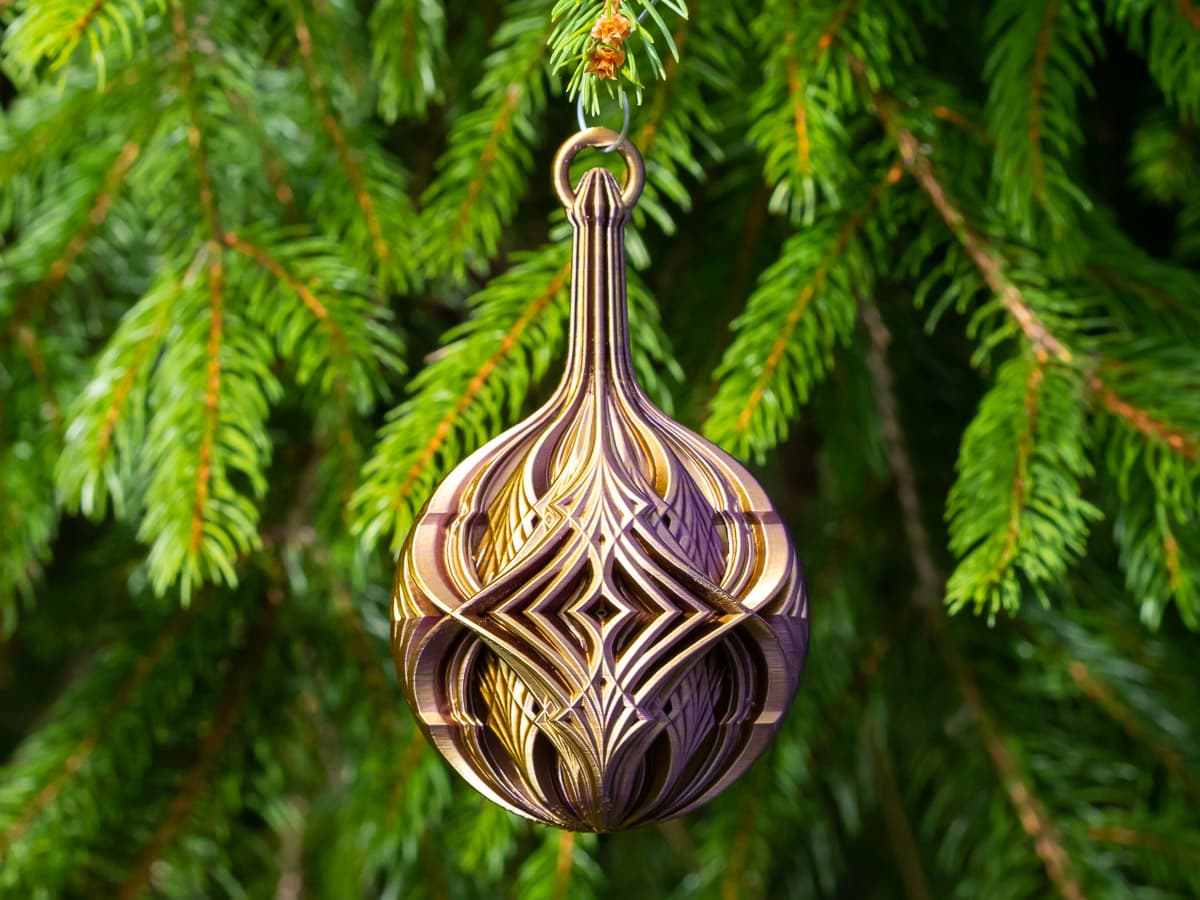
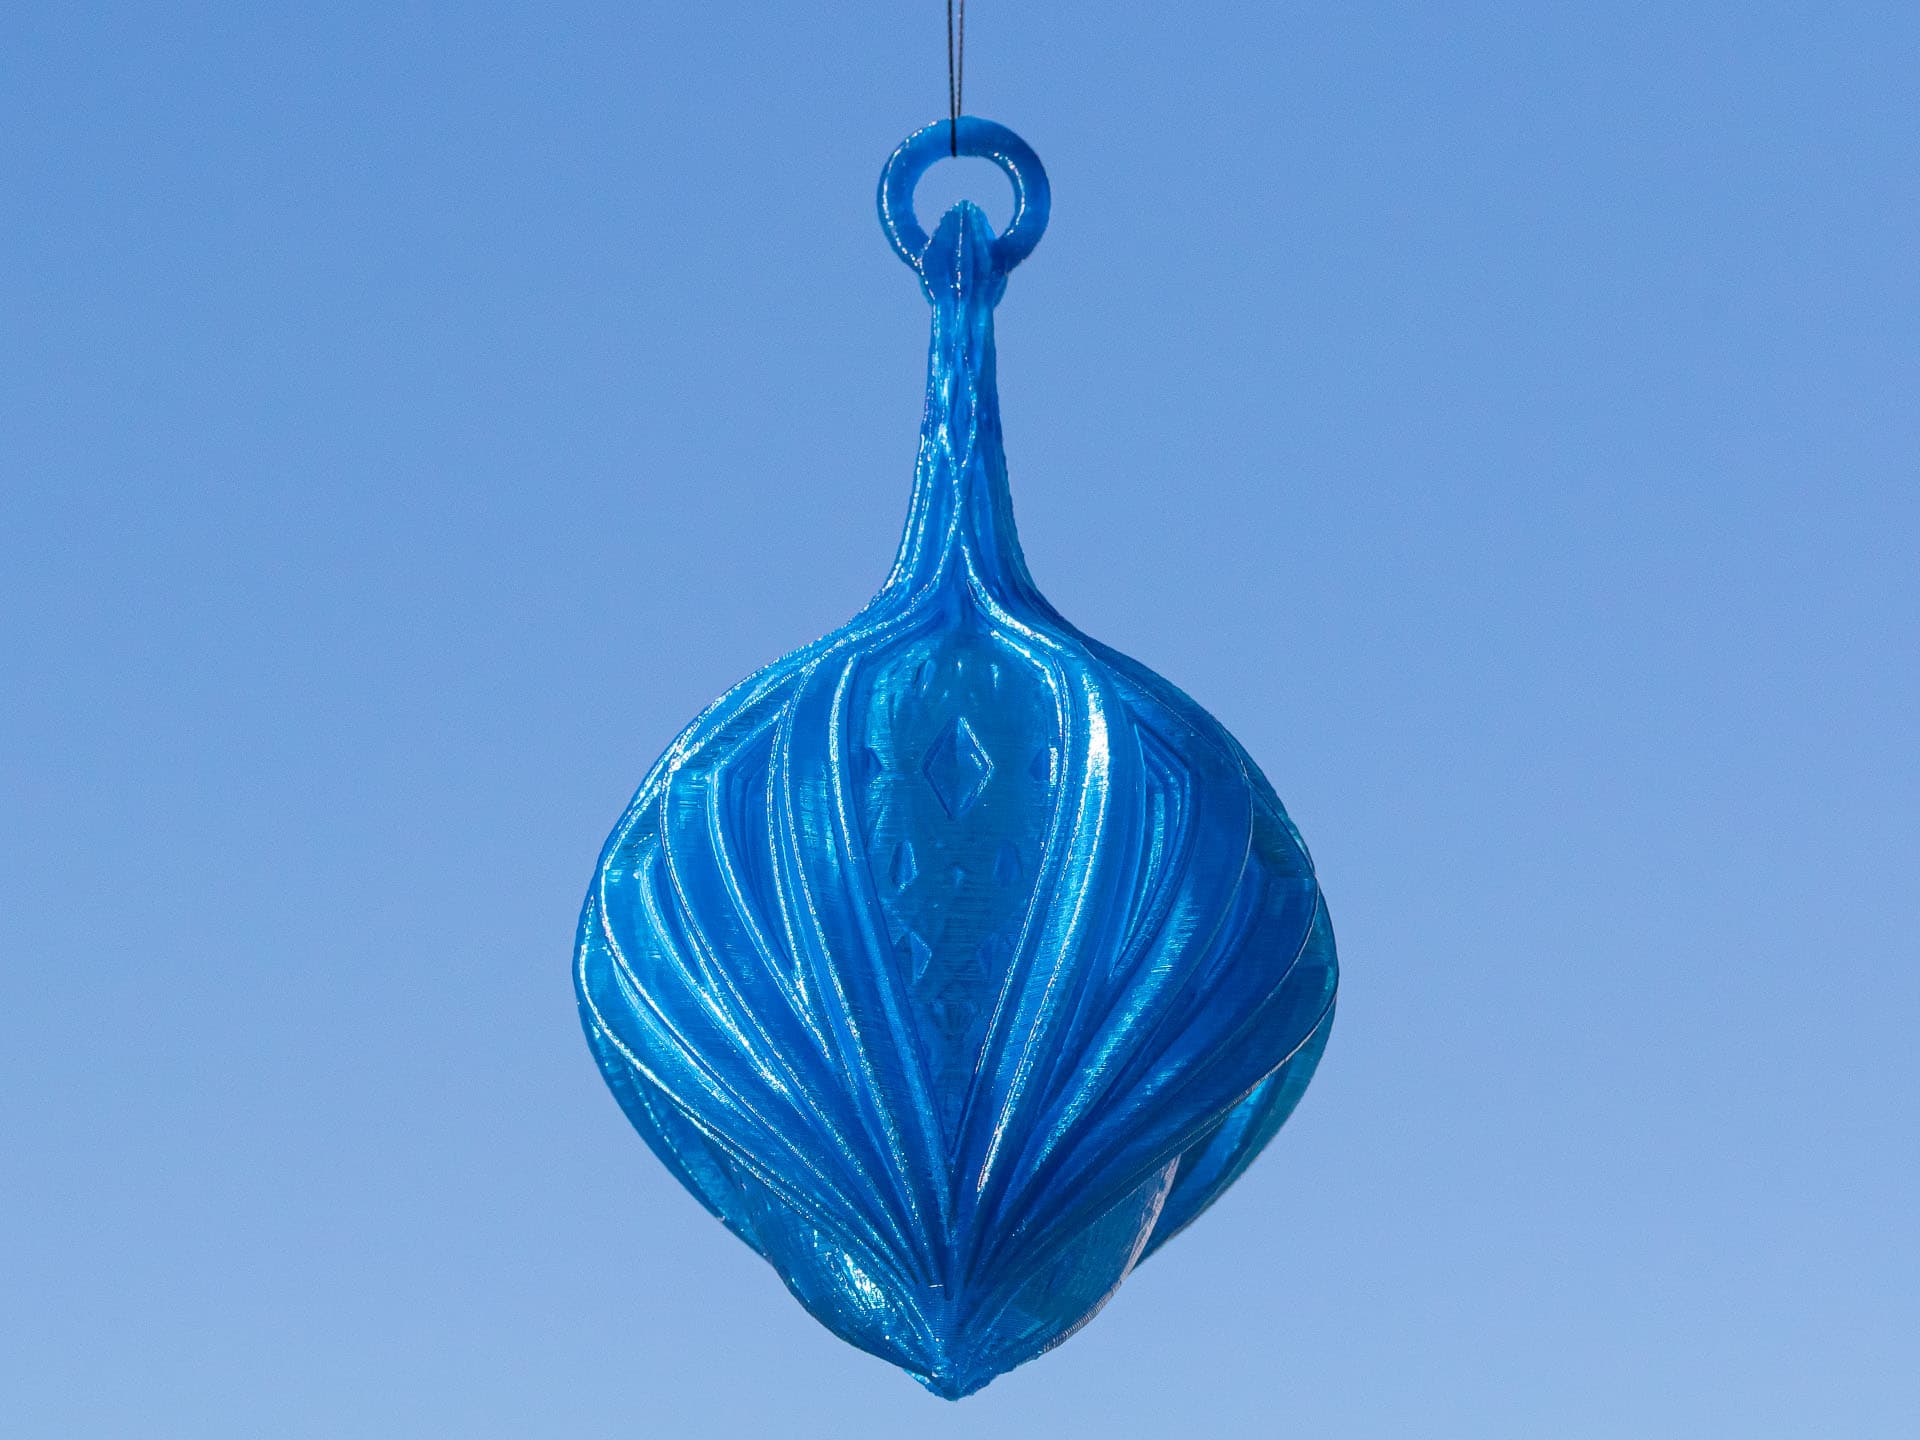
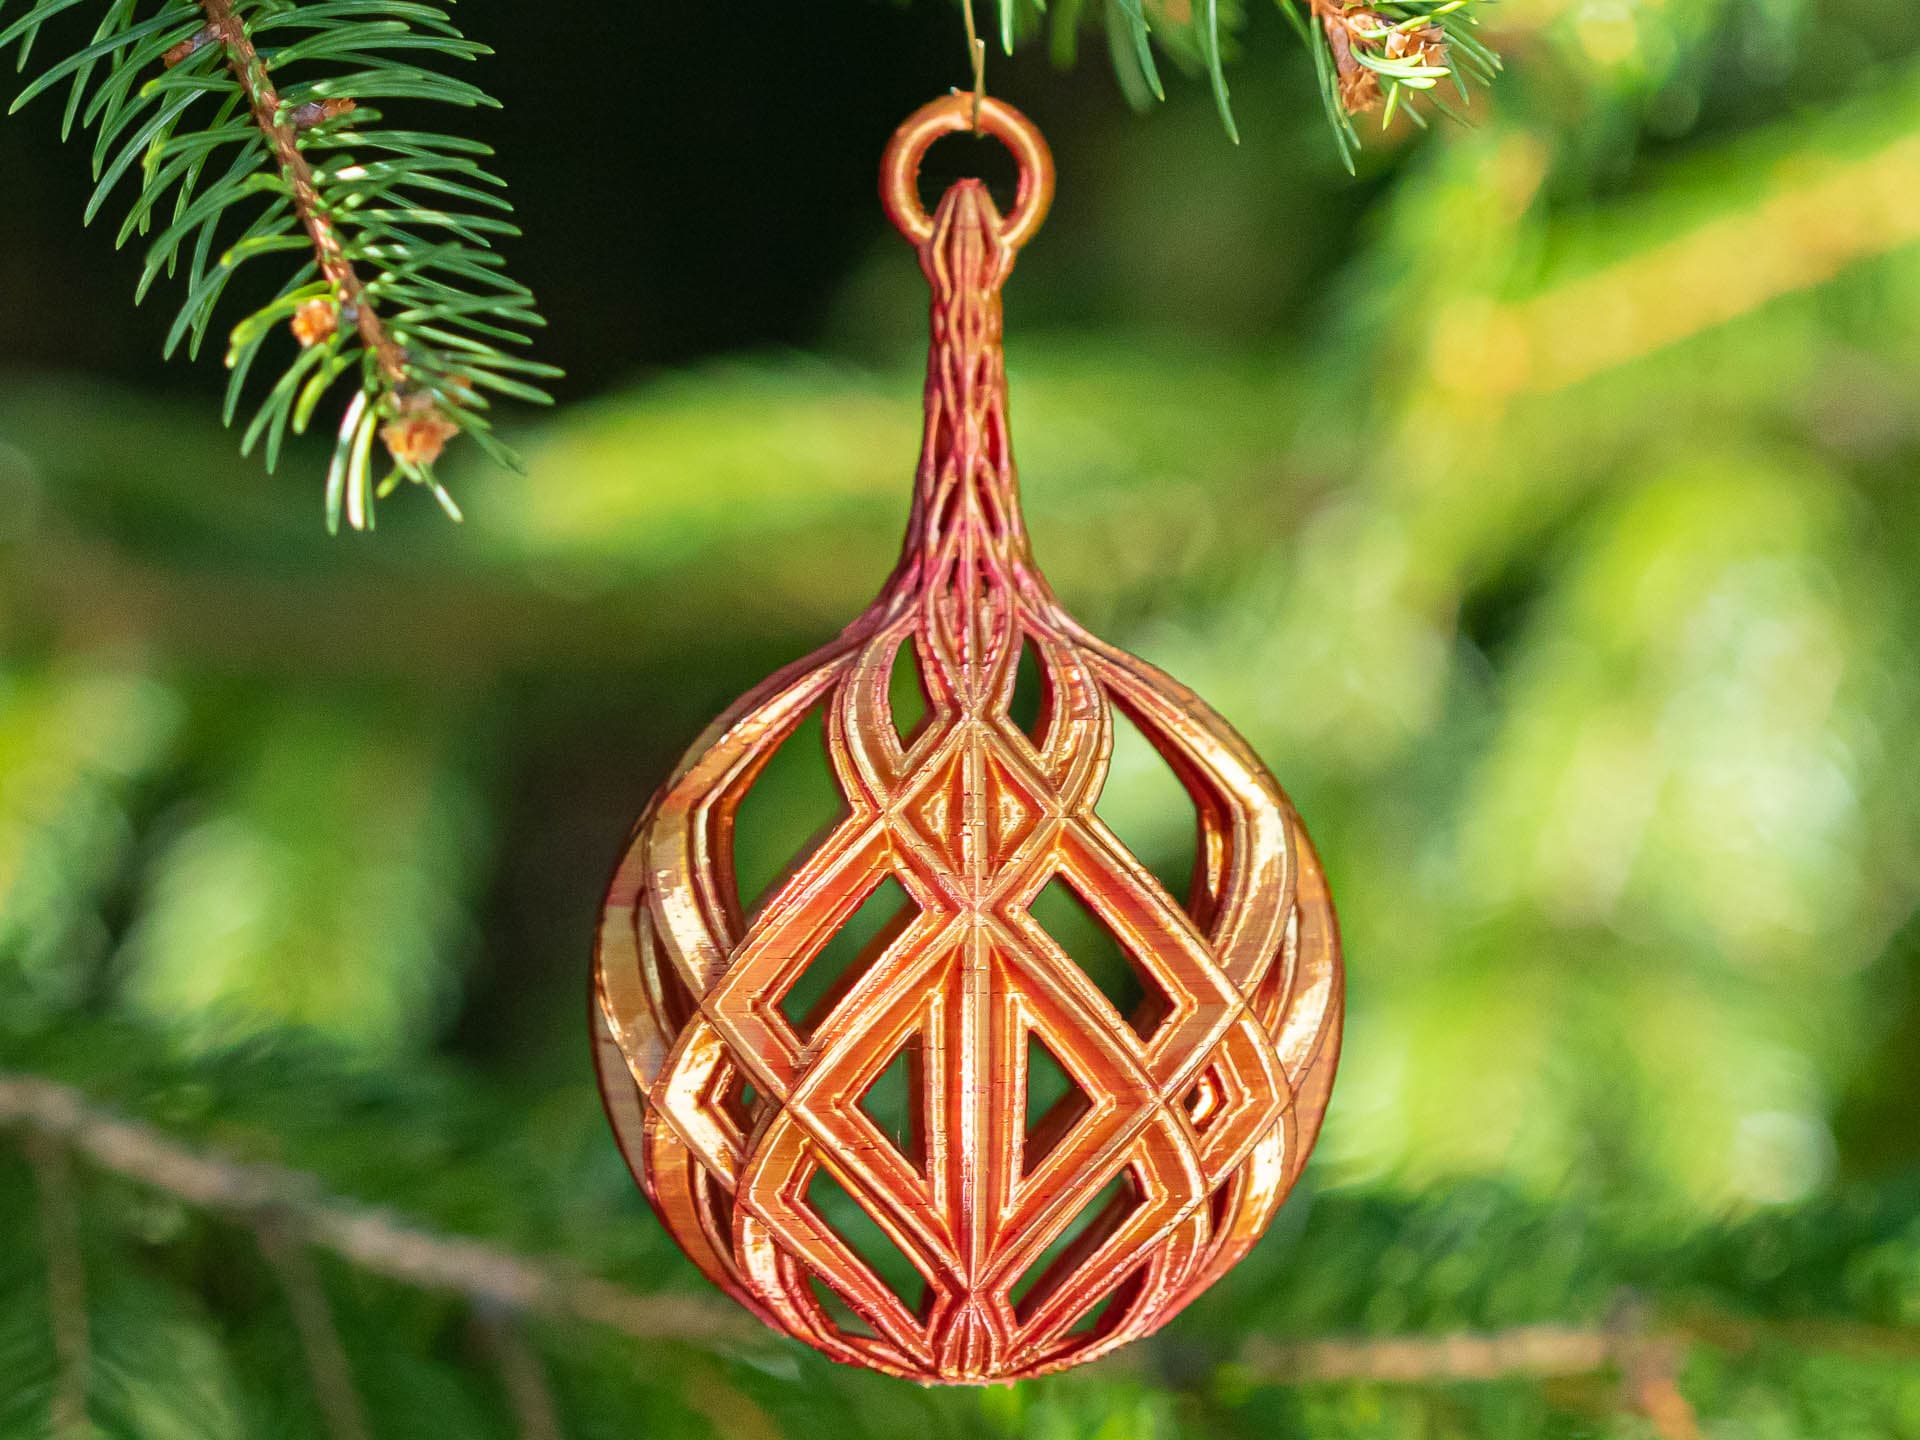
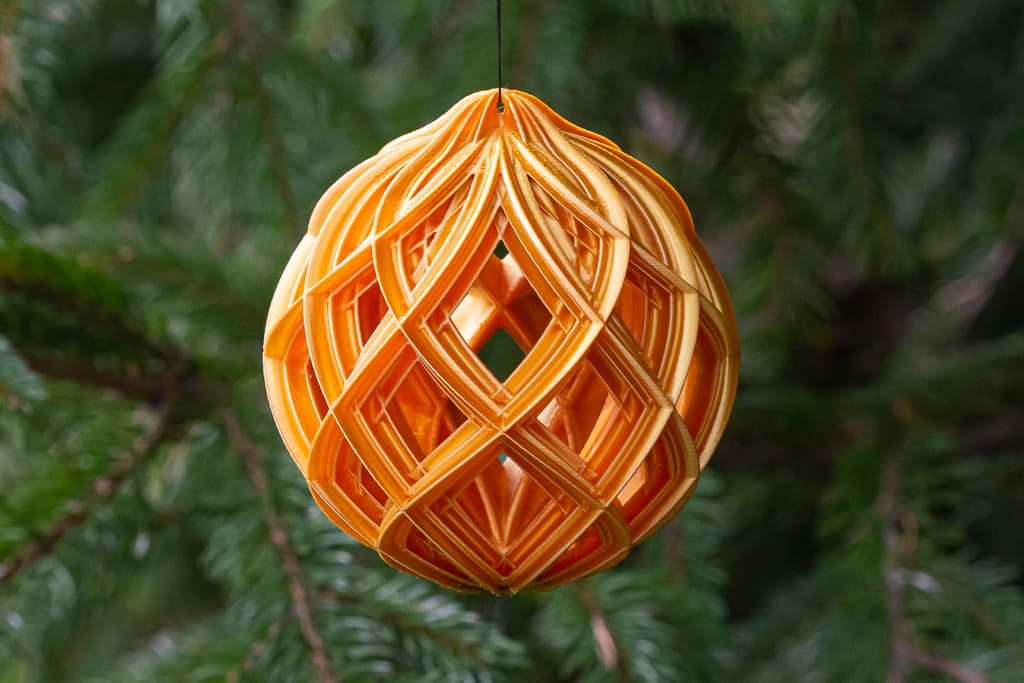
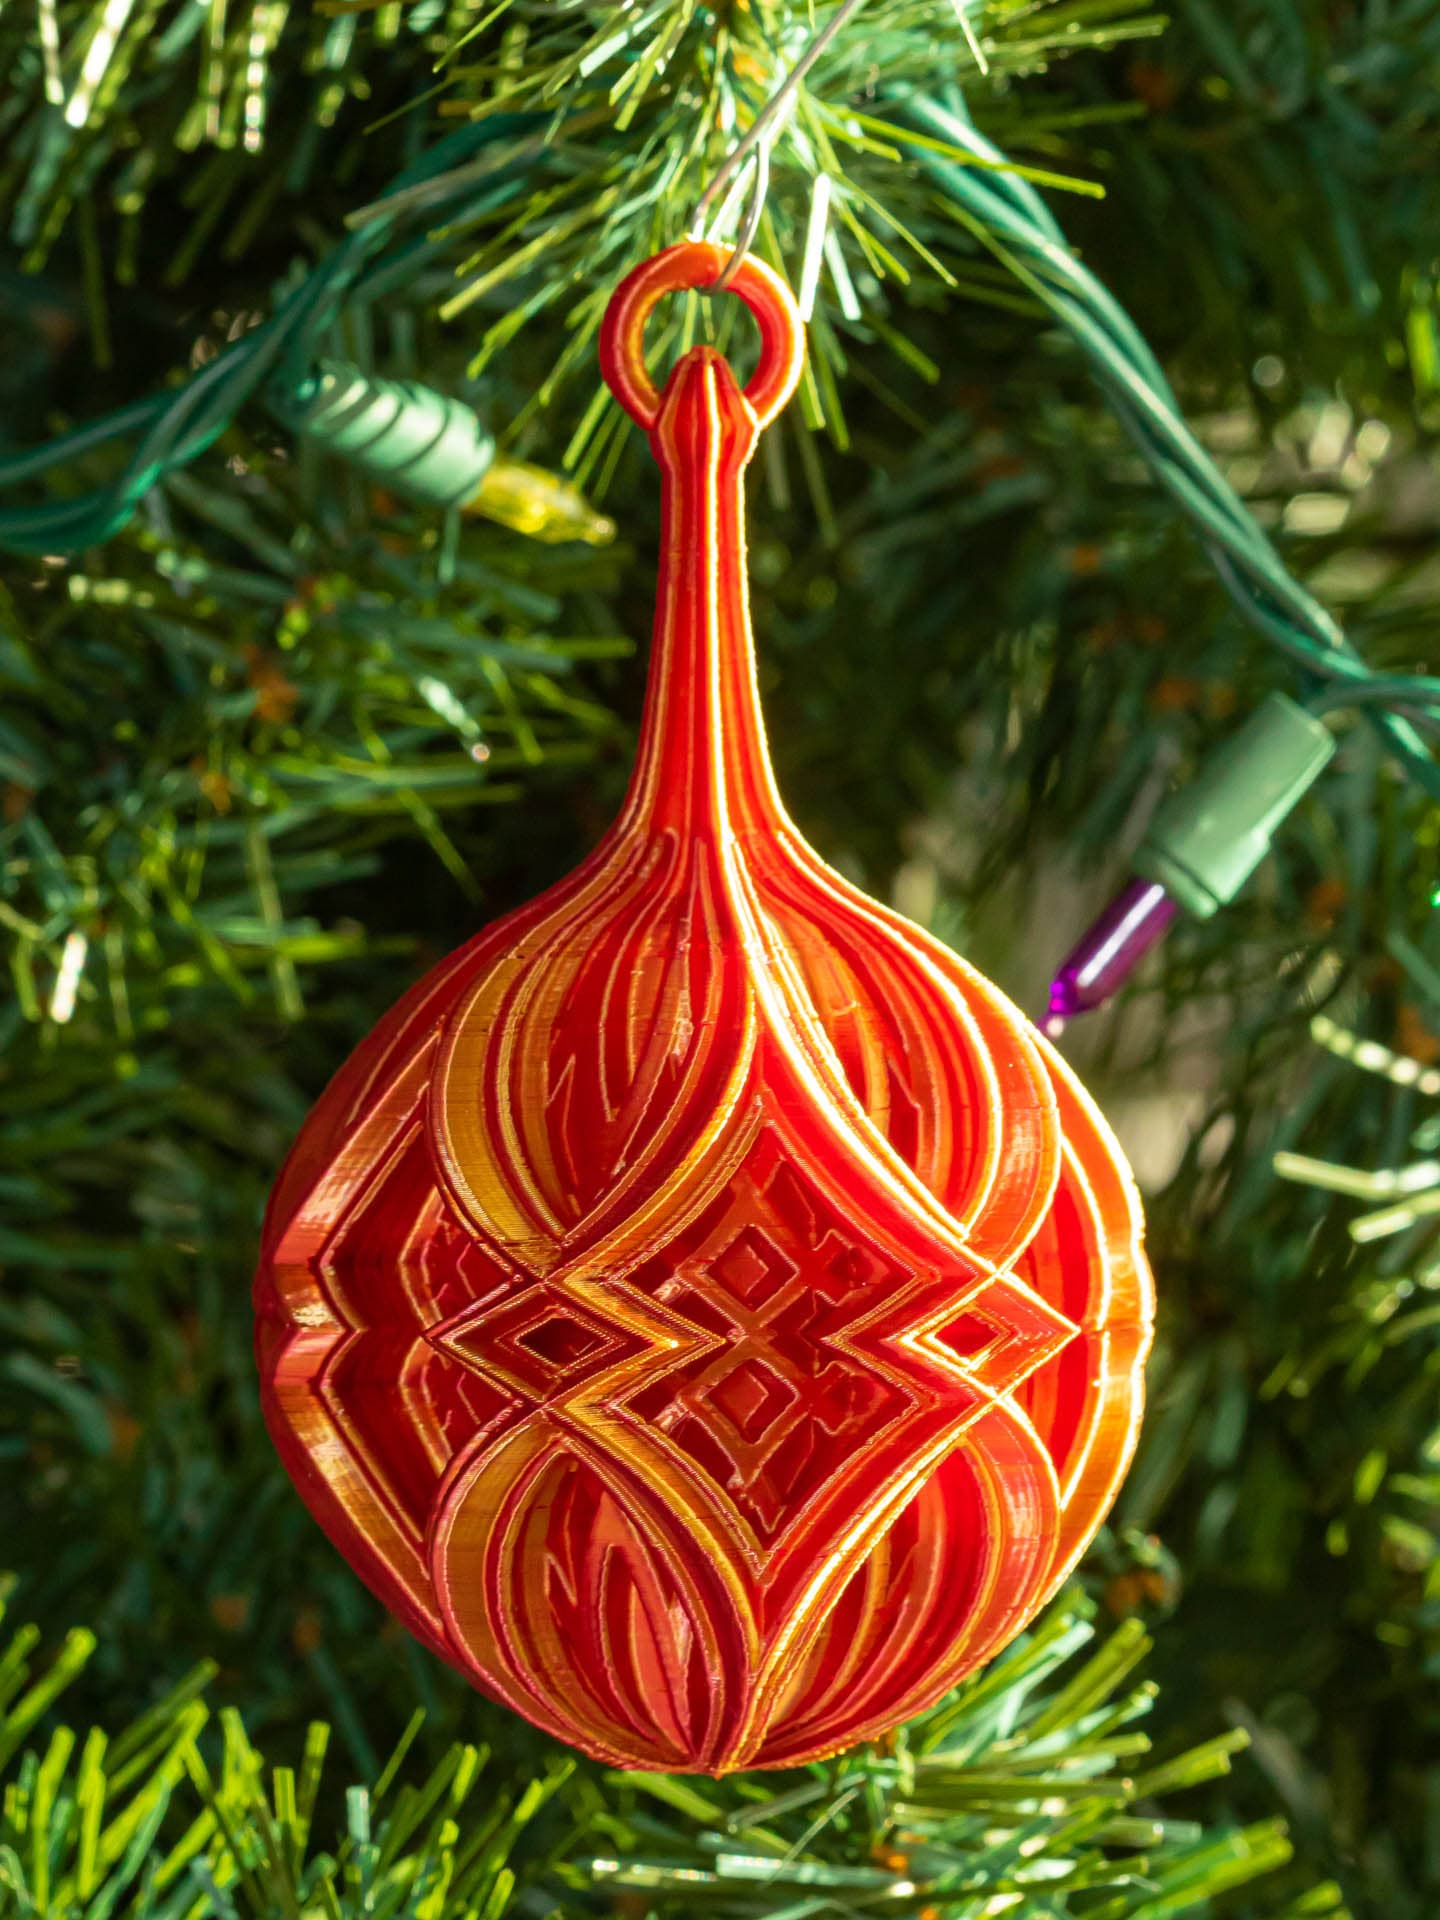
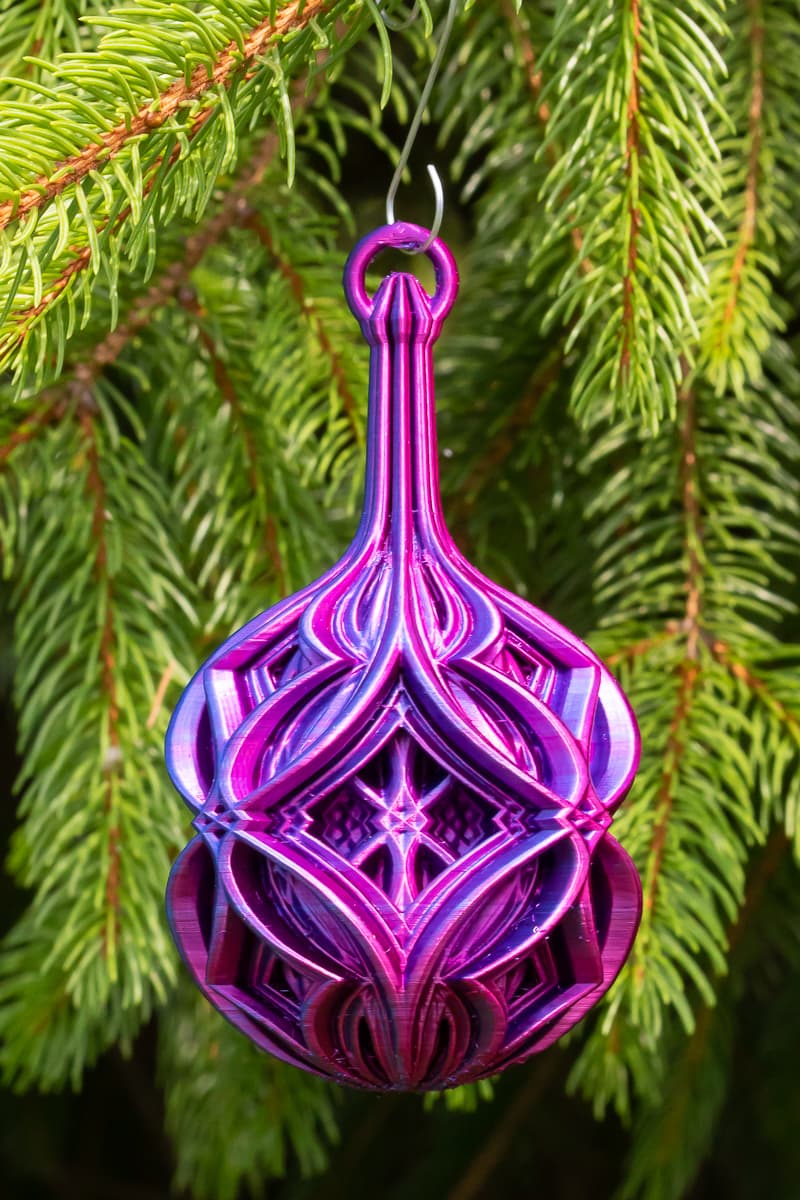
Double Winged Kaleidoscope Christmas Ball
This is a variation on my Winged Kaleidoscope Christmas Ball. I just removed the bottom, duplicated it without the loop, and created a symmetric double ball ornament that gives the illusion of seeing a mirror reflection.
Not for commercial use. Please see license agreement.
I've included versions as both a single piece and as two pieces (top and bottom halves with a + shaped peg to hold them together). The one-piece version is just in case you want the added difficulty of doing it all at once and gives you a better idea what it looks like when you're finished.
To print the one piece version, you'll need a lot of supports – especially if you print using FDM since that puts lateral forces on the print that resin printers don't. As much as I like a challenge, that was just something I wasn't going to even think about. Also, as one piece, it's too large for my printer. I'd have to scale it down to about 90%.
To get the silvery finish, I cheated. I used spray paint – specifically Krylon Premium Metal Chrome. I was able to get it into all the deep recesses of the ornament without putting it on too thick, which was a little surprising. If you decide to do the save, I recommend you print with a resin that's similar to the color of your paint – gray of silver for Crome or Silver paint, gold for gold, copper for copper. If you don't get the paint everywhere, the paint will reflect the color of the unpainted section, so it'll be obvious you missed a spot. Print with a color that's basically the same as the paint and you'll probably not notice it.
I was afraid painting the ornament might cover up some of the subtle patterns in the ornament. Instead, it actually brought them out. It also enhanced any and all defects in the print. So, it's a double-edged sword.
RESIZING These should scale up well, but I'm not sure how much smaller you could print them using a consumer FDM printer. Using a resin printer, you could probably print them much smaller.
PRINT TIME About 12 hours total.
PRINT SETTINGS The trickiest parts to print is the top of the stems. Using FDM, if you don't temp, speed, flow, and cooling right, the thin parts of the stem will melt as you print. Thinner walls help. If that's not enough, try increasing the layer height or even adding infill. Infill is counter-intuitive, but it means the hot end moves to a different part of the layer, giving the outside a chance to cool.
Printing a single peg takes 1 minute. You may need to scale the peg down a little in the X and Y axes to fit properly. It'll depend on how dimensionally accurate your print is. I cheated. Since the pegs take so little time to print, I printed 5 at once, with a range from 90% to 100% reducing them in 2.5% increments. Then, I test fit them. I wound up using the 95% peg. Printing all 5 with a raft took 8 minutes.
When you assemble your ornament, don't push too hard on the peg or you may break the roof off the hole the peg fits into. Don't ask me how I know this.
Thickness
- Layer thickness: .15 mm
- Wall thickness: 0.4 mm
- Alternate Extra Layer: Yes
Infill I would recommend adding 100% infill to the loop at the top of the ornament to make the loop stronger, but I wouldn't add infill anywhere else. It just adds weight.
To add infill (or extra walls, tops or bottoms) to just one area of an object in Cura:
- Add a support blocker
- Select the support blocker and scale and position it where you want the added infill
- Select “Per Model Settings” then select “Modify Settings for Overlaps”
- Select “Select Settings” and check “Infill Density” then select “Close”
- Enter the amount of infill you want
Speed
- Outer Wall: 20 mm/sec
- Inner Wall: 20 mm/sec
- Top/Bottom Speed: 20 mm/sec
- Travel Speed: 50 mm/sec
Build Plate Adhesion I relied on the supports for build plate adhesion.
Supports You will probably need supports for bed adhesion.
- Support Structure: Normal
- Support Placement: Touching Buildplate
- Support Overhang Angle: 55.1 Degrees
Double Winged Kaleidoscope Christmas Ball
Winged Kaleidoscope Christmas Ball
Kaleidoscope Christmas Balls with Stems

Grand Kaleidoscope Christmas Ball

Kaleidoscope Christmas Ball 2
Kaleidoscope Christmas Ball 1
Double Diamond Christmas Ball

MELTING CHRISTMAS BALL / UNIQUE CHRISTMAS DECOR / HOMEDECOR / DESIGNER

Christmas Accessories Vol.1 – 3D Printed Christmas Ball Ornament

Remix of Christmas scene in Christmas Ball
Christmas scene in Christmas Ball

Gift balls, Christmas tree ornaments.

Christmas Ball Ornaments

VANOCE | String Art Ball, Christmas Tree

VANOCE | String Art Flat Ball, Christmas Tree
Christmas Ball - Alternating Diamonds

Flying Soccer Ball Wings Wall Art.3mf

Customizable deer Christmas ball

Christmas Tree Ball 2D Wall Art/Window Art - Digital STL & SVG Files for 3D Printing and Laser Cutti

Christmas Tree Ball 2D Wall Art/Window Art - Digital STL & SVG Files for 3D Printing and Laser Cutti