
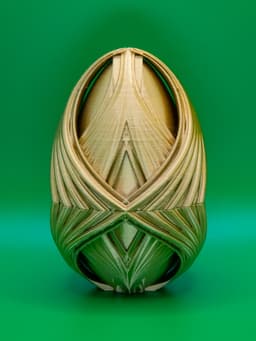


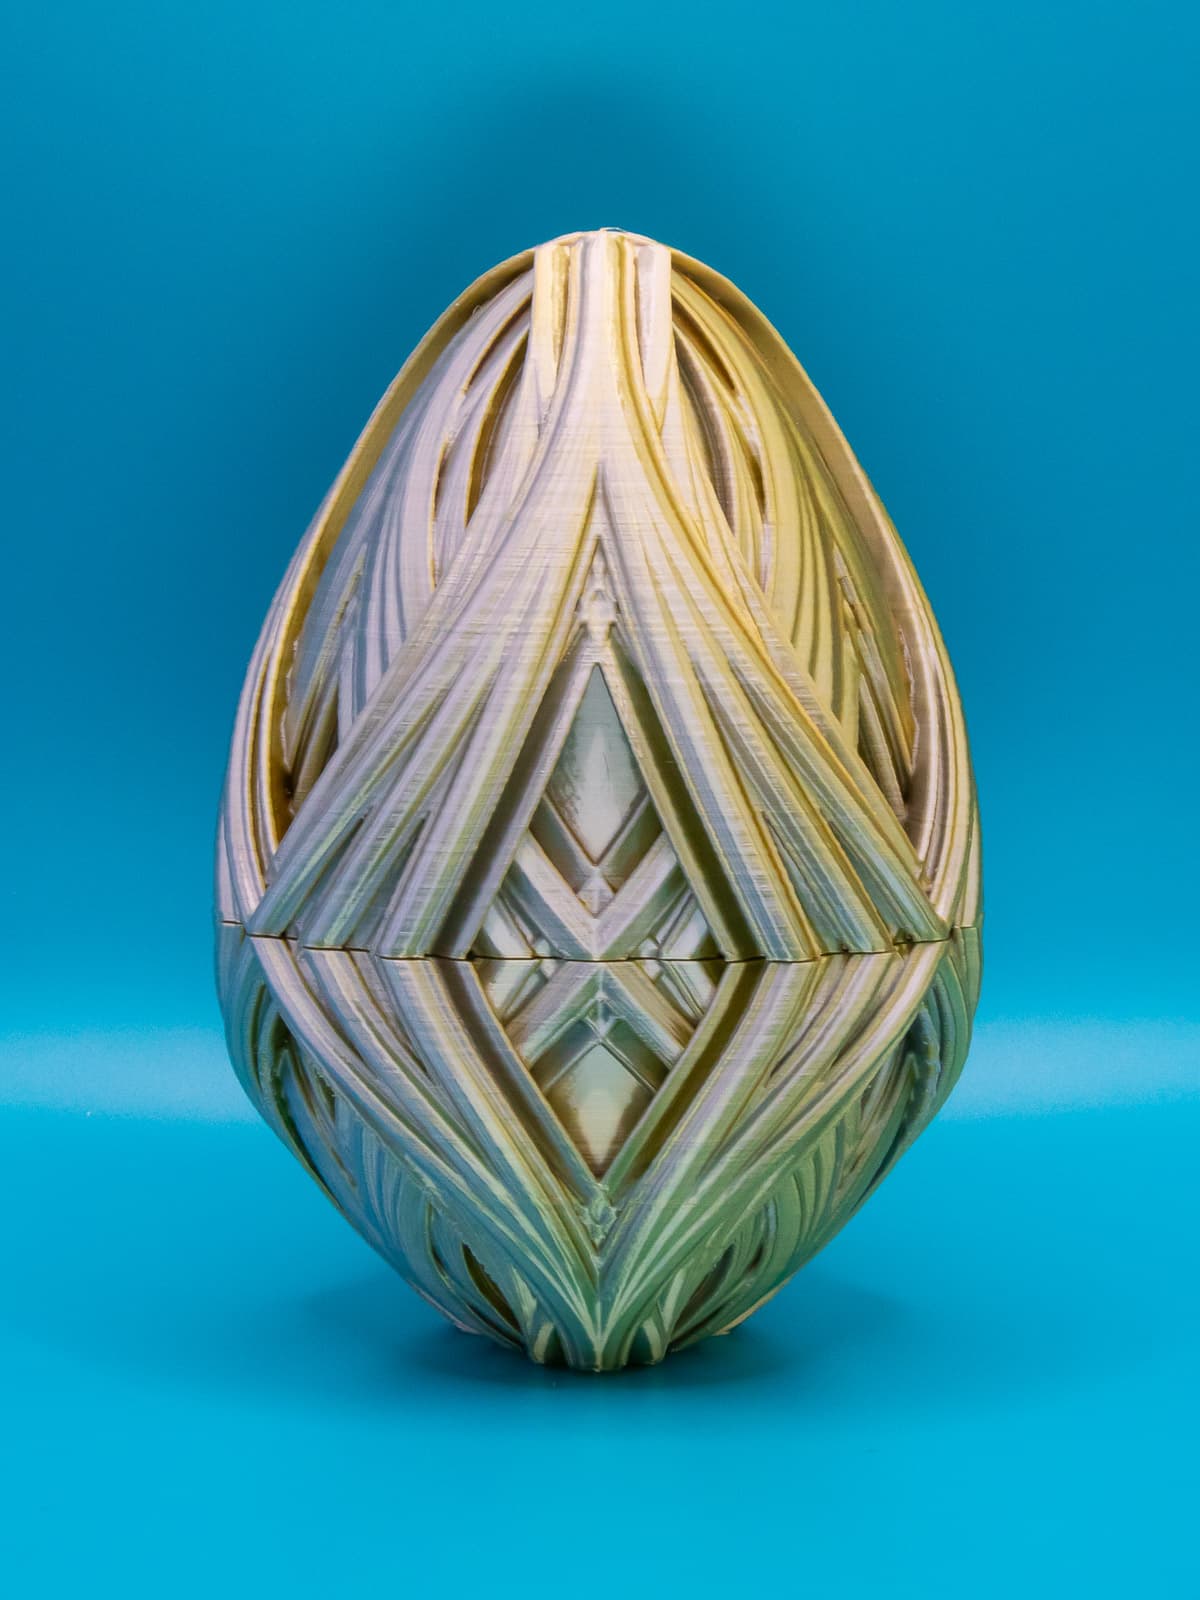
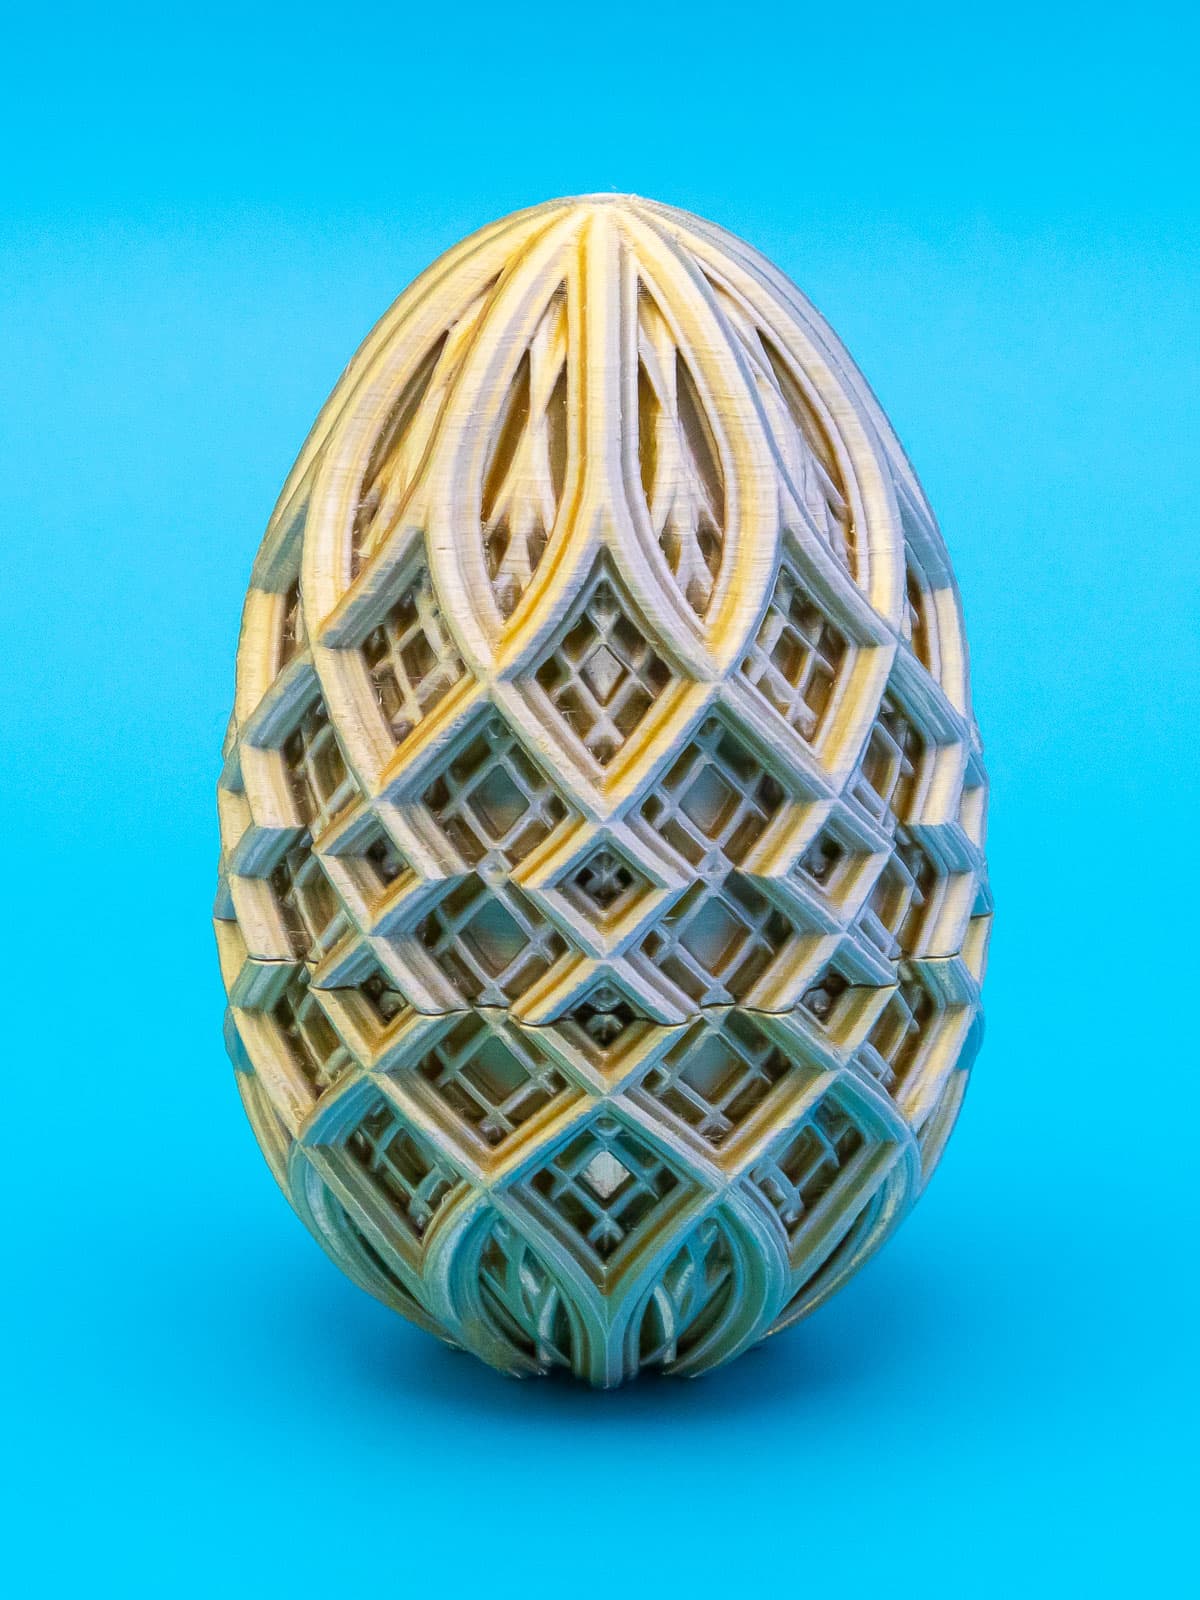
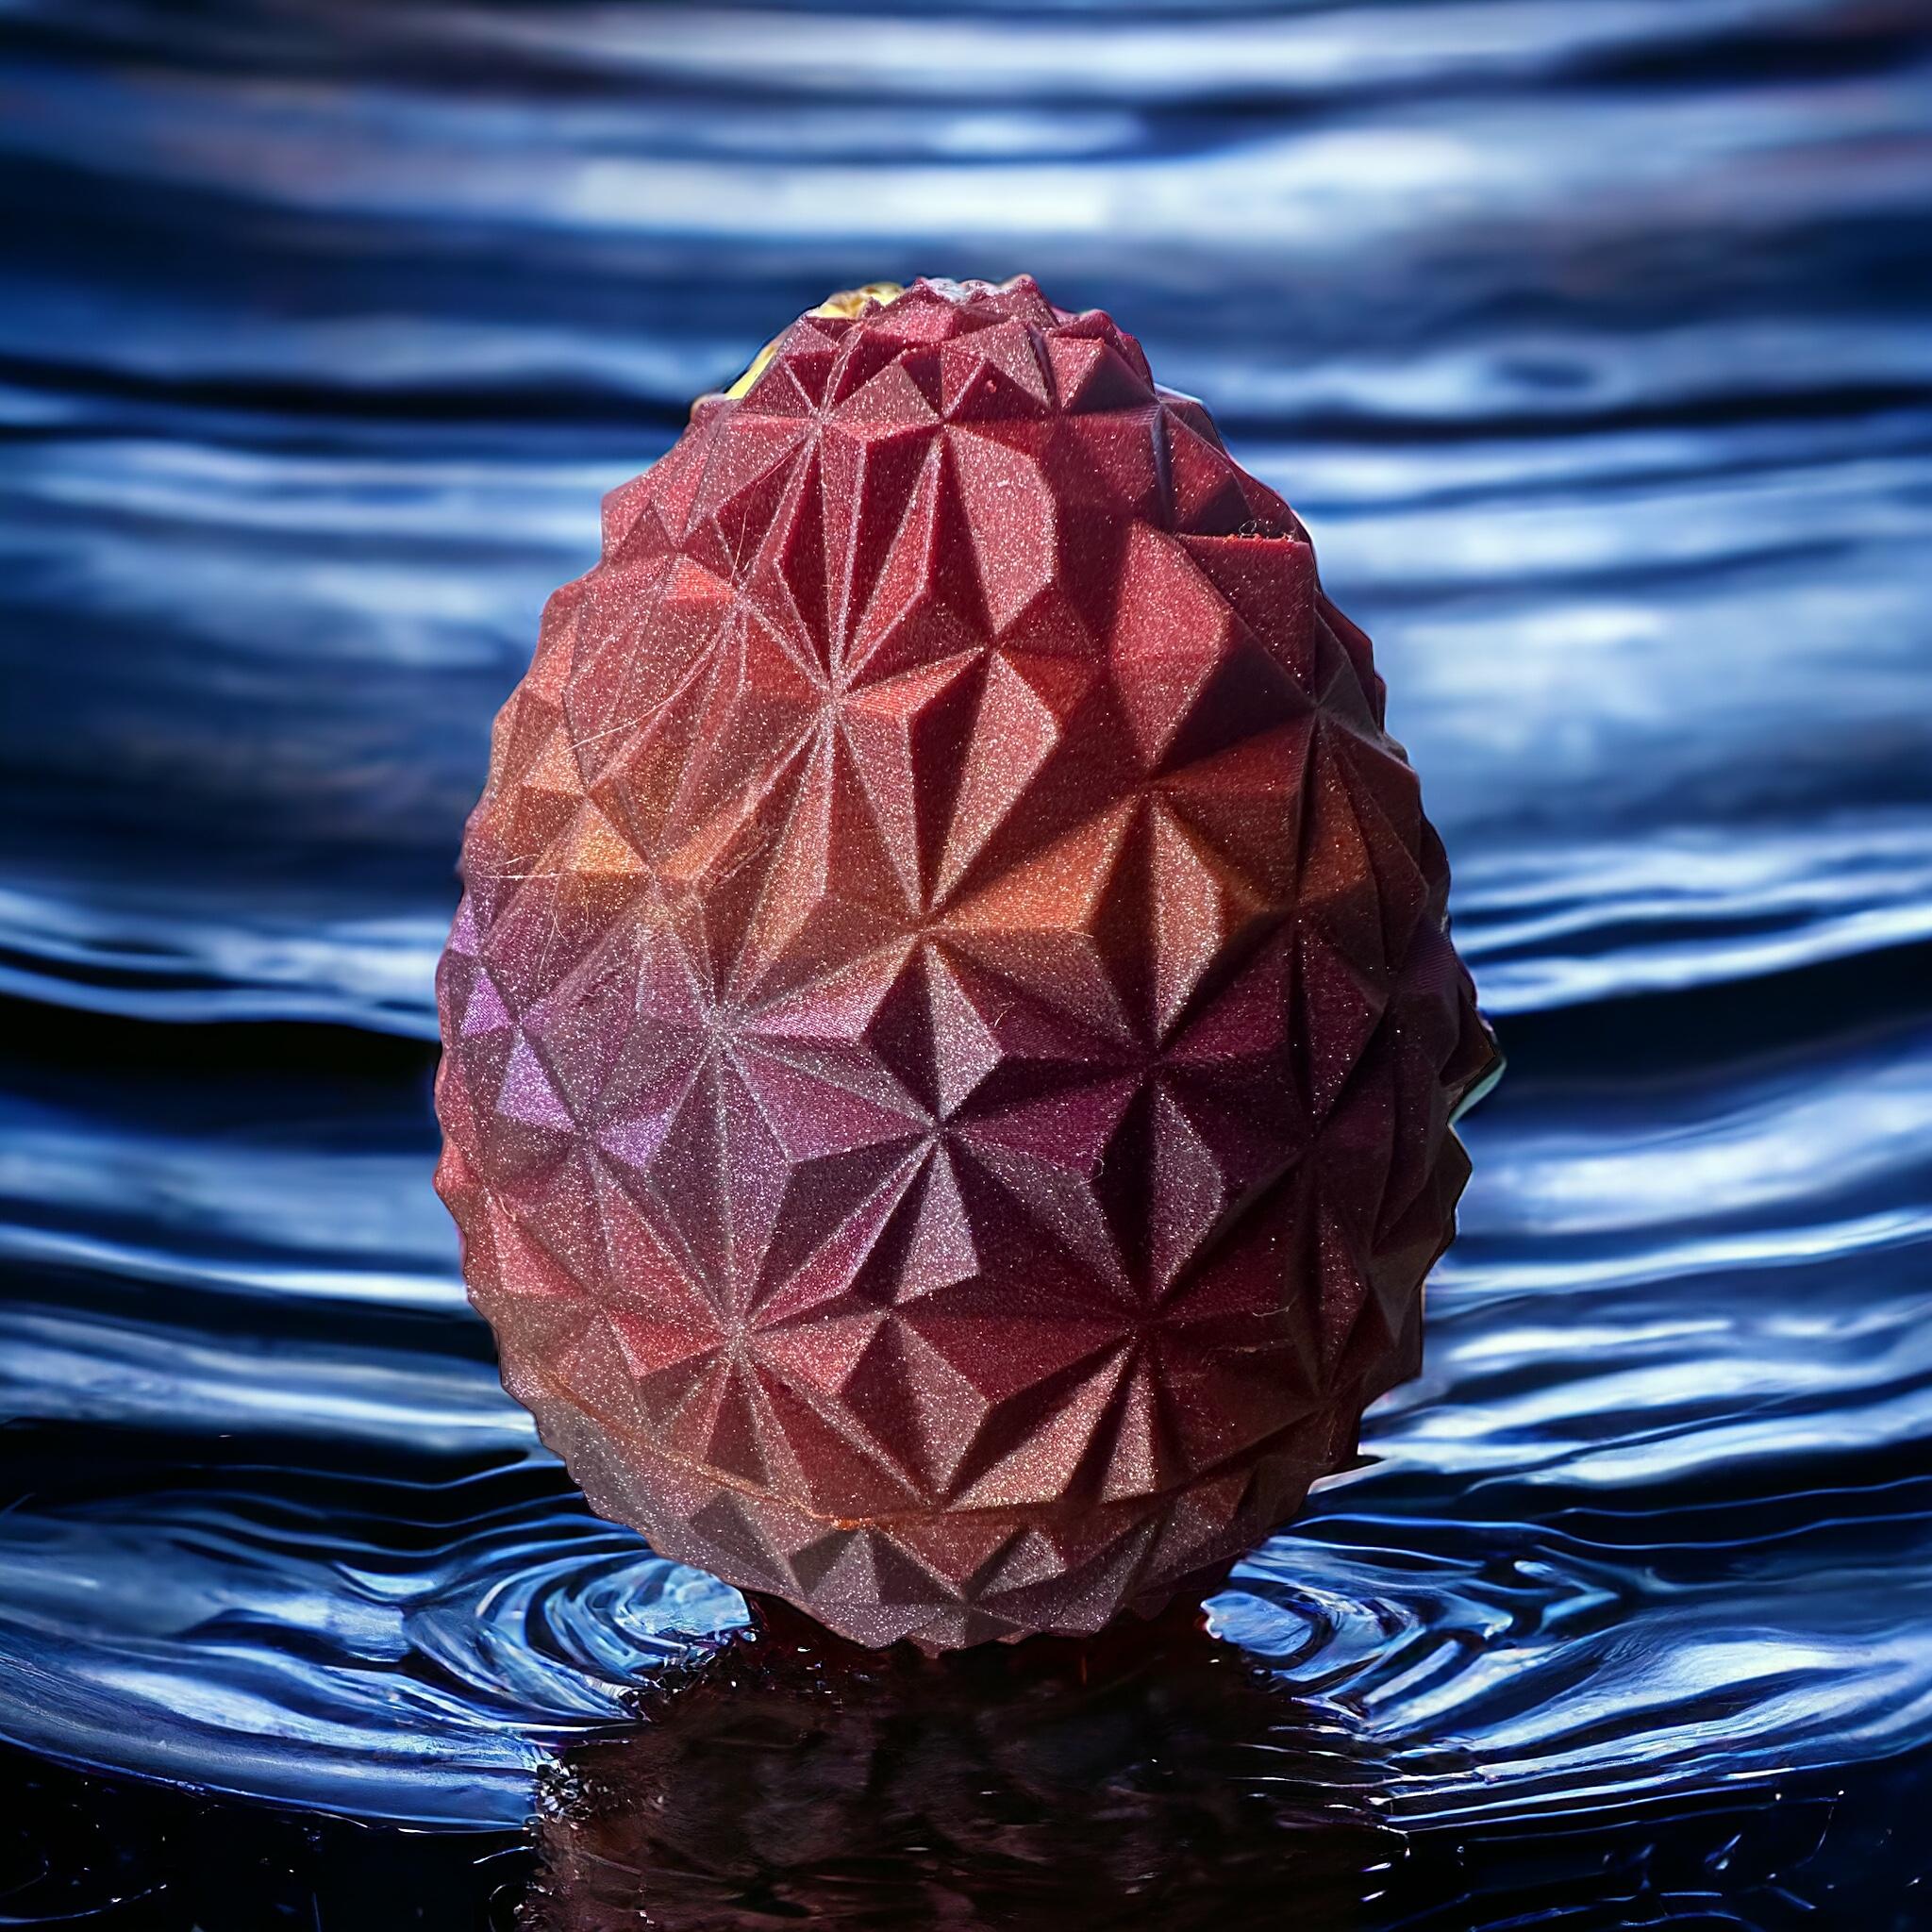
Double Diamond Easter Egg
A fun new Easter egg design with complex geometric patterns in the same family as my Triple Diamond Easter Egg.
Not for commercial use. Please see license agreement.
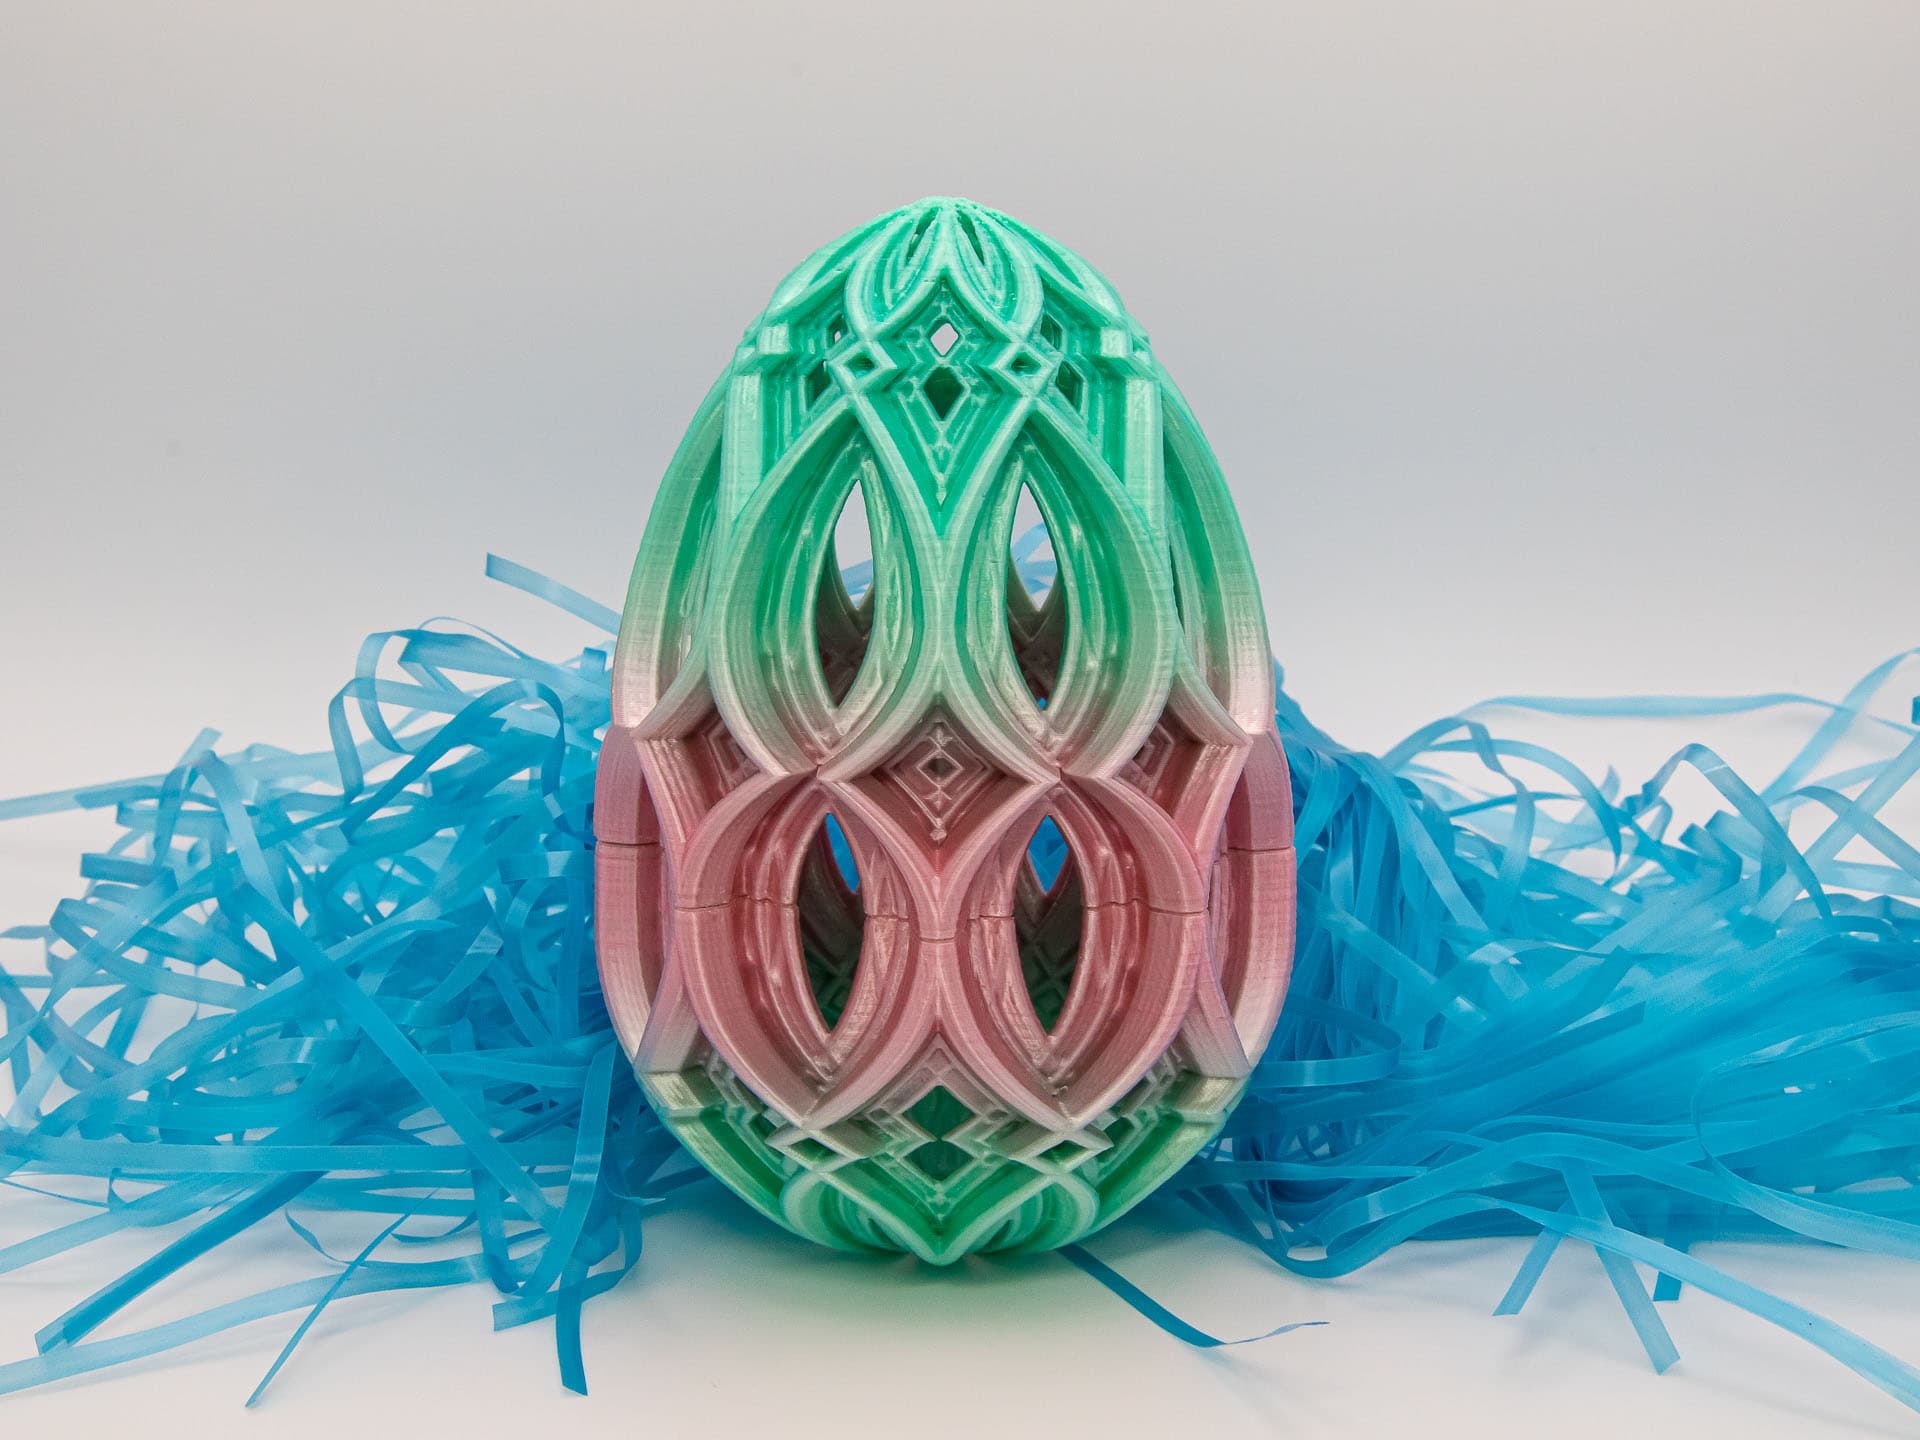
This is relatively easy to print. Both pieces can be printed “right side up” so you can use 3-color filament or rainbow filament and have the colors match up. Because of the complex moves the printer has to make, it may need to be printed slower than other models.
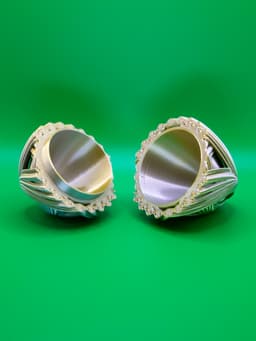
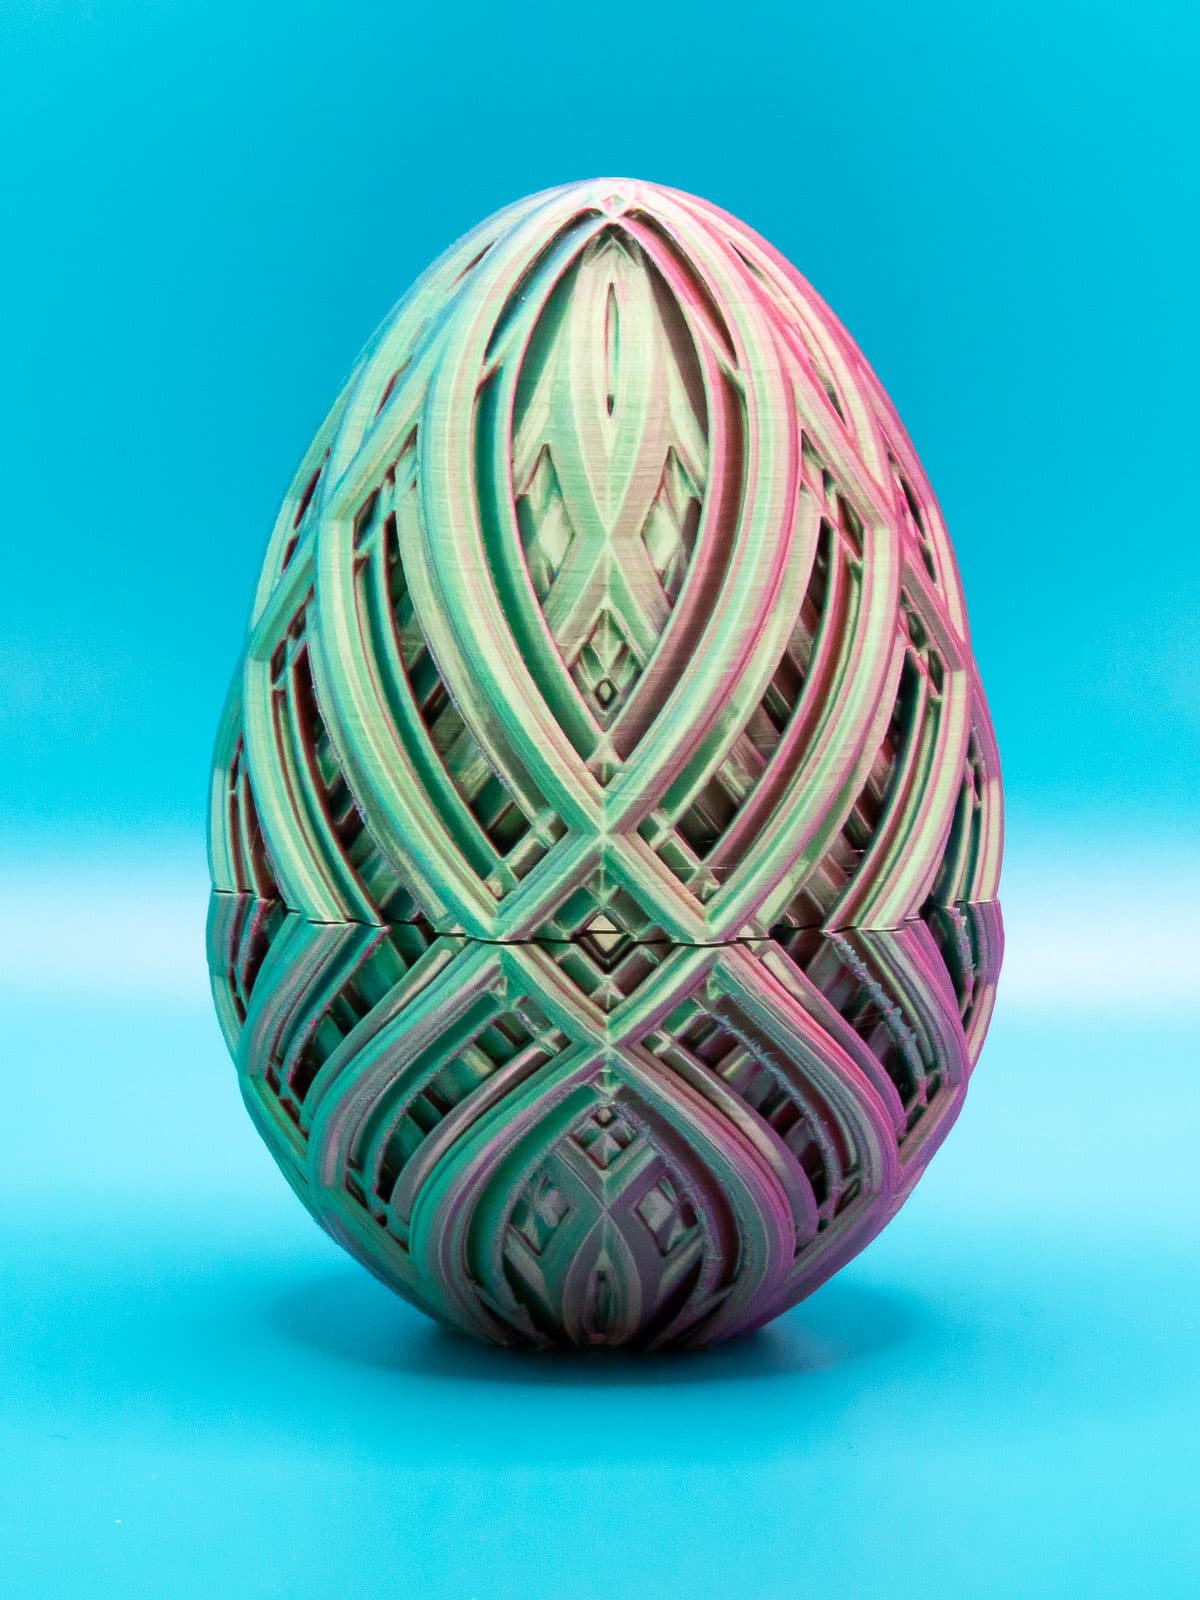
To open the egg, hold both halves, wiggle & pull apart. The bottom half has a slight ridge on 2 sides that clicks into a groove in the top. Because of that, it's easier to separate them wiggling in one direction than another. If wiggling one way doesn't work, try the other. It does get easier to open with use. When the pieces are together, hold one side and twist the other 360 degrees a few times and it will loosen up dramatically. You can also encourage it a little (if necessary) with a little sand paper.
For settings, you can give it 2 perimeters, 15% infill, and default top and bottom thickness. The top prints best with supports for the inner dome and the bottom works best with a brim or supports for bed adhesion. I used PrusaSlicer's pain-on supports.
To print lighter and save time, you can use the settings I've provided in my PrusaSlicer 3MF files and MKS3+ GCODE. There, I've used layer height adjustments to vary perimeters, infill and top/bottom thickness to reduce weight and improve print time.
To print eggs that fit inside each other like Matryoshka dolls, I recommend scaling to 100%, 68%, and 46%. If you check some of my earlier egg designs, they said 70% and 50%. Why the change? Easy. This one is wider on the outside to allow for the more complex patterns. So, it needs to be scaled down slightly more. The inside of this egg is the same size as all my other eggs, so you can more easily resize, mix and match nested eggs. To print below 46%, you may need to use a 0.25mm nozzle.
The tightness of the pieces will vary based on a lot of factors, including scale. If you find the pieces are too tight, you could sand the rim of the bottom piece a little. If that doesn't work, consider reprinting with less flow, lower temperature, more elephant foot compensation, but first make sure you have the printer calibrated so the first layer prints well.
Double Diamond Easter Egg
Triple Diamond Easter Egg

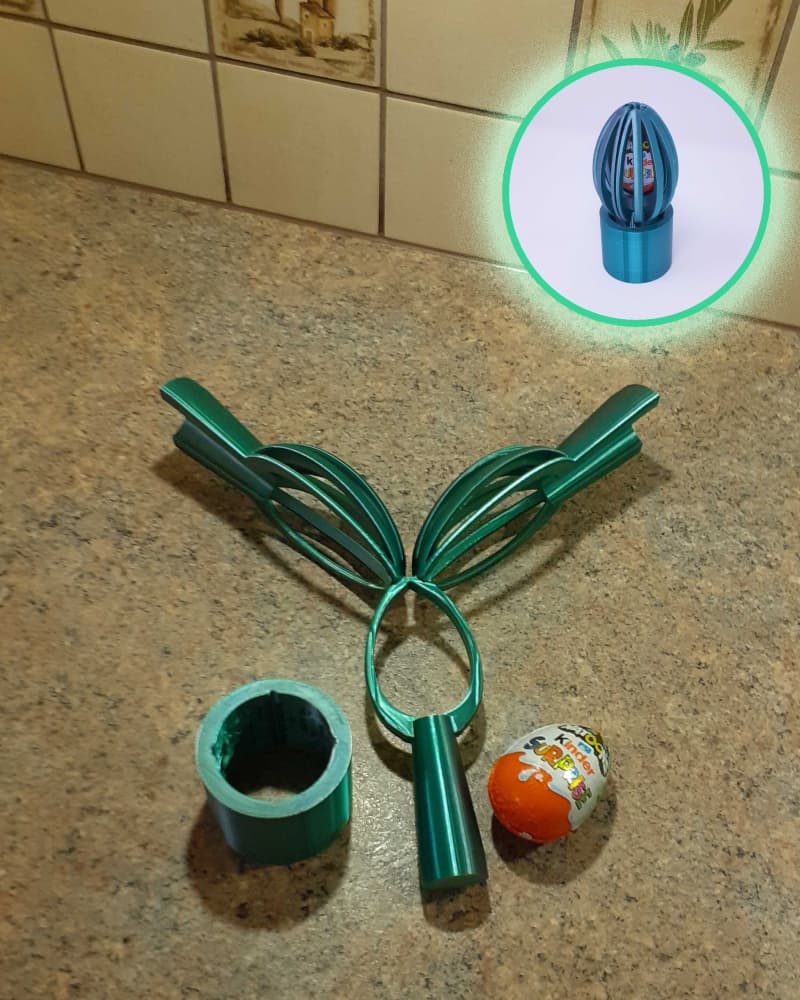
SURPRISE EGG HOLDER / EGG HOLDER / EASTER SUPRISE EGG BUNNY / EASTER GIFT / LITTLE GIFT FOR EASTER

SURPRISE EGG HOLDER / EGG HOLDER / EASTER SUPRISE EGG BUNNY / EASTER GIFT / LITTLE GIFT FOR EASTER

Easter Matryoshka Eggs, 5 Eggs - 10 pcs. Set, Easter Egg Gift, Matryoshka Nesting, Blank Matryoshka

JAPANDI DECOR EGGS / CUTE EASTER DECOR / EASTER EGGS / JAPANDI DECOR / MINIMAL EASTER DECOR

Easter Egg STL Bundle – Lace Egg, Smooth Egg & Low Poly Egg | Candy Holder Easter Egg | 3D Printable

Standing Easter Egg with Feet STL | Spring Easter Decor | Funny Easter Egg Figurine | 3D Printable F
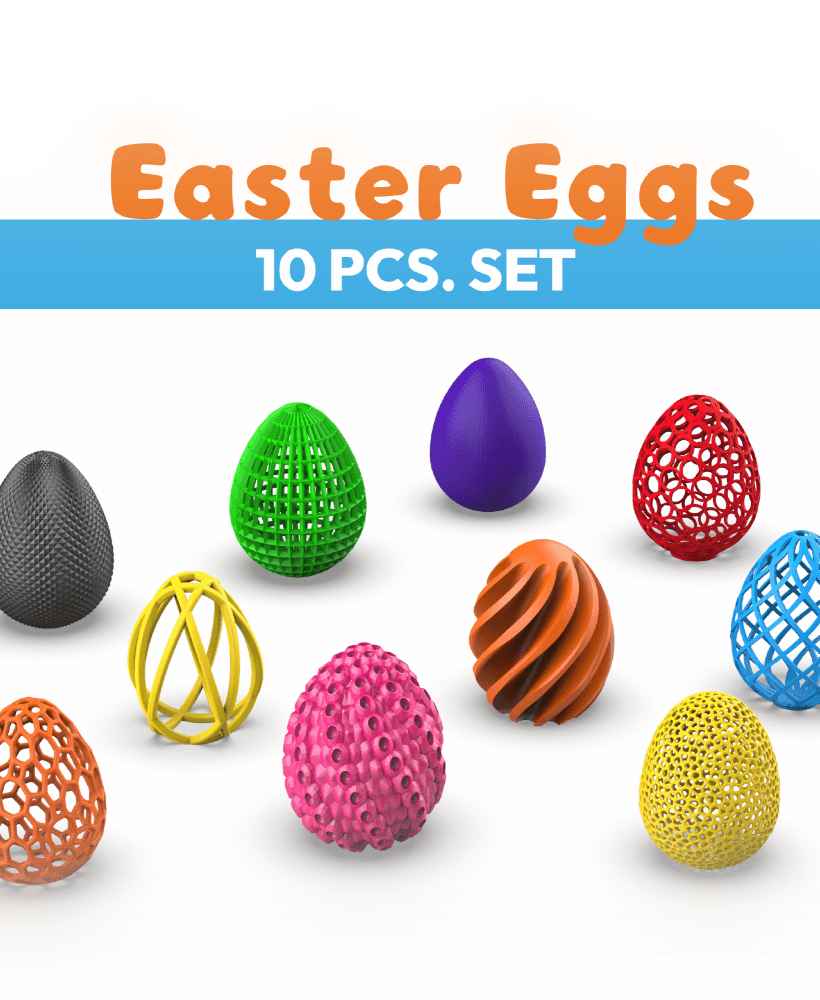
Easter Eggs 10 pcs. Set, Easter Egg Gift, 3D Printing for Decoration, 3D Dragon Eggs, 3D Home Decor

Easter Bunny Egg Holder, Easter Egg Gift, 3D Printing for Decor, Rabbit Holder, 3D Home Decor

Dragon Easter Eggs 5 pcs. Set, Easter Egg Gift, 3D Printing for Decoration, 3D Dragon Eggs

Diamond Lattice Easter Egg 2025

3D Bunny Egg Holder, Surprise Egg Bunny Ears Egg Holder, Candy Holder, Egg Hunt, Easter Egg Gifts

Dragon Egg Box, Easter Egg, Fascinating Dragon 3D Egg, Mystery Egg, Realistic Egg
Diamond Easter Egg
Egg Jail: Festive Easter egg lock box with a Maze Challenge
Diamond Stack Easter Egg
Diamond Kaleidoscope Easter Egg
ANNOYING EGG - DRAGON GLASS EGG - 57 BOLTS - EASTER EGG - DRAGON SURPRISE EGG

ANNOYING EGG - FIN EGG - EASTER EGG - 57 BOLTS, GIFT BOX
