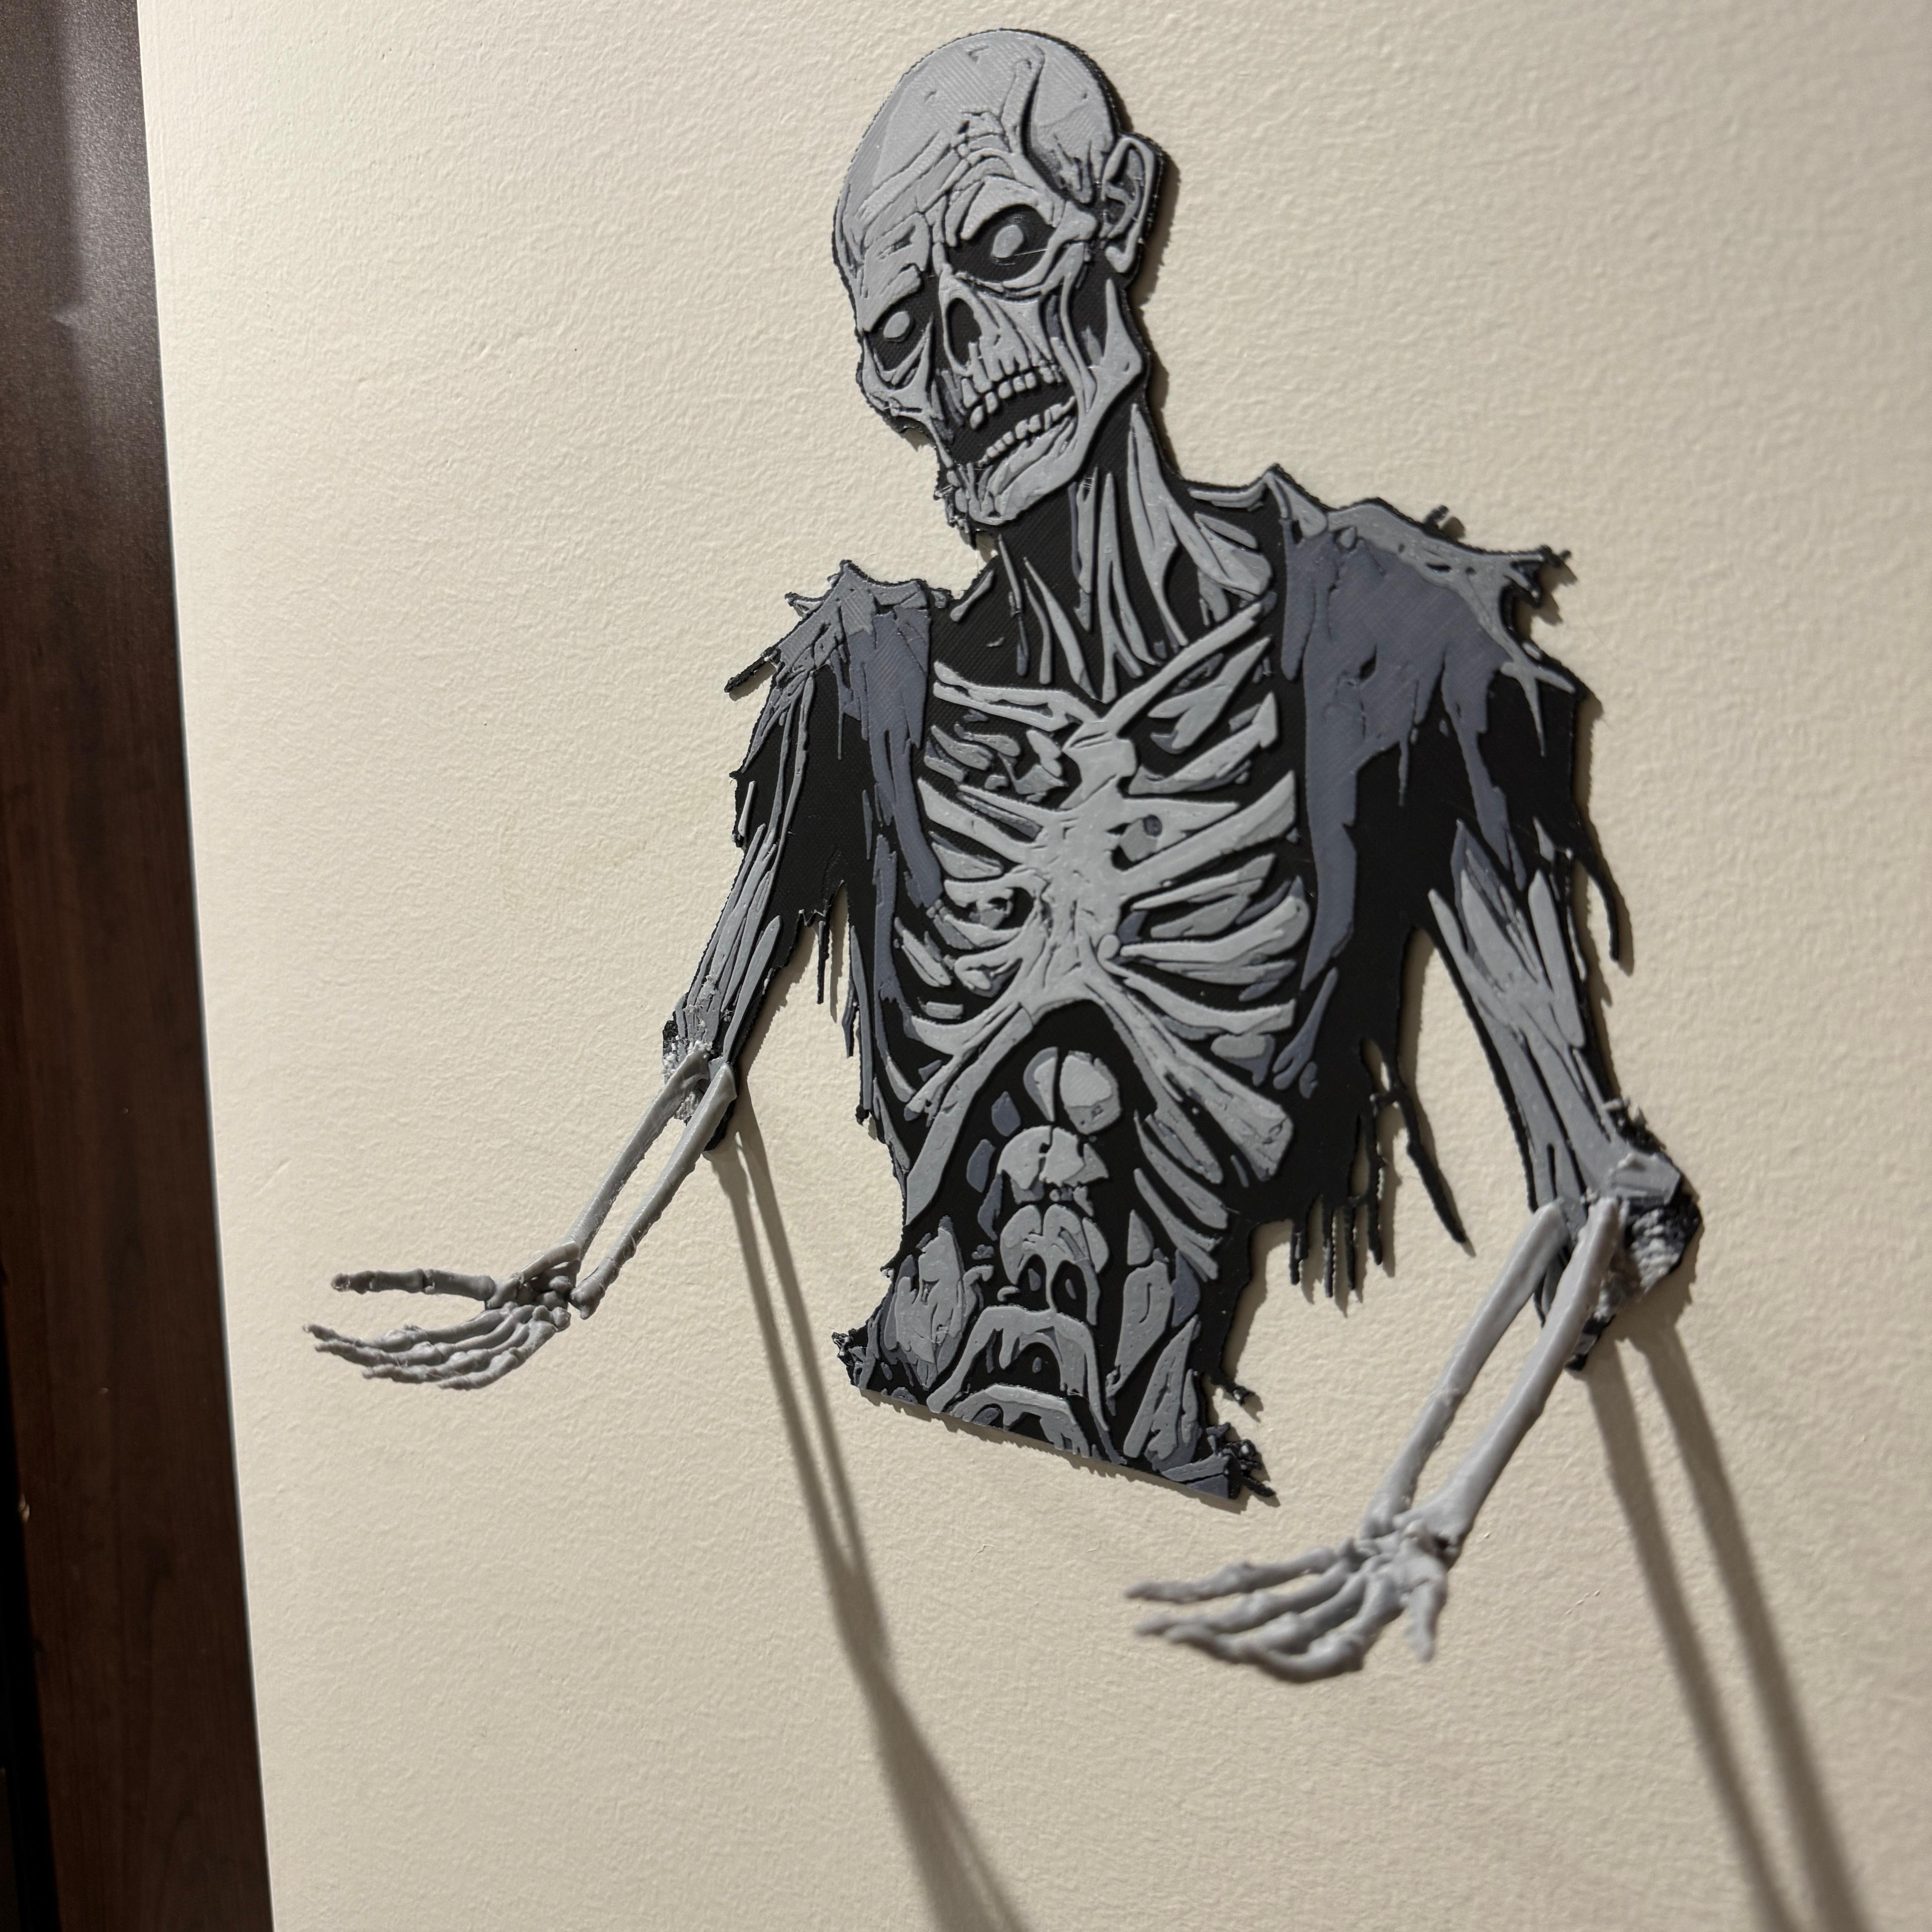
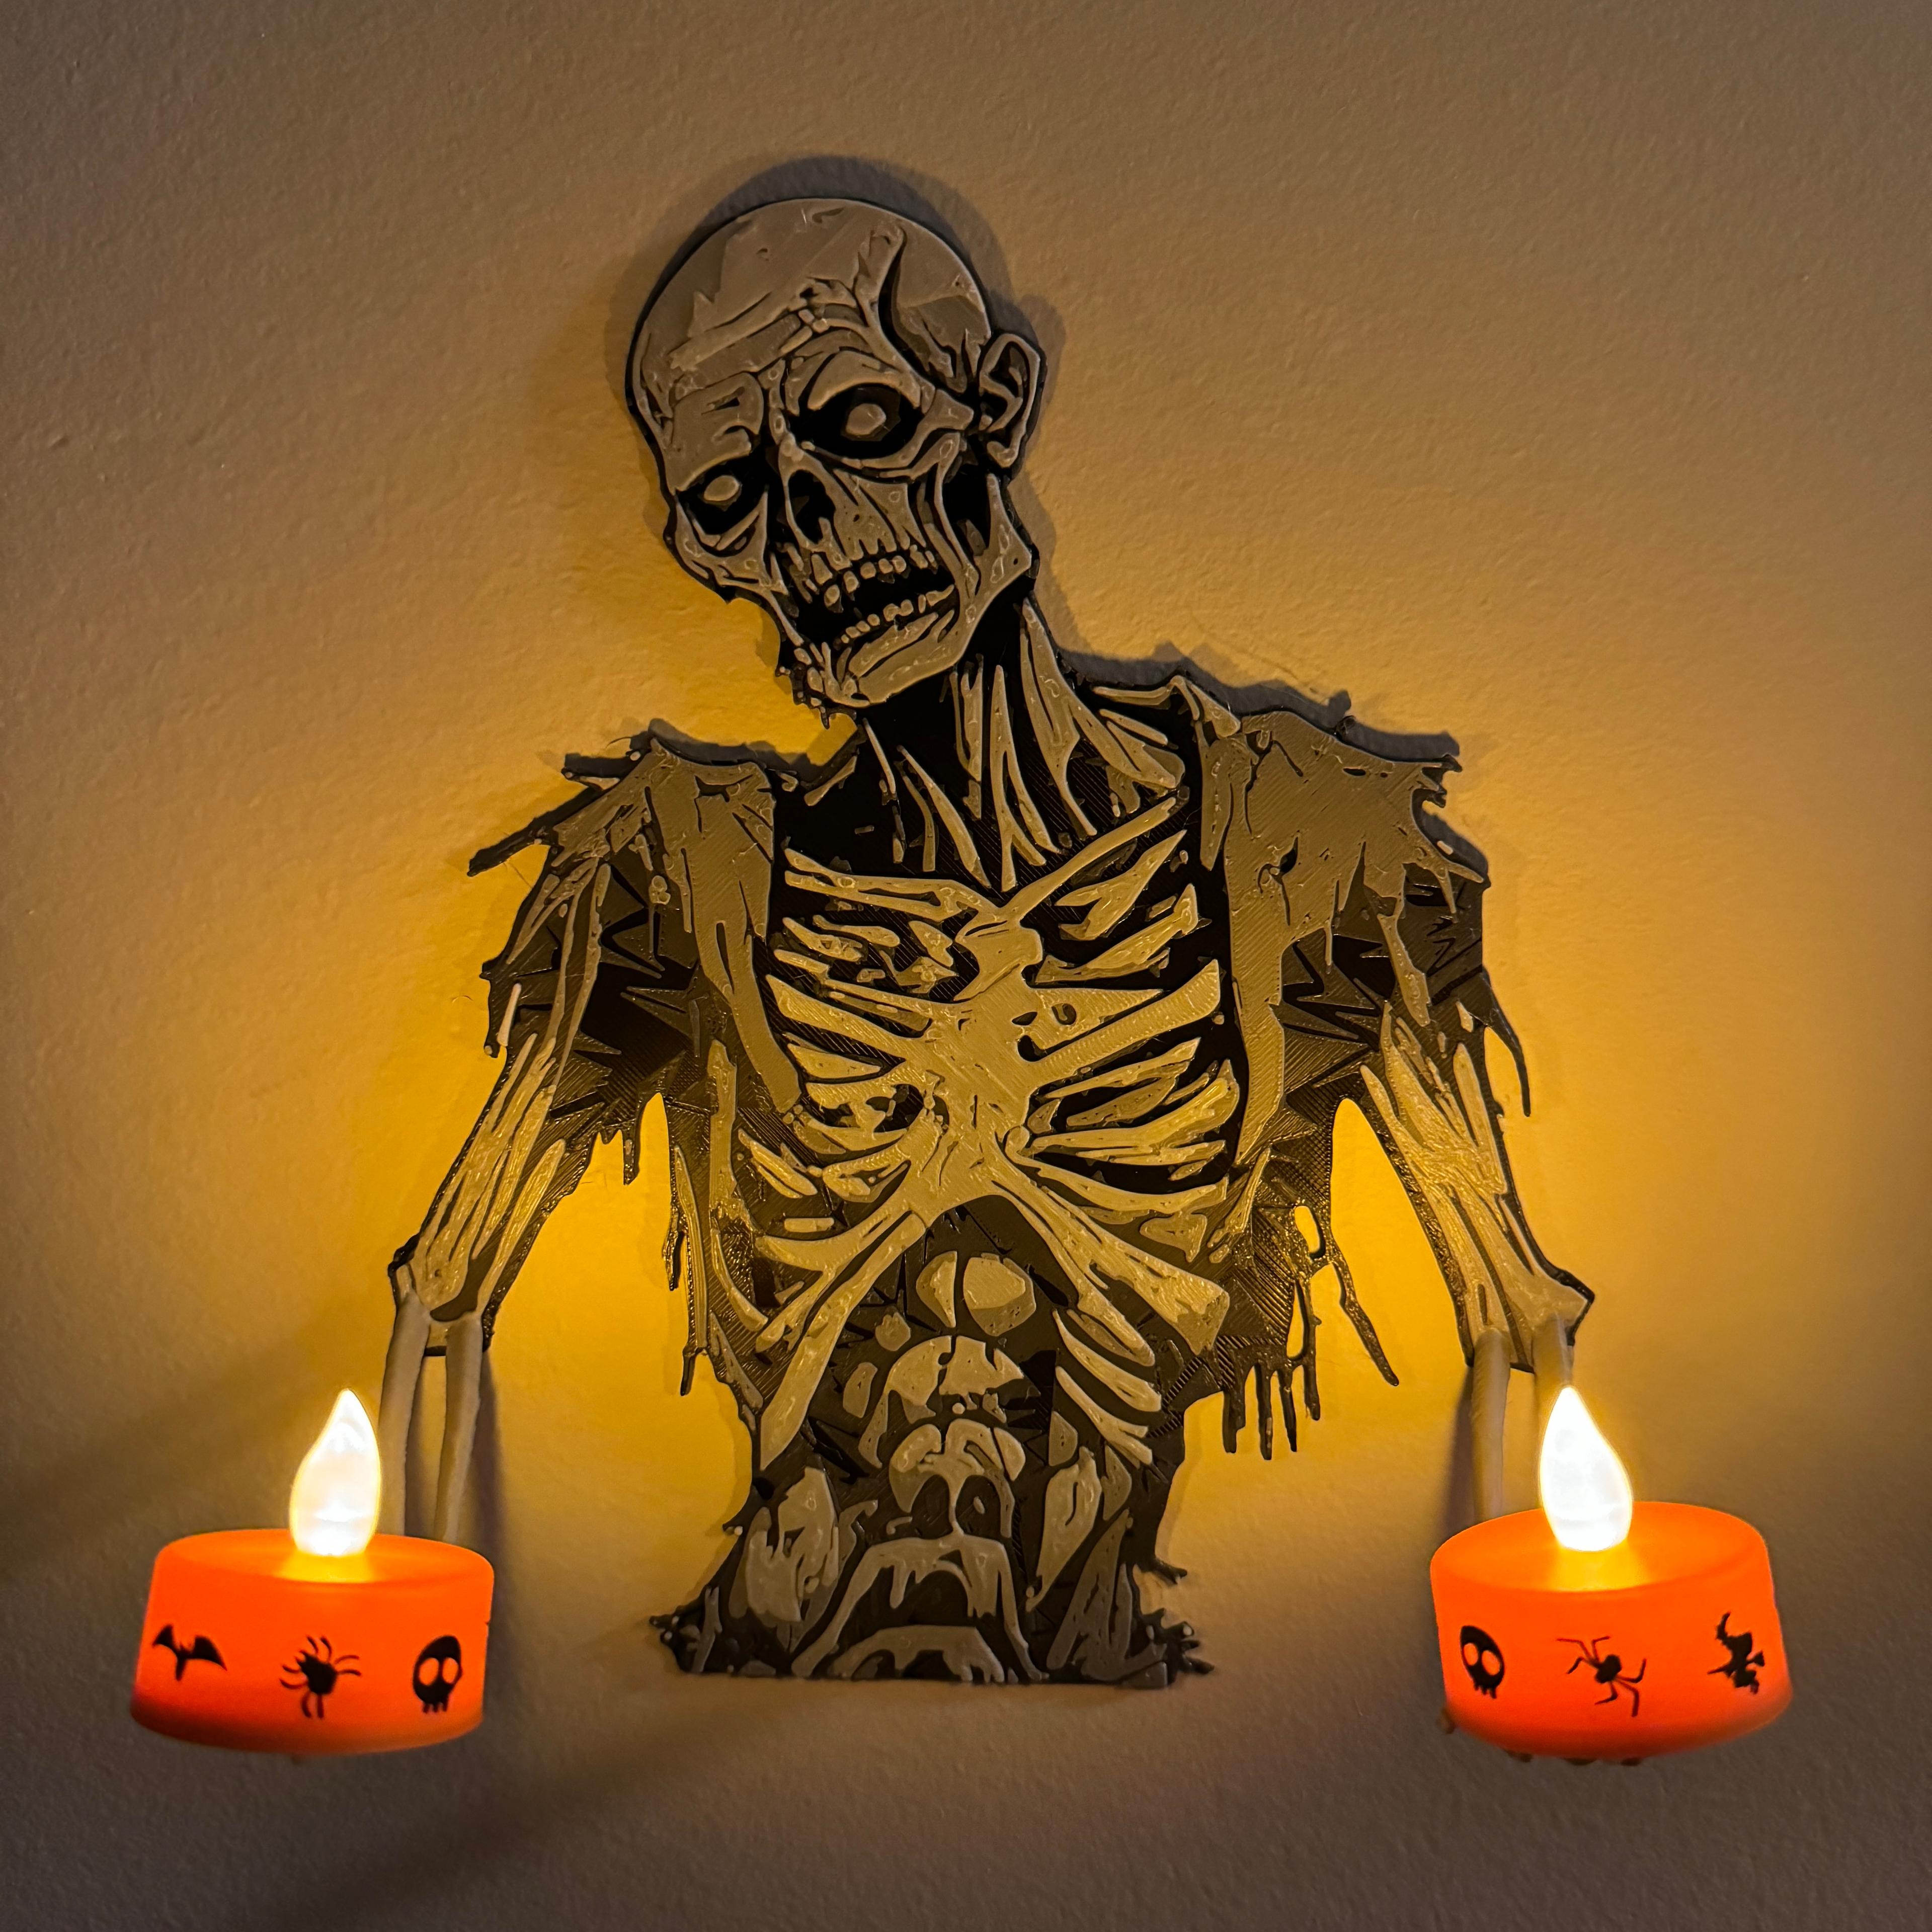
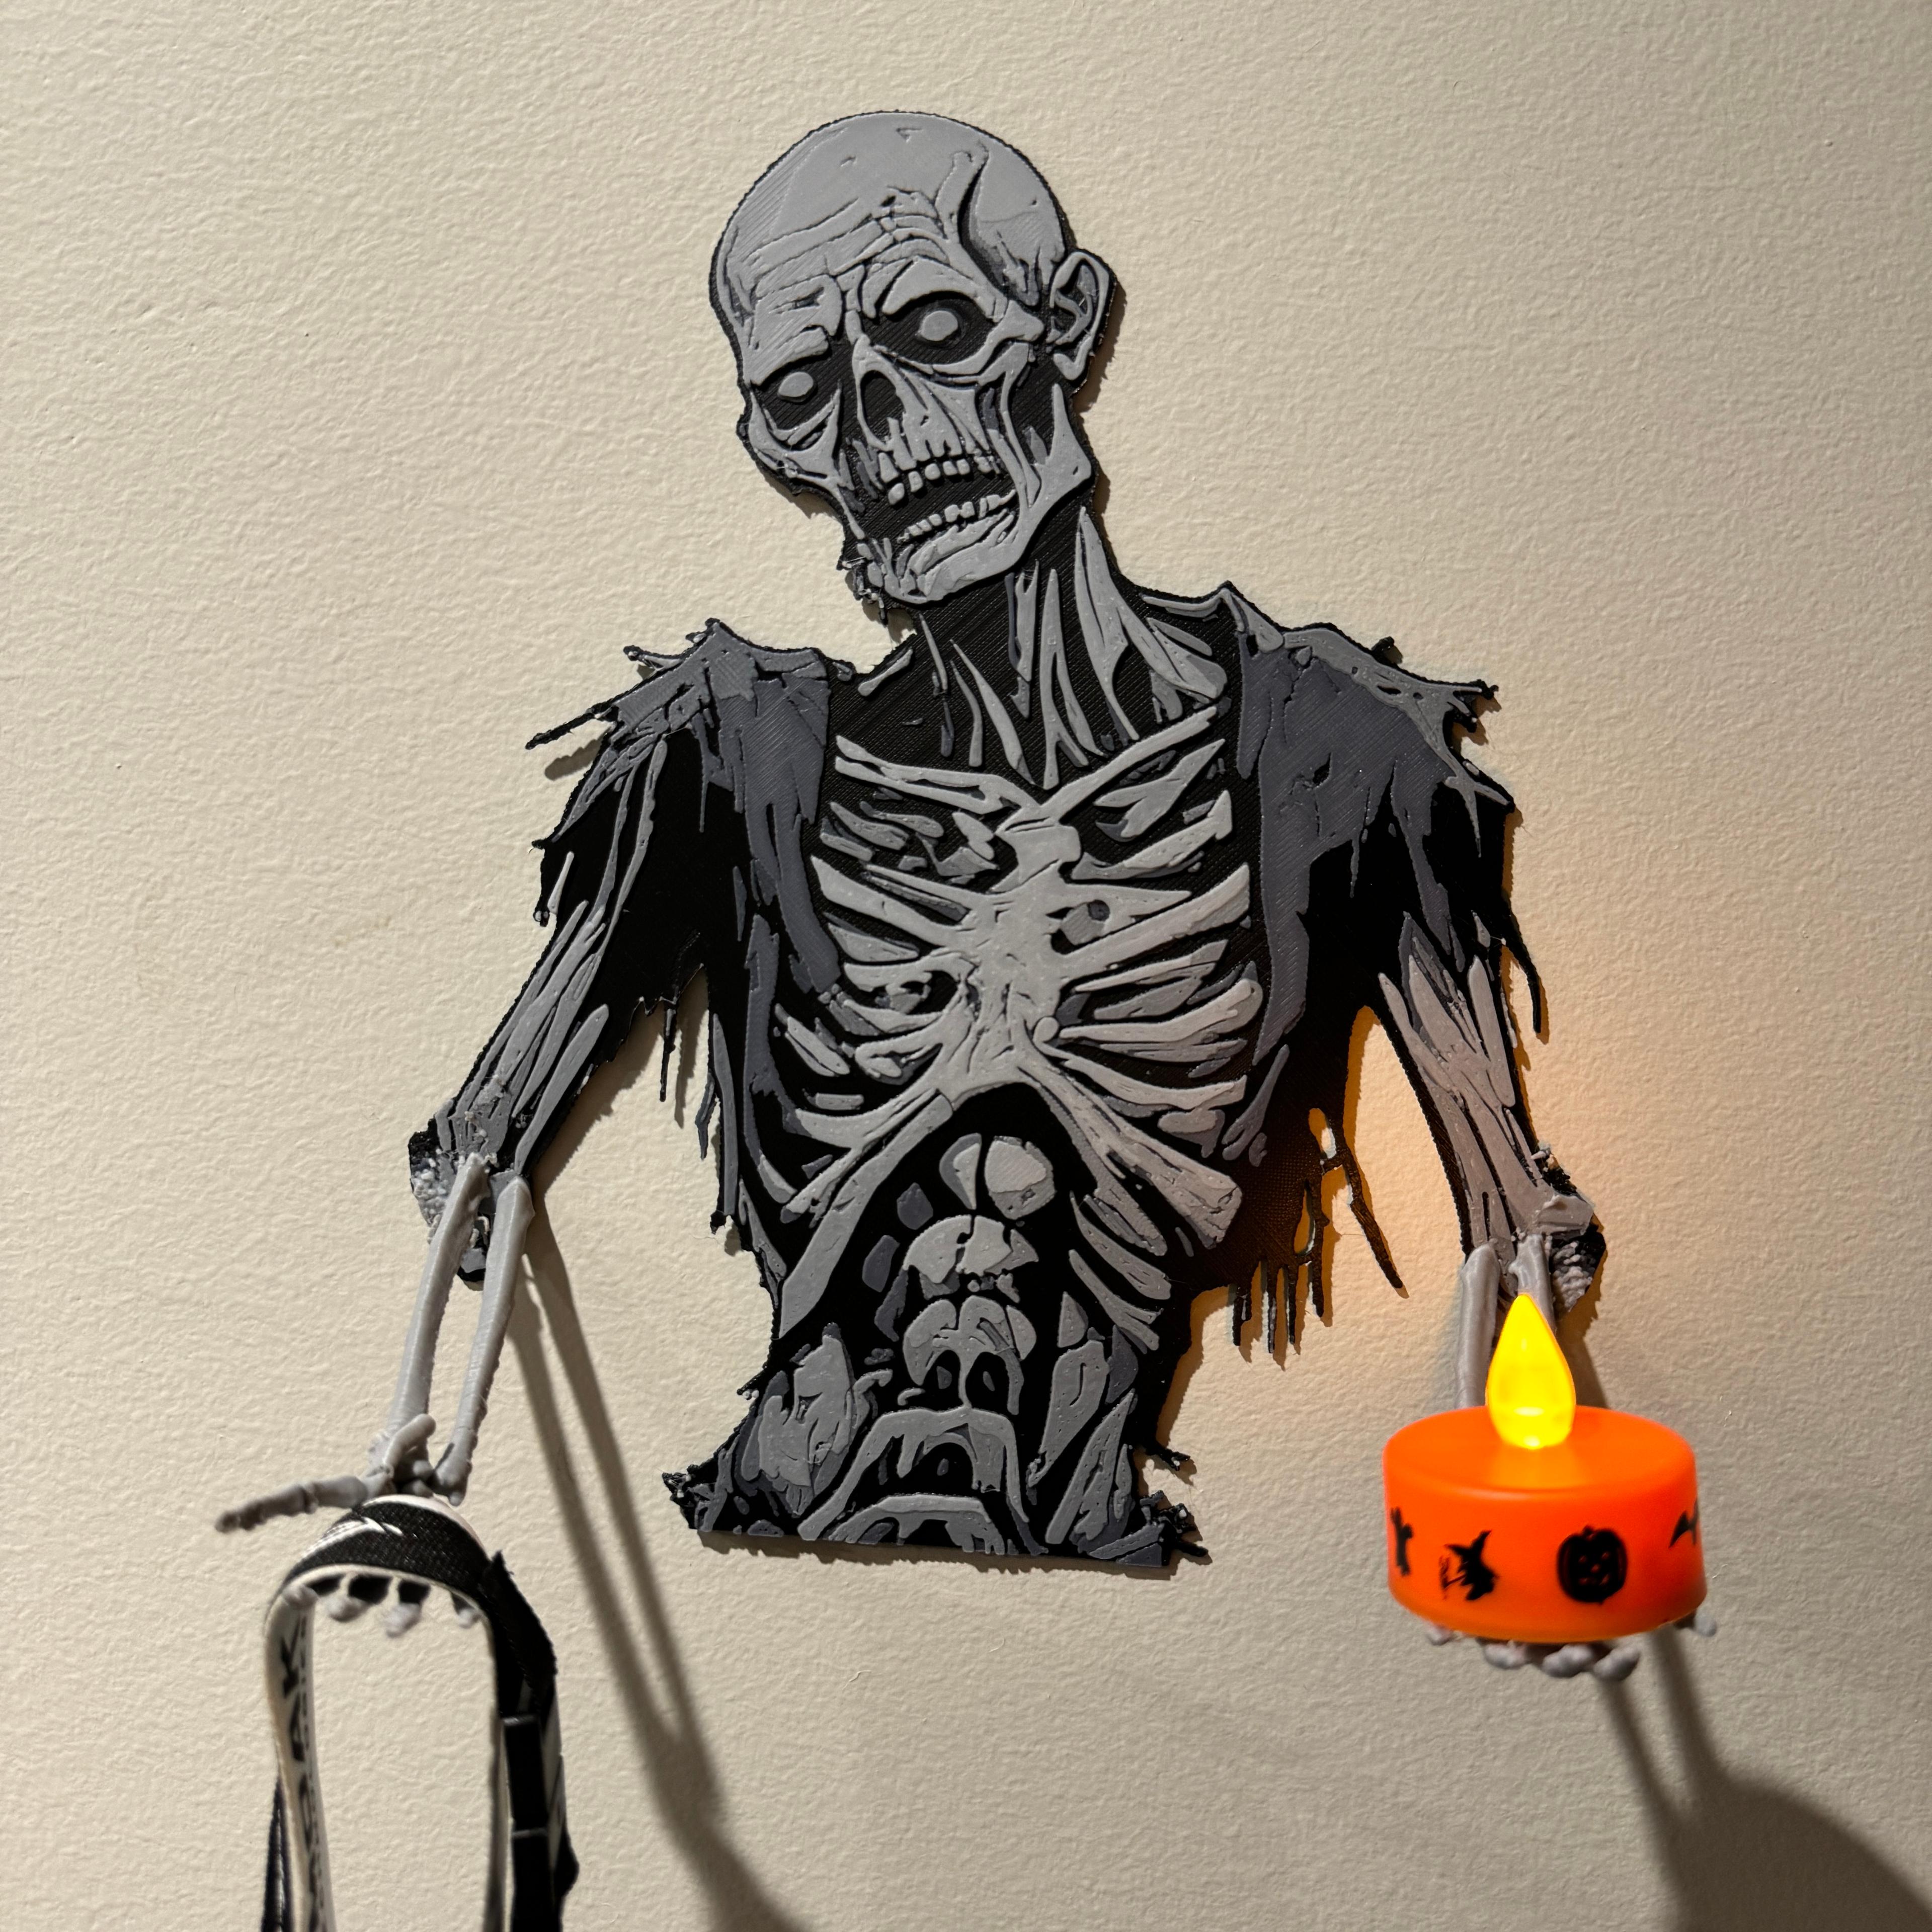
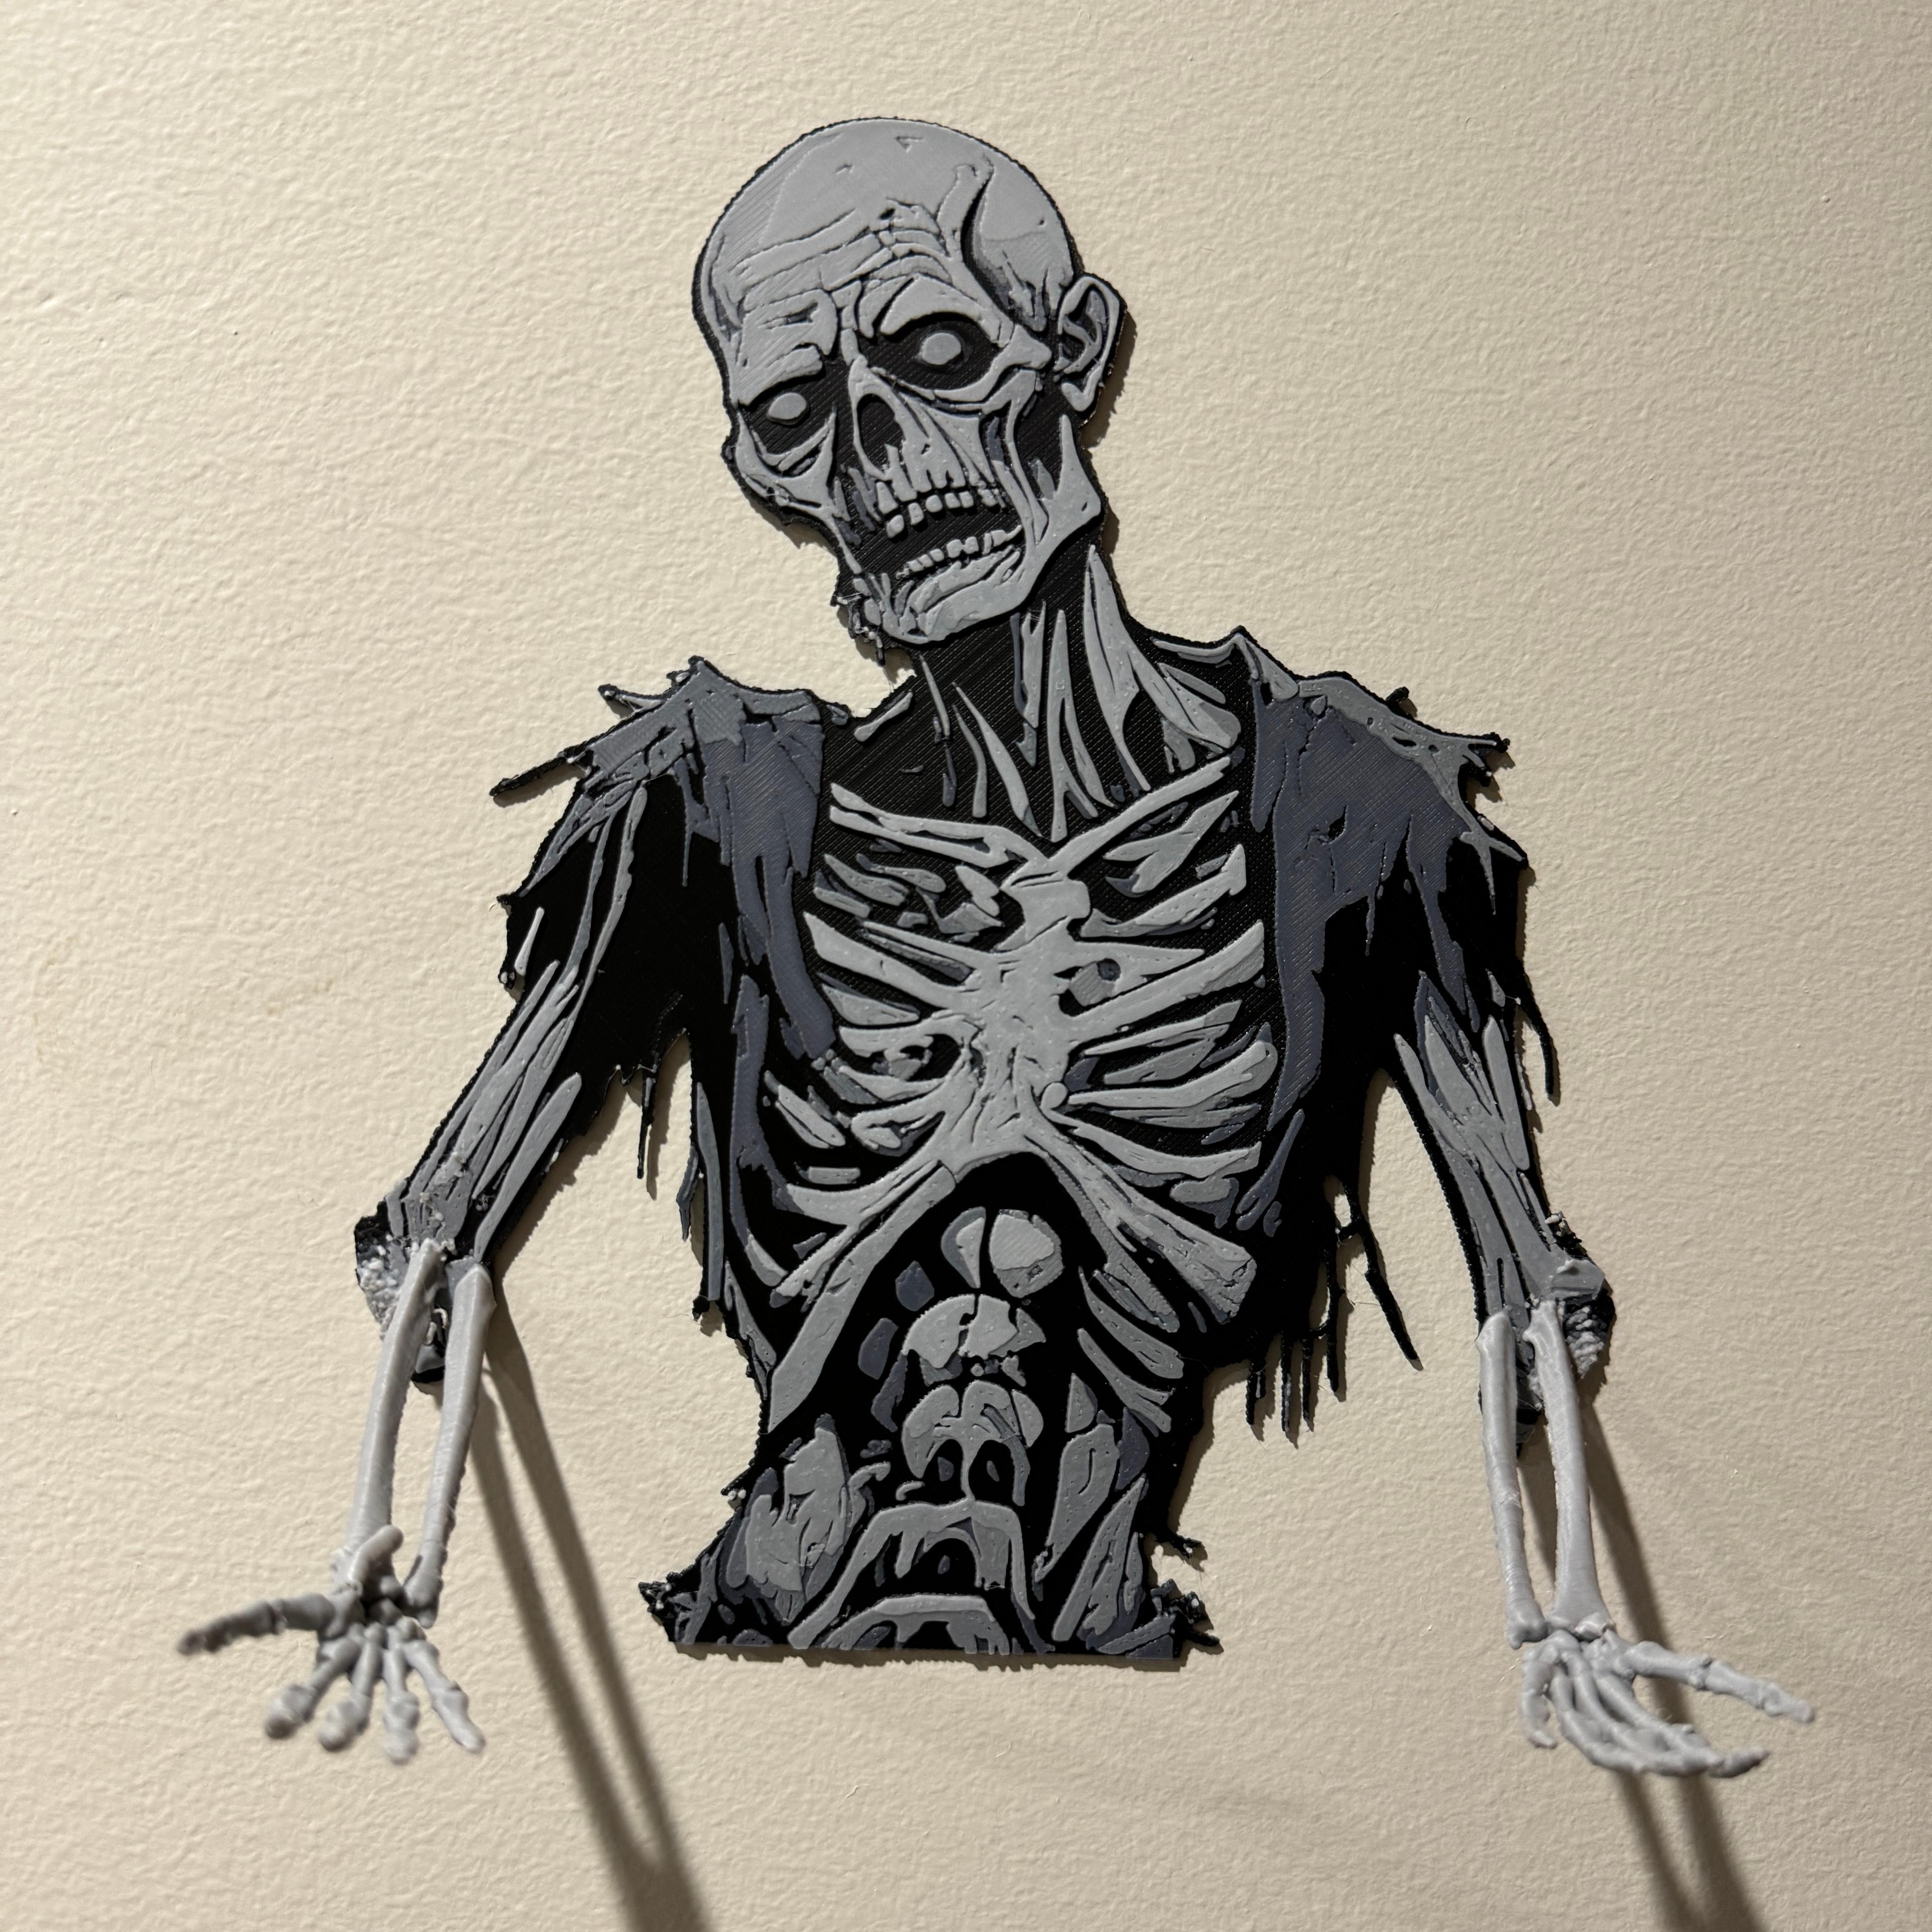
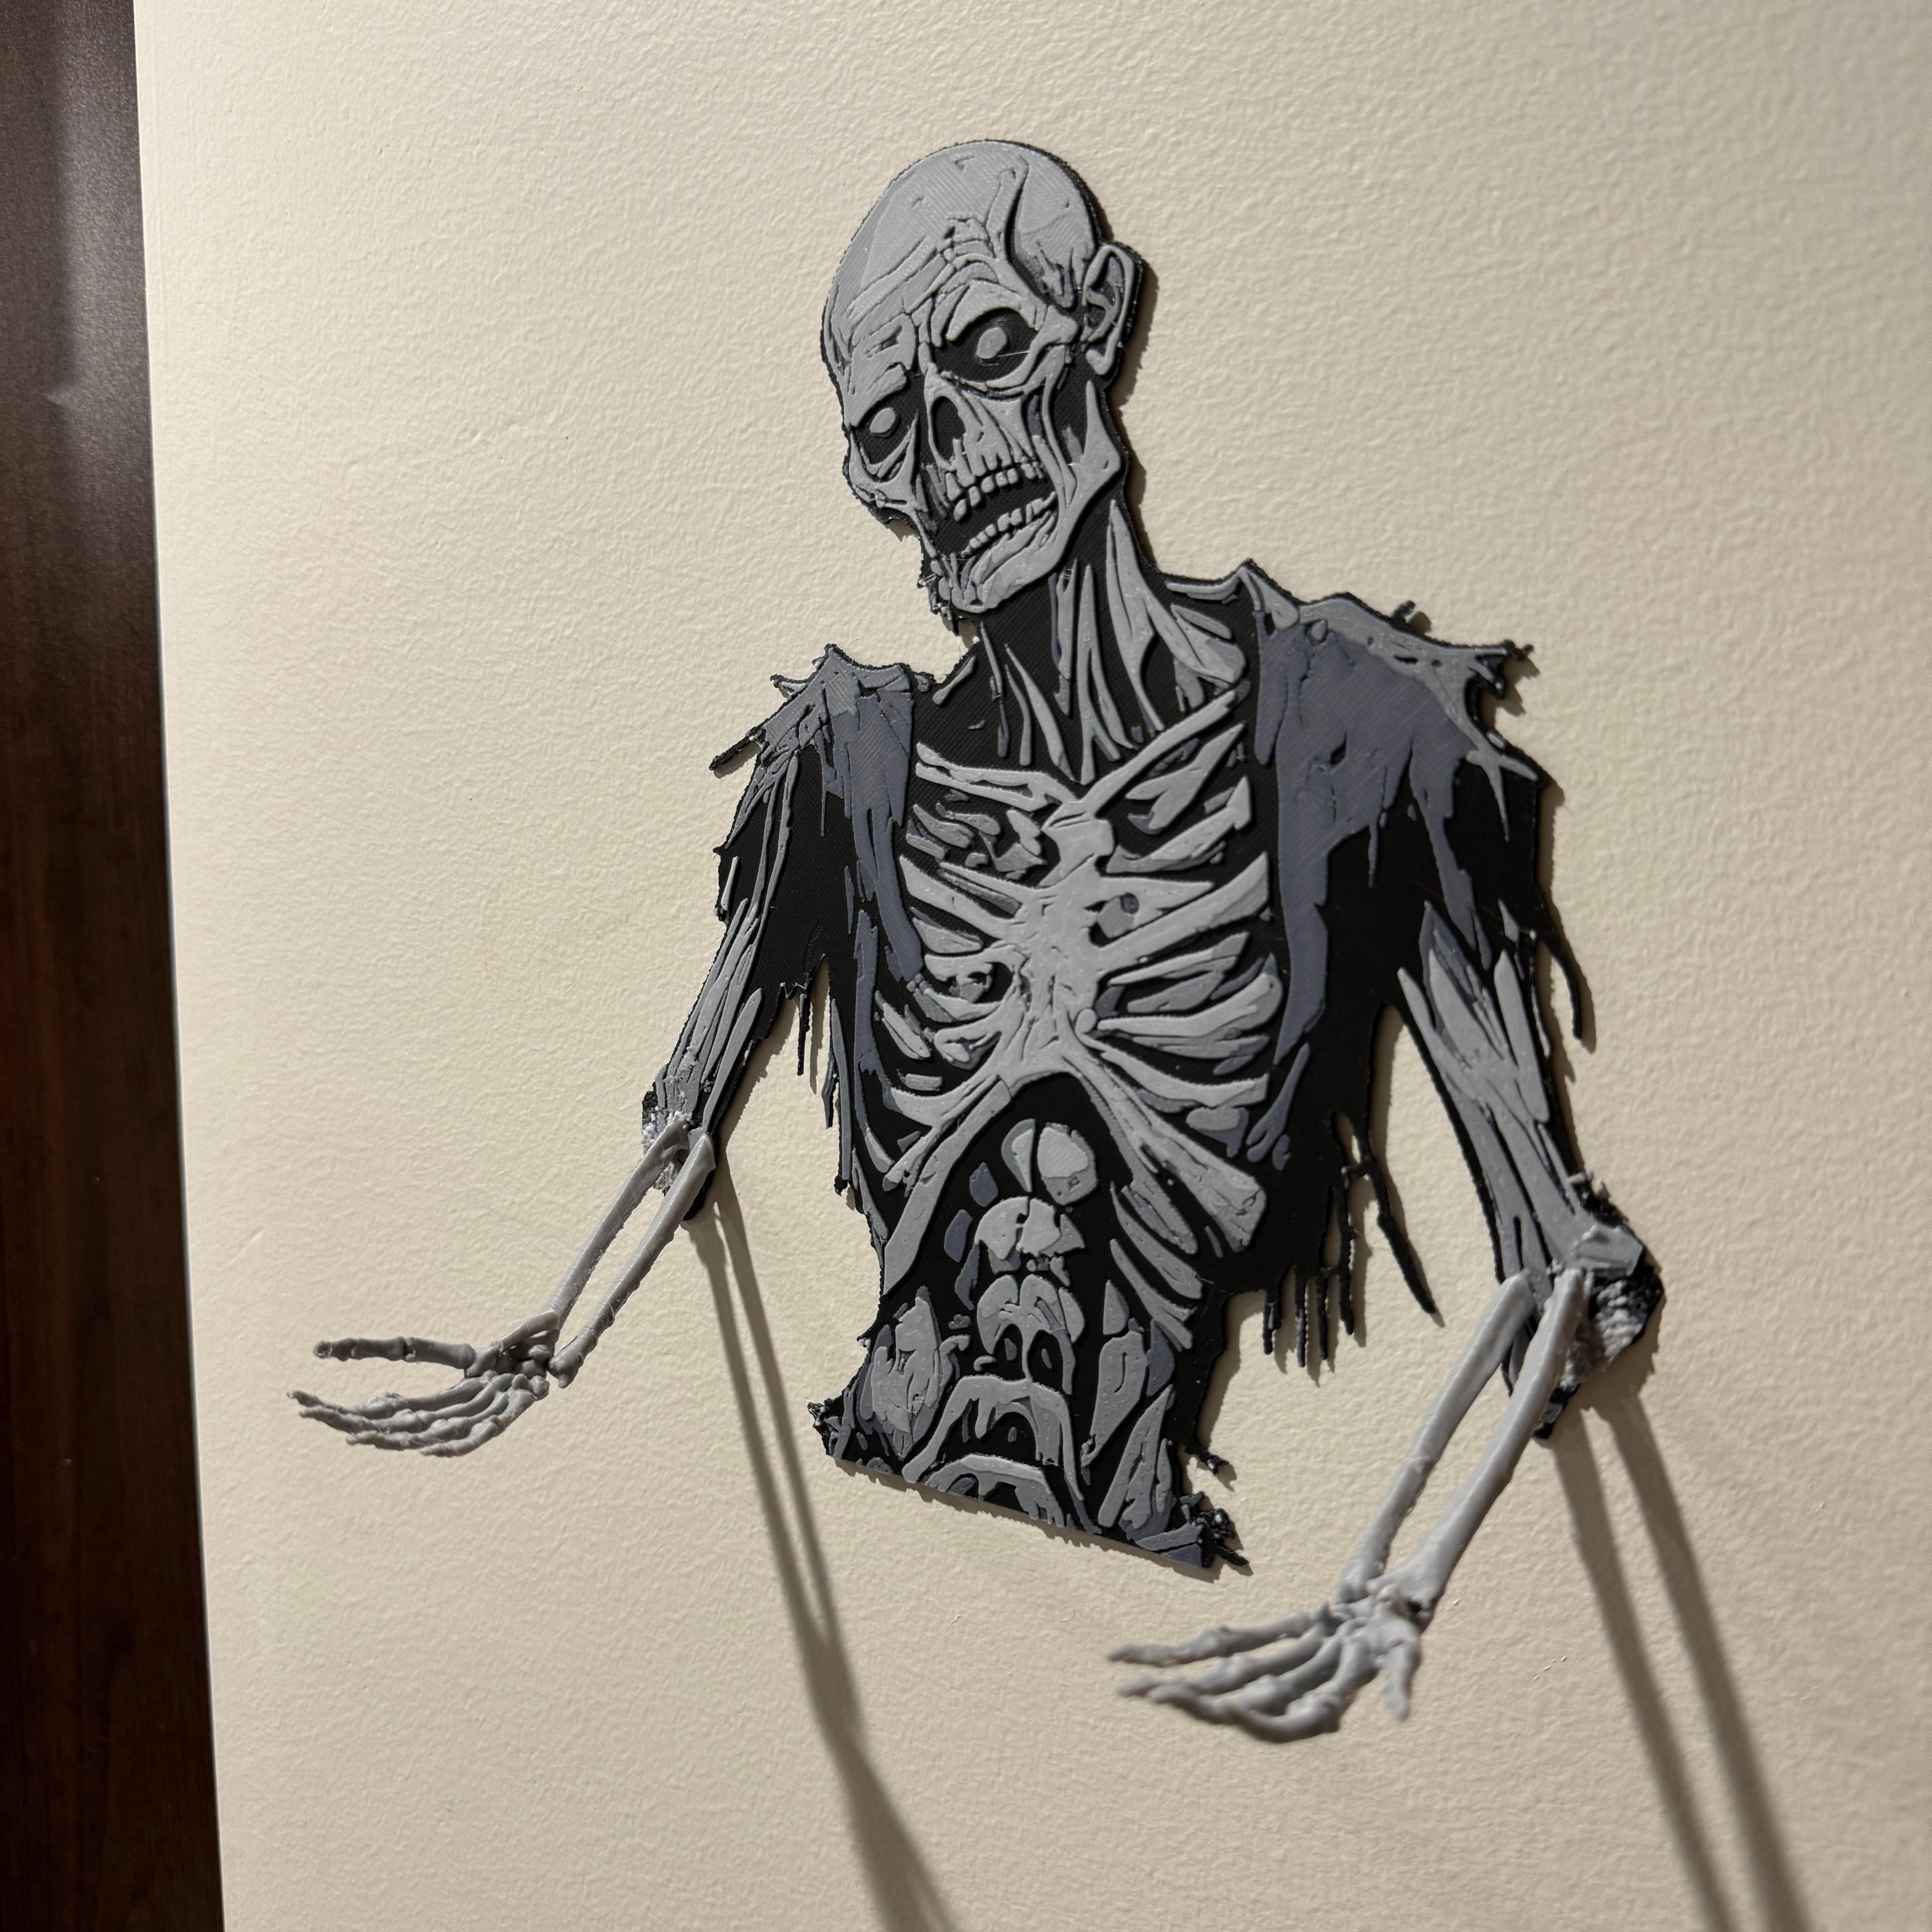
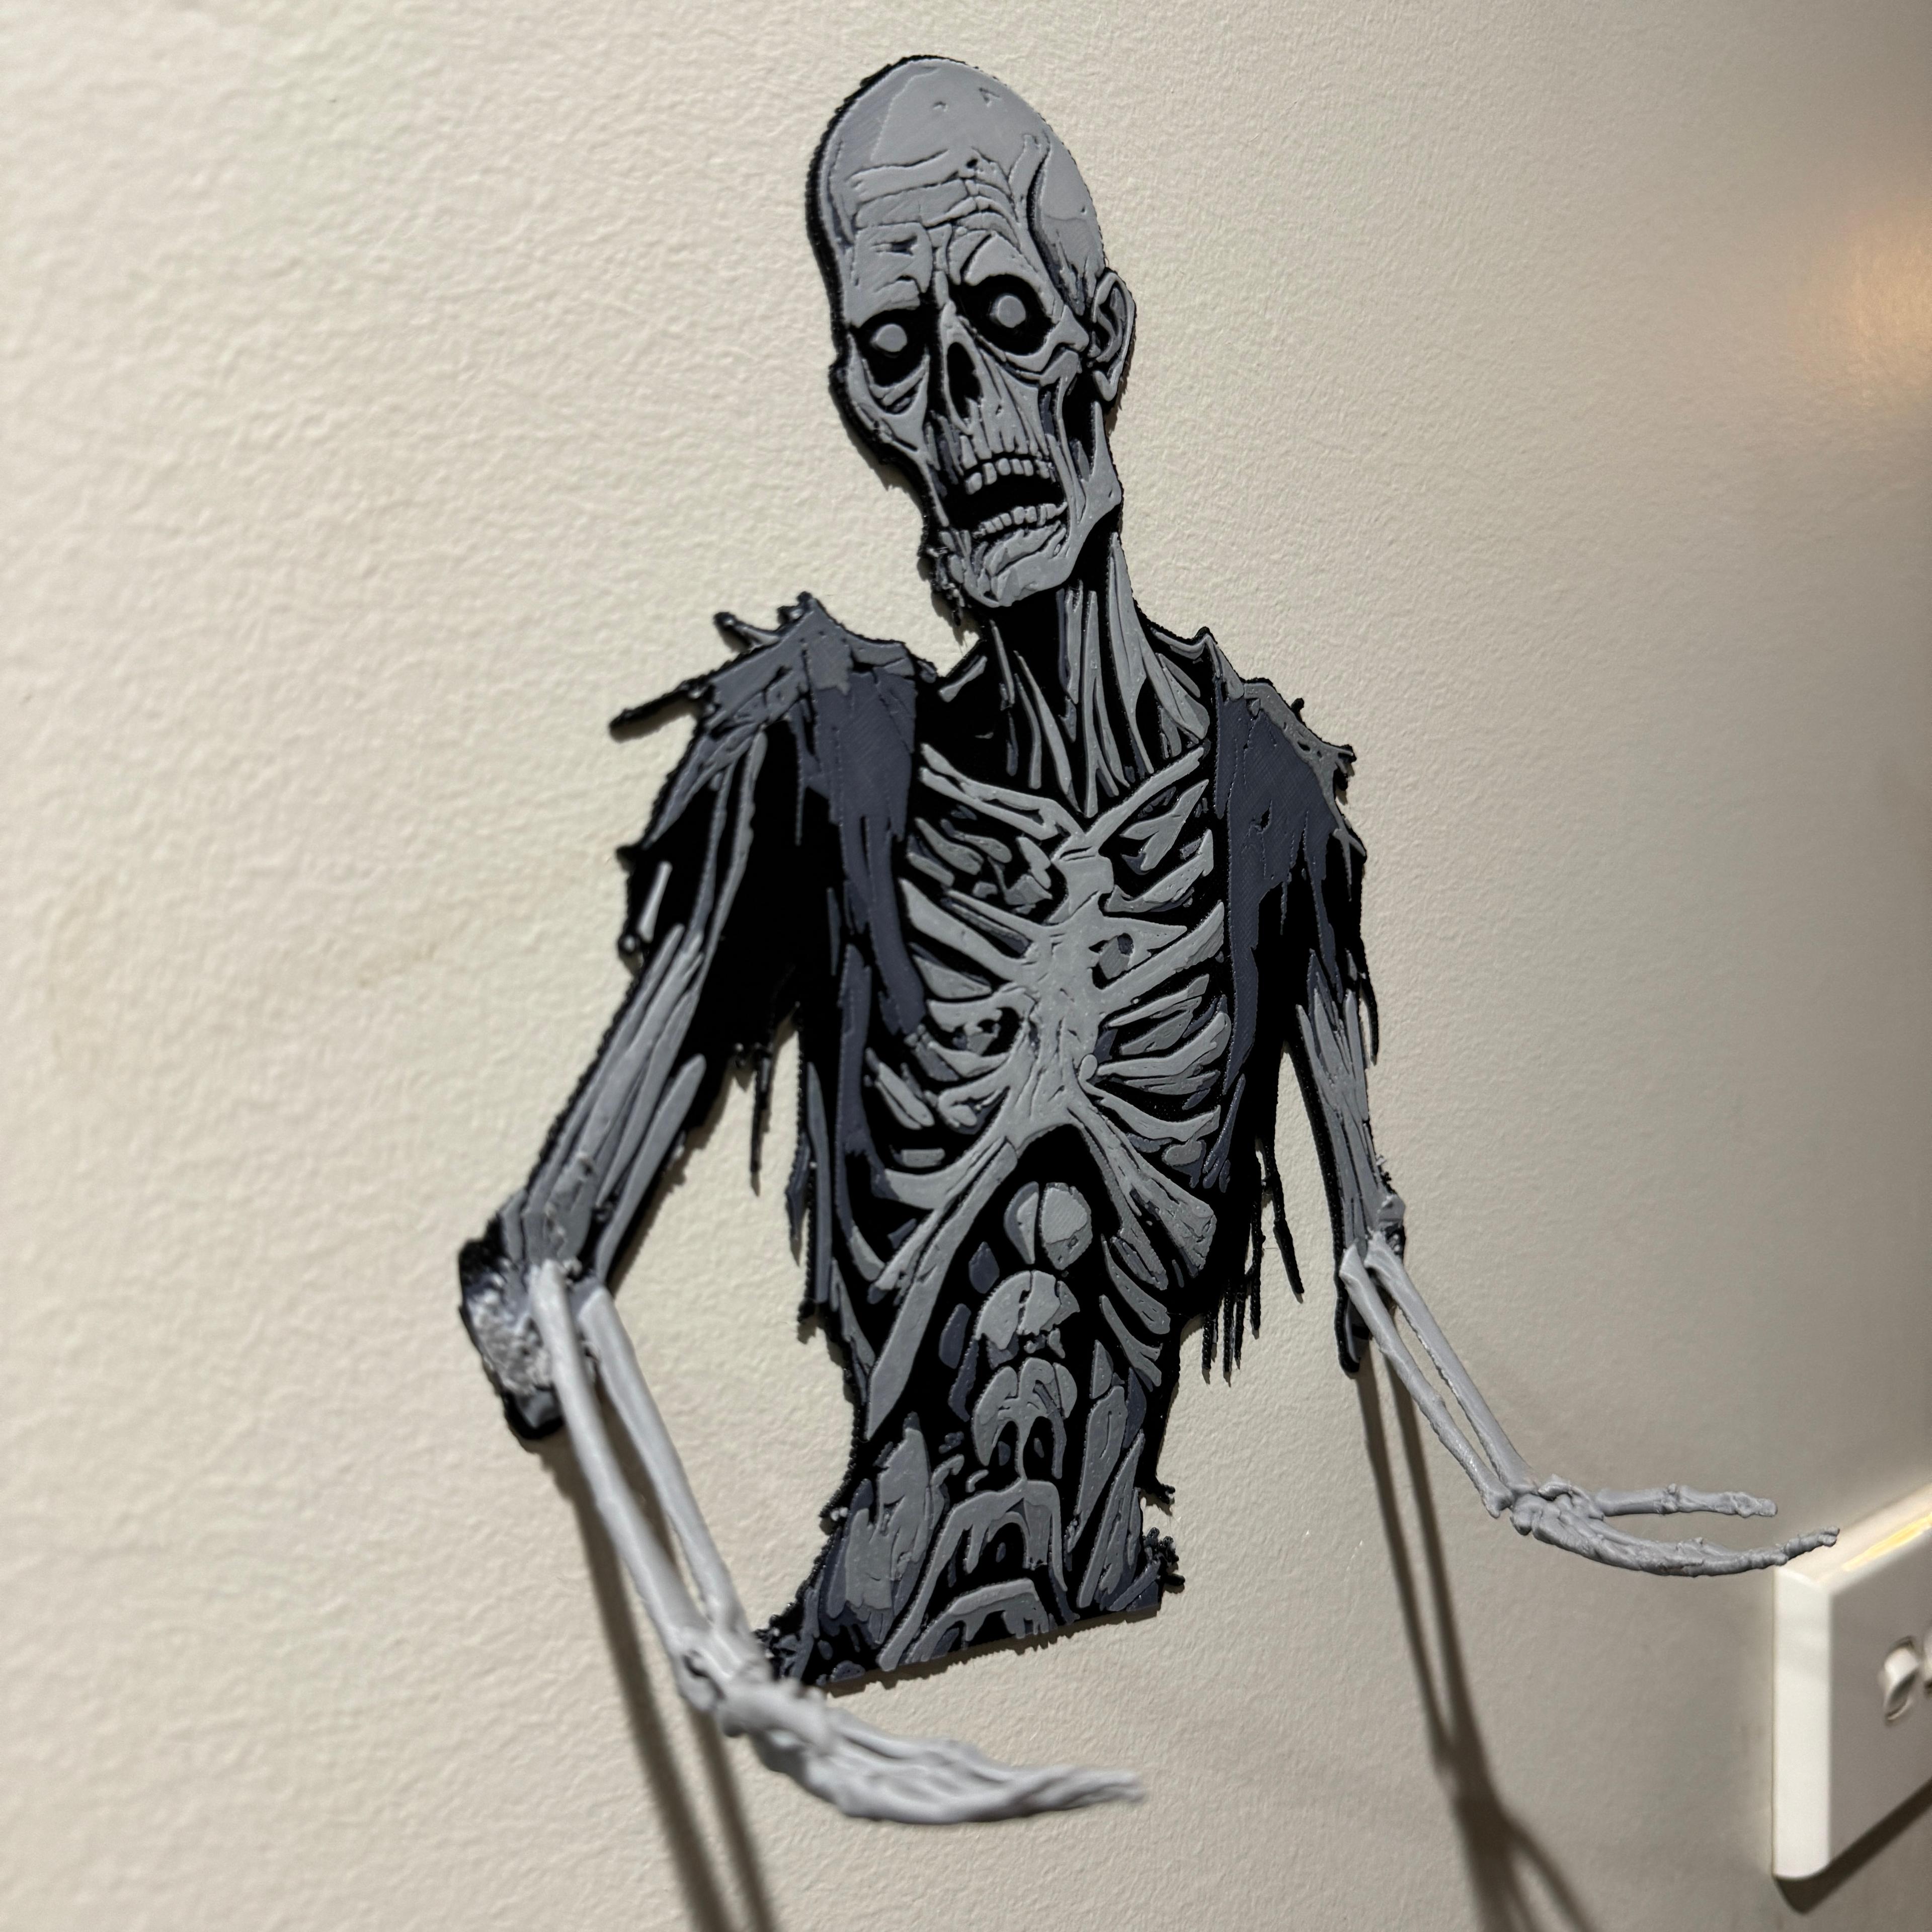
Fancy a zombie butler to hold on to your tealights, lanyards, and all your other trinkets? Well now you have one! This zombie is a combined Hueforge print with a 3D model of bony, zombie hands, merged to bring you your very own zombie trinkets holder.
Note: The arms are not meant to hold heavy items as they're small and pretty flimsy. But tealight holders, welcome signs, necklaces, jewellery etc. will be perfect for it.
The entire 3MF and the STL has already combined both components of the Hueforge print and the skeletal arms, but if you want the skeletal arms separately, they can be found here, uploaded by MacGyver.
Print Instructions
If you are using the 3MF
This print is basically a print-in-place model. The 3MF will have tree supports built in just for the skeletal arms. These supports weren't too bad to remove, however if you do find trouble, I suggest doing it slowly and carefully with a wire cutter / blade / whatever your preferred support removal tool is.
The 3MF has already applied modifier settings for the arms to print at a 5% infill setting and slowing down for overhangs.
If you are using the STL for your own printer and filament profiles
If your slicer allows it, I recommend printing ONLY the arms with a 5% infill setting to speed up the print. The rest of the Hueforge print should be printed at 100% infill as usual. I also recommend printing with a brim so that the arms have a bigger support base when it starts being printed. Slowing down for overhangs is also probably a good idea.
If you're able, you can also apply a layer height modifier for the first few layers to speed things up, but that is up to you!
The print instructions are as follows. I have disregarded the use of layer# and instead used the mm for swap details for accuracy.
Print at 100% infill with a layer height of 0.08mm with a base layer of 0.24mm. The arms can be printed at 5% infill.
Filaments Used:
- PLA Kingroon Black Transmission Distance: 0.4
- PLA+ eSun Grey Transmission Distance: 1.4
- PLA Overture Light Grey Transmission Distance: 1.6
- PLA Kingroon White Transmission Distance: 8
Swap Instructions:
- Start with Black
- At layer 1.04mm swap to Grey
- At layer 1.44mm swap to Light Grey
- At layer 1.6mm swap to White
- At layer 2.04mm swap to Light Grey (this is the colour of your hands, you can use whatever filament colour you want).
