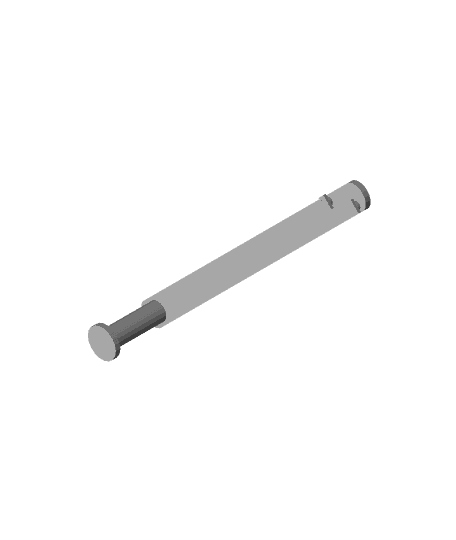
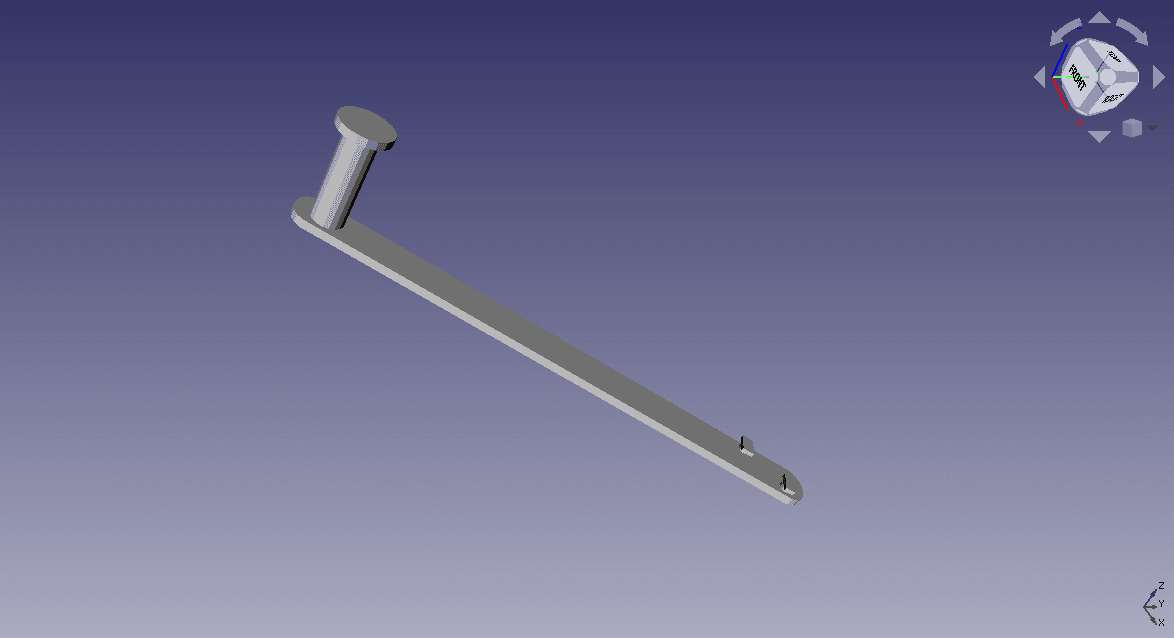
My first ever CAD design, and self designed 3d print. I've only been doing CAD and 3D printing for 4 days now, so don't beat me up too hard :D
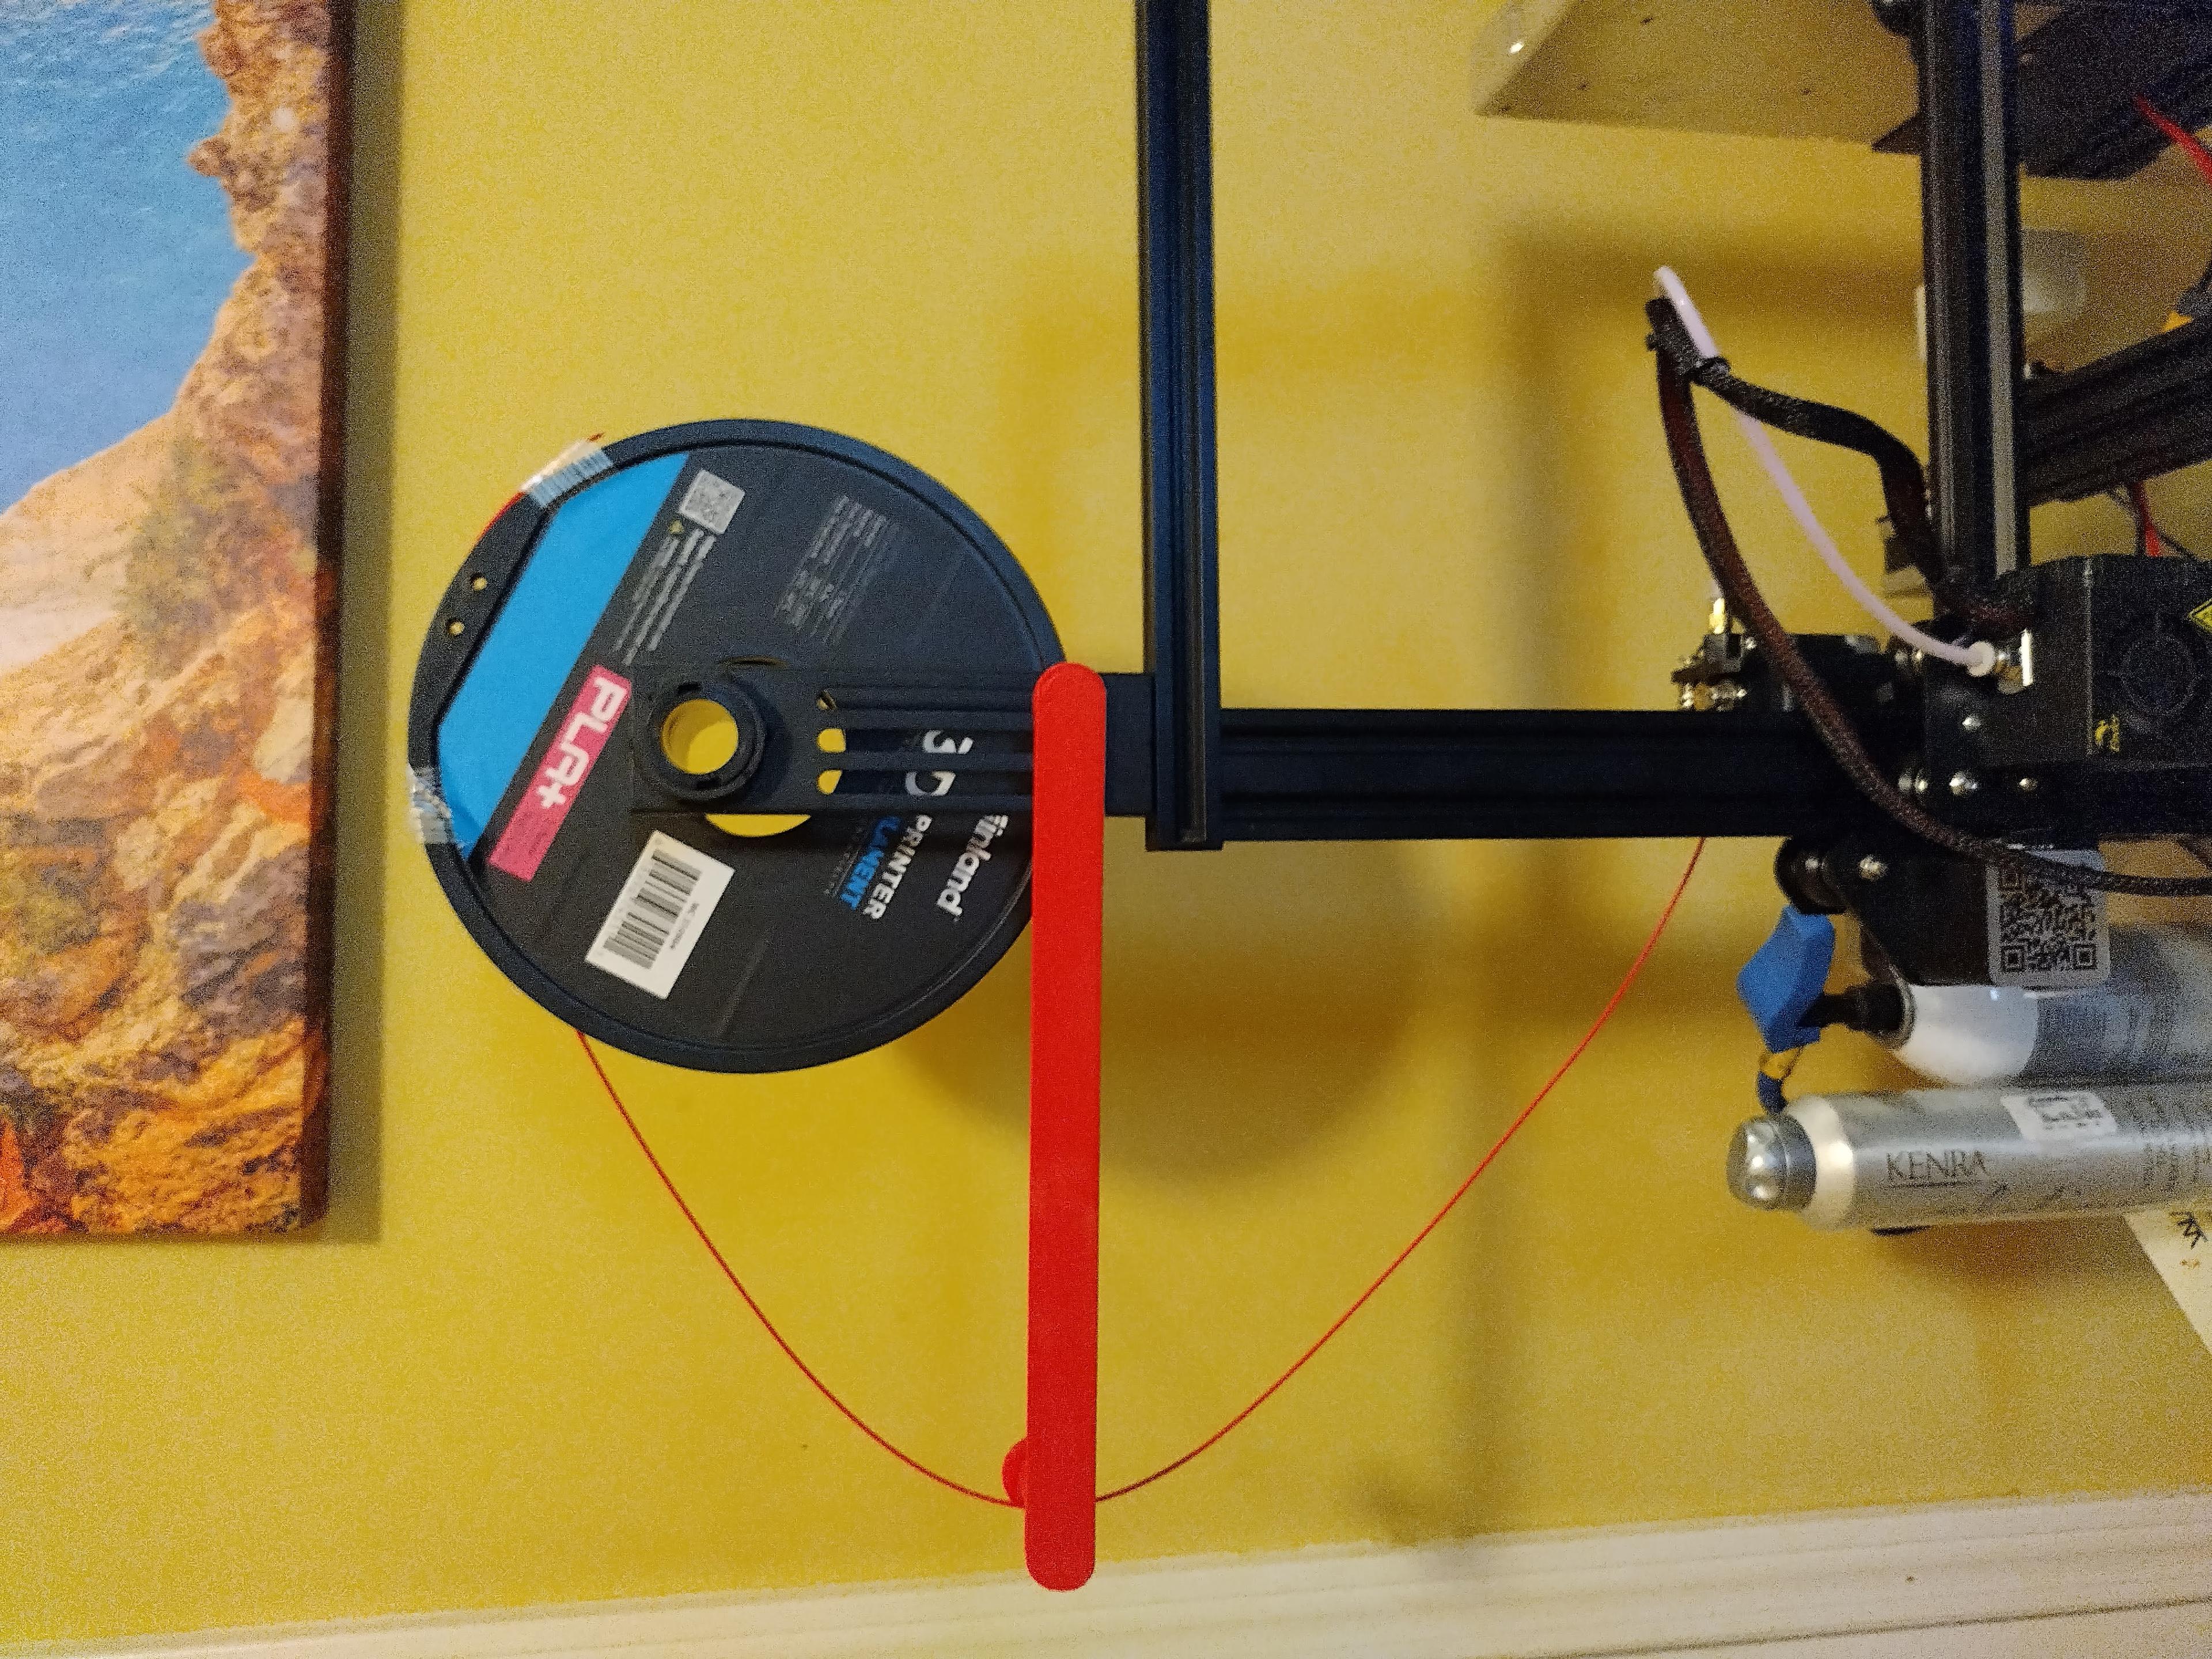
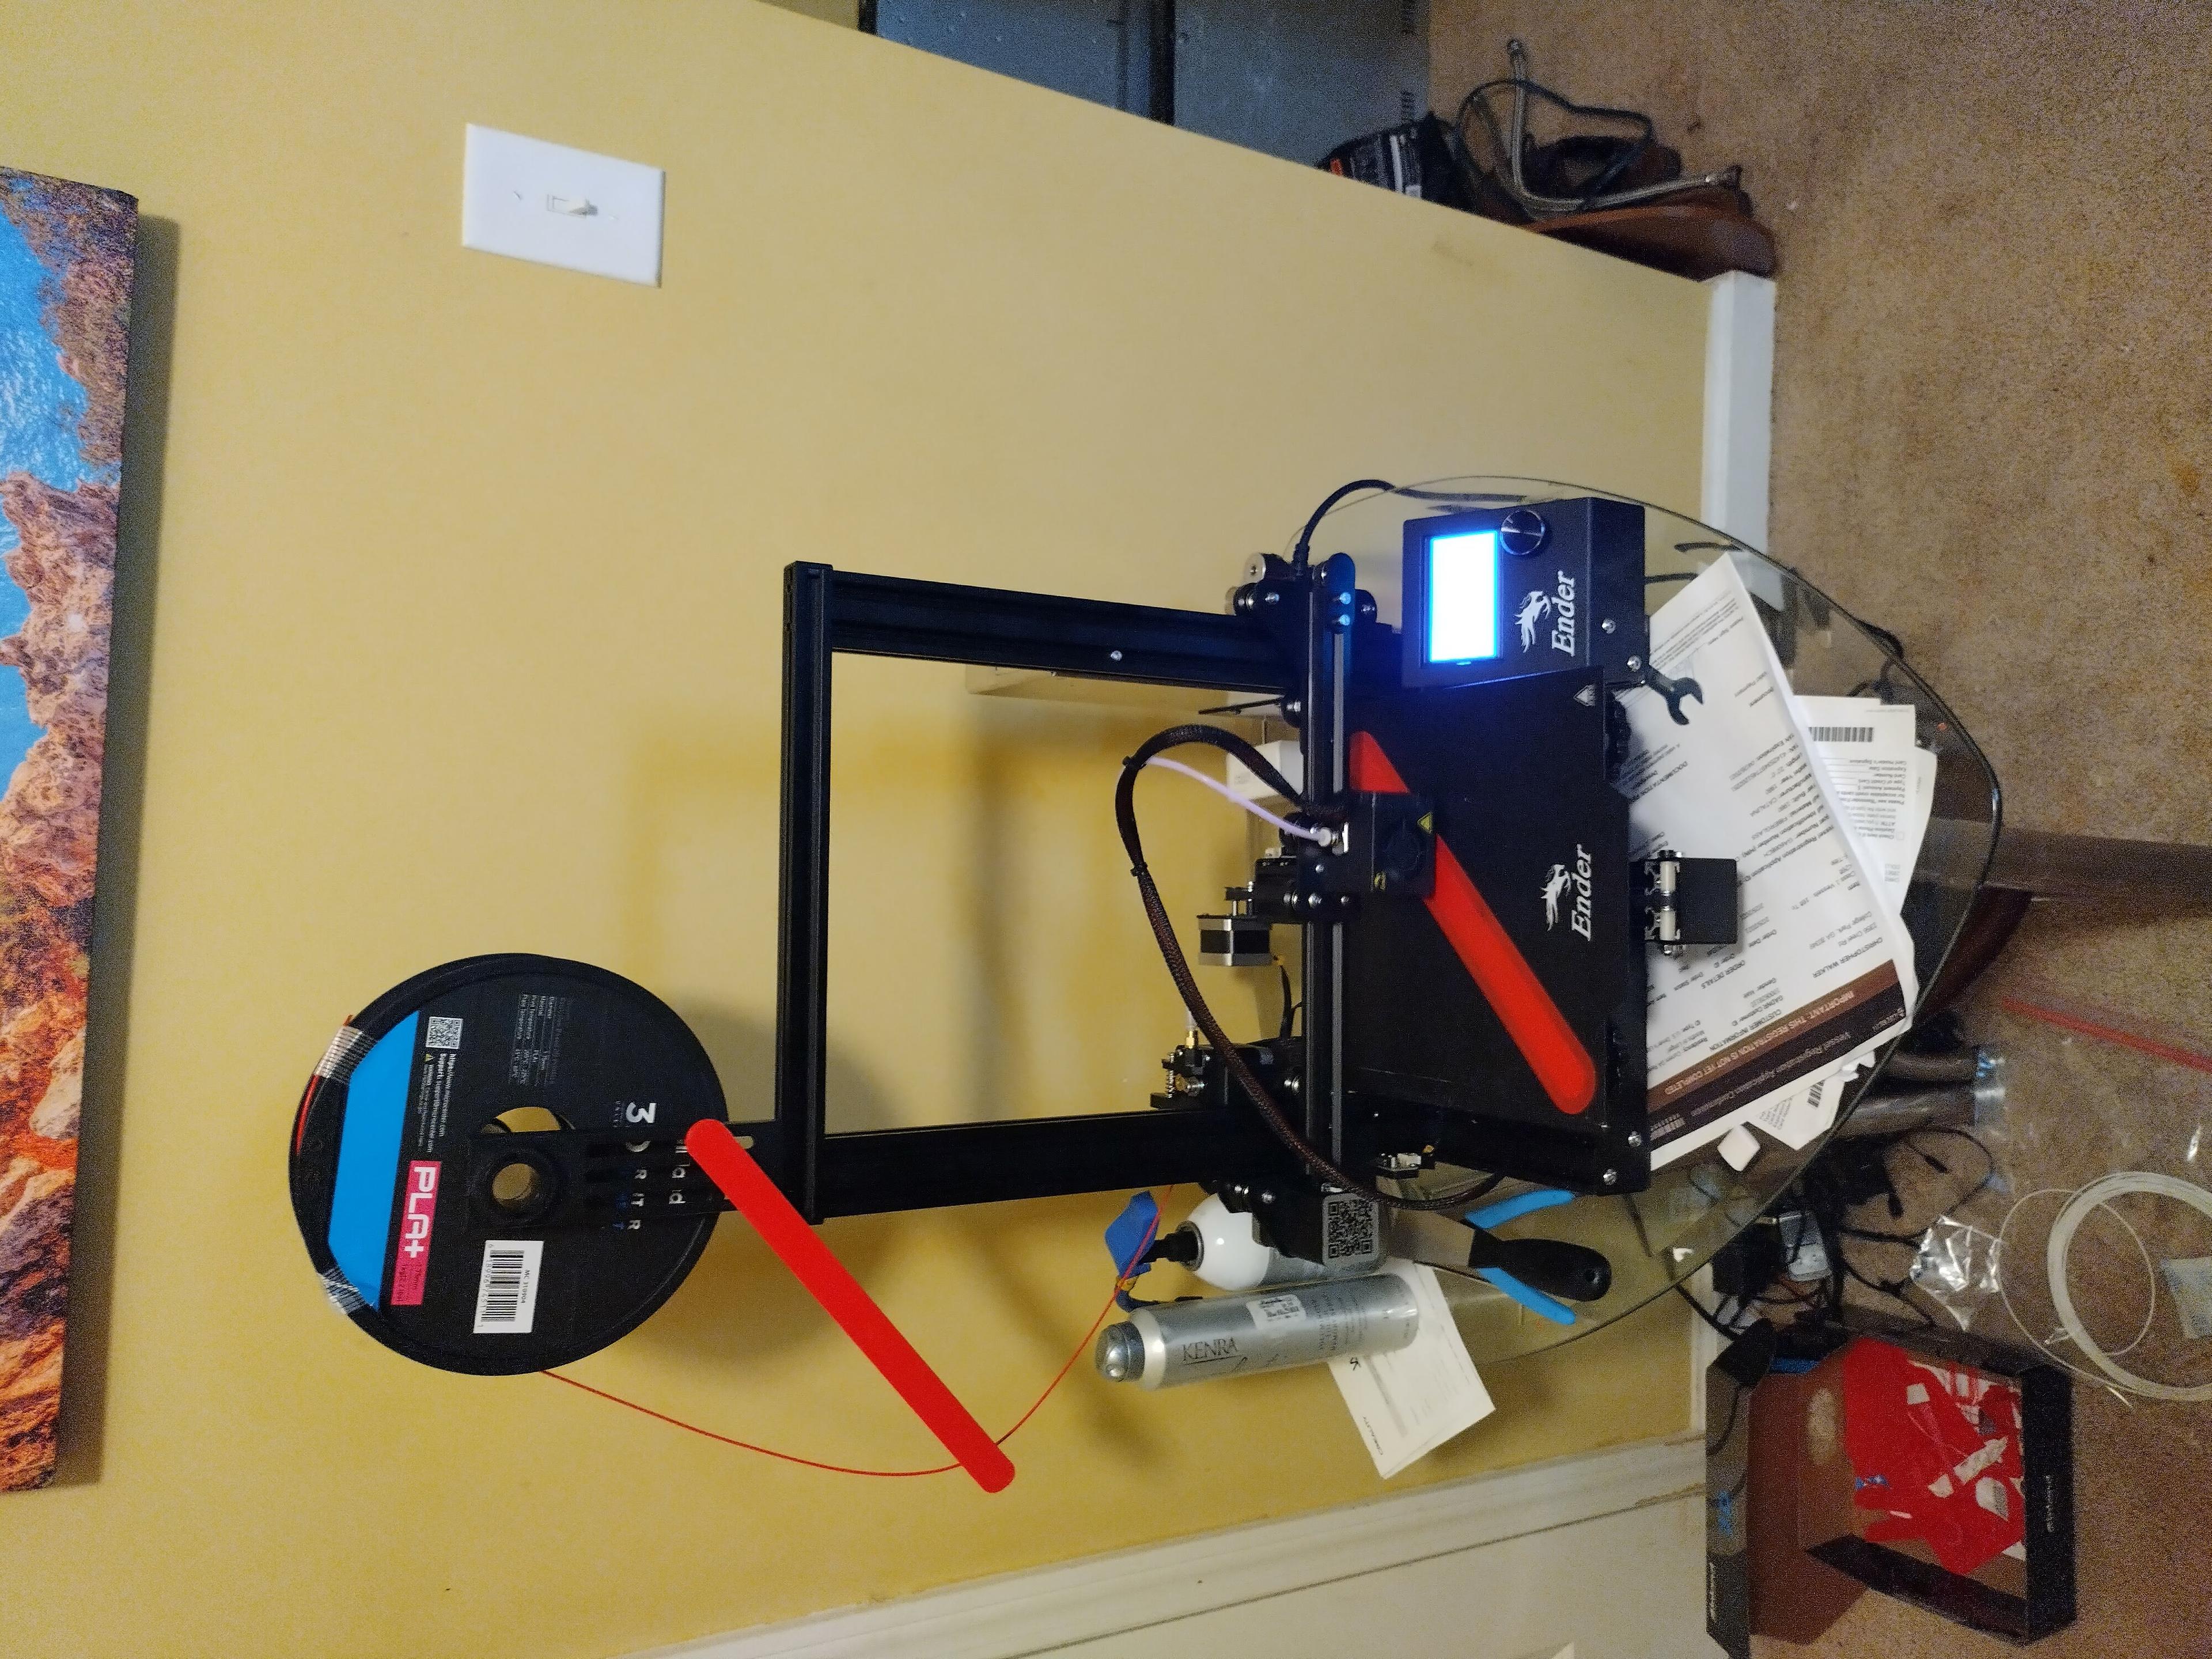
I created this because I was having issues with the filamant location causing the filament to bend too far and bind.
This reduces the filament entry angle as it enters the feed motor, reducing load, and, eliminating filament slippage.
There's a couple things I need to improve, such as the pin locking plate alignment. But it functions perfectly as is.
It is not optimized for overhangs, as I don't know how yet, so support material is a must! I'll get this worked out on the next revision.
I use a 50% infill, and 2 layer wall, to reduce plastic waste; since this part is not under a lot of load. Takes about 3.5 hours to print, and 26 grams of PLA.
Prints, easily direct to bed, with no skirt, brim, or raft.
I'm offering this item FREE, as it's my first design; and, I, am still learning. Please provide any tips in the comments. I'm, especially, interested in tips to reduce the need for support structure and density. I have a Creality Ender 3 Pro. I am using FreeCAD, and DesignSpark Mechanical, as my perfered CAD platforms.


