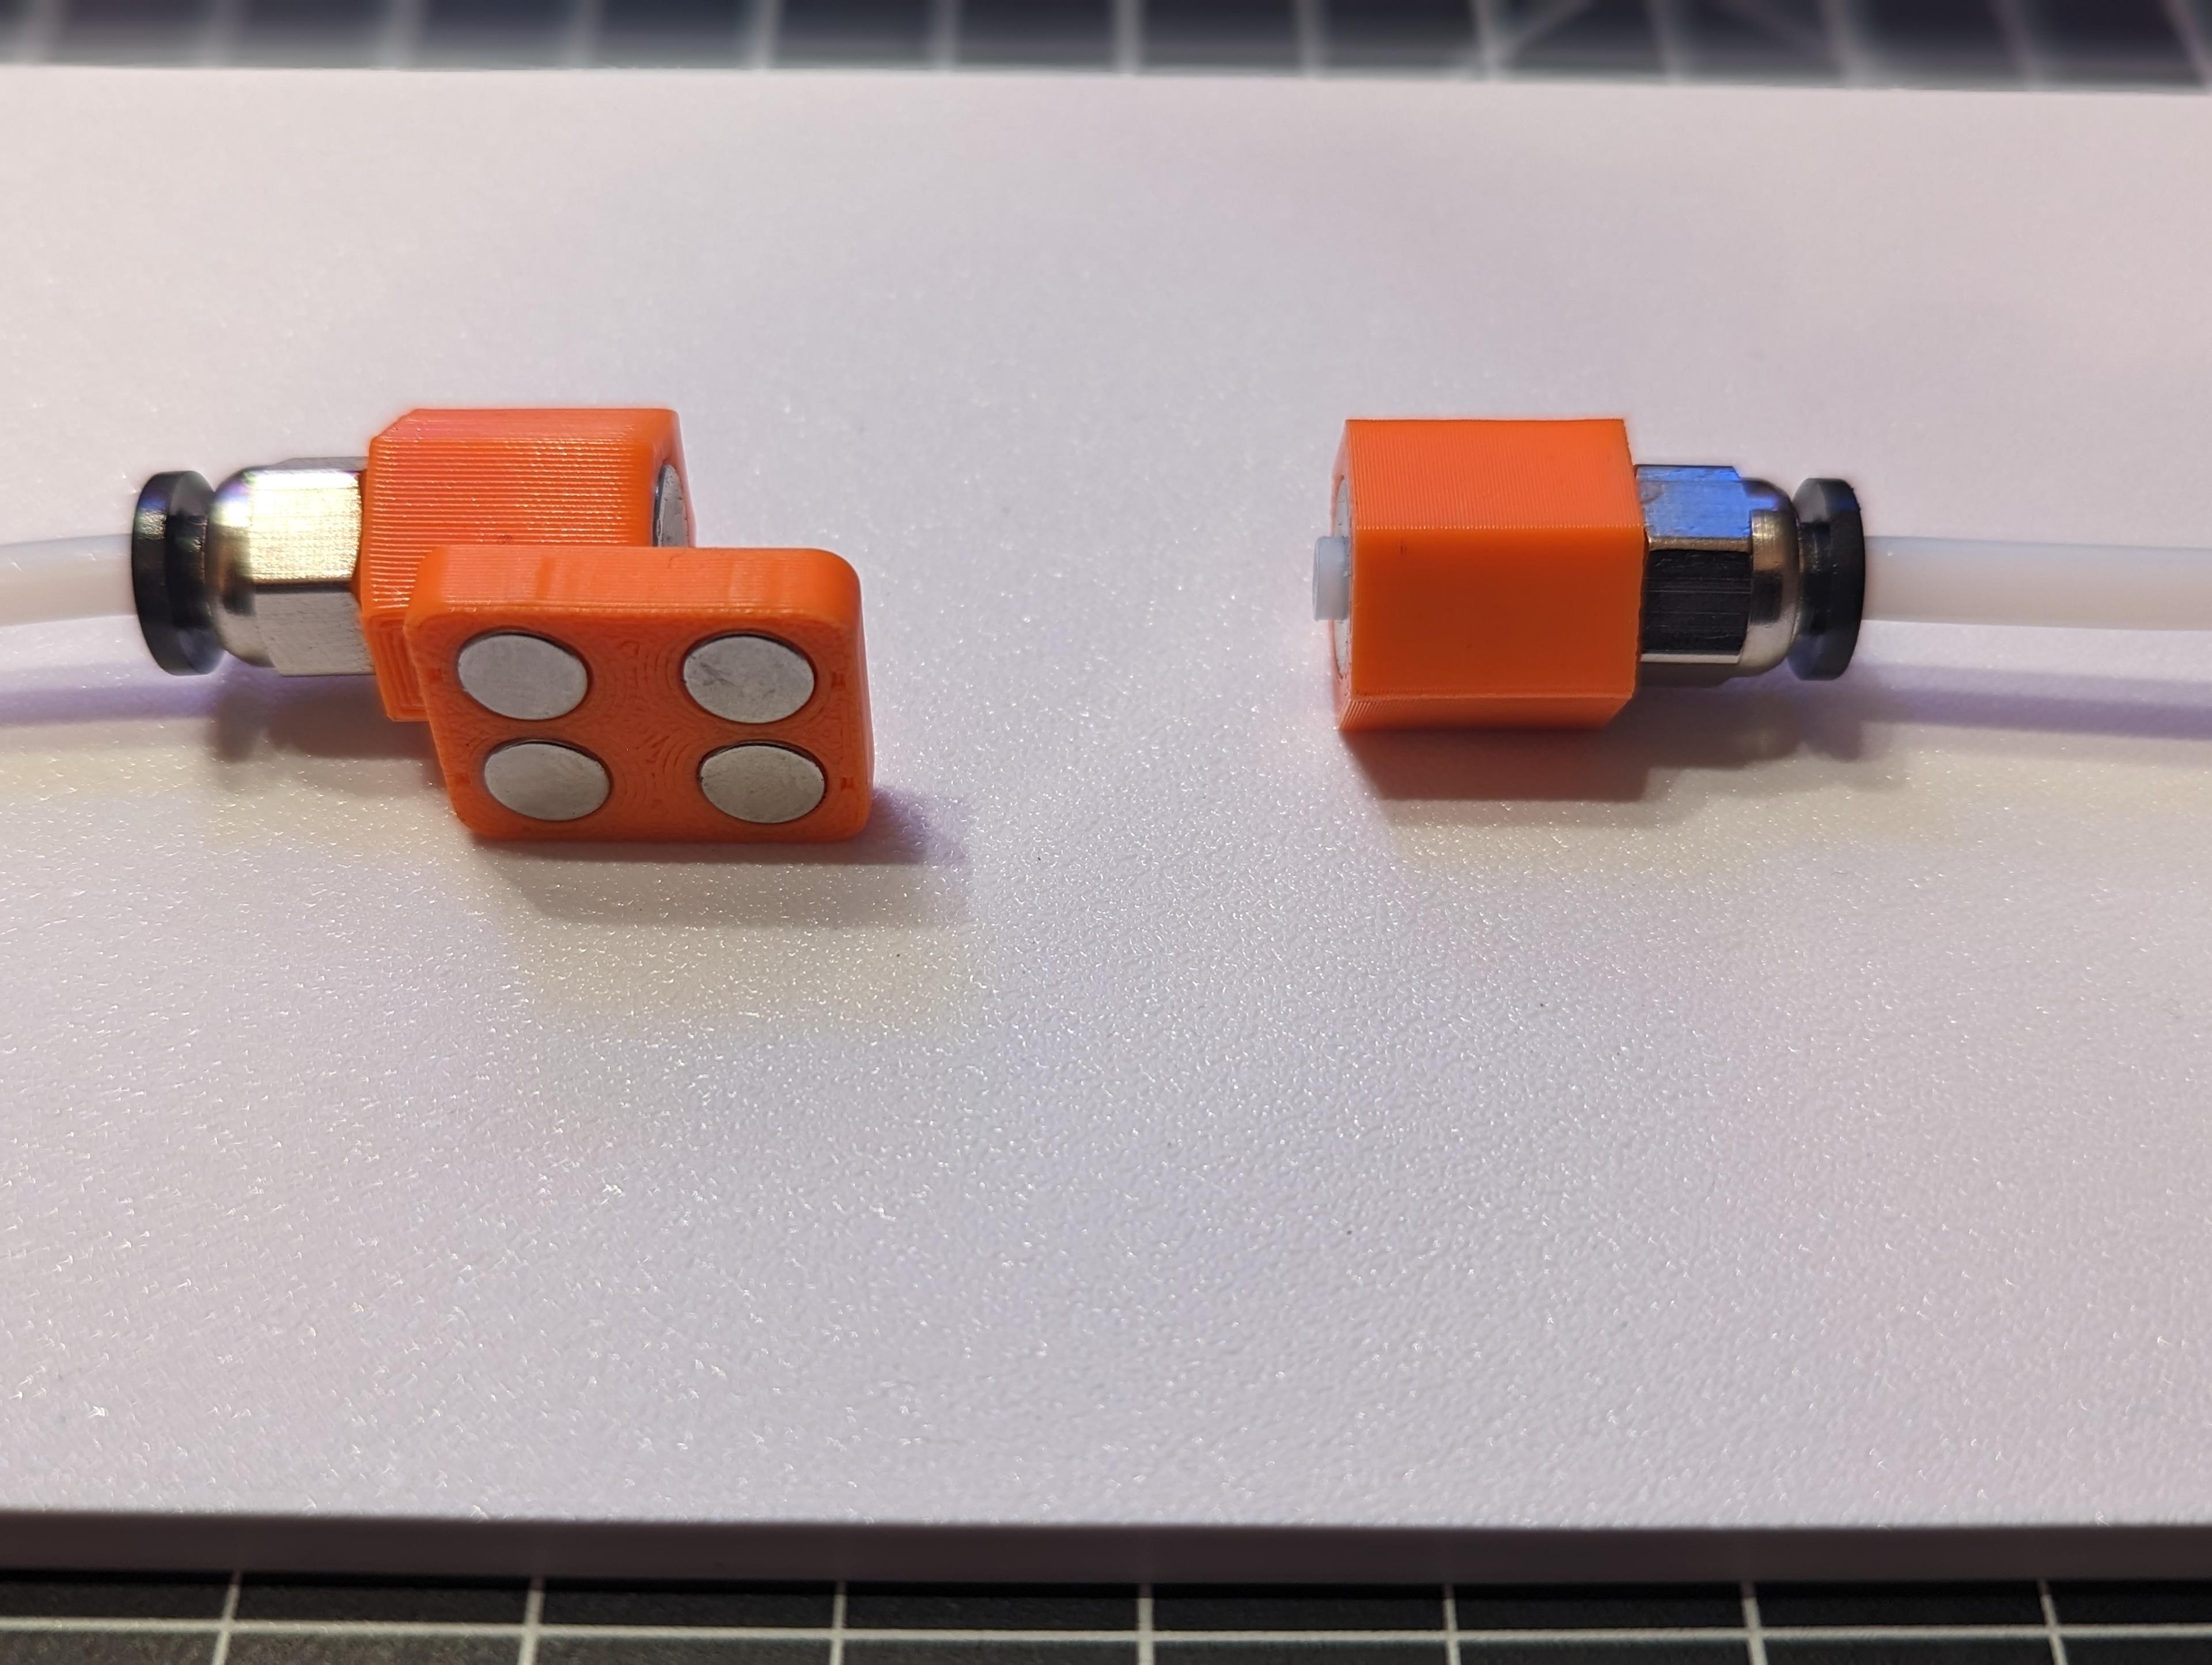
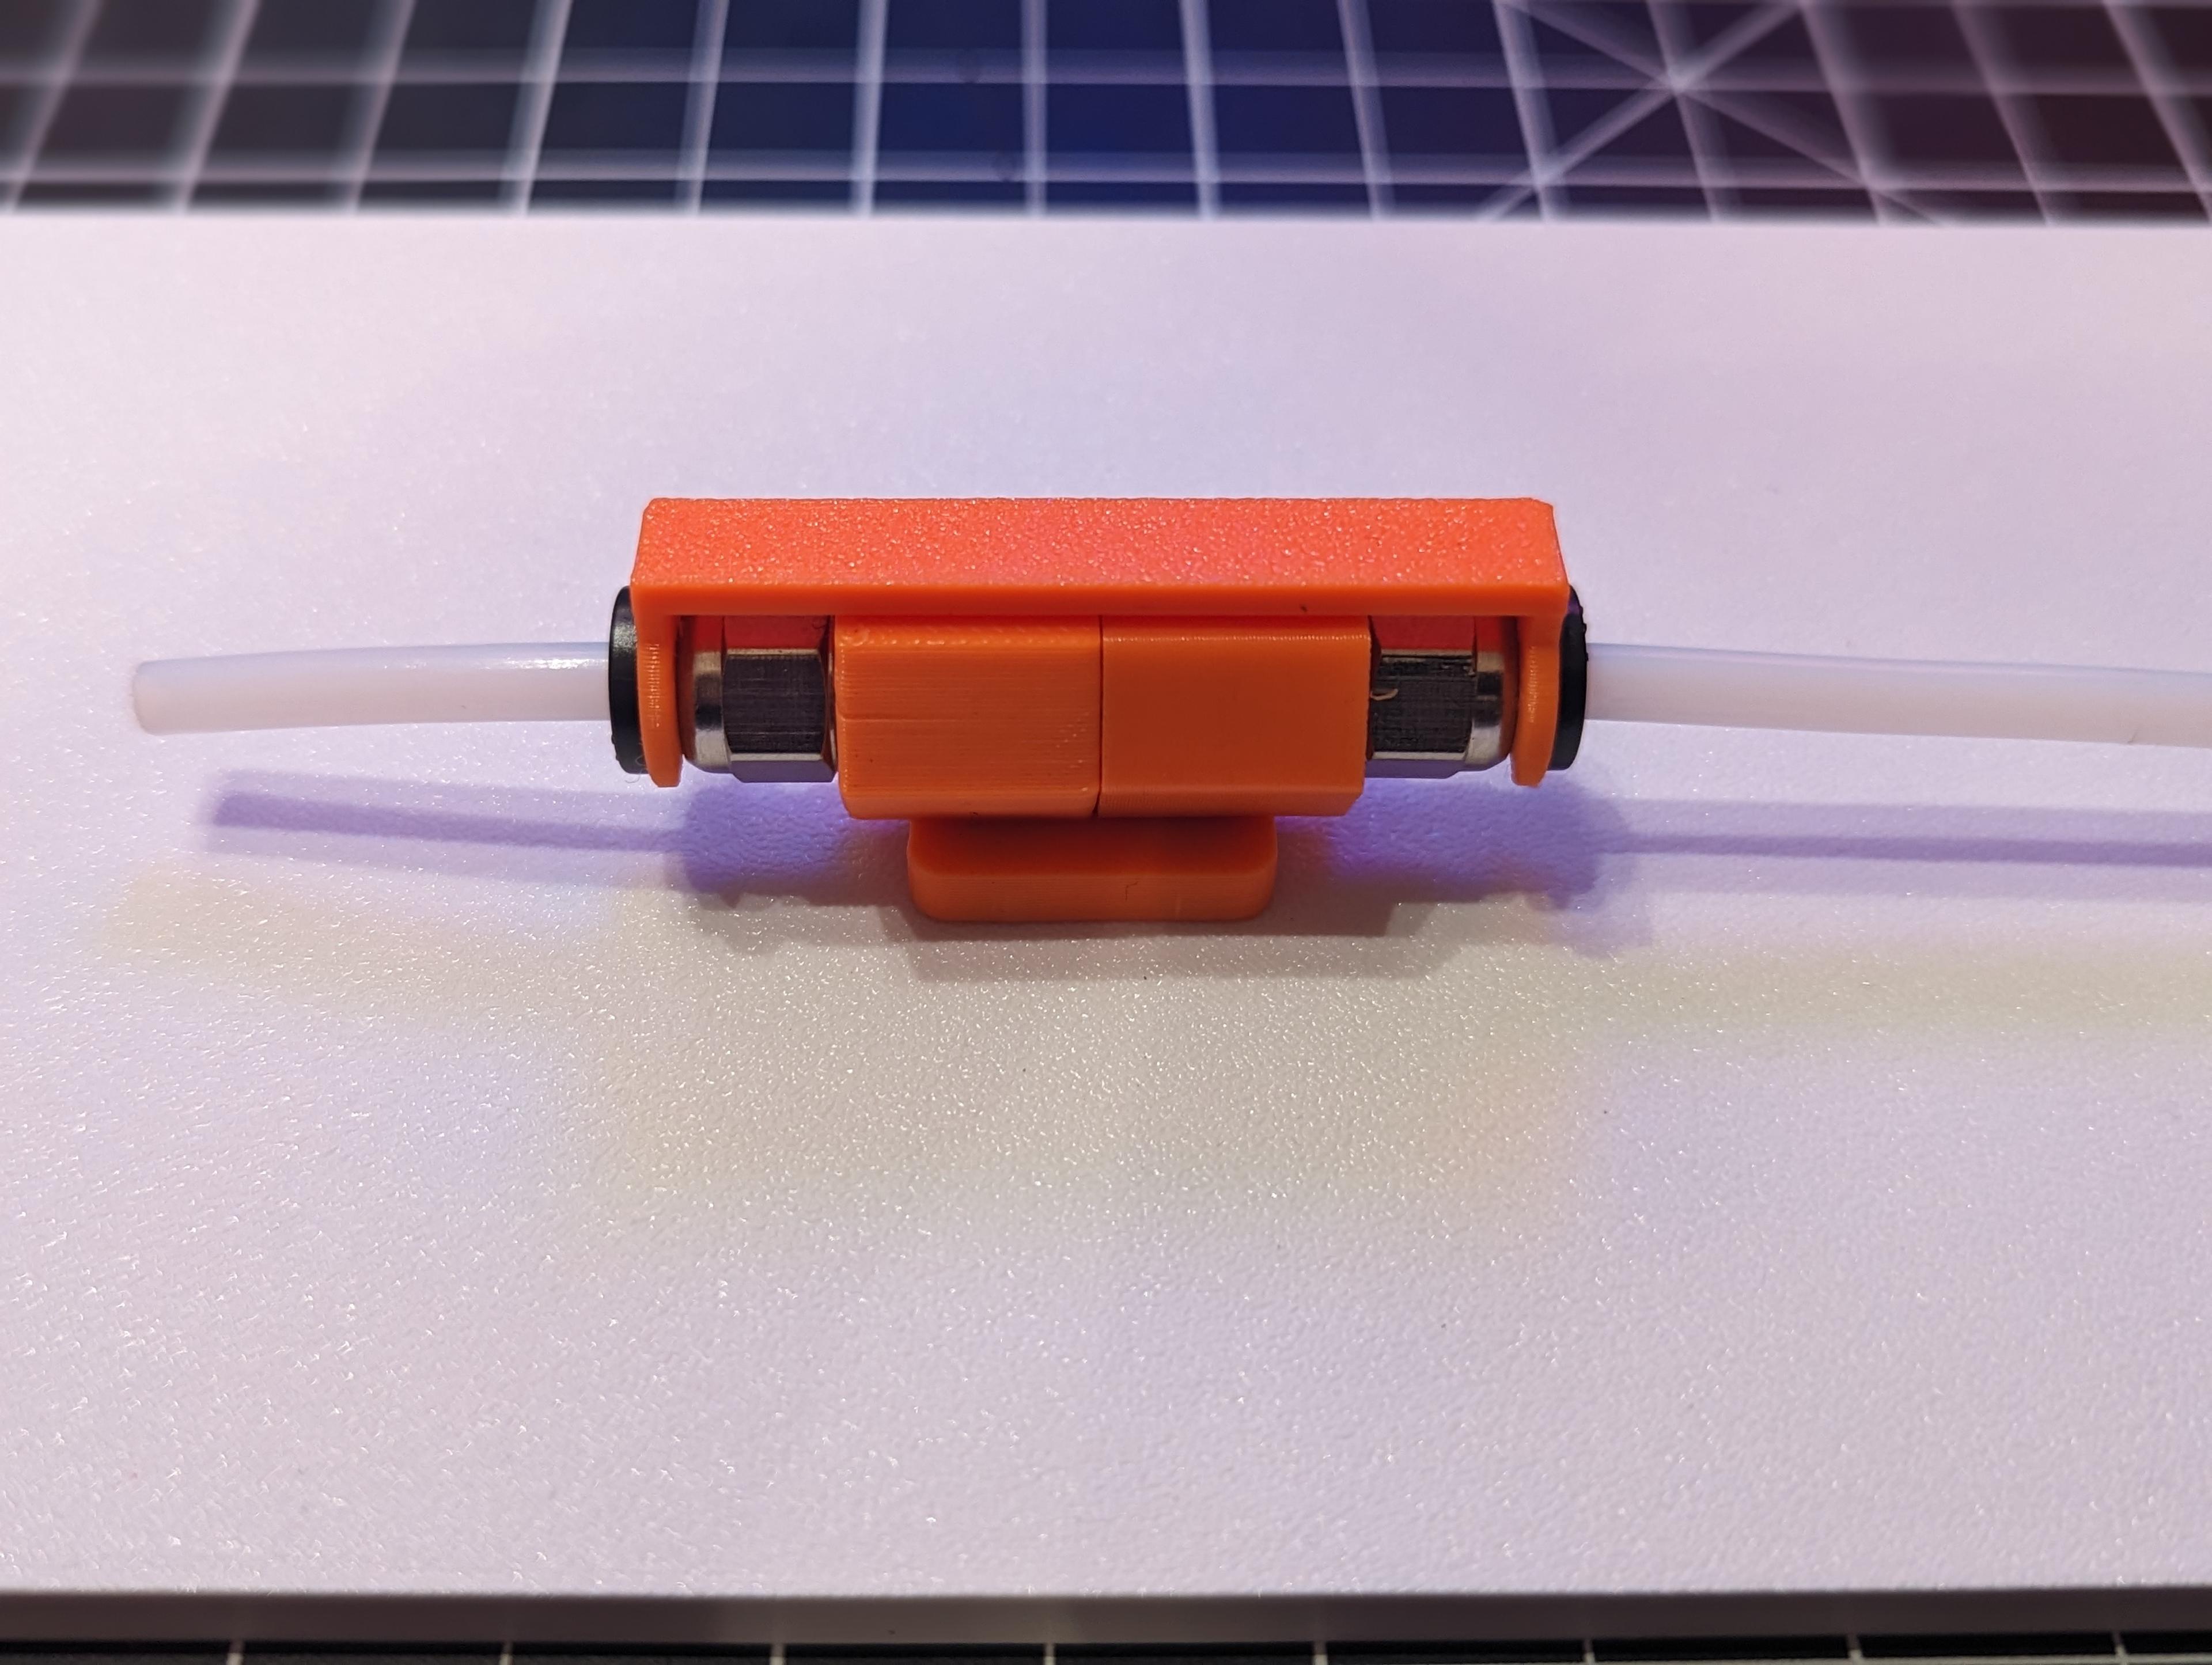
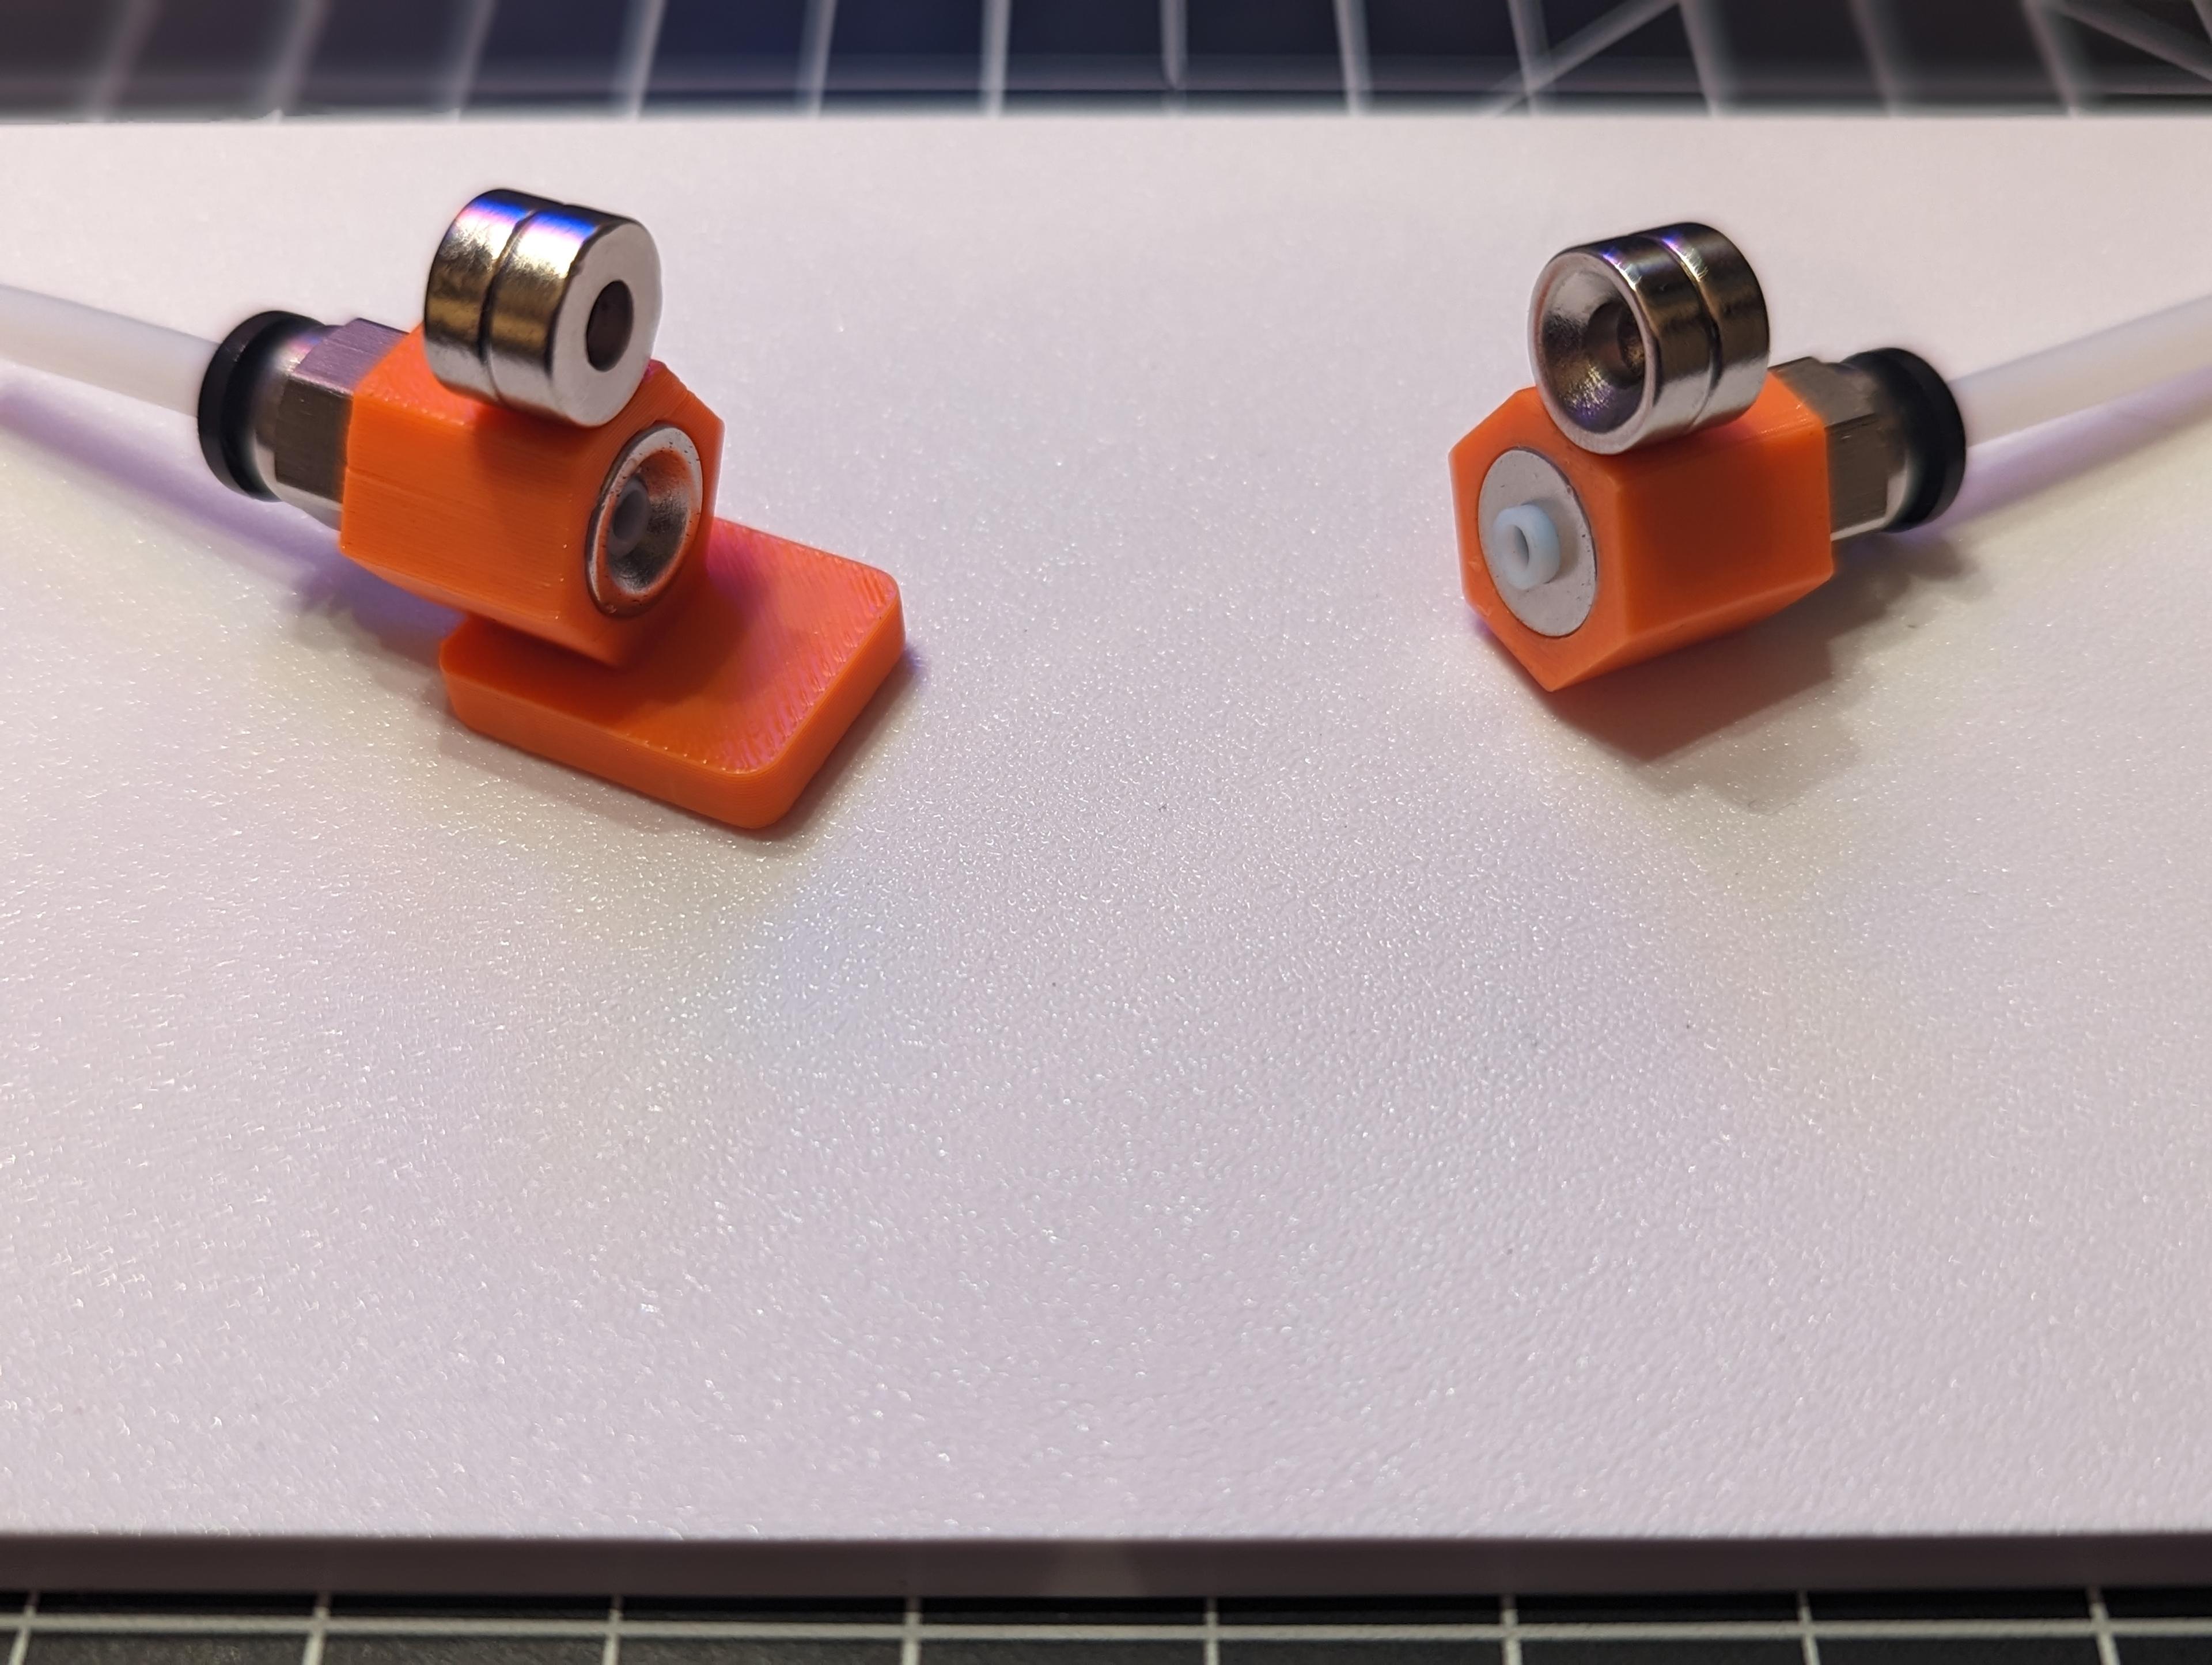
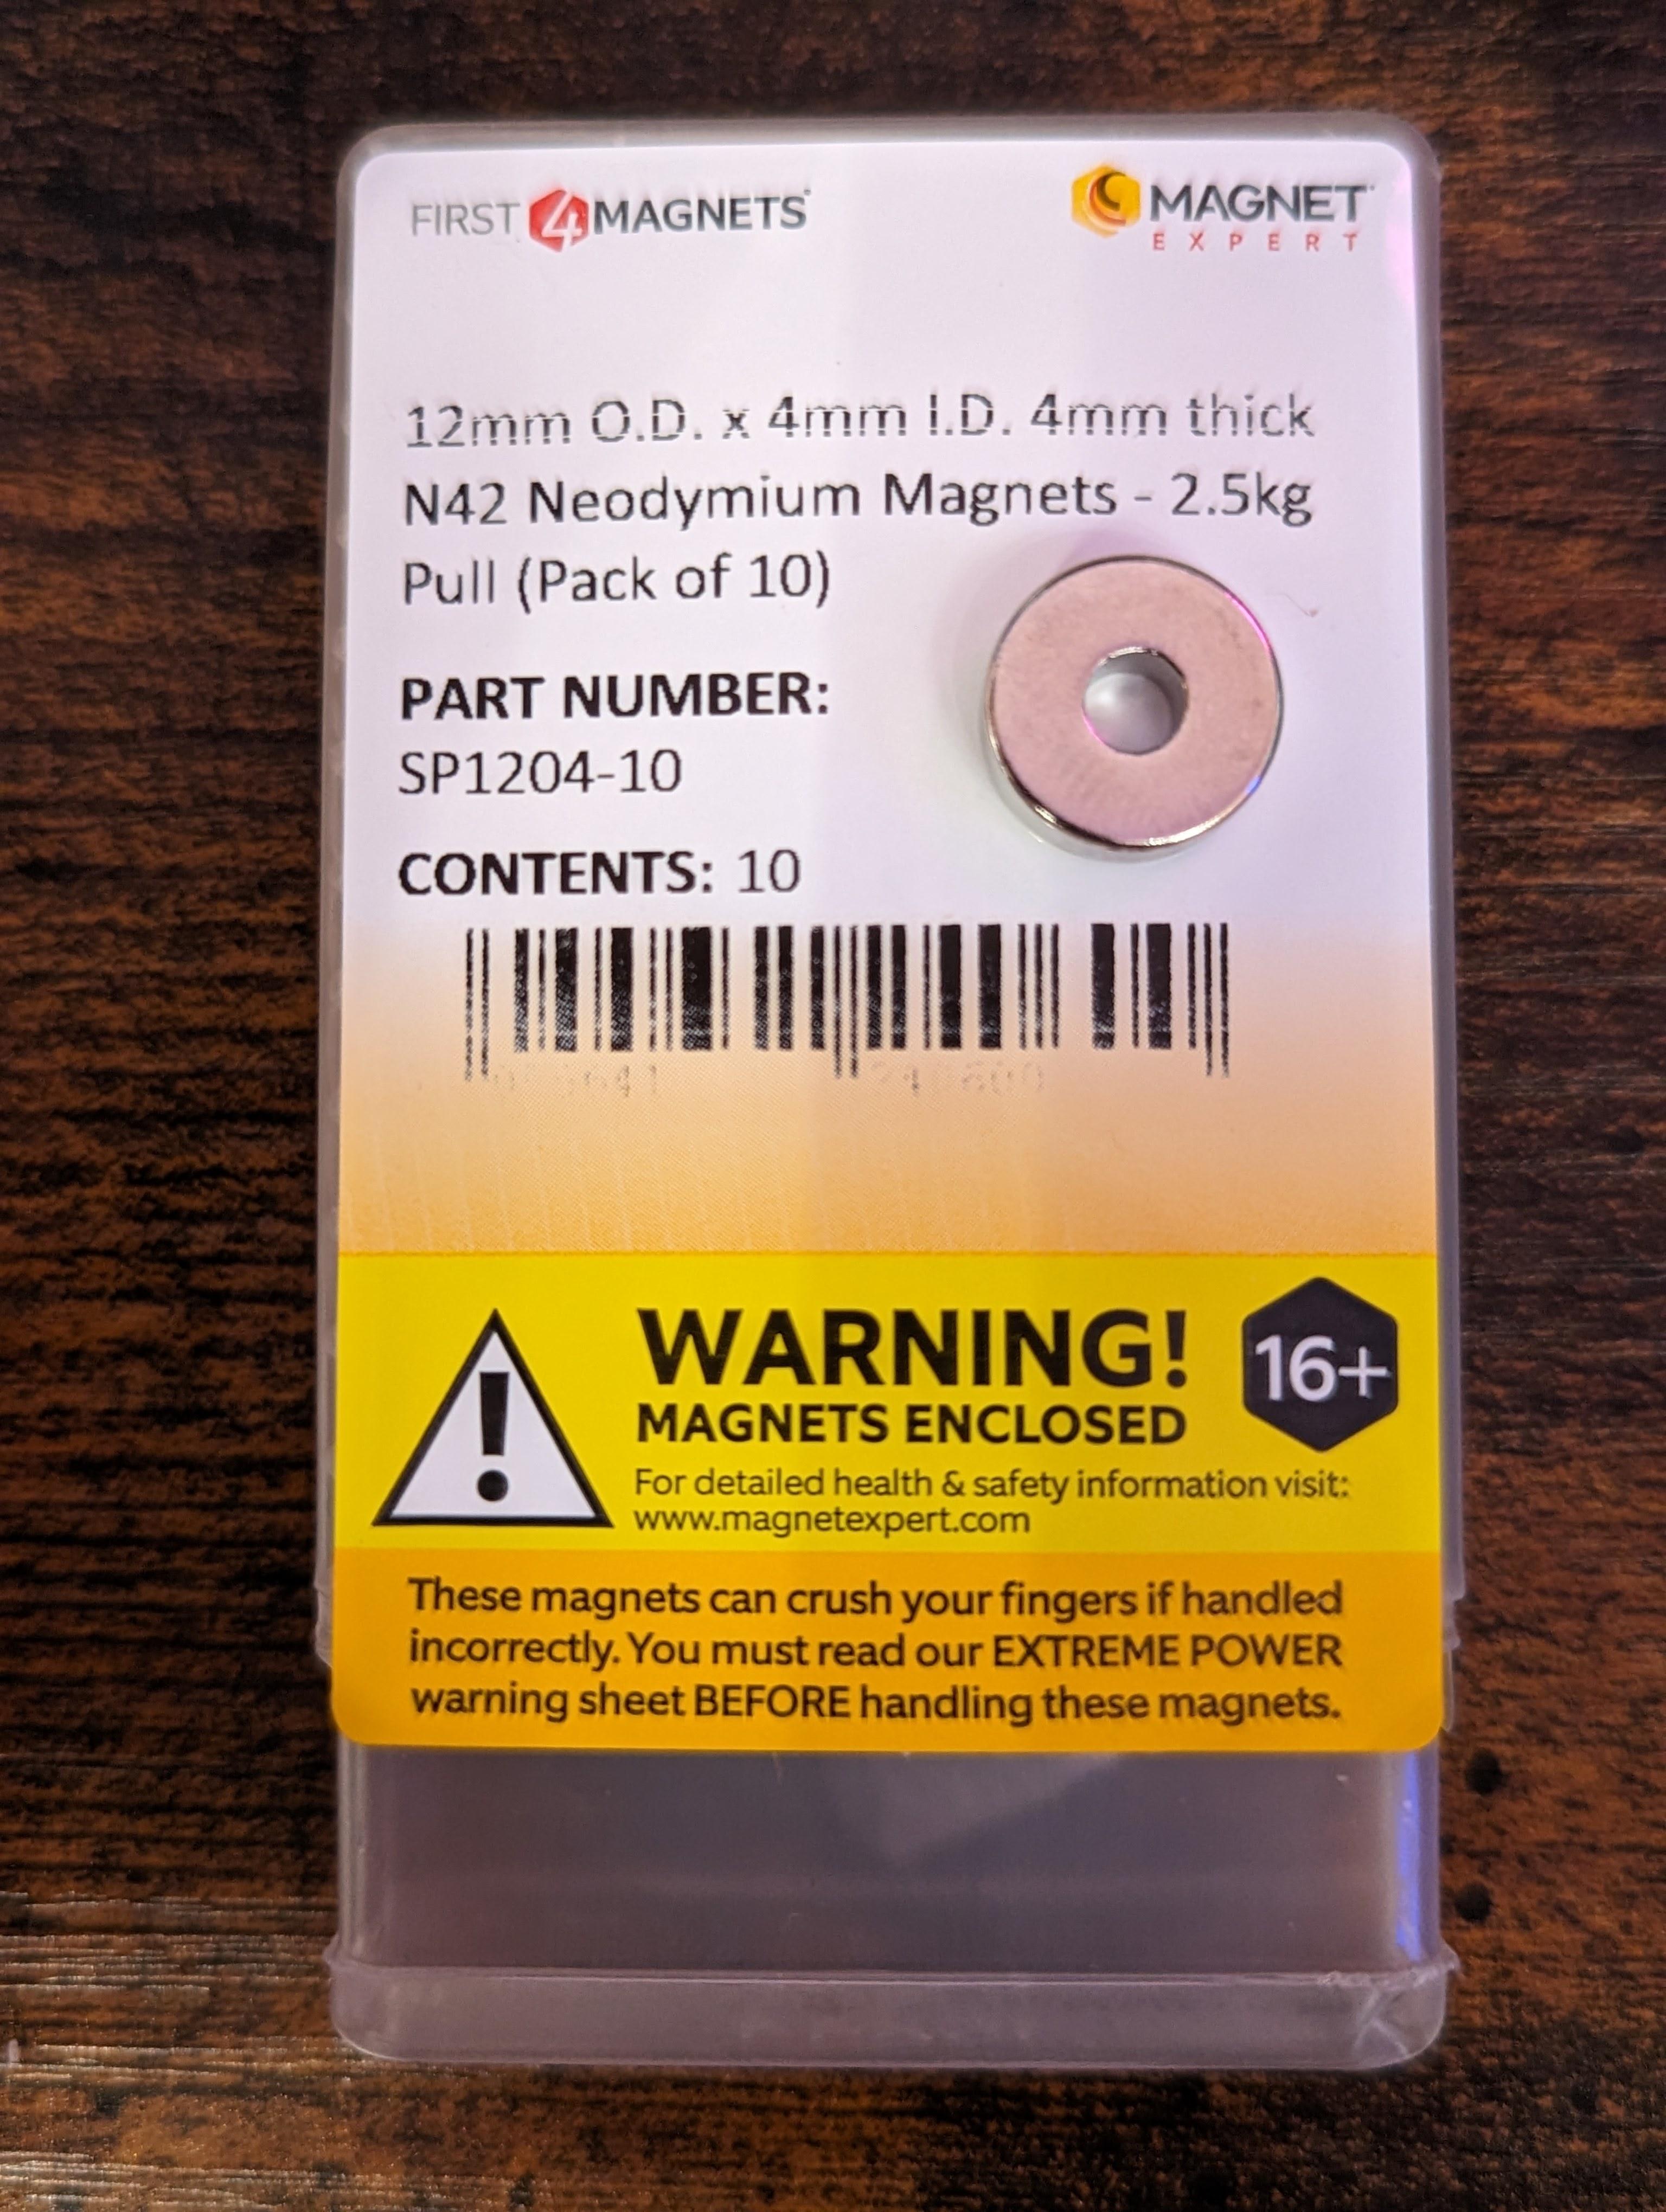
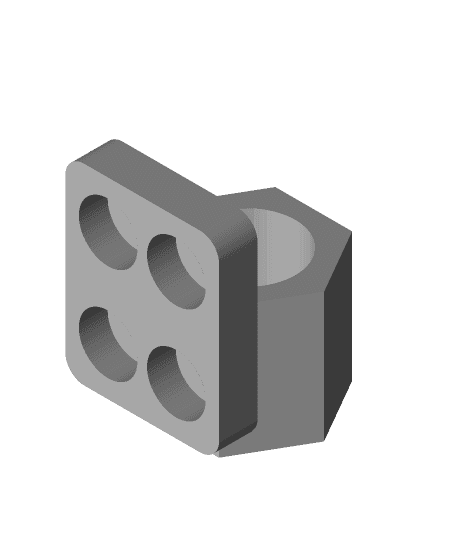
UPDATE! I was finally able to source the perfect magnets for this. The dimensions are slightly larger (12mm vs 10mm) so I've updated the models accordingly. I left the originals for the countersunk 10mm magnets as those are easier to obtain. However, the 12mm magnets are so strong, the brace is no longer required to prevent a disconnect when abrasive filament is being retracted.
New 12x4mm magnets can be ordered from FIRST4MAGNETS.
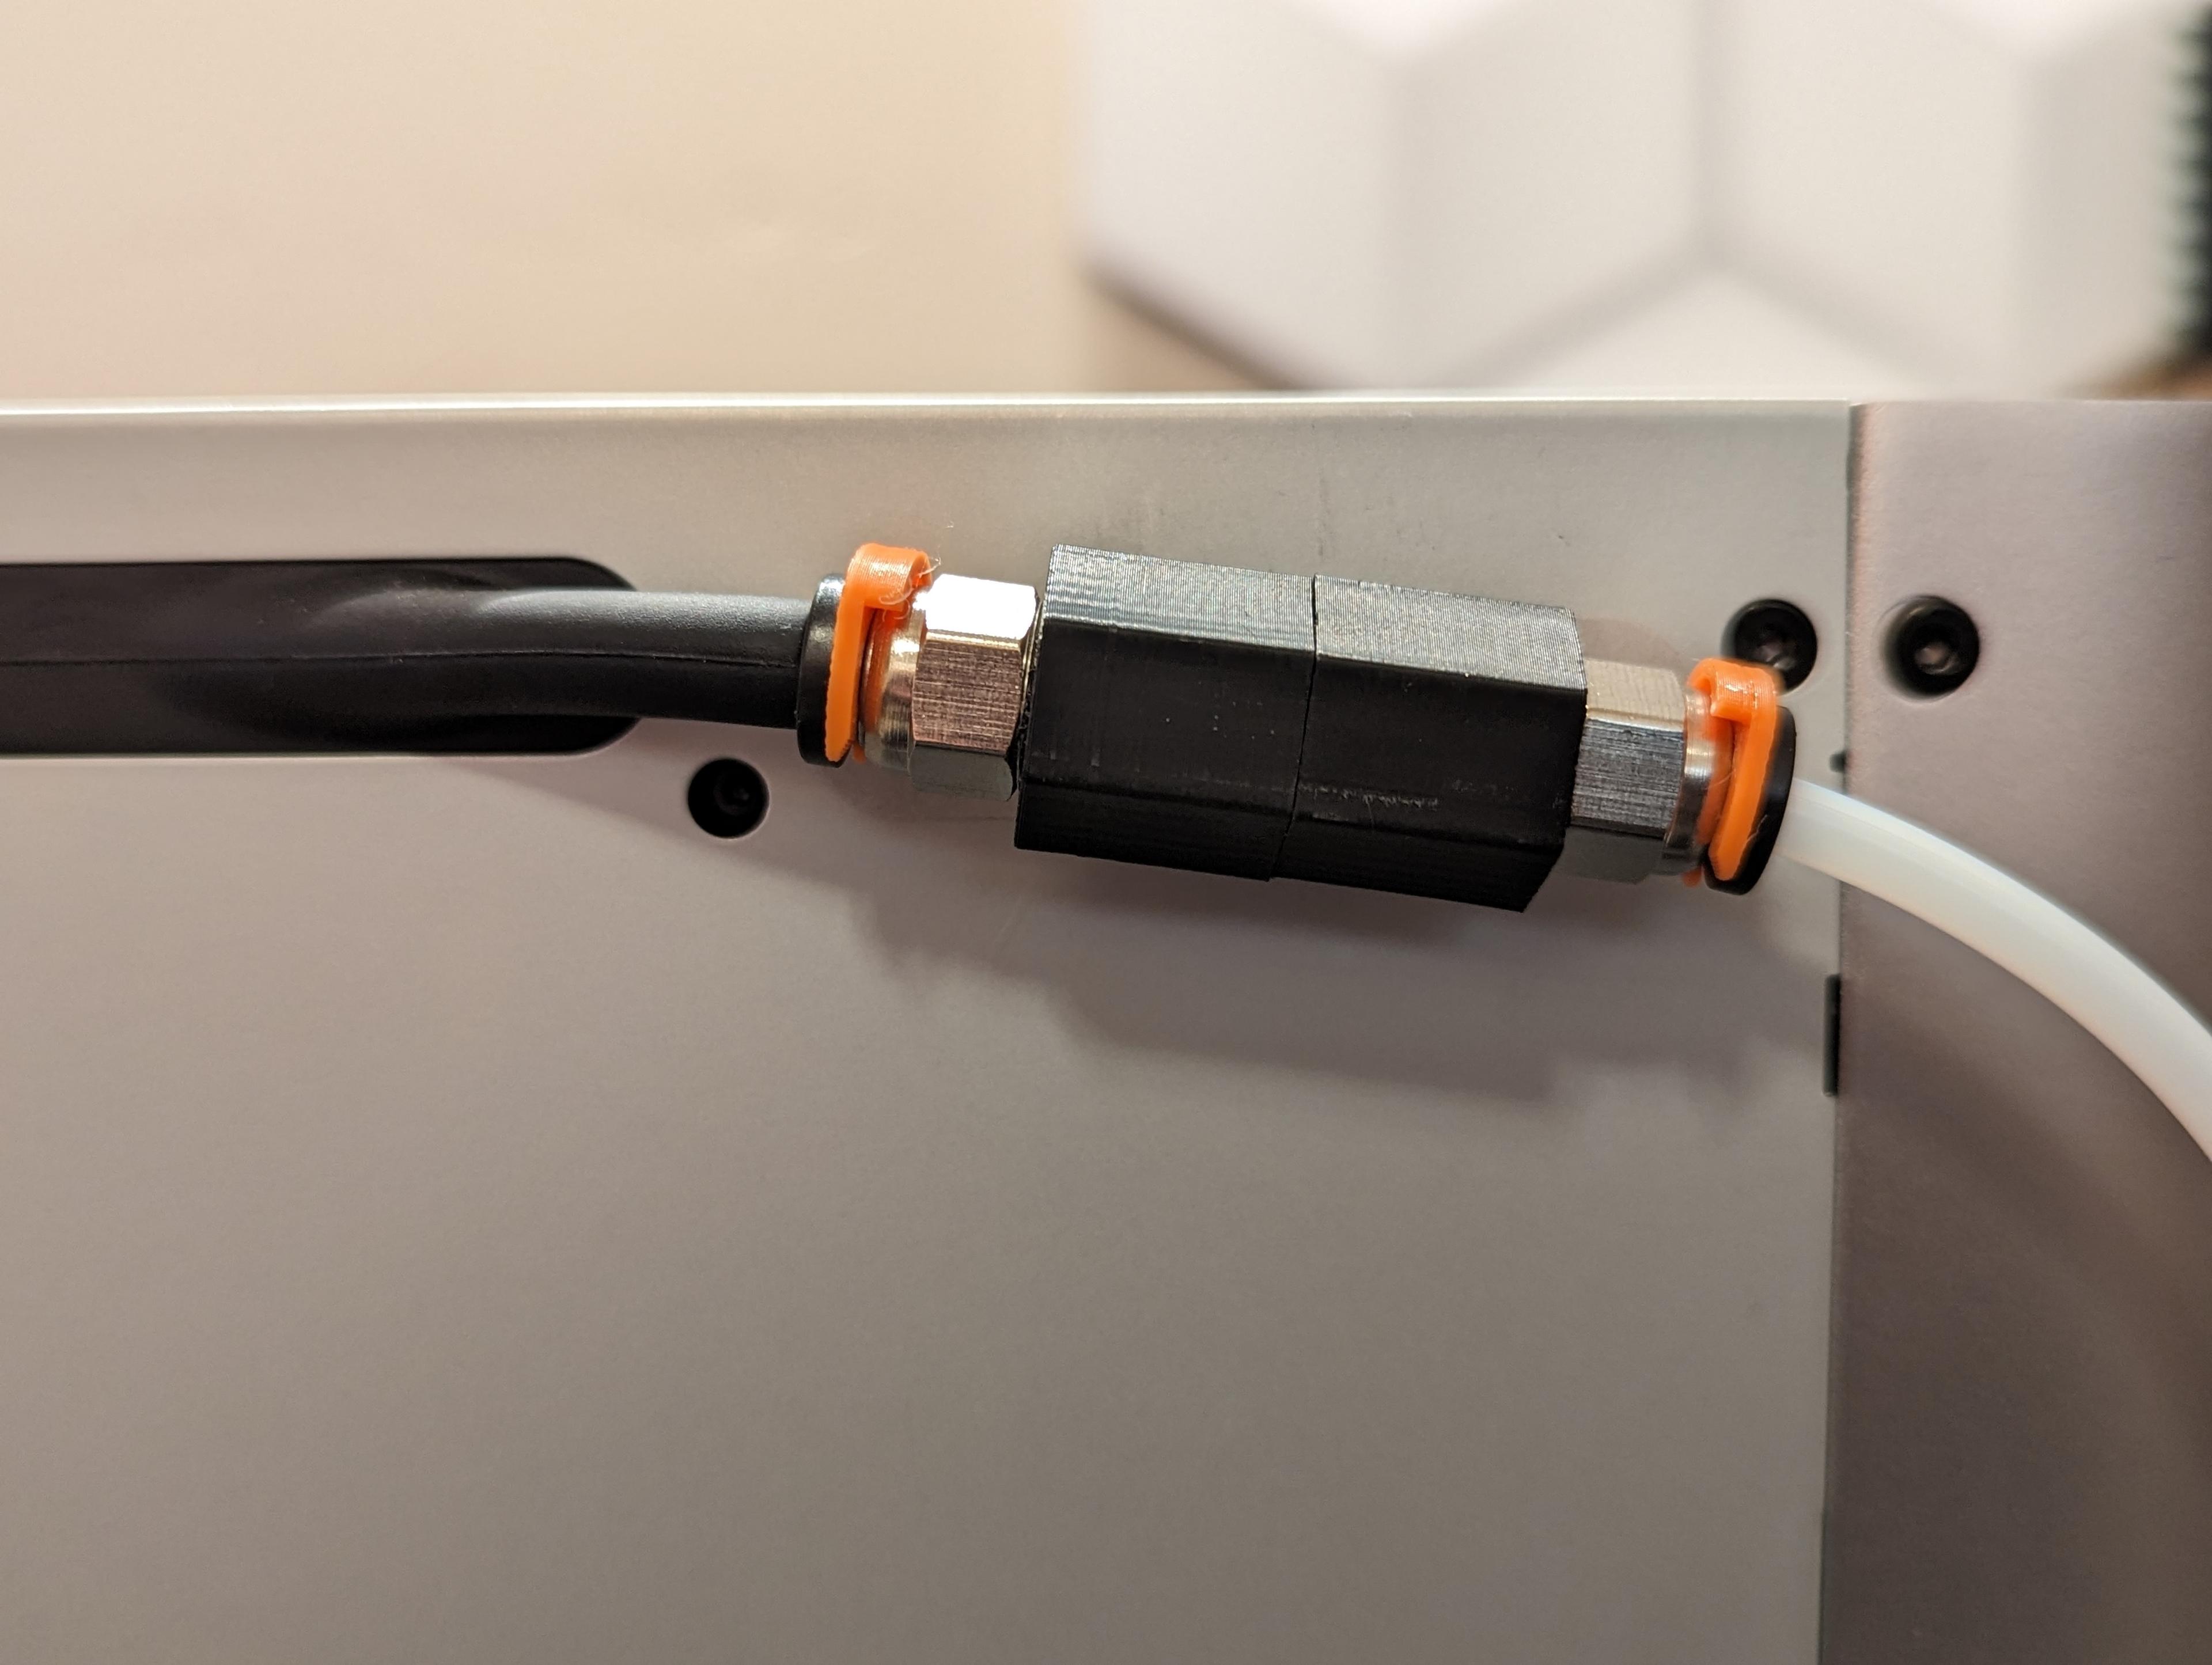
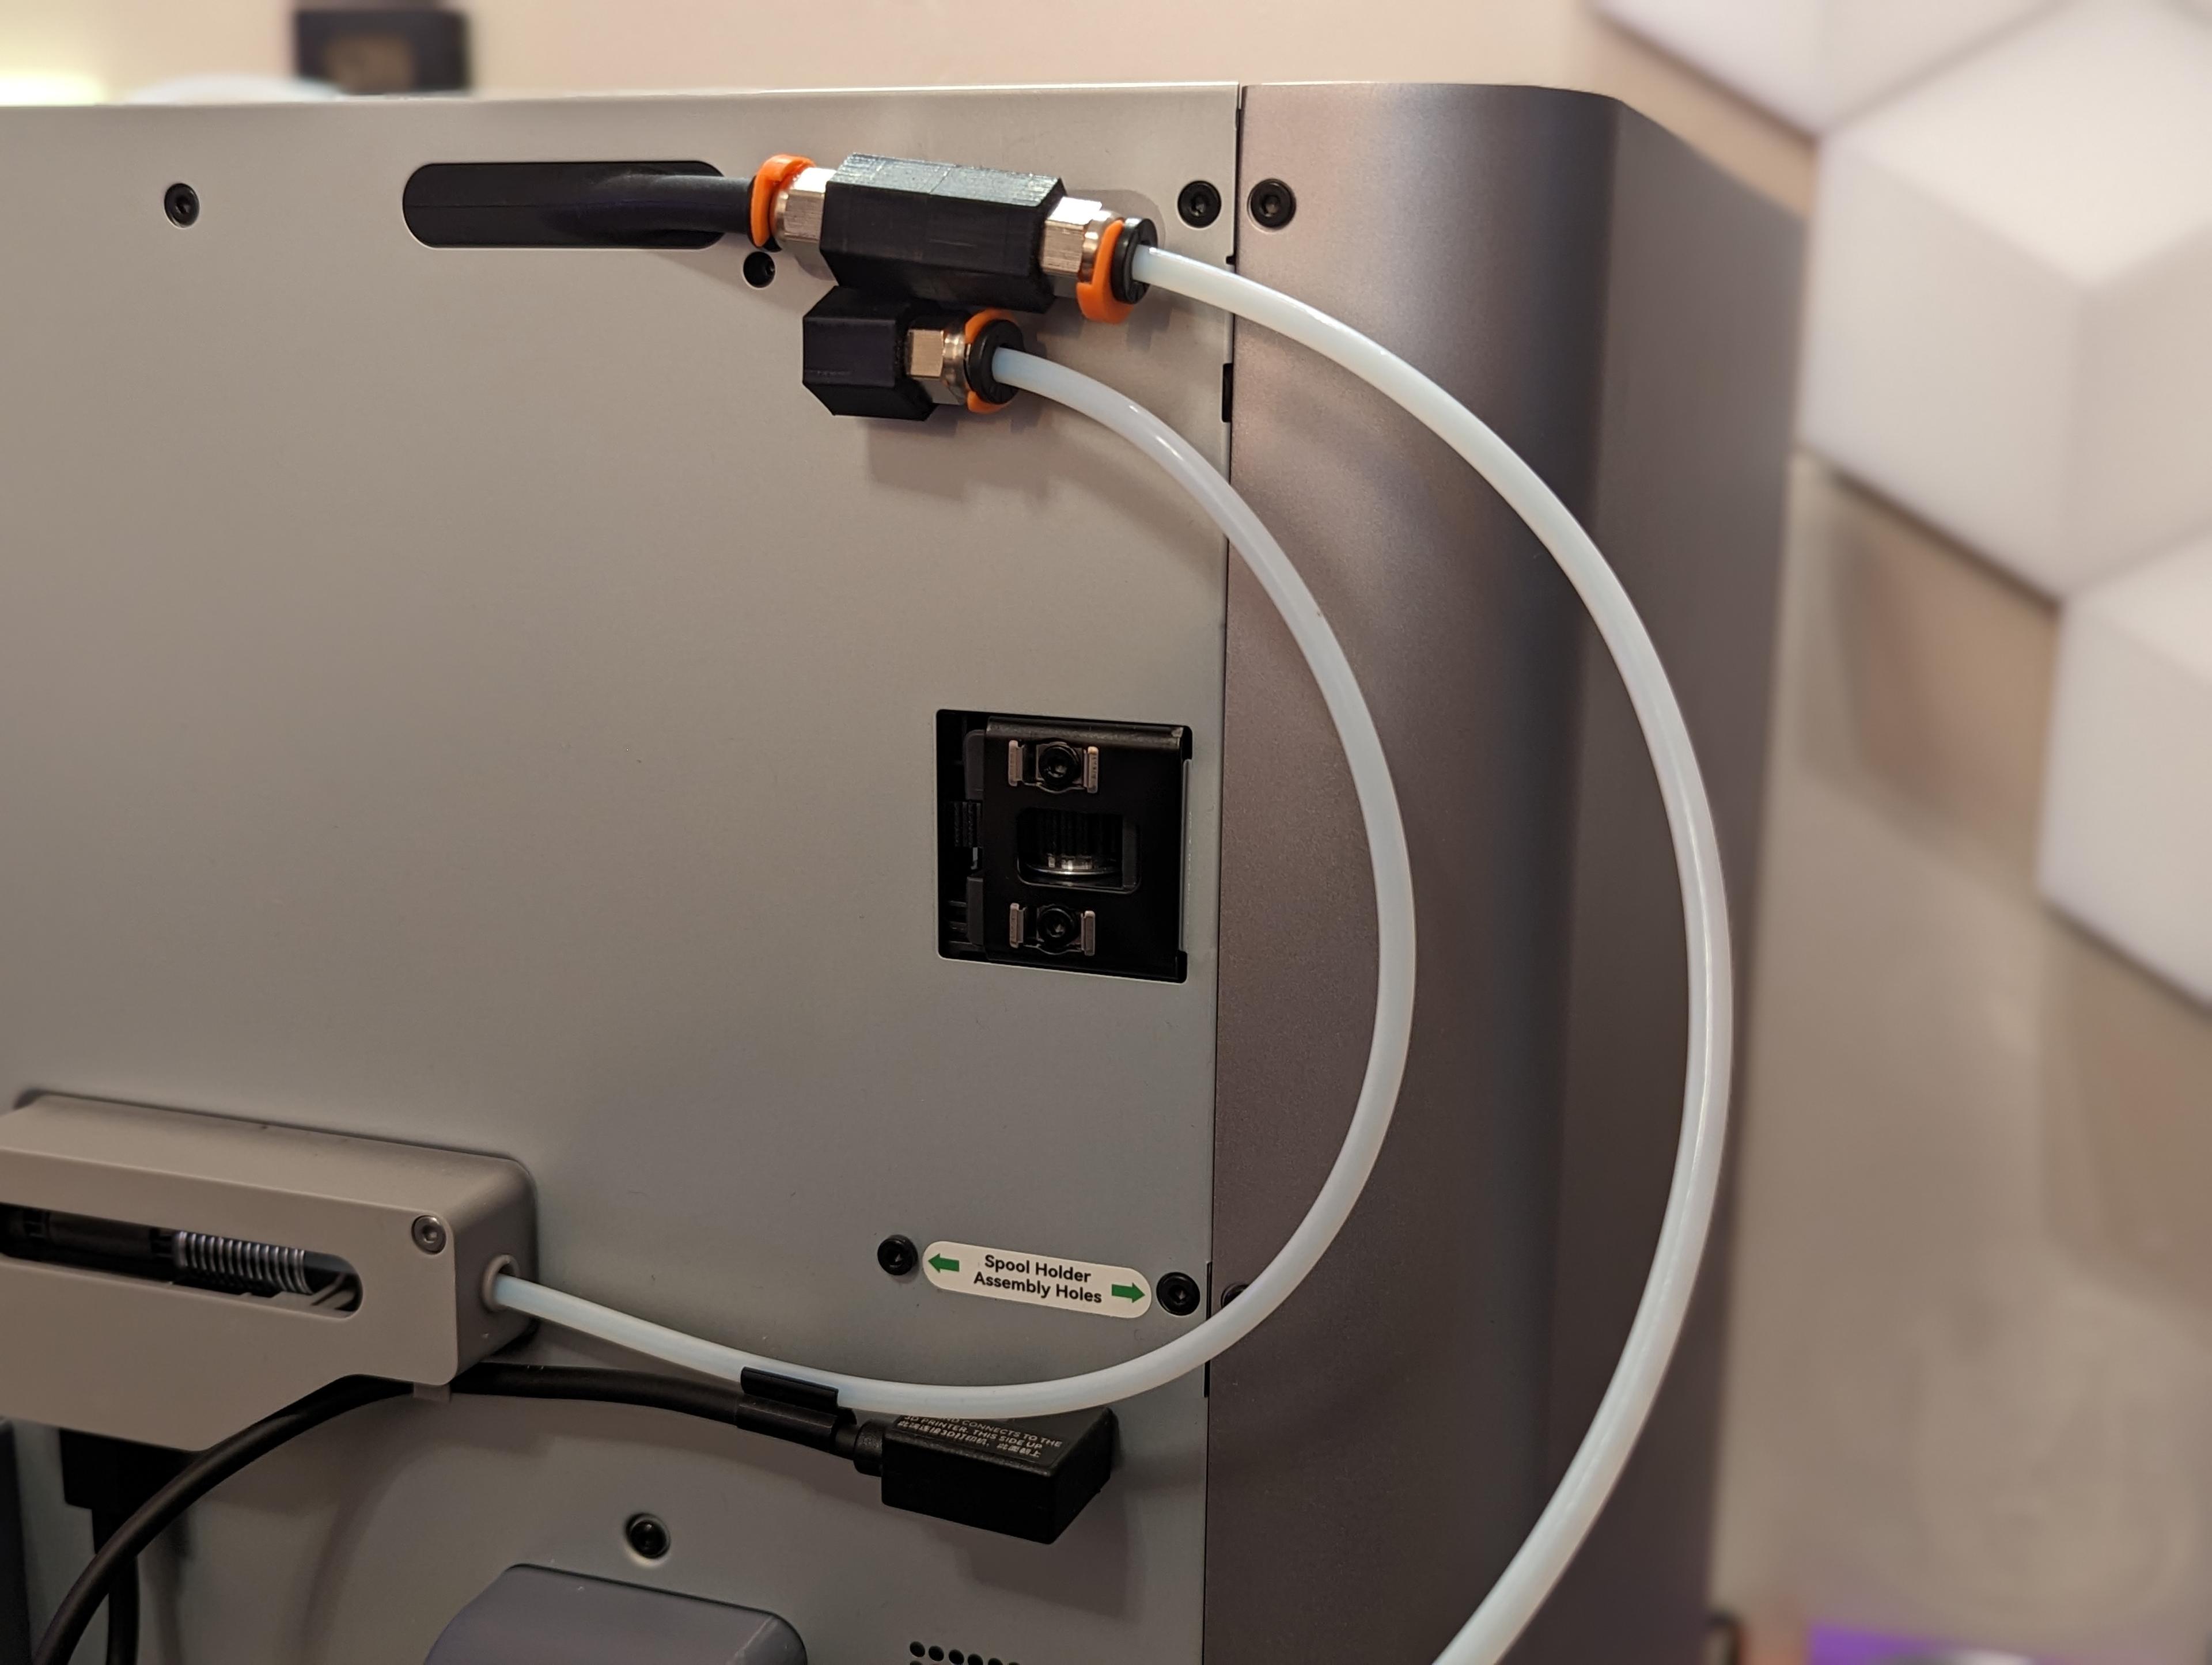
My concept for a quick-change adapter for easily attaching/detaching the AMS feeder from a Bambu Lab P1P. (It also works great on the X1C!) This lets you easily detach the AMS to manually feed filament from an external spool. #ThangsBambuContest
My design skills are amateur at best, so there's definitely room for improvement here and I encourage anyone to evolve this concept. Please see the Areas for Improvement section below.
Bill of Materials:
- PC4-M10 Pneumatic Fittings - Amazon
- 10x4mm Disc Magnets with 4mm Hole - Amazon
- 6x3mm Round Magnets - Amazon
- PTFE Tube (if necessary) - Bambu Lab Store
Printing Instructions:
- I really like eSUN PLA-ST filament for projects like this because it seems to be a little more pliable and less prone to cracking.
- Print using 100% rectilinear infill with 0.16mm layer height.
- Print the objects using the orientation defined in the STL file. You will have to add supports below the base for the printer-side coupler. Painting them on this area with Bambu Studio works best.
Assembly Instructions:
- The magnets should easily friction-fit into the holes, but feel free to add a drop of superglue if necessary.
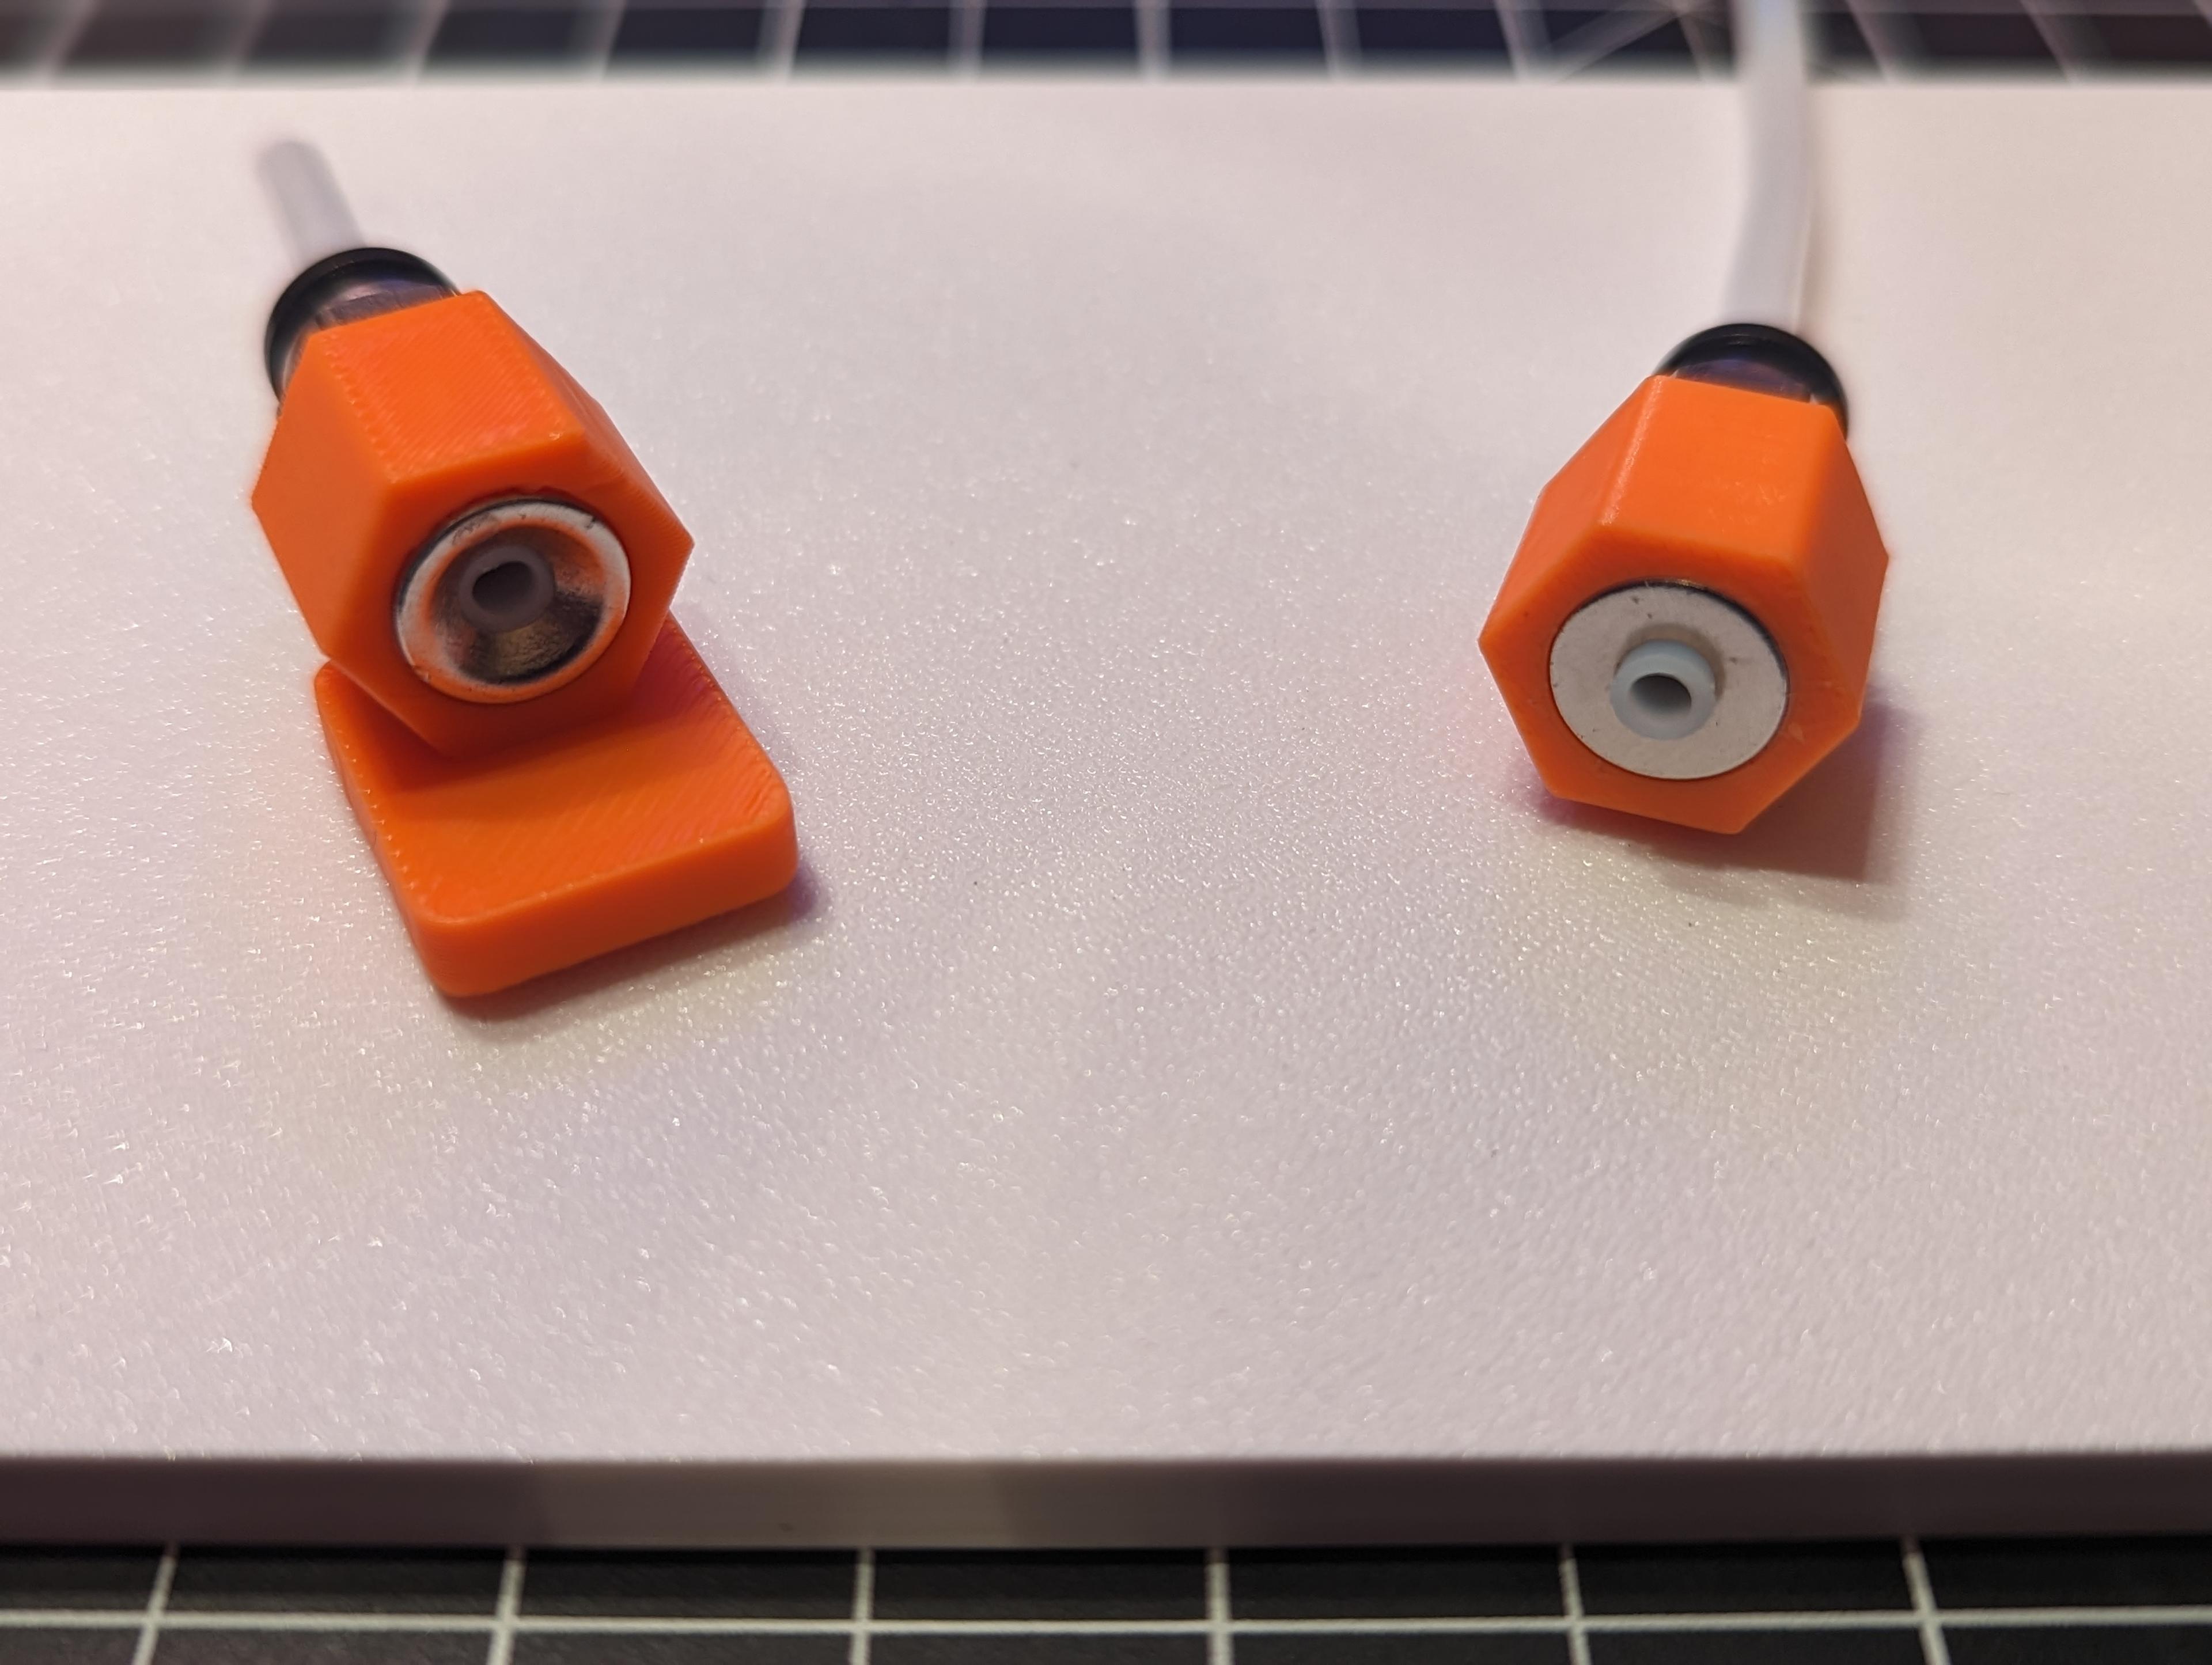
- Stack two disc magnets for each of the couplers.
- If using the countersunk magnets, the concave side should be on the printer half and the PTFE tube should be flush. The flat side should be on the AMS half and the PTFE tube should protrude a bit so it aligns with the tube in the other coupler.
- There are no threads for the pneumatic fittings because that is outside of my Tinkercad skill level. This is definitely something that can be improved. However, I mounted the couplers in a bench vice and carefully tapped the pneumatic fittings in by applying pressure while turning with a box wrench. (This is why I recommend PLA-ST or another "tough" filament.)
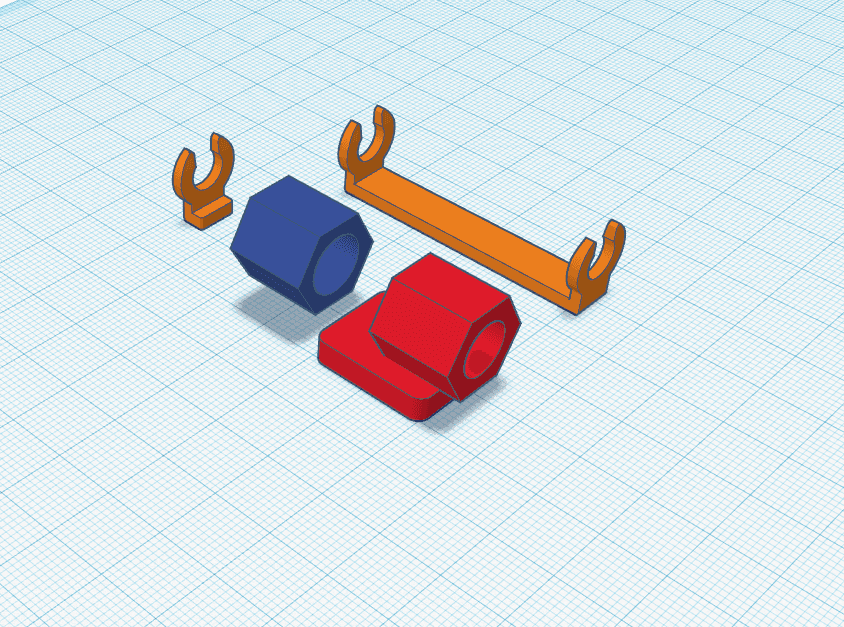
- Although this kind of defeats the purpose, I have included a design for a "brace" which clips onto the pneumatic fittings. This just gives extra security in case the filament retraction overpowers the magnets.
- You may need to add a longer PTFE tube to the printer so there is enough slack to fully engage the pneumatic fitting. Use your best judgement here, just make sure the toolhead can access the entire print surface.
- They say a picture is worth 1,000 words so take a look at those for more clarity.
Opportunities for Improvement:
- Threads for the pneumatic fittings would be nice.
I'm not thrilled with the hole magnets. I would prefer they were not countersunk for increased magnetic strength, but these were the best I could source on Amazon. If the magnets were stronger, the brace wouldn't be necessary.
Attribution: The coupler design is my own original, however the clip & brace are based on the design by G4ZO on Thingiverse. Thanks dude!
