


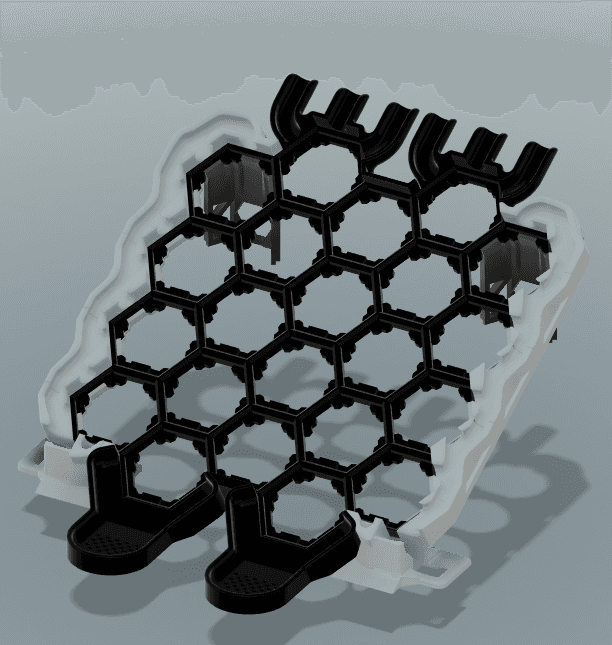
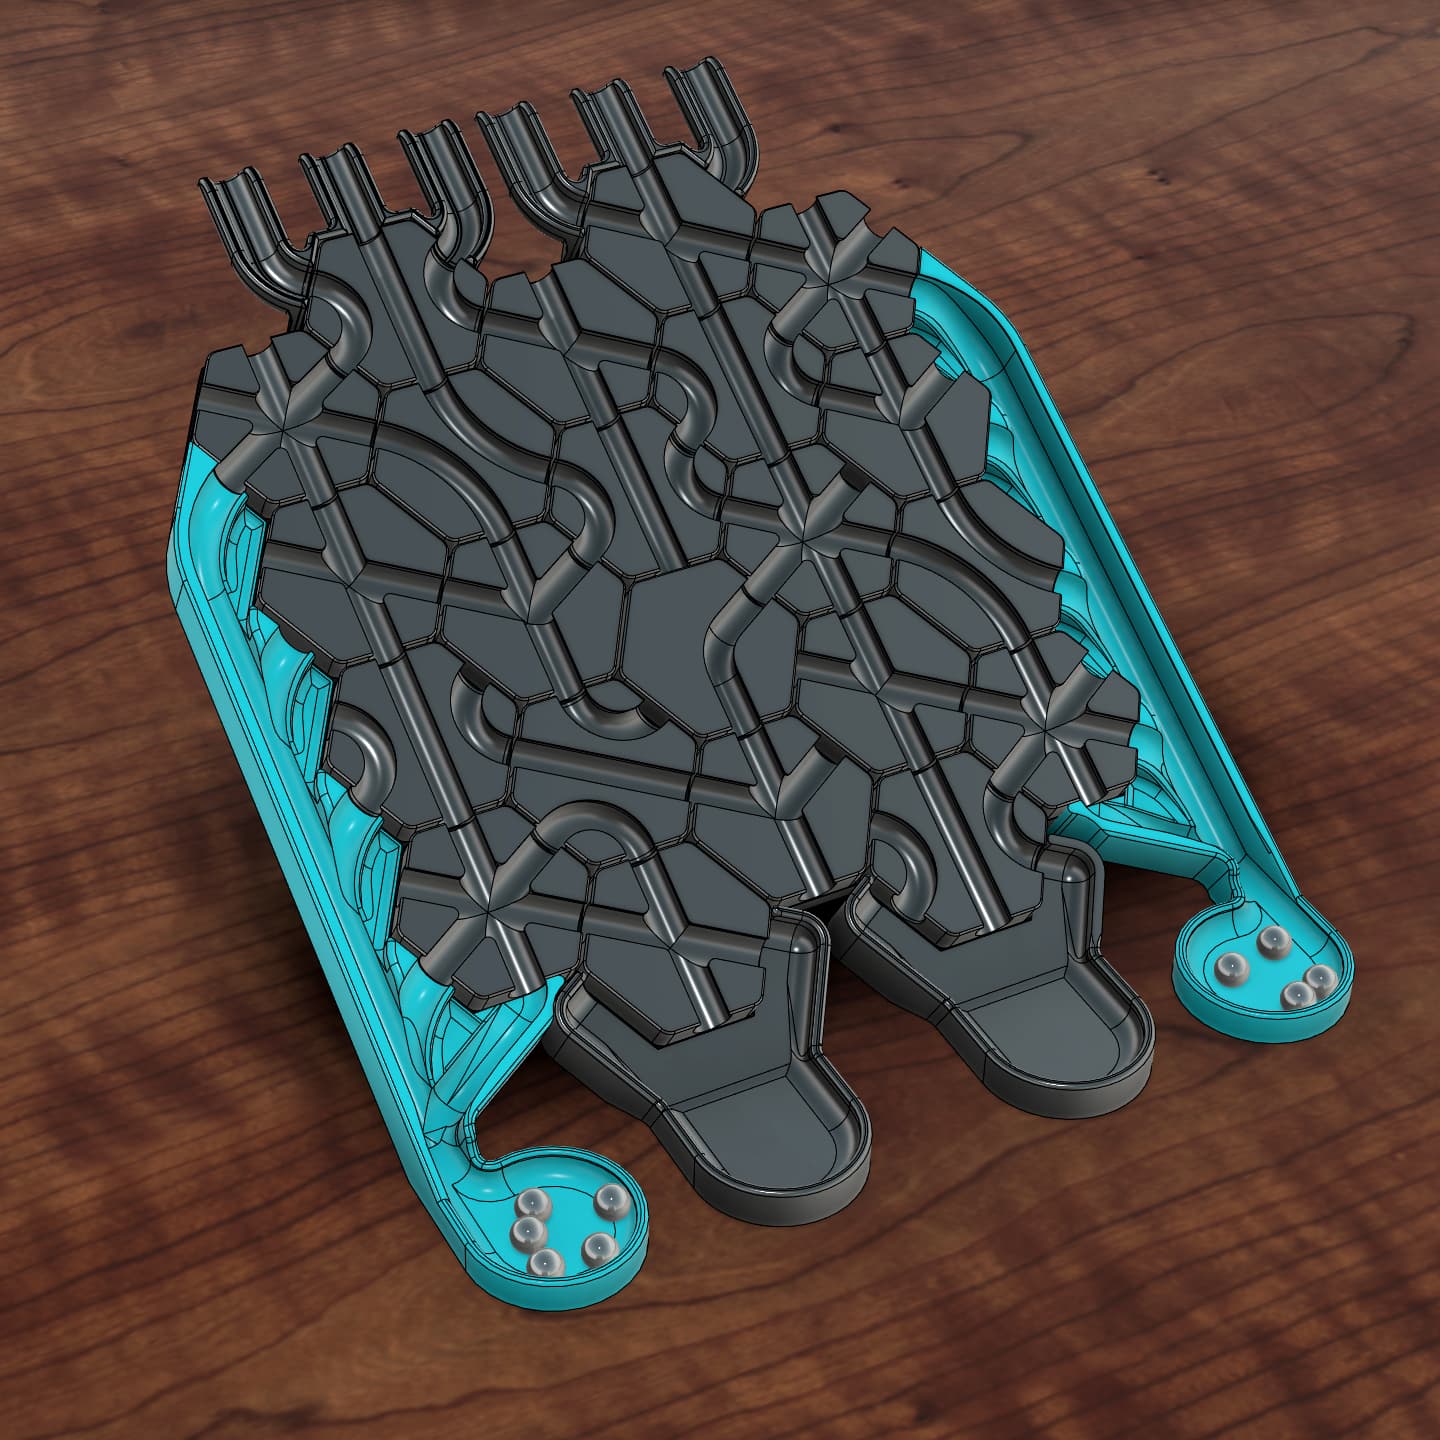
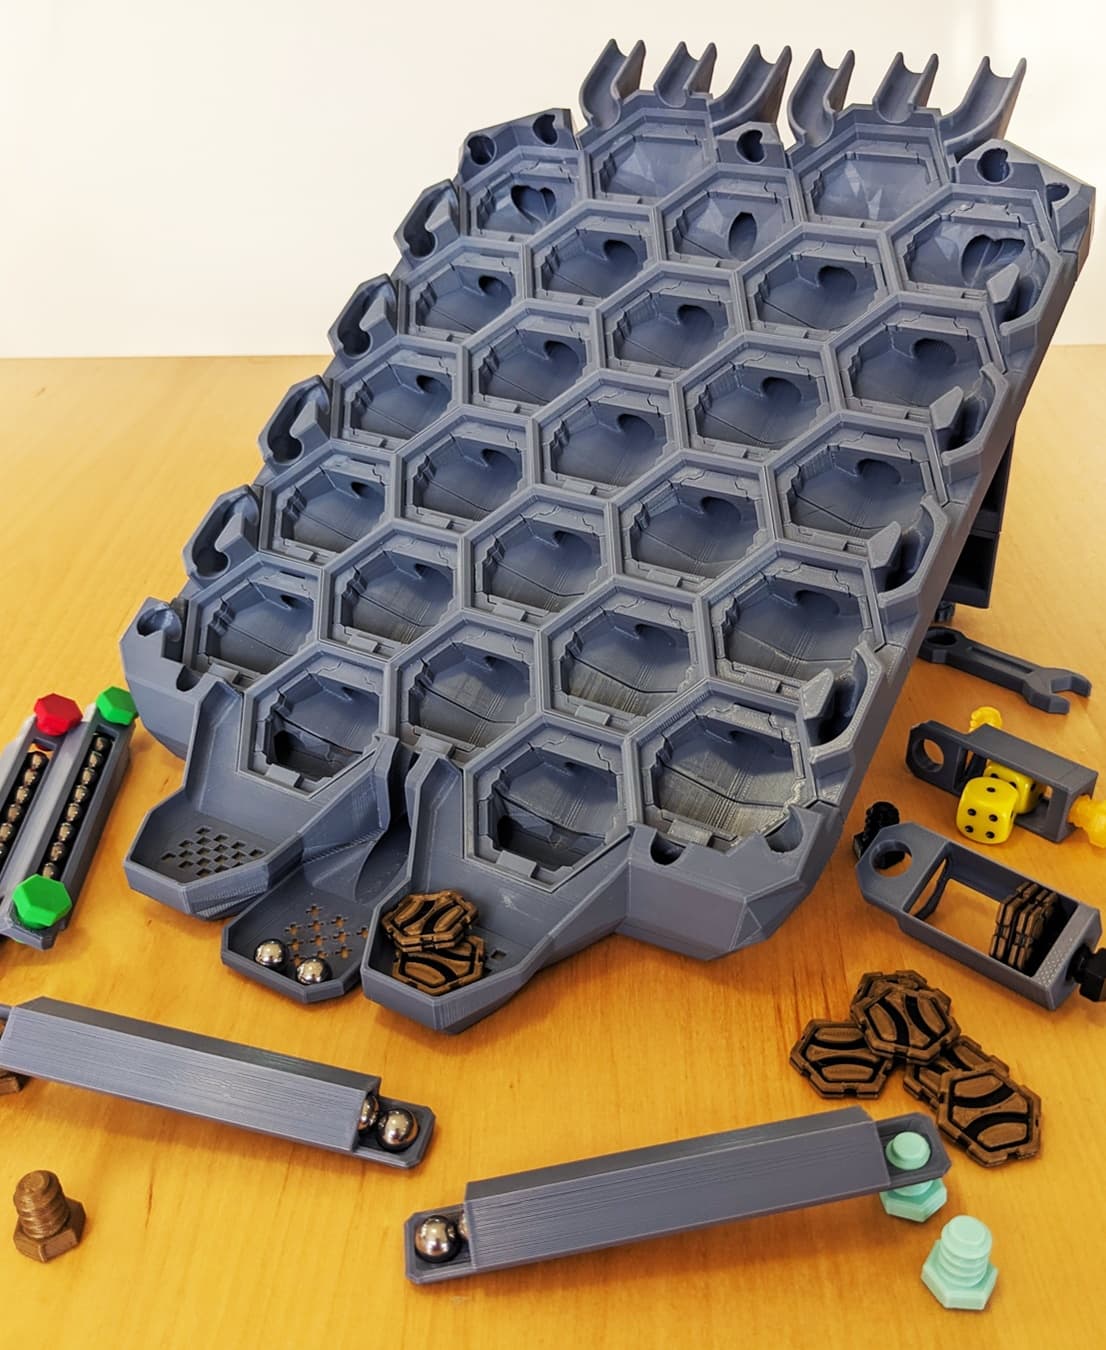
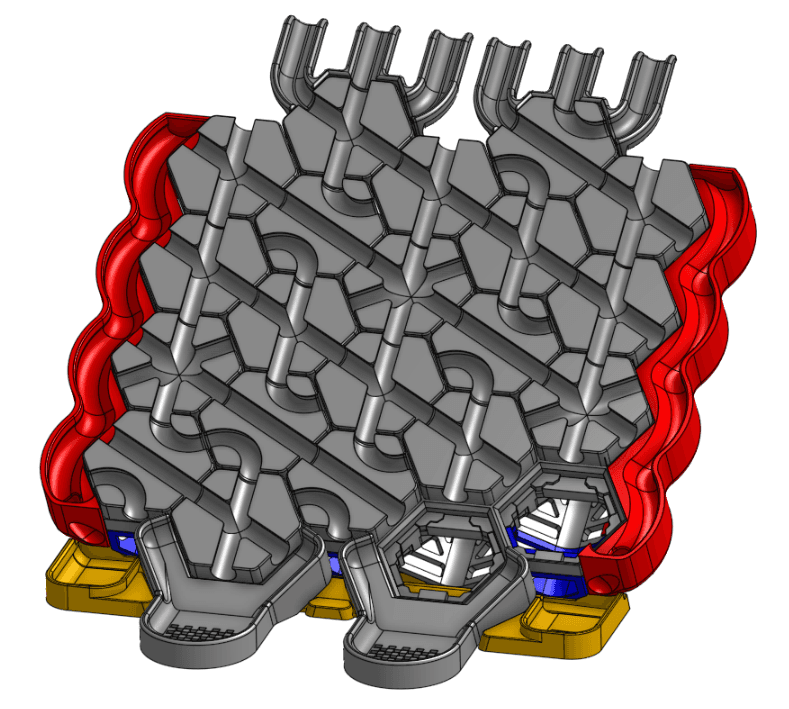
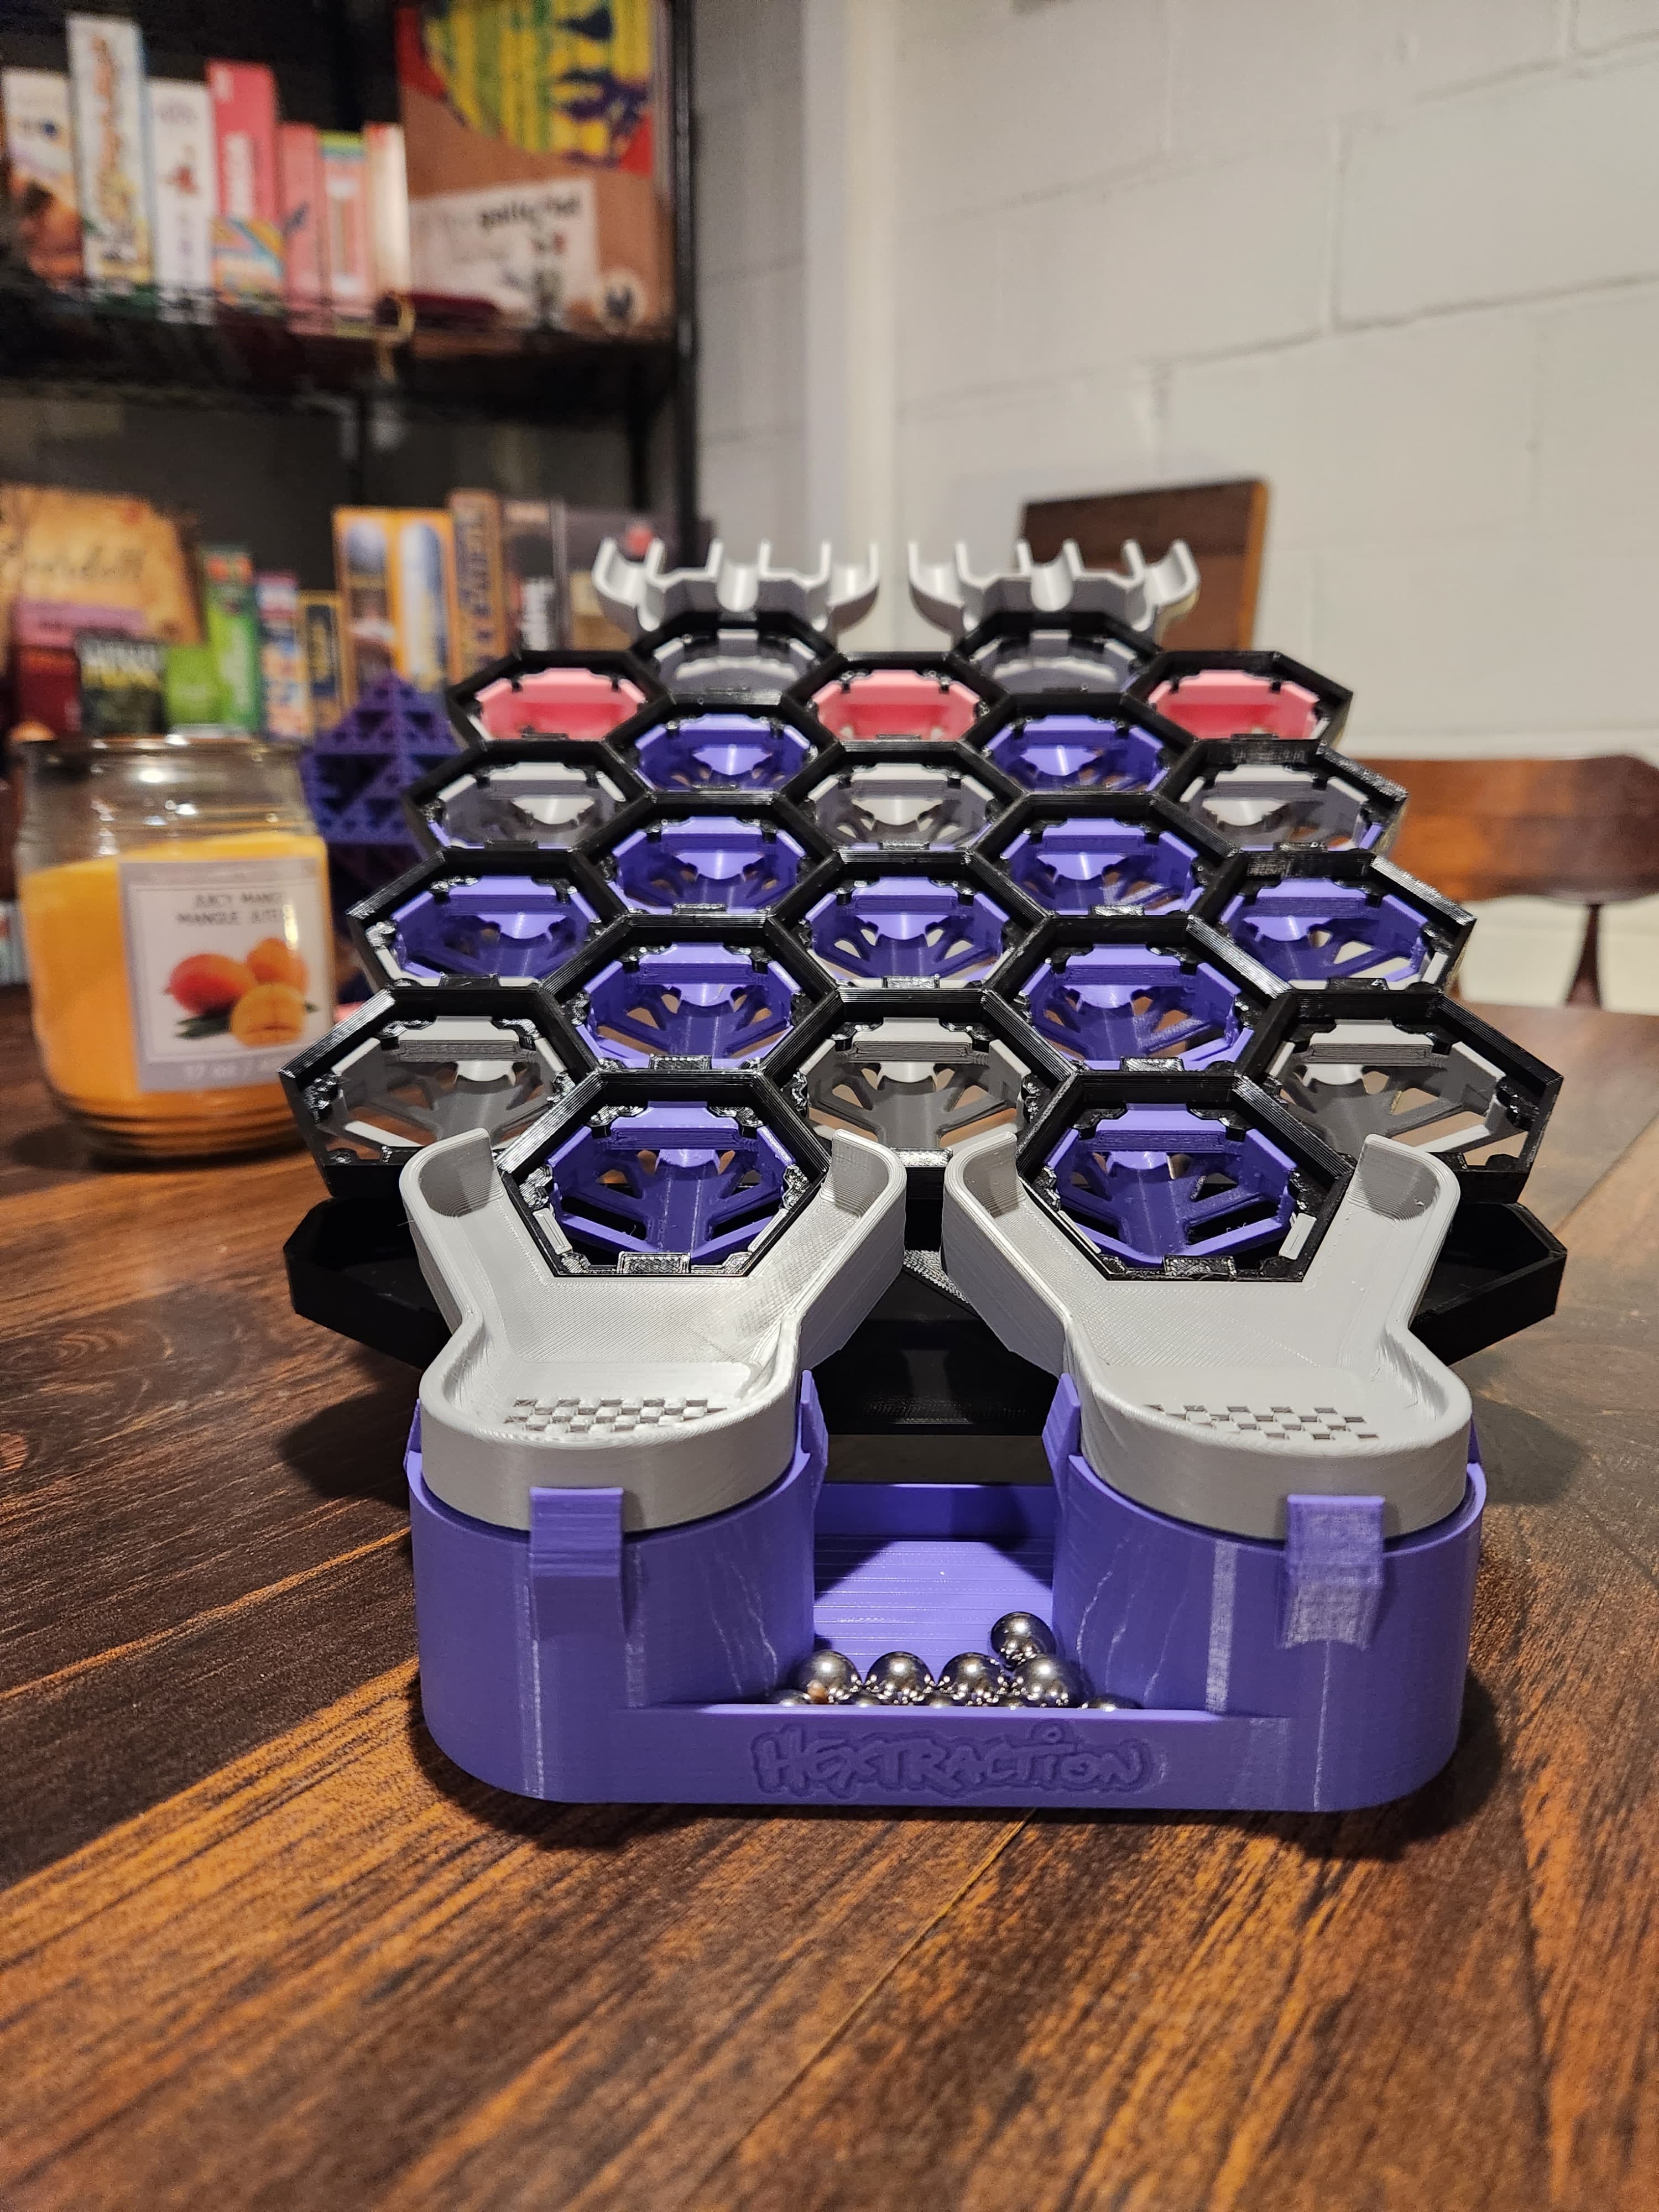
Full Hextraction Gutters
Are you tired of those pesky balls rolling off the table EVERY time you play? You've come to the right place! These gutters are for the fancy board. If you have a basic board, go here:https://thangs.com/designer/andrewtho5942/3d-model/Side%20Hextraction%20Gutters%20--%20Basic%20Board-884874?manualModelView=true&source=Recent. In this description, I will outline the features of this gutter design, how to print the parts, and assembly instructions/tips.
-
FEATURES - All of these parts have been fully tested and improved through multiple iterations and
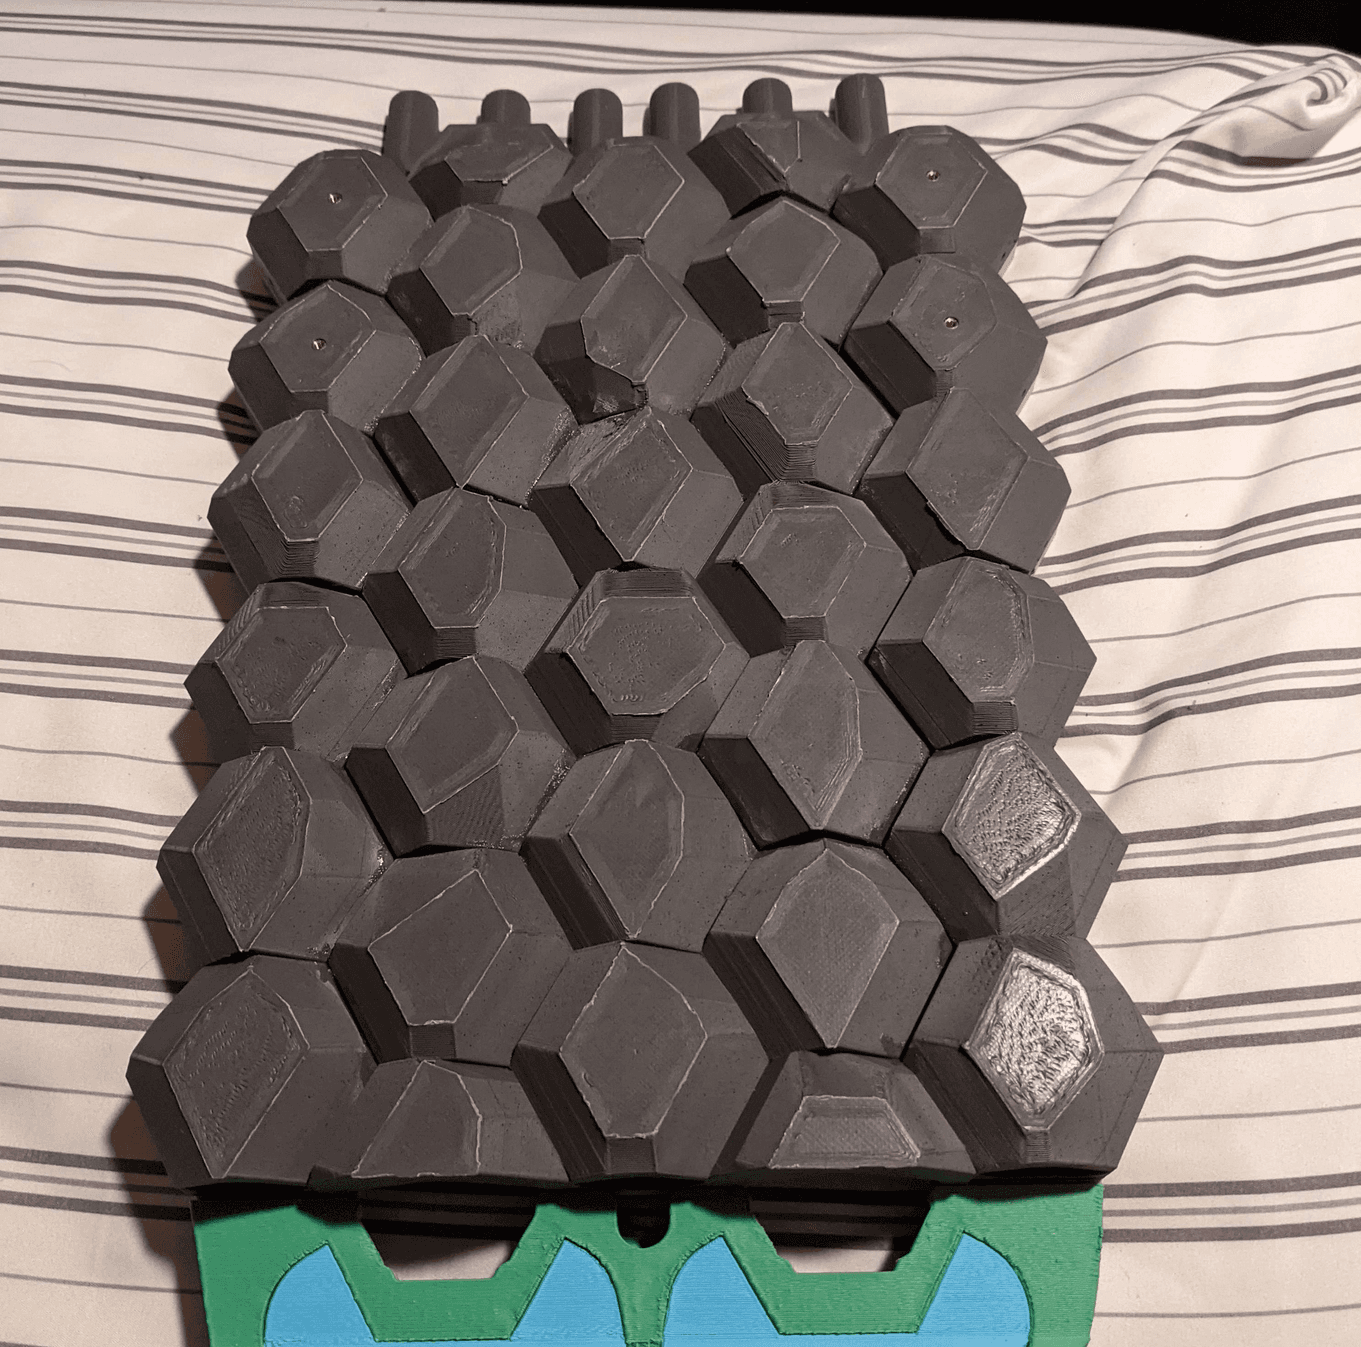
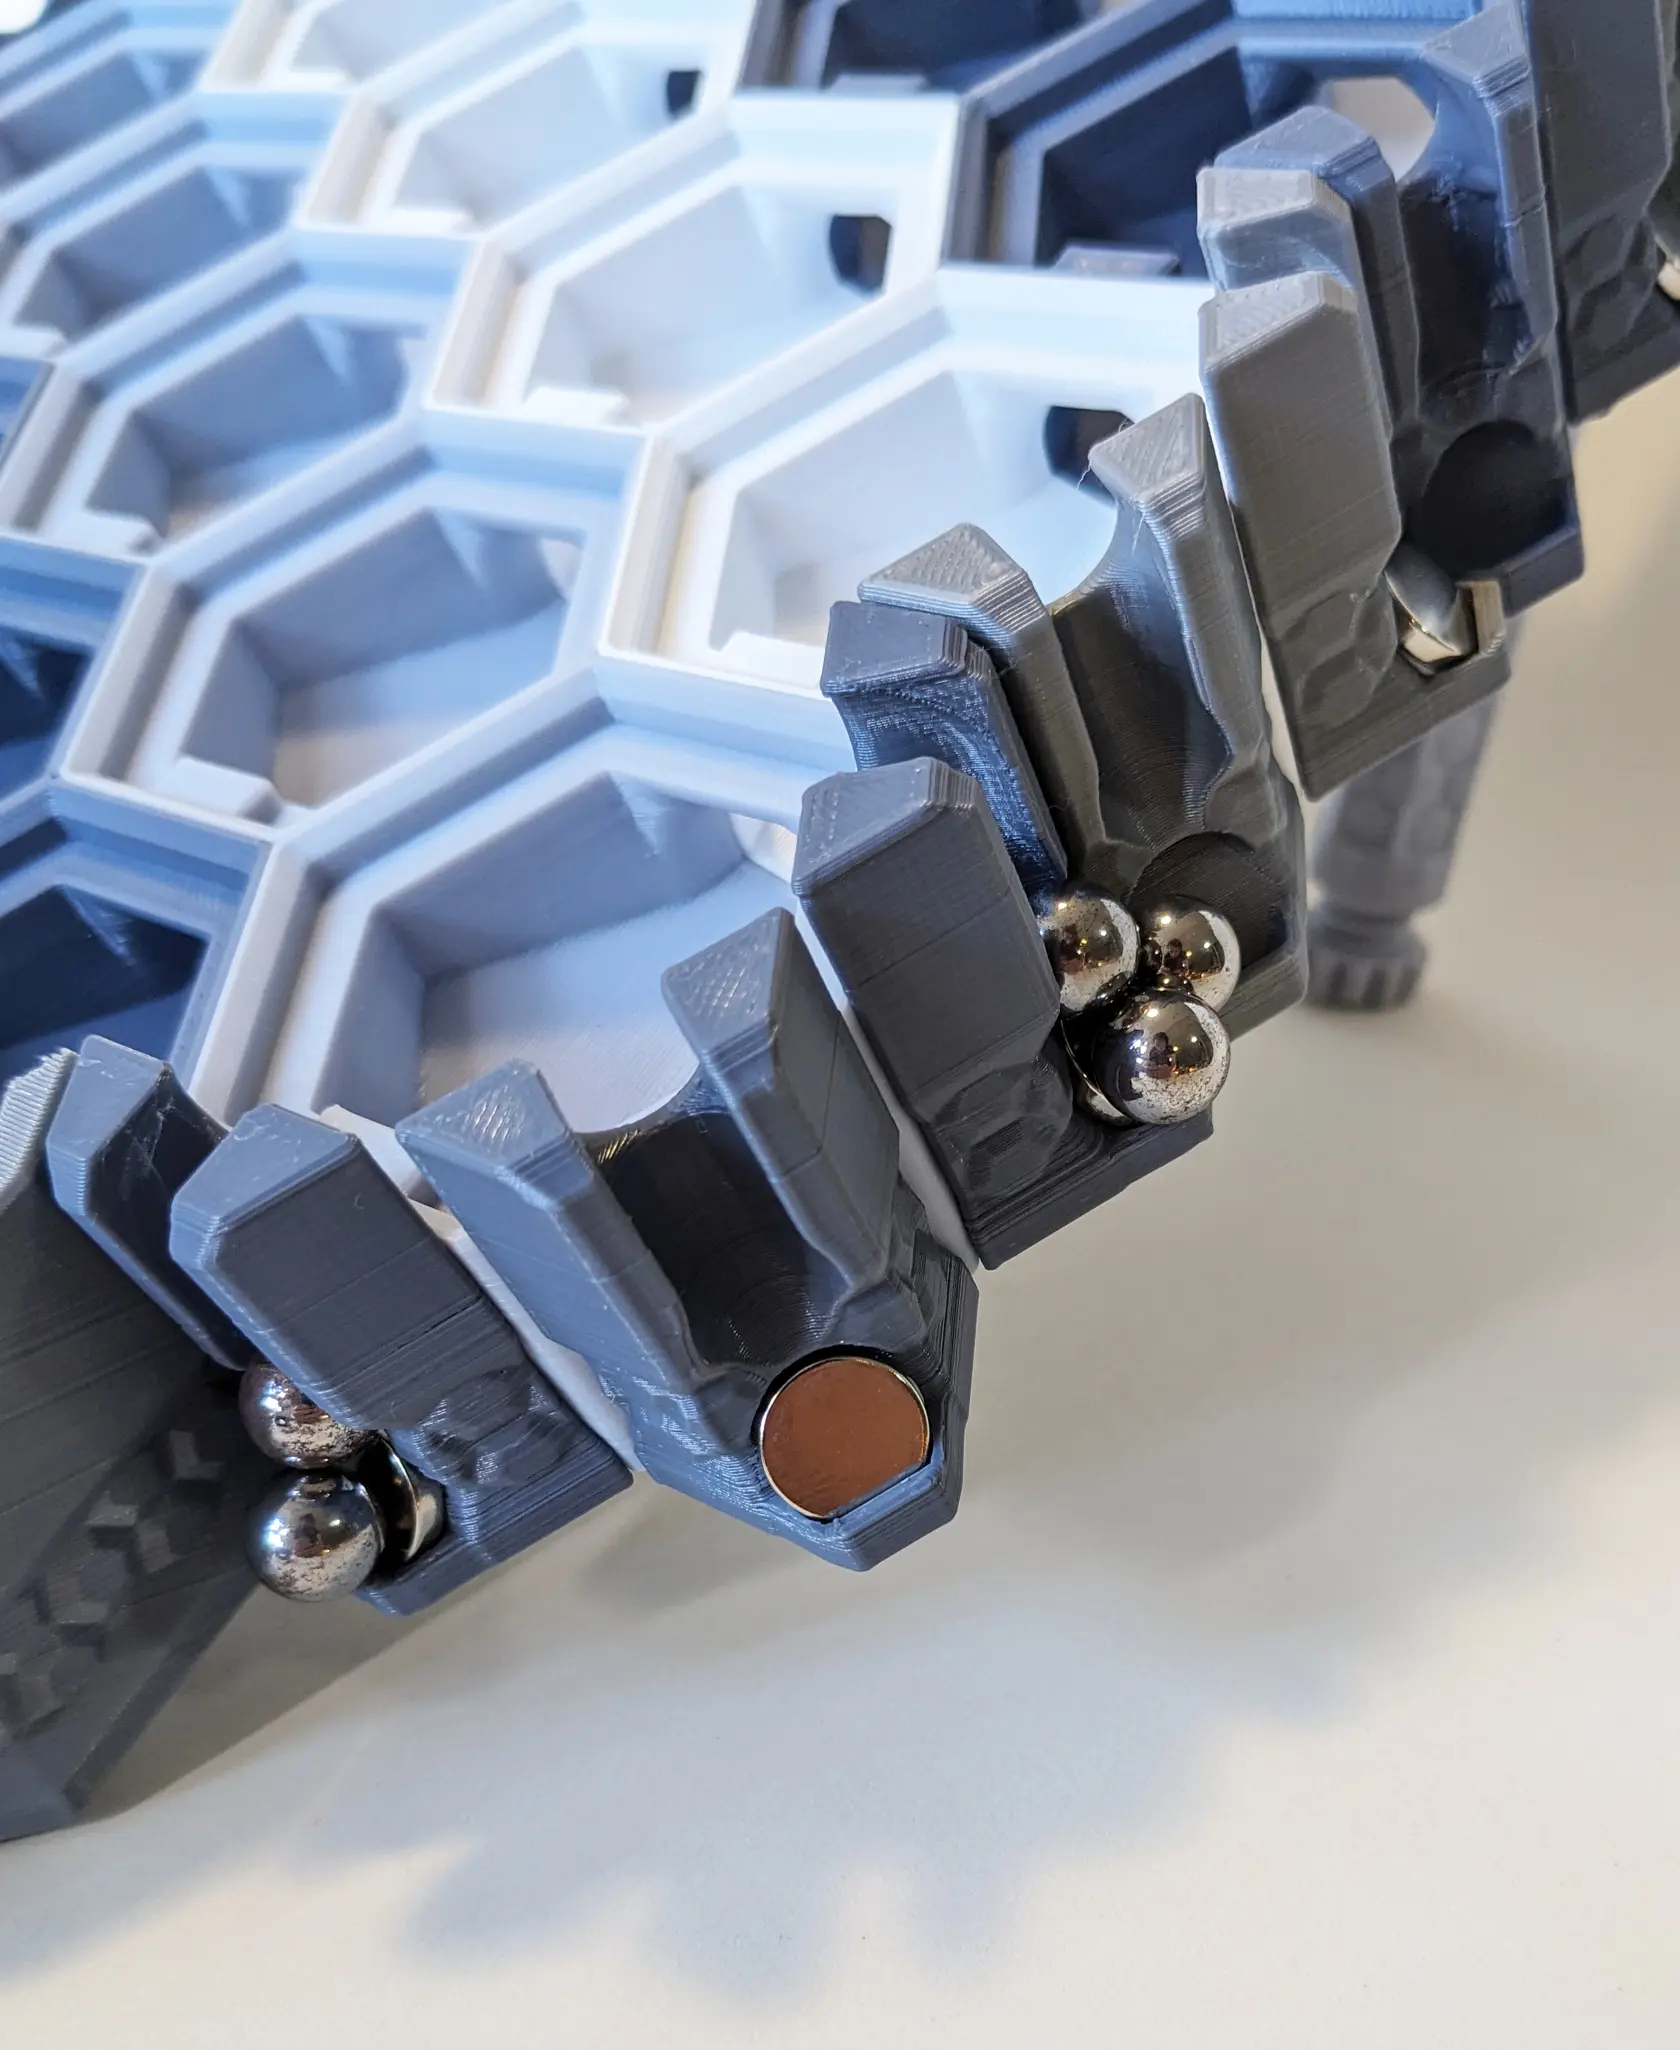
pain. NOTE the bottom gutters do not funnel the balls to the sides, there just isn't enough room. Instead, the balls will queue up and push each other to the side where they can be collected. With these gutters, every ball will stay in your board and on the table! -
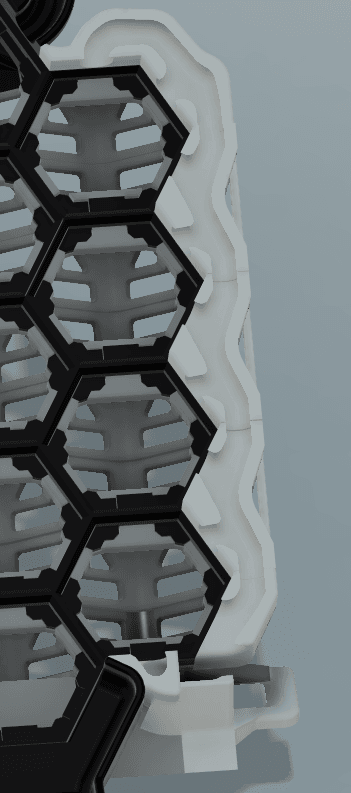
PRINTING - All models are scaled up 10x. If you want the top part of the side gutters to be a different color, I recommend a color change 1mm from the top so that only the lip is changed, which looks nice.
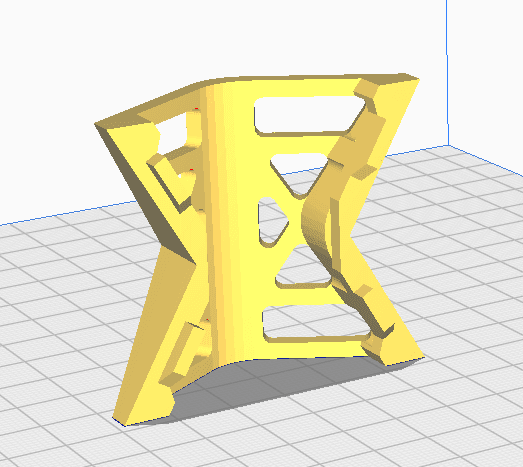
Side gutter pieces should be printed upright with supports below the overhang. Collection trays need supports below the overhang as well. I recommend printing the guide gutters with the flat broad side on the plate.
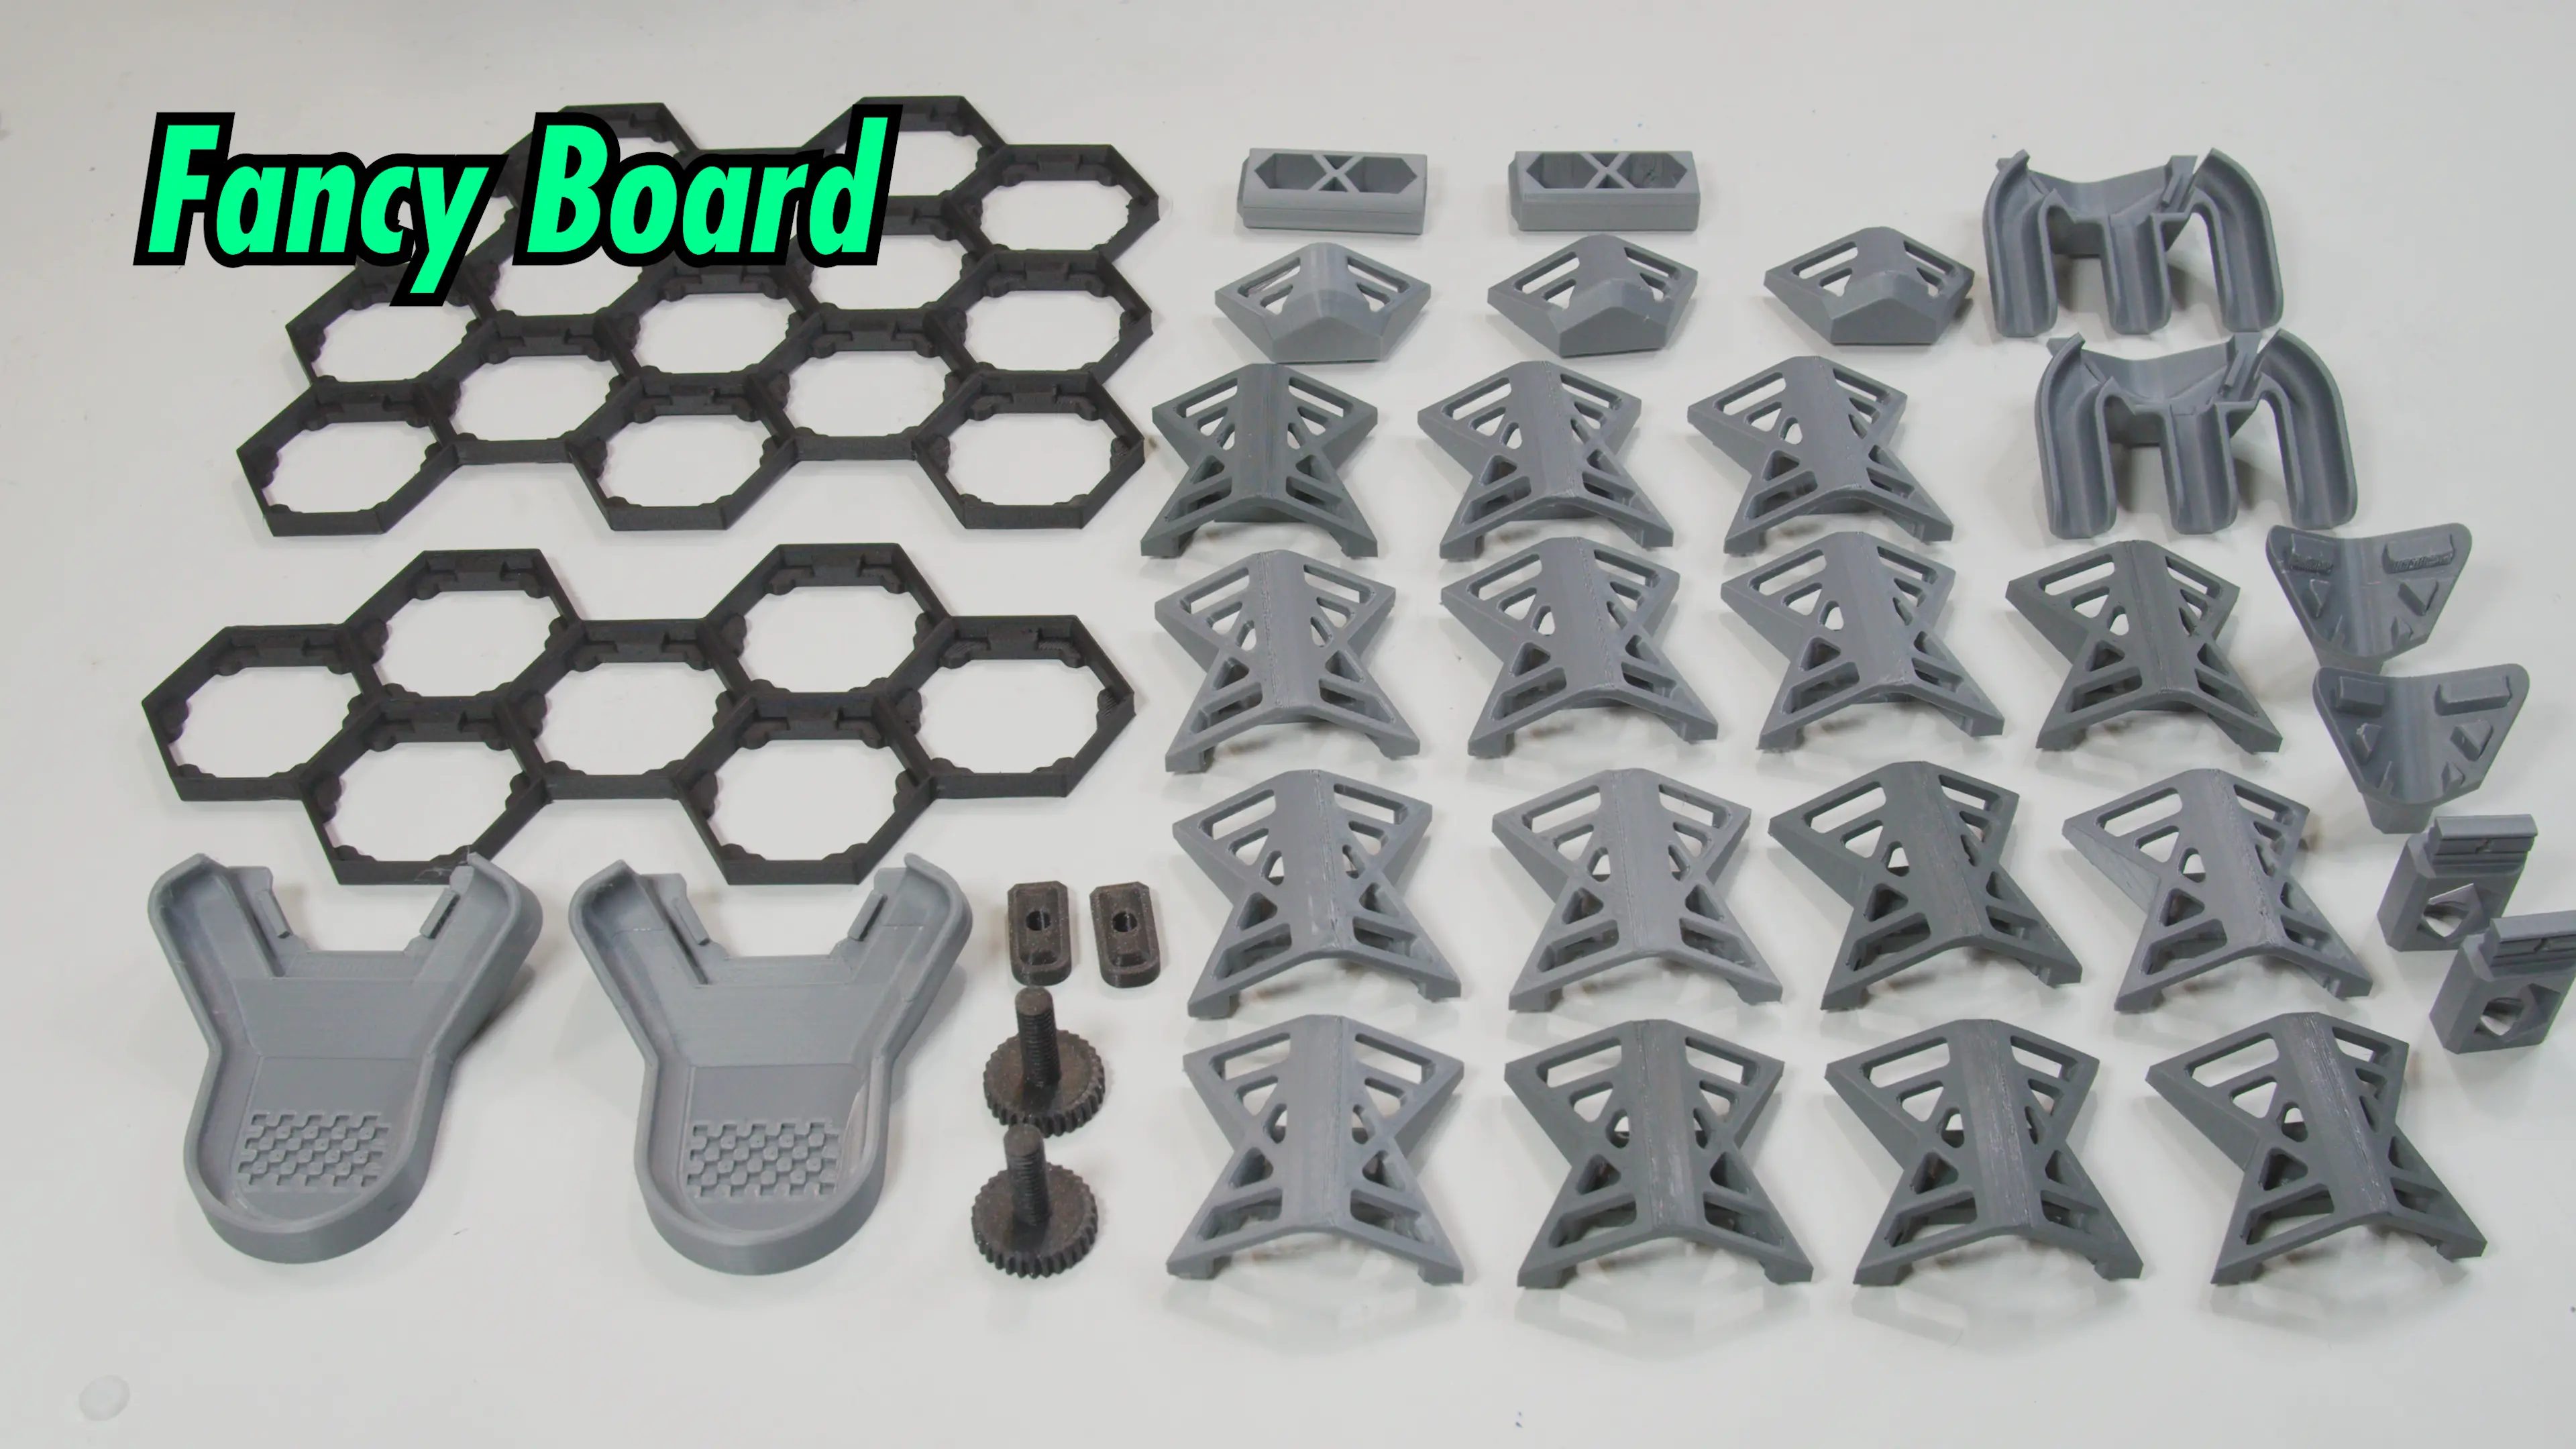
Parts List:
-
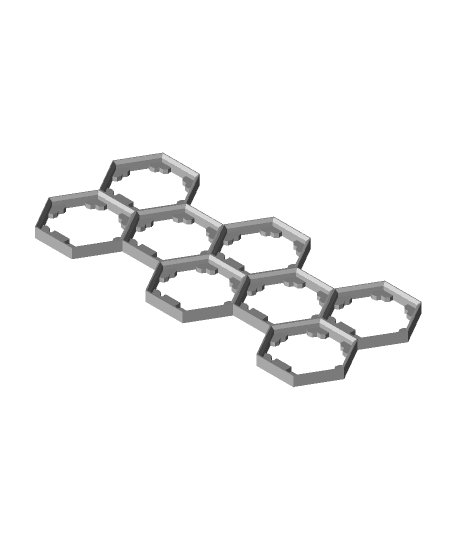
1x Left Sidegutter Top
-
1x Right Sidegutter Top
-
3x Left Sidegutter Mid
-
3x Right Sidegutter Mid
-
1x Left Sidegutter Bot
-
1x Right Sidegutter Bot
-
3x Guide Gutter
-
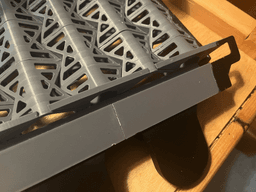
1x Left Collection Tray
-
1x Right Collection Tray
-
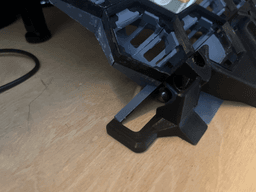
1x Bot Gutter Right
-
1x Bot Gutter Left
-
1x TopMid Exit Cap
-
1x BotMid Exit Cap
-
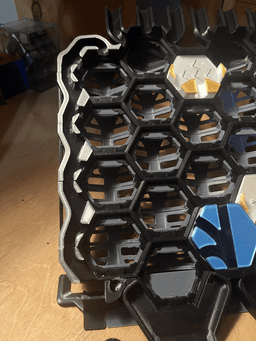
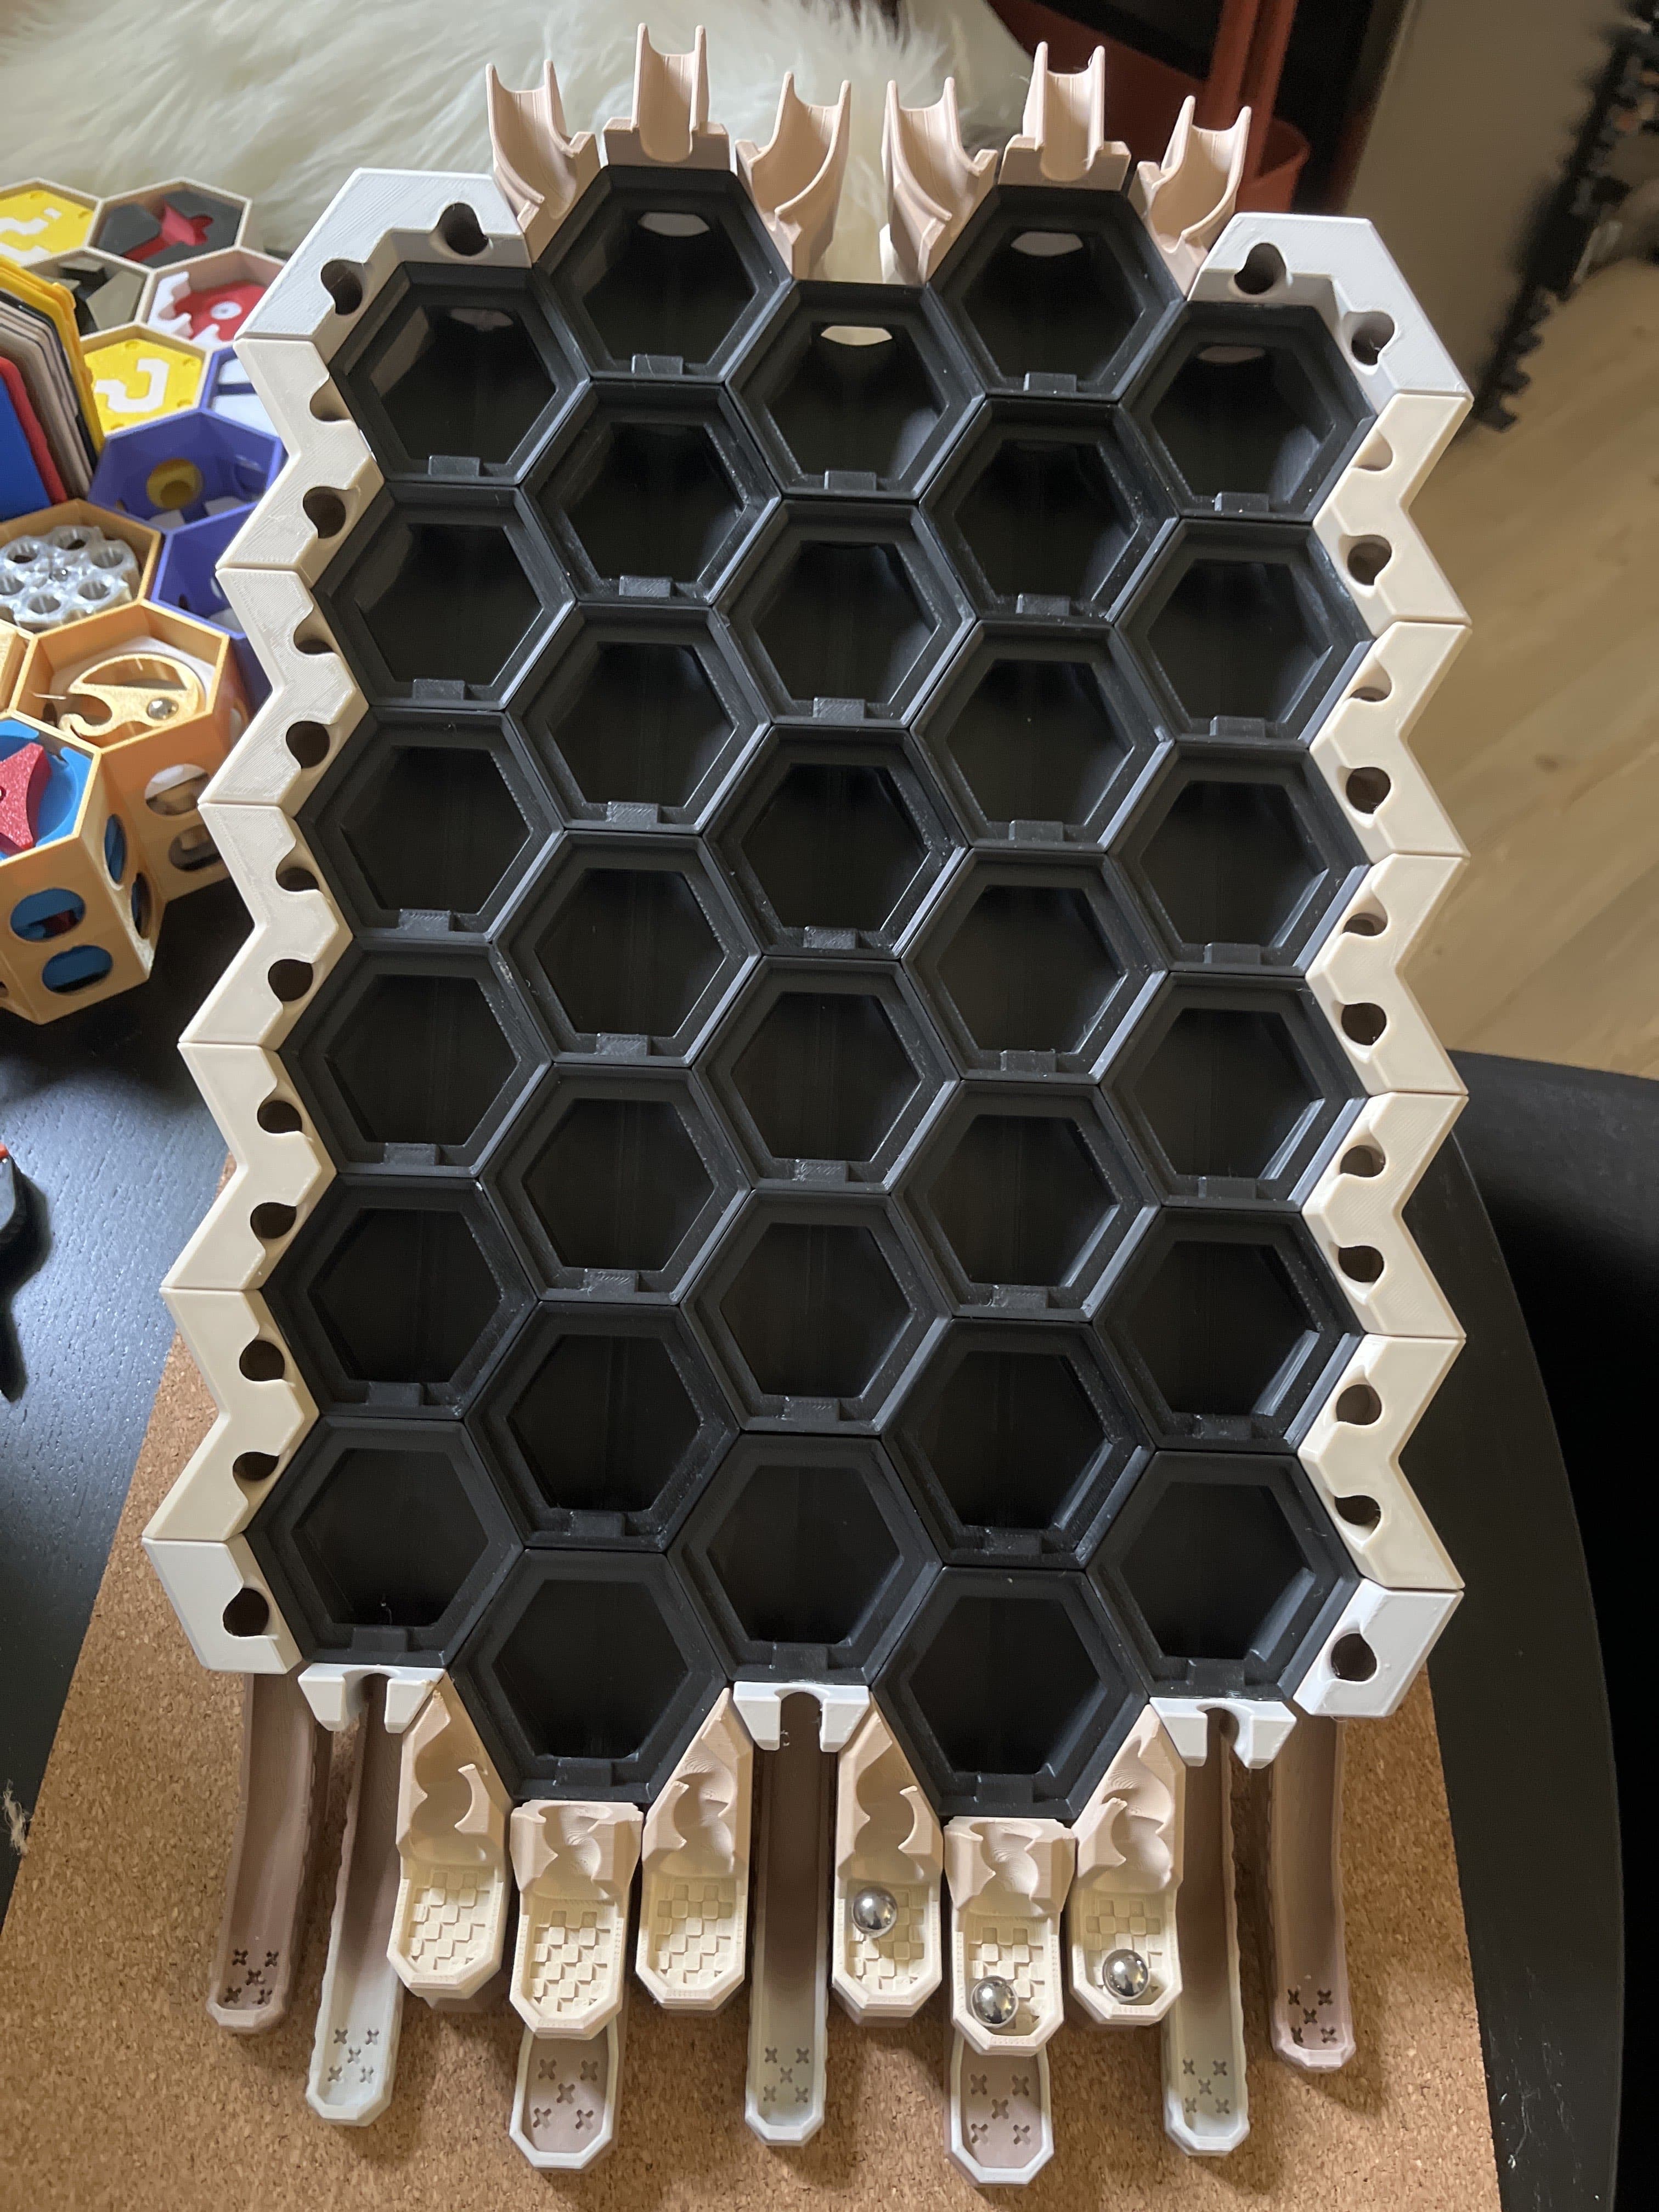
ASSEMBLY - Please reference the board assembly model to see where all the parts are glued.
-
The trays overhang a little in the reference file, but if you press down while gluing them onto the end zones, this overhang won't have any effect or be noticeable (This is to ensure the tray touches the guide gutters to have consistent spacing). -- SIDEGUTTERS I recommend gluing the sidegutters onto the board one at a time, from top to bottom. IMPORTANT make sure the height is aligned with a tile when gluing these on! Otherwise they will look bad and may not function right. Also ensure that, for each middle piece, the long side of the inner wall is facing up to deflect balls the right way. -- BOT GUTTERS Glue the guide gutters into the obvious spaces below the fancy gutters like the reverse of the gutter endcaps. Glue the bot gutters together separately, then Align them with the crease in the middle of the board
-
When gluing the collection trays, make sure their thin collection area limbs are pressed against the ground or they won't work right. -- EXIT CAPS These are simple, just glue and push them into the spaces between the on ramps and end zones.
Thanks and have fun!
- Andrew

Hextraction Expanded Board Full Gutters
Side Hextraction Gutters -- Basic Board
Hextraction Side Gutter
Super Fancy Remix of the Hextraction Game Board
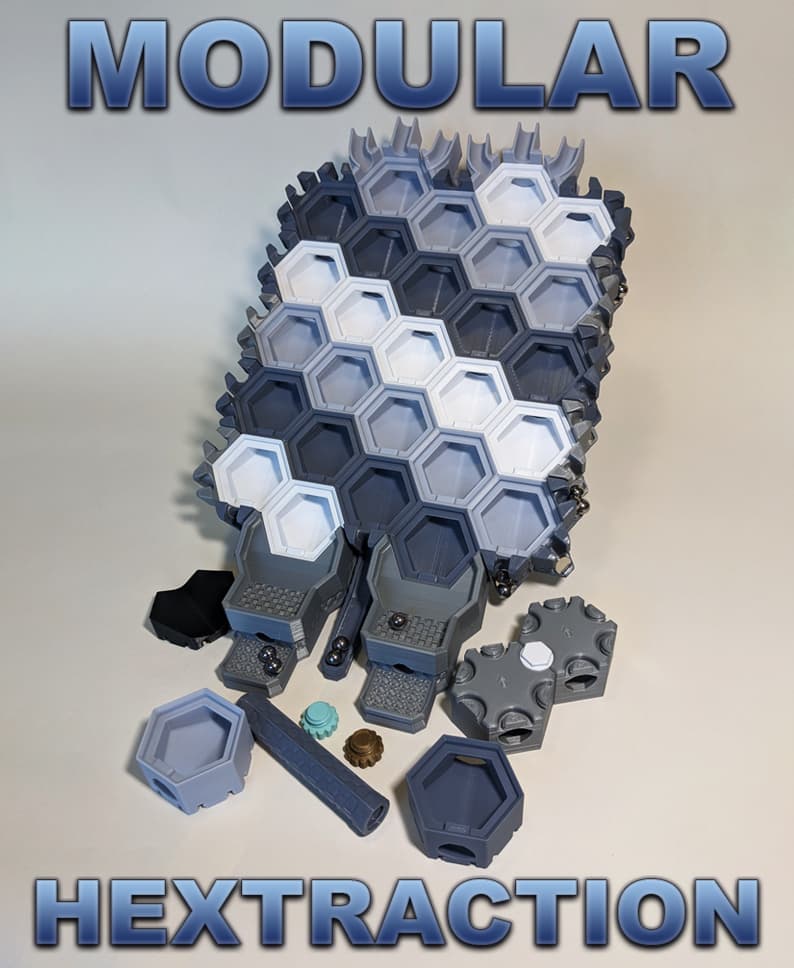
Modular Hextraction Board!
Hextraction Magnetic Leg Upgrade

Hextraction Secret Click Tiles
Hextraction - Gutter Side and End

Hextraction Gutter Funnels
Super Fancy Gutters for Modular Hextraction board

Hextraction Full 22 Hex Game Board (Remix)
Hextraction - Rocky Gutters (Expanded Boards)

Hextraction - Paper gutter frame
Hextraction - Basic Board Gutter Upgrade
Magnetic Gutter system for the Modular Hextraction Board
![Hextraction_Board_[for small printers] 3d model](/_next/image?url=https%3A%2F%2Fstorage.googleapis.com%2Fproduction-thangs-public%2Fuploads%2Fattachments%2Fcd0a018e-8340-40be-88bc-2a72ce91cdcb%2FIMG_0366.jpg&w=3840&q=75)
Hextraction_Board_[for small printers]
Hextraction 5-8 Plate
Hextraction Game Boards

Tile - King
Would it be possible for you to upload the step (or fusion) file?
I just uploaded the step files! This version also finally combined the bot gutters and collection trays into one part.
Is there a particular reason for them being scaled 10x?
Not really other than the fact that a lot of other models are scaled up and that's the scale that I edited them on. I might go through everything at some point and scale them down.