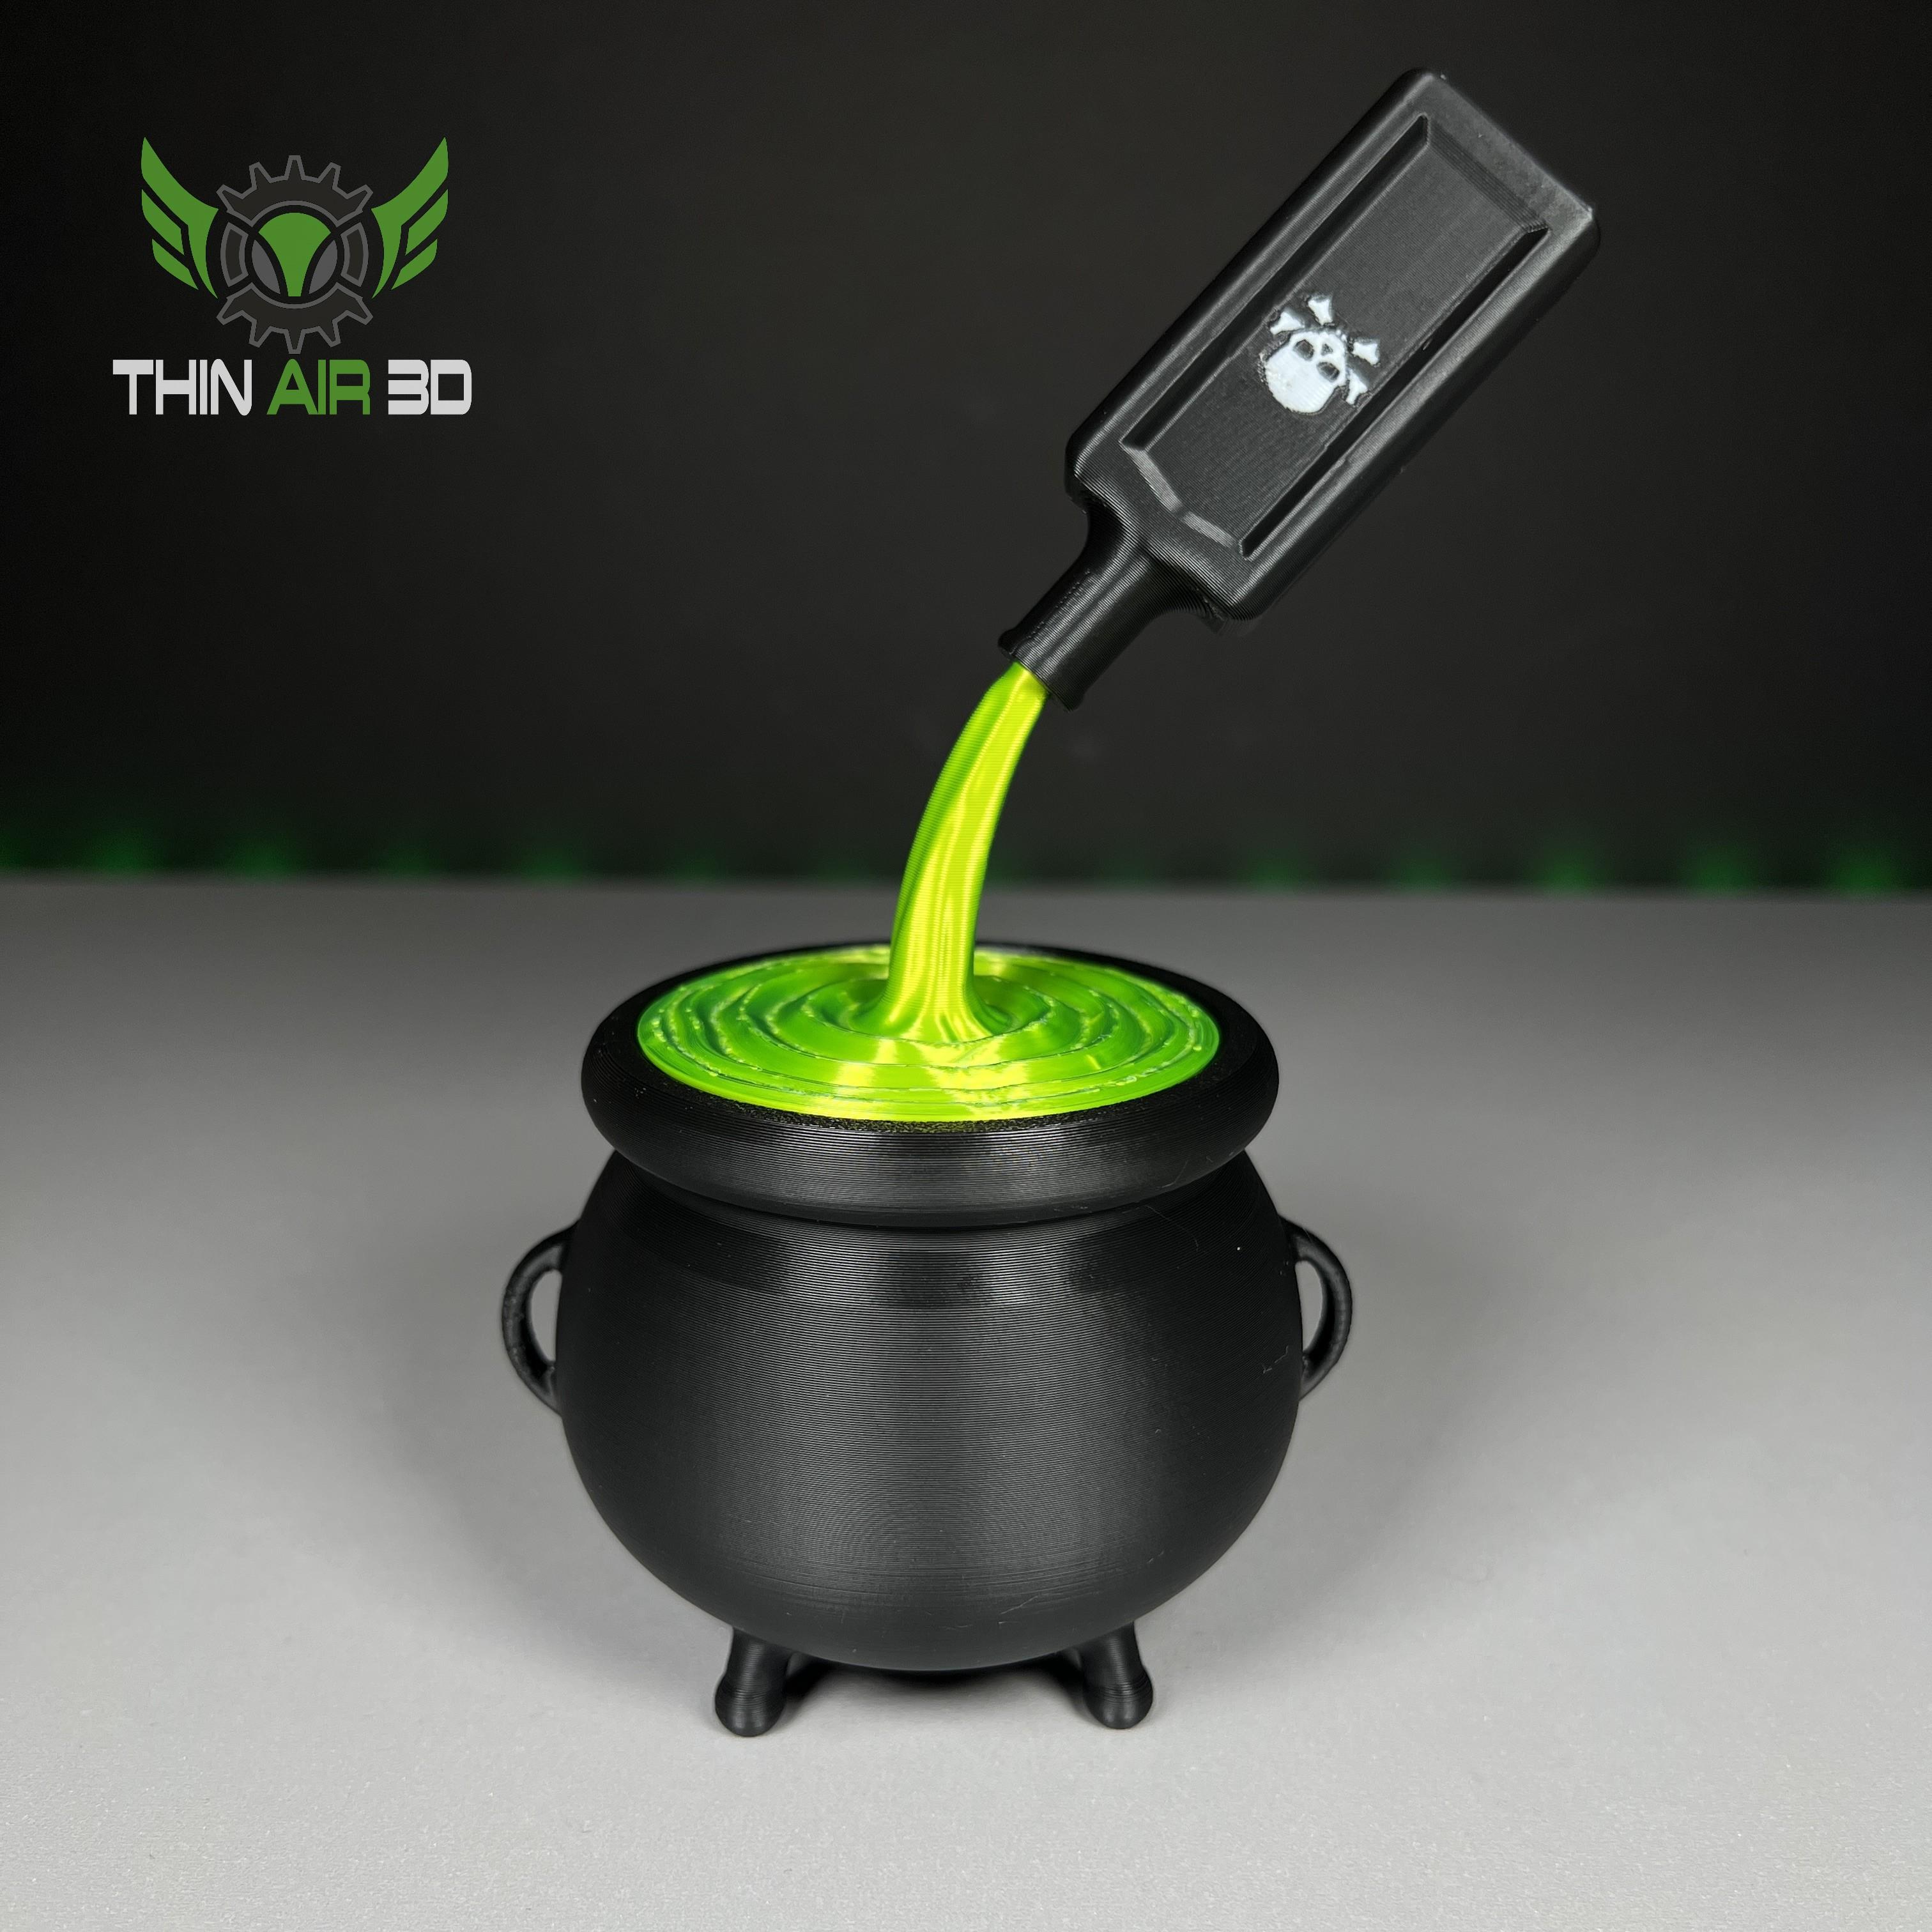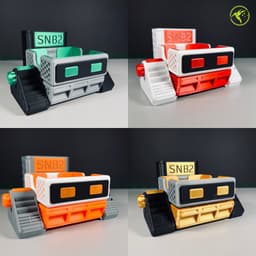


SNB2: Sticky Note Bot (Snib) - Desktop Organizer
SNB2 is the first of the Desktop Bots. SNB2 stands for Sticky Note Bot 2, but I call him Snib for short. This bot was originally designed with the primary purpose of carrying sticky notes, but is also equipped to store SD/Micro SD cards, USB sticks, has a slide-out drawer, and a backpack made for holding pens/pencils.
Printing Info: These are just the settings I used to test the model, feel free to use whatever settings work best for you.
- FDM or Resin: FDM
- Scaling: Scaling up should be fine, scaling down could cause issues with the threaded leg caps.
- Supports: None
- Infill/Perimeters: I just used 10% infill with 2 perimeters.
- Nozzle Size: 0.4
- Layer Height: 0.2
Printing Assembly: All pieces print with no supports needed and are already oriented the way they are meant to be printed. Here is an assembly video you can watch to see how to print/assemble it! https://www.tiktok.com/@thinair3d/video/7134107358652878126?is_copy_url=1&is_from_webapp=v1
**Things to Note: **1) I did a color swap on the Faceplate to get the different colored eyes. 2) I used a multi-color printer to get the colored nameplate on the Backpack. 3) You can use either glue, or magnets to attach the Faceplate to the body. (6mm, 8mm, or 10mm magnets with 3mm width will work).
STL List:
- main_body_snb2 (STL)
- faceplate_snb2 (STL)
- inner_tray_snb2 (STL)
- left_leg_snb2 (STL)
- right_leg_snb2 (STL)
- leg_cap_snb2 (STL) (Need 2)
- drawer_snb2 (STL)
- backpack_snb2 (STL)
SNB2: Sticky Note Bot (Snib) - Desktop Organizer
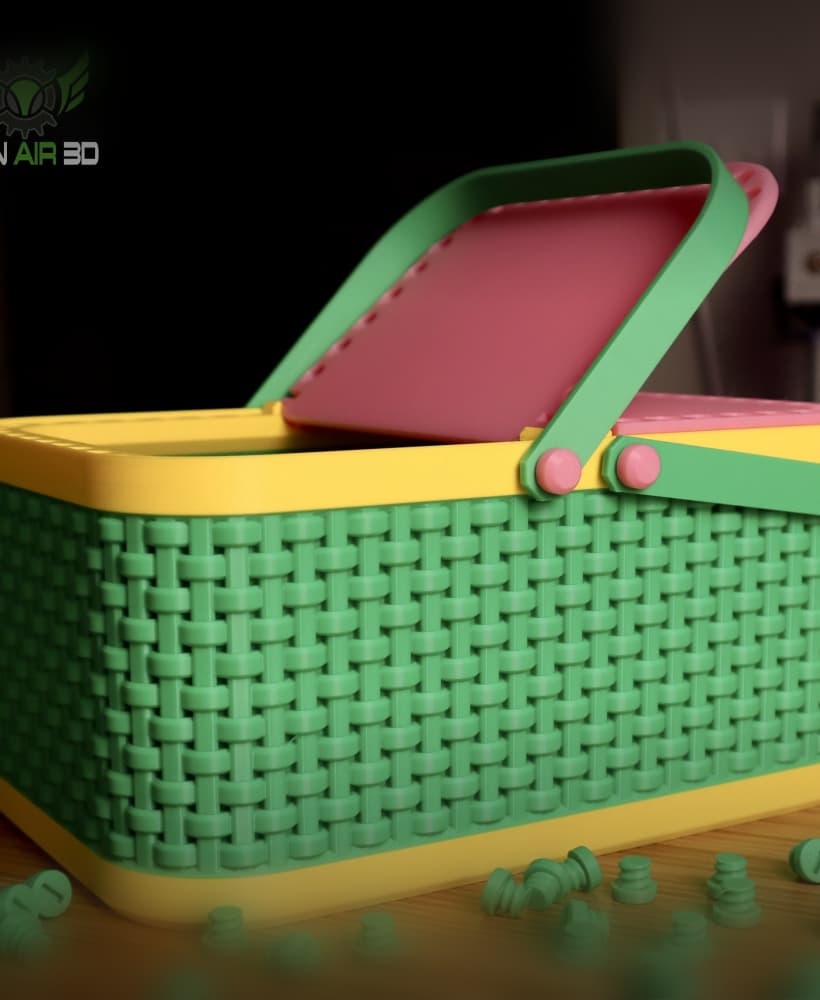
Annoying Easter Basket

Annoying Easter Egg

Modular Golf Ball Holder
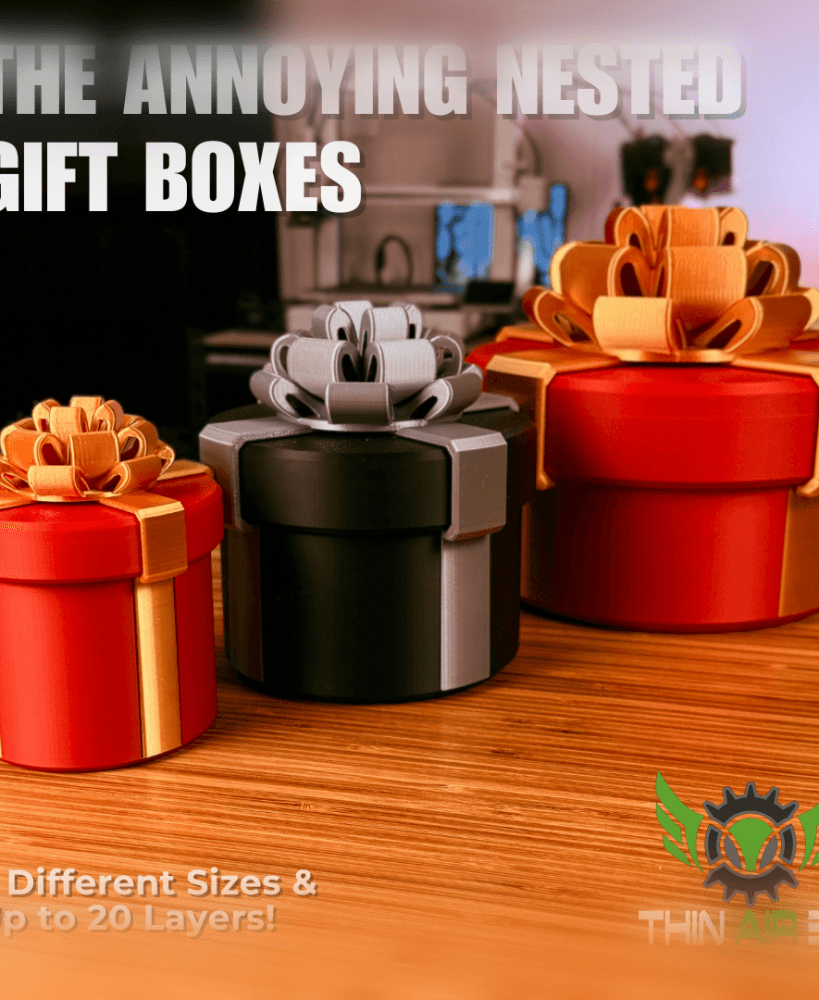
Annoying Nested Gift Box
%2520snowball%2520mold.gif&w=3840&q=75)
Print-In-Place Snowball Mold
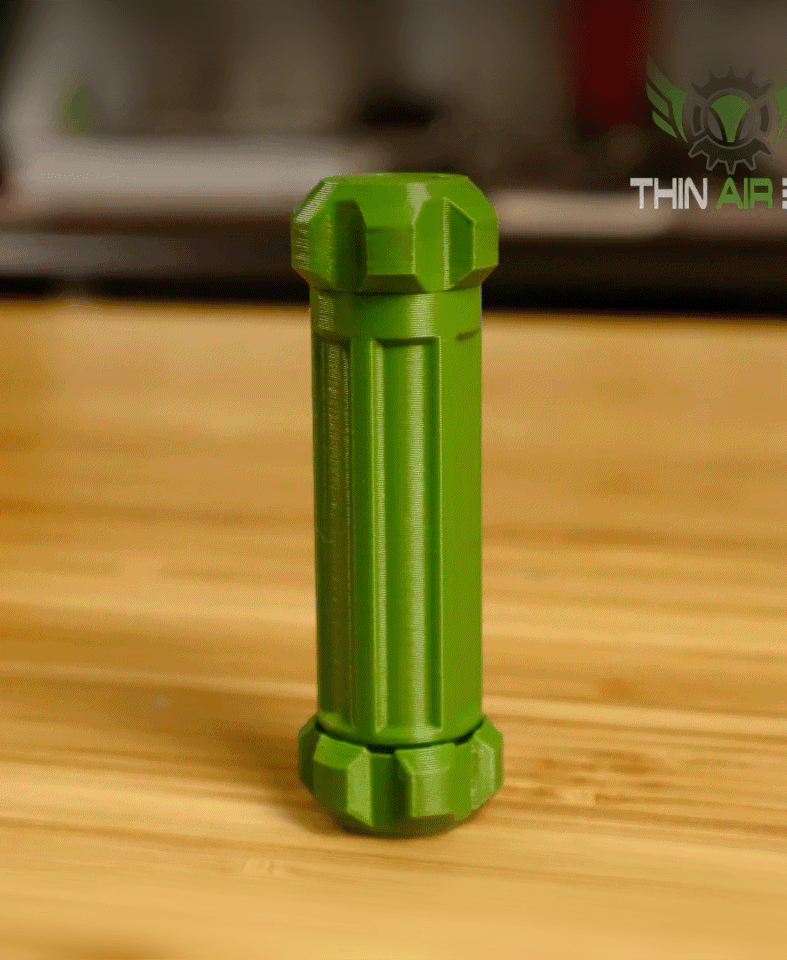
Click Screw Fidget

Santa's Sleigh Phone Stand
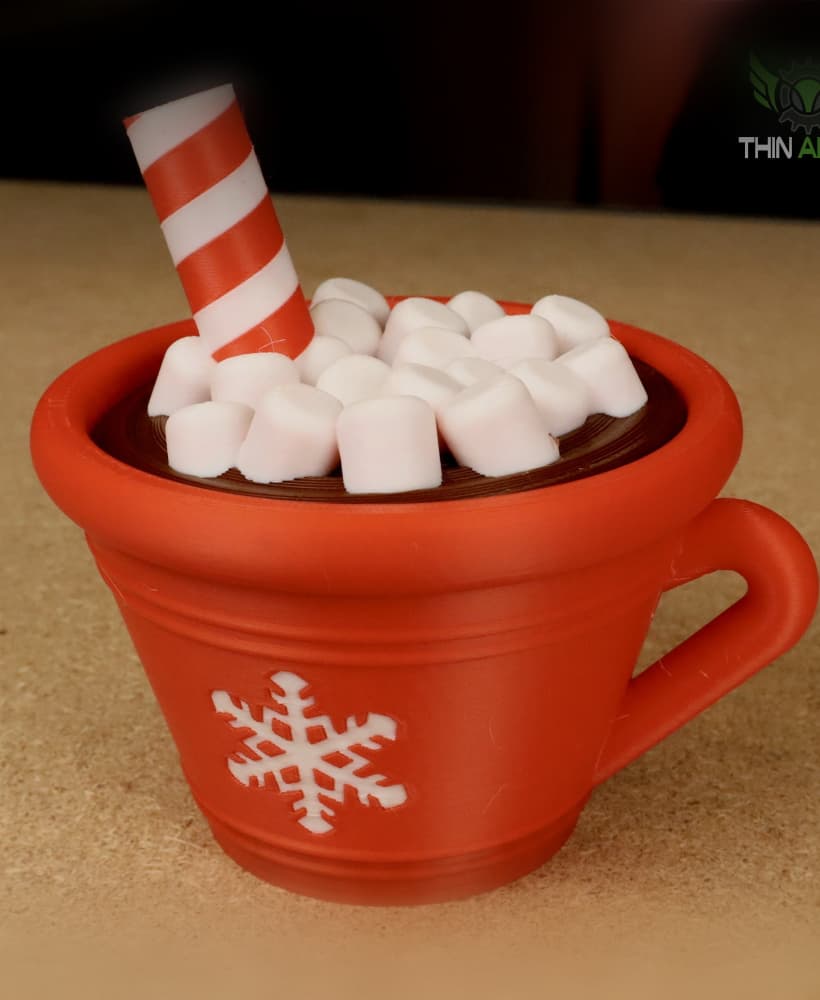
Hot Cocoa Container
.JPG&w=3840&q=75)
Halloween Gravestones

Desktop Dumpster Fire

Droid Planter #2
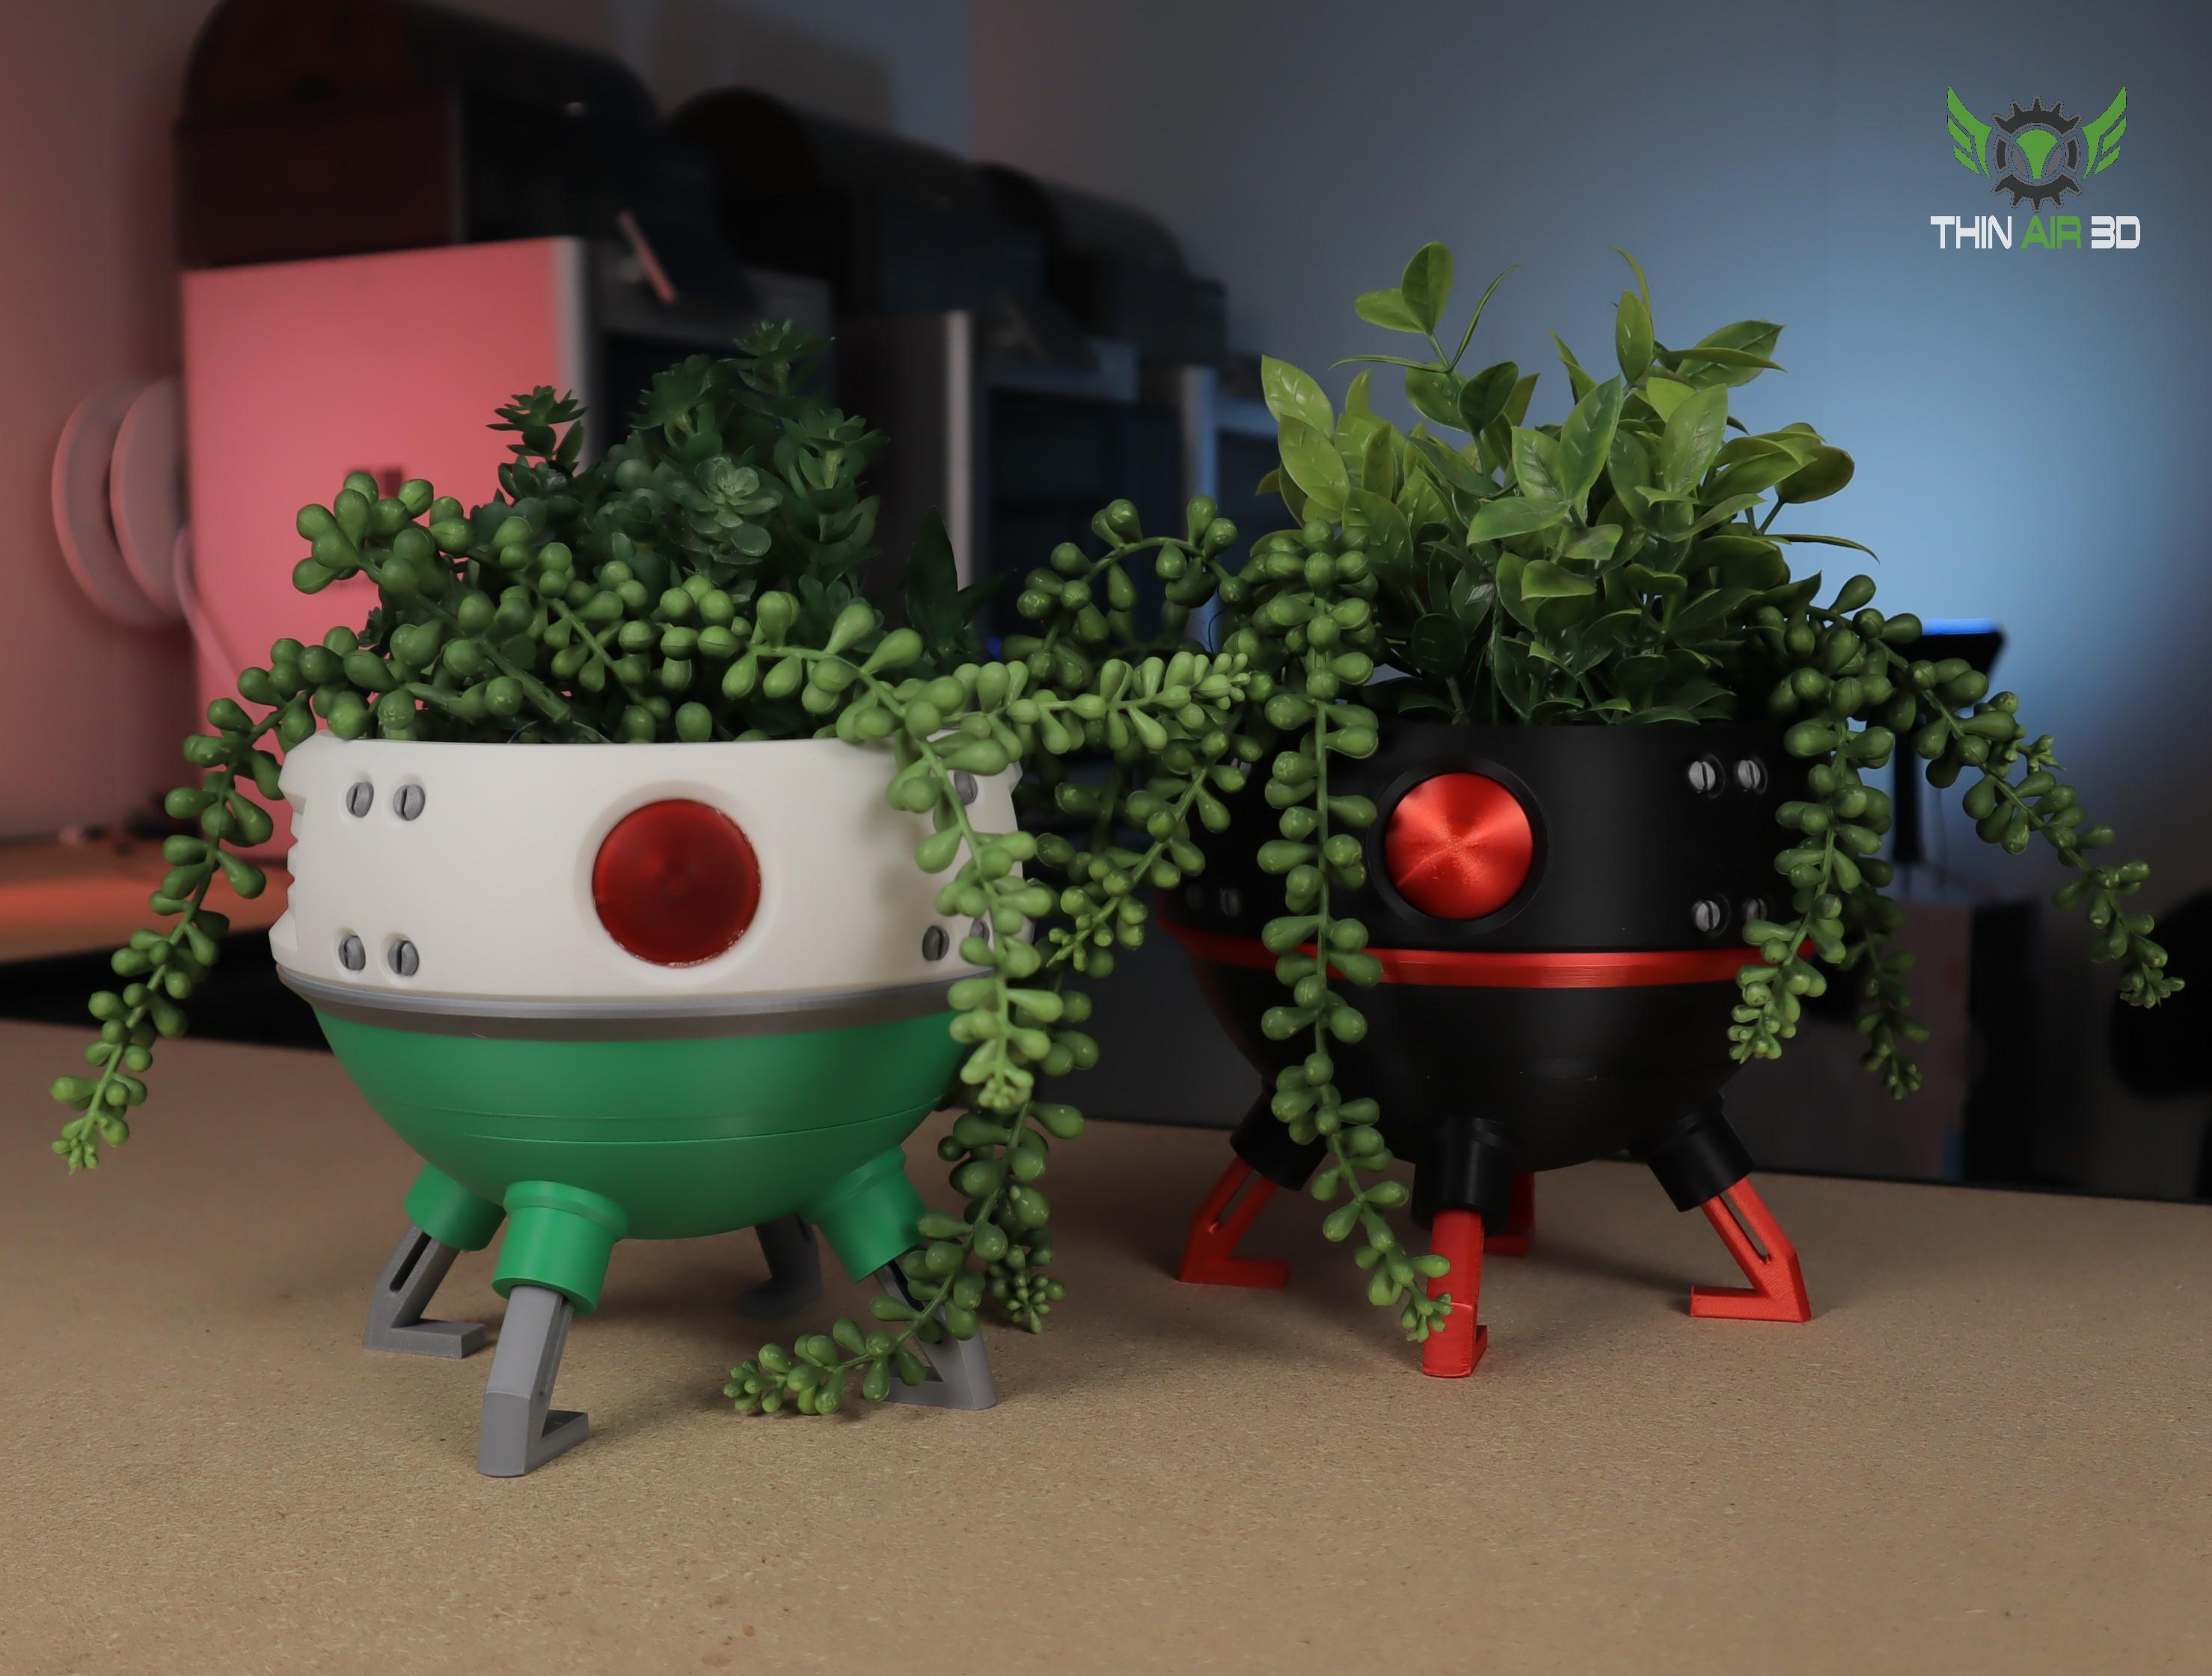
Droid Planters #1
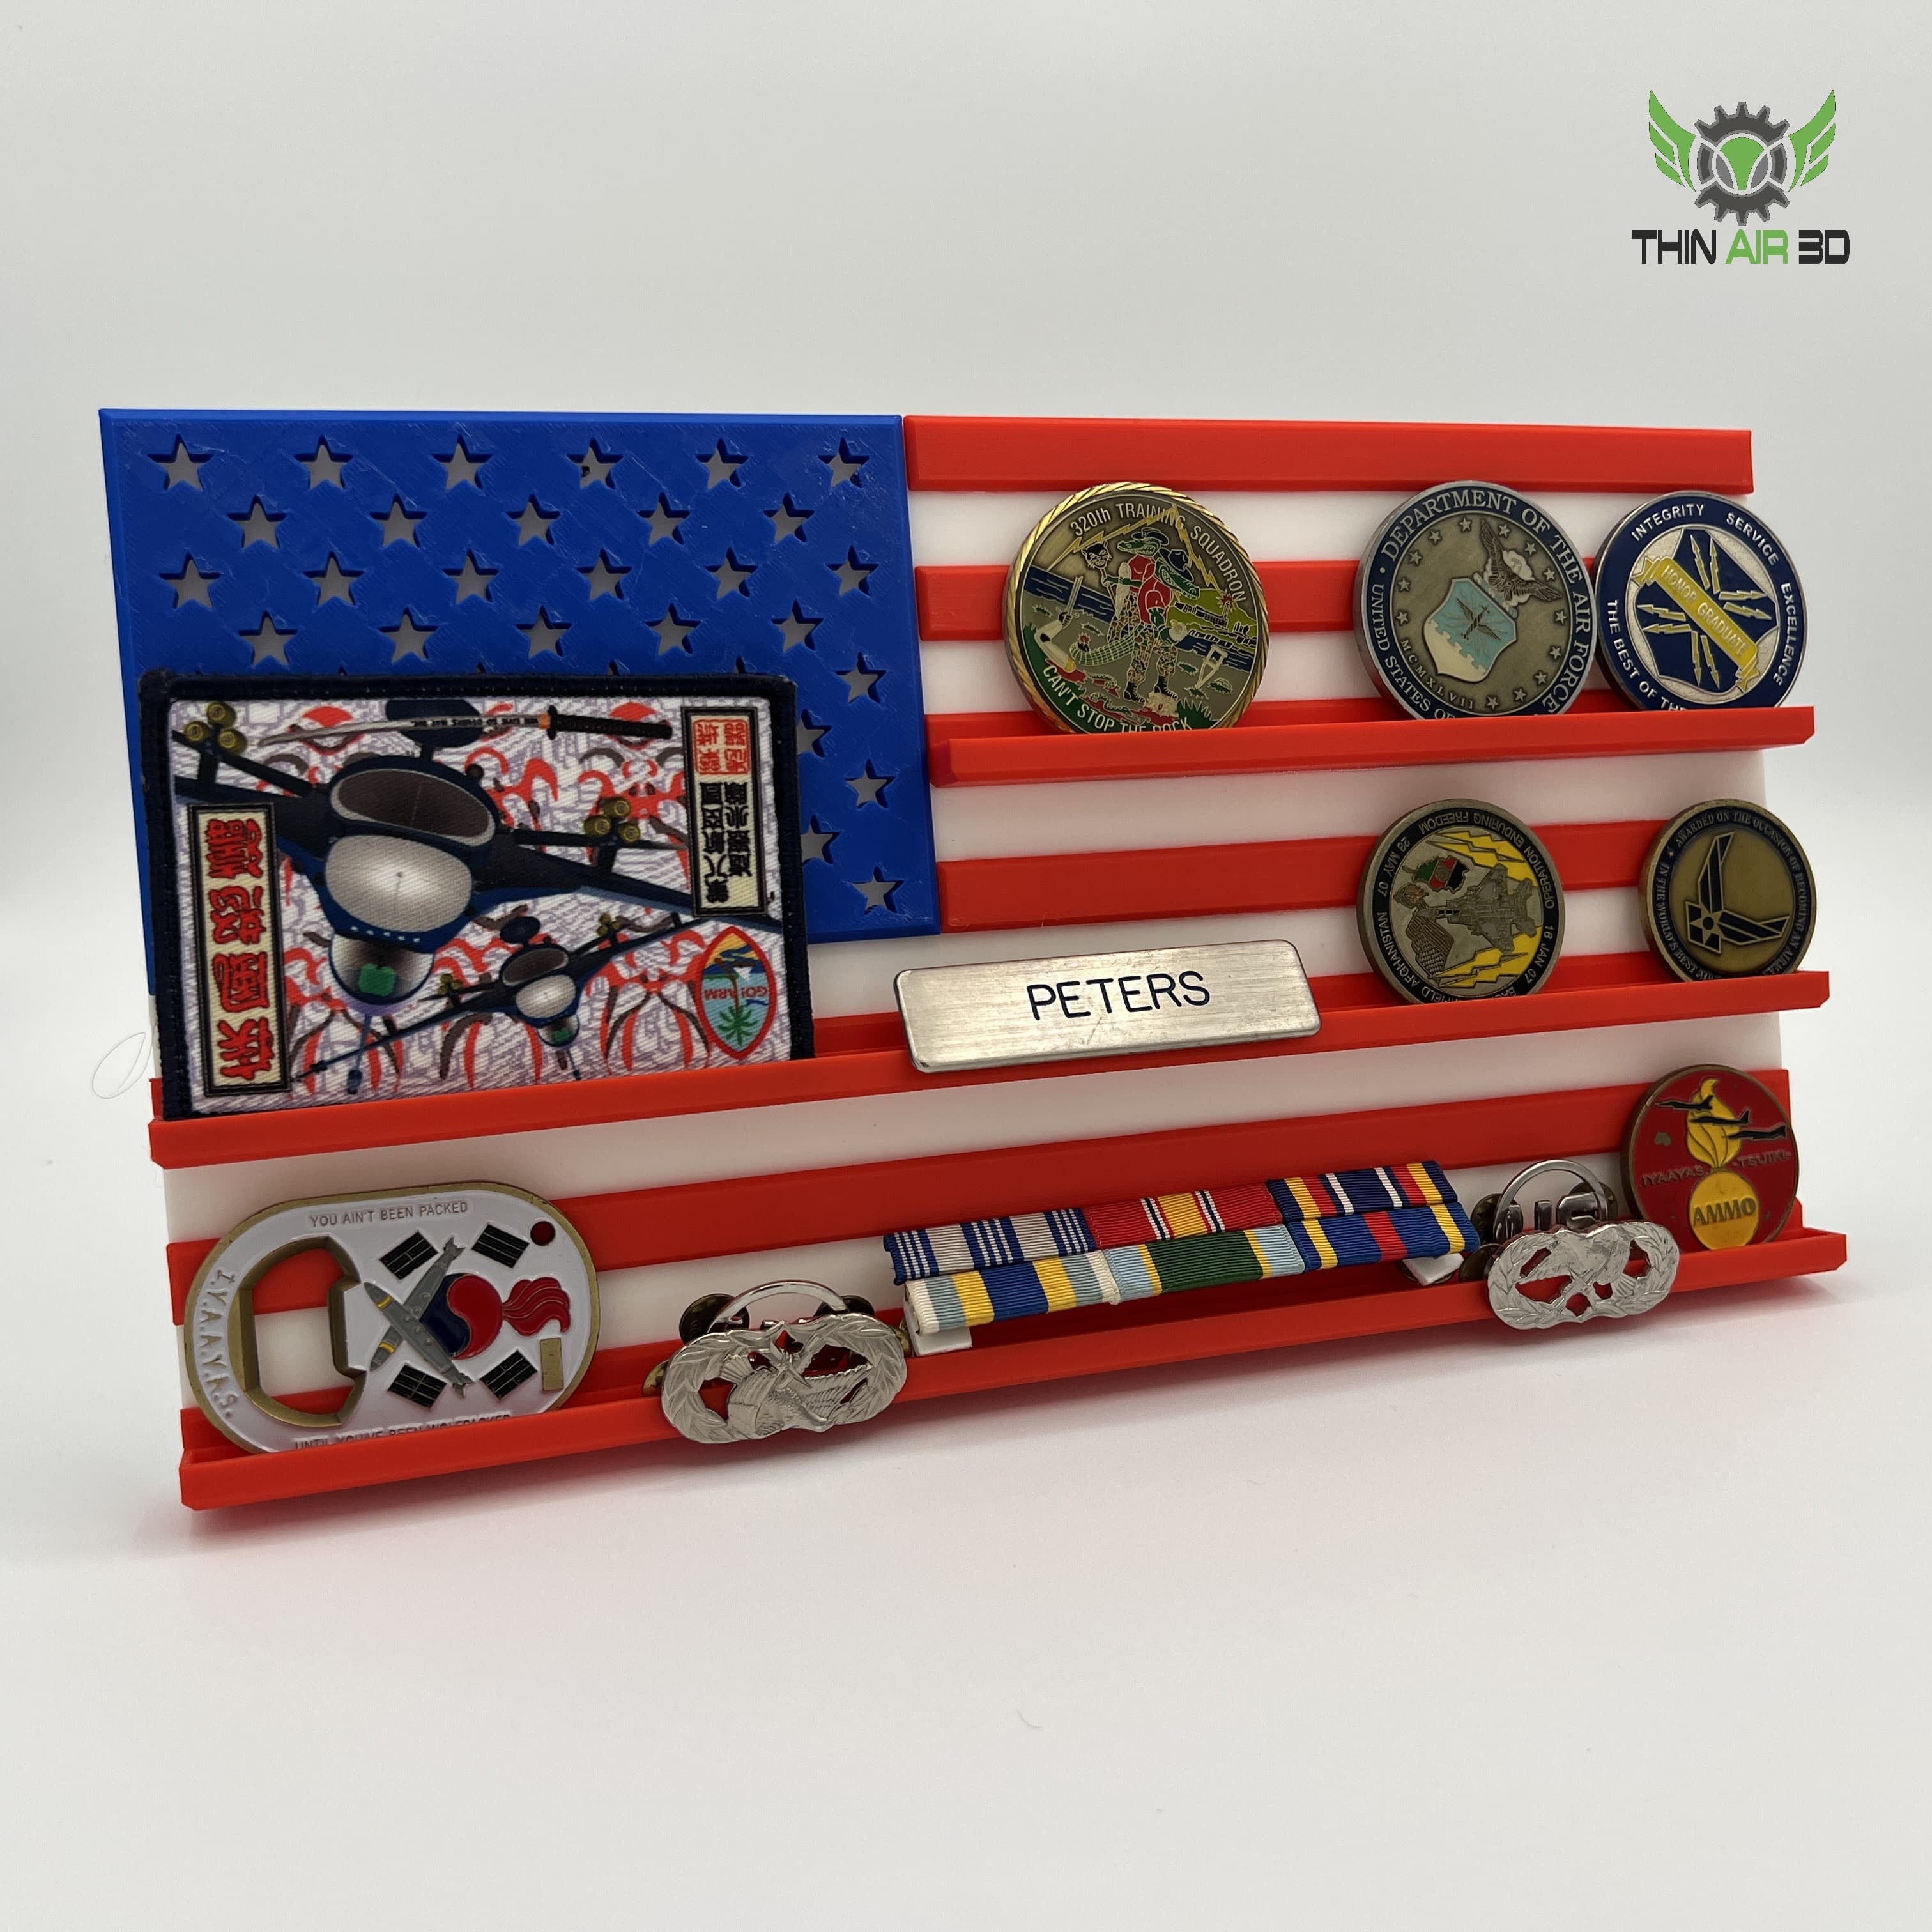
American Flag Challenge Coin Display
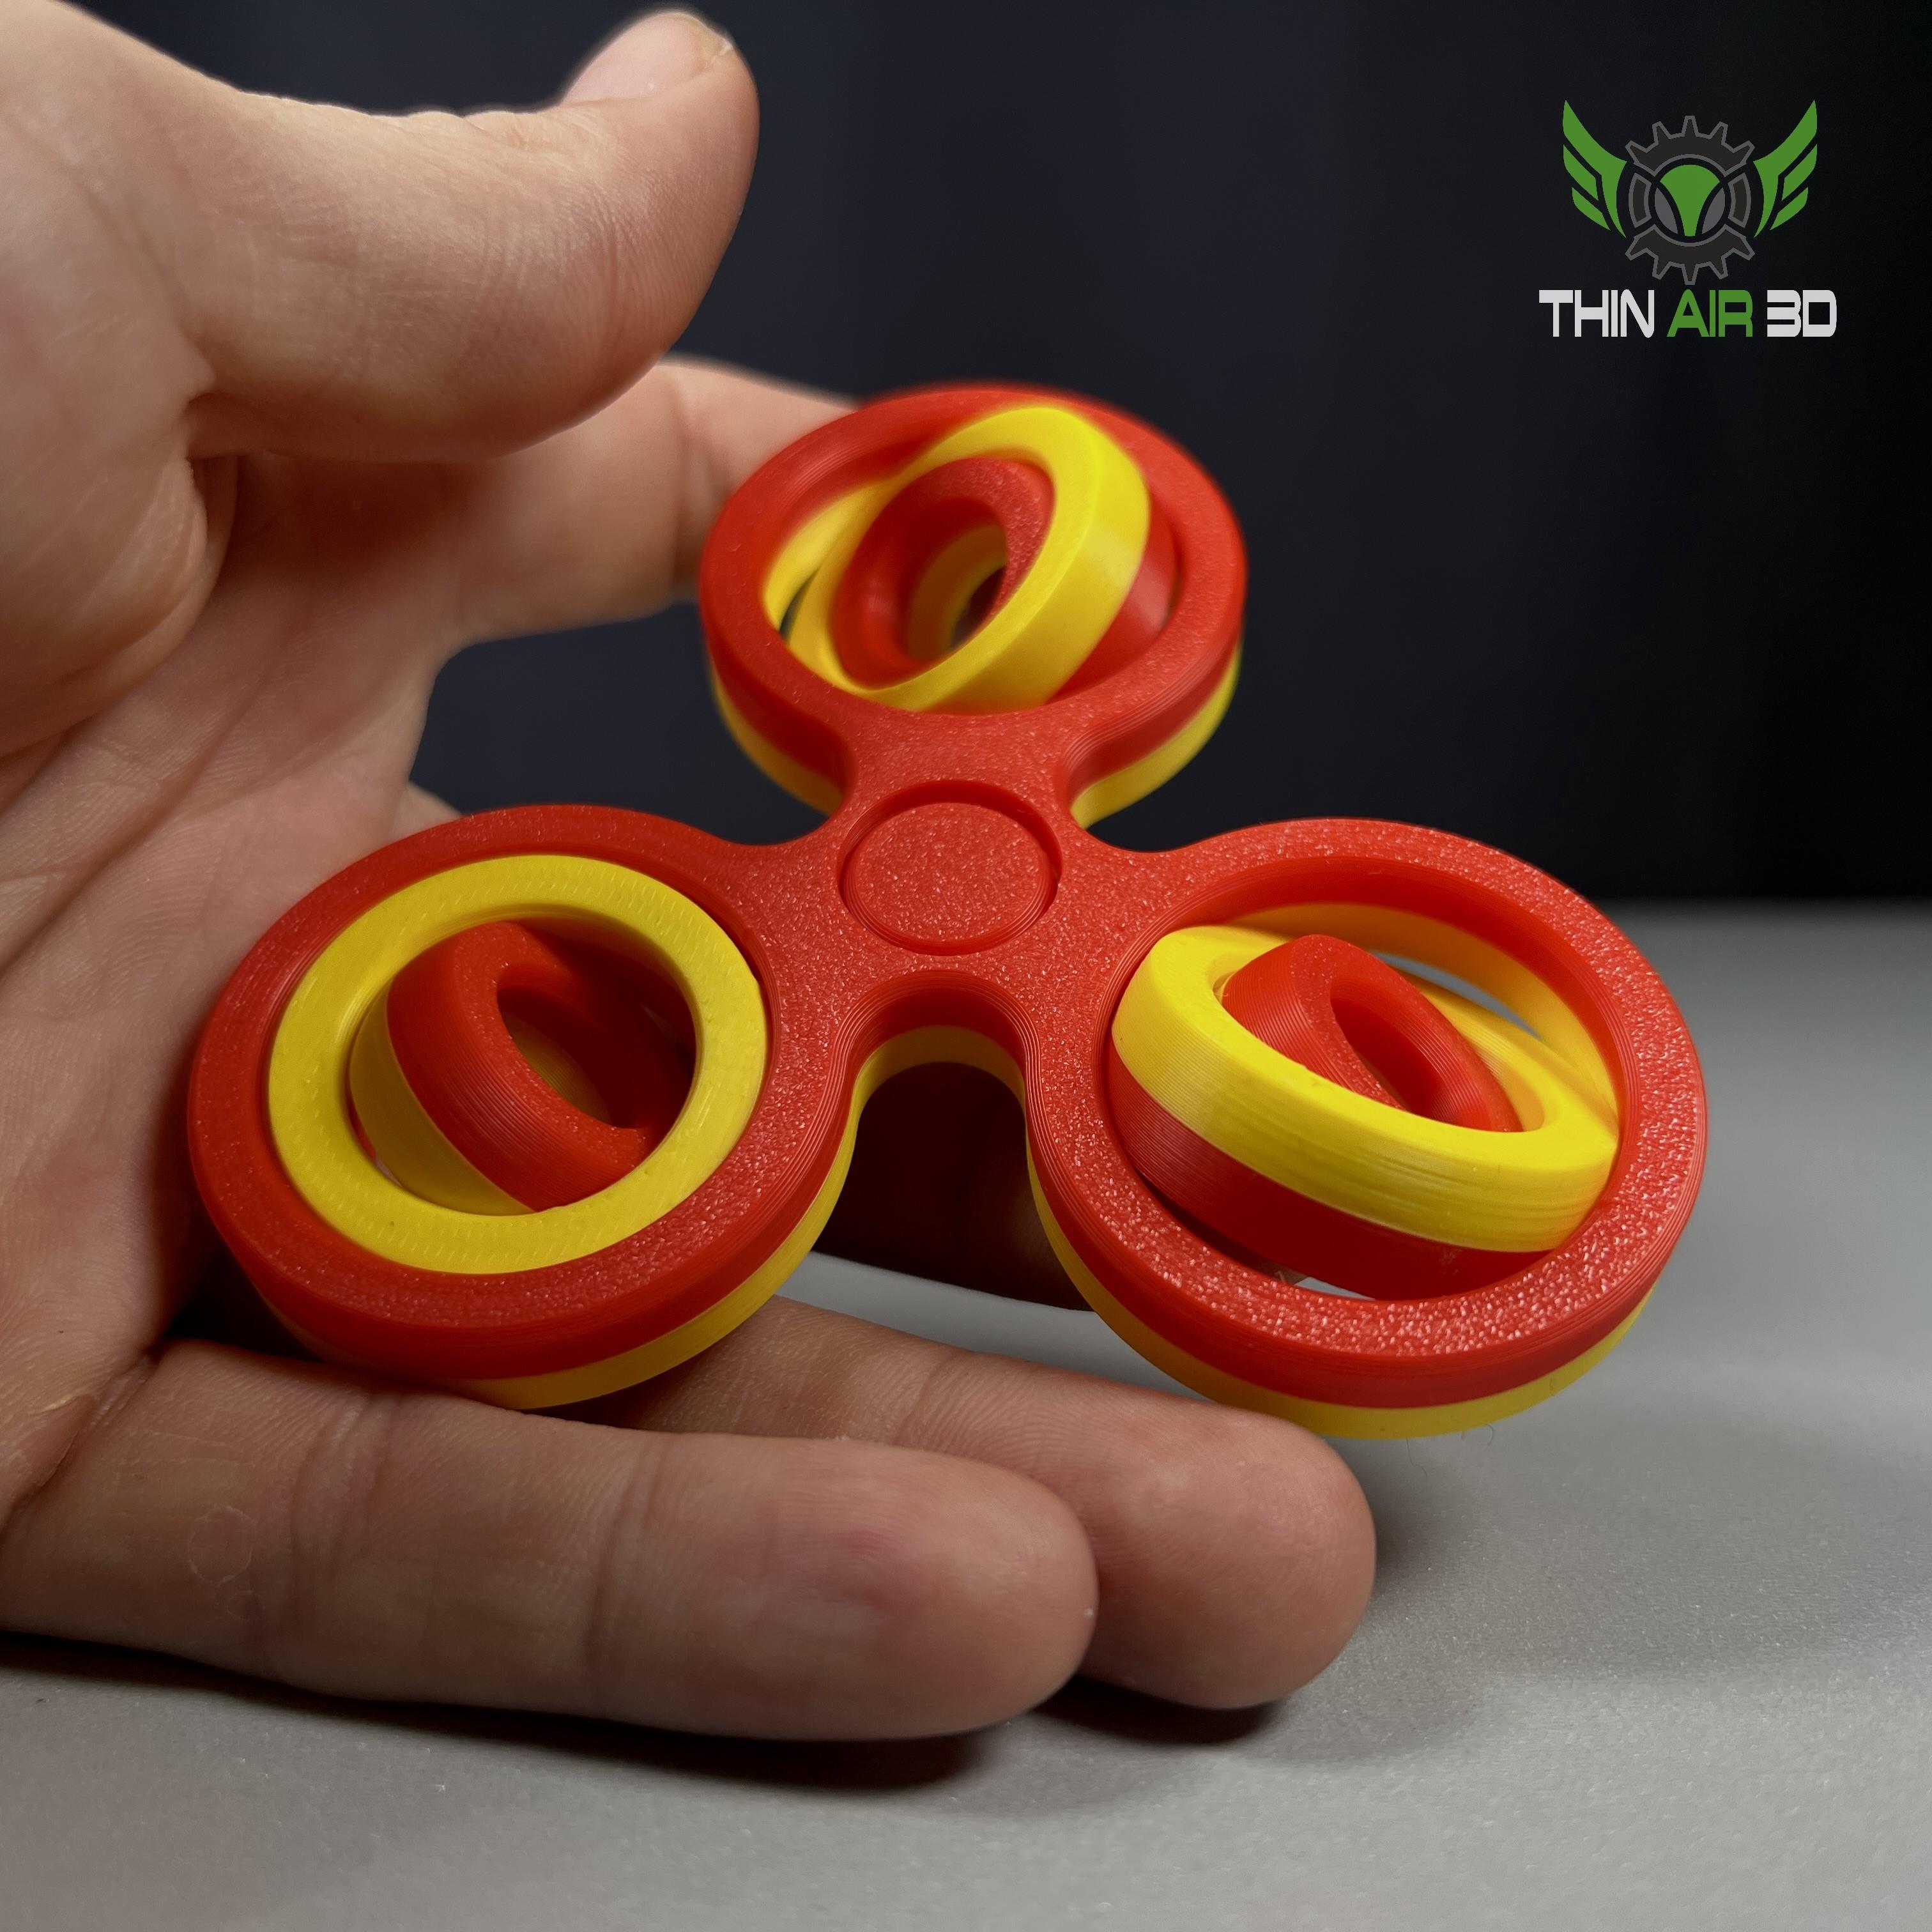
Gyro Fidgets (4 Variations, 7 Models)
Annoying PIggy Bank
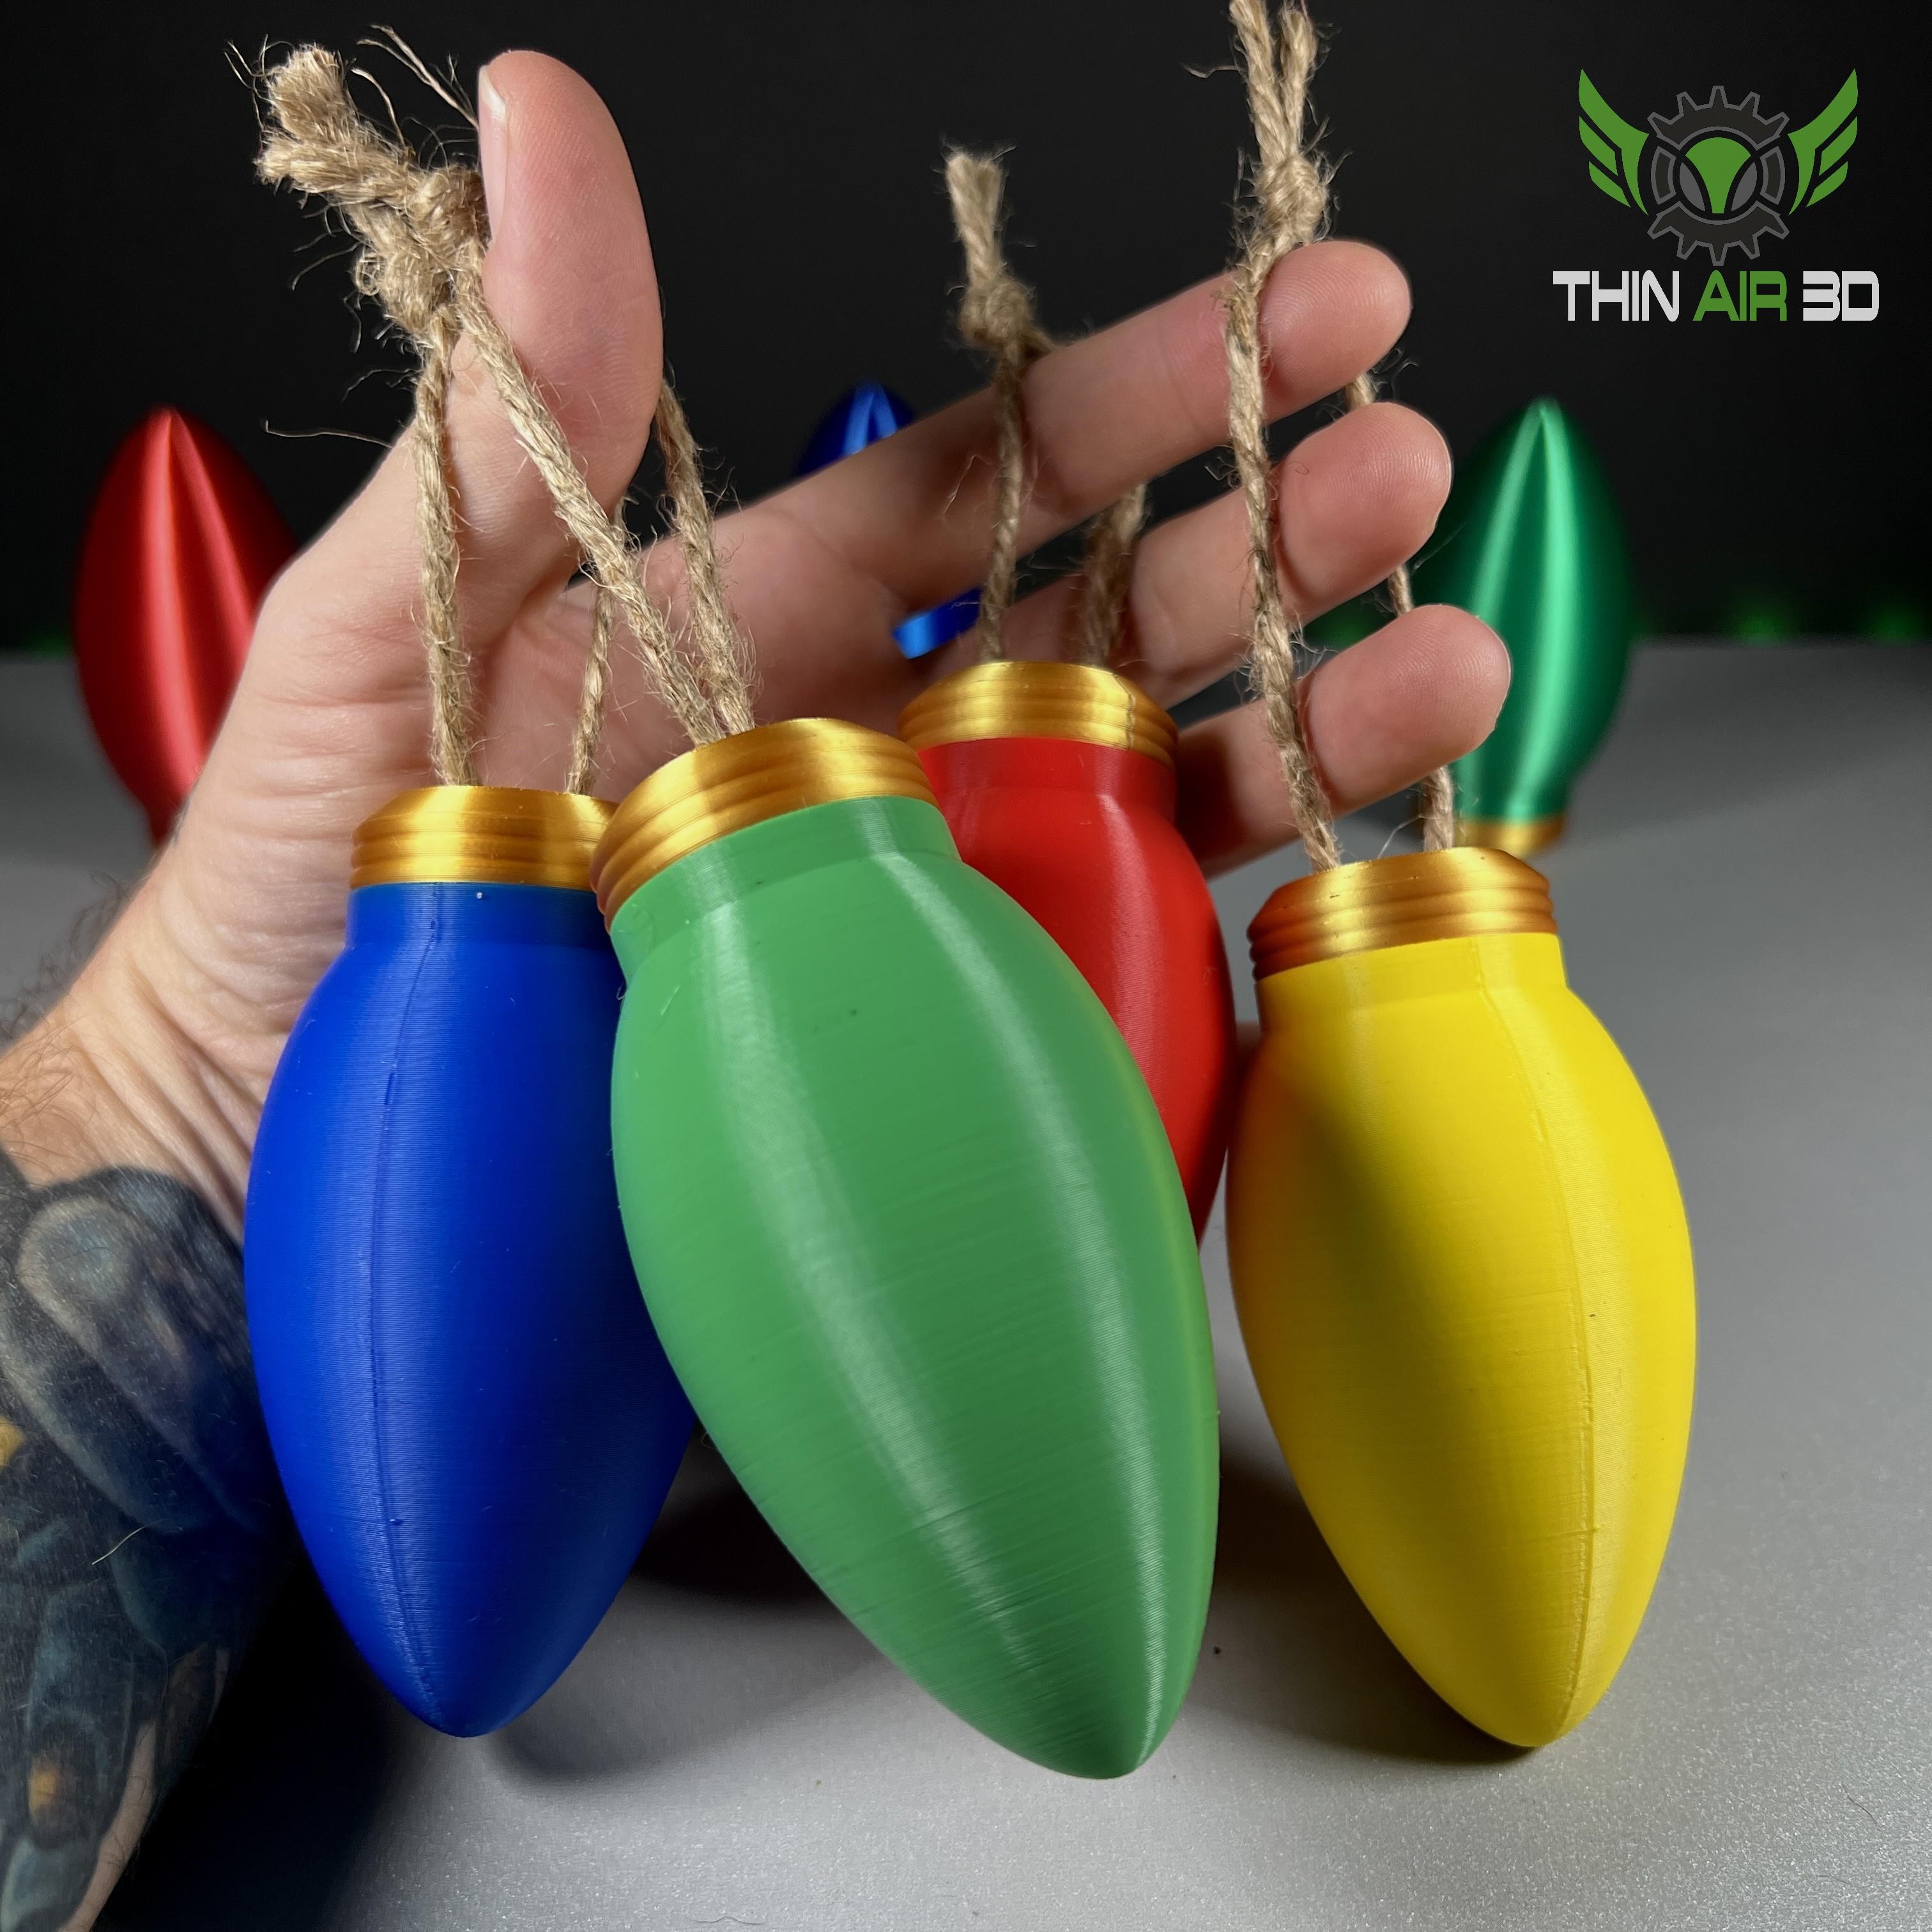
Christmas Lightbulb Ornament/Container
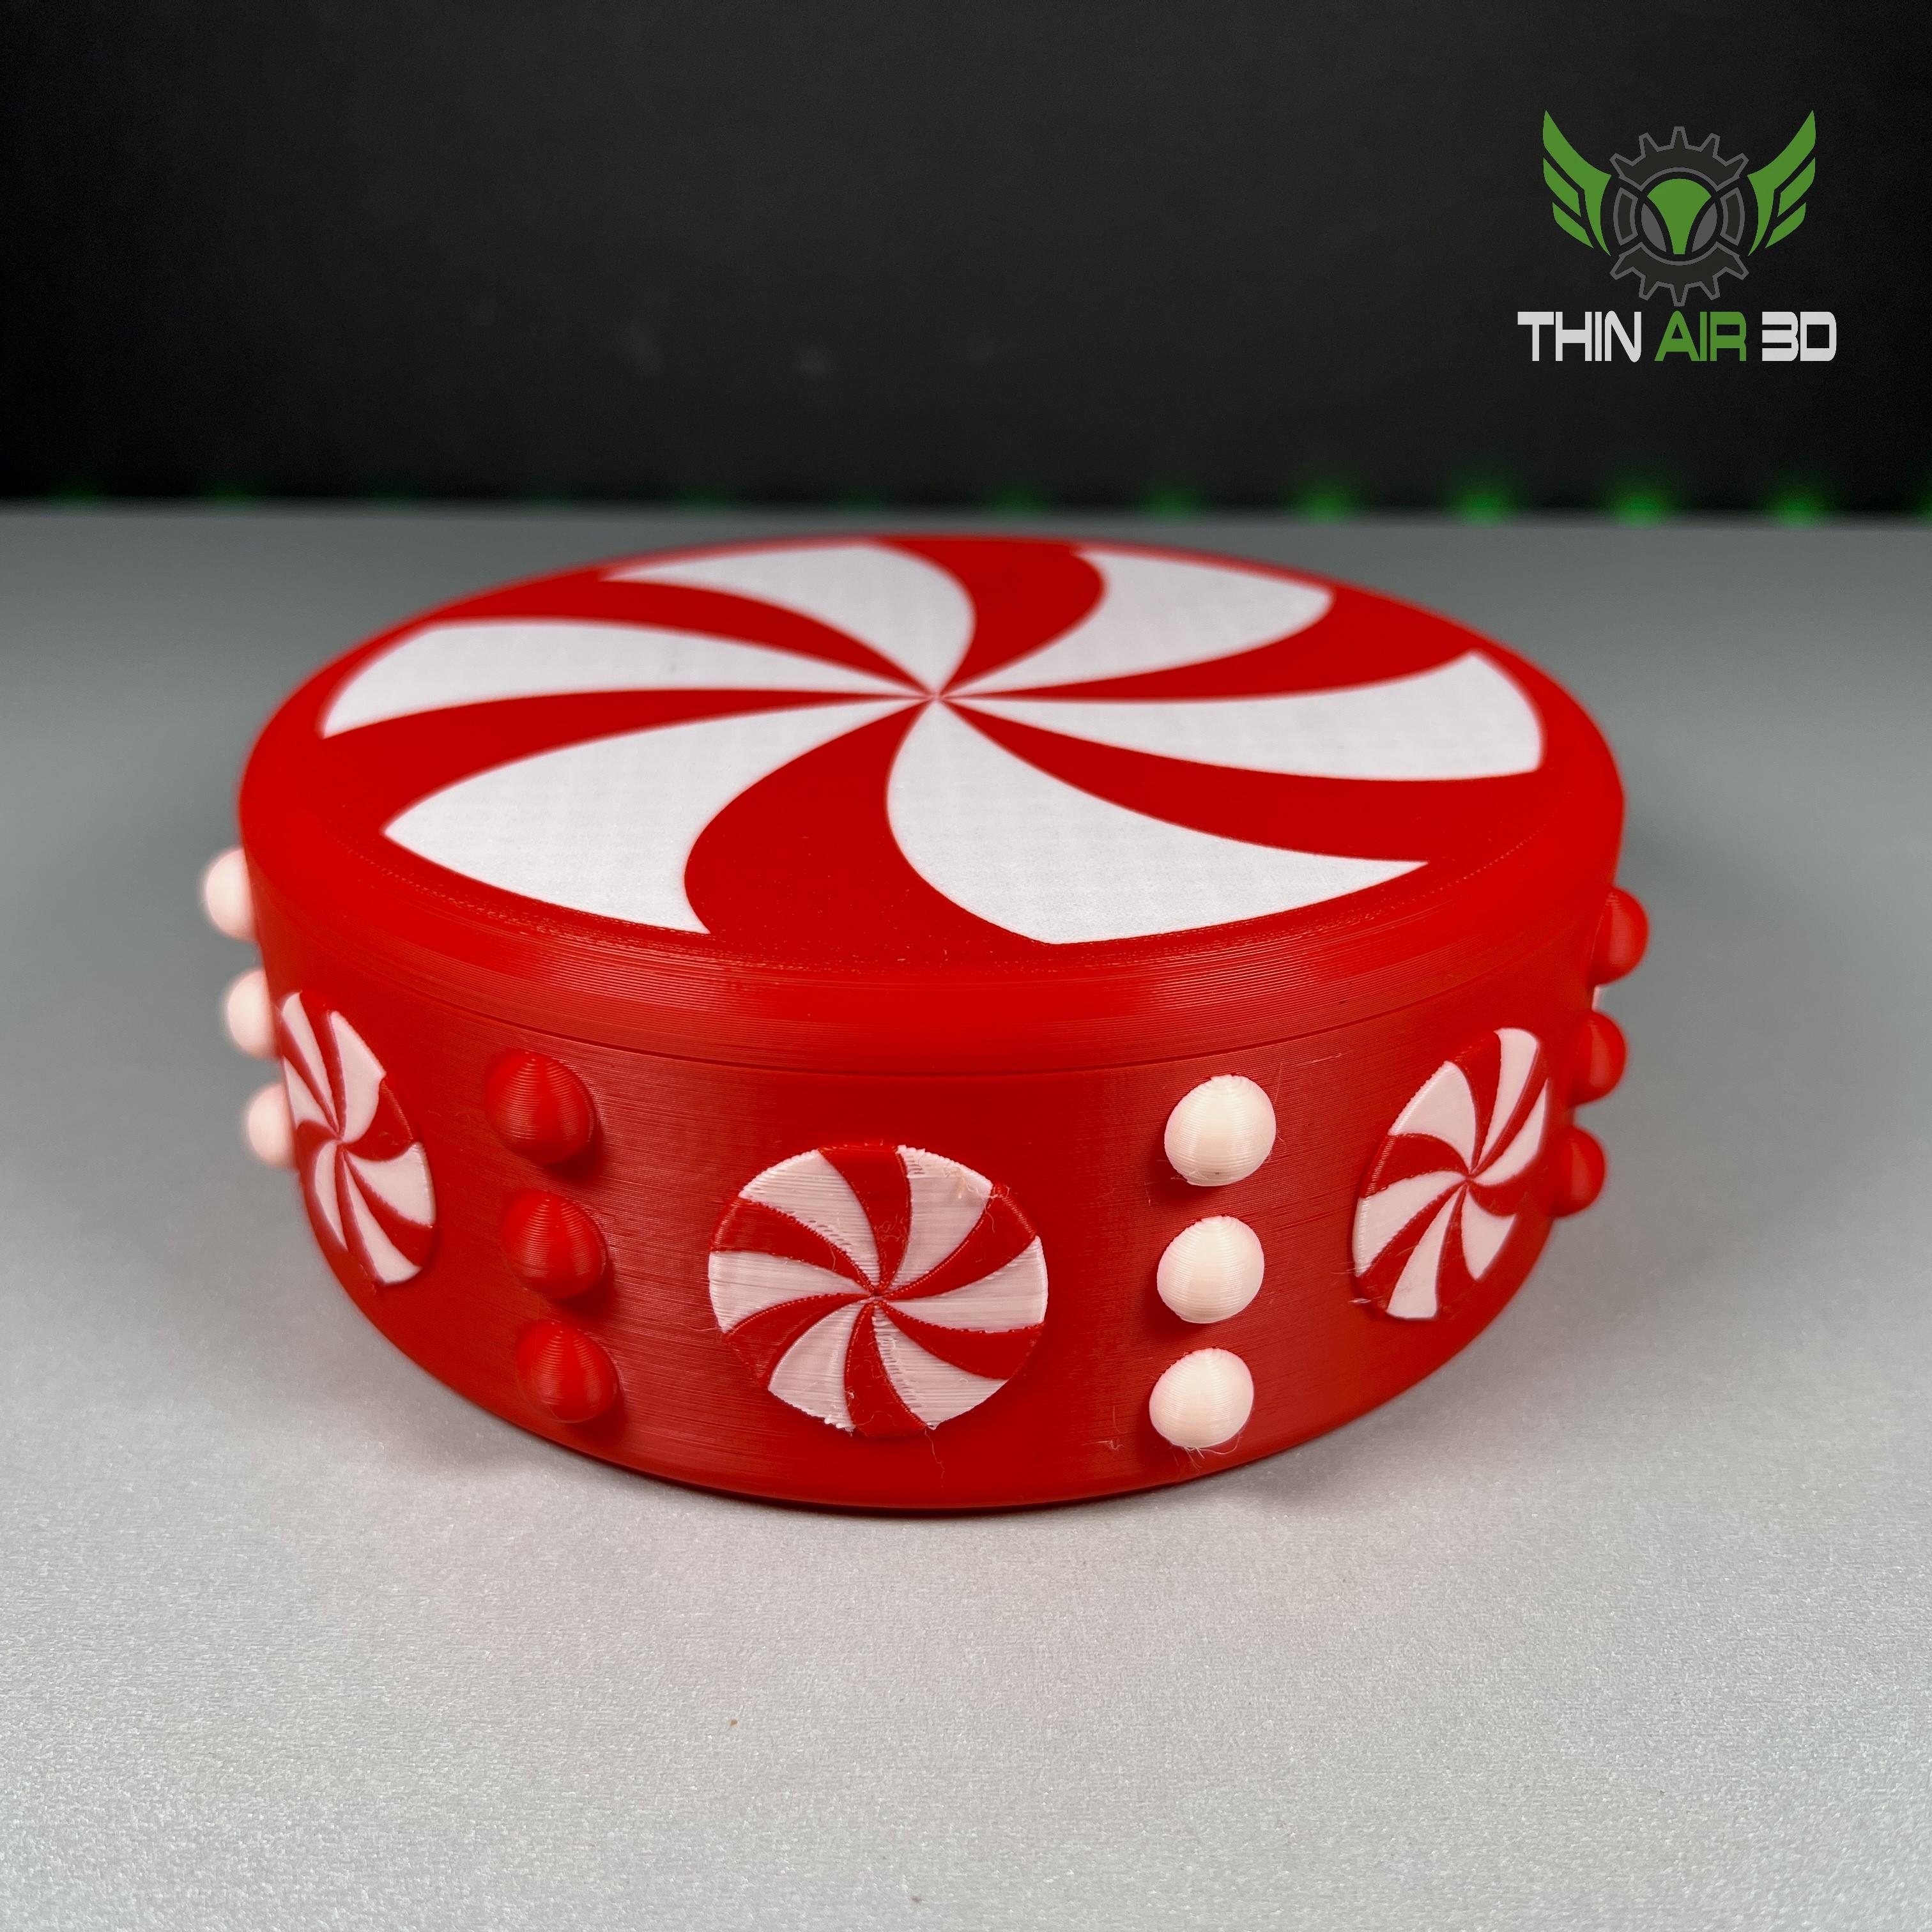
Peppermint Candy Bowl
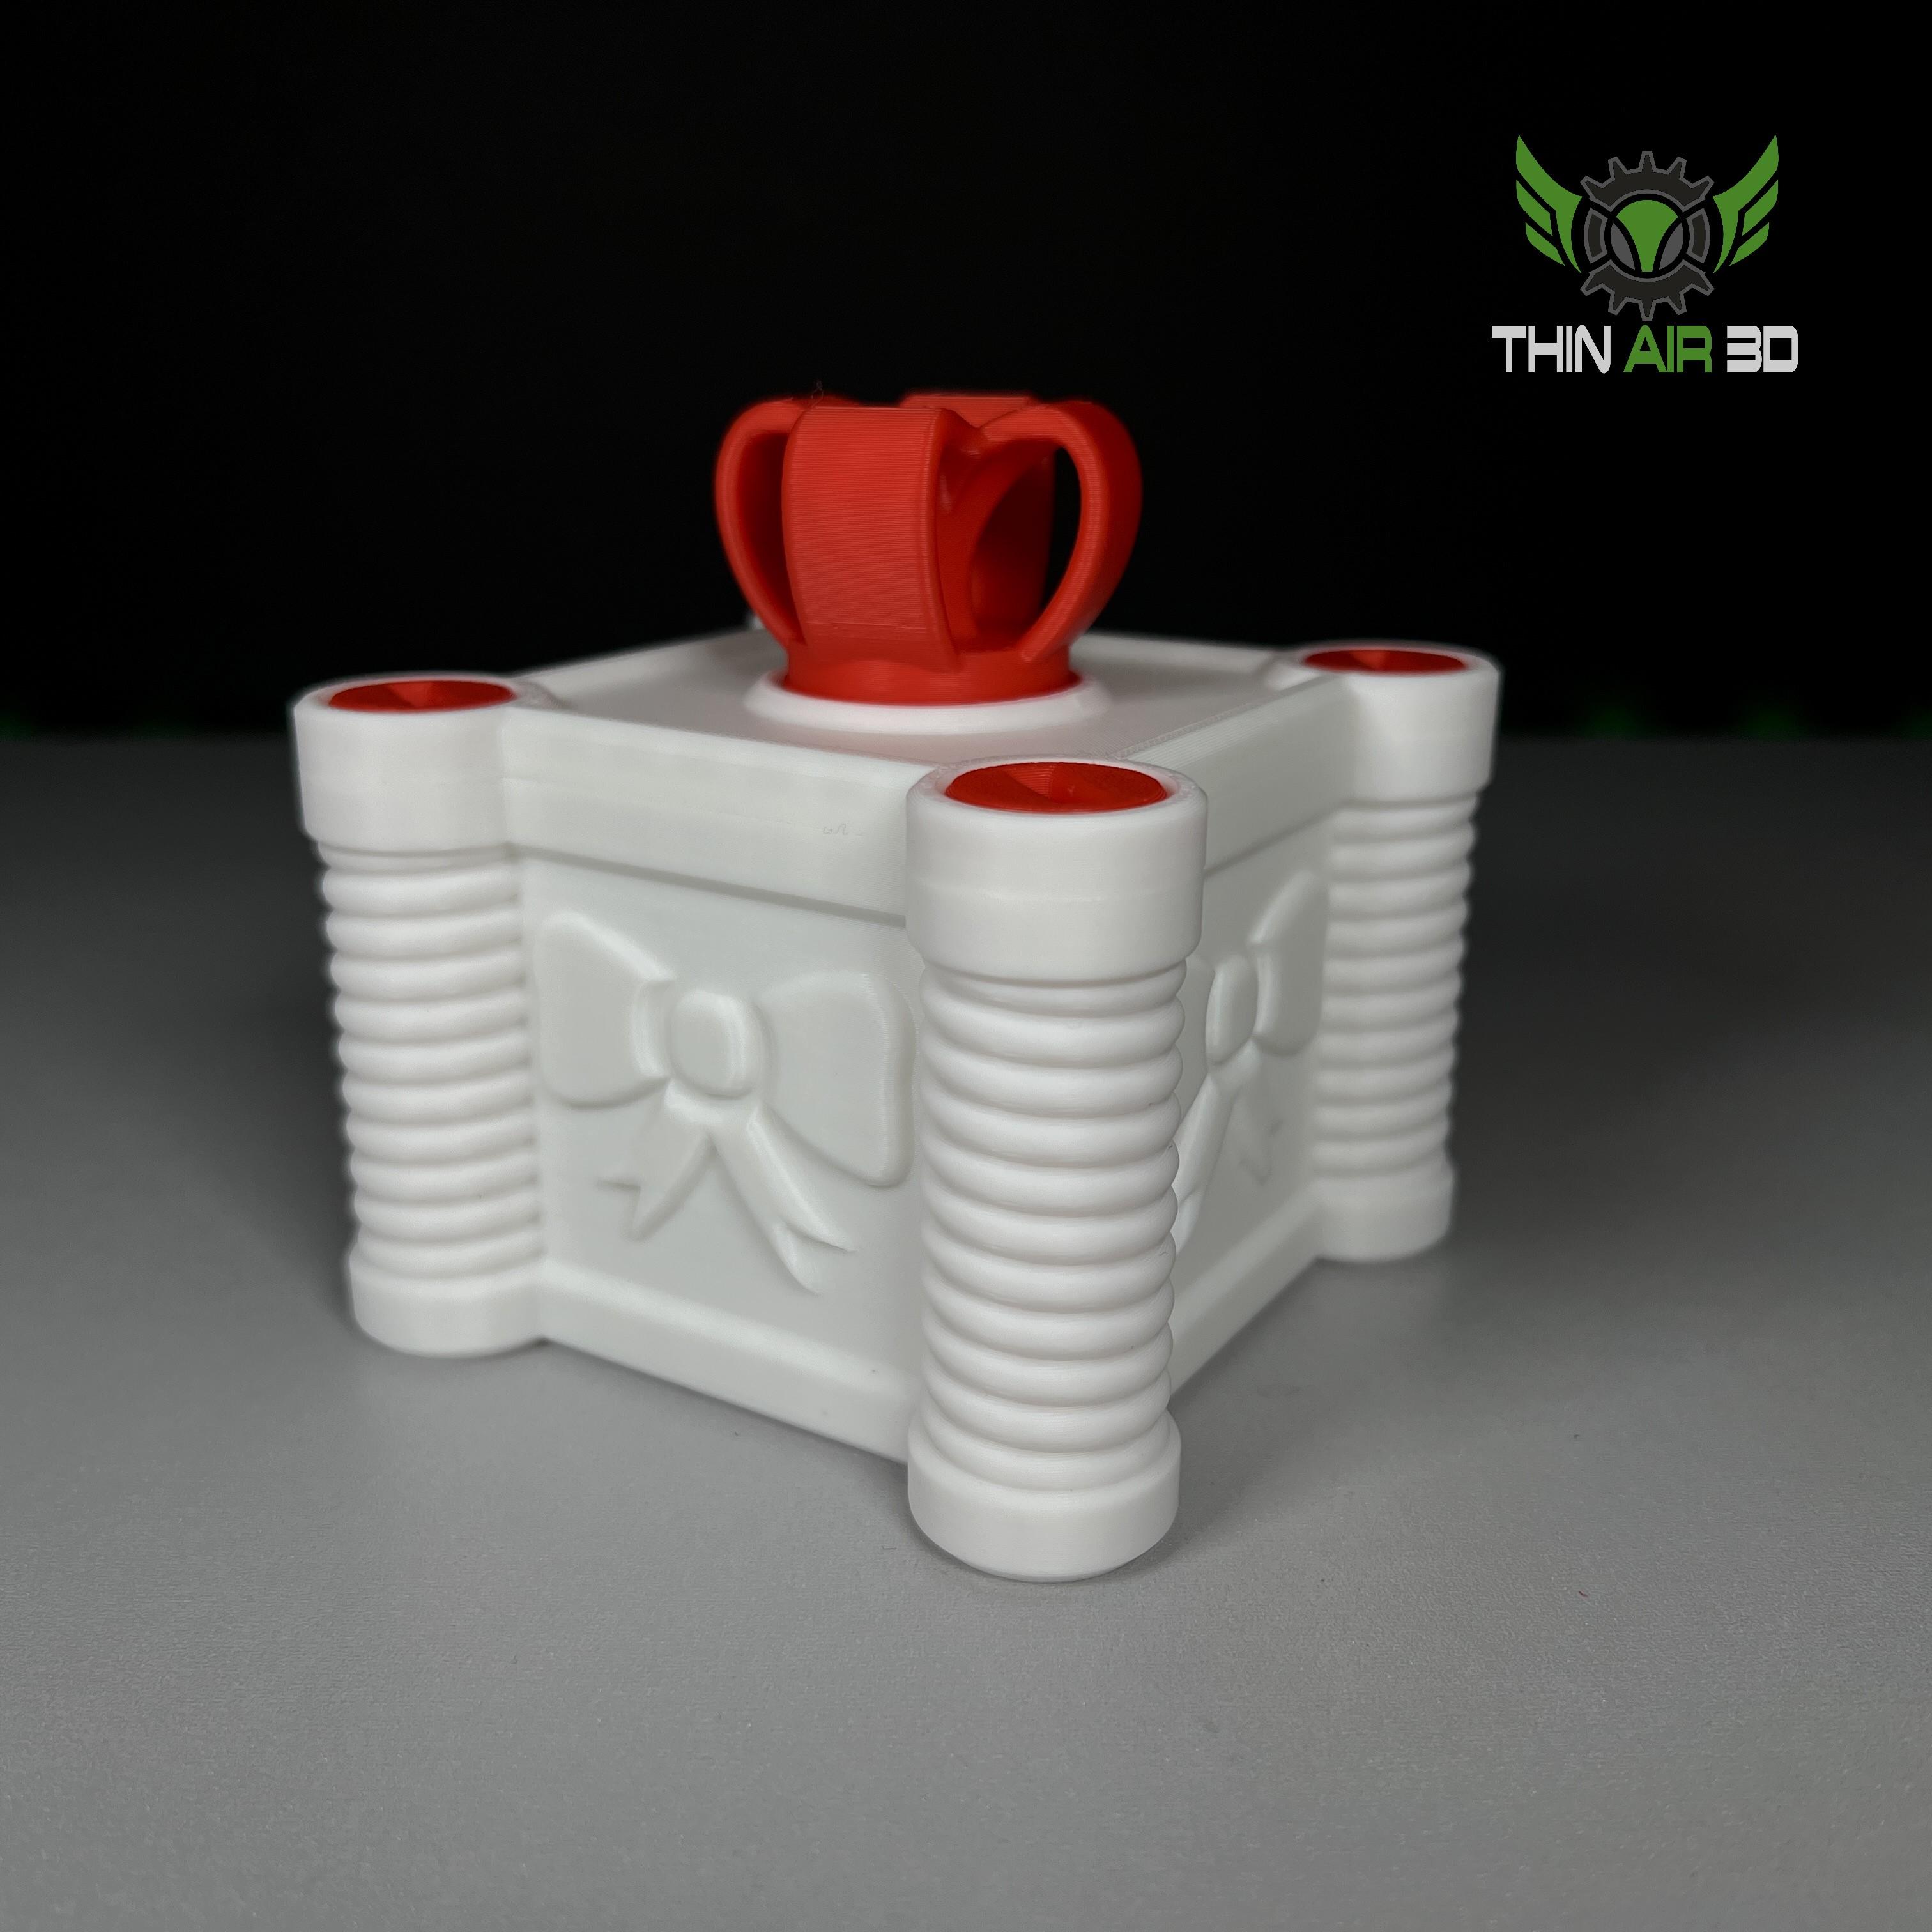
Annoying Gift Box Mini
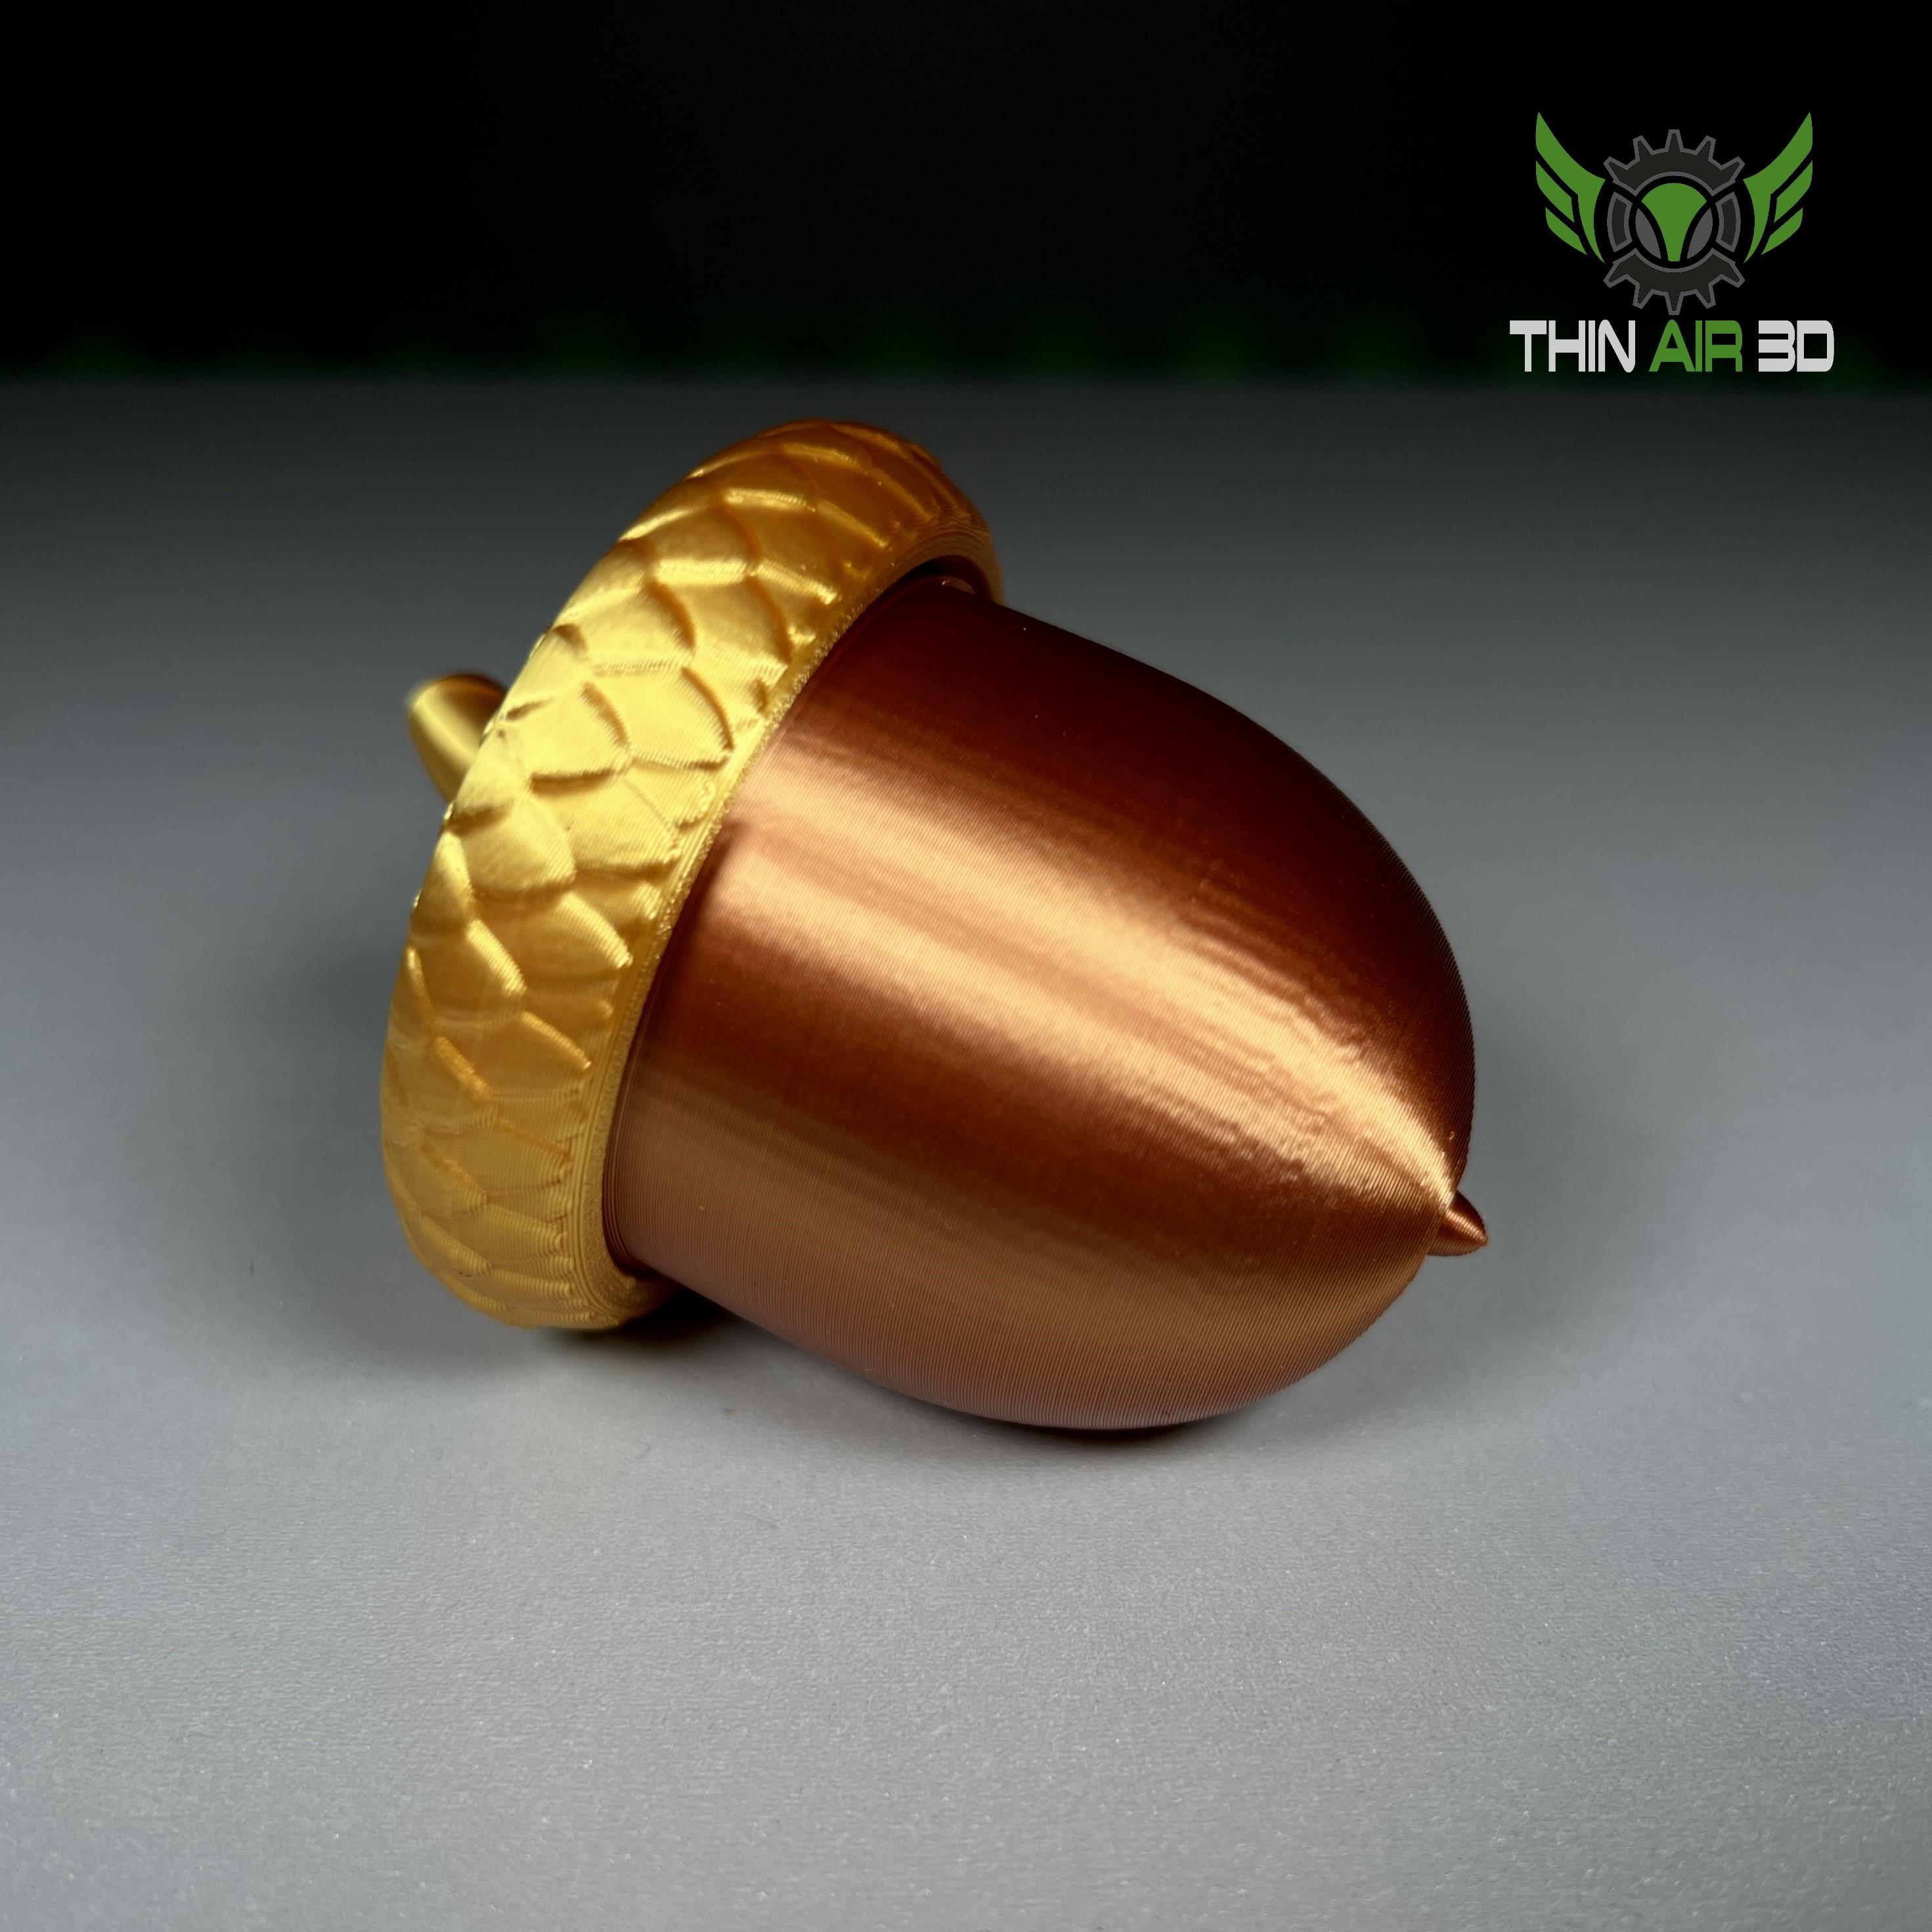
Acorn Stash Jar / Geocache