


Model originally uploaded to Thingiverse at https://www.thingiverse.com/thing:5854514.
This is a complete rebuild on a existing design. The original had so many flaws that I decided to completely start over. Still kudos for original designer: https://www.thingiverse.com/thing:4530460
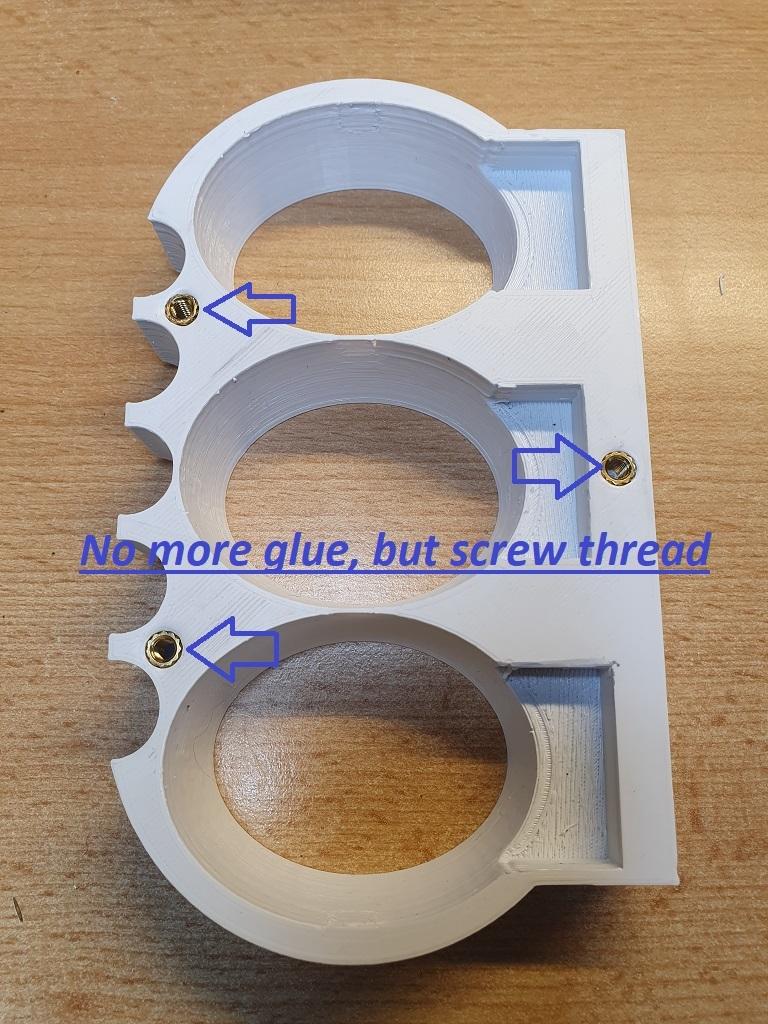
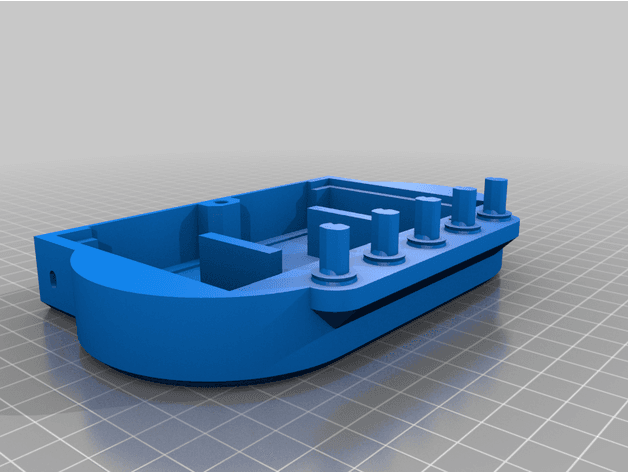
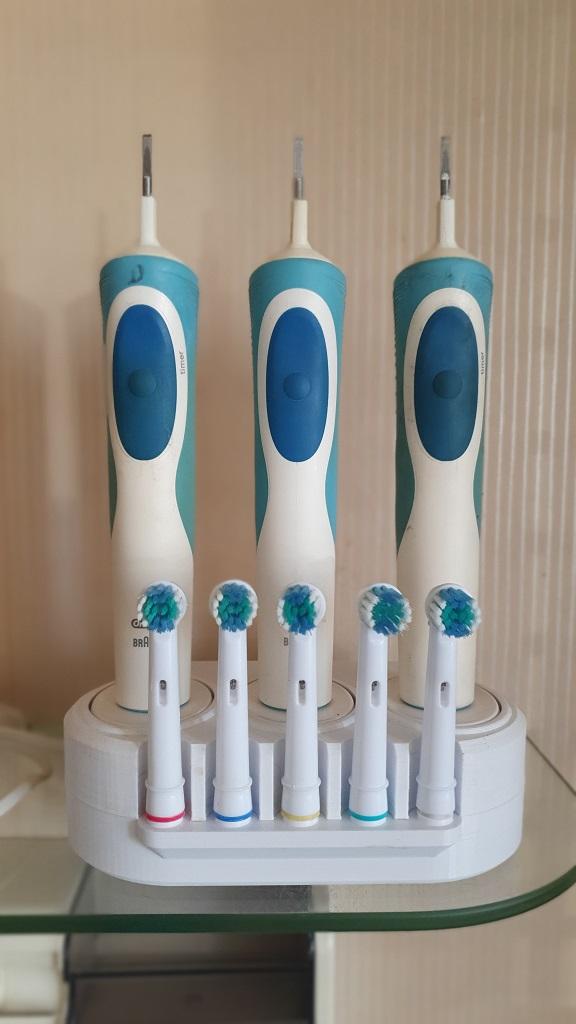
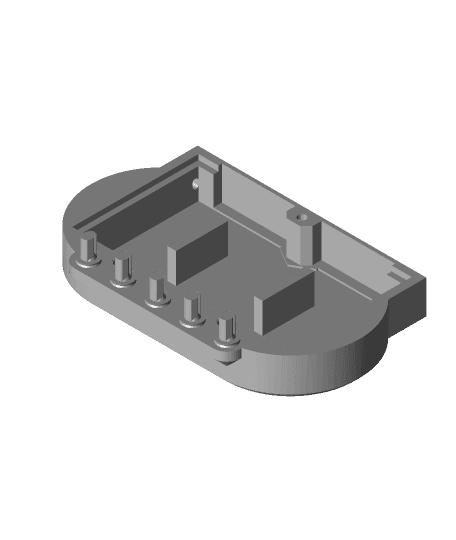
This design has 1 power Cable, 3 Charge stations, holders for 5 brushes. This design does not need Glue (original did) and can be screwed together by using M4 inserts.
Improved: No more Glue needed - M4 Bolts & Nuts inserts design added - Backplate integrated in design - Intermediate plate improved - Holders design improved - Bottom design improved.
What you need:
- 3x M4 bolts (+/- 25mm).
- 3x M4 inserts.
- 3D printer ;)
Assembly (See https://www.thingiverse.com/thing:5854514 Post Print pictures):
Insert 3x M4 inserts into the Top part.
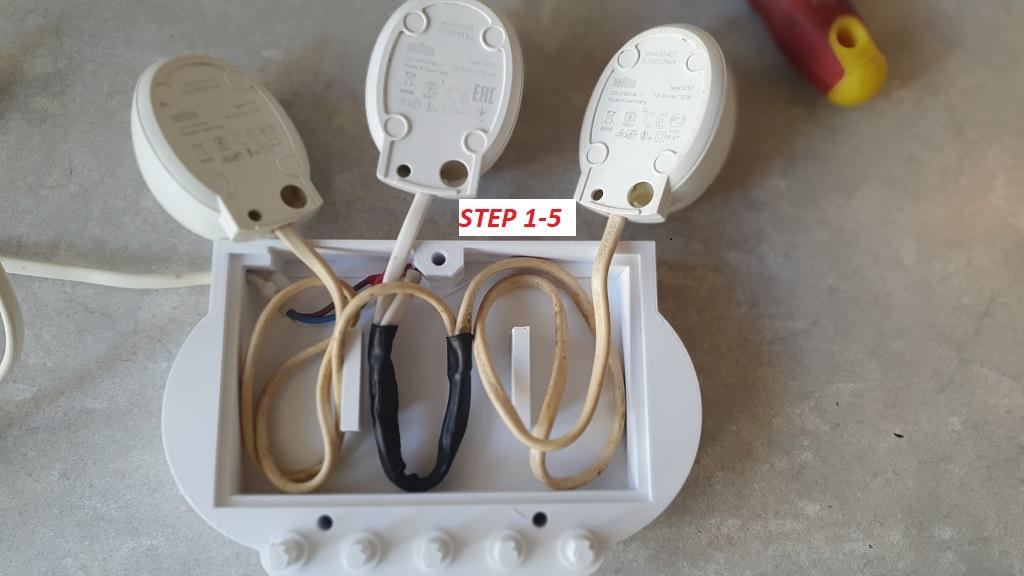
*** WARNING: Electricity is dangerous! Only do this if you know what you're doing!
- Unplug all charges from power!!!
- Cut cords from all 3 chargers.
- Pull 1 wall plug cord through the hole on the side (bottom part).
- Connect this wall plug cord to all 3 charges inside the bottom.
- Hide cable that is to long in the bottom part.
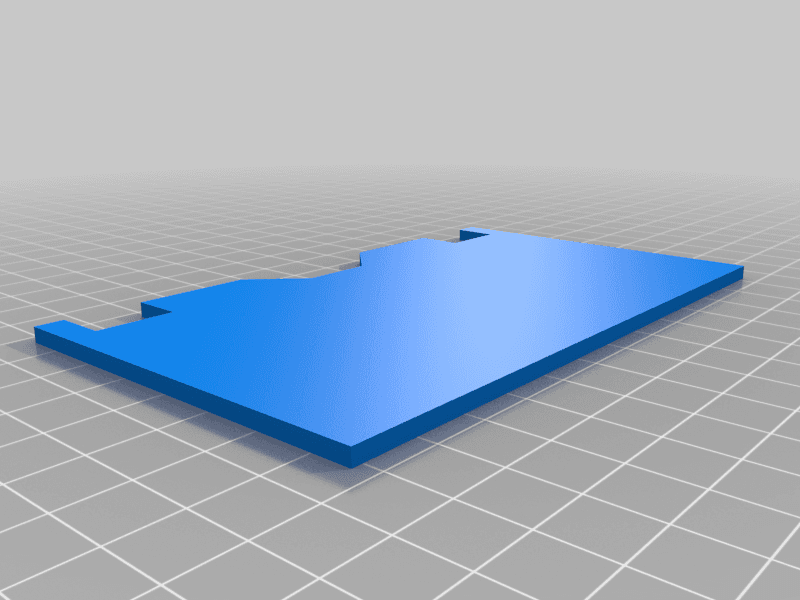
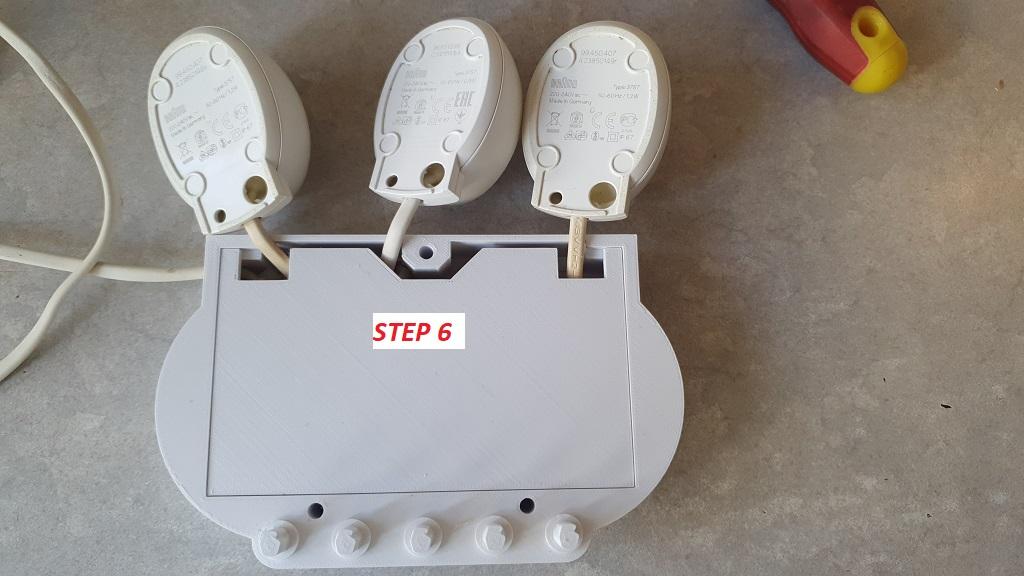
- Place intermediate plate on the bottom.
- Put 3 charges in place on the intermediate plate.
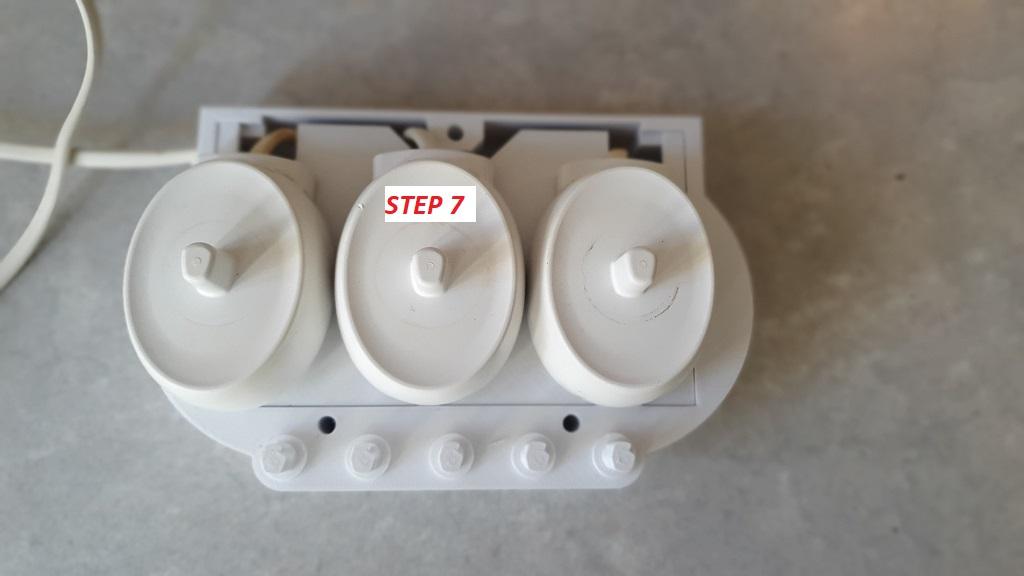
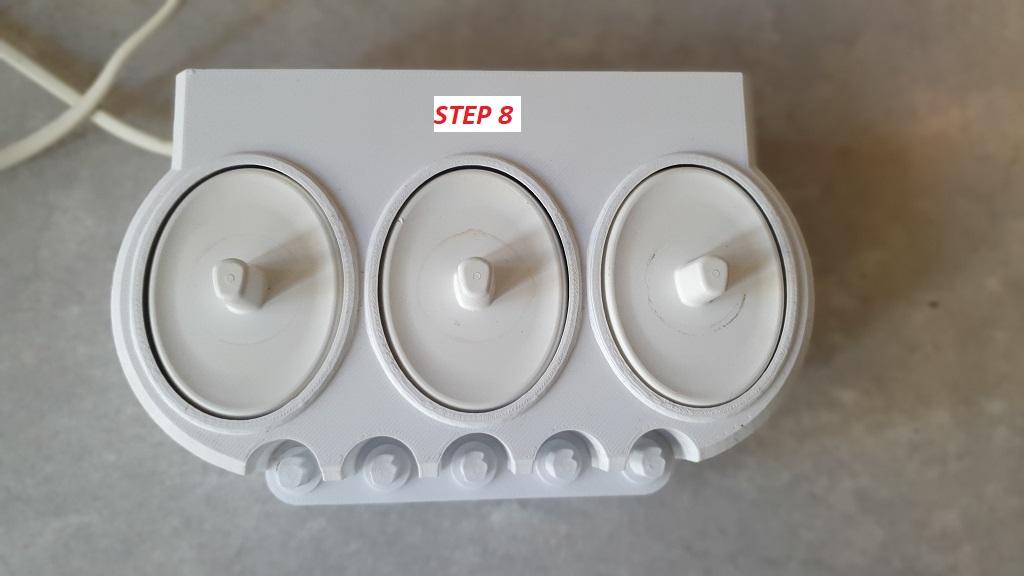
- Put Top cover on and Screw tight with 3 bolts.
Tip: step 4.. Solder and use shrink tubing so the electric connection is good.