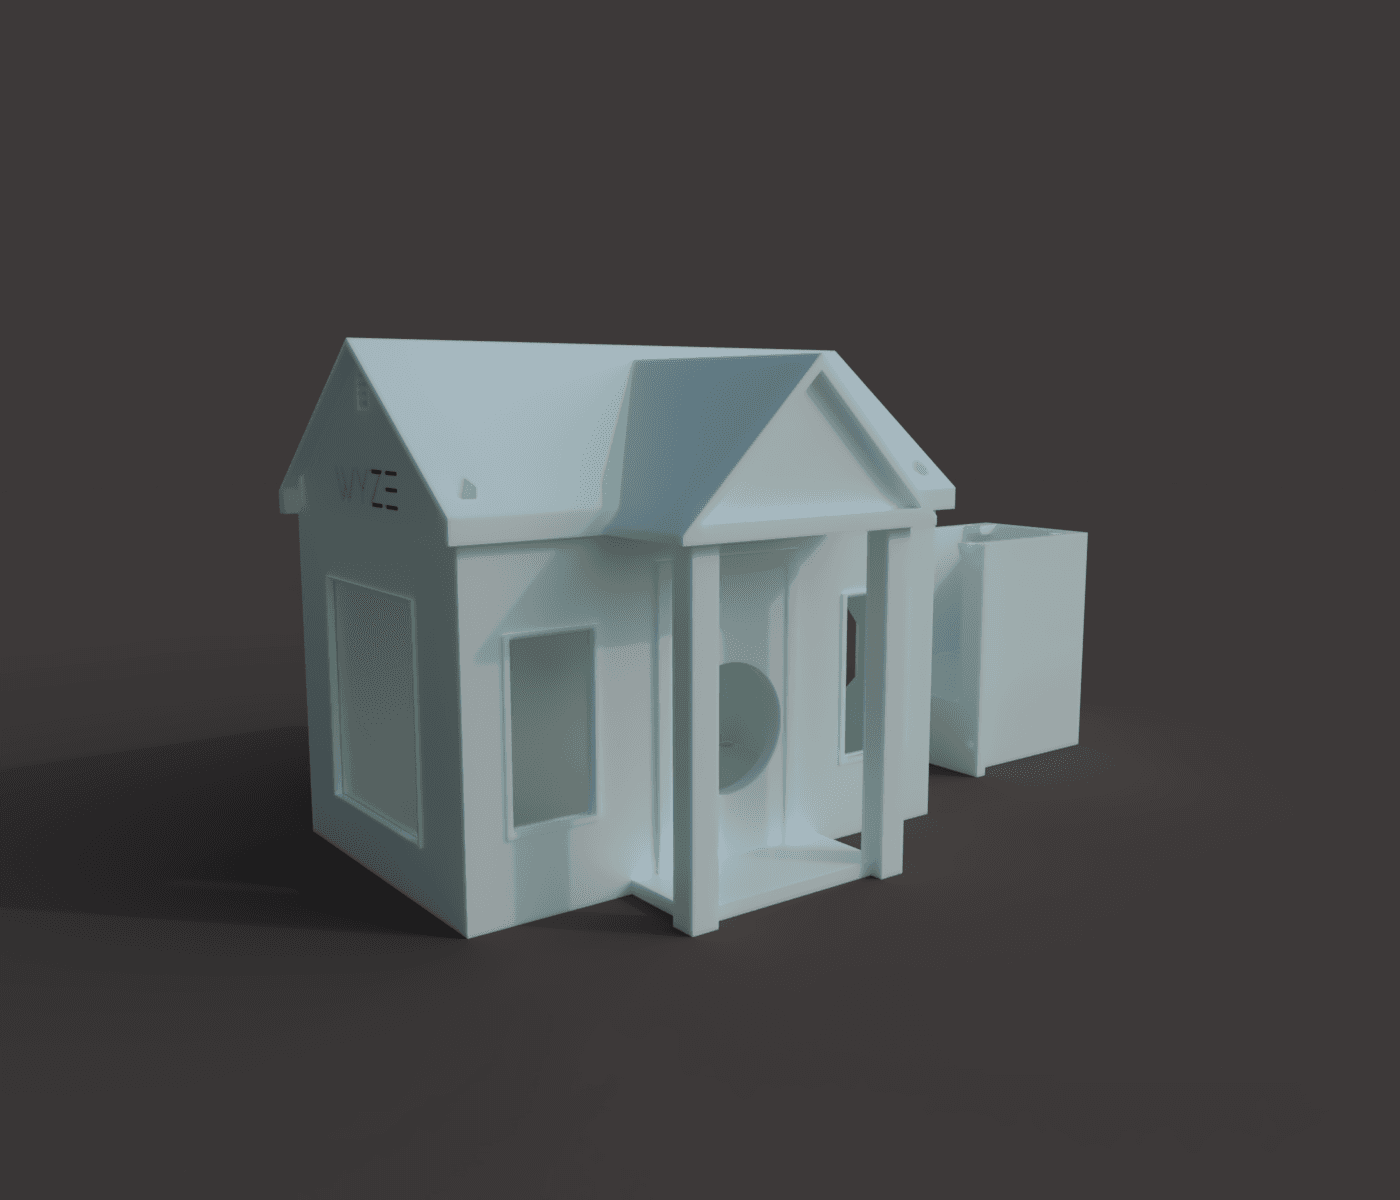
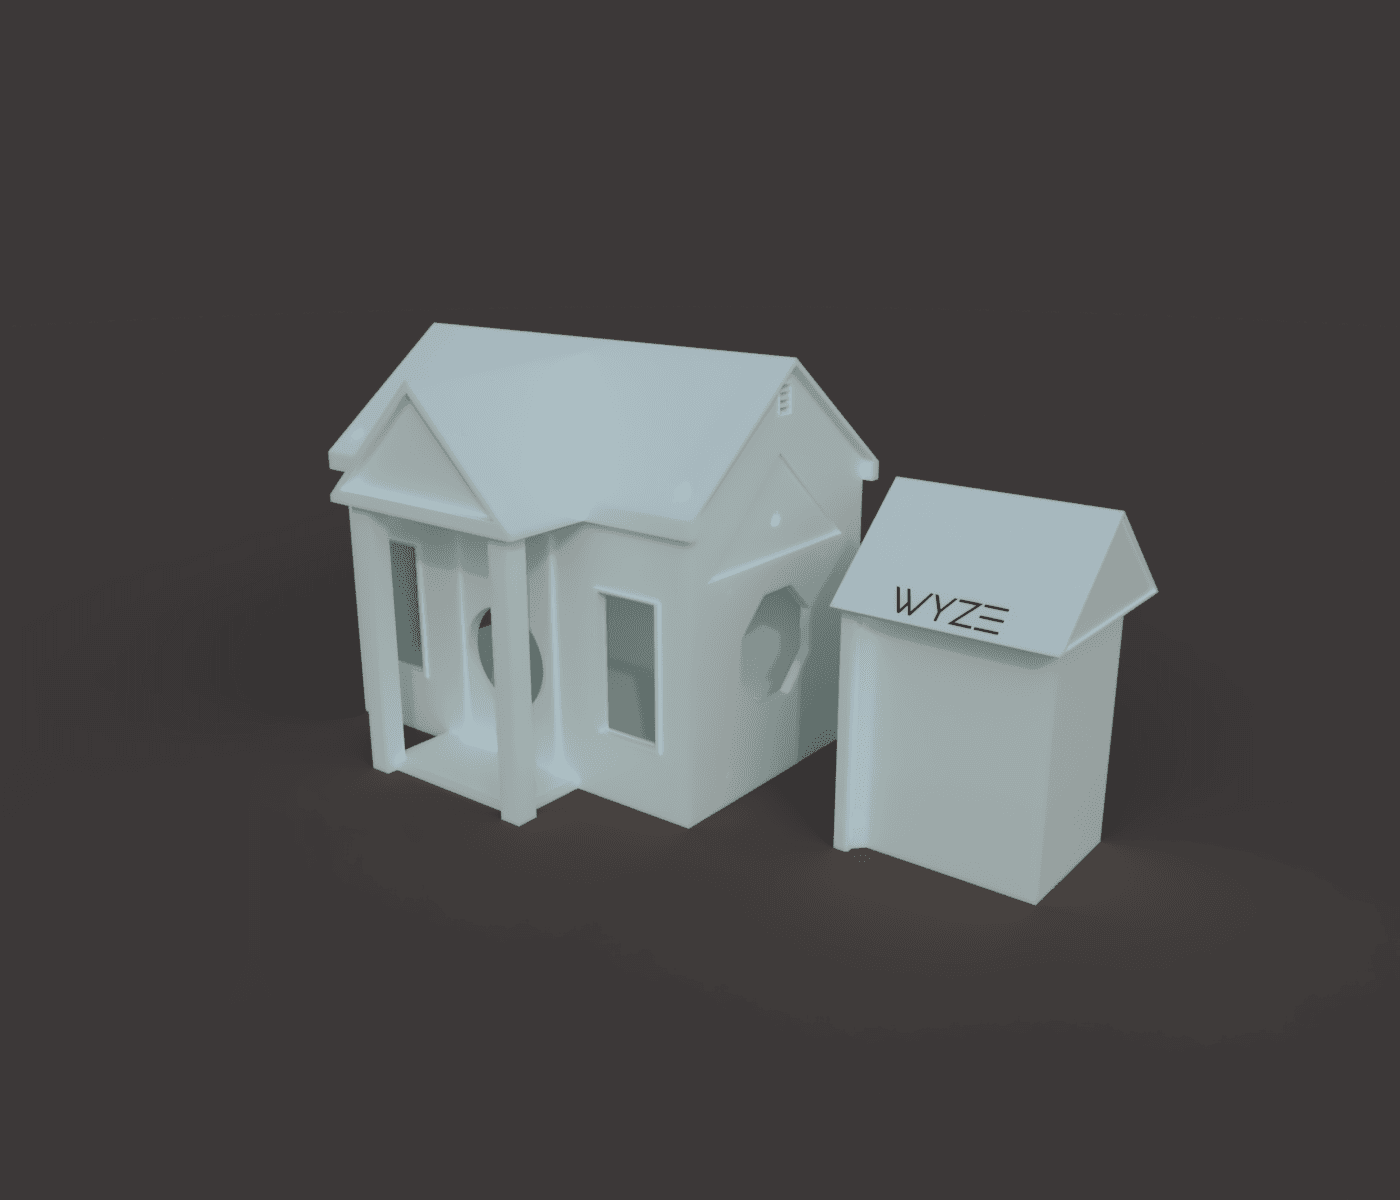
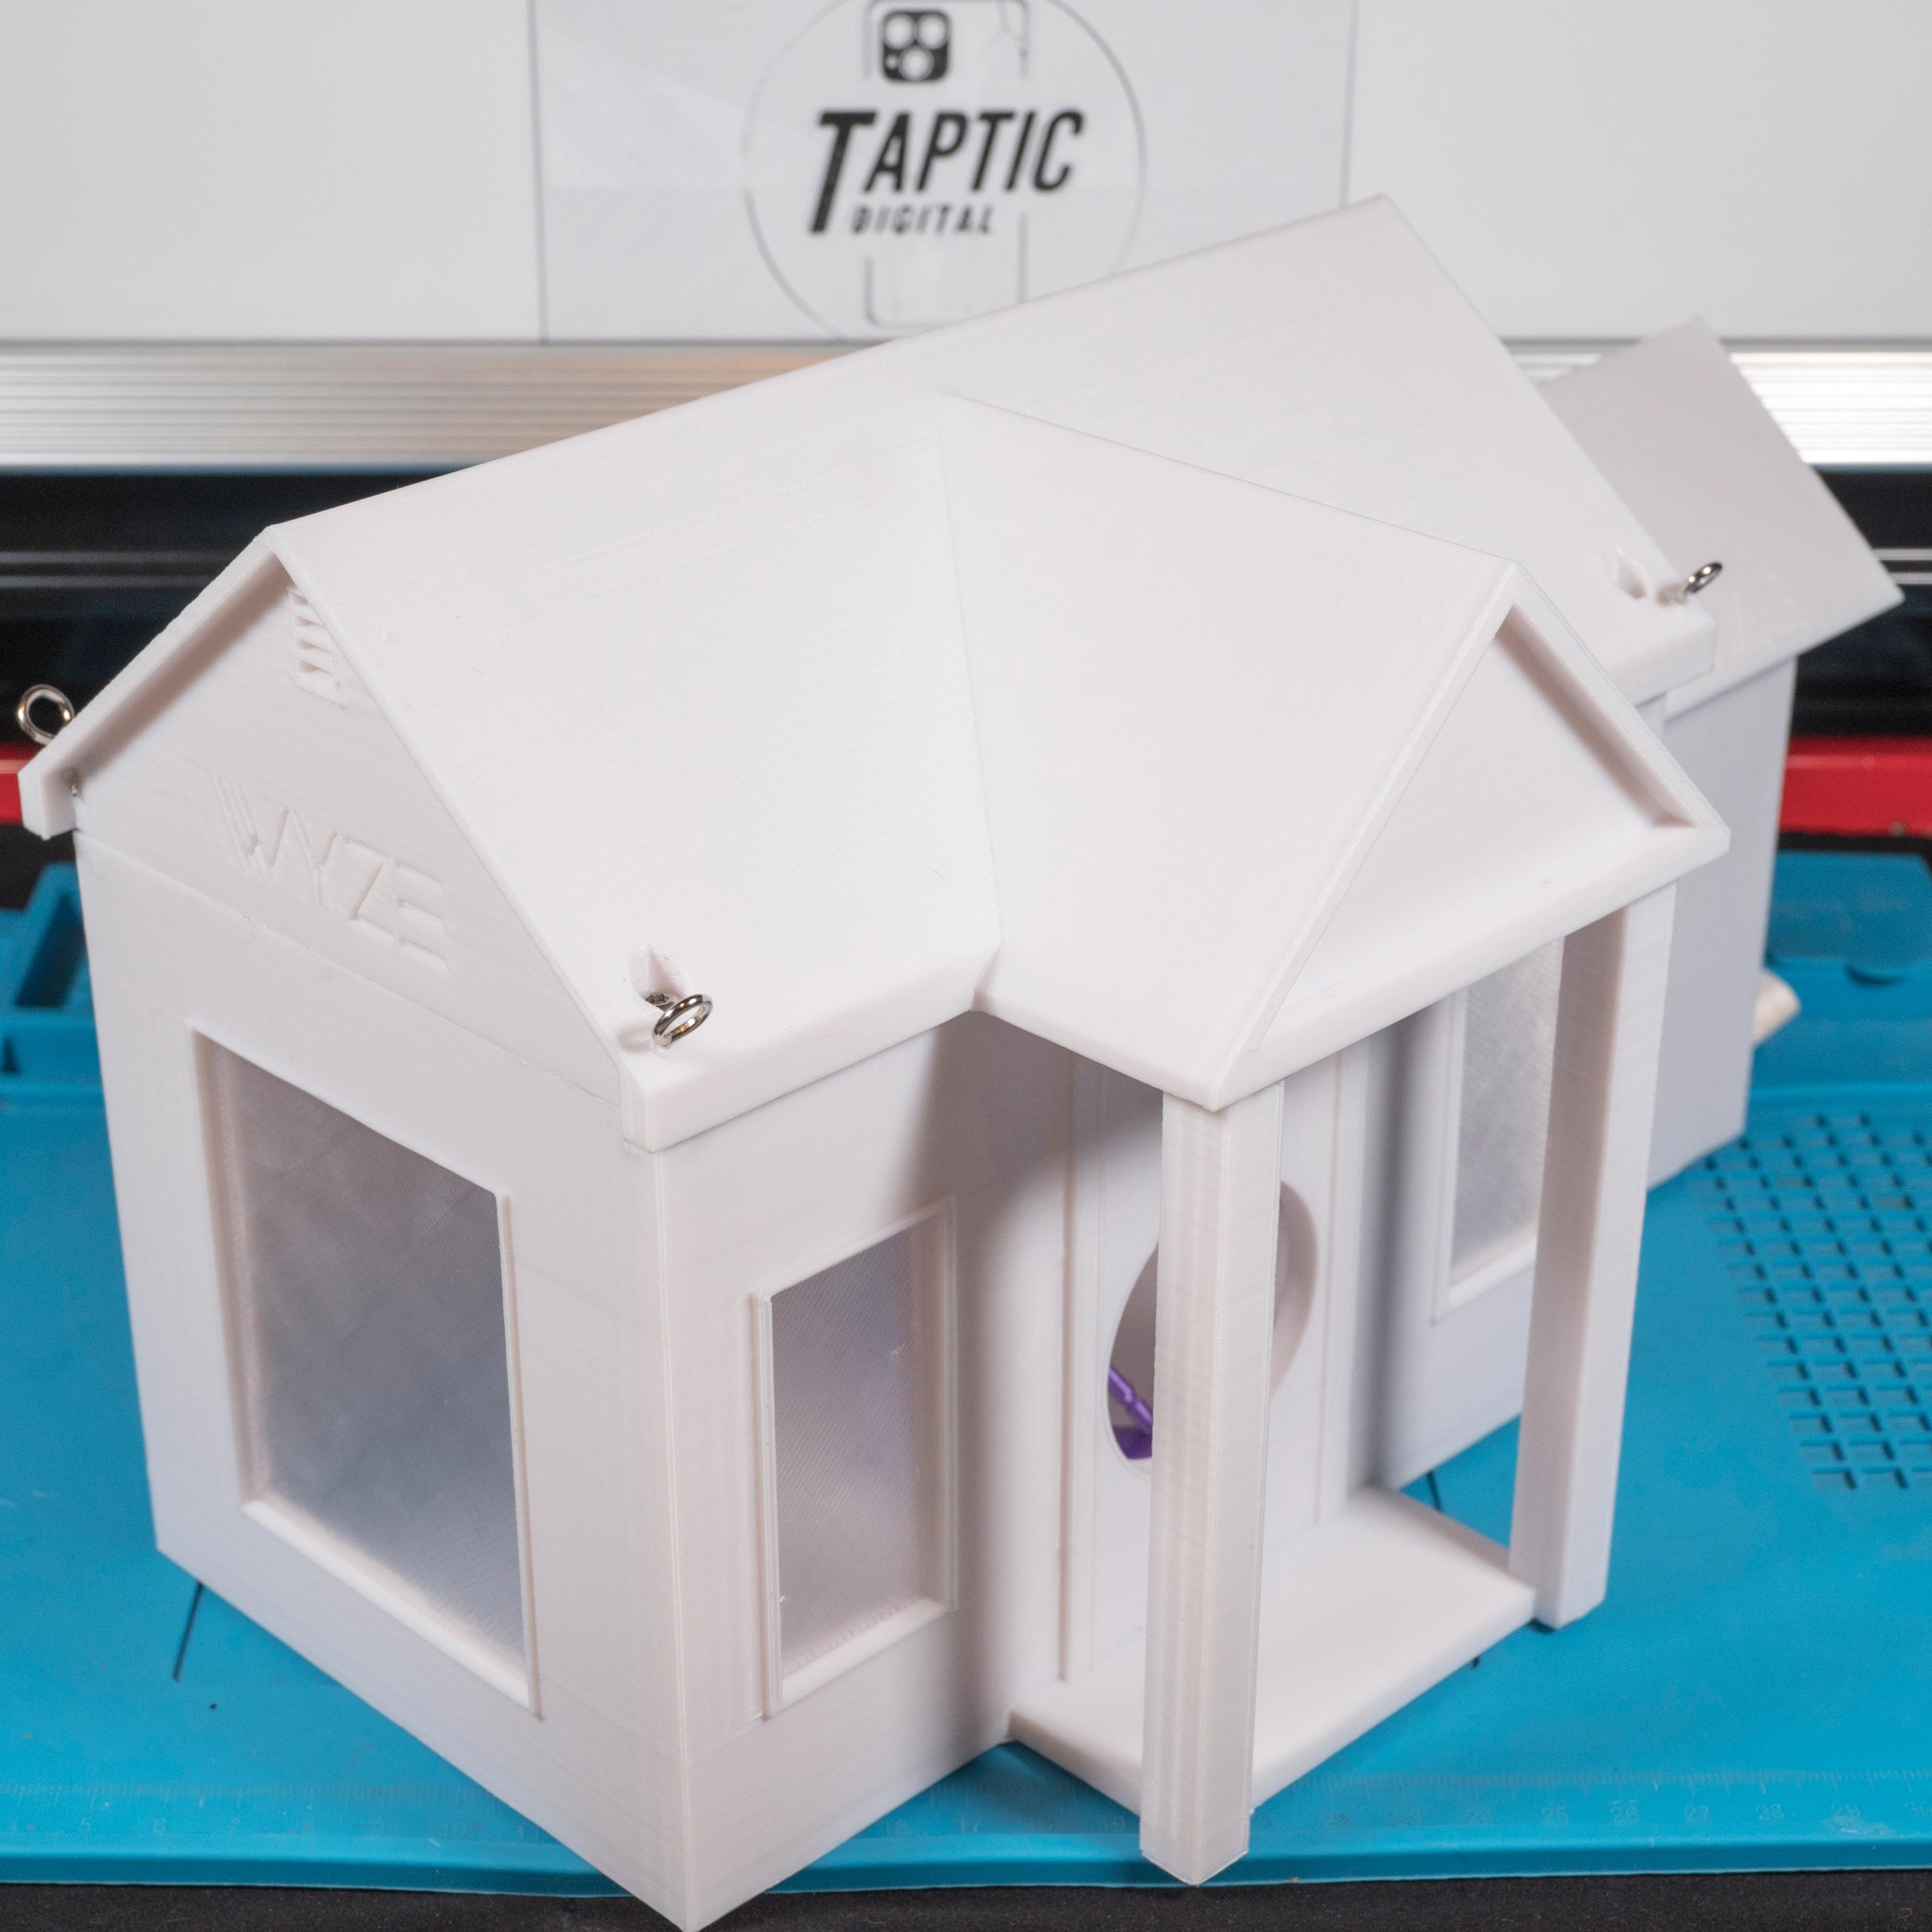

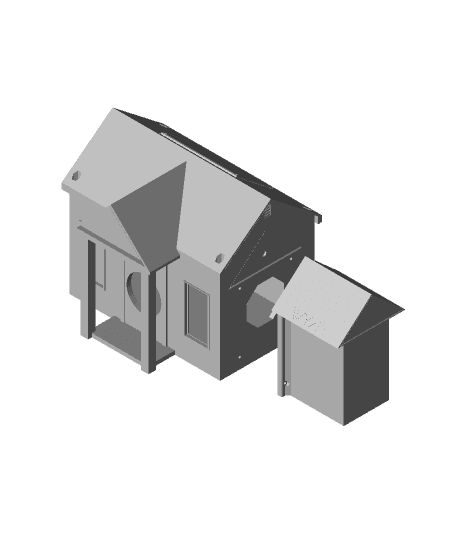
Introducing the WyzeHouse! This fully 3D printable birdhouse will provide your feathered friends with a luxuriously safe nesting site that you can monitor remotely.
This enormous suburban home is split into multiple parts, and will fill the entire bed of average-sized printers with the main house coming in at a whopping 201mm165mm120mm.
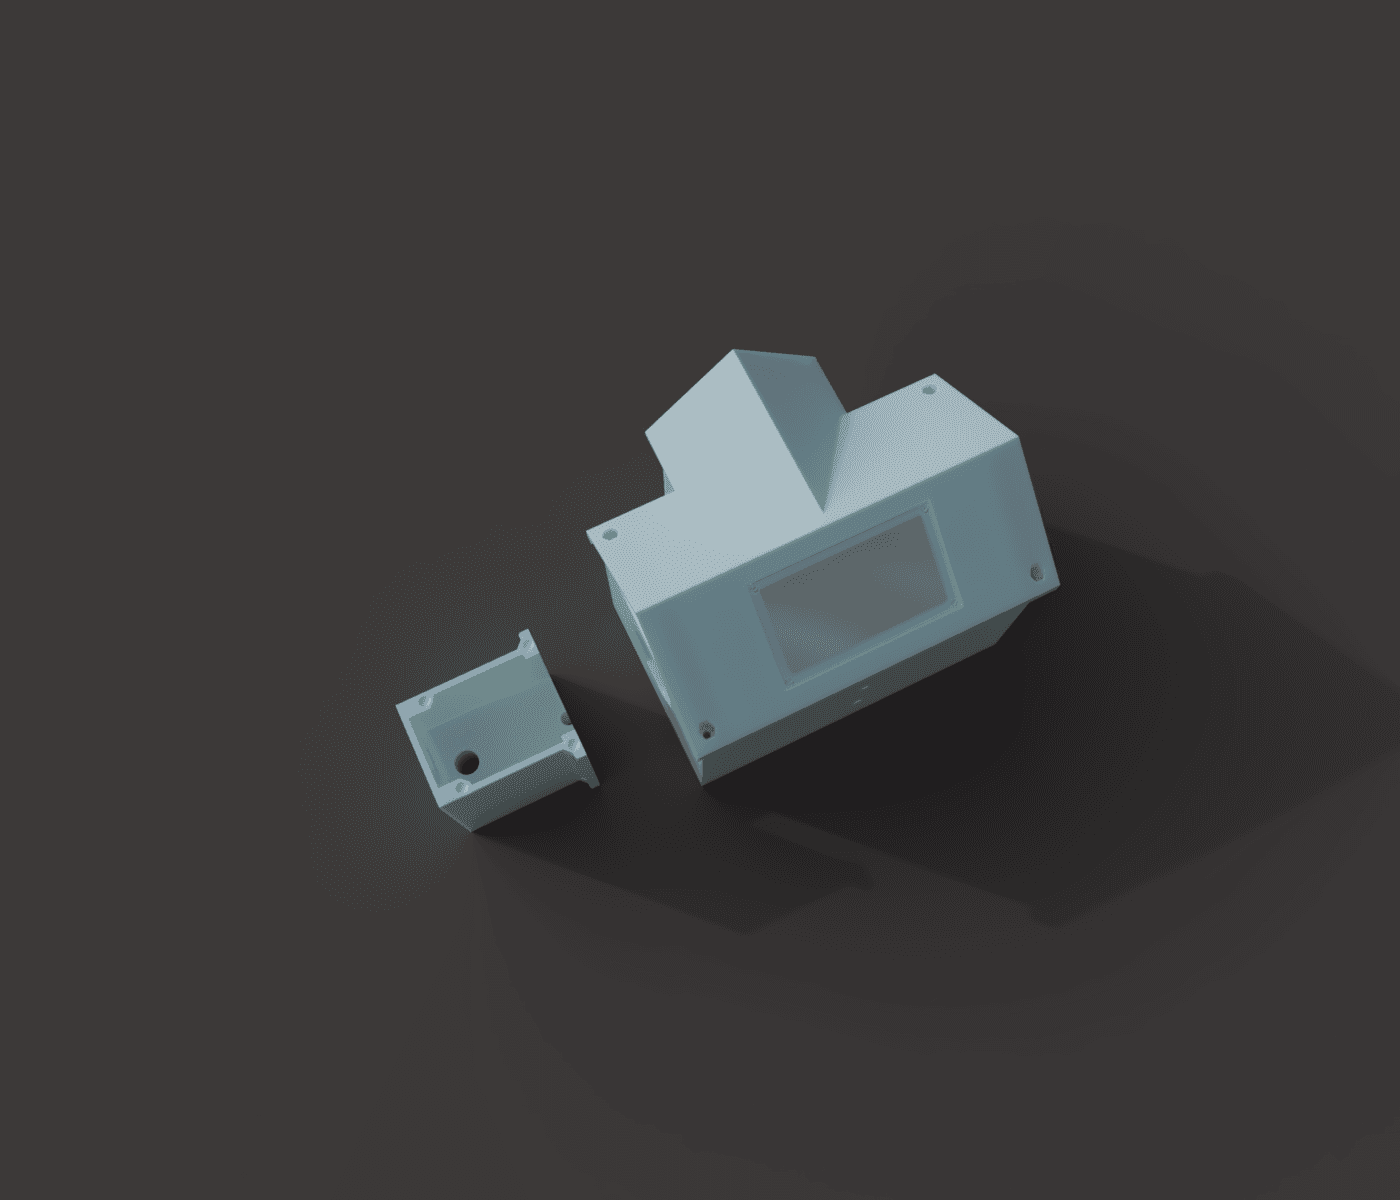
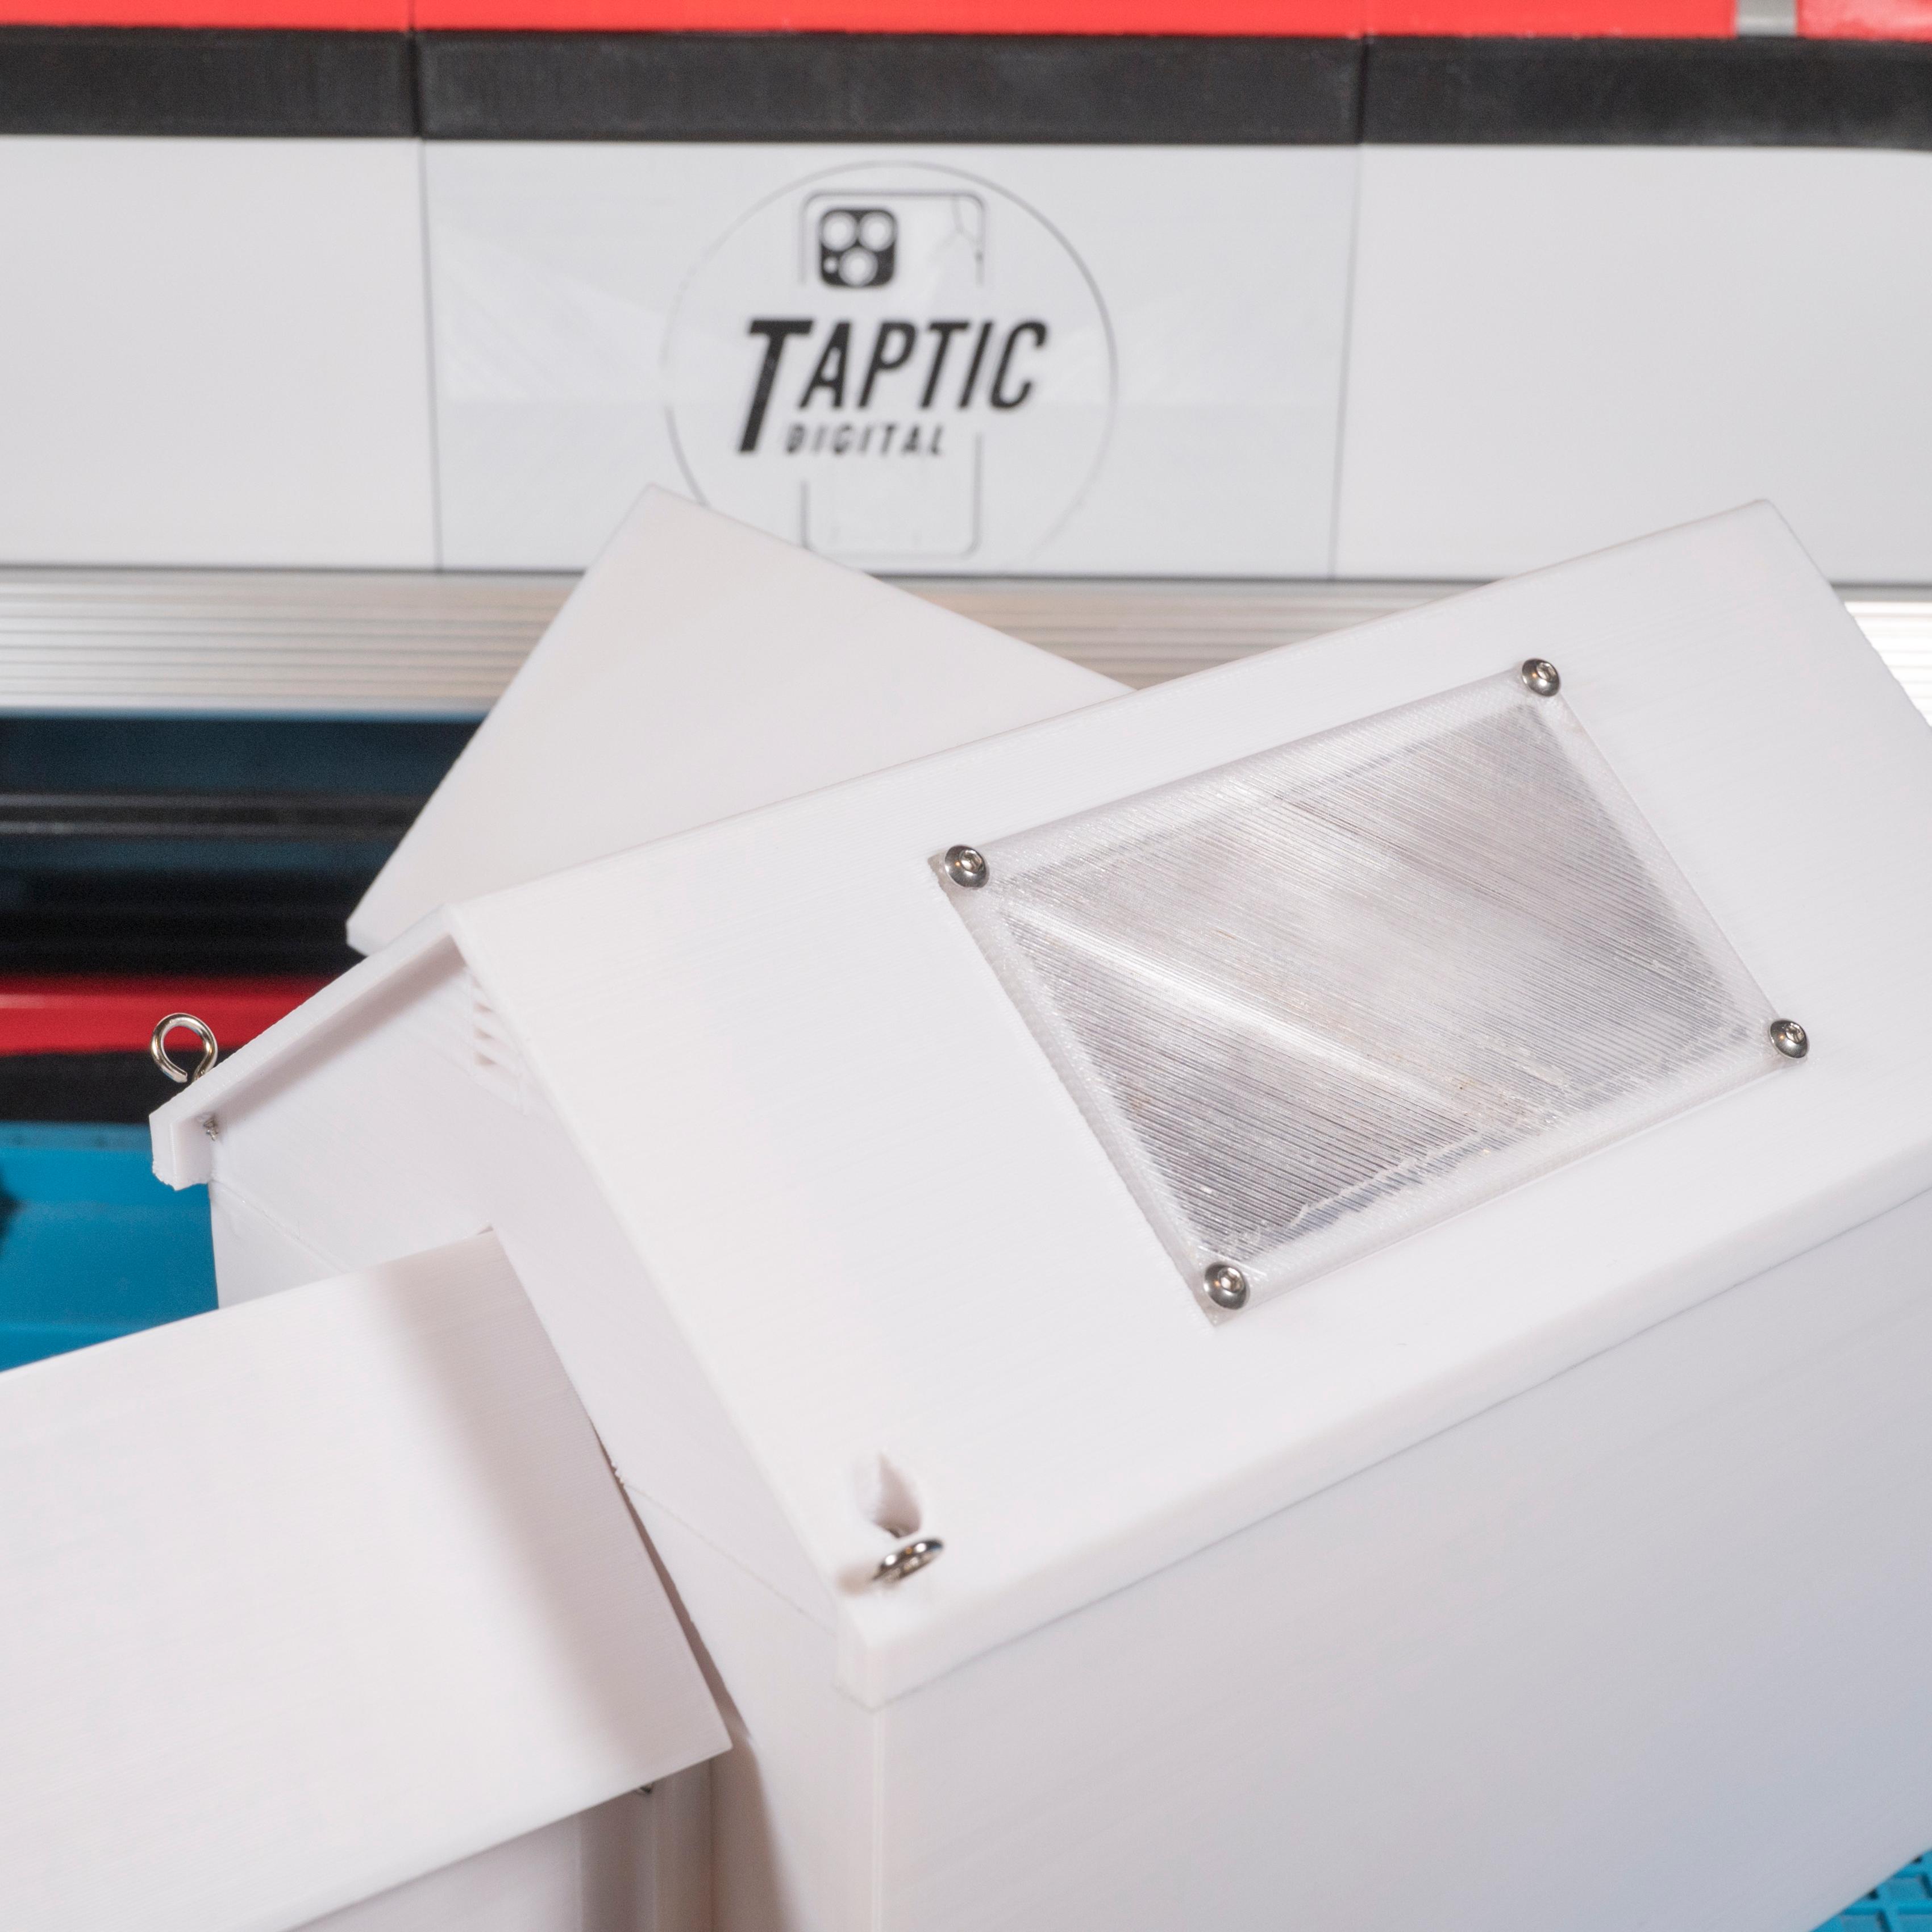
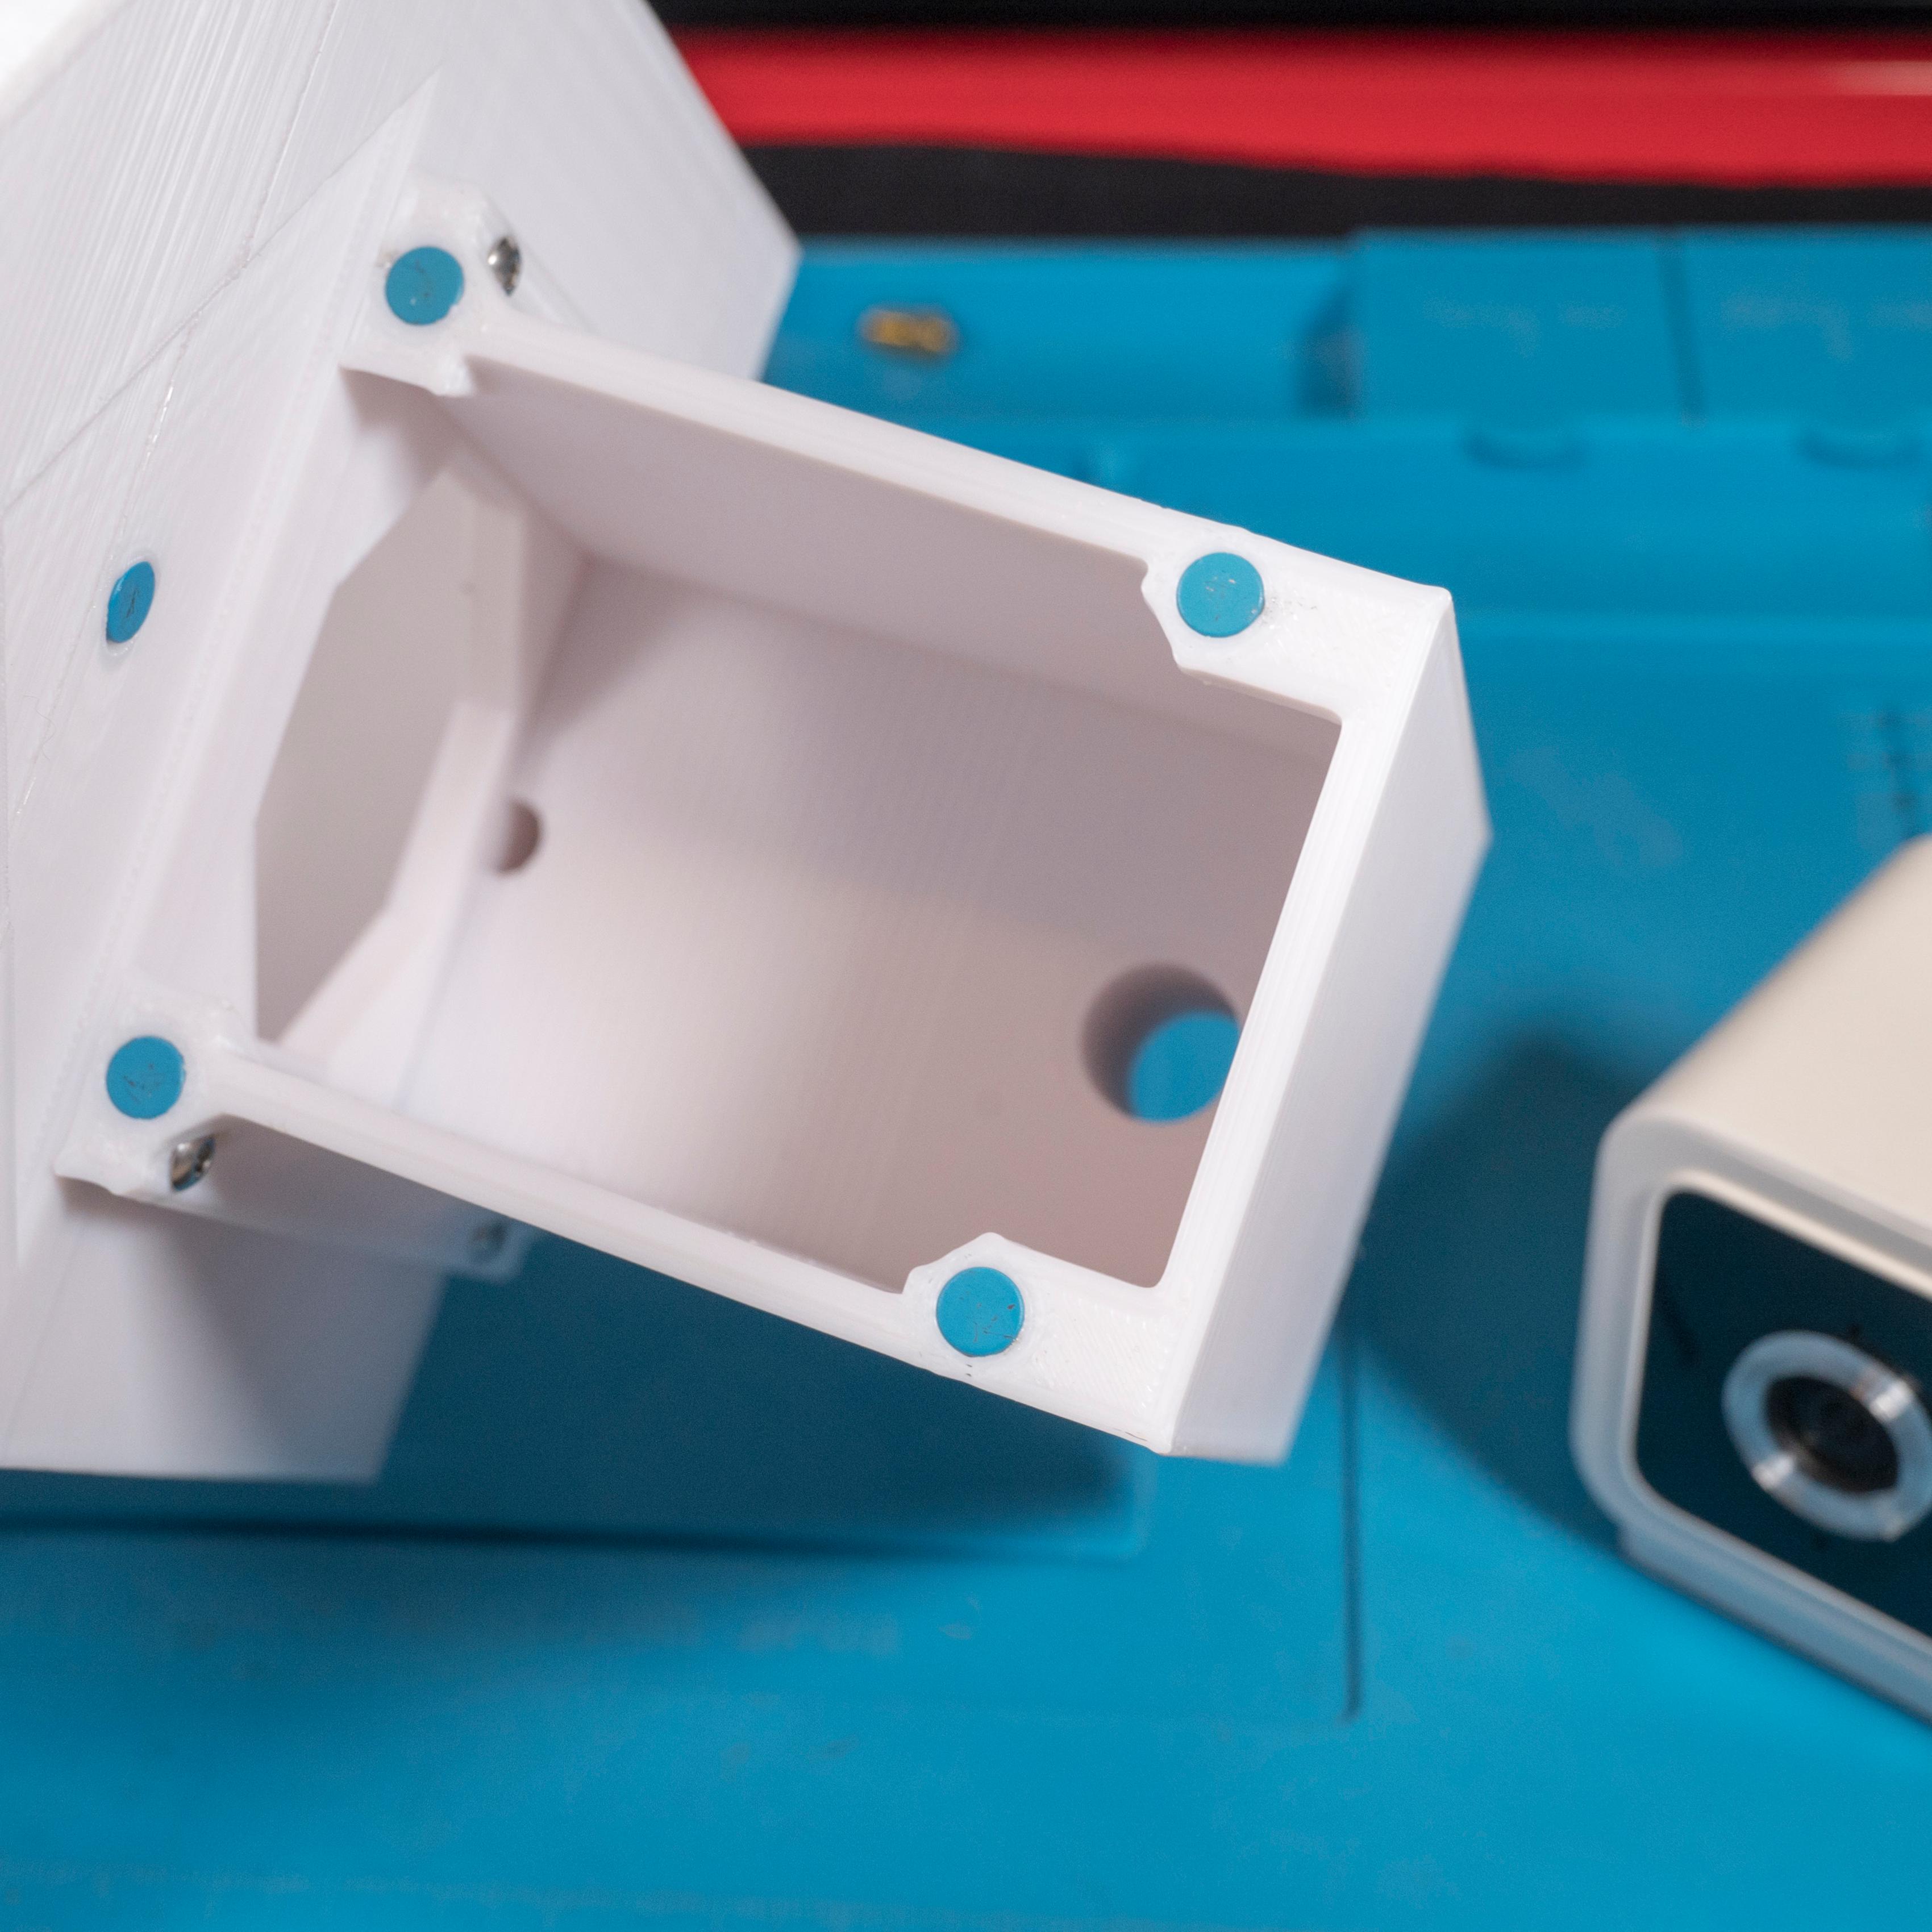
The home features multiple drainage holes should rain find its way in, and ventilation in the roof to keep your avian friends cool during warmer weather. The camera housing has a detachable magnetic roof that will require ten (10) 6mm*2mm disc magnets.
You will need:
Ten (10) 6x2mm disc magnets for cam roof
Four (4) M4x16 Screws for primary roof
Four (4) M3x12 Screws for cam house mounting
Four (4) M3x8 for skylight
Eight (8) M3 nuts for skylight and cam house mounting
(Optional) Four (4) M4 screws (read below) Four (4) Eye hooks.
One (1) Wyze Cam V3 with modified focus ring. (see below for link)
Optional:
You may add a layer pause to insert nuts into the main housing for roof mounting, there is a cutout that will inset the nuts and print over top of them. Use silicone sealant around all edges to increase weather resistance.
Assembly:
Screw the WH_CamHouse to WH_MainHouse tightly, use silicone sealant if desired. This will allow you to easily tighten the nuts from inside.
Screw WH_Skylight to WH_MainRoof and tighten nuts.
Insert WH_LargeWindow and two (2) WH_SmallWindows into WH_MainHouse, seal if desired. IMPORTANT: You must insert the windows before attaching the roof.
Screw WH_MainRoof to WH_MainHouse and use sealant if desired.
Insert/glue/heatset magnets to WH_CamHouse, WH_MainRoof and WH_CamRoof, ensuring you have the correct polarity to attach them together.
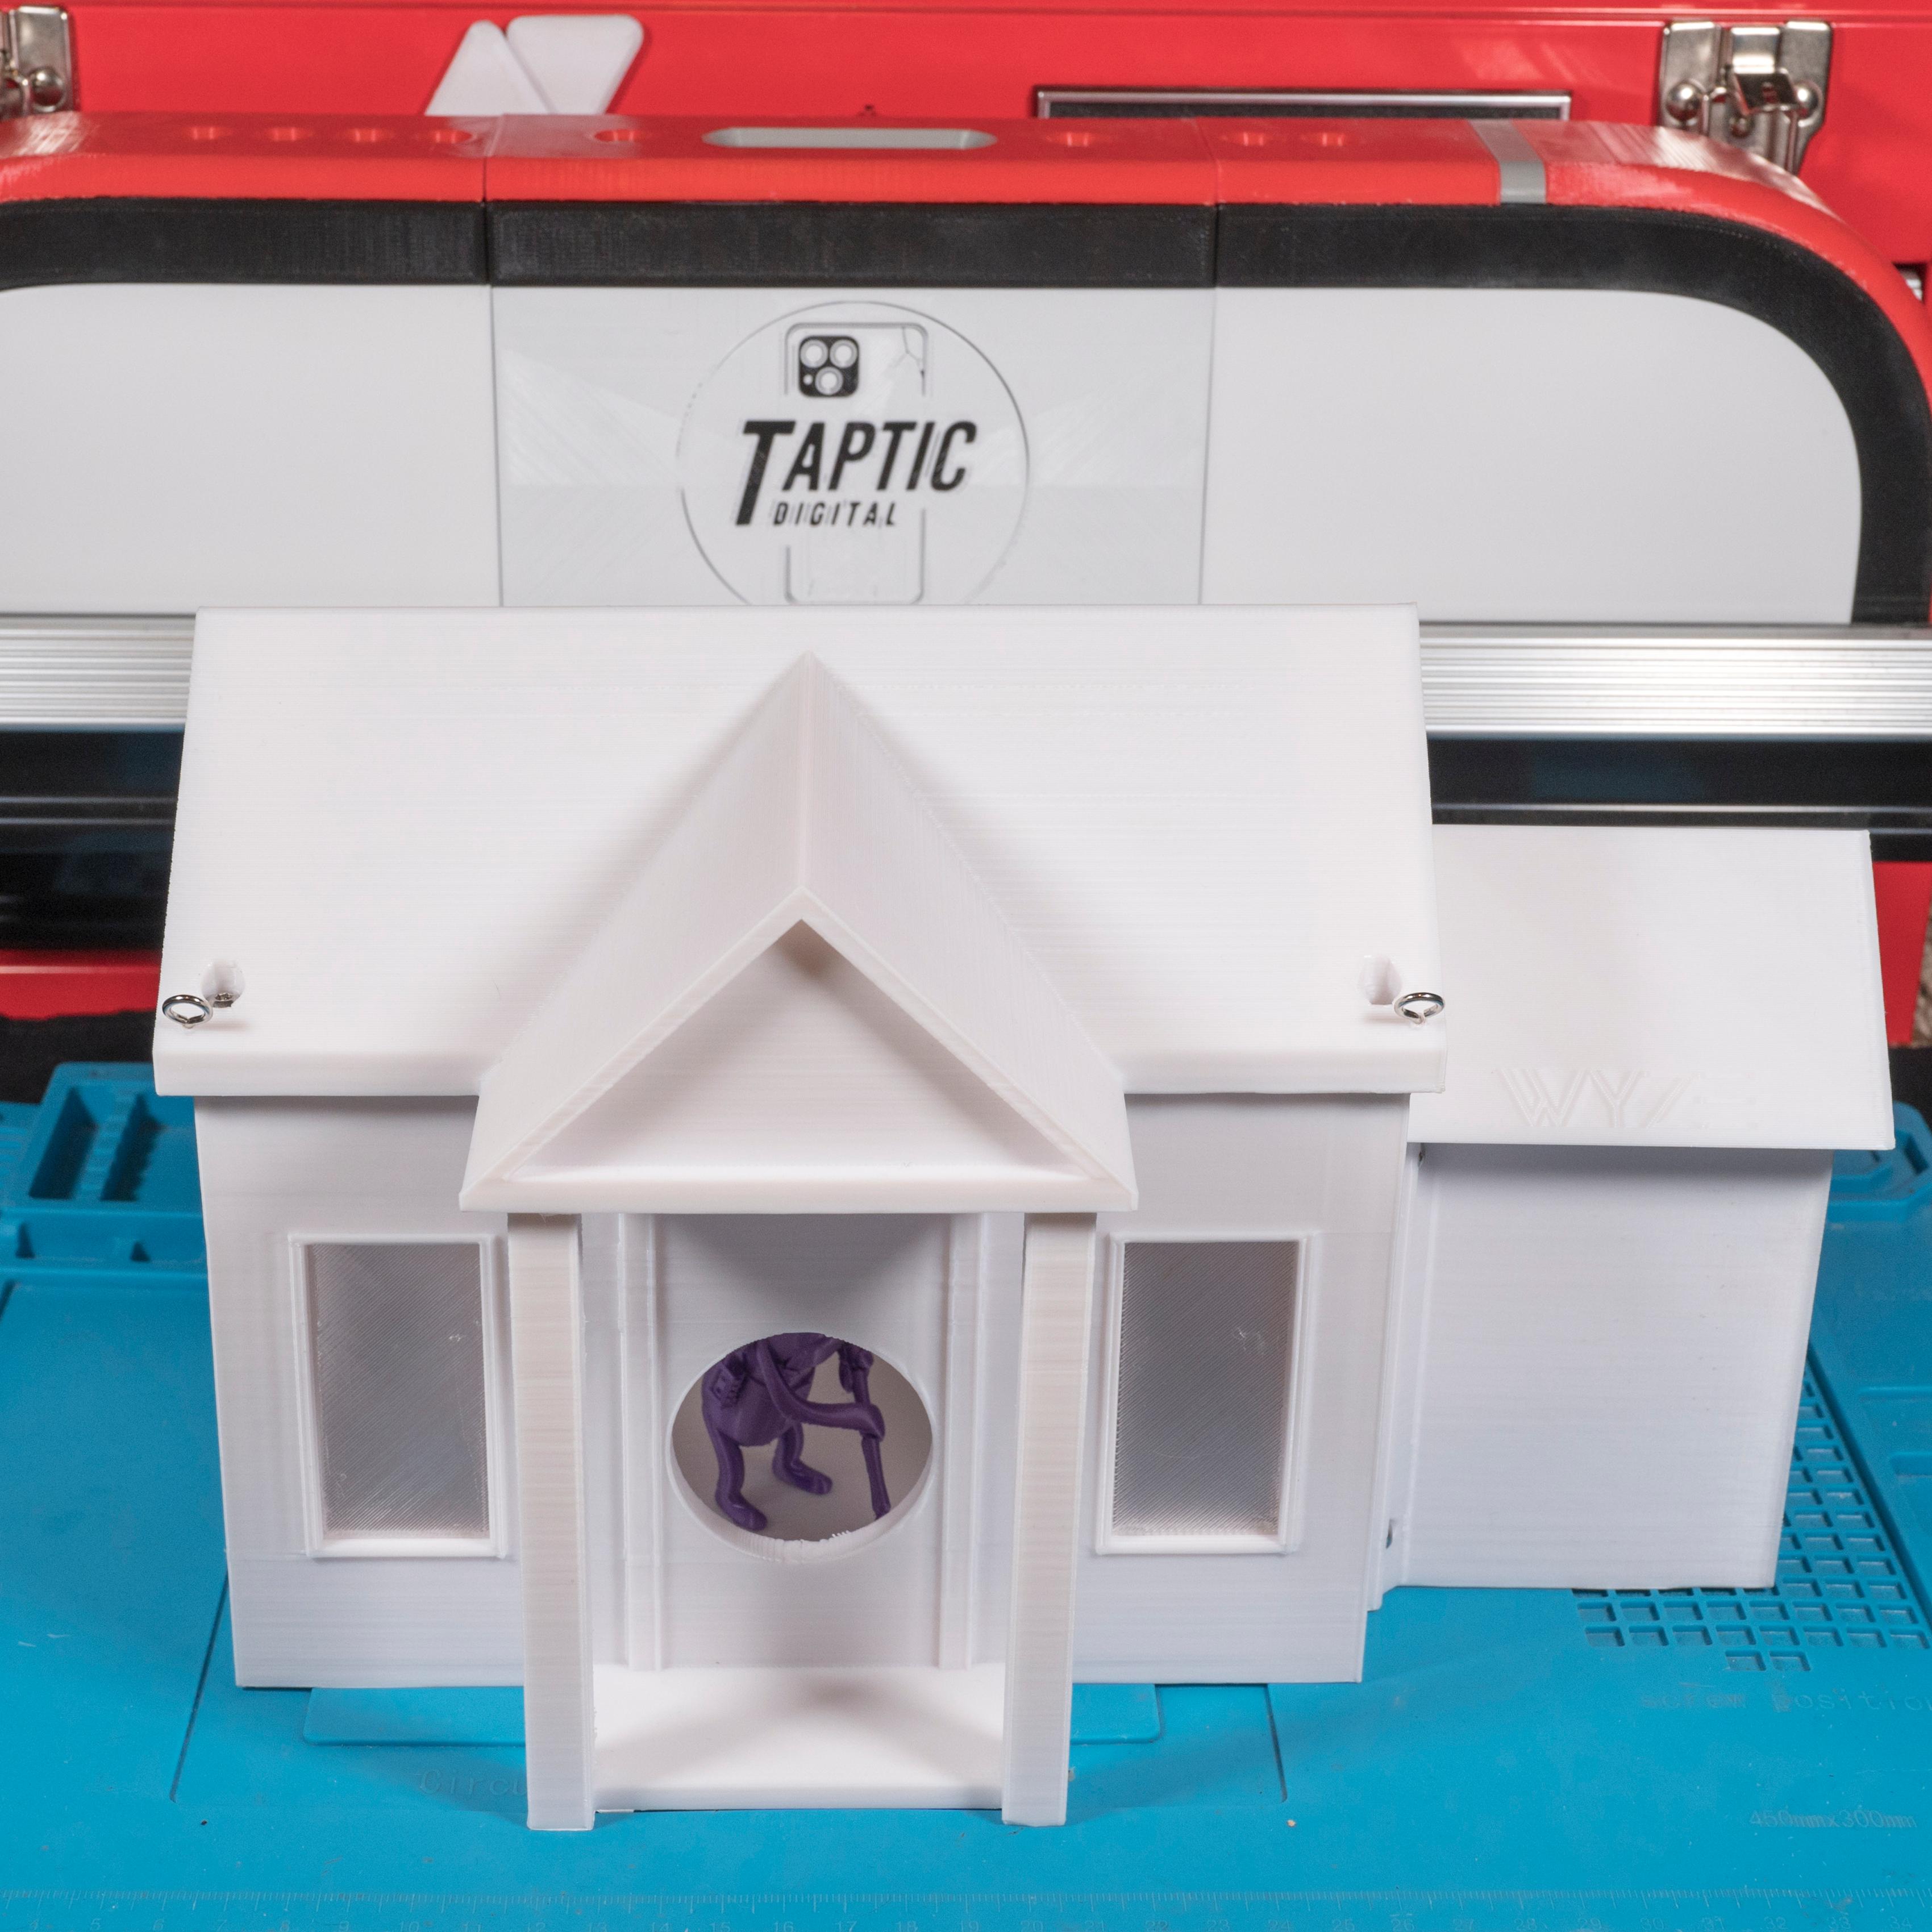
Screw eye hooks to WH_MainRoof at an angle to avoid layer splitting.
Insert Wyze Cam V3 upside down, running camera power through the large hole in the bottom.
Under Advanced options in your Wyze app, make sure you enable “Flip image 180” so the camera feed isn't upside down.
Please note that the camera can be mounted right side up, but I found it easier to access the Setup and SD card slot.
Modifying the Camera:
Your Wyze Cam V3 needs to be modified in order to focus close enough so your image isn't blurry. Below are two that I would recommend, I also recommend using TPU for this but the filament is up to you.
Focus Knob for Wyze Cam V3 - Printables by Innesport
Wyze Cam V3 Lens Adjuster and Cover by WCTT
How to install/modify the lens by FusedLine on YouTube
Final Thoughts:
This is a long print, it will take over 40 hours even at larger layer heights. I recommend using Clear PETG for the windows, and following Rygar1432's guide on How to Print Glass for best results. Everything should fit together, even if it is a bit snug in some spots. You may want a drill for attaching the main roof.
Let me know what you think, and be sure to share your prints and feedback with me so I can continue to improve this project.