


LG A-C any windows adapter bracket
I couldn't install my LG air conditioning unit in any room of my new house because it was designed to be installed in a sliding window and my house only has pivoting windows.
I figured I could open the window and replace the window's bug screen with a veneer board and mount a bracket on it for the Air conditioner's exhaust port to attach to.
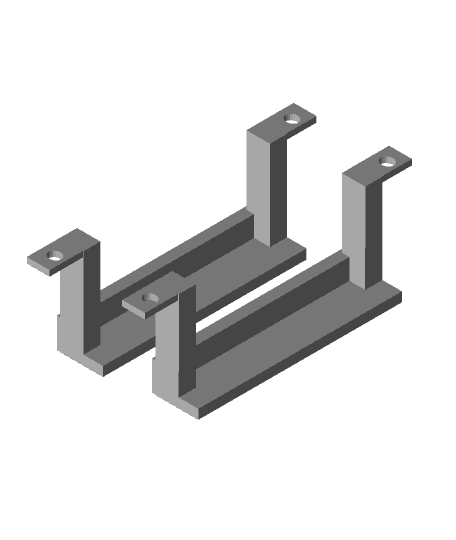
This thing uses these additional parts: - 8x M5 hexagonal nuts - 8x M5x16mm screws
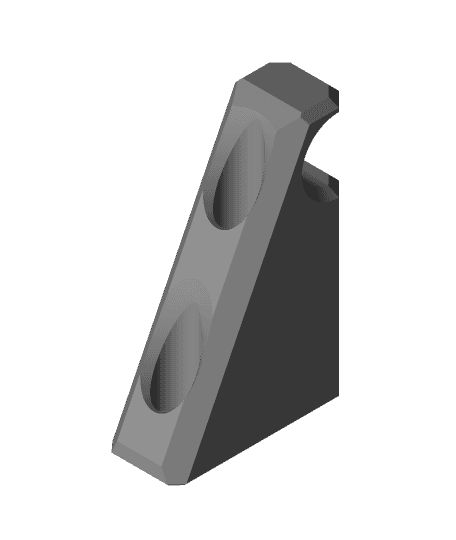
The bracket pieces are 218mm long! The fit on my ender 3 was very tight and I had to remove any skirt and brim from my slicer settings for it to fit on the bed. the surface is rather wide, so they aren't really needed anyways.
** Brackets preparation ** Right after the print, I suggest using a drill or an Exacto knife to deburr and remove any extra filament residue. The screws should slide easily. It's not a problem if it's not done, but mounting the bracket will be harder.
** Prepare the veneer board ** I included a stencil in the project. Of course, you can eyeball it, but I liked using the sencil with my Dremel to have a more accurate cutout: - Draw every corner points in a rectangular pattern. the poins should be at the corners of a 190mm x 74mm rectangle. - Use a 10mm drill bit to make a hole on each corner - Sit the pegs of the stencil in the holes - Use your preferred tool to carve the middle hole (I used a drill to puch somes hole in the middle and a Dremel with a straight router bit for the perimeter.) - Check the fit of the "inner" part with your hole and make the necessary corrections.
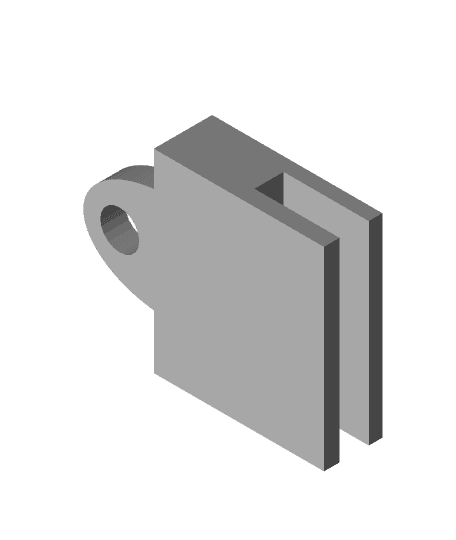
** Assembling the part ** The part was designed to use M5 screws and nuts. I used 16mm long screws
I made an animation in fusion 360 showing how I did mount the brackets. it was more for the fun of it than actually thinking you guys would need a video... but this animation was more fun to make than I thought. Now it's made, so I might as well include it loll.
The video is down here. https://youtu.be/uU79Rl14tYo
How I Designed This I recently started trying to use Fusion 360 after a few years of amateur experience with Sketchup and truth be told, I'm rather proud of this design.
Here, you can see the build animation of the first version. after I printed it, I realized the middle screw were a bit too close to the border and were interfering with the exhaust port. it was functional, but I was confident I could also make the bracket stronger so I spaced the middle screws out of the middle hole and added a casing around the clips of the exhaust port.
The final result was very satisfying to me and now, I finally have AC in my home office.
here's the build animation for the first version : https://youtu.be/HX4udECkFOo
and the build animation for version 2 : https://youtu.be/cVpYTB1sKEc
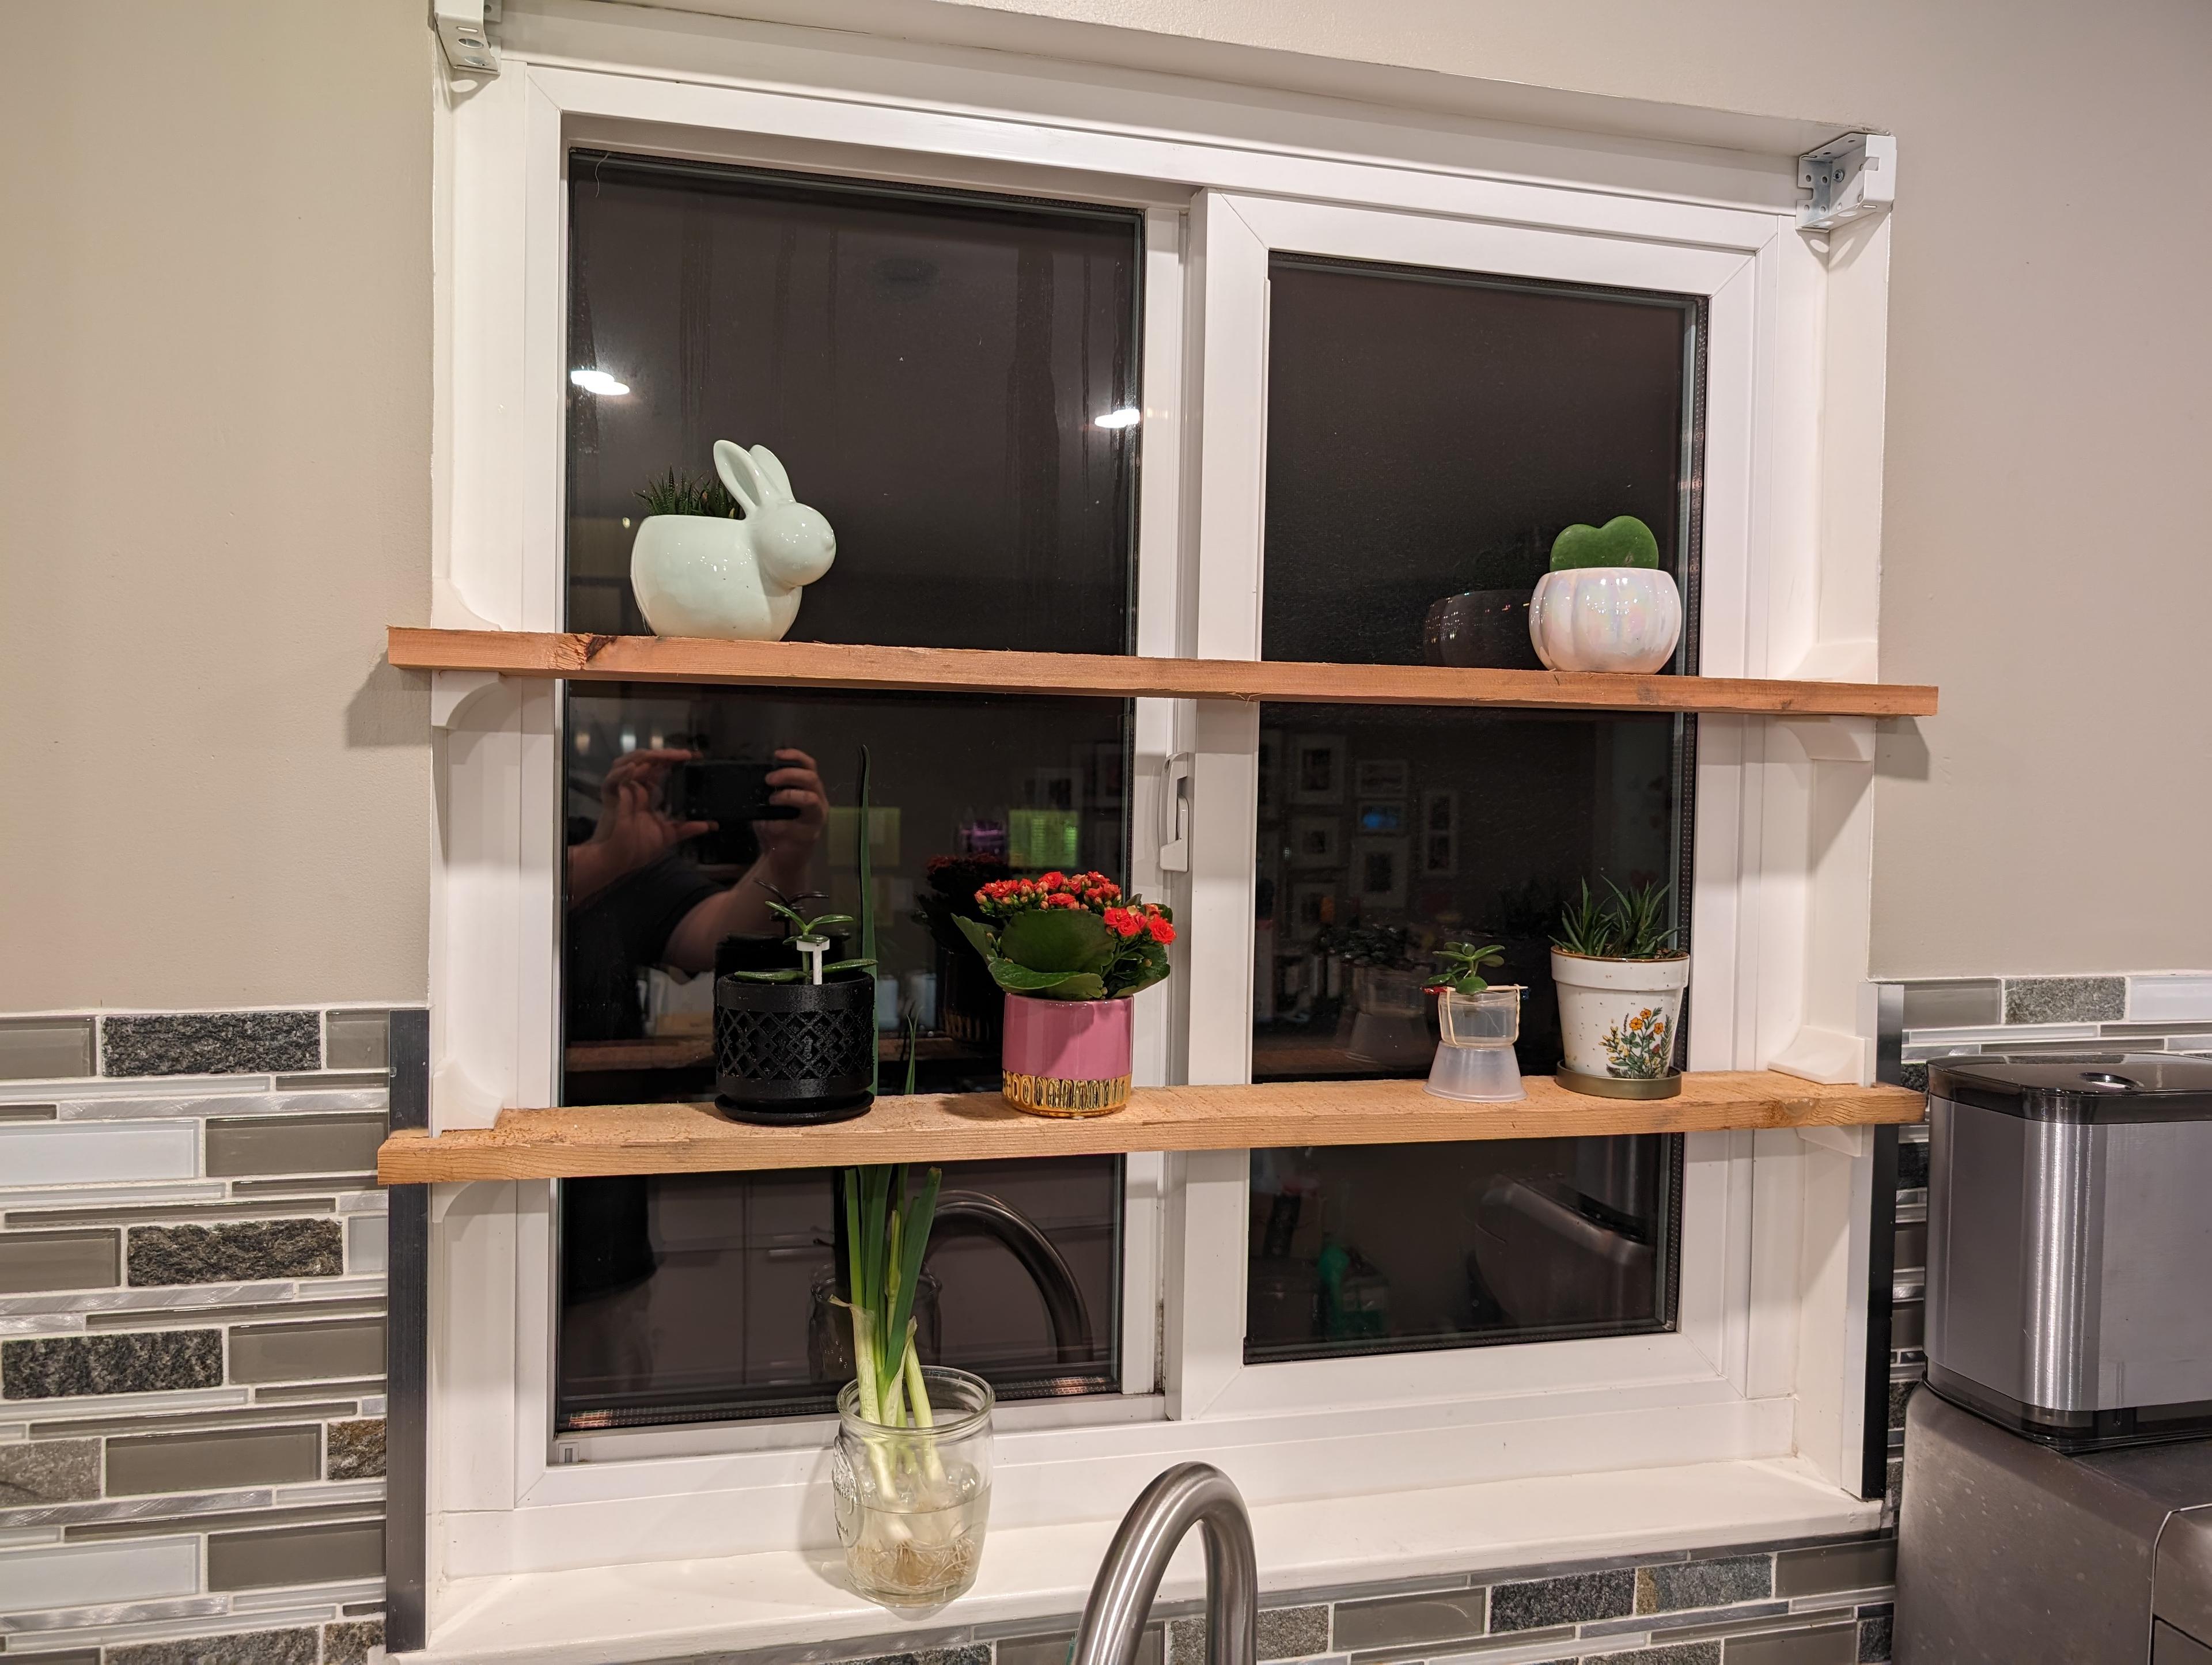
Window Bracket for a 1x4 fence board
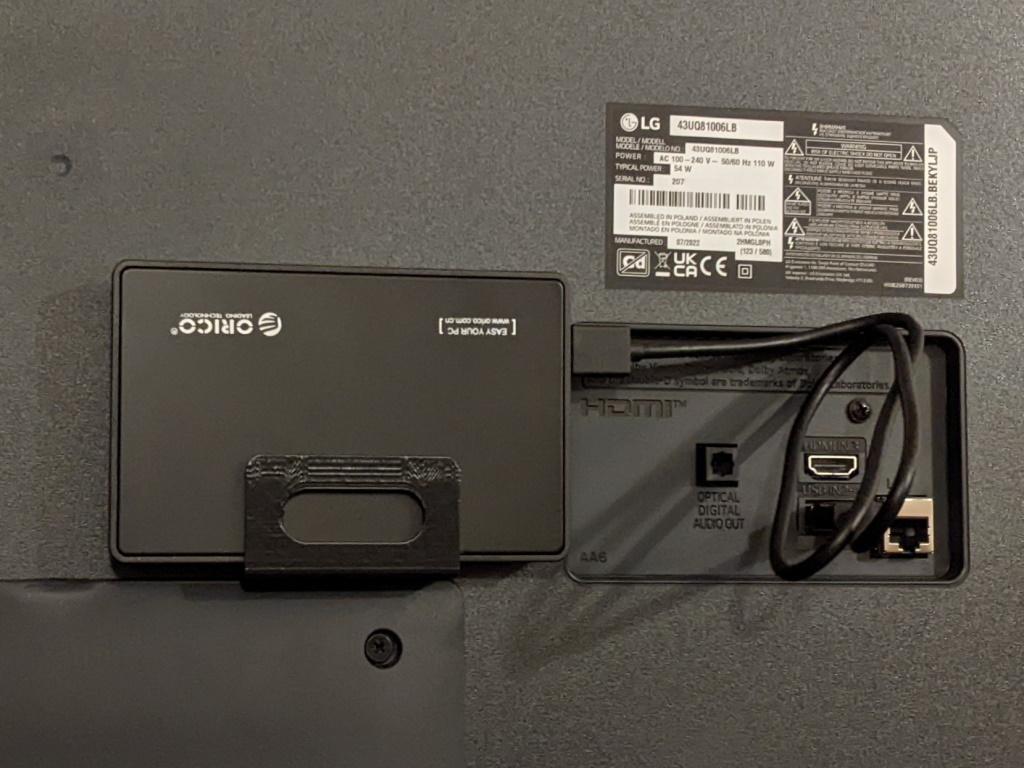
HDD Bracket / LG TV / VESA Mount

LG CINEBEAM POWER BRICK BRACKET
LG Air Conditioner Window Adapter
Bracket for Sockspree USB C Docking Station
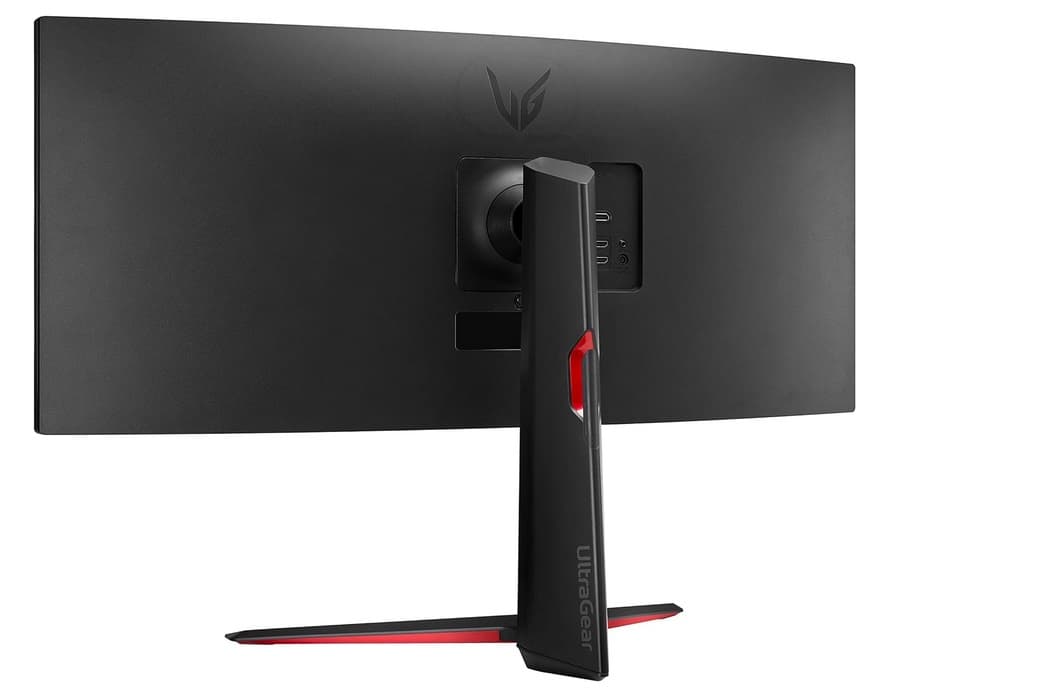
LG UltraGear Monitor Stand Topper Bracket

Mini Gacha Machine
.gif&w=3840&q=75)
Mini Token Gacha Machine
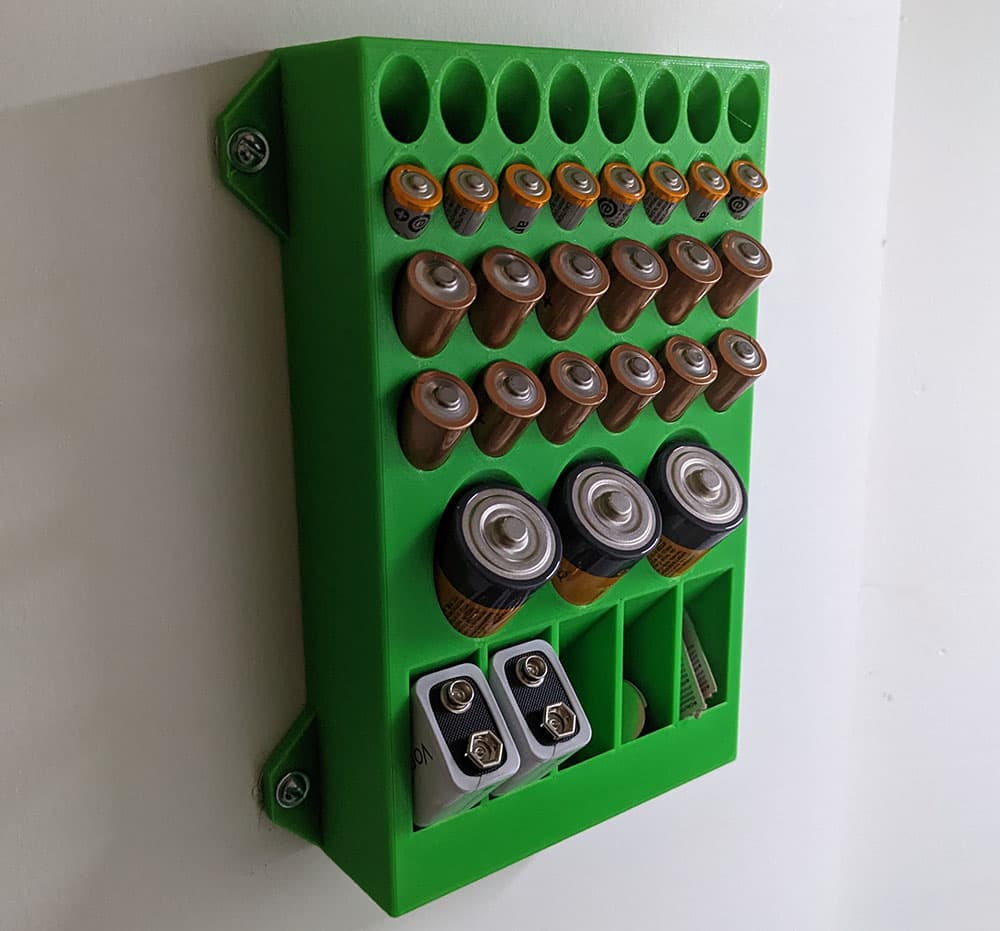
Parametric Battery Box

Cafe de Marie Cafe and Bakery Multi Clicker Keychain Fidget Toy Bundle

Maverick Wolfbox Rearview Camera Standoff
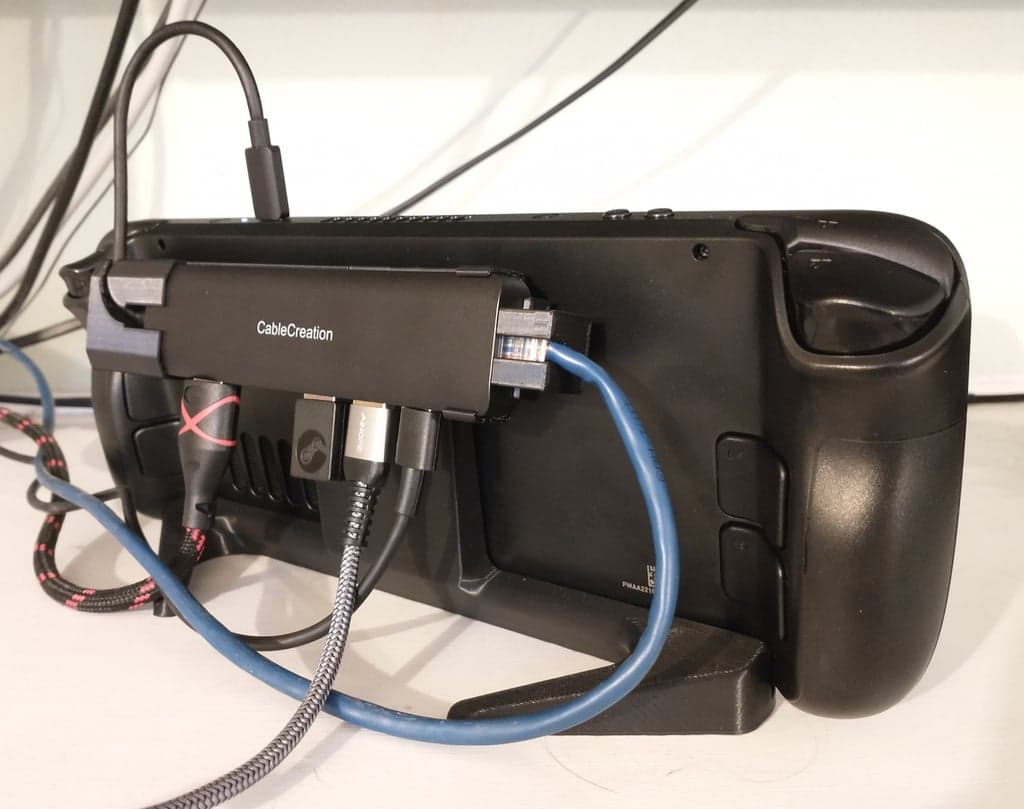
Steam Deck Stand with Removable CableCreation Dock Mount
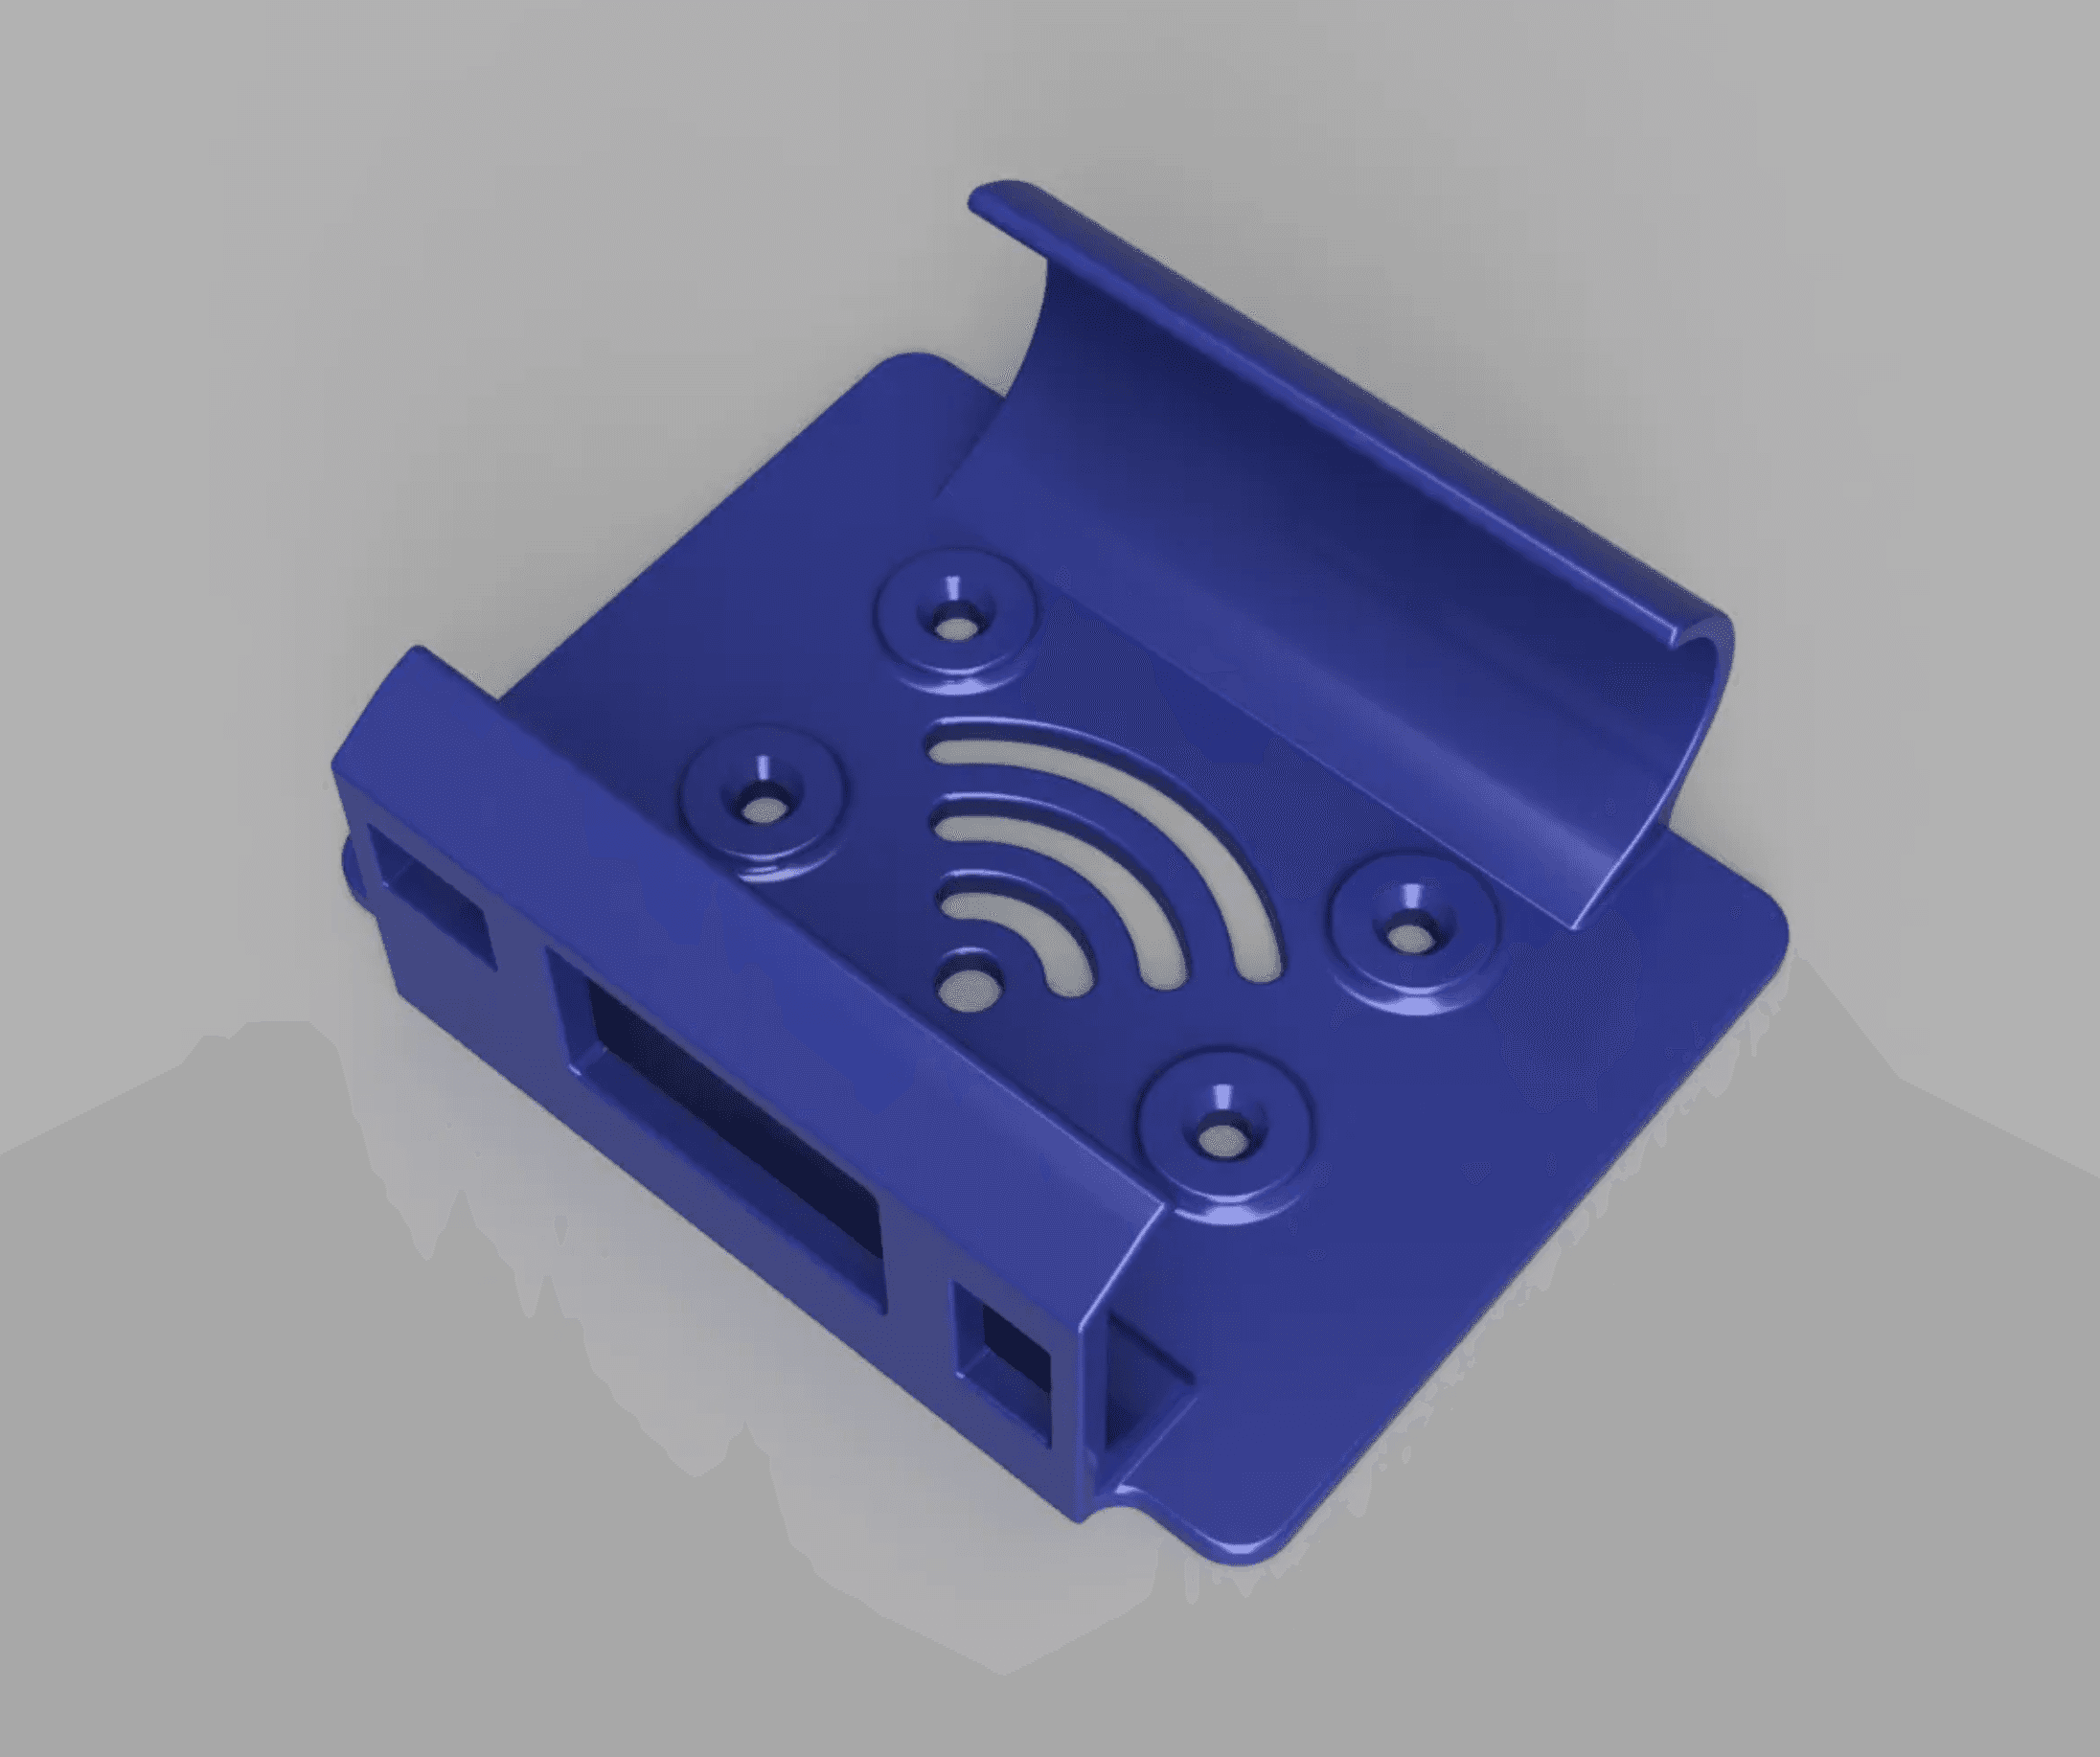
GL.iNet GL-MT3000 Beryl AX Travel Router wall mount
15mm - Half Inch Curtain Rod Bracket

1010 Series Shelf Brackets - 2 Screw, Low Profile Flat offset (NH#0062_pC)
toyota window mount.stl
Tronxy X5SA dual gear direct drive

12v 18650 USB-C Power Supply Housing
Gothic Cathedral Wall Shelf – 3D Printable Dark Display Shelf and Fantasy Decor
