The Sideclick! A wearable monitor for your furry sidekick!
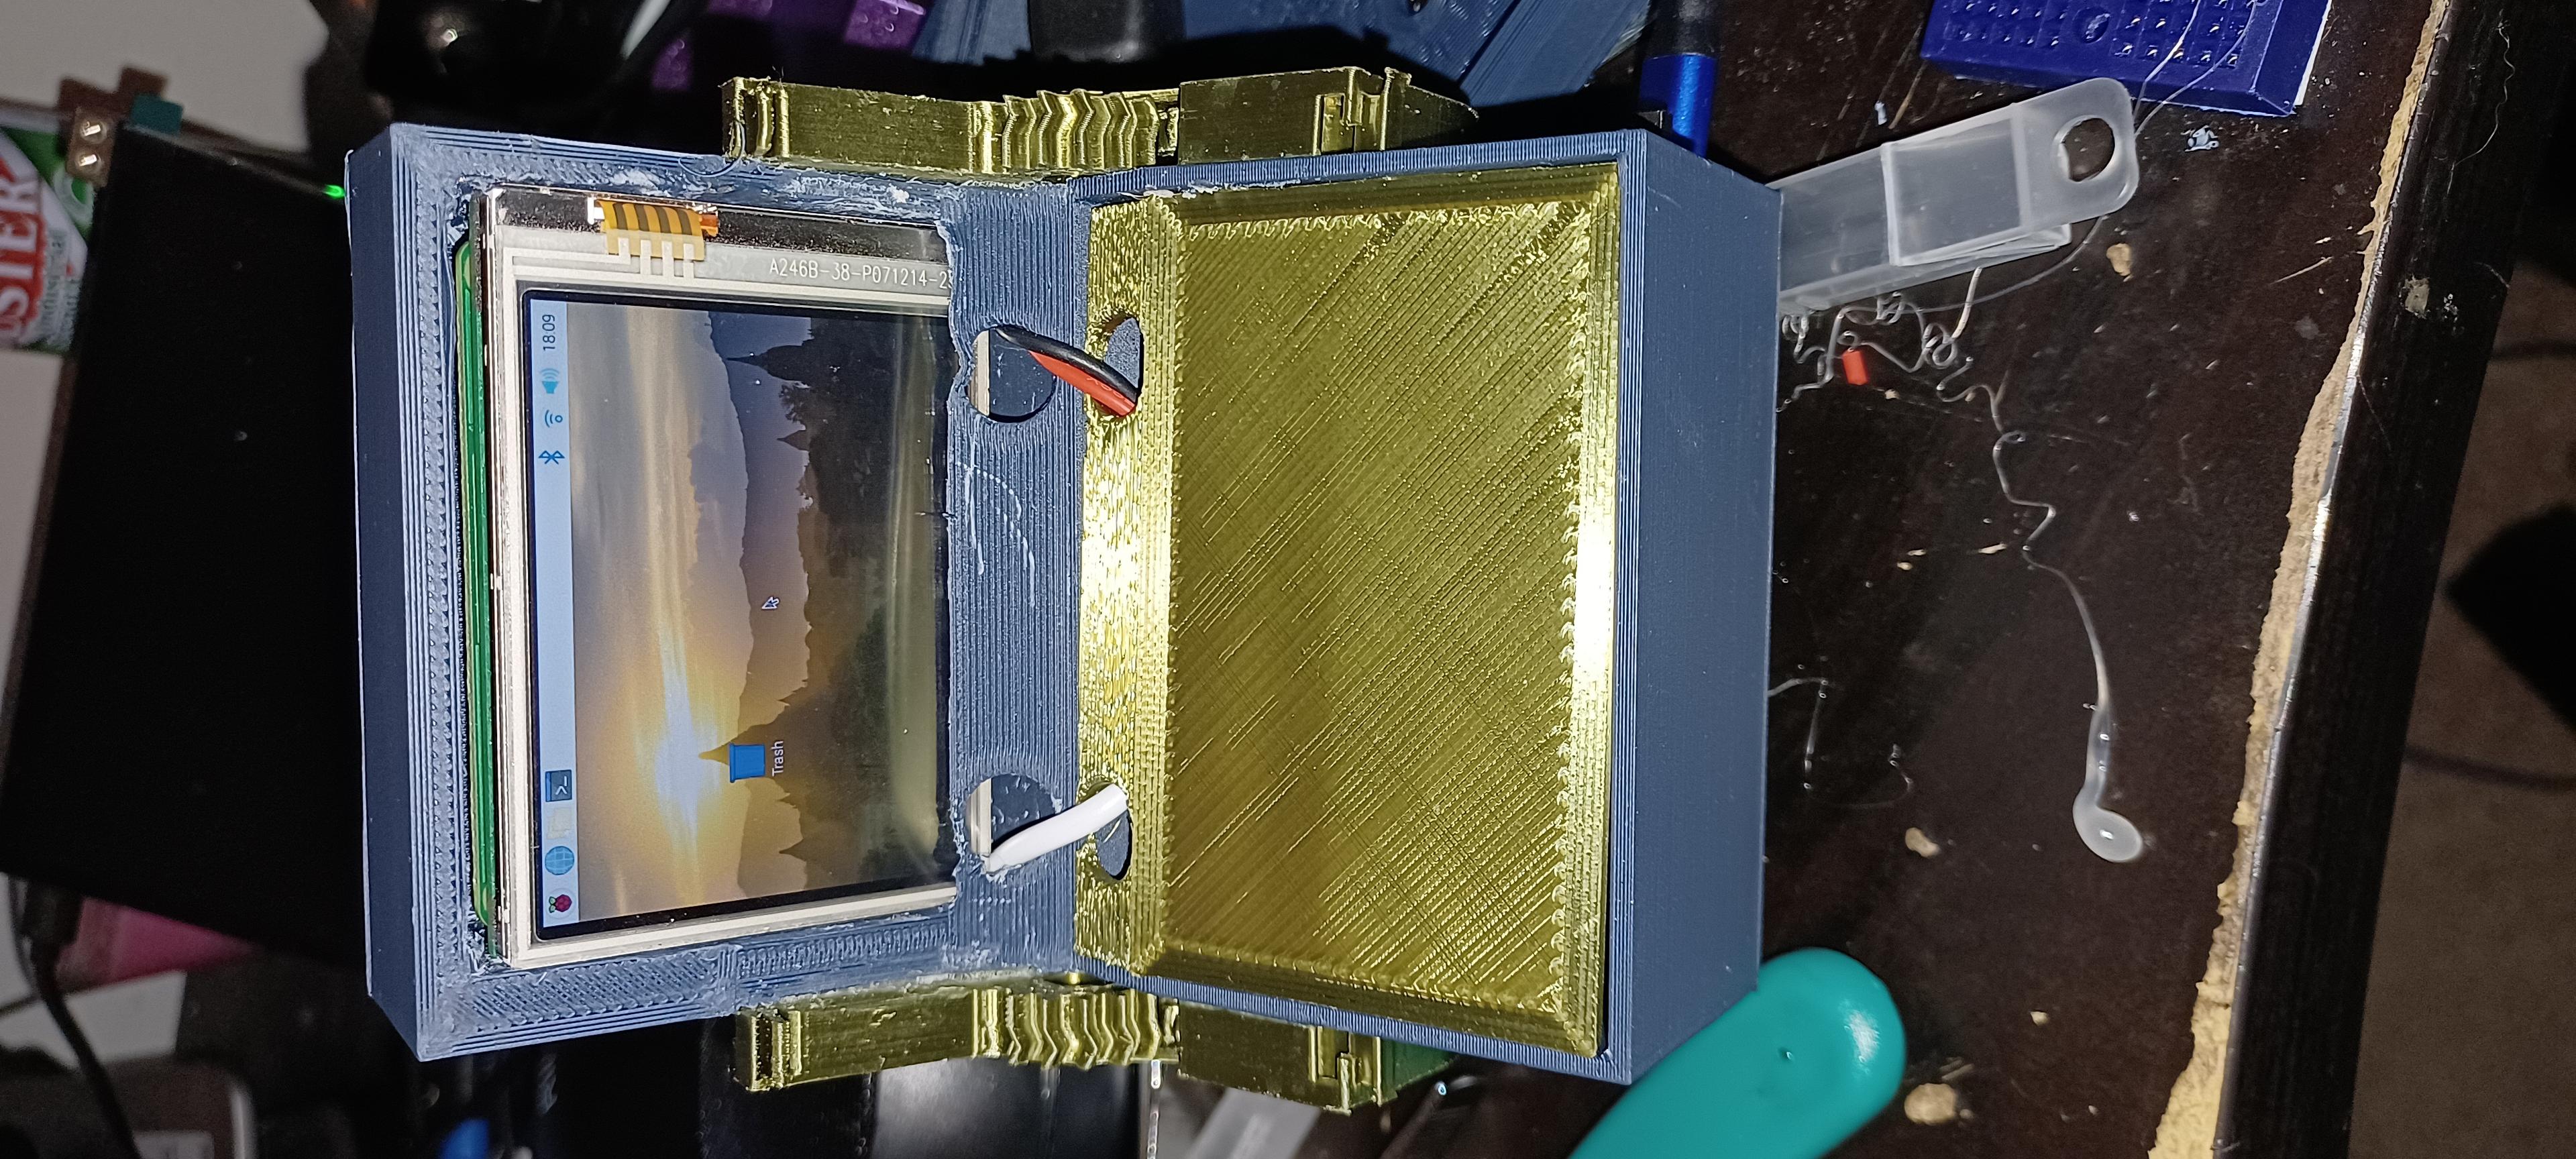
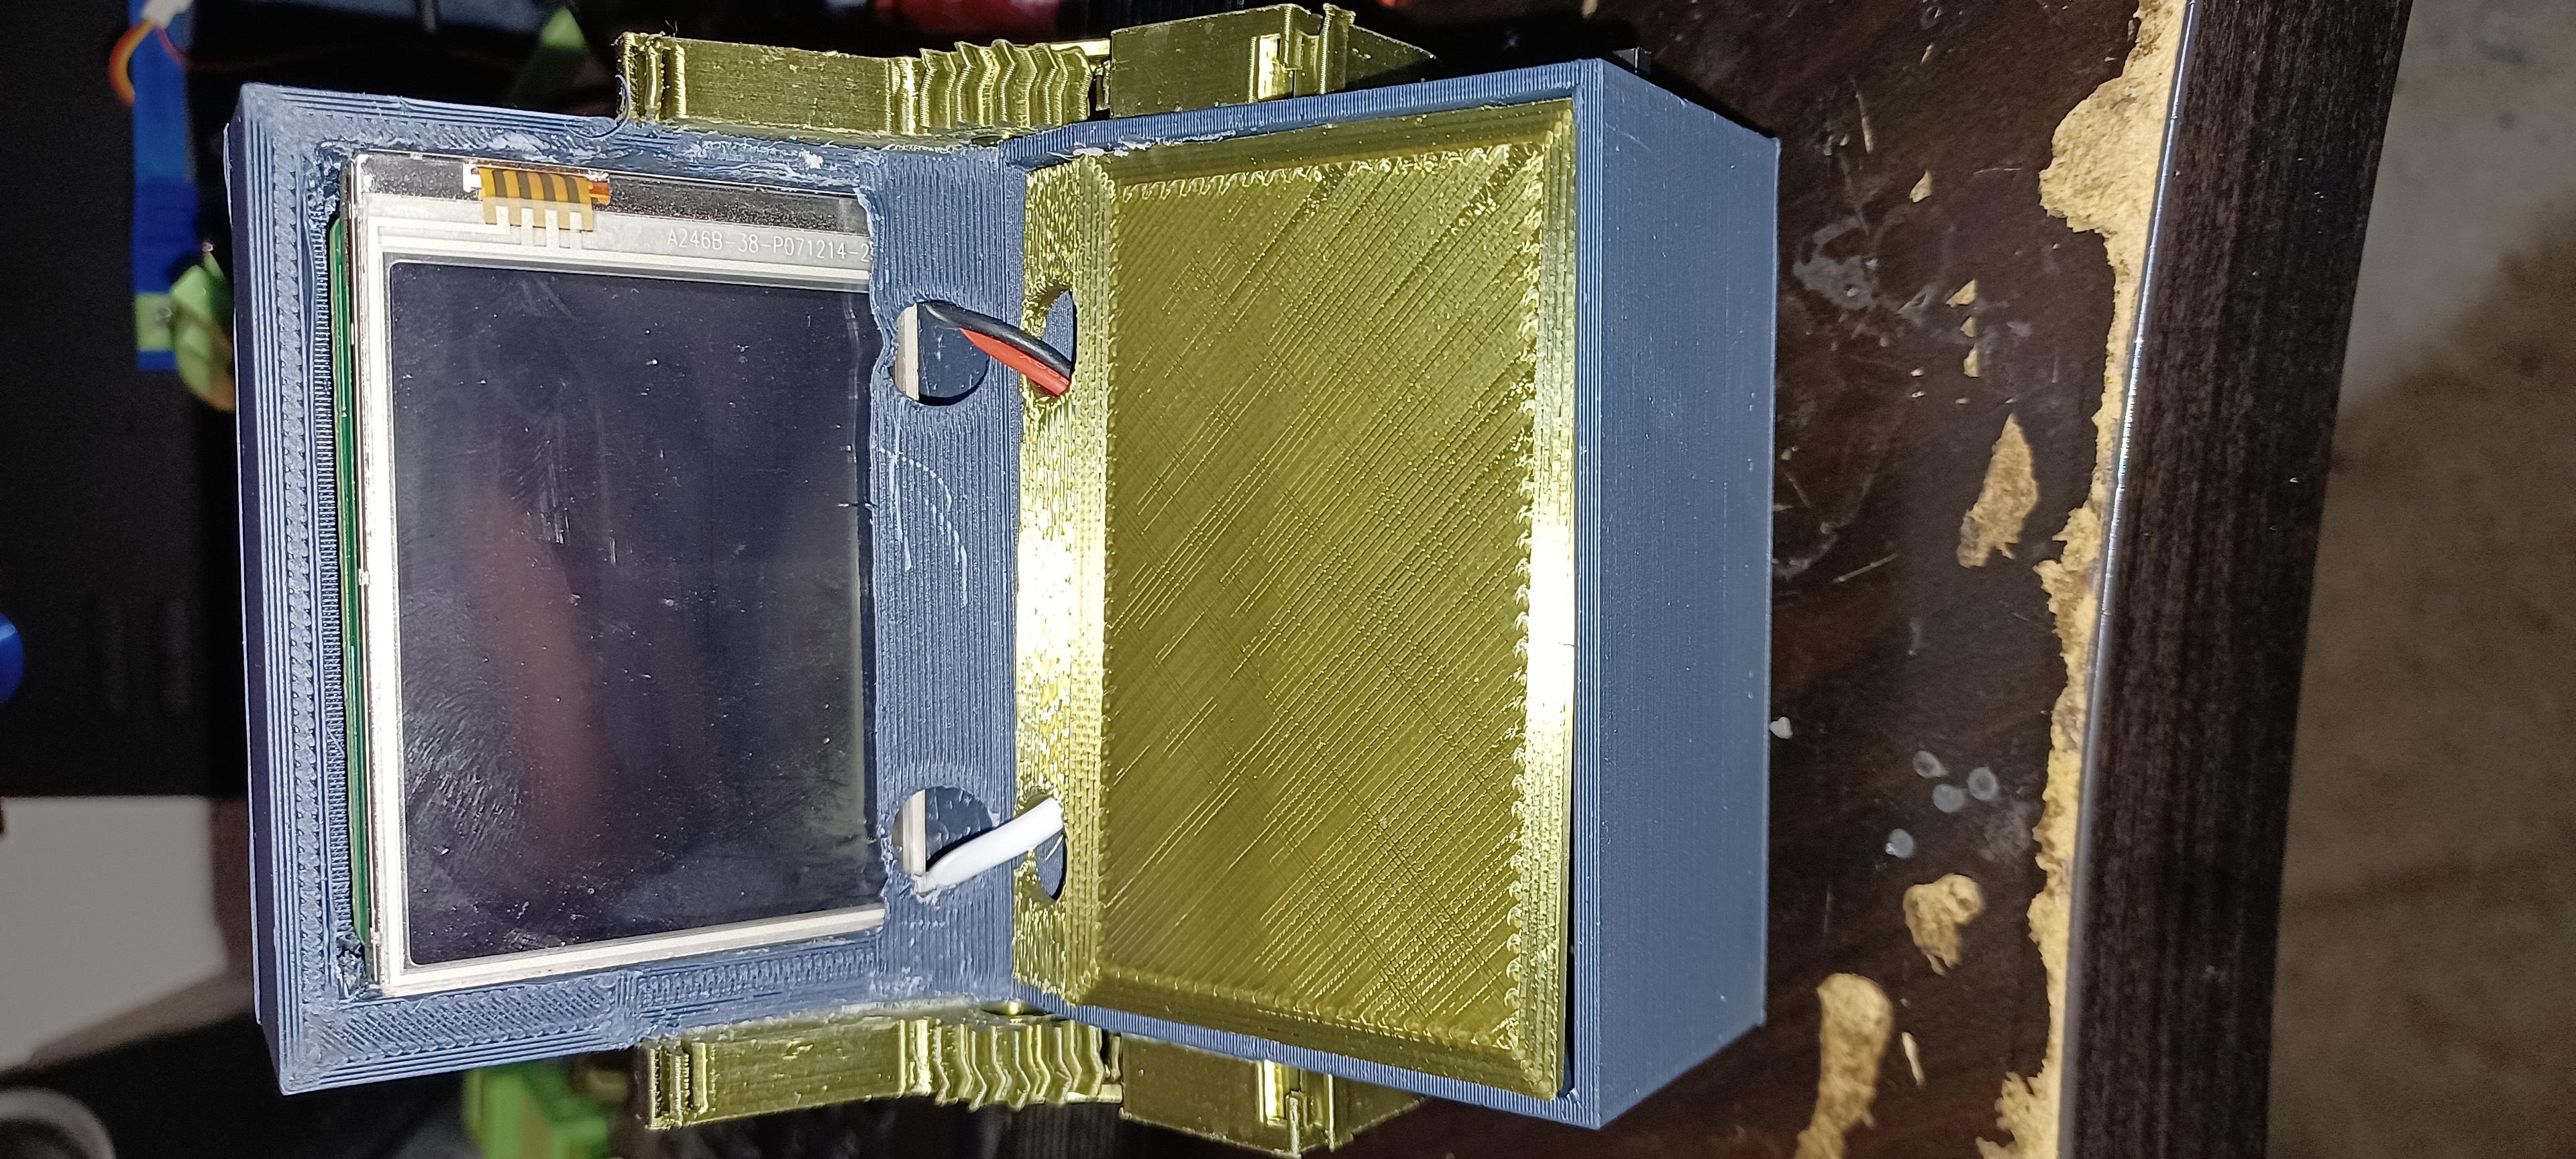
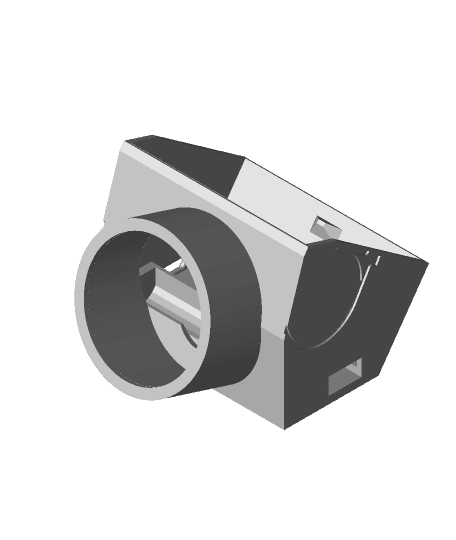
byRoccoIsATacoIntroducing the Sideclick (aka the Remote Opto-sonic Canine COnciliator). I recently adopted a dog, and the poor old guy has some separation anxiety after being abandoned by his previous humans, and then adopted and returned back to the shelter. I bought a camera to keep an eye on him when I leave, and my li'l guy was just going bonkers when we left him home alone. He's been getting better, but I was thinking, "Hey, I can see him while I'm gone, why shouldn't he be able to see me?" So I grabbed one of my older designs I had for a wrist wearable computer, and a little chopping and screwing later, and you have the Sideclick! I have it mounted to his halloween spacesuit helmet brim currently, but it could reasonably by mounted to any harness with rigidity. Components are as follows:
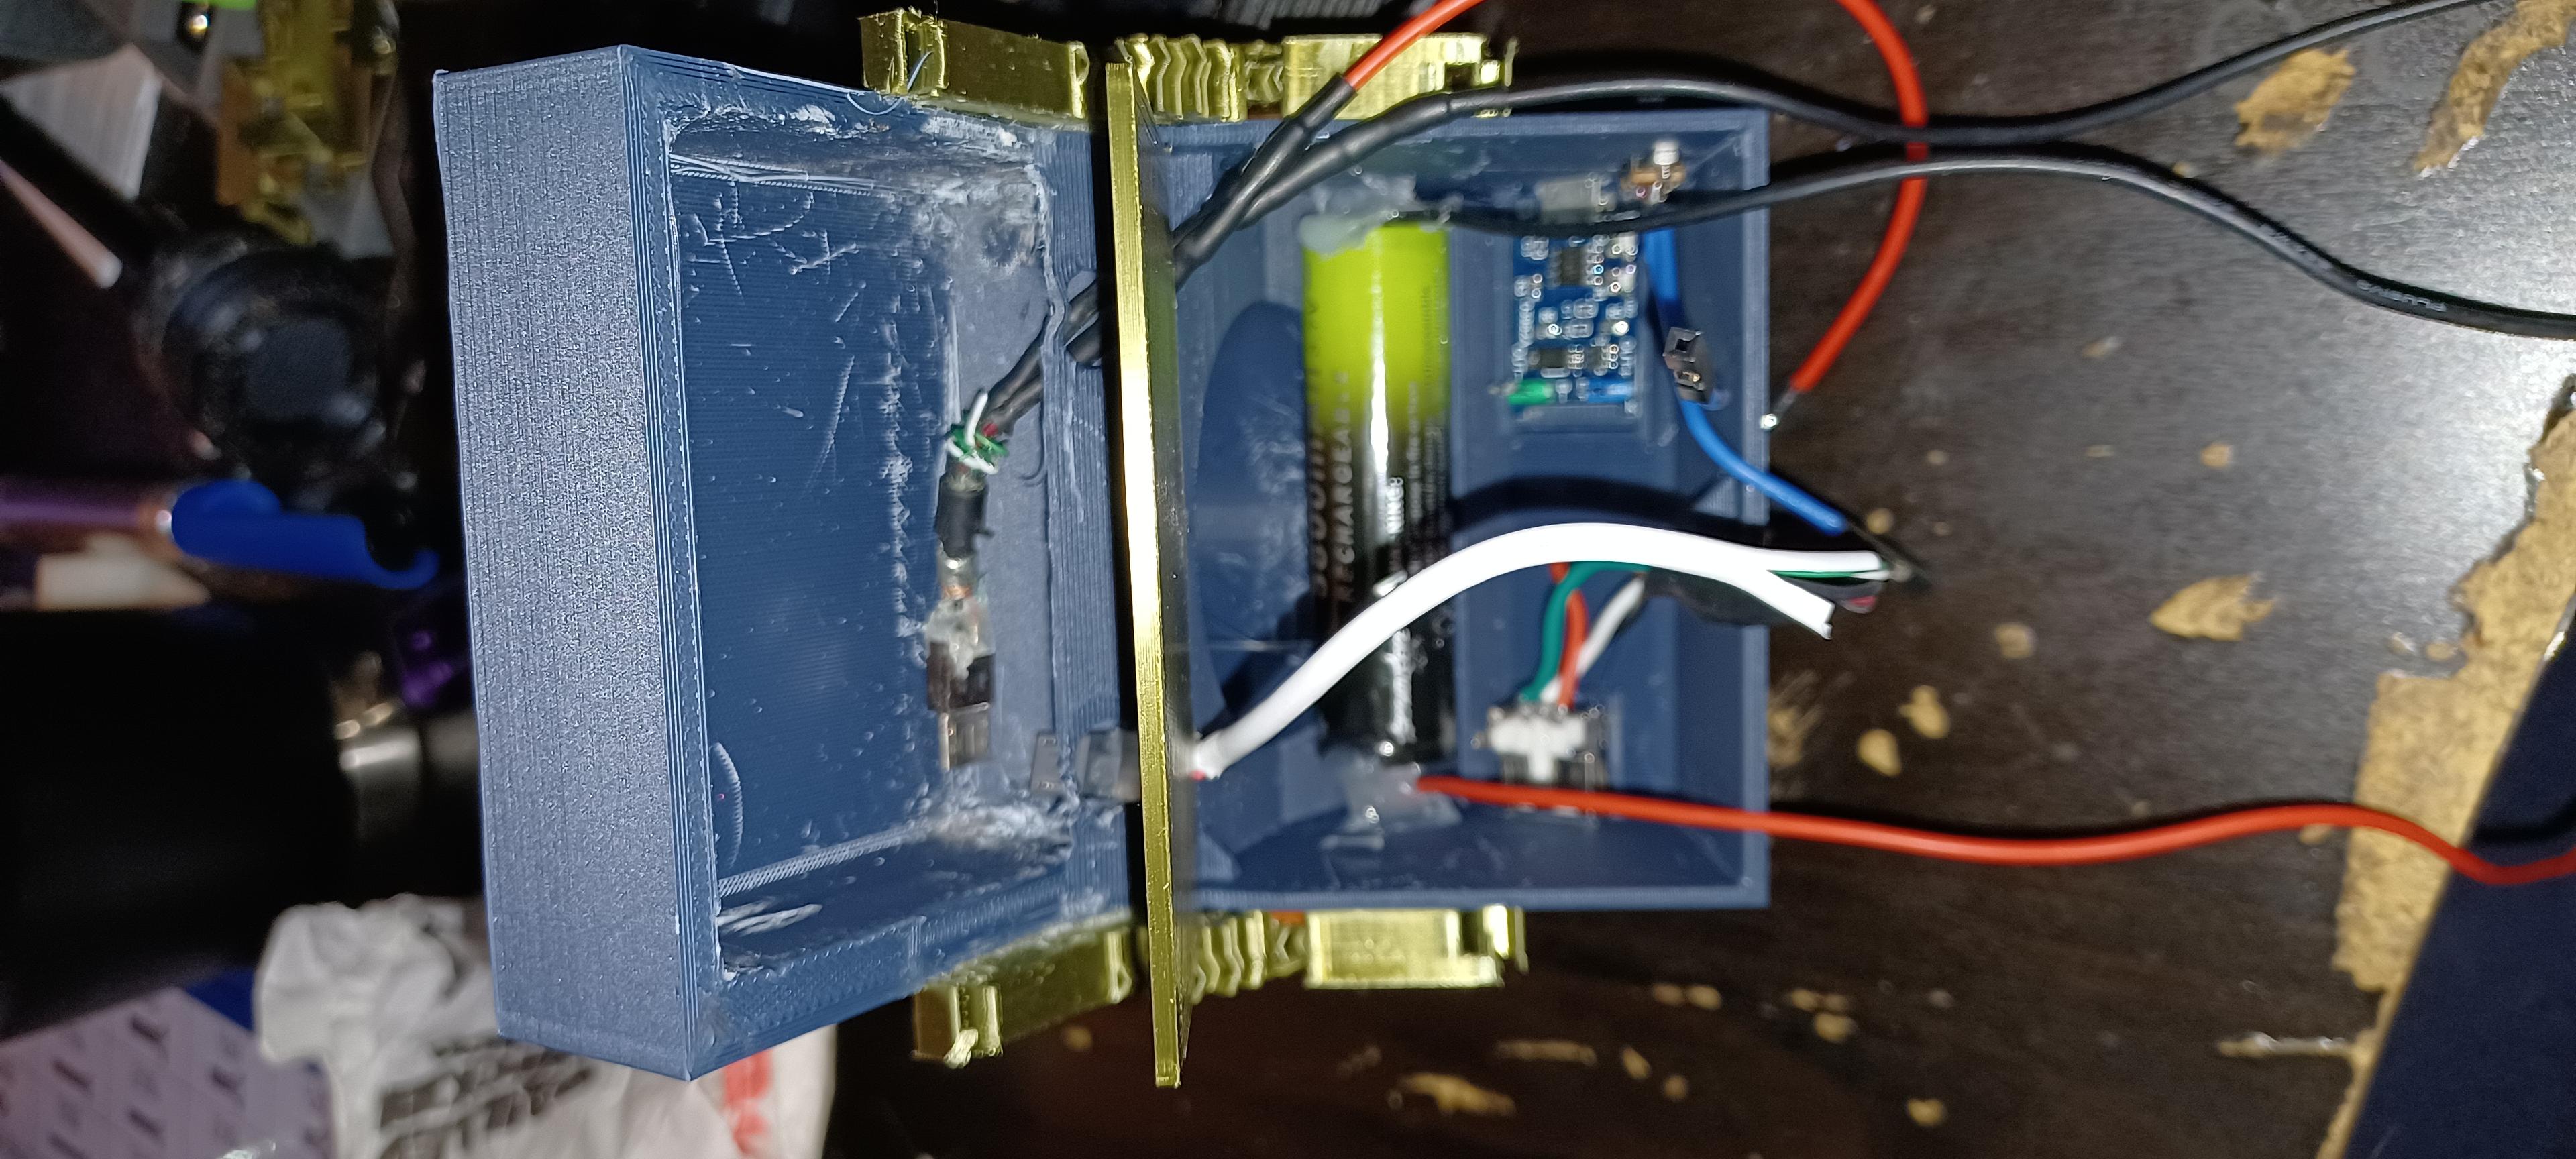
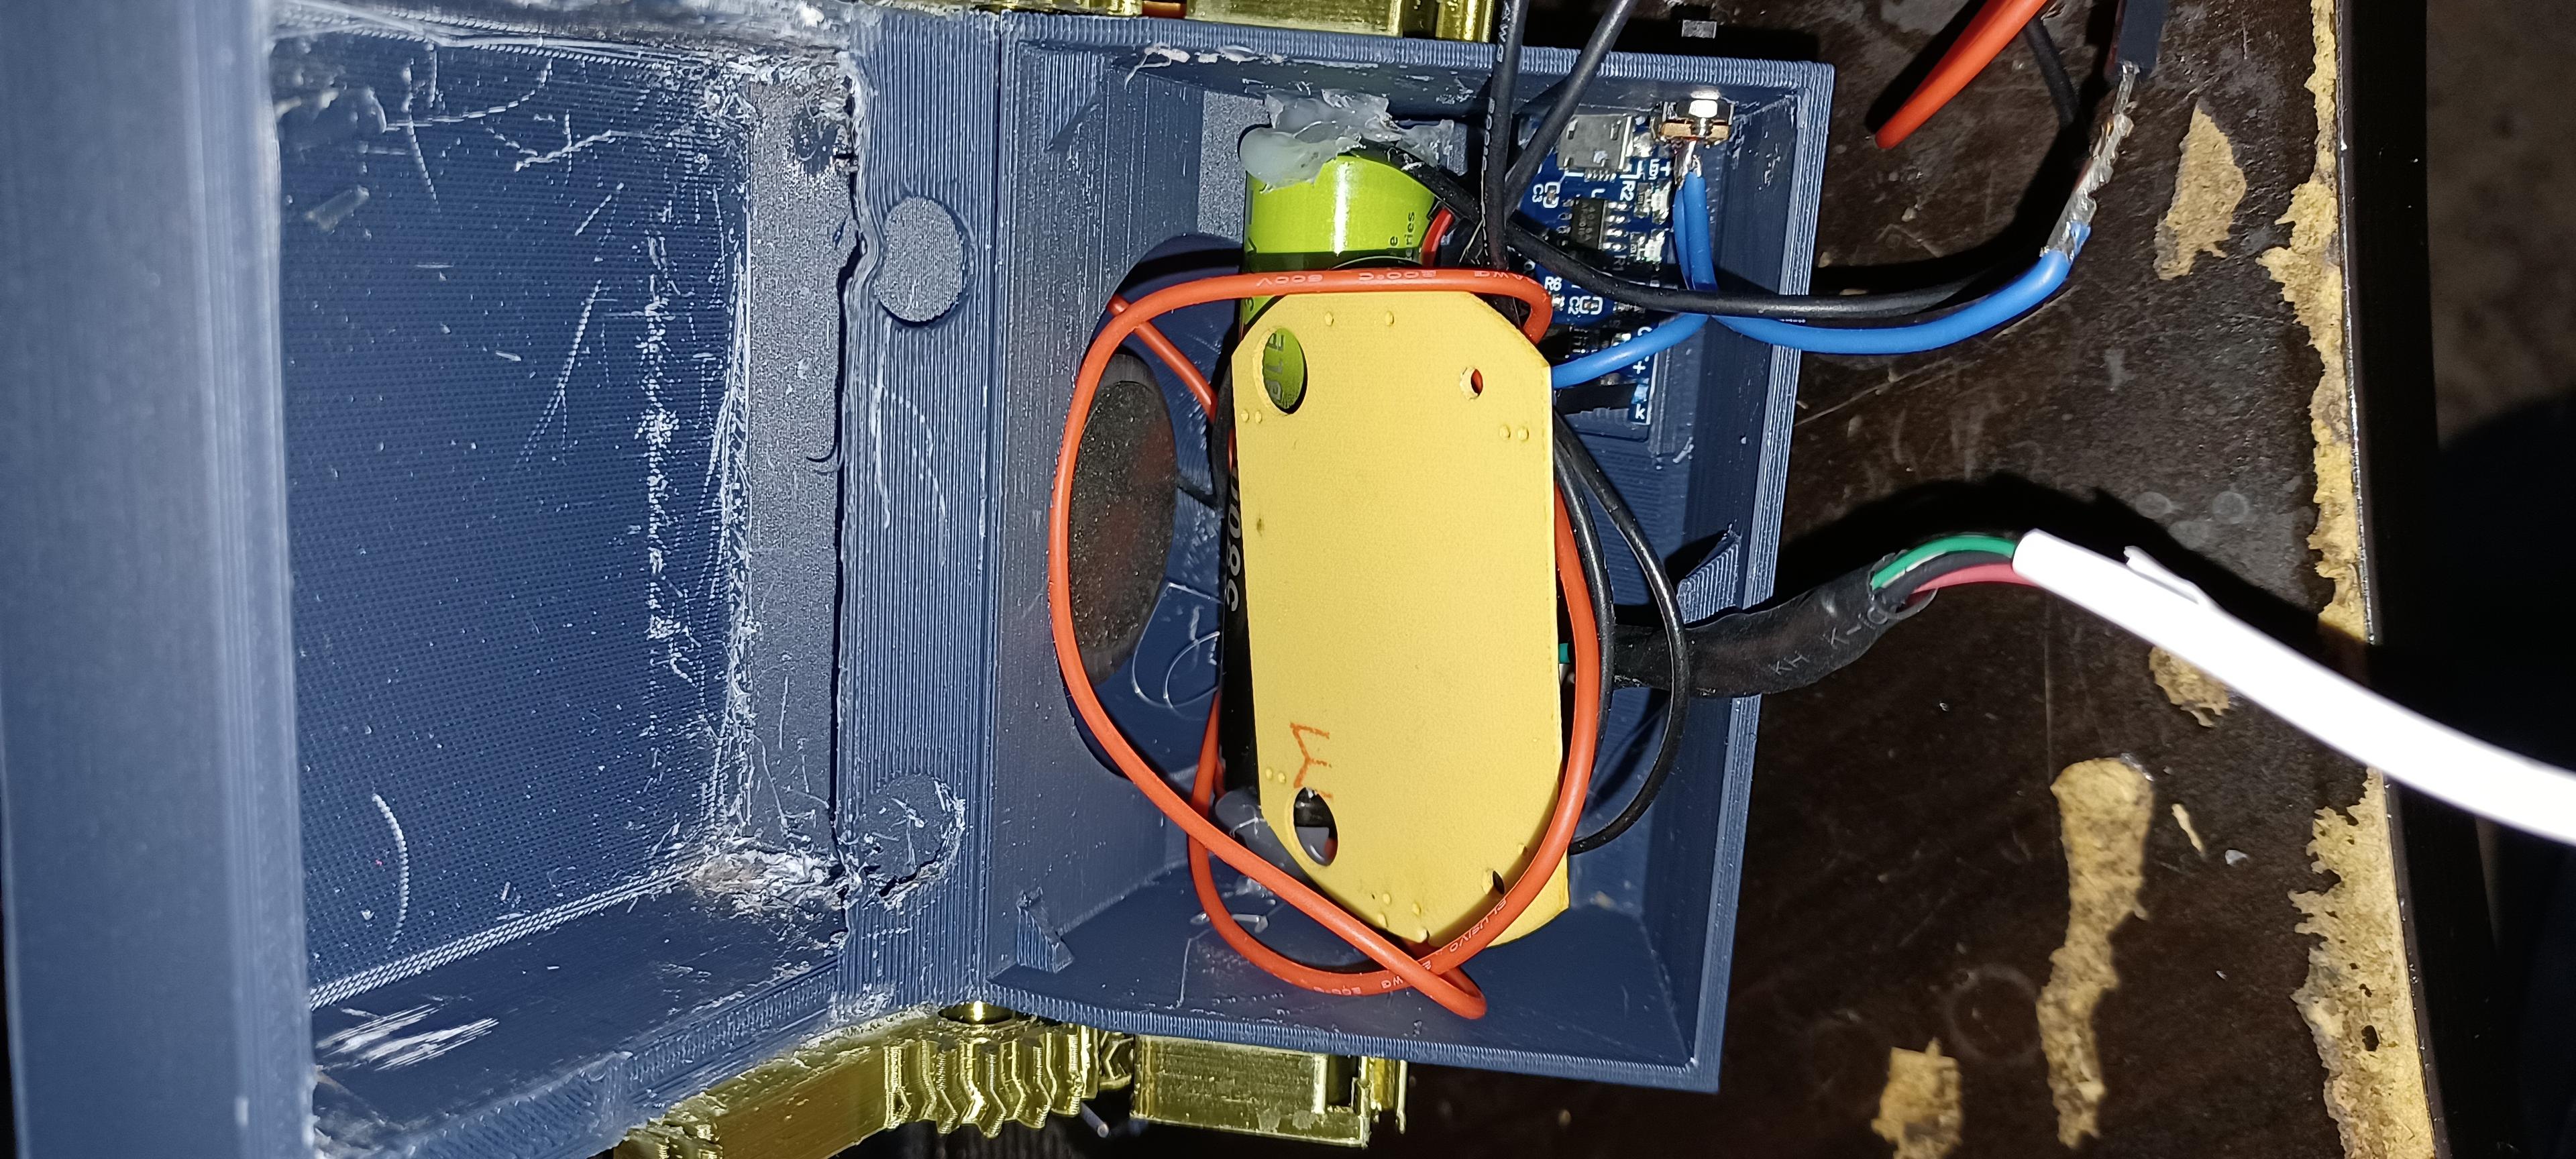
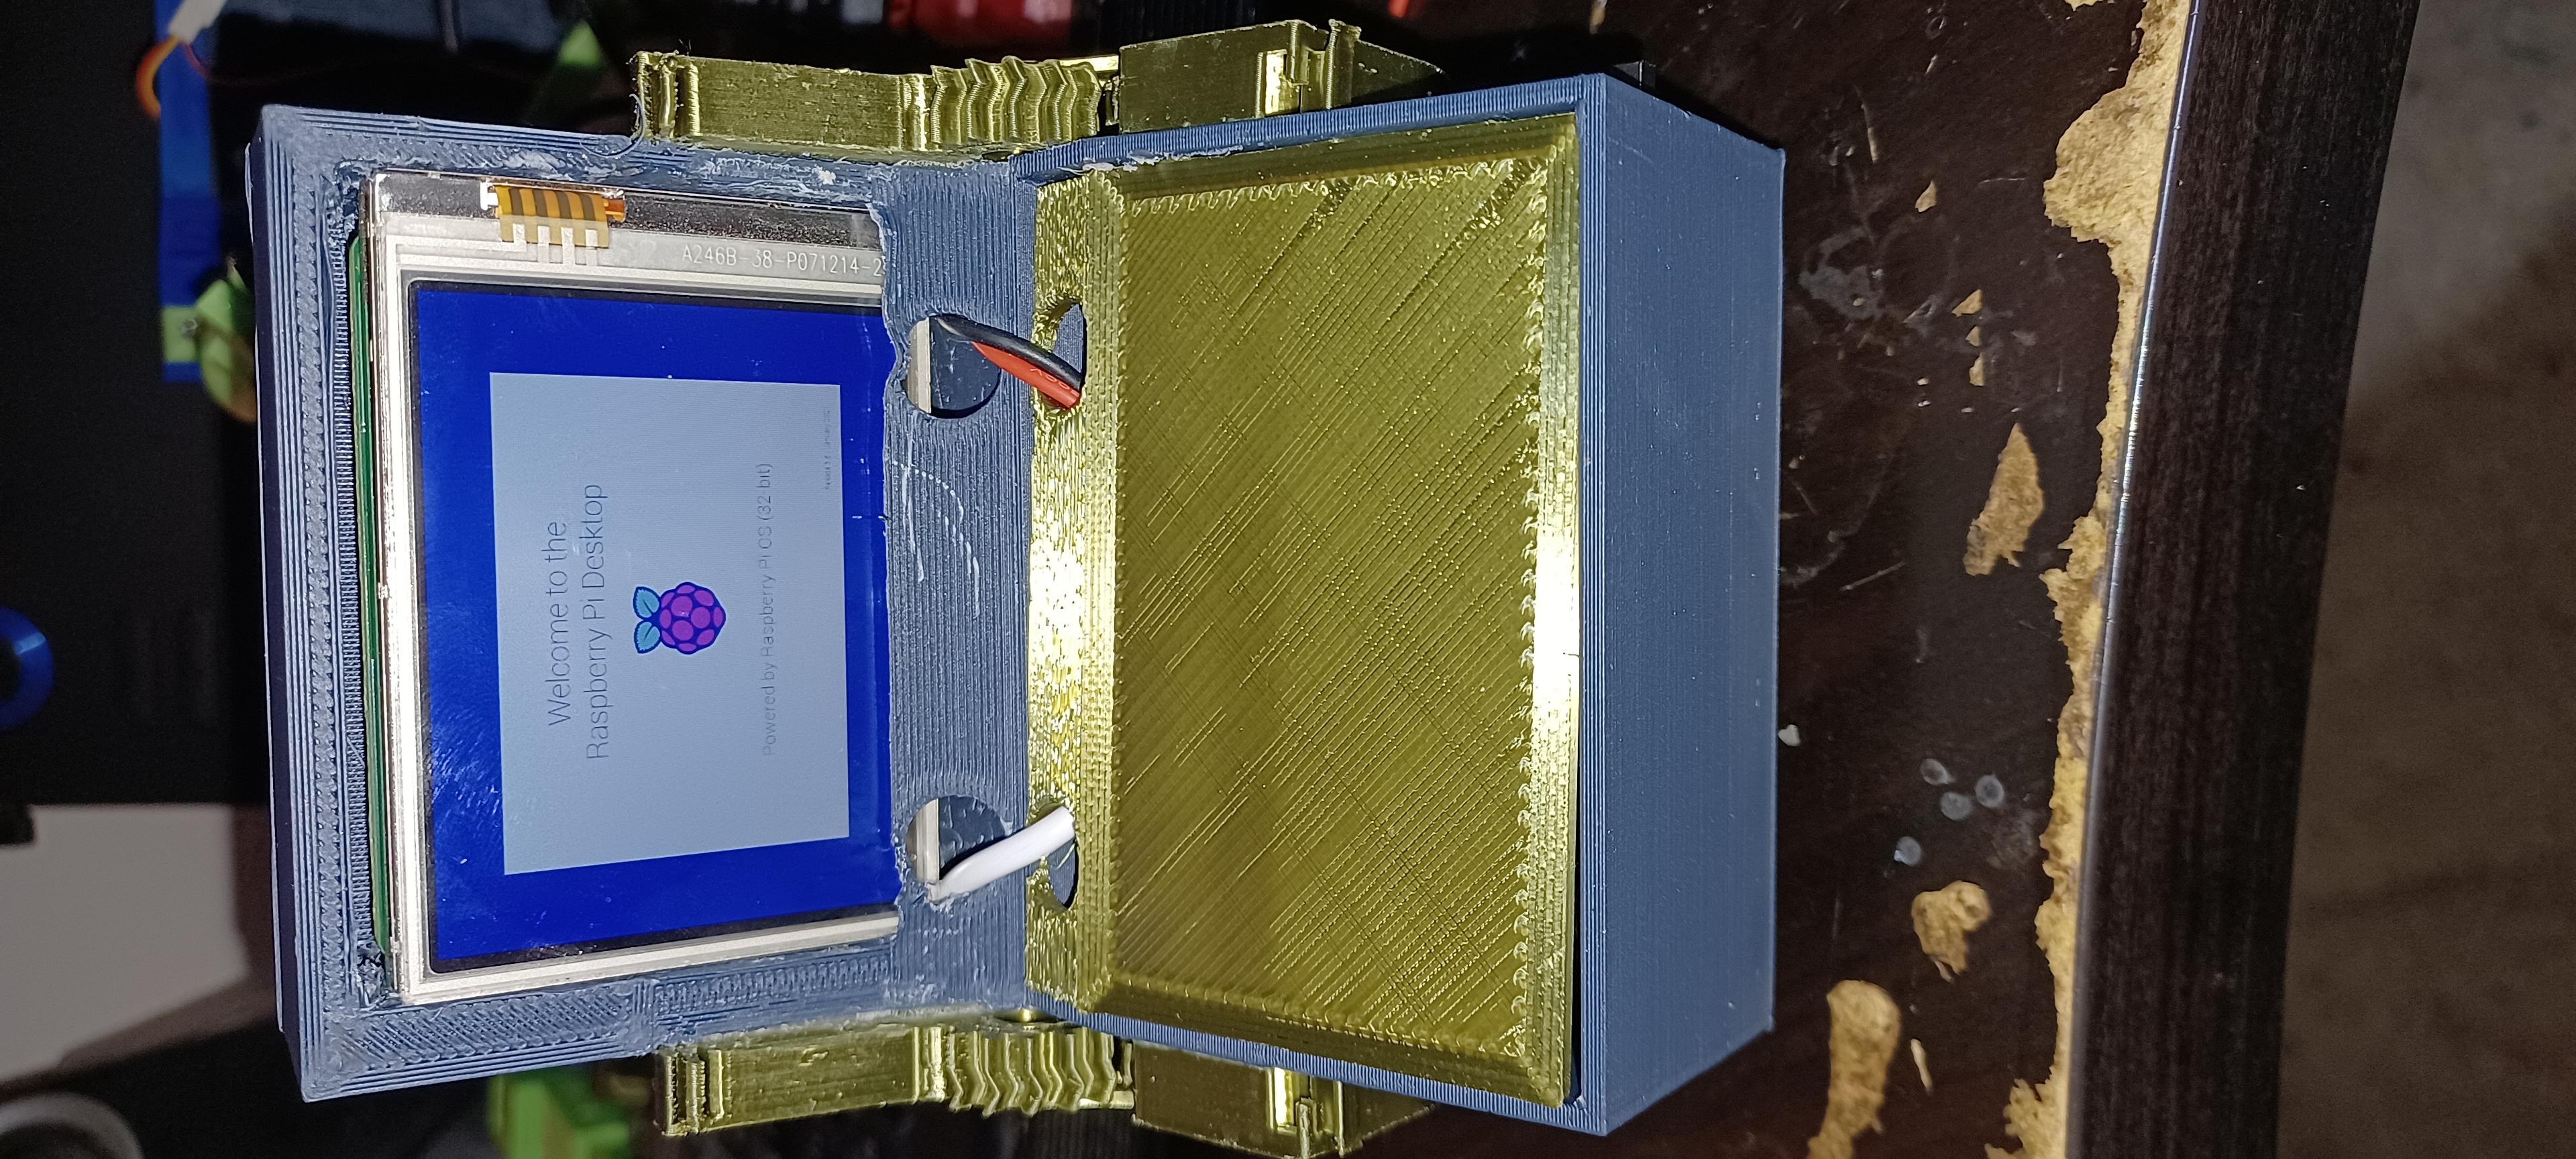
TP4056 Charging Module USB Type A Female Port 5mm Sliding Switch 18650 Battery iUniker 2.8-inch 60+ fps 640x480 High Resolution Raspberry Pi Zero Touchscreen Raspberry Pi Zero W Minimum 32GB SD Card Bluetooth Speaker Micro USB Cable x2 (to be spliced into.
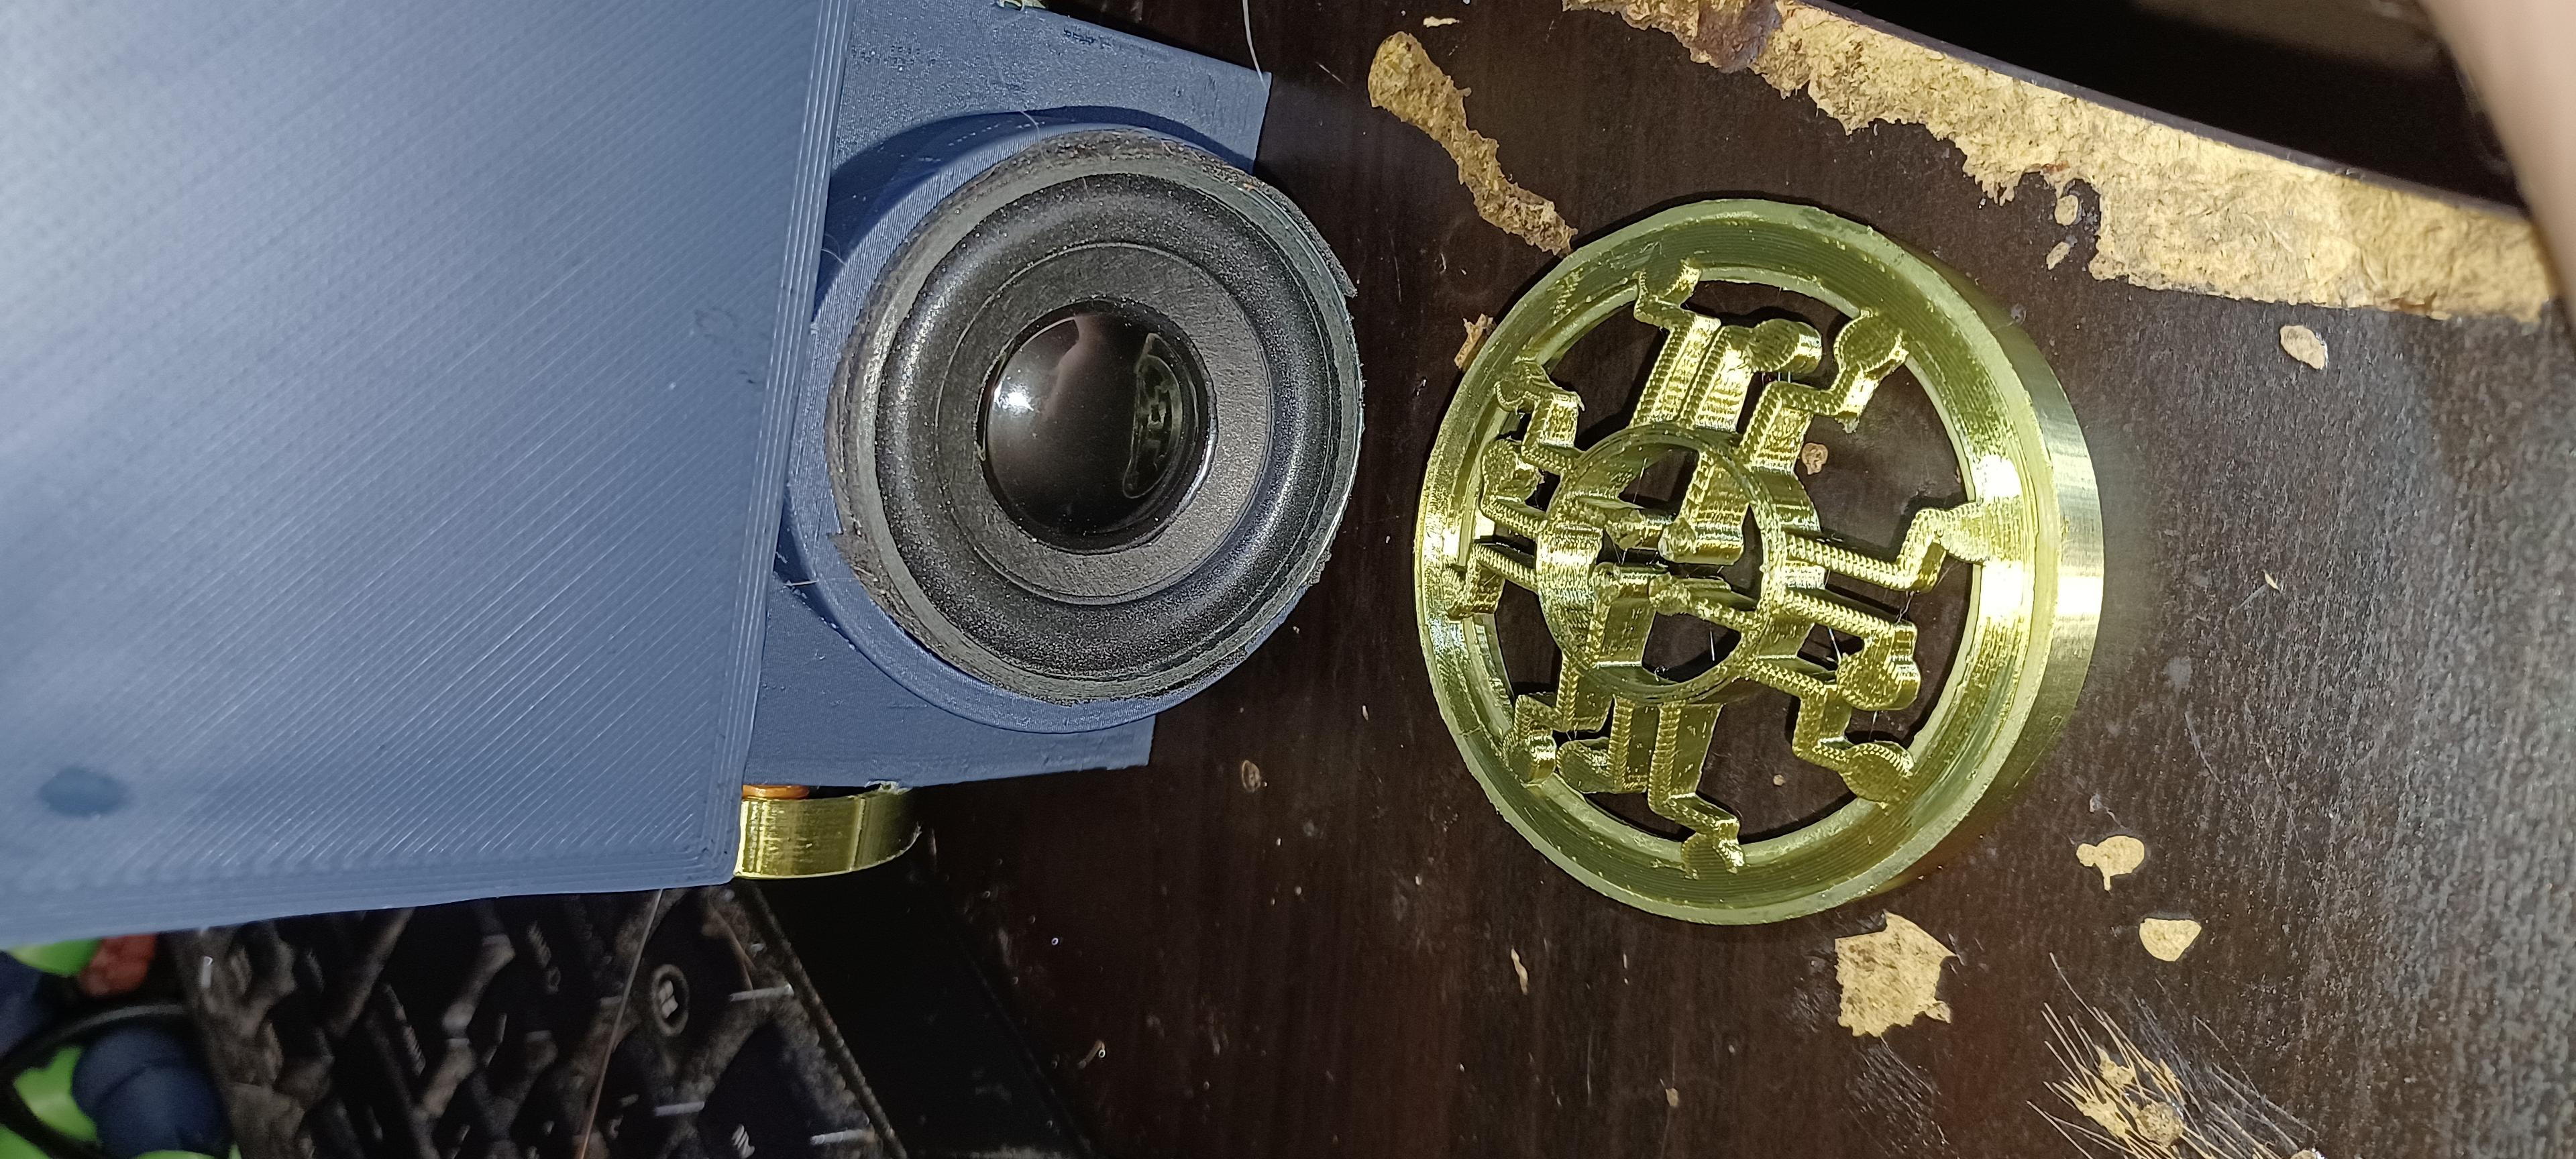
Obviously most of the parts are replaceable with what you have on hand. If you have a different switch, you can always change the size of the opening, or if your speaker is smaller, you can adjust the diameter accordingly. The connections are fairly self explanatory. I don't recommend soldering directly to the 18650, but you can make a battery connector coil from a paperclip or spare wire. Most connections are to the TP4056, and you can put the switch between the power and the pi to maintain the system that way. The Bluetooth speaker is the best option since you need to create an audio filter from scratch off of the GPIO pin otherwise. Why not use the Pis functionality?
The gearsprings can be tricky, so you can print them all in place and hope for the best, but I printed each part separately, glued the gear to the bracket, and seated the lever with a heat gun to soften the print.
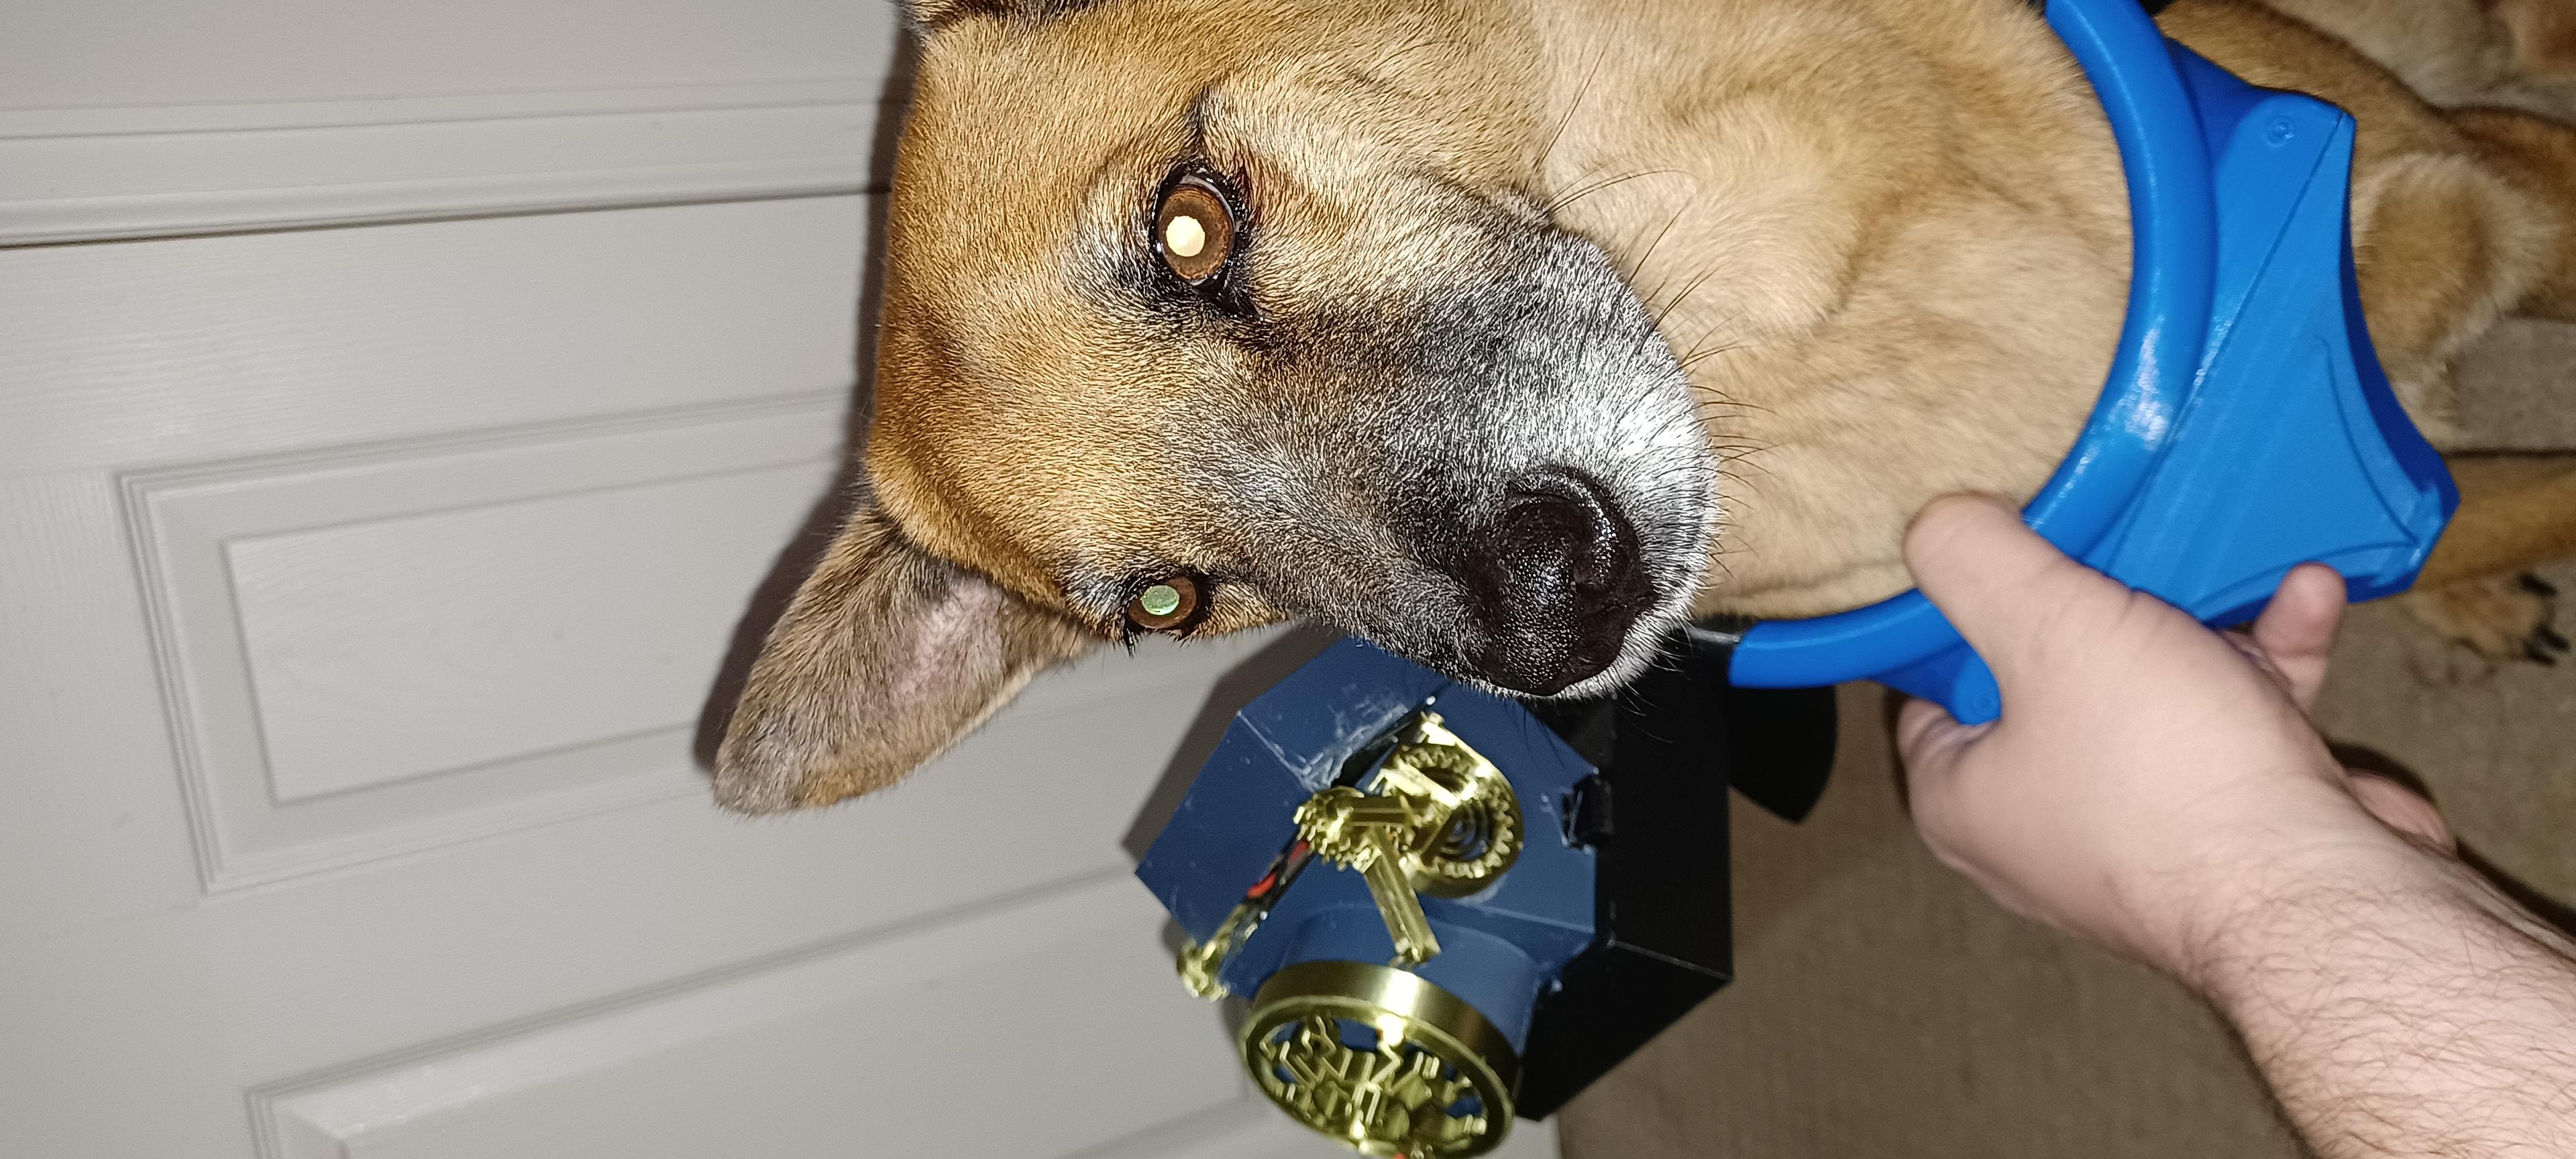
It's pretty handy, worked well for what it was, and although we didn't go out, Space Cadet Scrungelon looked pretty dapper with the addition to his costume. It'll need to be ruggedized a bit, at least the mounting because hot glue wasn't the best option when Scrungelon bolted down the stairs and the Sideclick thwomped into the wall. Surprisingly, after reconnecting everything, it still worked! I'm too easily excited, so we started playing immediately and I forgot to take a before picture though, so he's wearing it while I'm physically holding the parts together. I can't wait to use it in the future, maybe to issue remote commands or something.
Happy building, and feel free to reach out if you have any questions, suggestions, or alternative uses!
#HalloWearables #HalloWearable
