
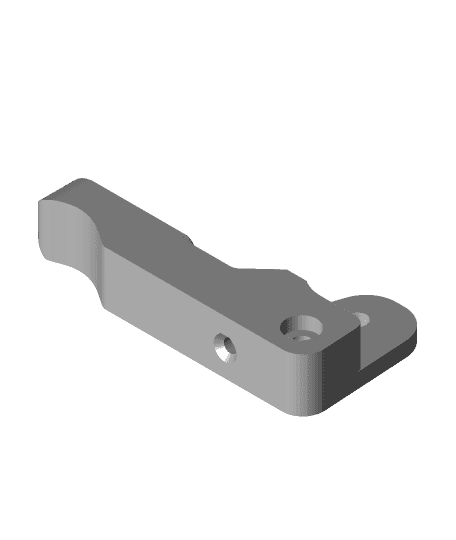
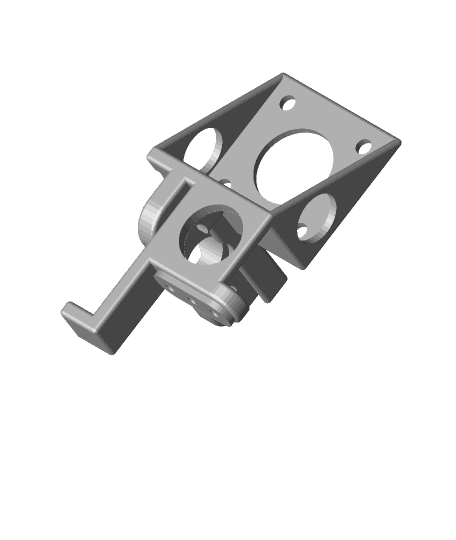
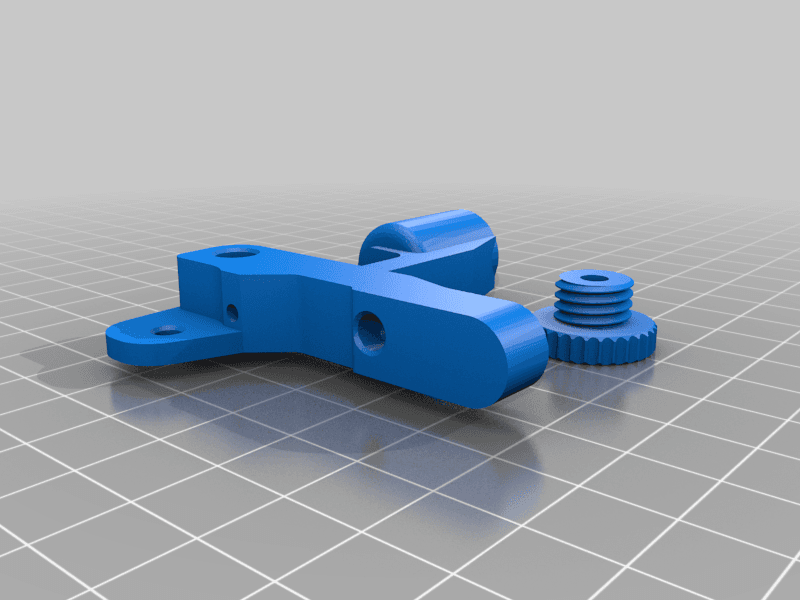
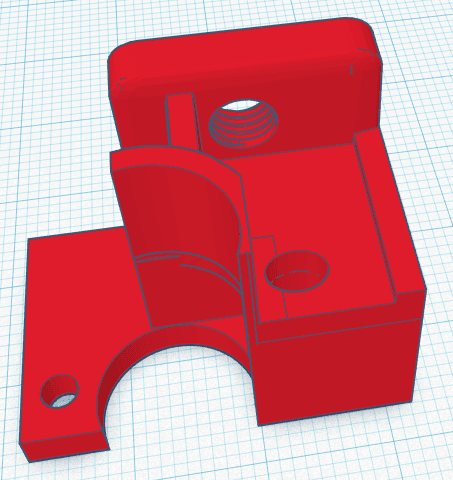
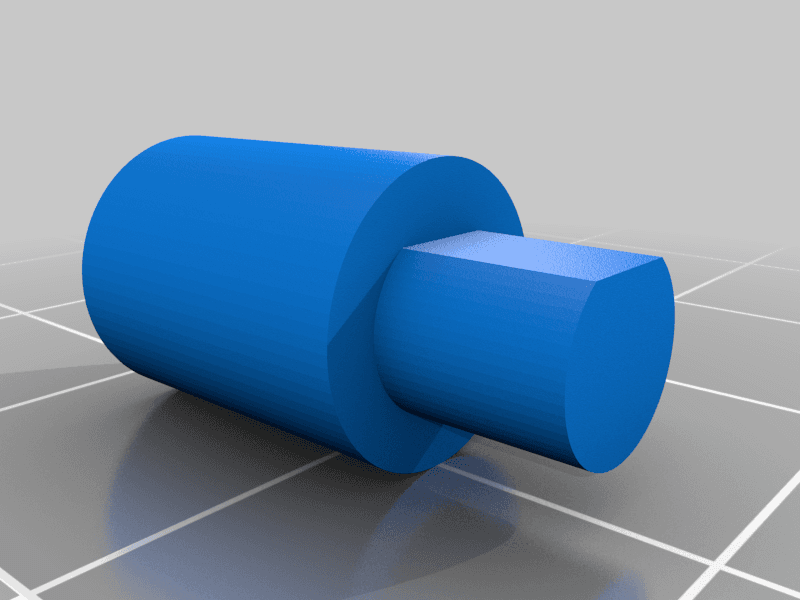
Ender 3 series PTFE-to-Creality Direct Drive Extruder Arm Conversion
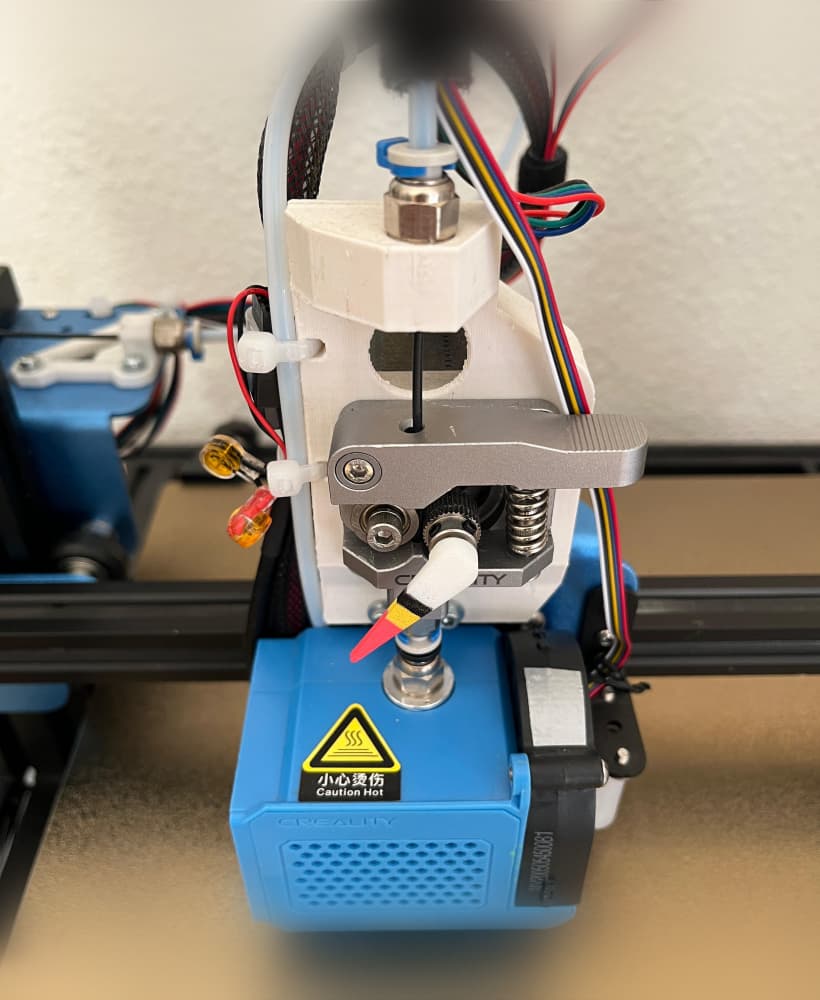
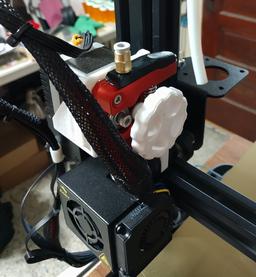
Since humidity is an issue in my area, I use Rubbermaid 21 cup dry boxes with a reverse Bowden setup on all my printers to minimize the filament's exposure to the air. My Ender 3 Pro is setup for direct-drive extrusion. The stock Creality extruders (plastic and aluminum) don't have a threaded inlet for a PTFE fitting. I'm not content with using a stop at the top 2020, which leaves a good amount of filament exposed, subject to getting brittle, causing breakage. I designed this glue-on conversion for the Creality extruder arms and will work with any PTFE fitting that use the M6 threaded ends.
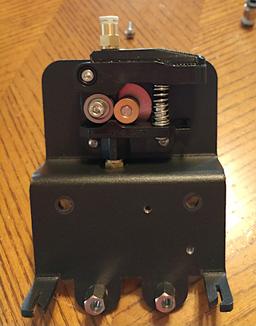
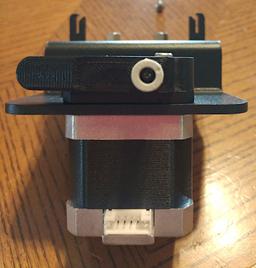
My top-most criteria was to have it strengthen the plastic version of the Creality extrusion arms, hence the thickness or height of the conversion piece. I also wanted to make sure torque on the PTFE fitting, while the hotend was traversing the X-gantry, wouldn't cause the conversion to loosen up or break due to flexing.
I decided to tap the threads instead of designing them in. Ample reinforcement has been added around the hole so that tapping won't break into the infill. With this method the size and shape of the threaded hole is guaranteed regardless of the filament used and the accuracy of the printer.
If you don't have an M6x1.0 tap, and aren't interesting in acquiring one, you can make one by:
1 - filing two opposing grooves along half the length of an M6x1.0x10+mm screw with a jeweler's file
2 - running it in and out of the hole a little at a time, until the threads are cut all the way through the hole.
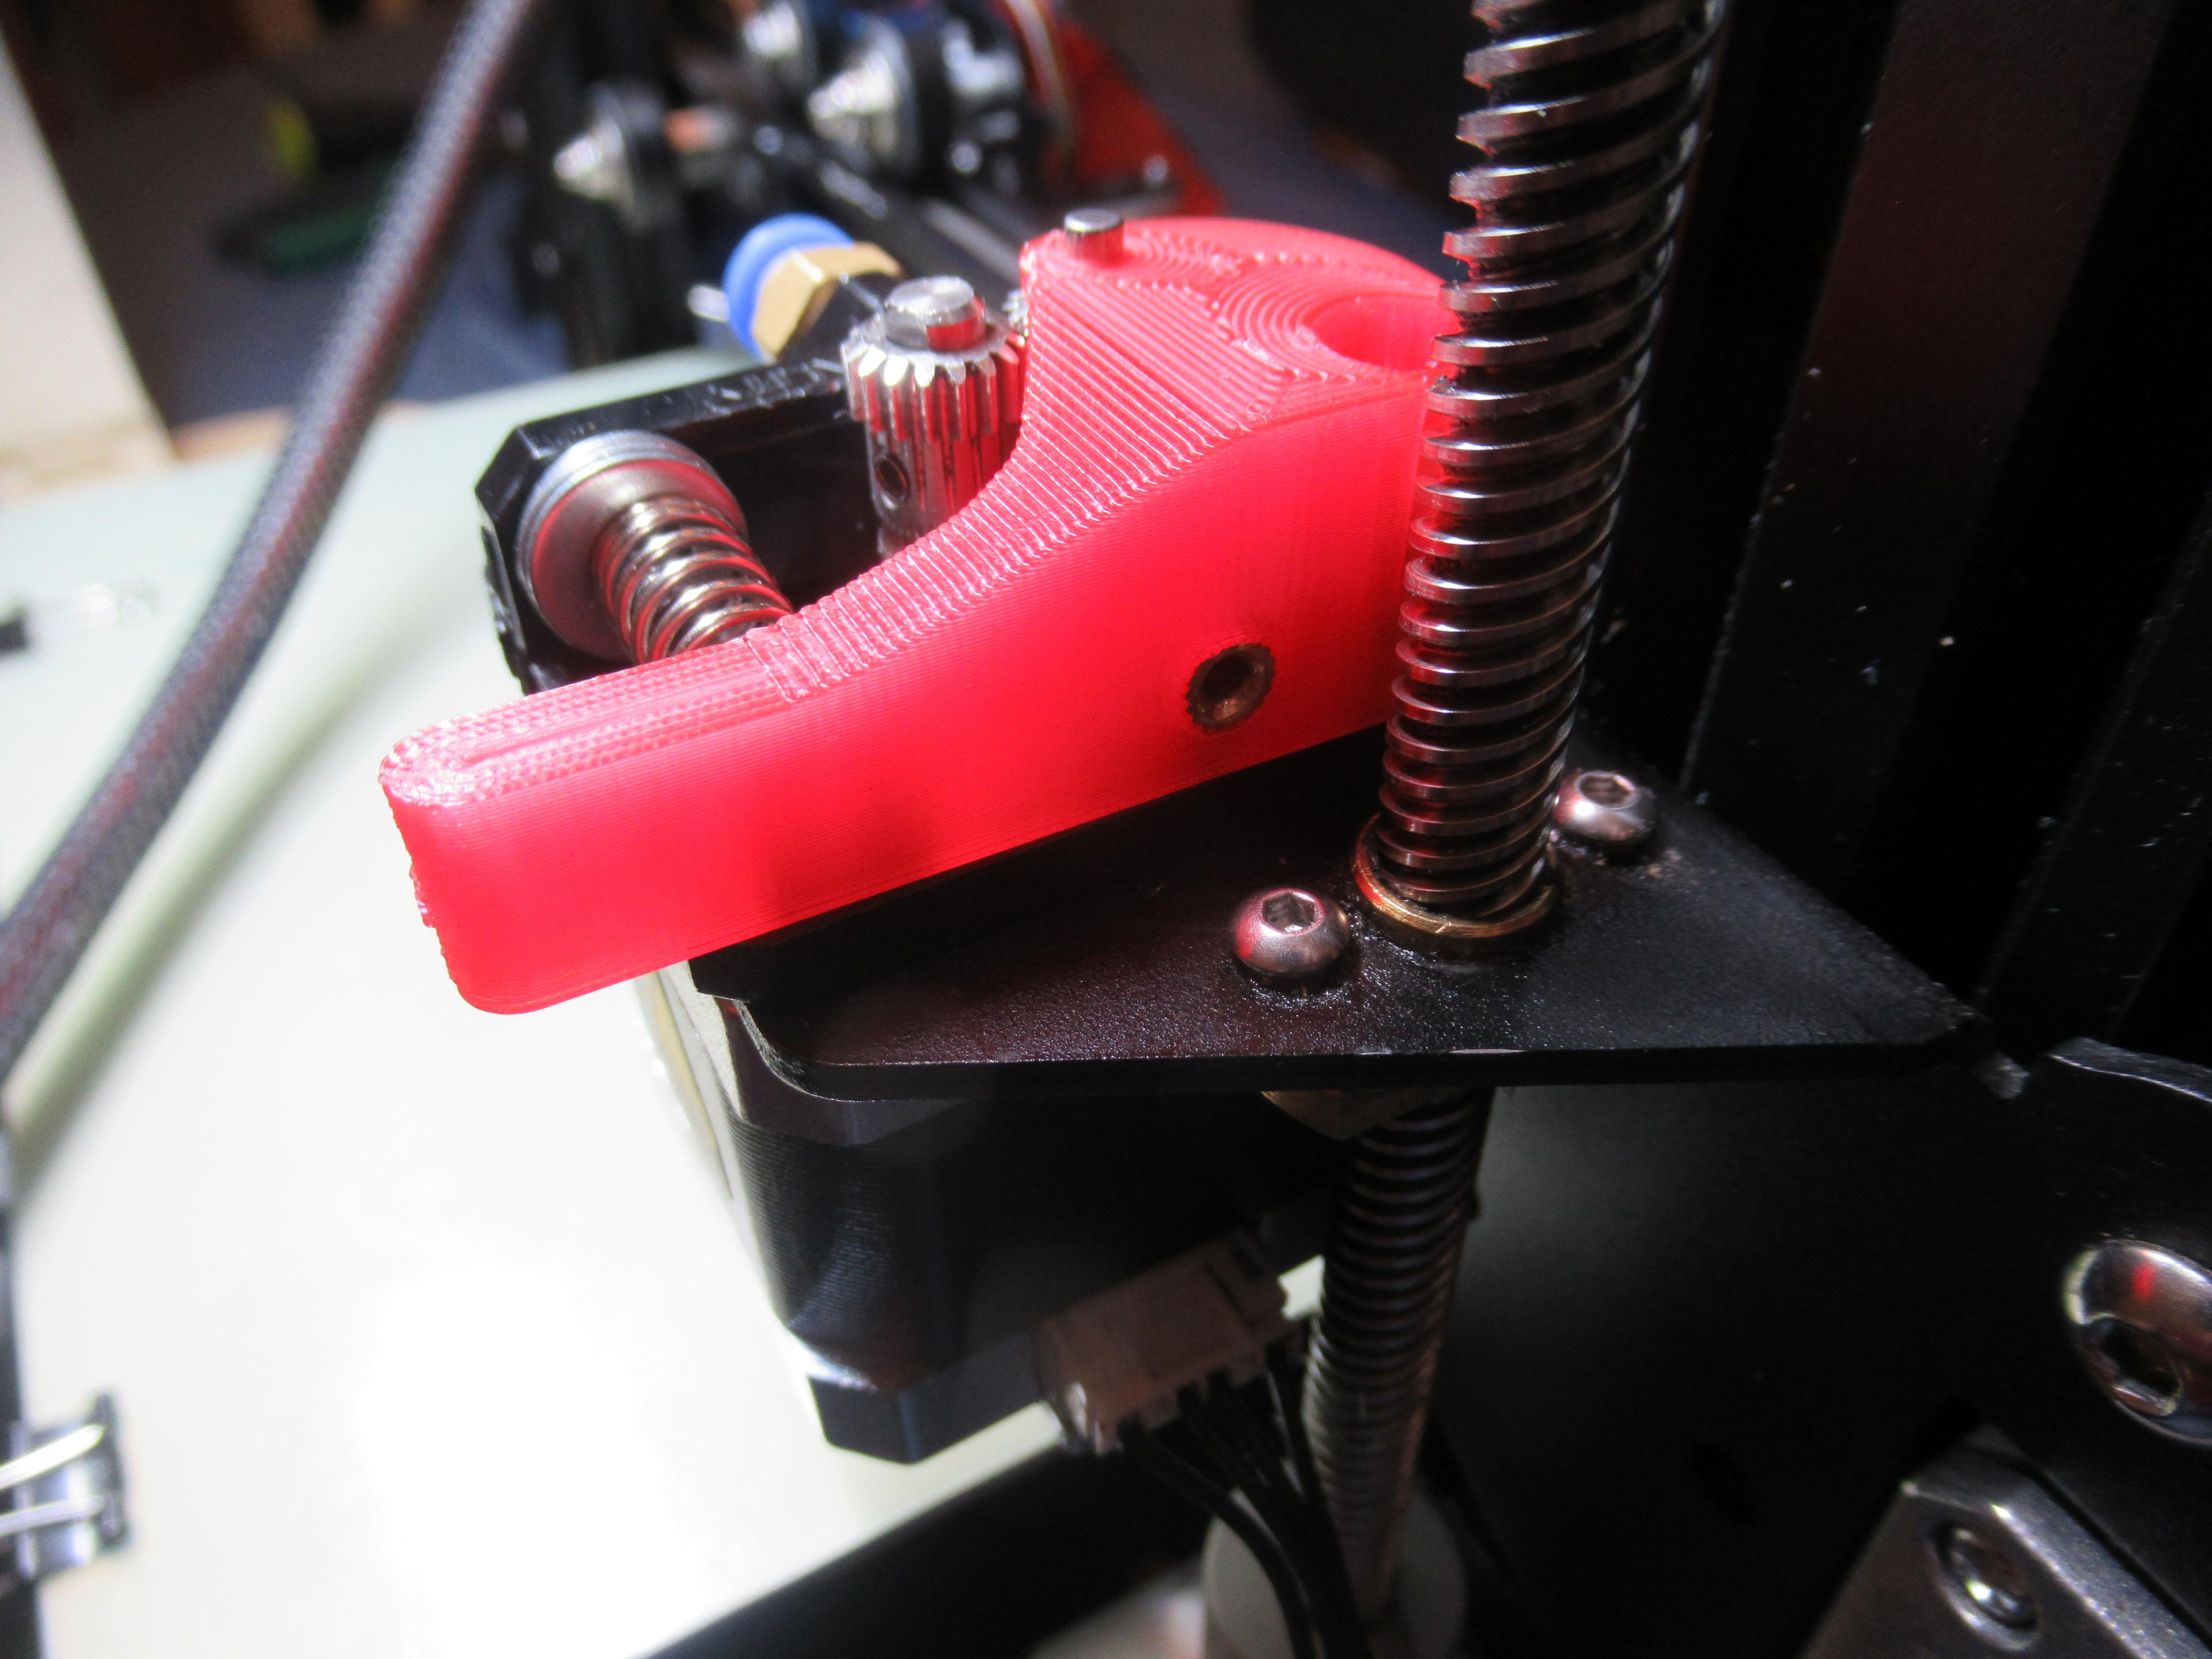
15% infill with a Grid pattern is ample as long as you use at least 4 walls (perimeters) I recommend 6. 5-minute epoxy and small hobby clamps will secure the conversion piece to the topside of the extruder arm, which should be done with the arm removed from the extruder. Make sure no epoxy gets into the PTFE threaded area or in the filament hole of the arm. Leave overnight to fully cure.
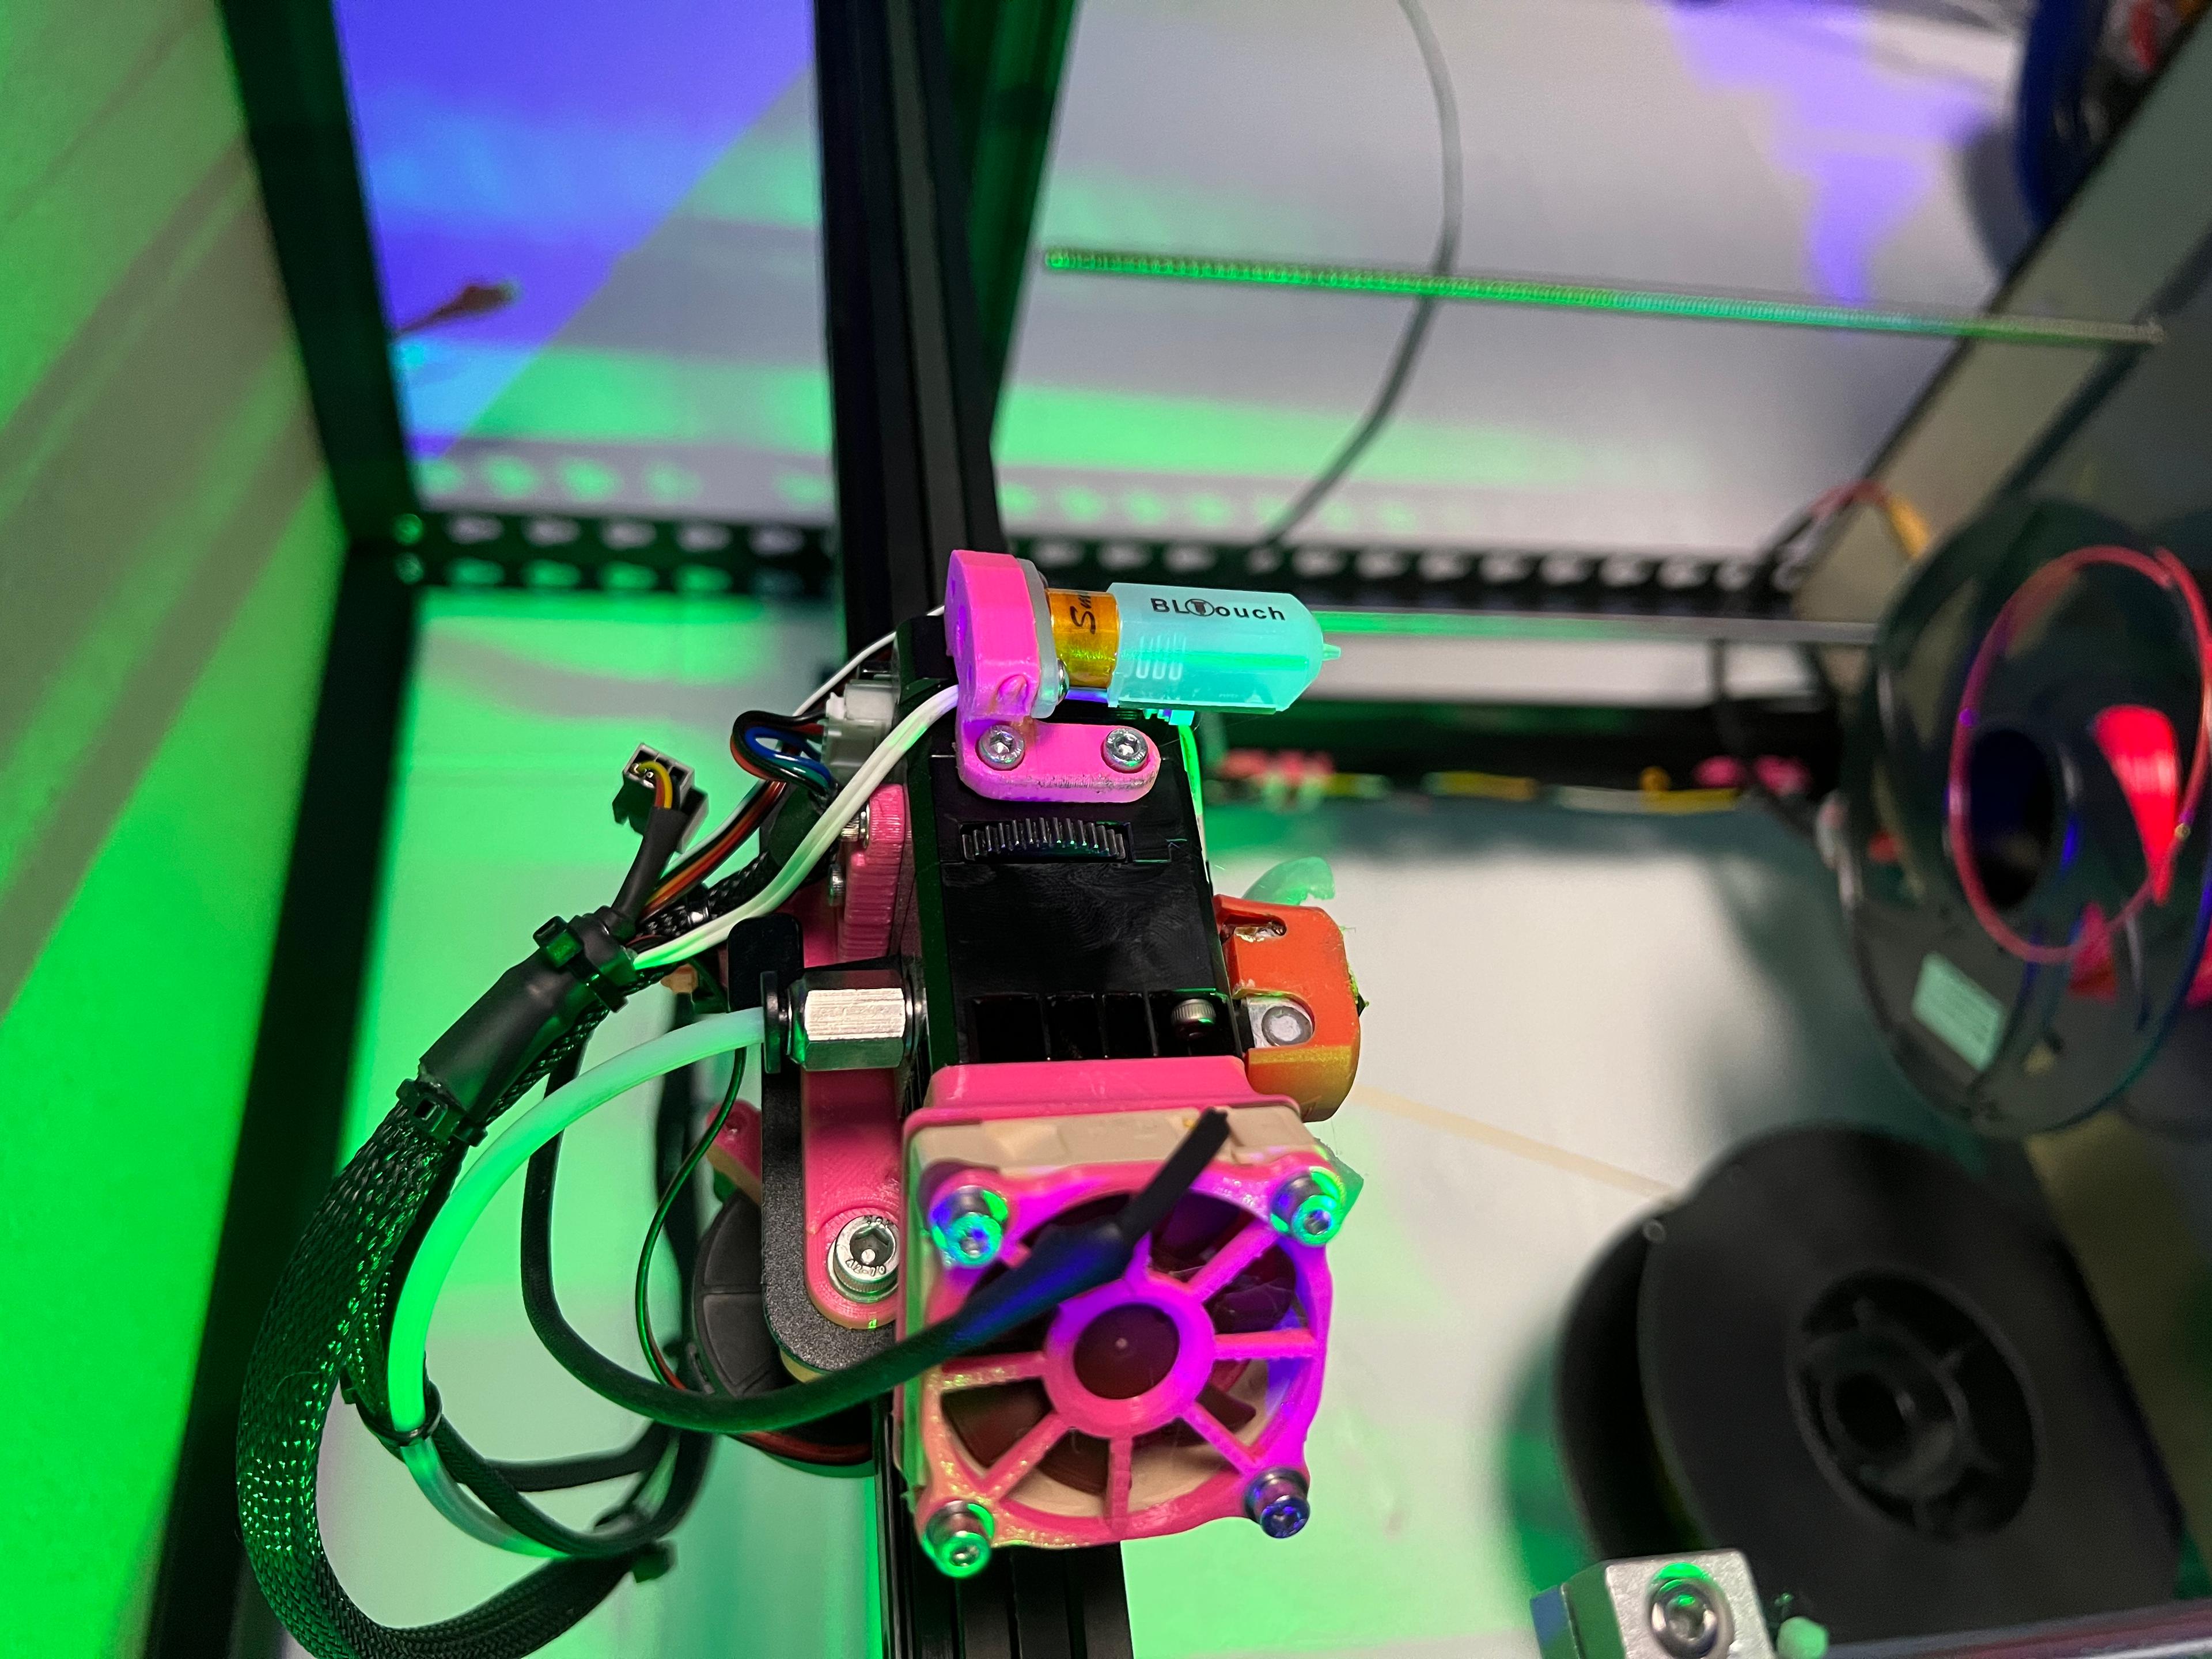
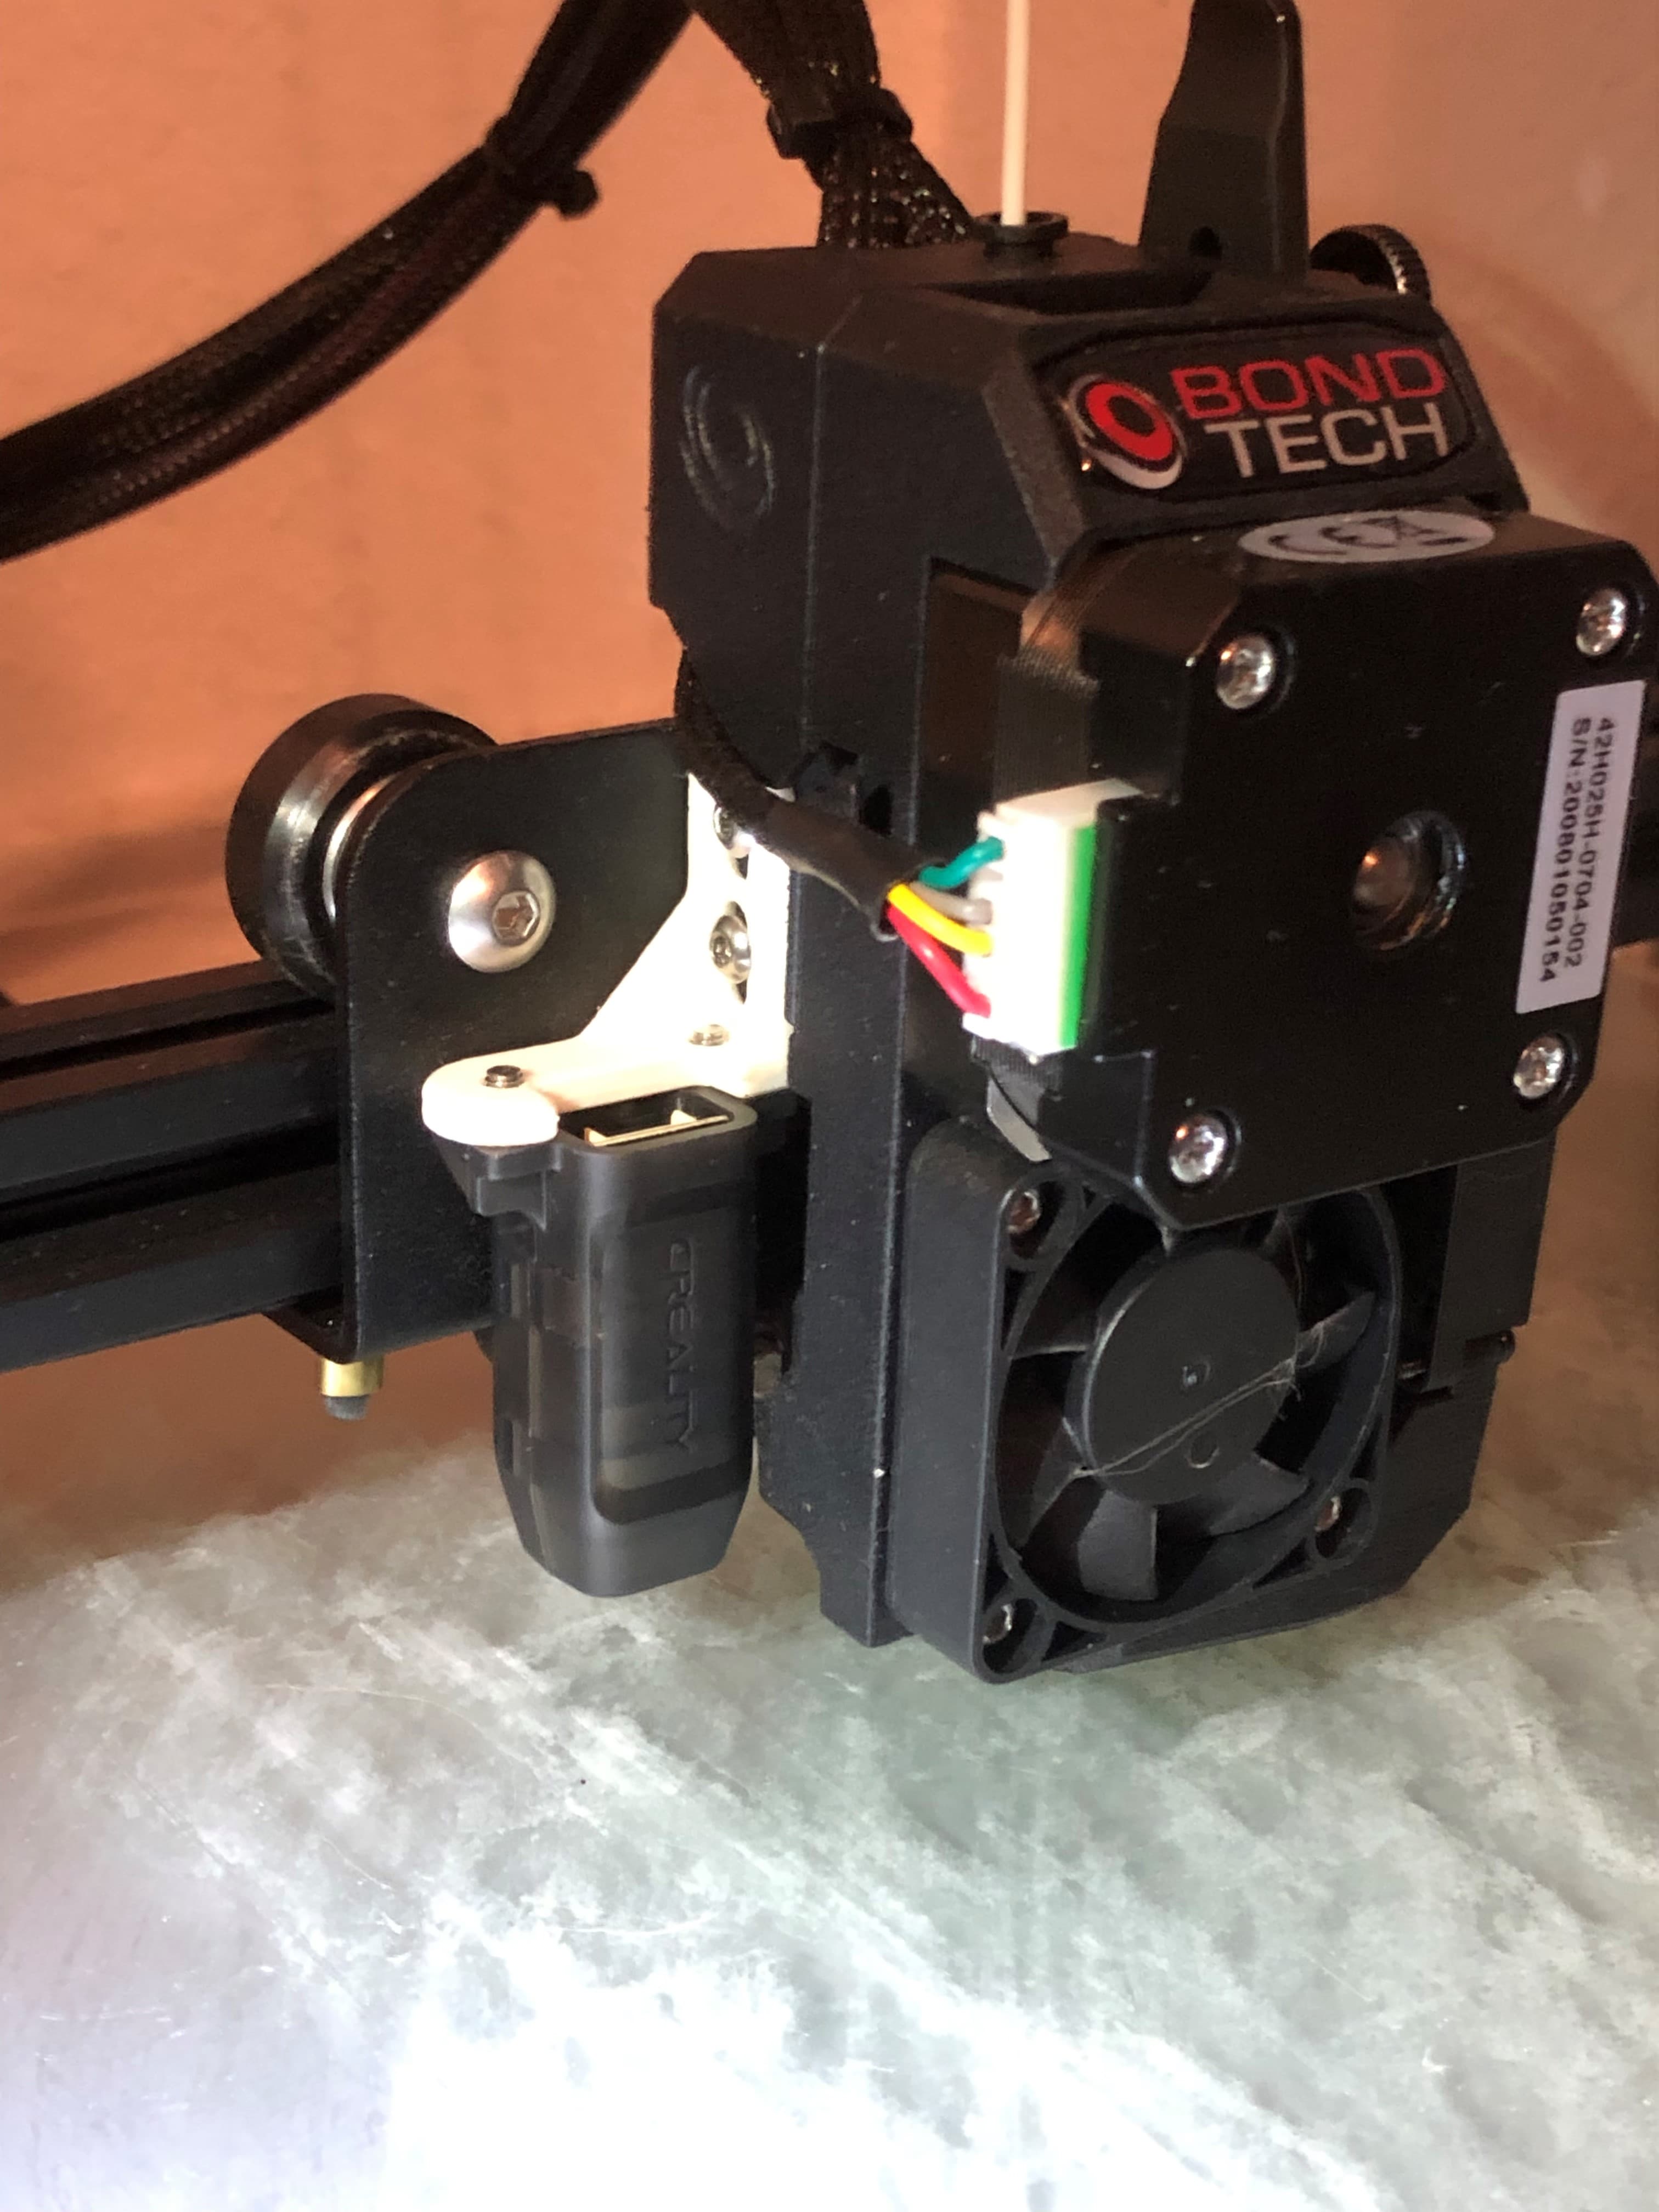
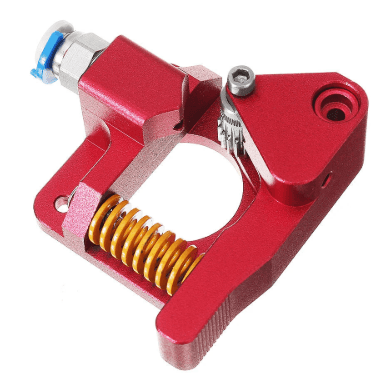
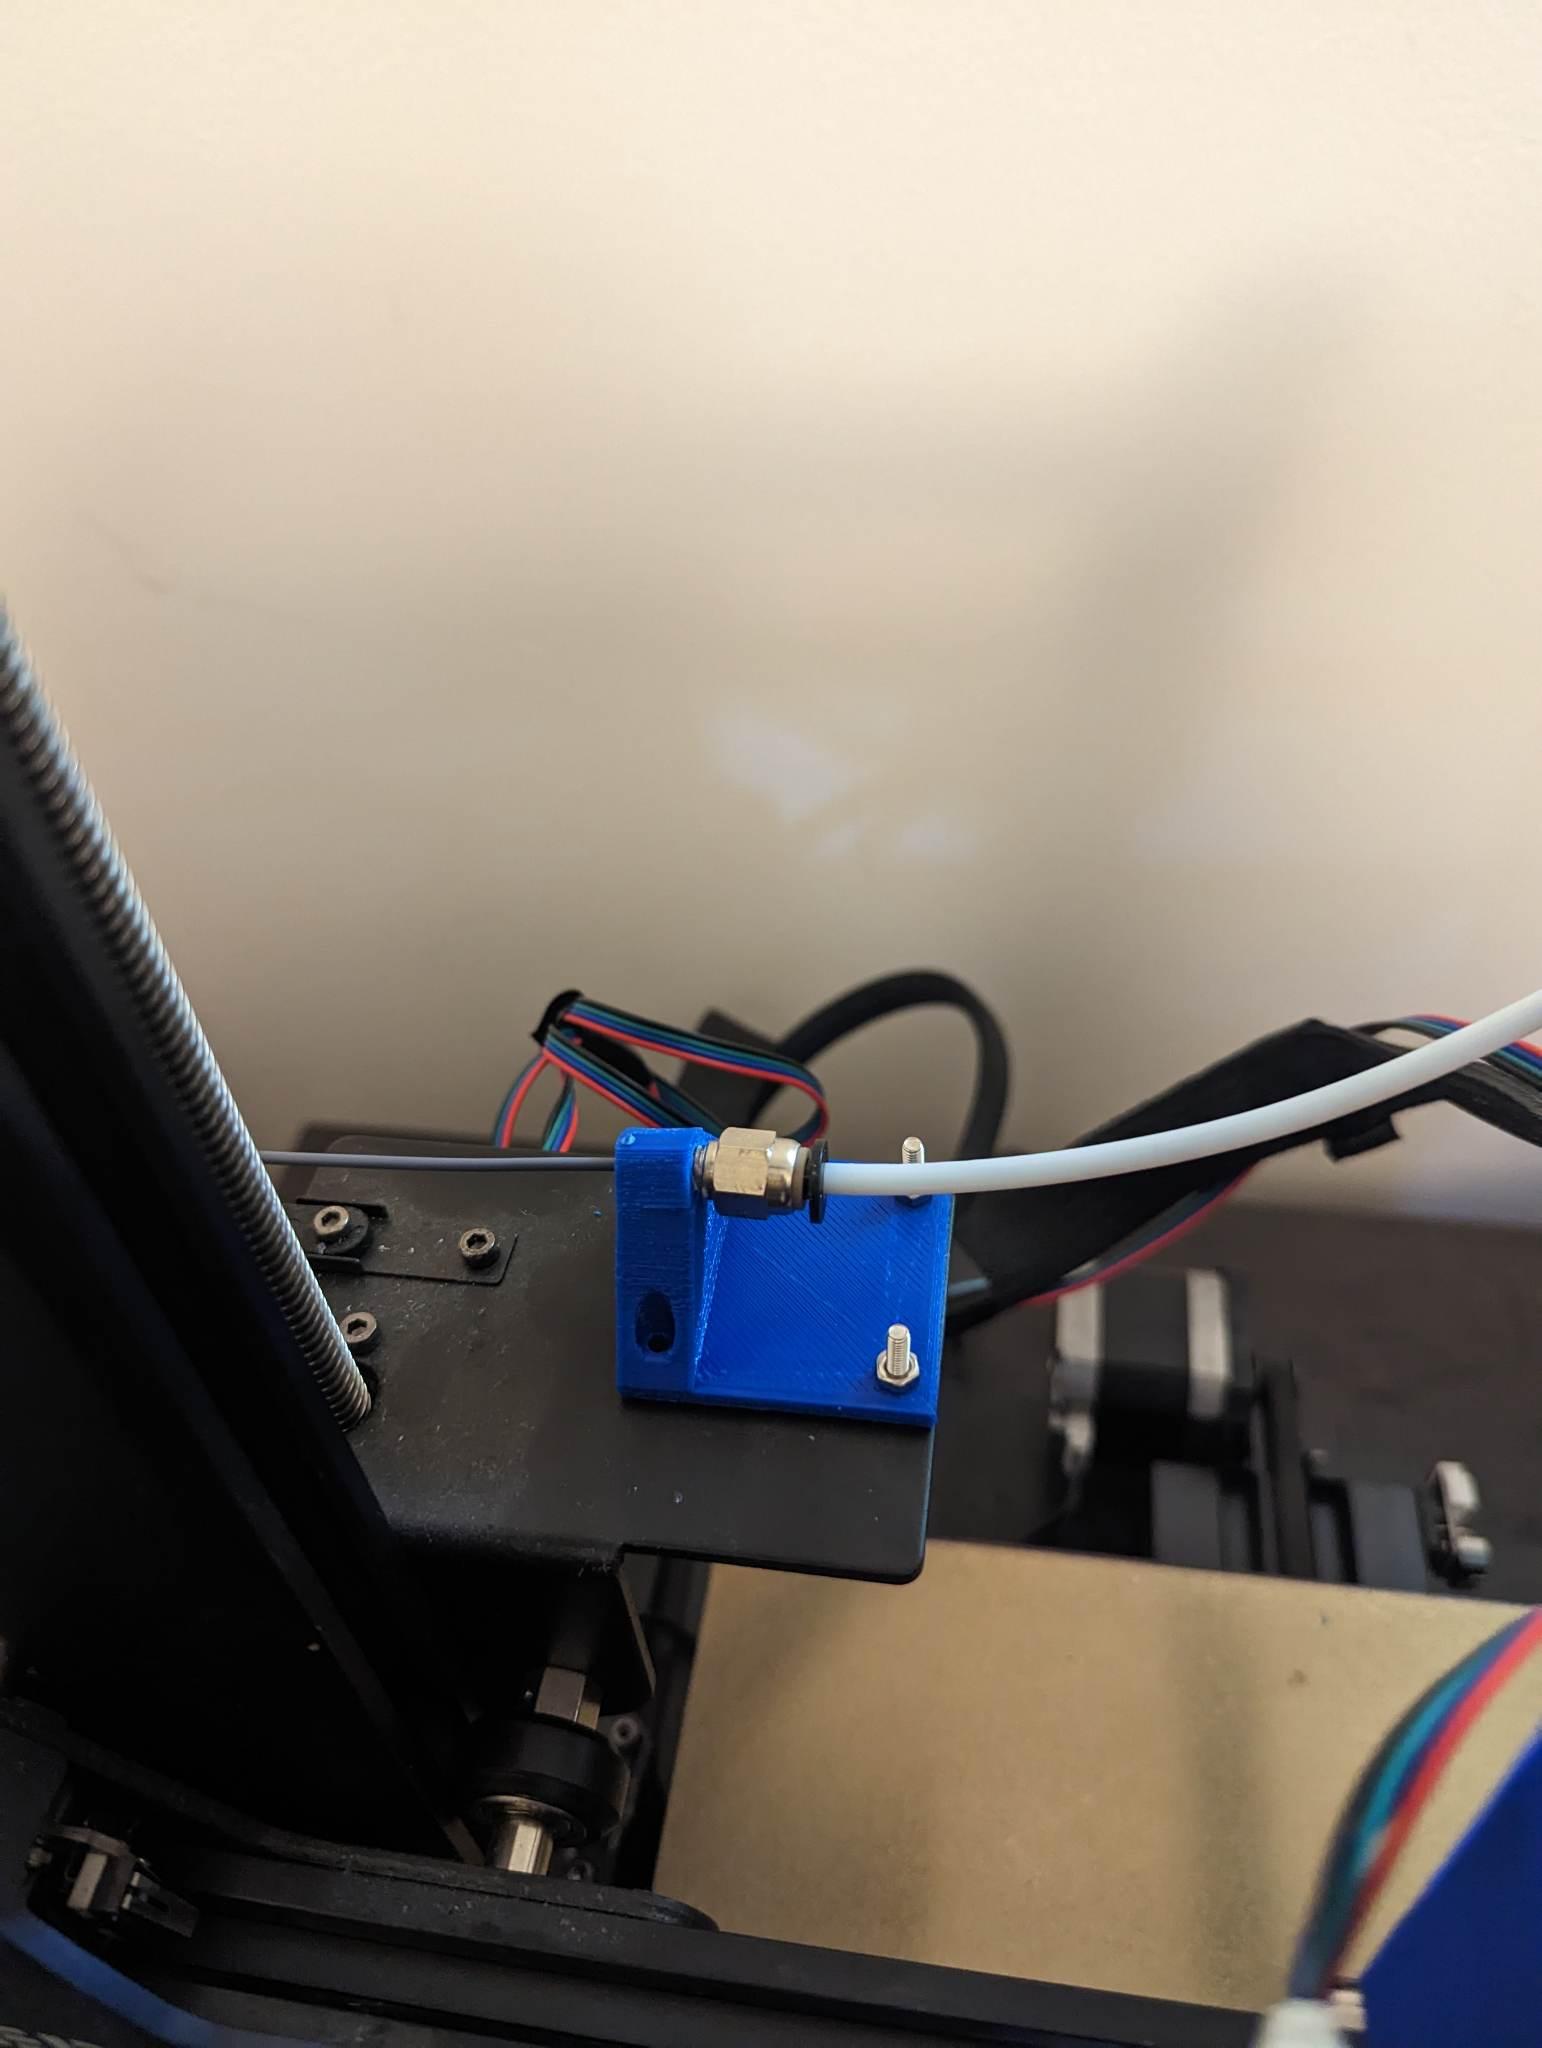
The two extruders shown are the plastic model that comes on the Creality Ender 3 series and the red anodized aluminum one (on my Ender 3 Pro) that comes with the Creality direct drive kit.
Ender 3 series PTFE-to-Creality Direct Drive Extruder Arm Conversion
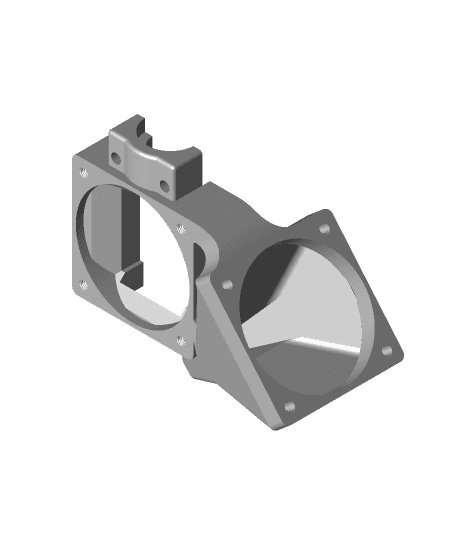
Modified Creality Stock Extruder Arm - Optimized for printing

CR-10 V2 Direct Drive adapter for Creality OEM extruder
Filament sensor switch for direct drive Aluminium Dual Gear Extruder PTFE coupling
Creality Ender 3 / MicroSwiss Direct Drive Extruder Motor Knob
Ender 3 CR10S Multi Direct Drive Extruder with Tool Free Adjustment

Ender 3 (Pro) Direct Drive Dual Gear Extruder Mount
Direct Drive Extruder Mount with BL Touch (for Dual Gear Extruder)
.png&w=3840&q=75)
AIRFLOW HEAD EXTRUDER MOD (CREALITY K1 SERIES) / K1 / K1 MAX / K1 SE / K1C
Biqu H2 BL Touch Mount - Direct Drive Extruder
Ender 3 Dual-Drive Extruder Mod

Enclosure Filament Guide for Direct Drive Extruder (Ender3/Lack)
Extruder arm filament cleaner
BL CR Touch Mounting Bracket for Bondtech DDX Direct Drive Extruder on CR-10 or Ender 3
Filament Guide For Red Aluminum Btech Double Gear Pulley Drive Extruder
Voxelab Aquila X-axis Bumper for Micro Swiss Direct Drive Extruder
Filament Guide Screw Guard For Red Aluminum Btech Double Gear Pulley Drive Extruder
Knob Extender for Ender 3 V2 Direct Drive Extruder
Geeetech i3 E3D direct drive extruder part cooling fan remix - Gen1
Anycubic Vyper Simple Direct Drive Conversion