


Protopasta Protognome - Flexi Gnome by CM Designs
Model originally uploaded to Thingiverse at https://www.thingiverse.com/thing:5951586.
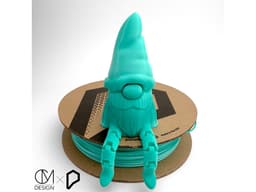
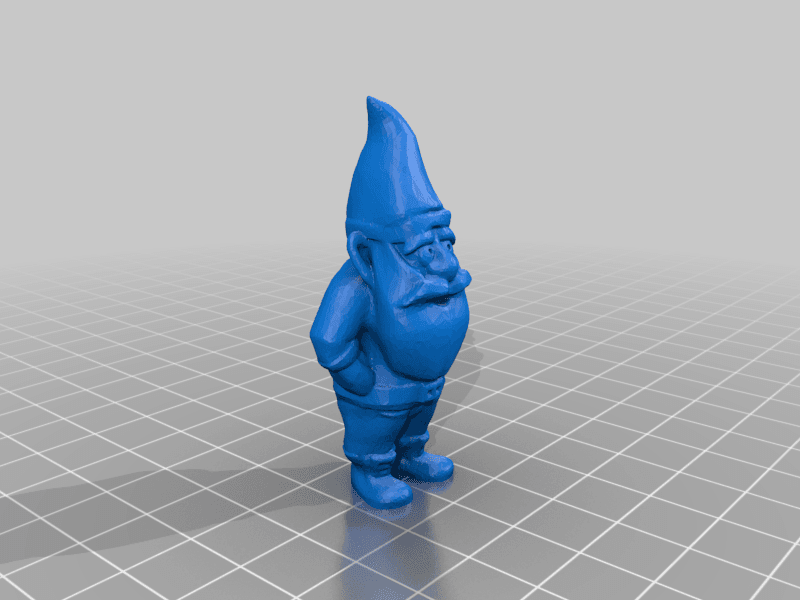
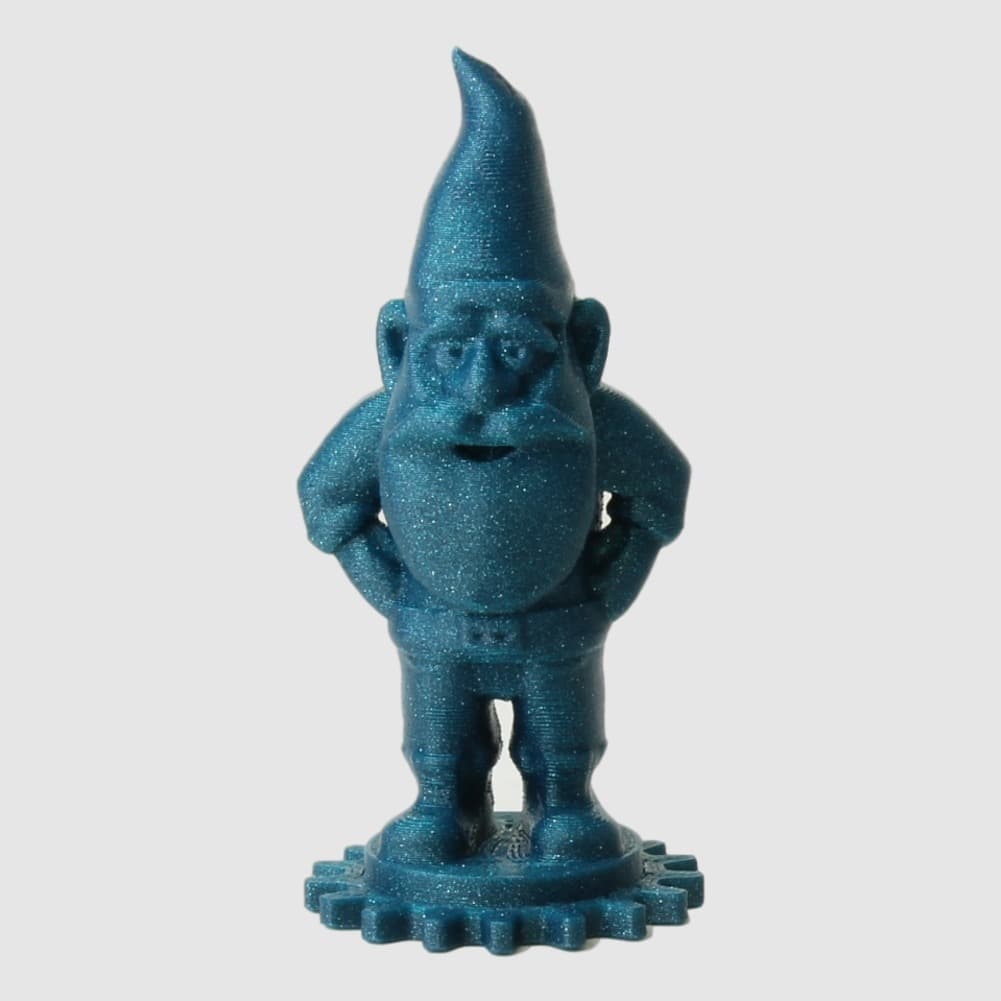
In celebrating spring, Corey Marchetti of CM Designs curated a very special design for our fellow gnome lovers. This fun, flexible gnome has floppy feet for your enjoyment.
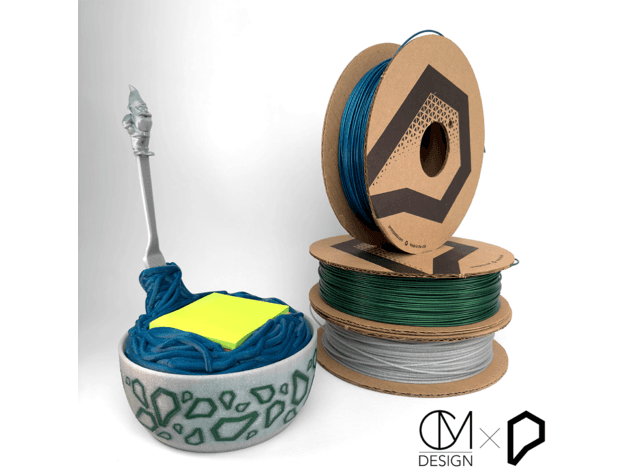
Shown in Protopasta's new April Endless PLA colors: Partly Cloudy, Partly Sunny, and Seafoam. More details at www.Protopasta.com/blog
Filaments from April's Endless PLA shipment available individually at Protopasta.com in May. For June's Endless PLA, subscribe to Endless PLA by May 31st.
New to Protopasta? The discount code NOODLENOOB gets 10% off your first order at Protopasta.com. While at Protopasta.com, subscribe to our newsletter for the latest news and discounts.
Print Settings:
15-20% Infill .2mm layer height Supports needed for the hat and optional for the beard
Hair-i-fied beard Settings:
The beard is print ready Make sure your printers bridging settings are dialed in There are many guides that can be found online for this. Example: https://all3dp.com/2/bridging-3d-printing-tips-tricks-for-perfect-bridges/
Hair-i-fied beard Assembly:
Use a box cutter, x-acto blade, scissors, or flush cutting shears to separate the wall from the hair Trim hairs if wanted Use a hair dryer or heat gun (3-6 inches away) to melt the hair down When melting the hair keep the hair dryer or heat gun moving (use circular motions or sweeping motions) so you don’t deform the print Take breaks and let the parts cool for a few seconds before manipulating the hair Have FUN!
Assembly:
Print all parts Stack beard onto the body Slide nose onto the beard Slide the hat over the beard
Some sanding and gluing maybe necessary due to tolerances


Protopasta Protognome - Flexi Gnome by CM Designs
Protopasta Protognome 2021 update with Protoplant hex P logo
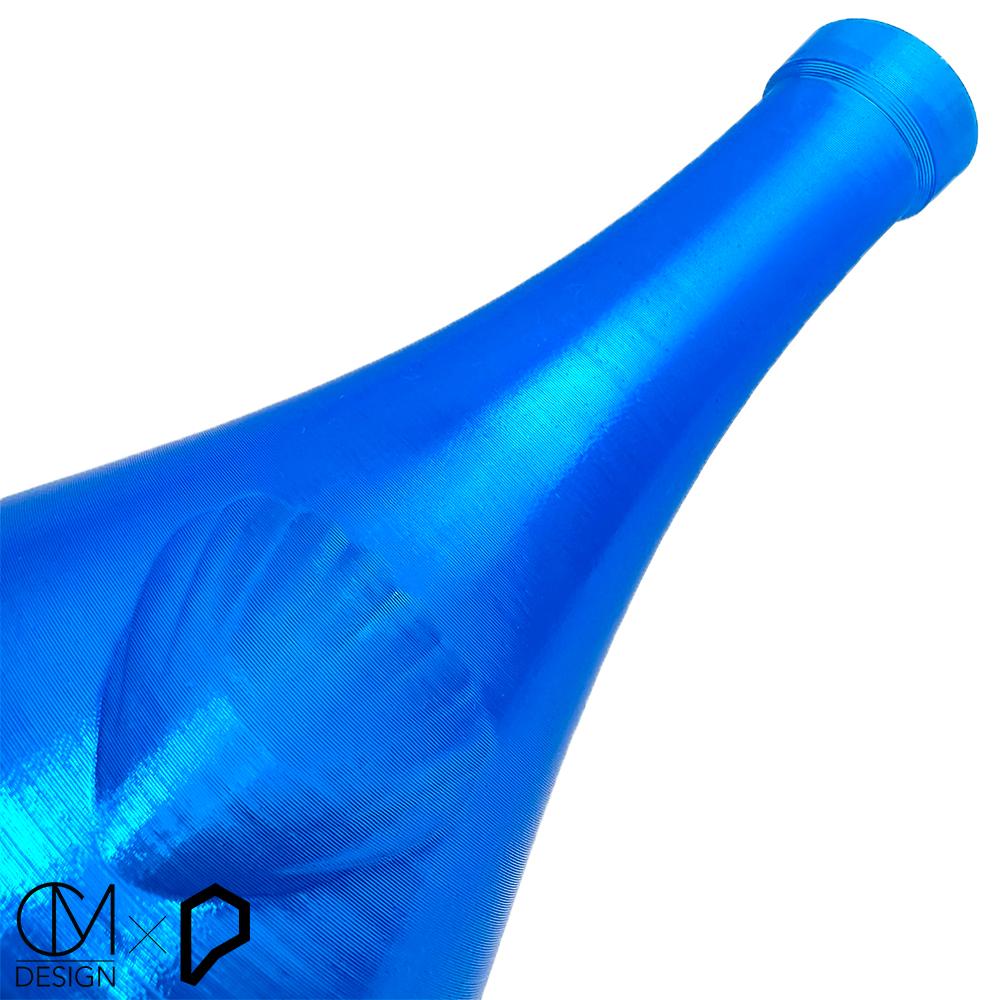
Protopasta Shell Bottle by CM Design
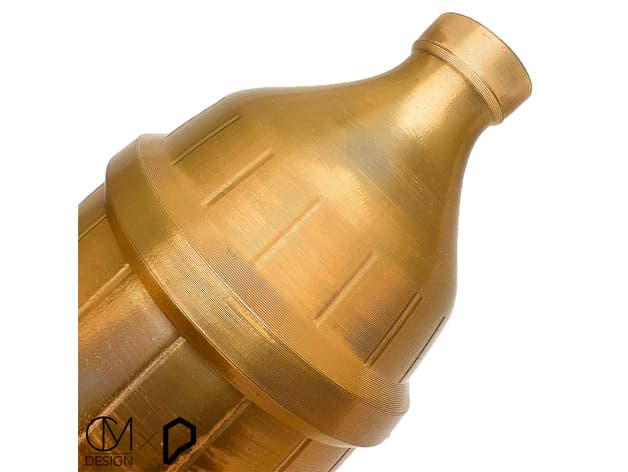
Protopasta Barrel Bottle by CM Design
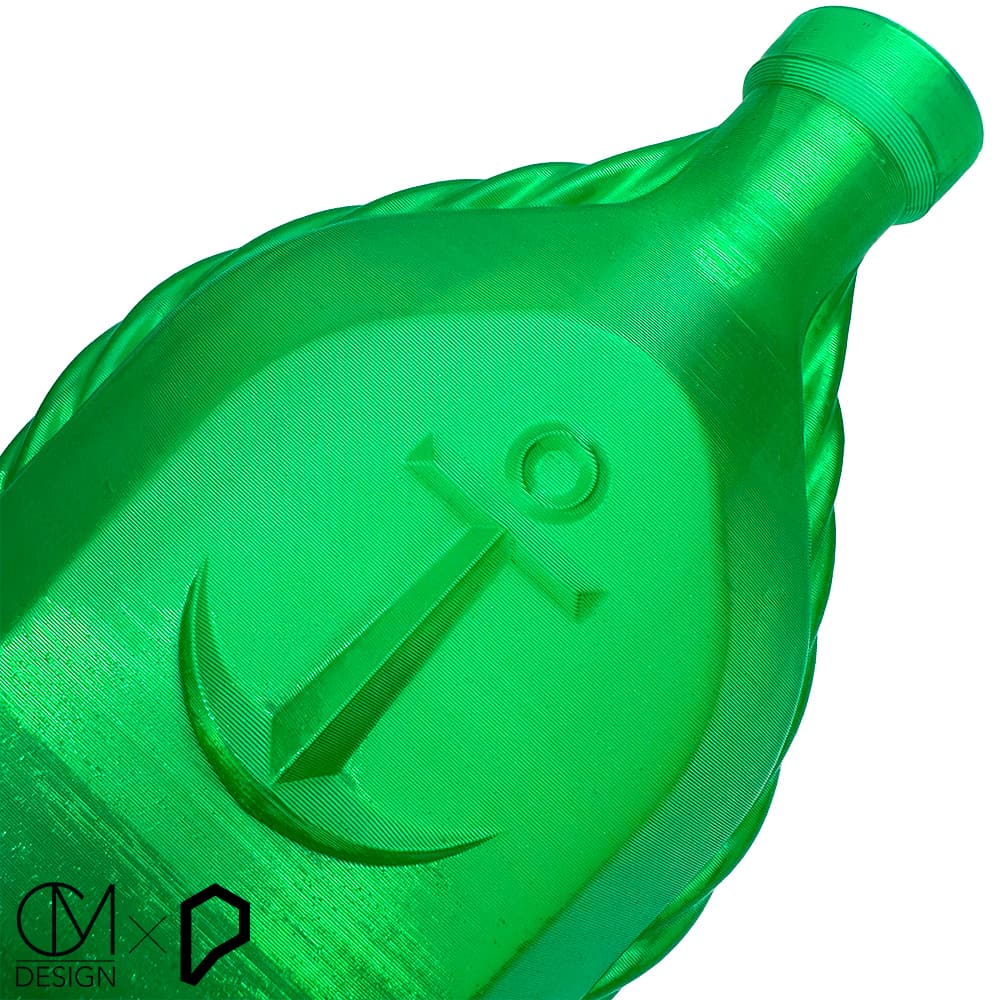
Protopasta Anchor Bottle by CM Design
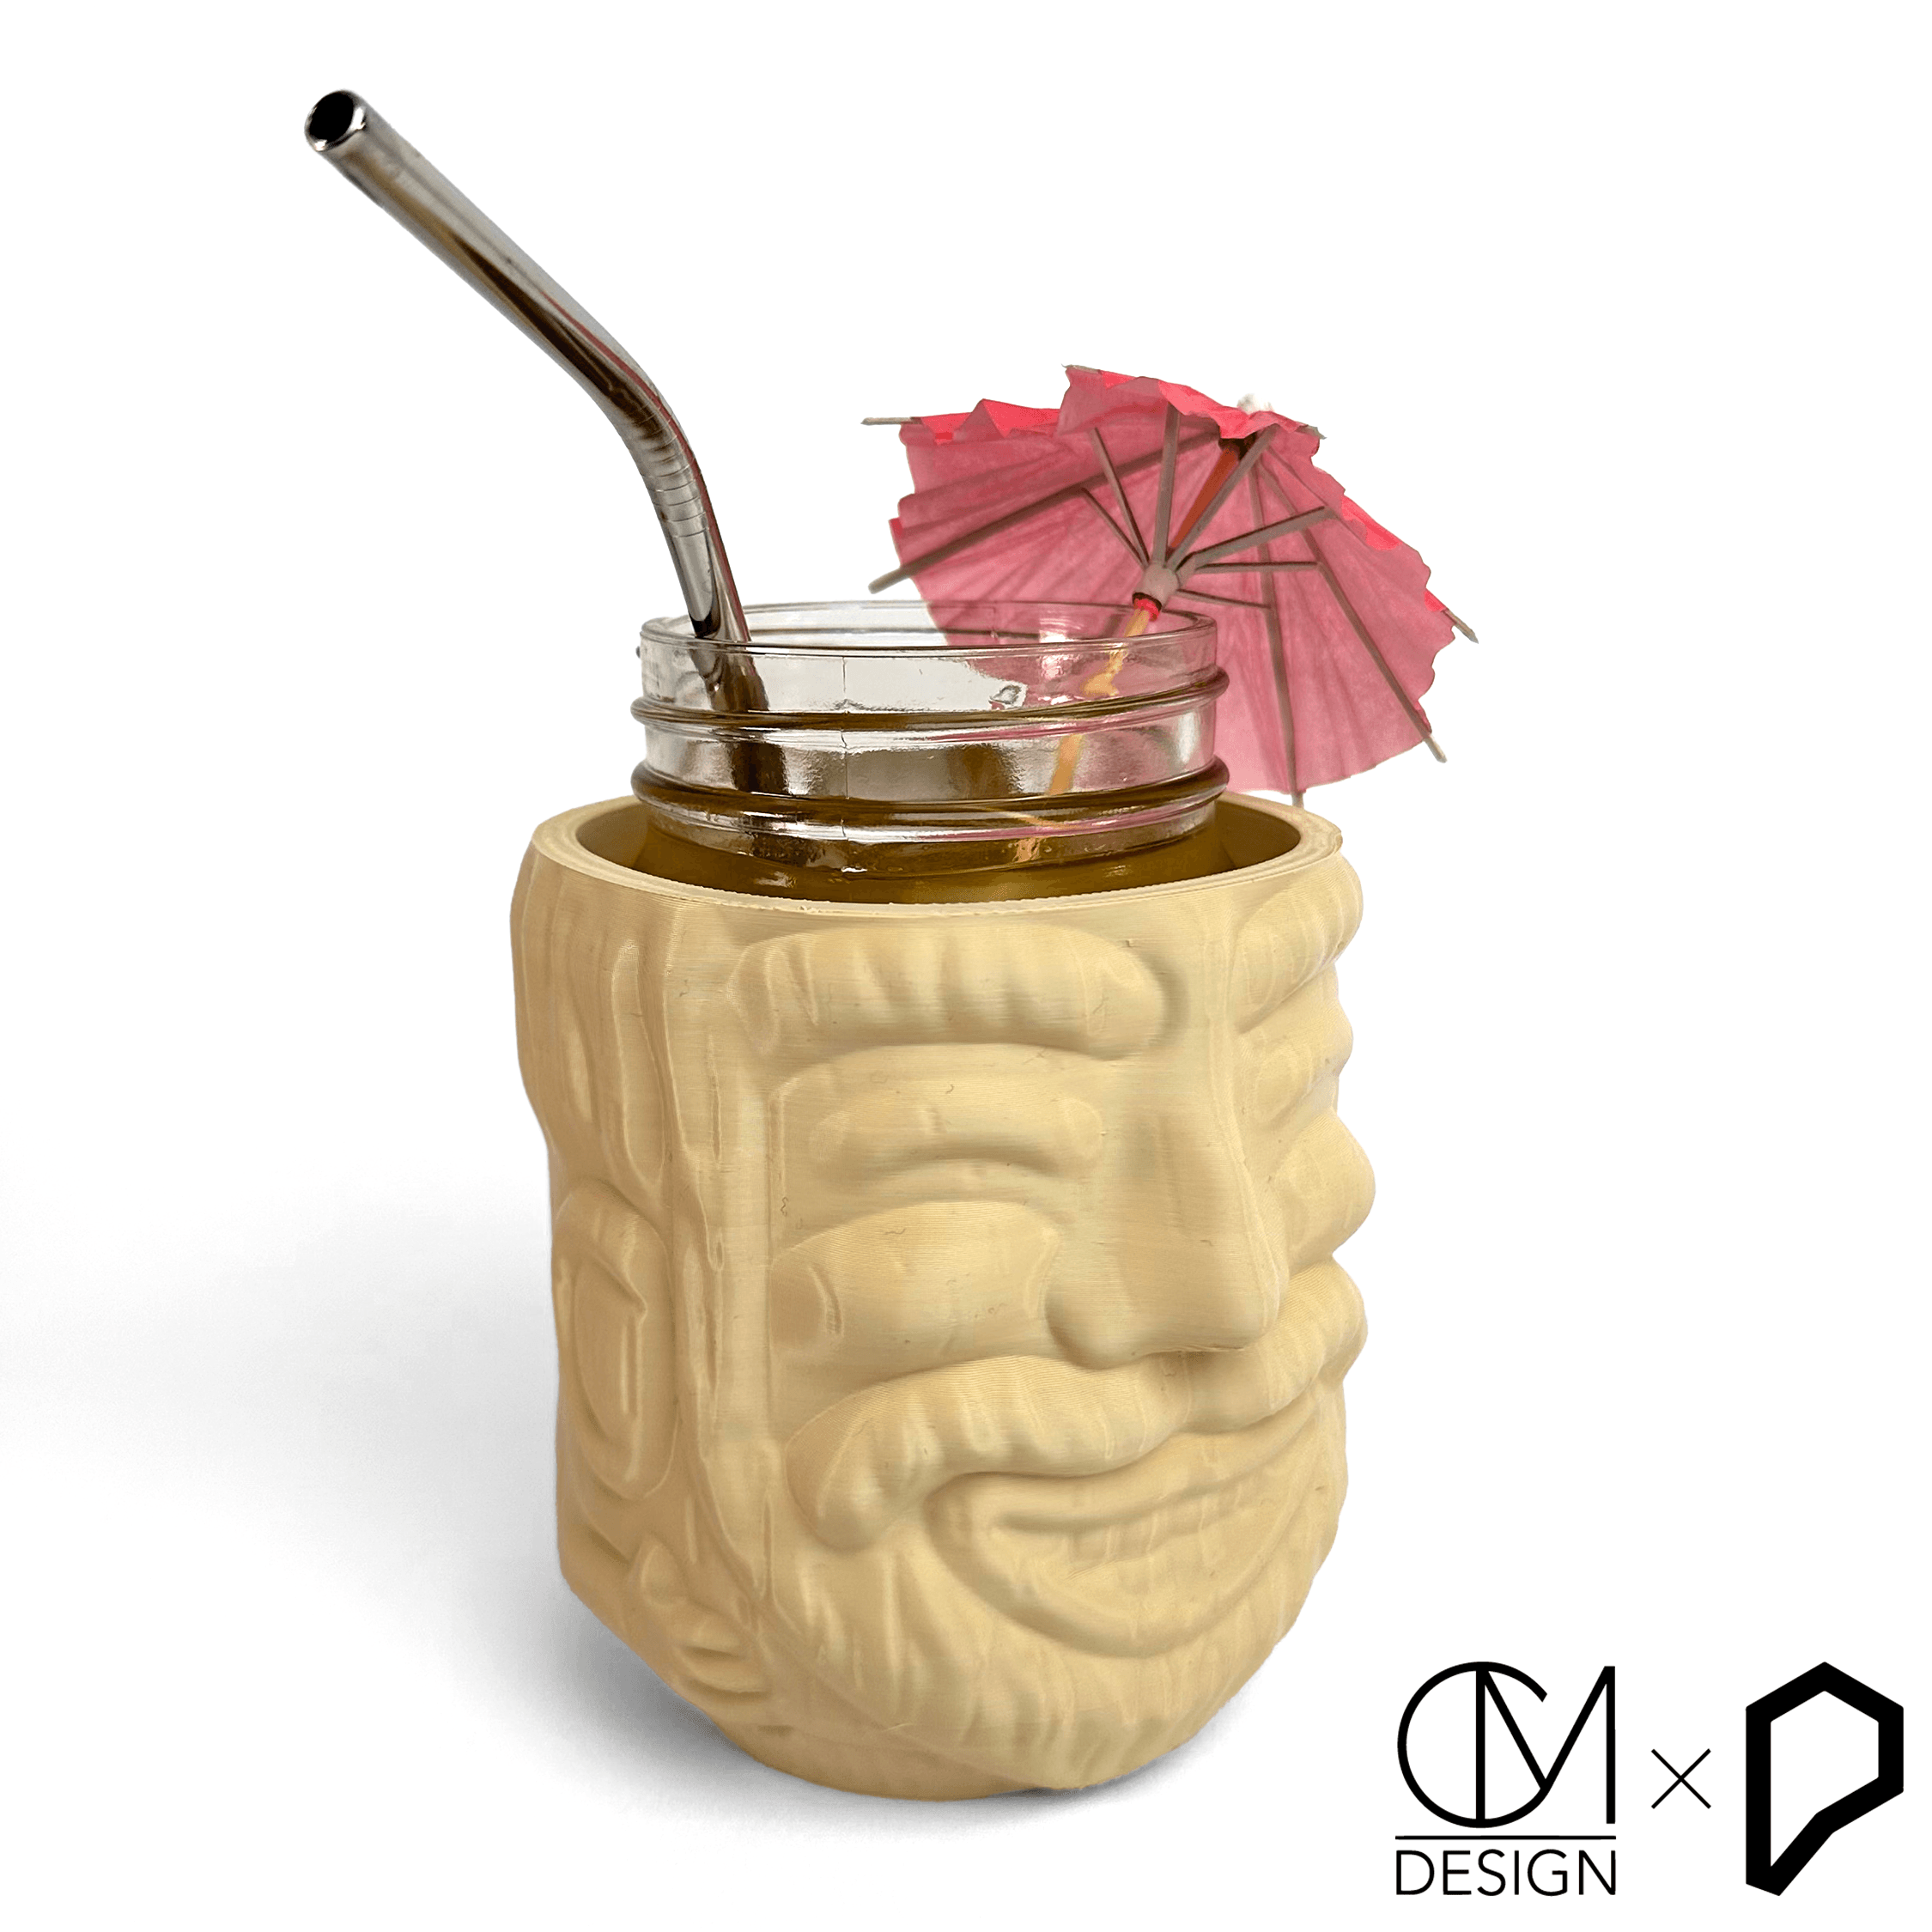
Tiki Gnome Mason Jar Cozy
Proto-pasta Protognome
Medium Pasta Bowl Container with fork for sticky notes
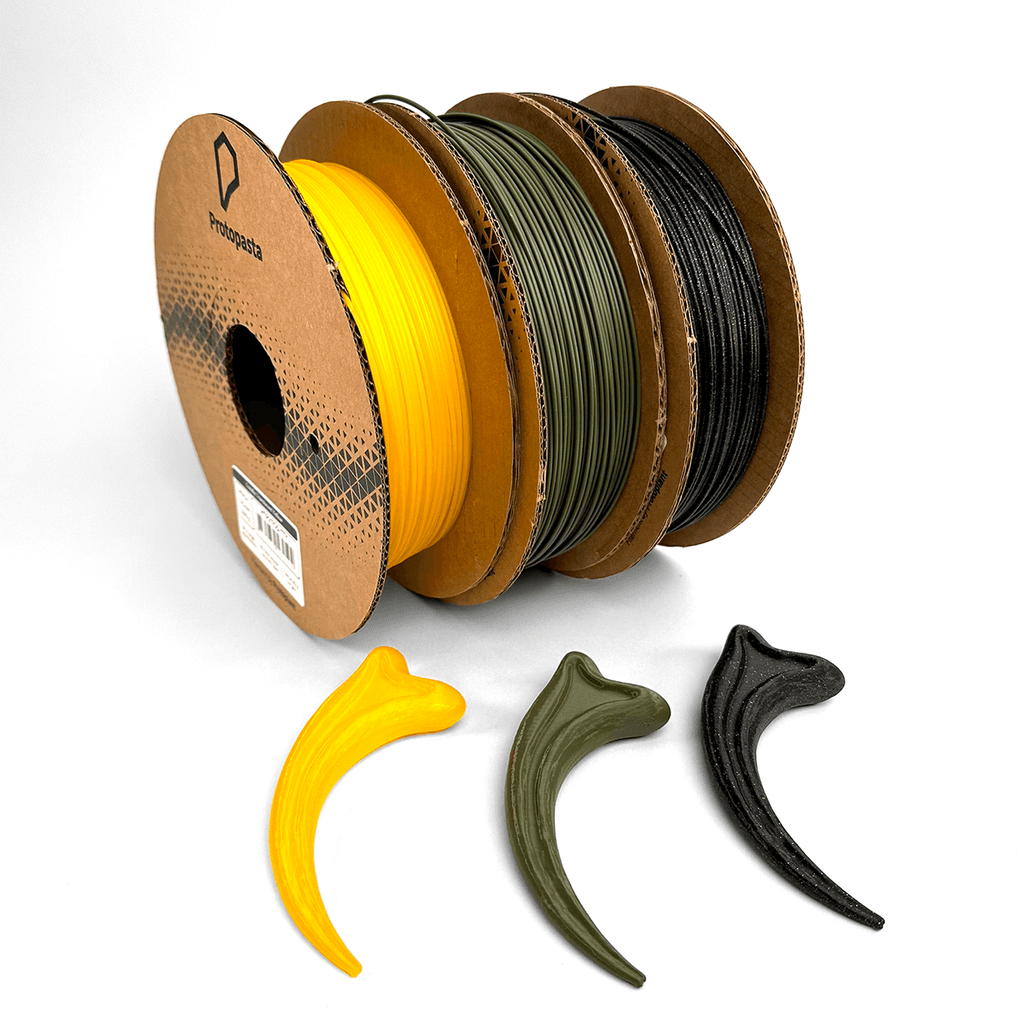
Raptor Claw
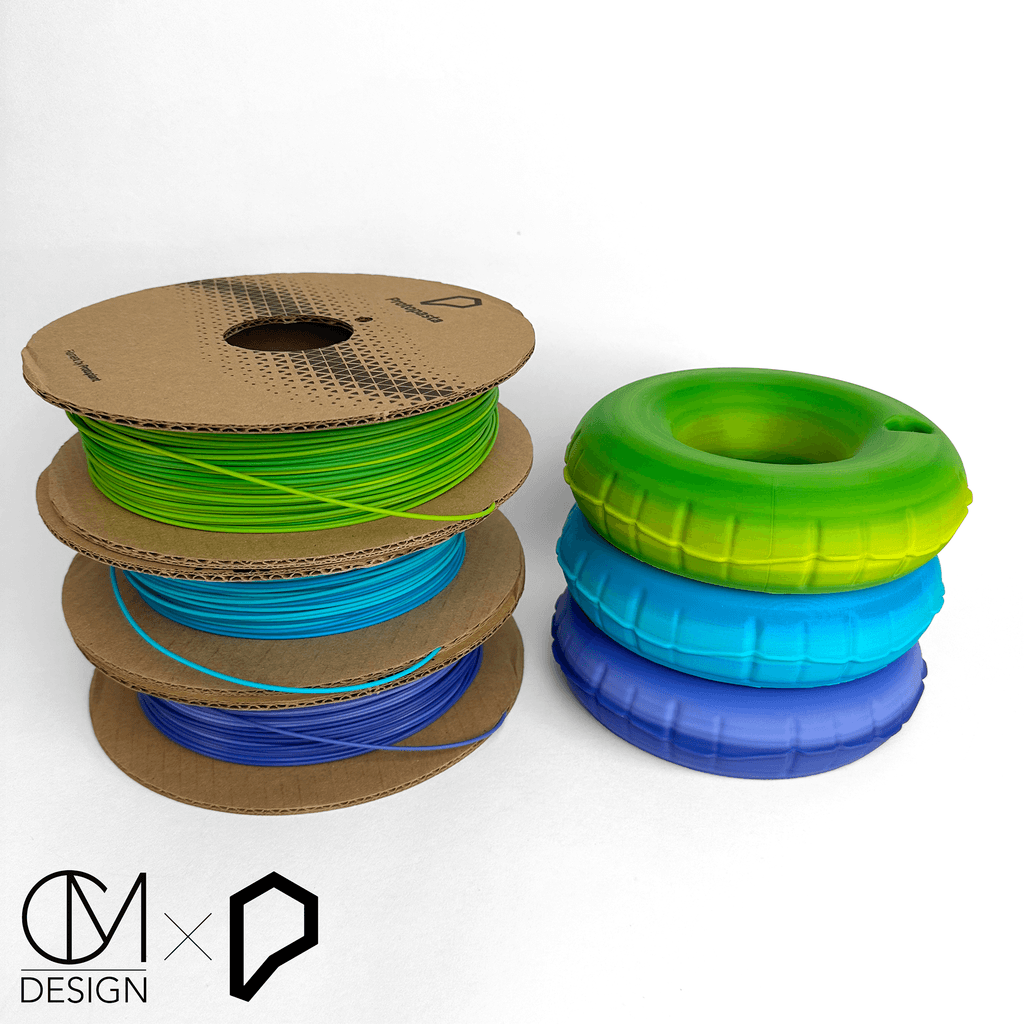
Pool Float Coaster - Inflatable donut ring koozie for bottles & cans
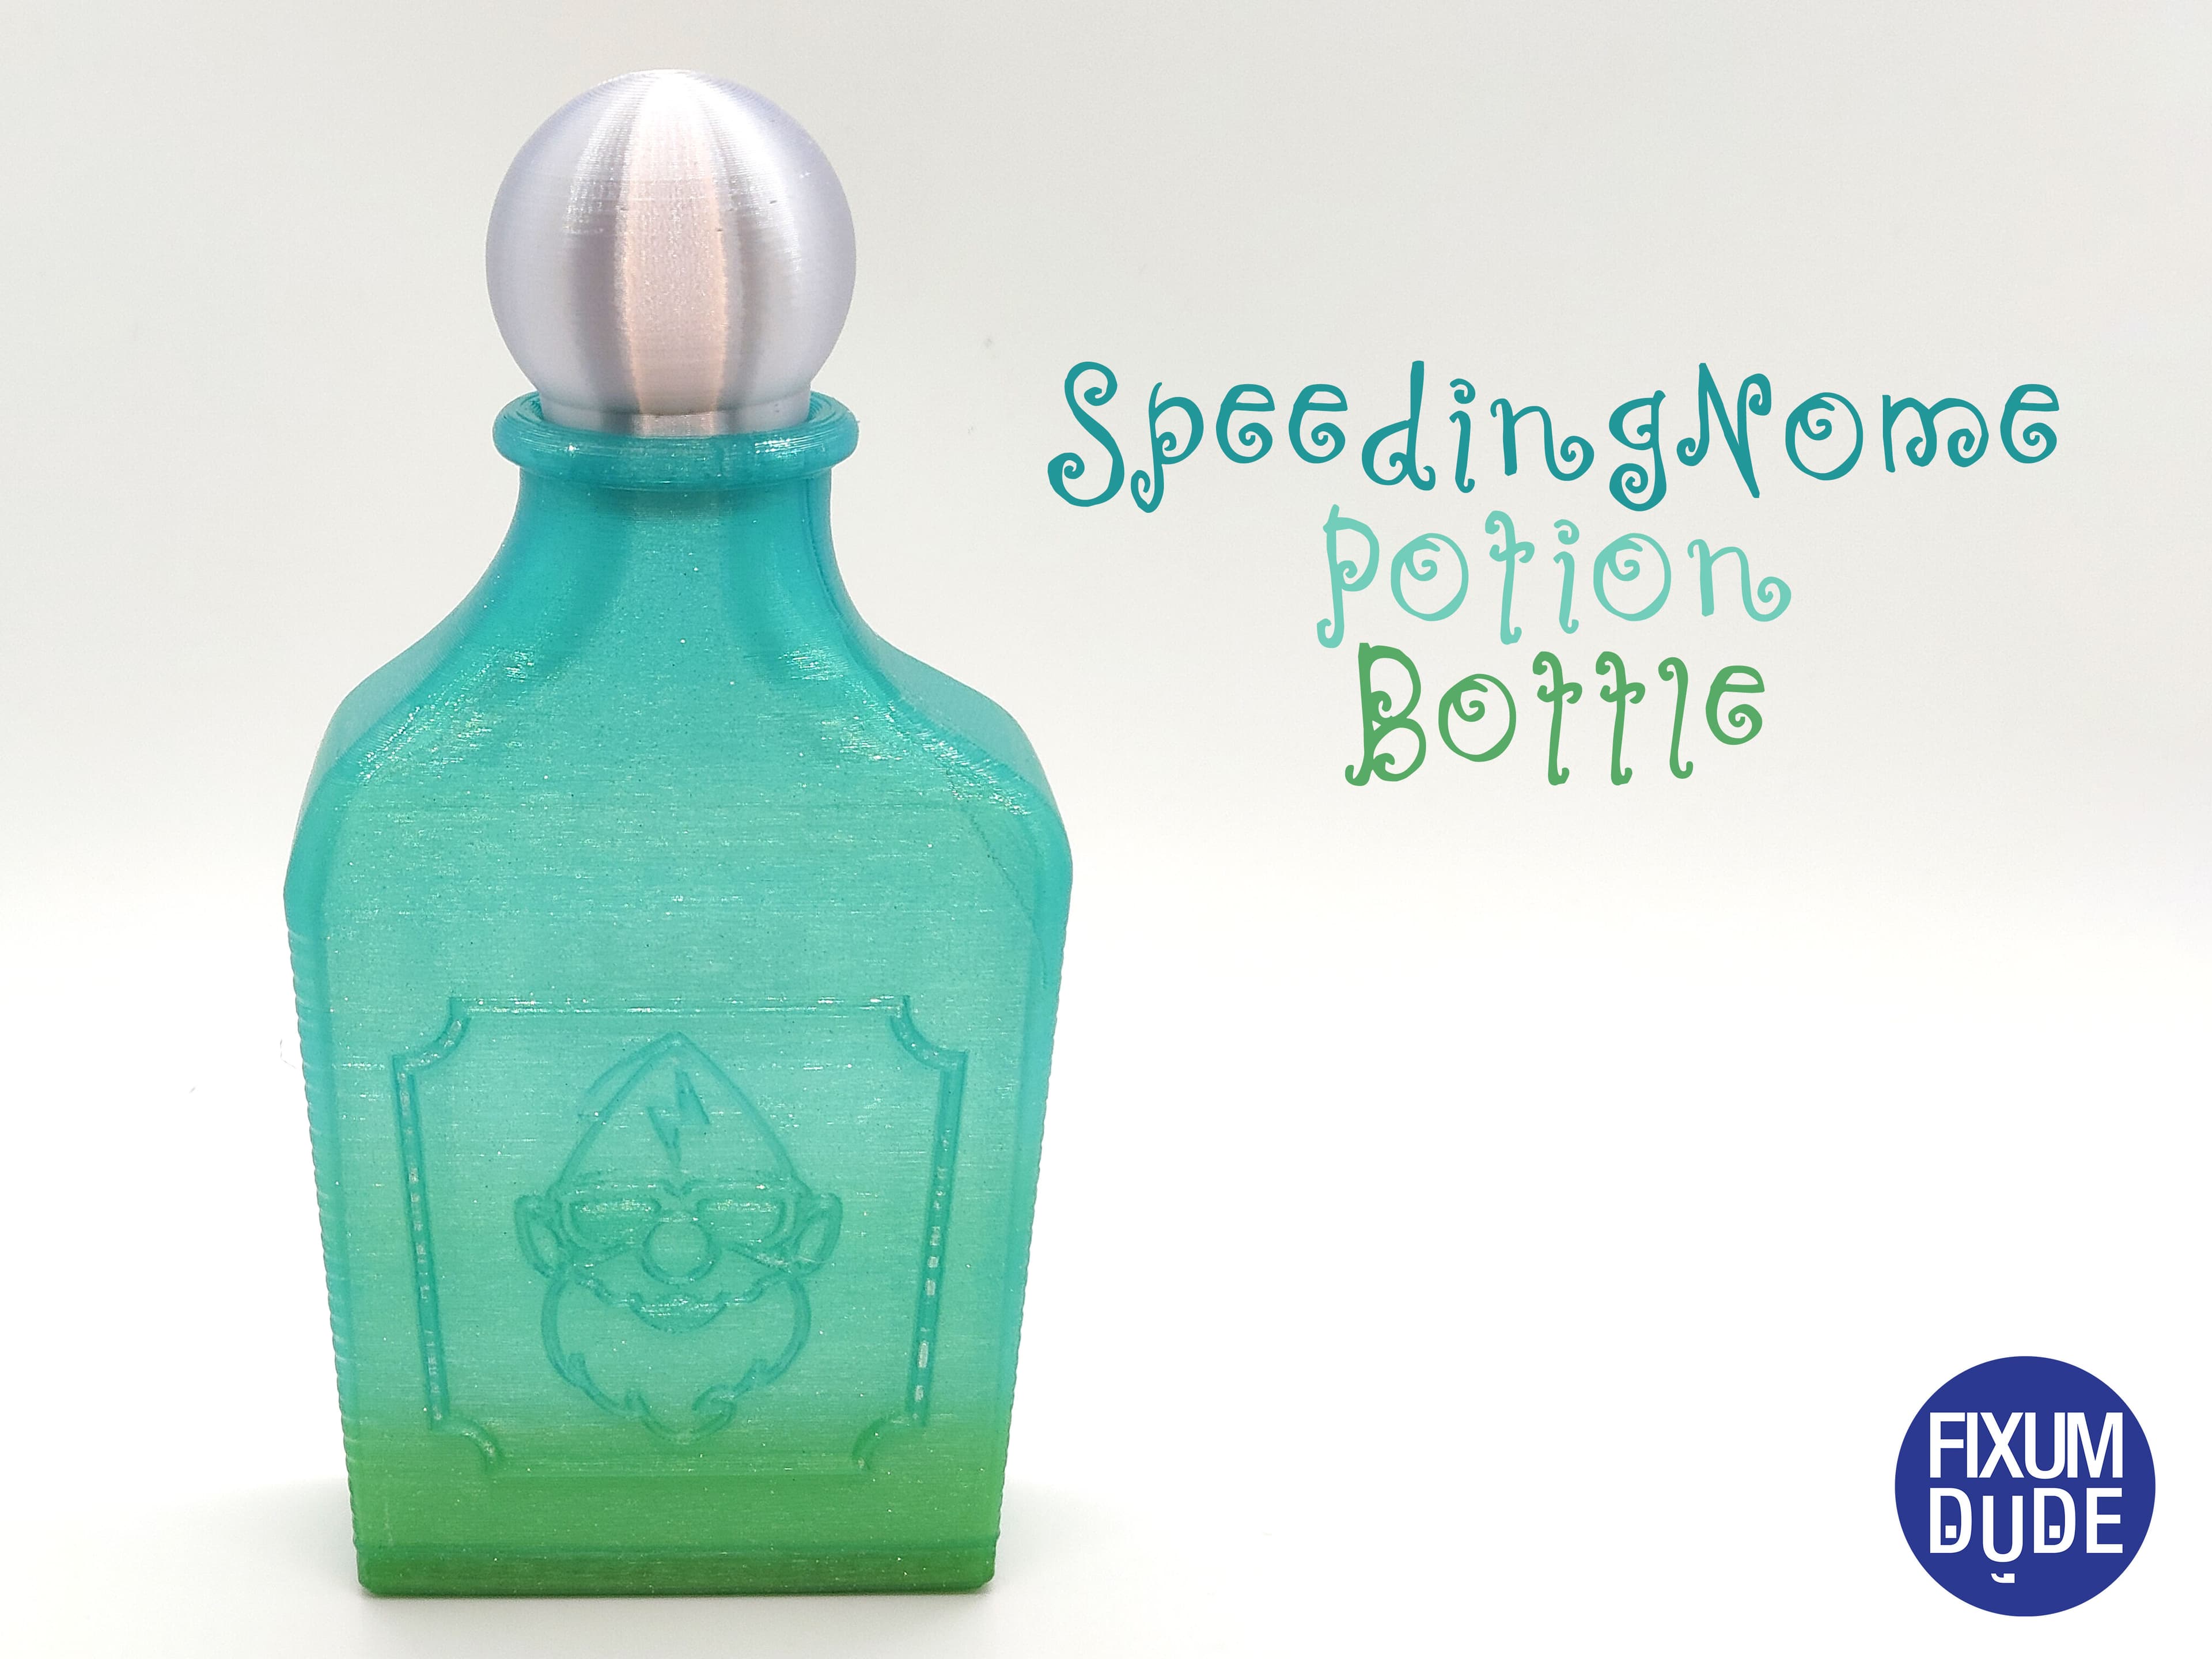
SpeedingNome Potion Bottle
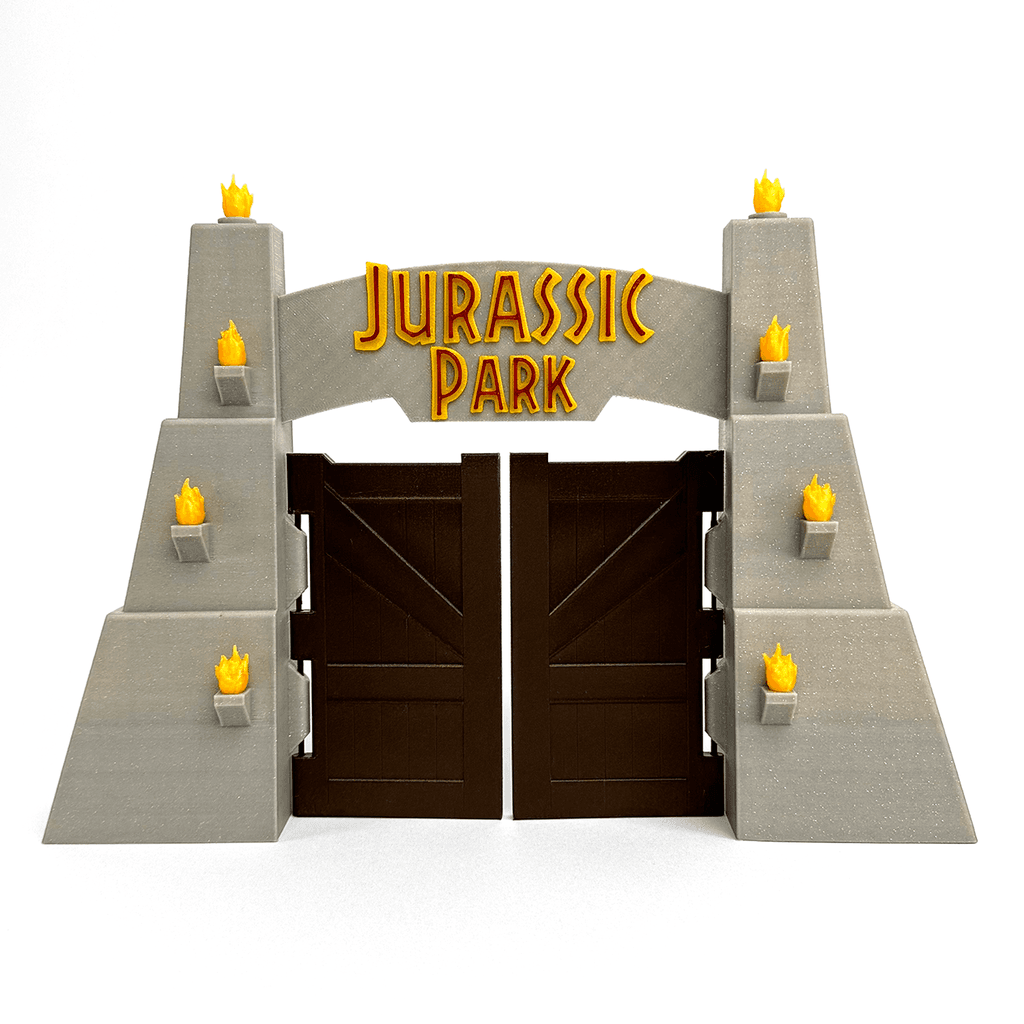
Jurassic Park Gates
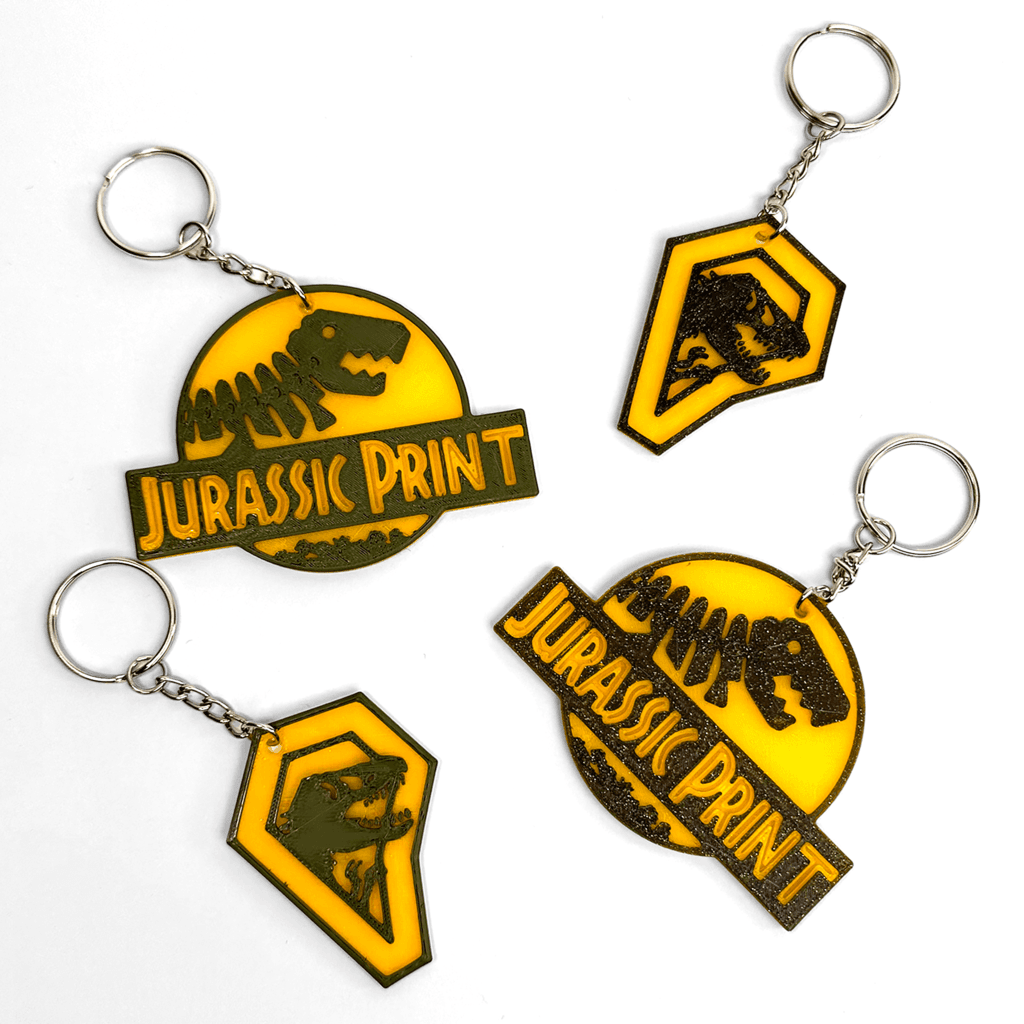
Jurassic Print Keychains
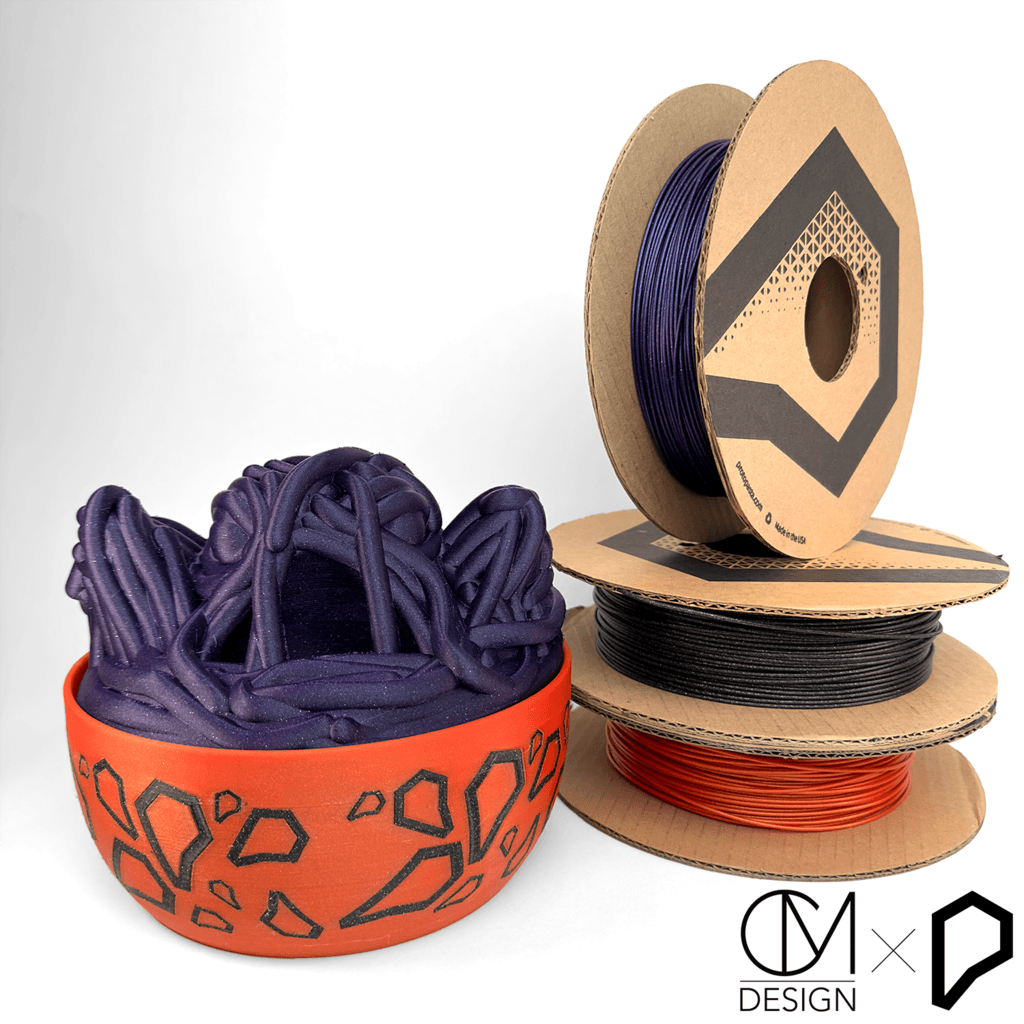
Large Pasta Bowl Container - Spaghetti Monster!
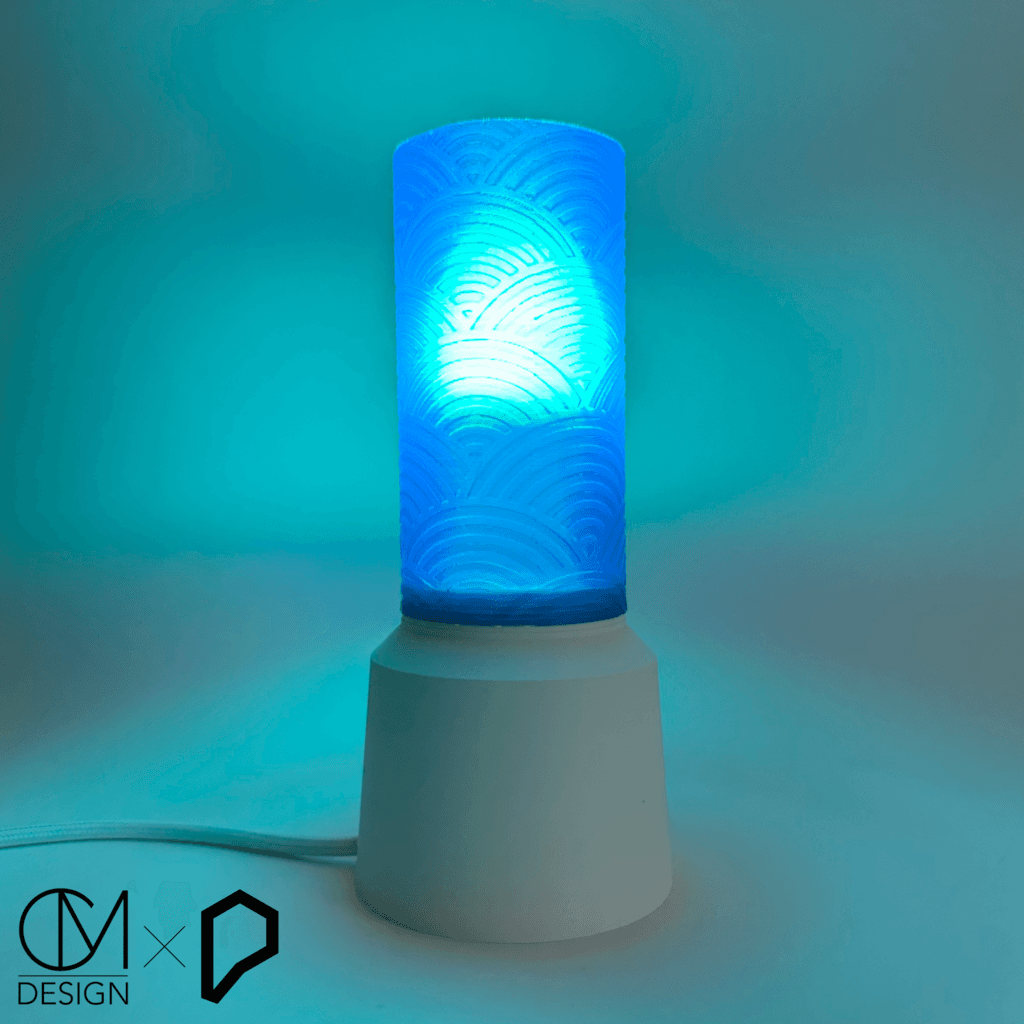
Protopasta Lamp base + DIY customizable shade
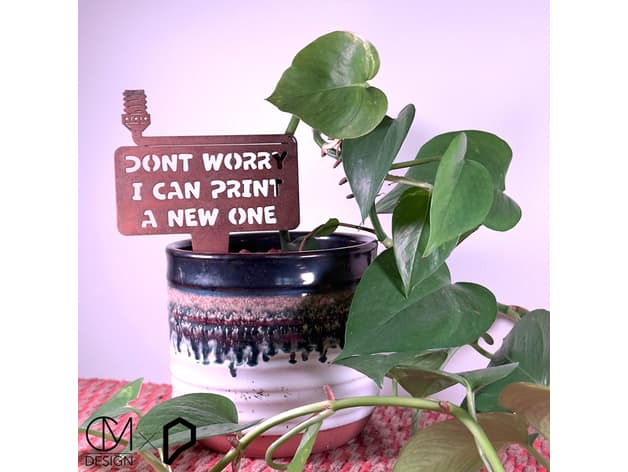
Protopasta Sign - Don't Worry I Can Print a New One
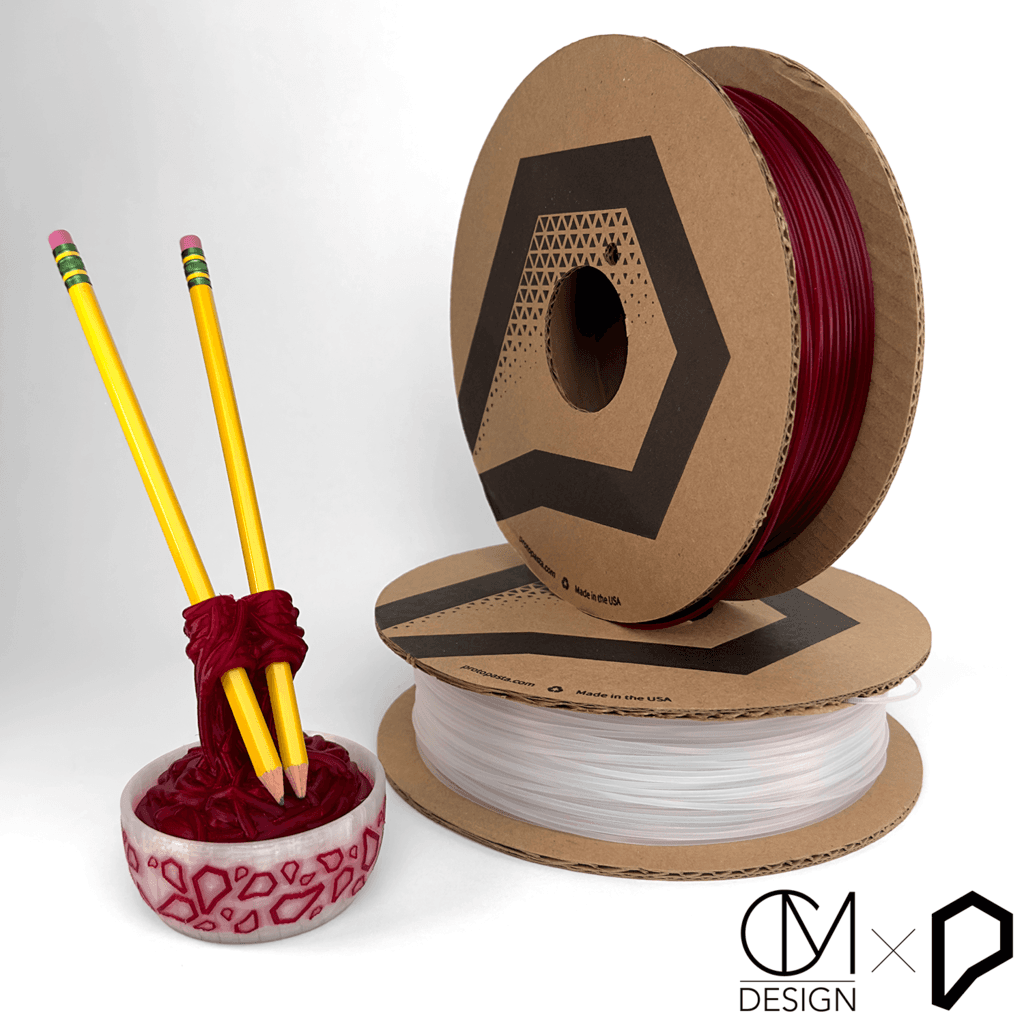
Small Pasta Bowl Container - holds pencils or decorative nozzle
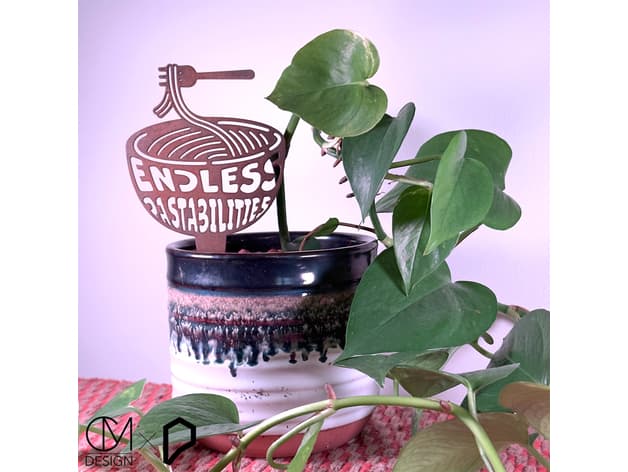
Protopasta Sign - Endless Pastabilities
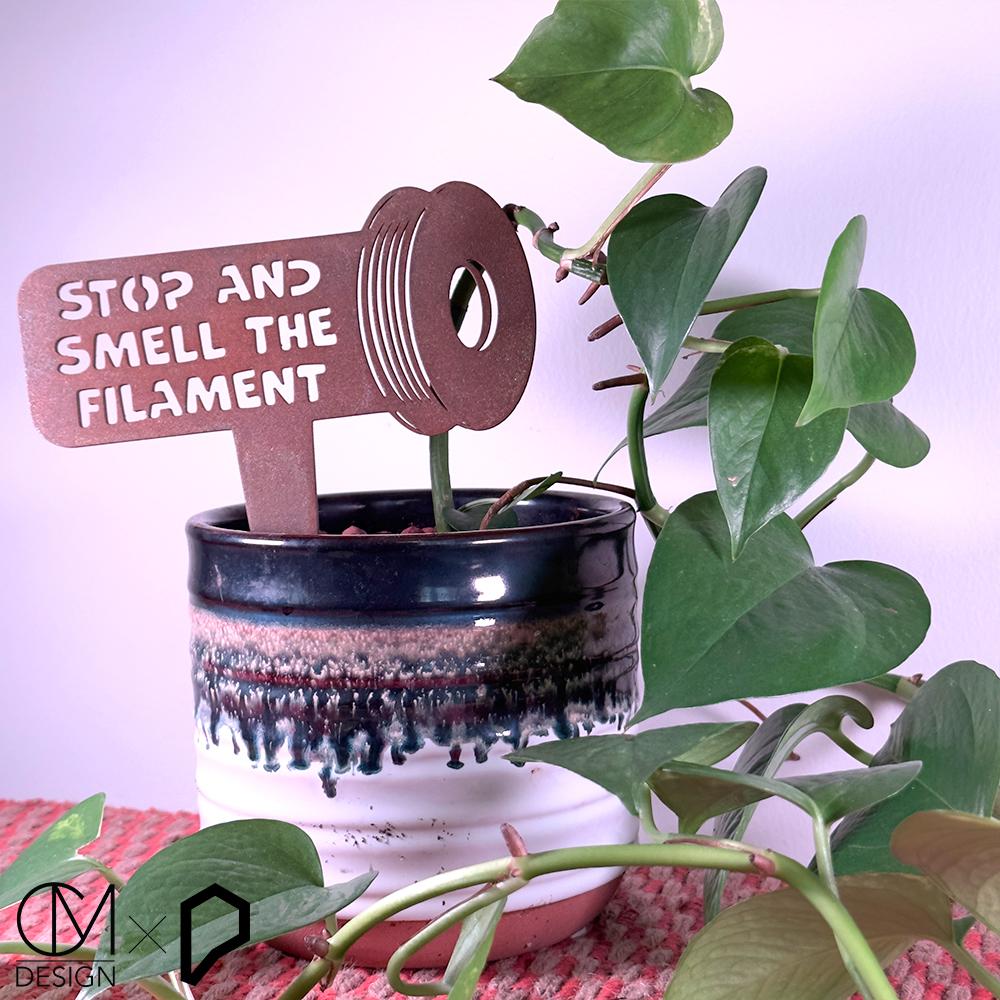
Protopasta Sign - Stop and Smell the Filament
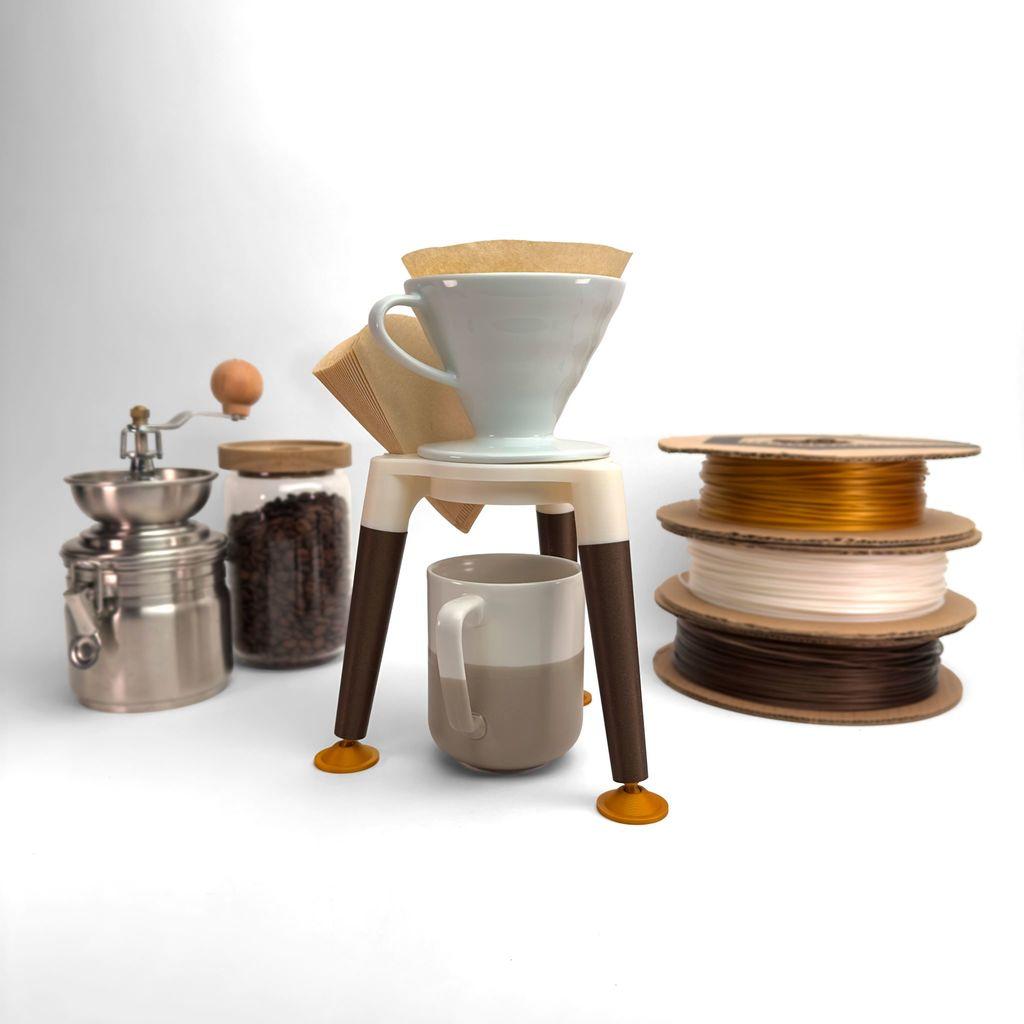
Protopasta 3D Printable Coffee Pour Over Stand Assembly
