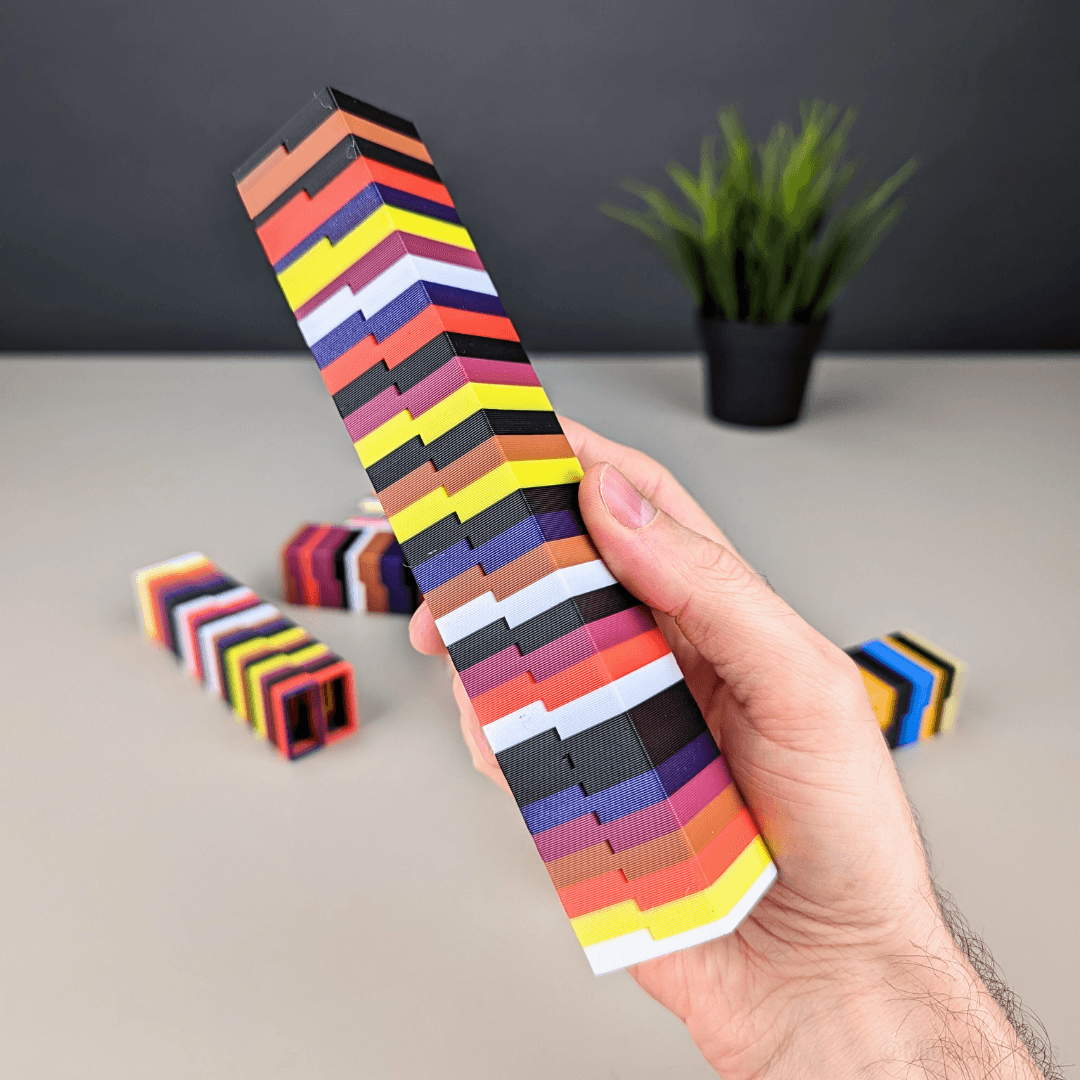
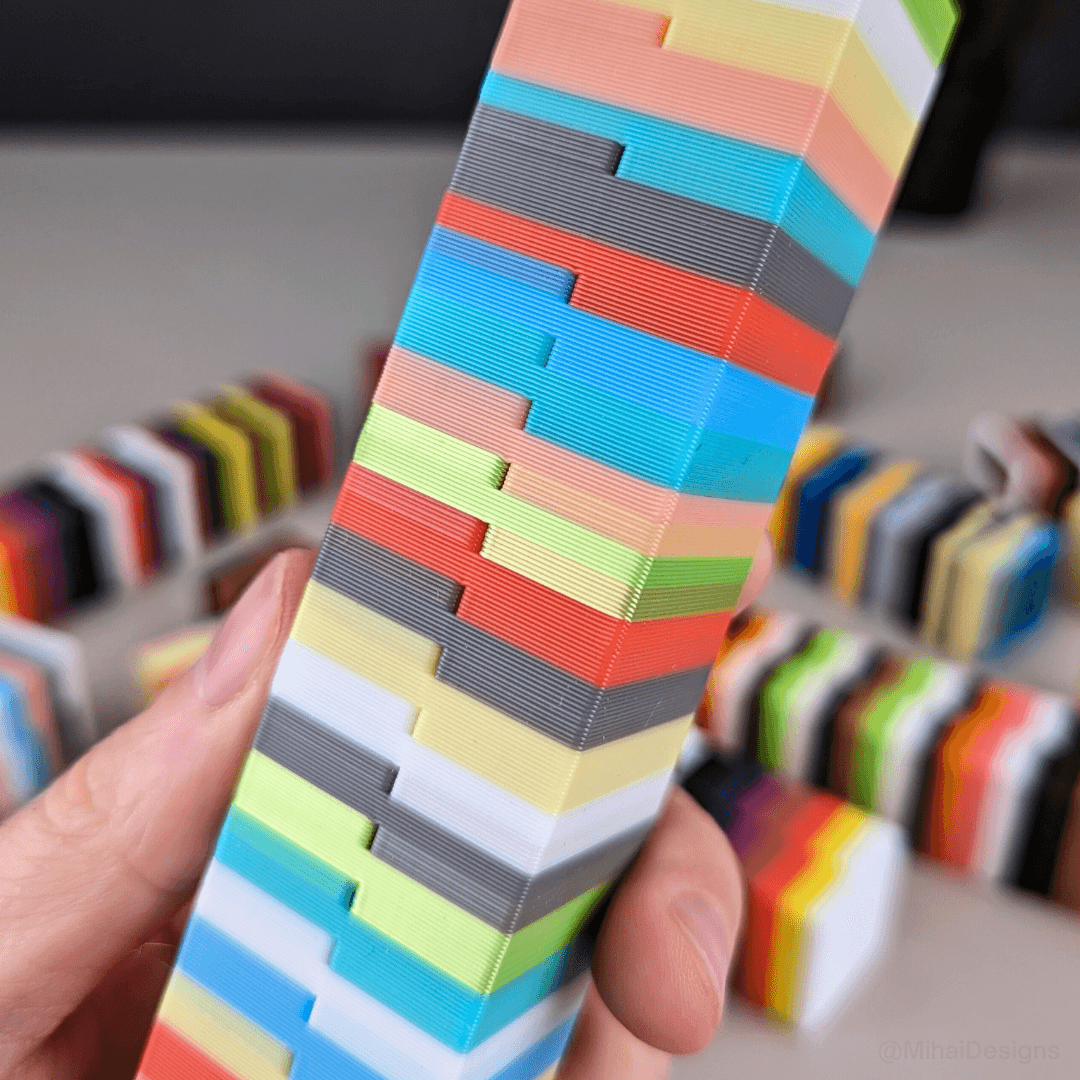
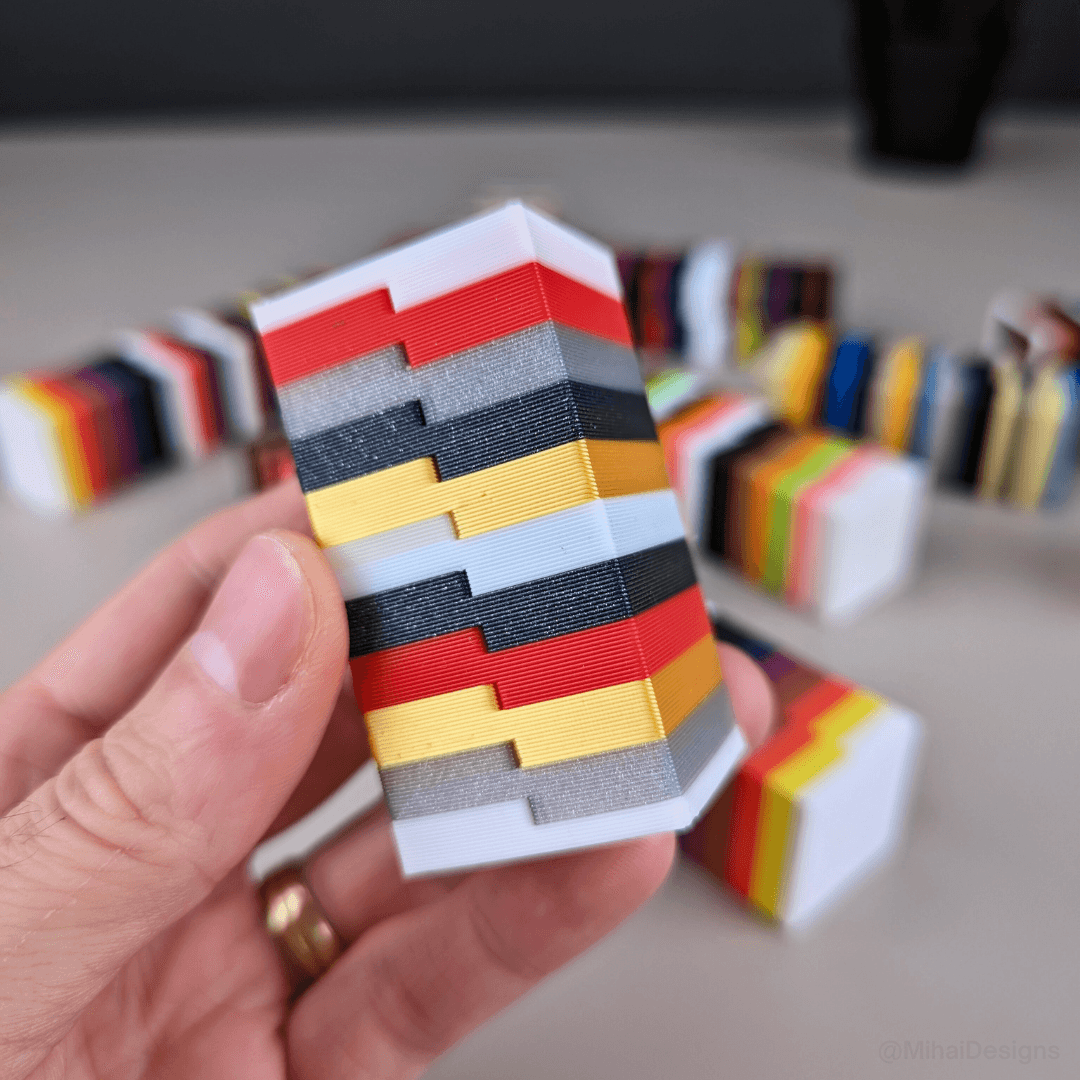
Purge Calibration Z-stacks for Bambu Lab and other single extruder multi-color 3D printers
byMihaiDesigns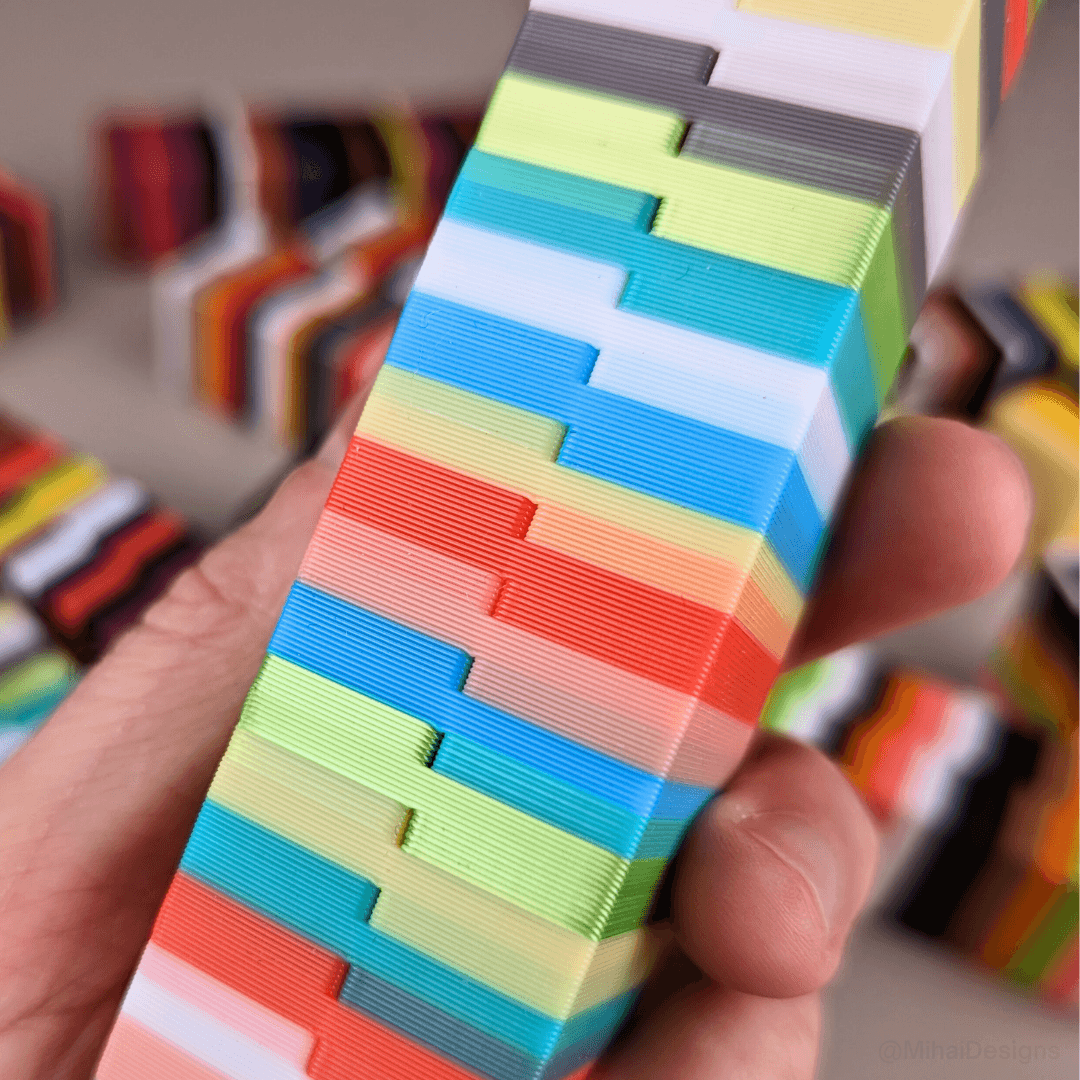
For use with Bambu Lab 3D printers or other single-nozzle multi-material solutions (MMU, ERCF, Palette).
This is the most accurate solution I found for tuning filament purge length, but also a bit annoying: it tells which purge lengths are too low, but doesn't say by how much the value is off. It takes a while as you have to run it multiple times. I also use a custom printer profile which I will publish once it's ready. This can still work without it.
There are 7 color changes for every two color combinations.
Thangs won't let me upload .zip files with a folder structure, so the files are all mixed up.
How to calibrate all colors
- Calibration is needed every time filaments are changed, even when replacing a spool with another similar color.
- Pick the files for the specific number of colors to calibrate. The first digit in the file name represents the number of colors. Example: for 3 colors pick the files named 3-1, 3-2, and 3-3. Ignore files named "manual" unless you're testing specific transitions only (see next section). Only one tower can be printed at a time.
- Load the files in the slicer all at once (Bambu Studio or Prusa Slicer) Click YES to load them all as a single object with multiple parts (just like you would do for loading multi-part color models).
- Assign one color to each part. (In Bambu Studio, with the filament list loaded, look on the left side, under Process, and switch to Objects view. Then click the first part (eg 3-1) and press number 1. Click the next part (eg. 3-2) and press number 2 and so on). The model should show up colored.
- Make sure the material colors in the slicer resemble the actual filament colors somewhat and that they are synchronized with the printer.
- Prepare initial flushing volumes. One way to start is to use the Auto-Calc button on the Flushing Volumes window, and reduce the multiplier to something like 0.5. Lower values will require more work, while higher values produce more waste.
- Print the model to check the transitions. See recommended print settings below.
- Carefully check all transitions on the printed tower. For all transitions showing color bleeding, increase the purge volumes. I consider value 100 minimal, and Bambu Studio always rounds values up to 100mm3 when using a purge tower. By how much to increase the values is difficult to say. Perhaps add 20-30% if there's a bit of color bleed and 40-60% if there's a lot.
- Repeat printing the tower as needed, or only print specific color transitions (see instructions later using manual pairs).
- Save as project to not lose the purge volumes. It's easy to have them reset. This way you can load the project with the values when using these specific filaments.
How to calibrate selected color transitions when only a few transitions require checking
- instead of loading the entire tower, decide how many color transitions you need to check, then load files called "manual". They include up to 22 transition pairs. You can load more than needed and remove the excess later.
- color each part with the colors needed for each transition you want to check.
- delete any pairs that are not needed.
- print the tower and adjust flushing volumes as explained in the previous section.
Print settings Either use the settings below or import the Bambu Studio print profiles and enable prime tower if you normally print with the default profile (width 35mm, volume 45mm3)
- switch process to Global in Bambu Studio
- start with the standard print profile
- switch to advanced mode
- under Quality, use layer height 0.4mm (to reduce the number of color changes)
- first layer height 0.4mm
- all line widths: 0.55mm
- under Strength: 0 top shell layers
- 1% sparse infill density
- aligned rectilinear sparse infill pattern
- infill direction 90 (infill settings needed to support internal walls)
- under Speed: outer wall 25 mm/s
- inner wall 25 mm/s (needed to allow for enough layer cooldown and avoid speed changes between transition layers and single-color layers so they don't look different)
- under Others: set brim-object gap to 0
- when it comes to prime tower, I disable it for this test because I normally print with a slim tower and custom printer profile. If disabling the prime tower, make sure all values in the Flushing volumes window are 100 or higher. I'll publish a printer profile that does this automatically, but it's not fully ready at this time.
Files for up to 8 colors included. For up to 16 colors check my Patreon.