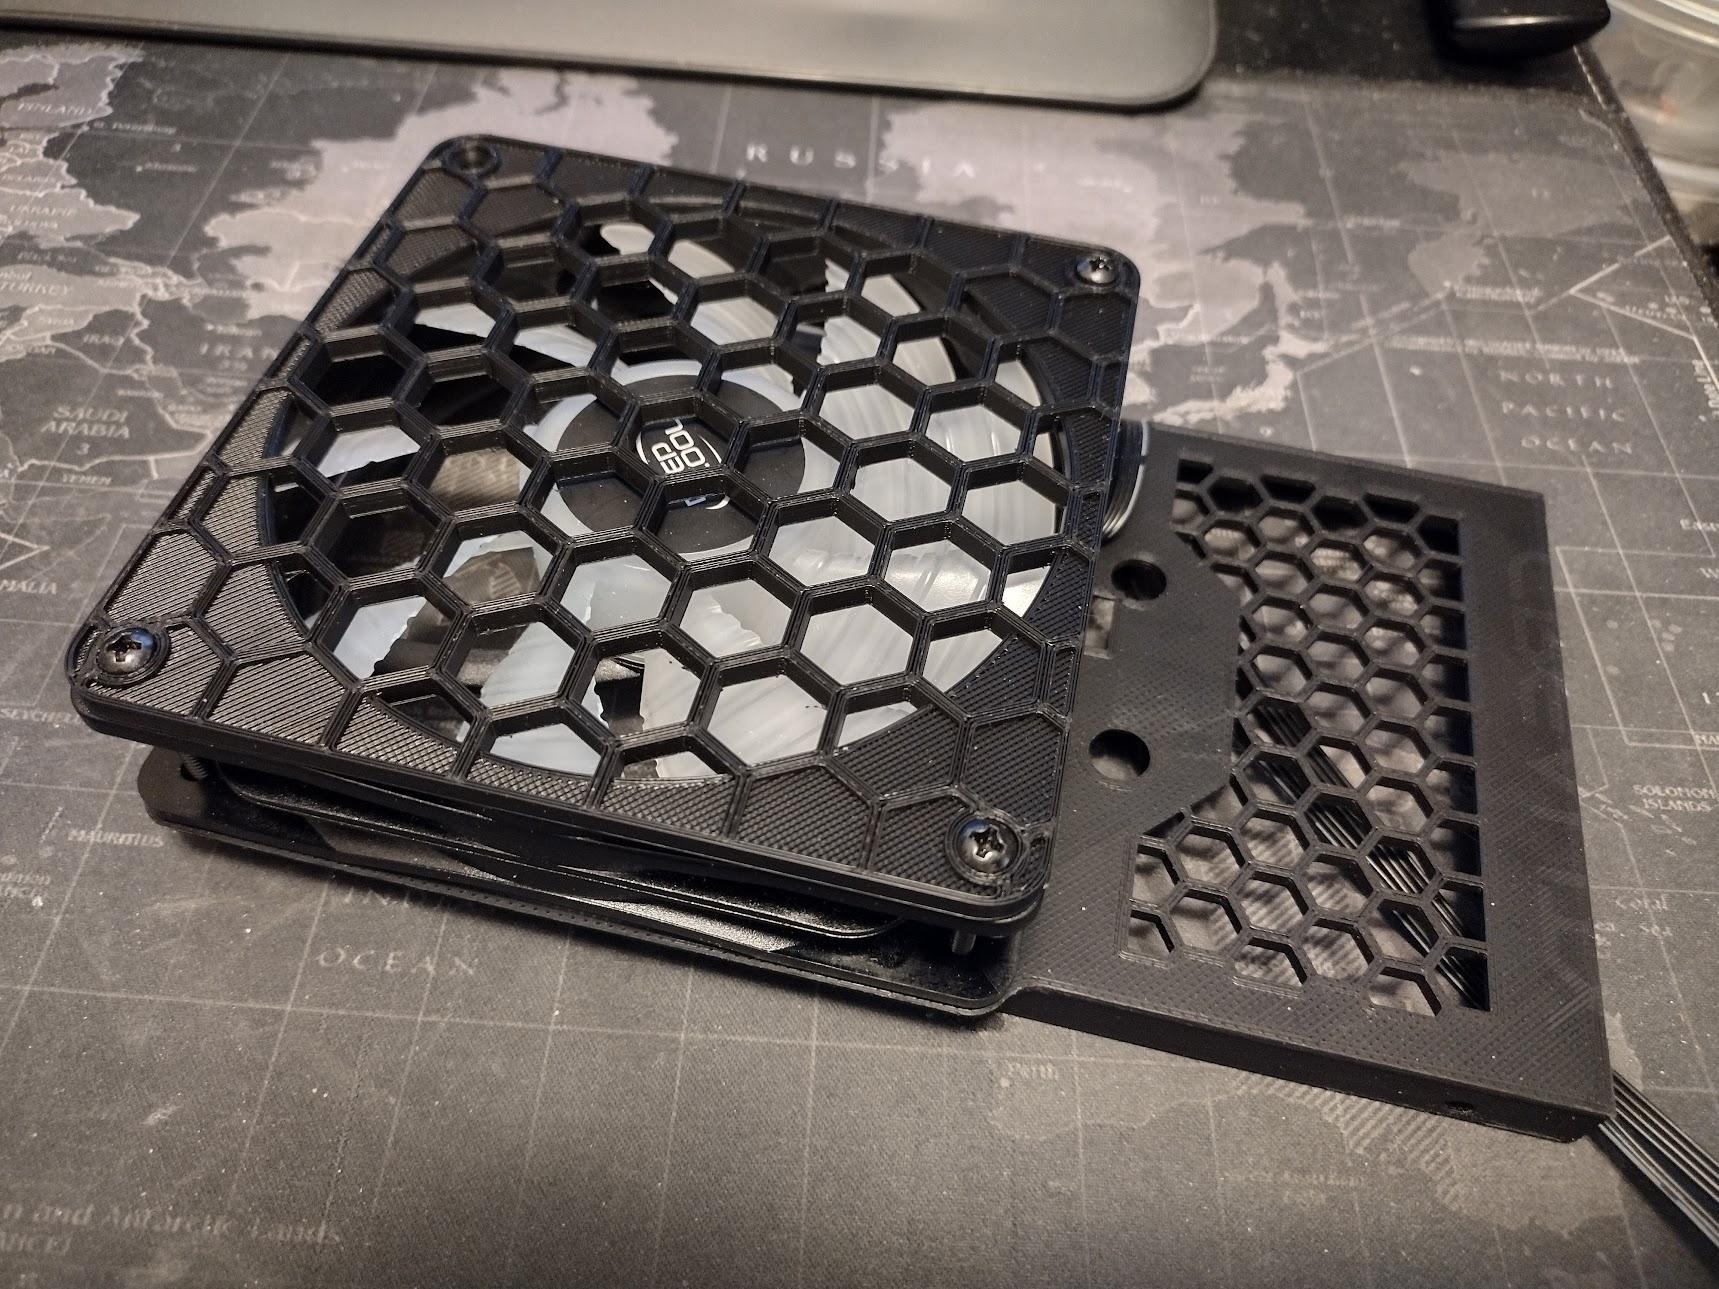
Ender 3 120mm PSU Mod Fan Cover with Buck Converter Mount
byMandicReallyPractical Printing - REPRAP Edition!
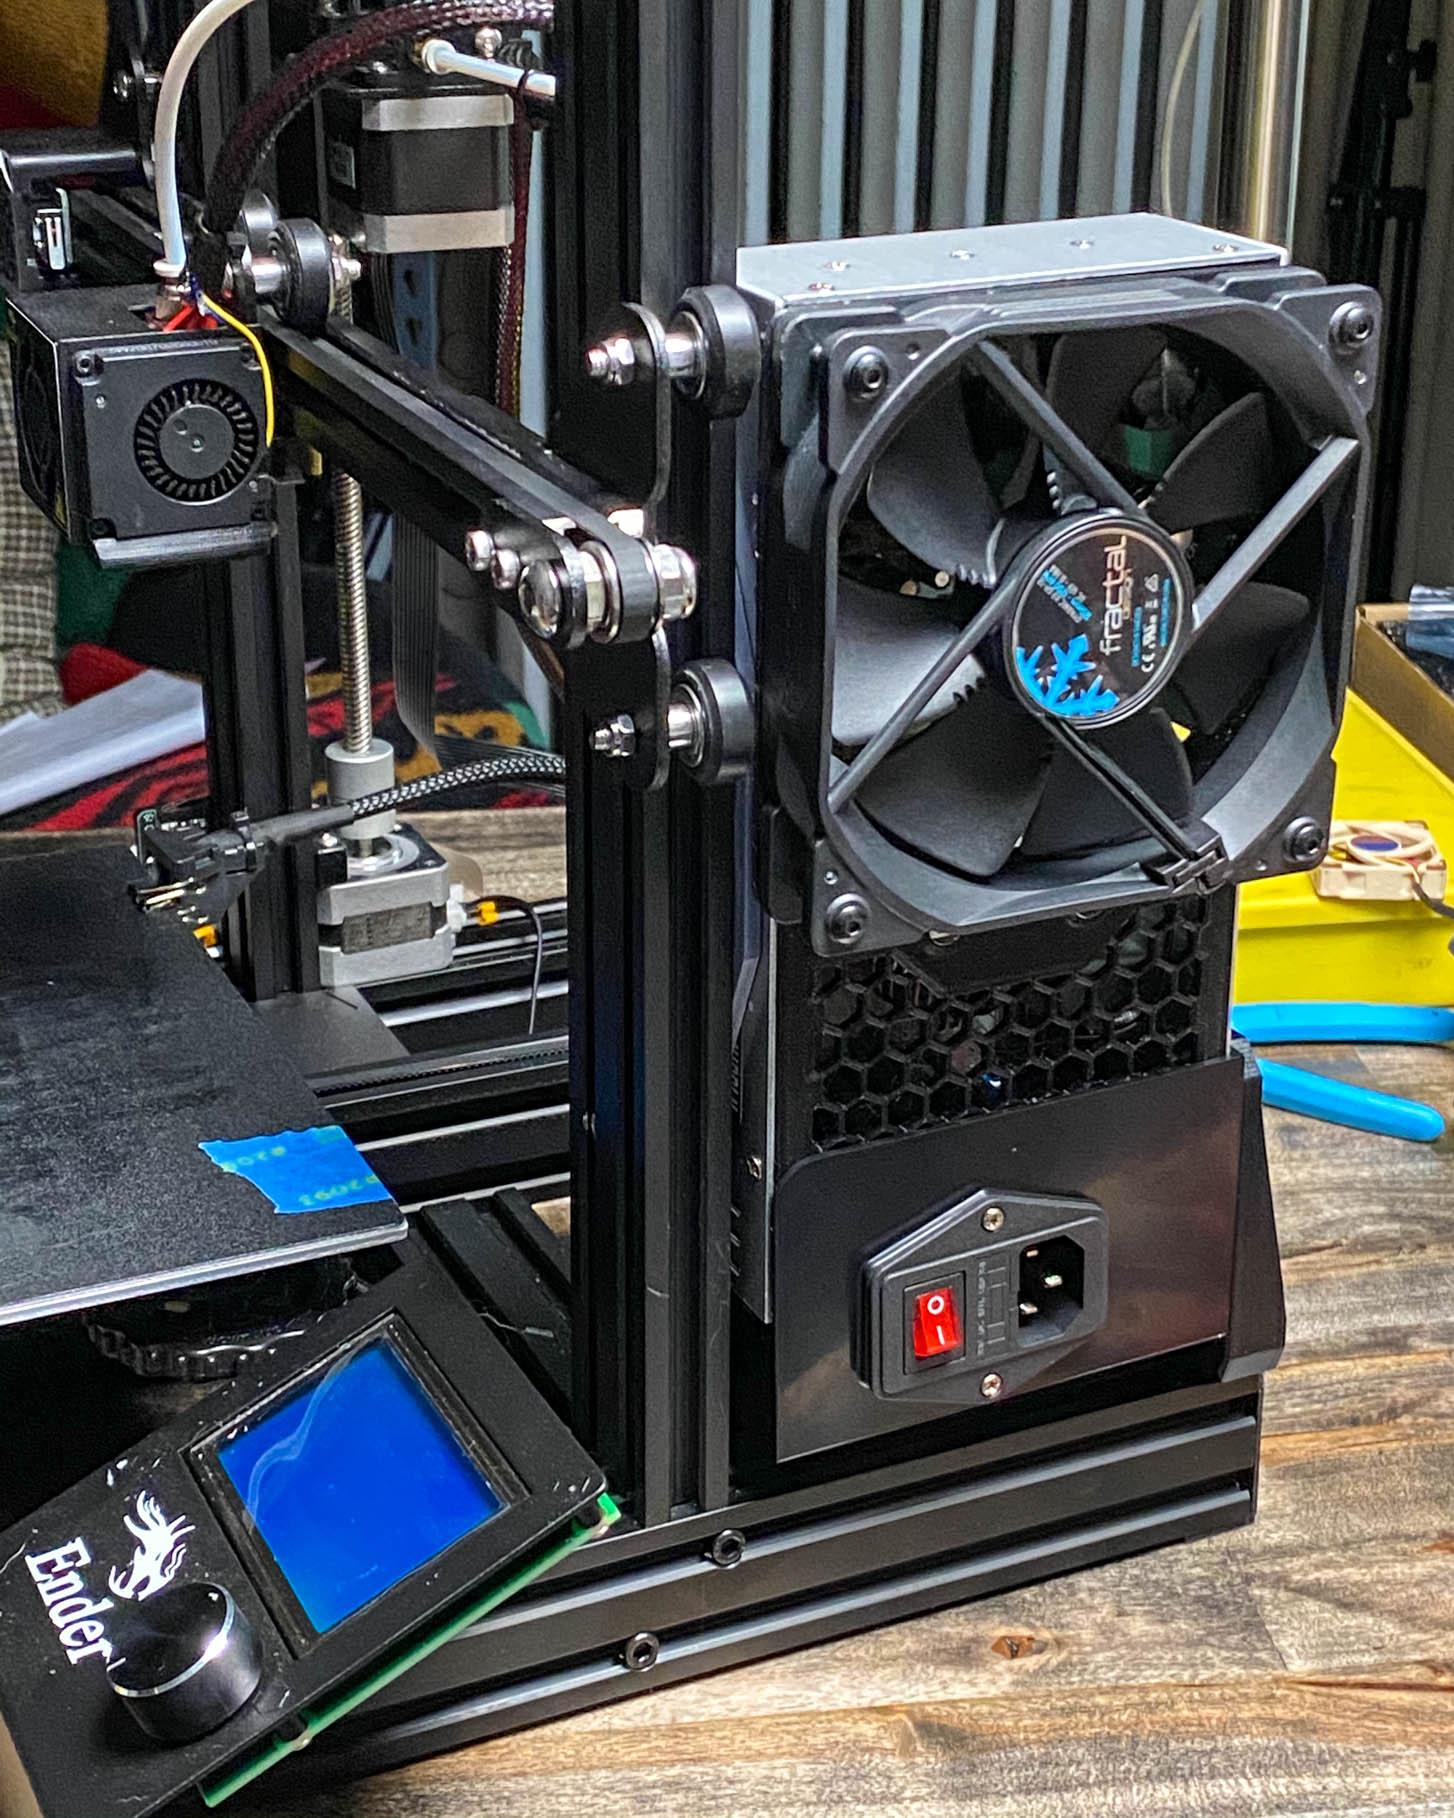
This new Power Supply Cover allows for installing a 120mm Cooling fan in place of the stock 60mm one on an Ender 3. This makes the Power Supply whisper quiet compared to its stock setup.
Designed to fit the stock Cheng Liang, model: P360W24V Power Supply that came on my Ender 3.
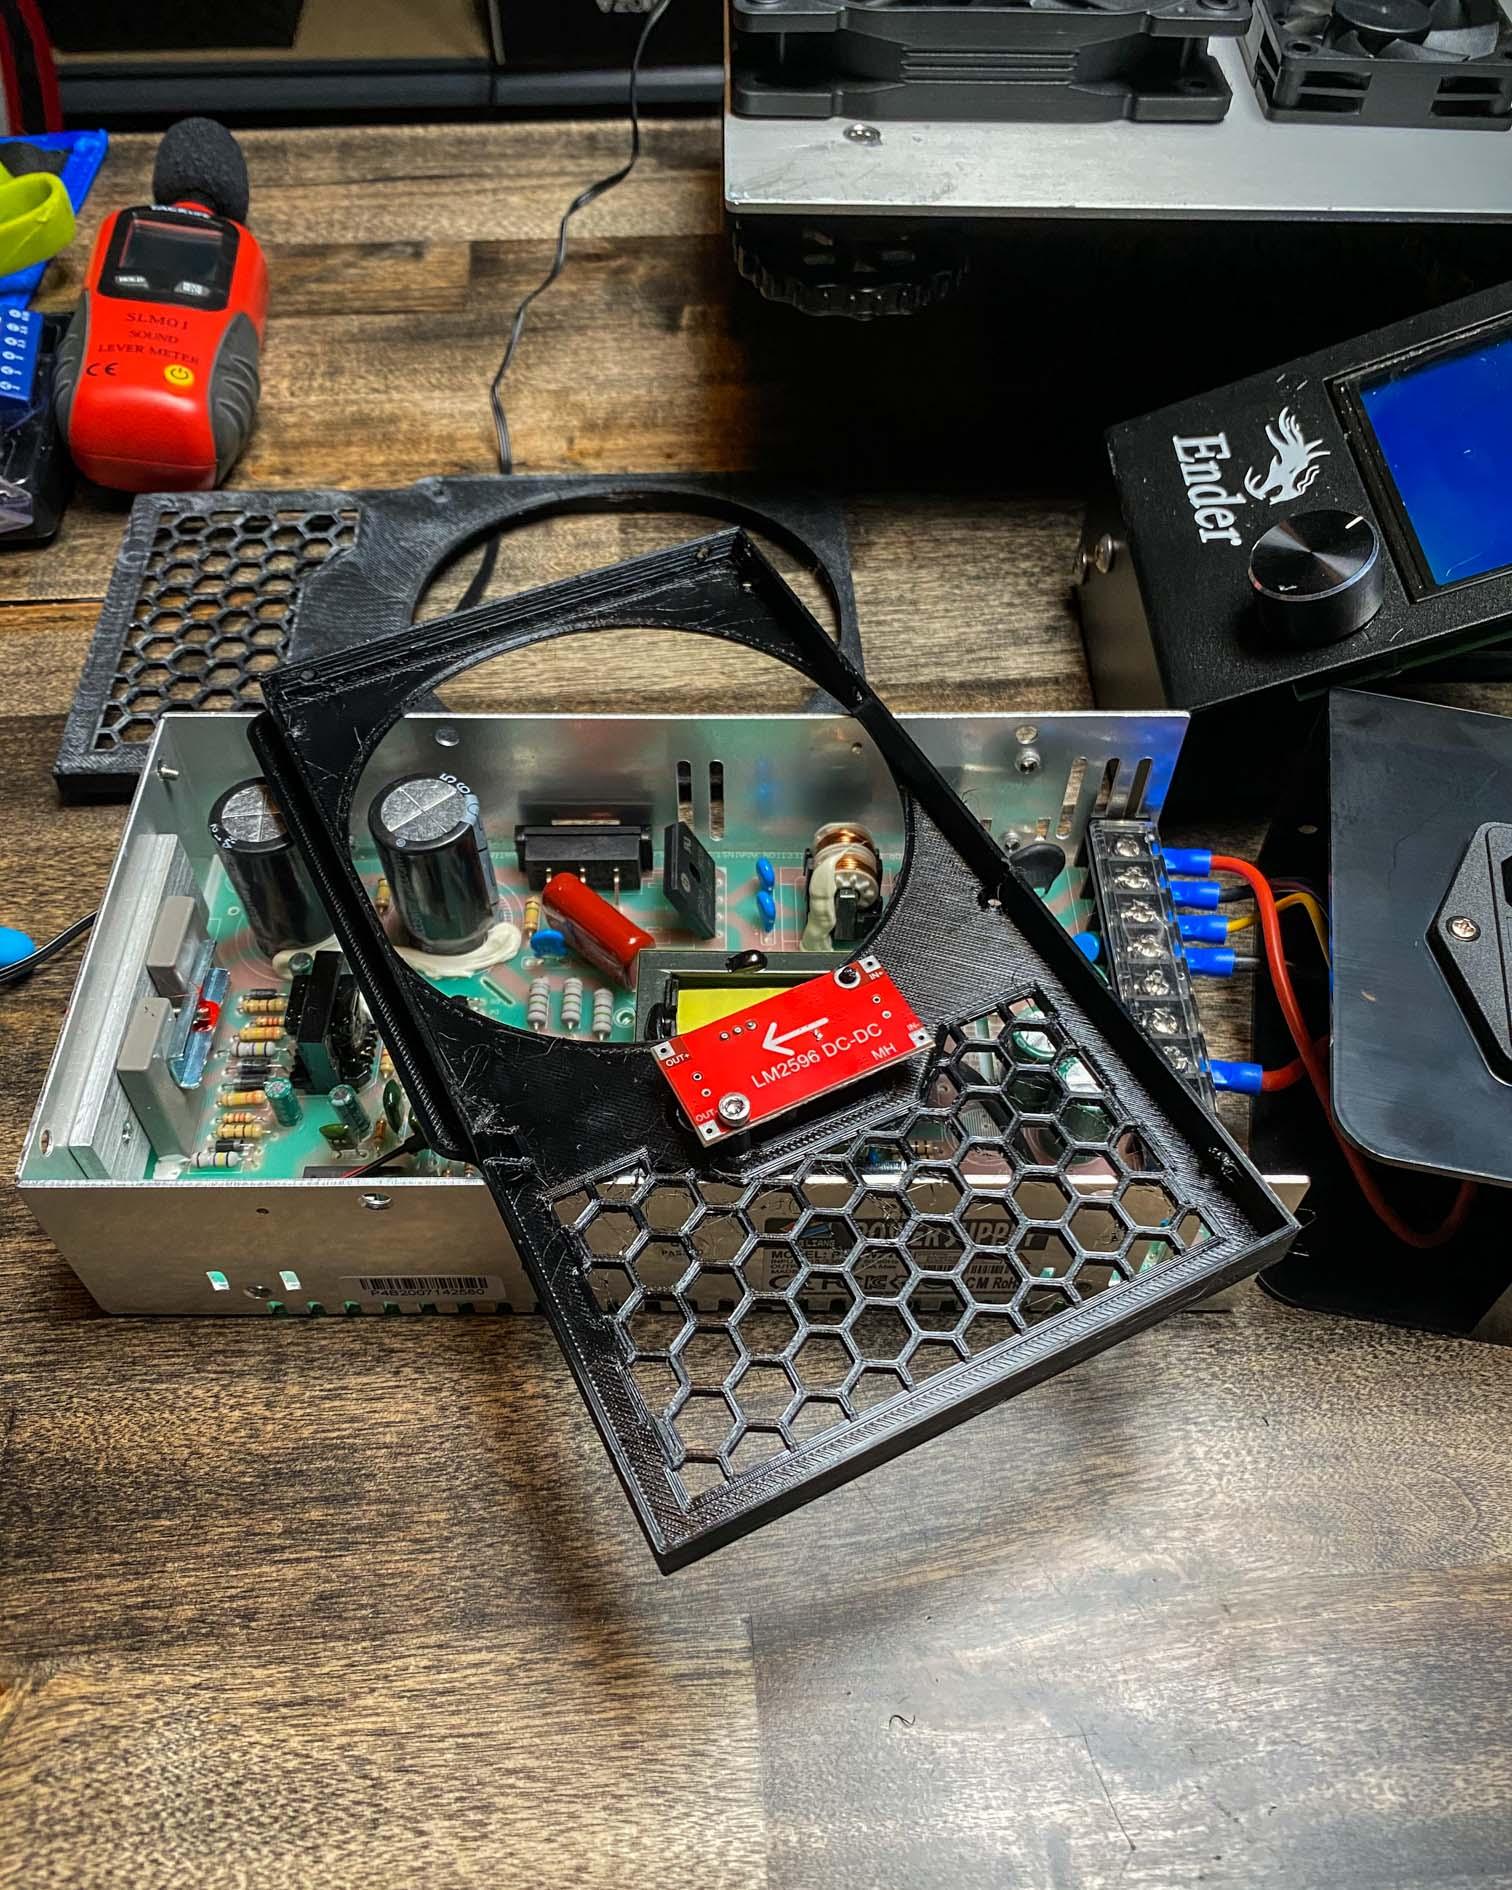
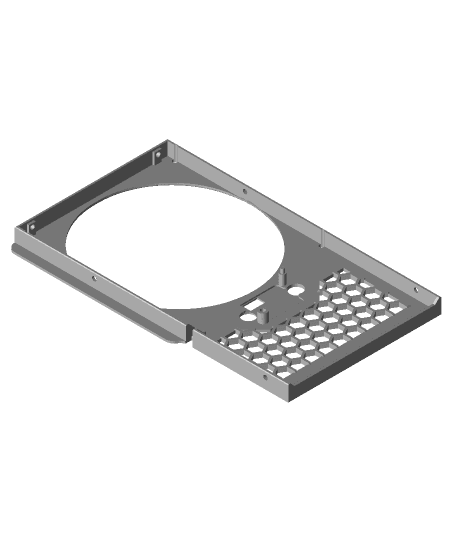
A Buck Converter Mount (LM2596) is integrated into the cover to safely step down the 24V to 12V. The Buck Converter protrudes through the cover allowing for clearance to the internal components and adjusting the setting from outside of the PSU.
REQUIRES Soldering to wire Buck Converter to the Fan.
Fan is intended to pull air OUT of the PSU, drawing air in from the PSU vents and the cover venting.
- Necessary Hardware (Affiliate Links):
- 1x 120mm Fan: https://amzn.to/2XAR7EF
- 4x #6-32 x 1.25" screws (or 3.5x.6mm - 30mm long): https://amzn.to/2R96QrB
- 1x LM2596 Buck Converter: https://amzn.to/33AloTP
- 1x 3mm Screw (to Mount the Buck Converter - 5-8mm length should work): https://amzn.to/3eFCIgF
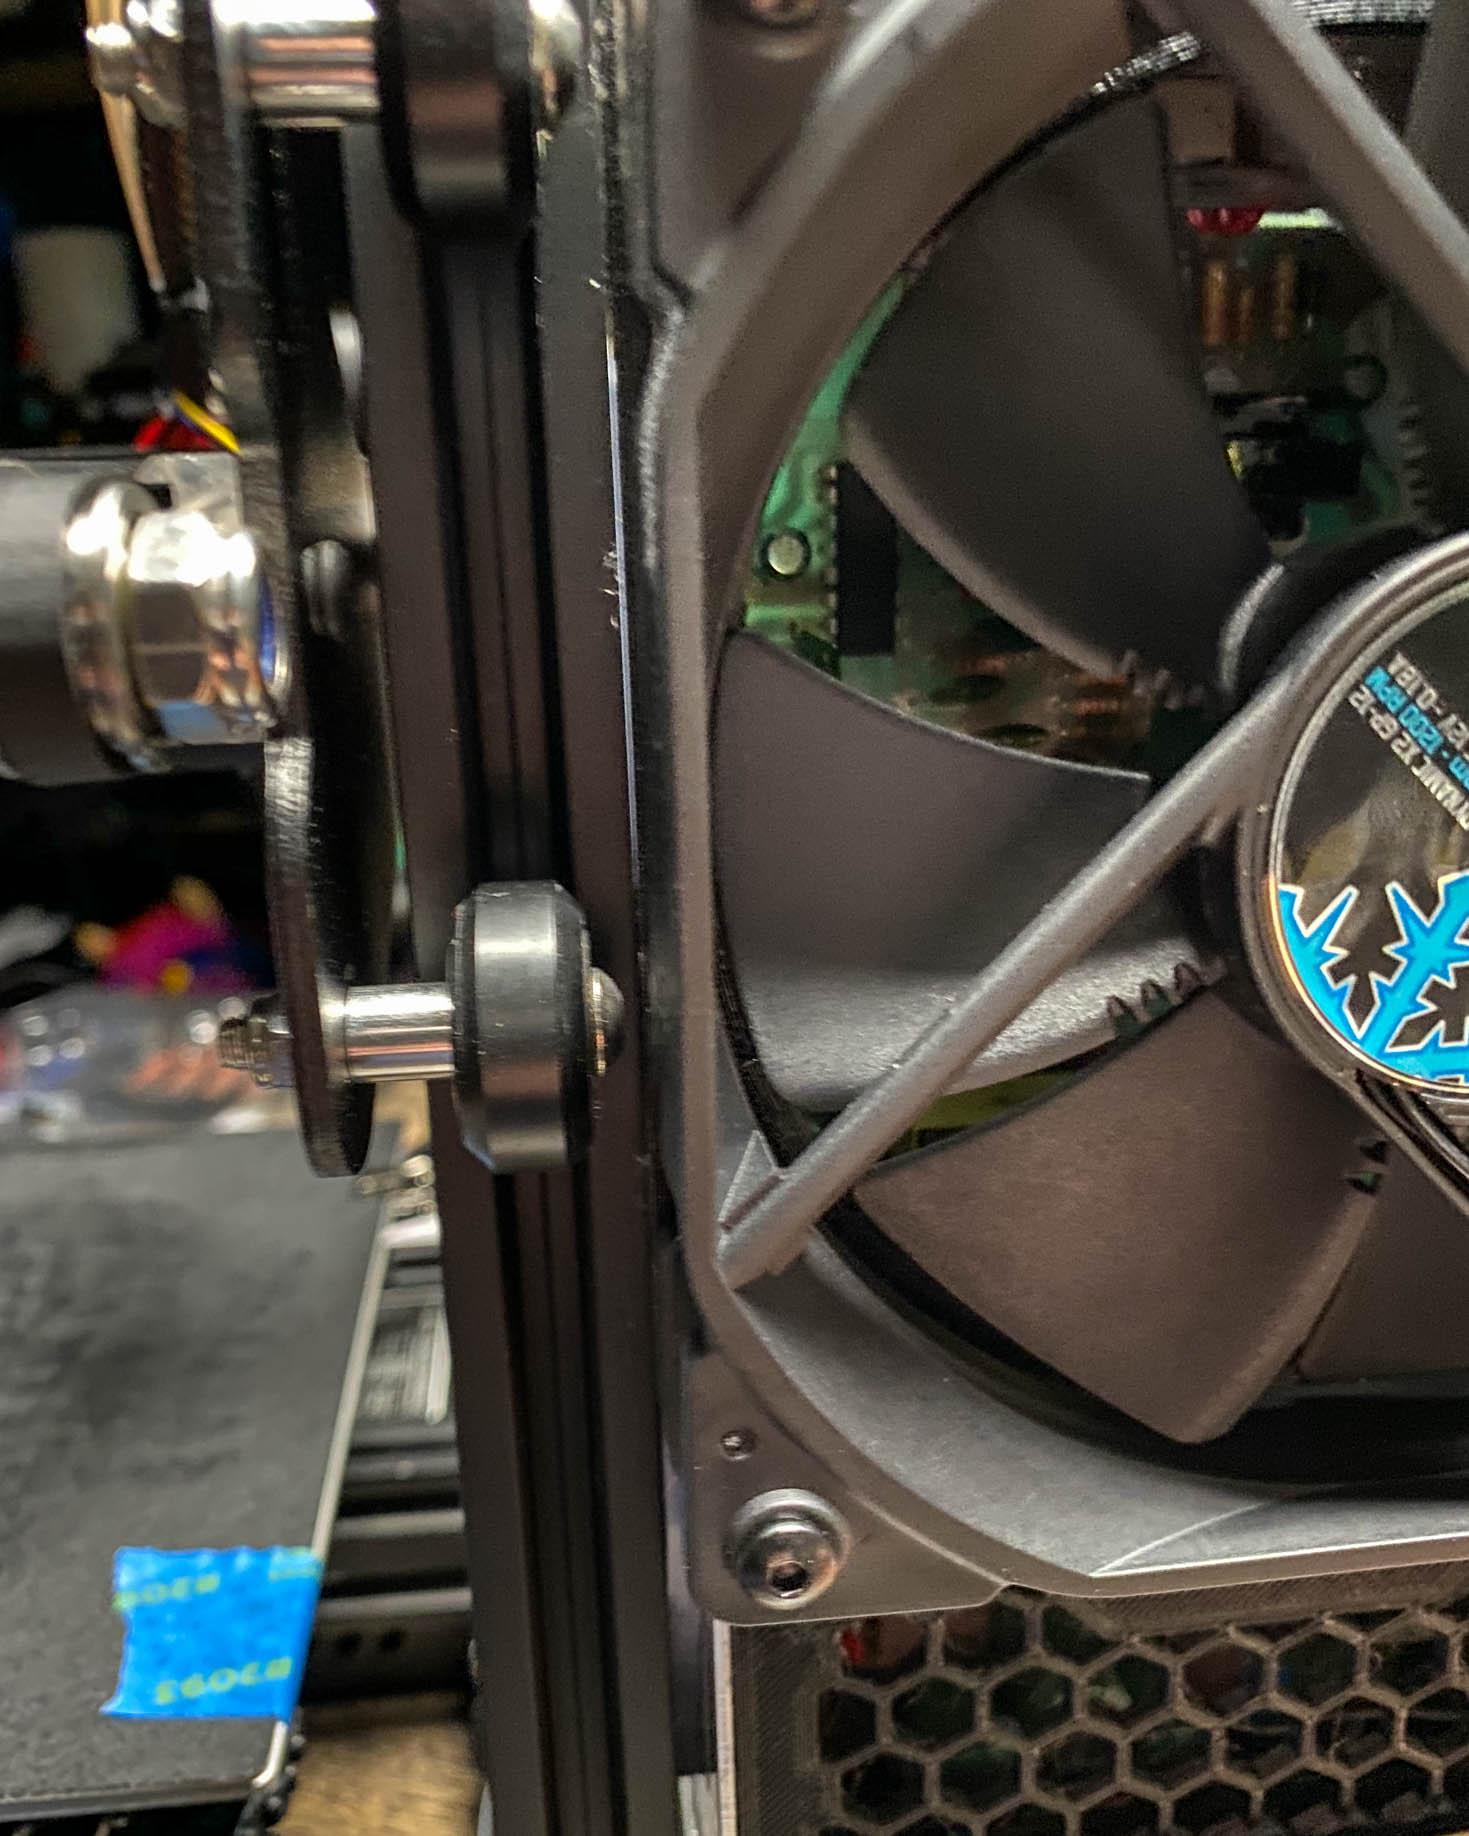
The Spacer Plate design included is REQUIRED to make this design work. It moves the PSU away from the Z-Axis upright just 3.6mm to clear the rollers on the X-Axis Carriage. Failure to use this spacer would cause the rollers to bind on the 120mm fan.
- ** PRINT PARAMETERS:**
- Recommend minumum of 4 Perimeters and 100% Infill.
- PETG filament recommended, PLA has worked for me in the past though.
- POST PROCESSING:
- Take care when removing part from print surface as the hex mesh can be delicate and the design has a LOT of surface area on the build plate.
Want to Support what I do? Check out my social medias please!
Link Tree: http://www.HotRodHippie.com/links
All of my Designs are covered by a Creative Commons Non-Commercial License. Sale of prints using my designs are the sole right of myself, the designer, and those I license to do so. Please understand every design is hours of work and multiple prototype prints to ensure quality. Unauthorized sales will result in new designs not being made public.
PLEASE Credit any and all Remixes of my designs: MandicReally
