For updates, view the Printables page https://www.printables.com/model/201511-ender-3prov2-purge-bucket
This is the culmination of months of rigours testing.
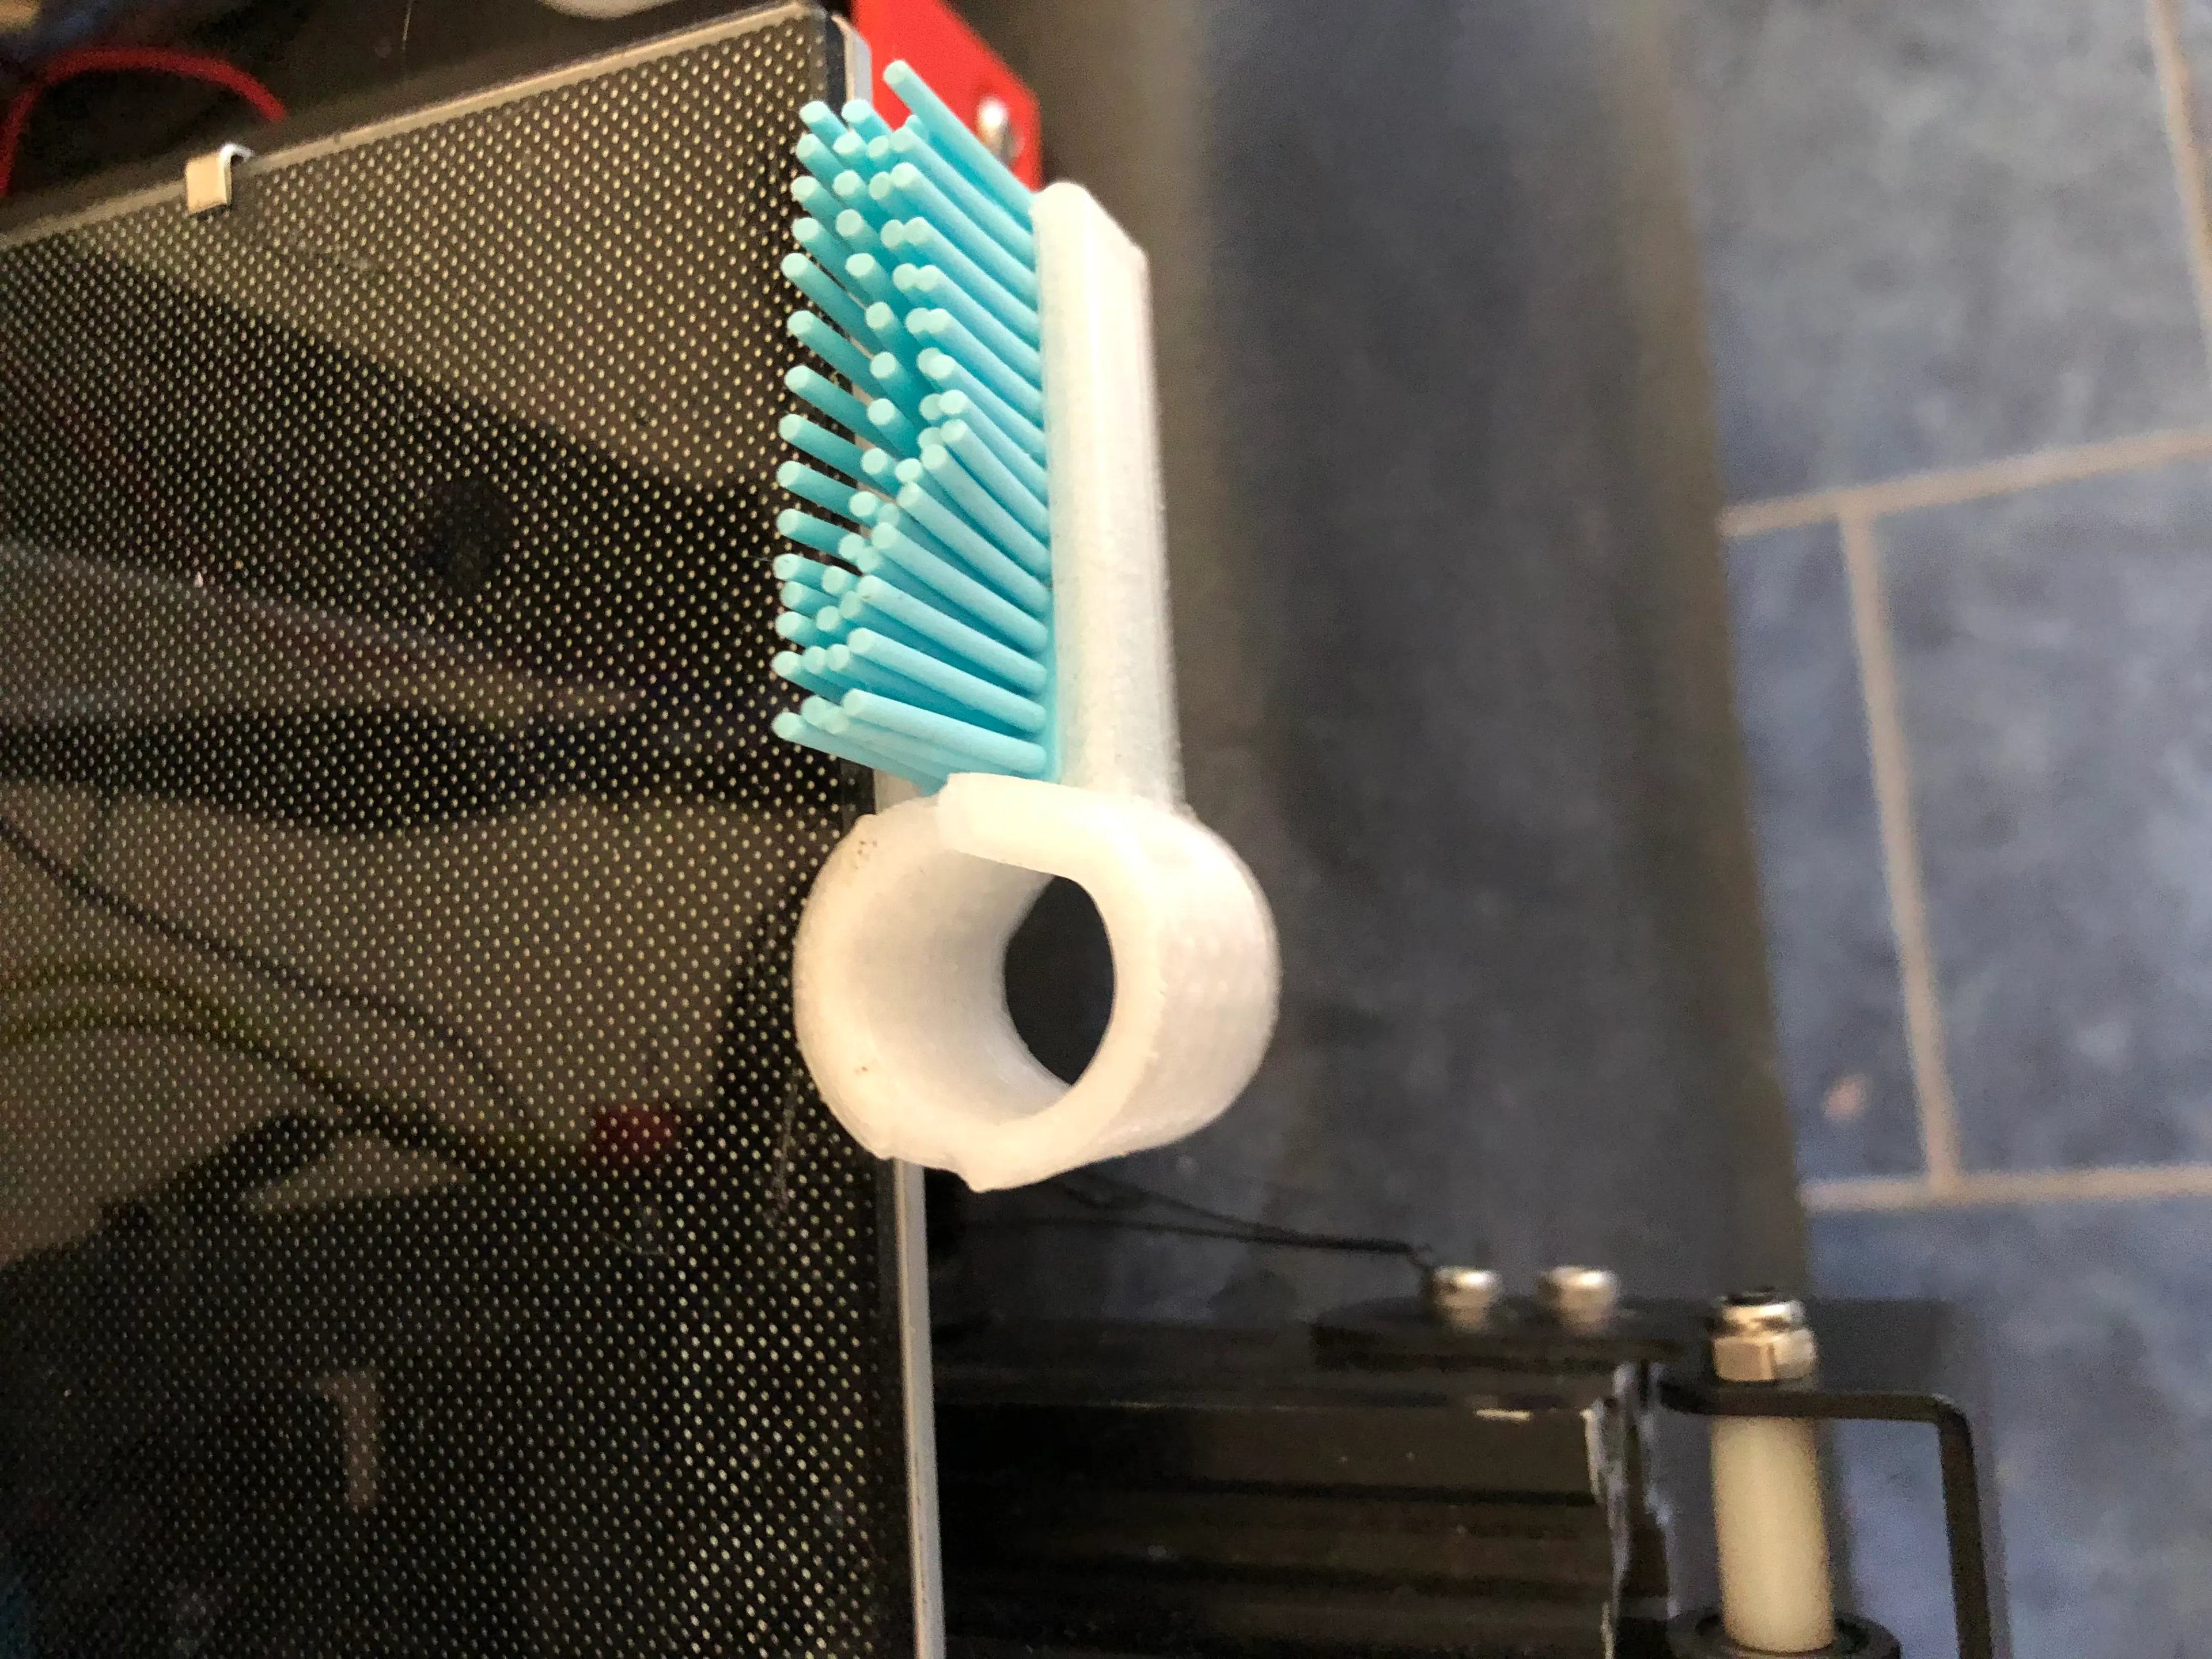
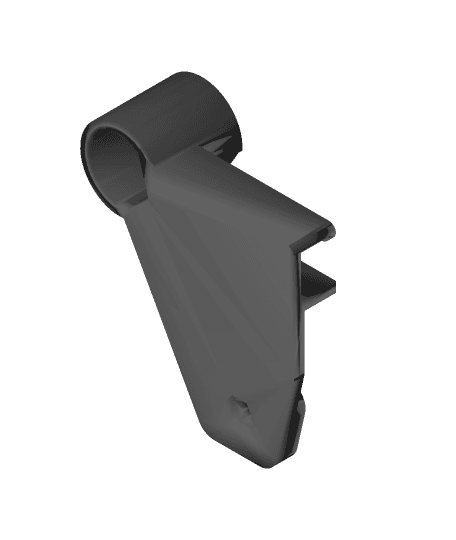
This part mounts to the front of the bed on and Ender 3 3D Printer (tested on an Ender 3 Pro) via the bed screw mounts.
Components needed
Silicon pastry brush (I sourced mine from Woolworths Australia) M4 nuts * 4 3D printed Ender 3(pro/v2) tool tray Part
Installation instructions
- Install the tool tray according to its instructions
- Remove the heated bed, being careful to stow all the screws
- Remove glass from the top of the bed
- Attach nuts to the bolts protruding from the bed on the front left, and both back bolts. Tighten them.
- Place the part on the final, exposed screw with the nut trapped inside
- Tighten
- Cut the brush part off the pastry brush
- Gently push in the pastry brush bristles into the holder, being careful not to snap it
- Reassemble the 3D printer
Gcode tuning
Attached below is a link to my tool change script compatible with PrusaSlicer, and SuperSlicer. You will need to tune all of the values to suit your specific machine.
Toolchange script Start script
Hardware tuning You will have to move your endatops slightly, in my case just a bolt used for sensorless homing.
Print settings Material: ABS (clear) Supports: Yes, build plate only
DISCLAIMER I AM NOT RESPONSIBLE FOR ANY DAMAGE THIS MAY CAUSE. THIS MODEL IS SUPPLIED 'AS IS' AND WITH NO WARRANTY WHATSOEVER. USE AT YOUR OWN RISC!!!